Whole Foods predicts that this will be the year of hibiscus, turmeric, and yuzu (a tart citrus fruit). The Food Network says 2022 will be all about bold condiments, cannabis cooking, and plant-based seafood like “coconut shrimp.” Wunderman Thompson anticipates the rise of Peruvian gooseberry, foraged craft cocktails, and Kernza, a climate-friendly grain.
From citrusy vinaigrettes to colorful fruit spreads and fizzy drinks, there’s never been a better time to be a food photographer. This year is your chance to celebrate daring flavors and eye-catching colors, while also keeping your portfolio timely and on-trend. Here are our best tips for preparing your next food shoot for commercial Licensing—for this year and next.
Tip #1: Build a shot list
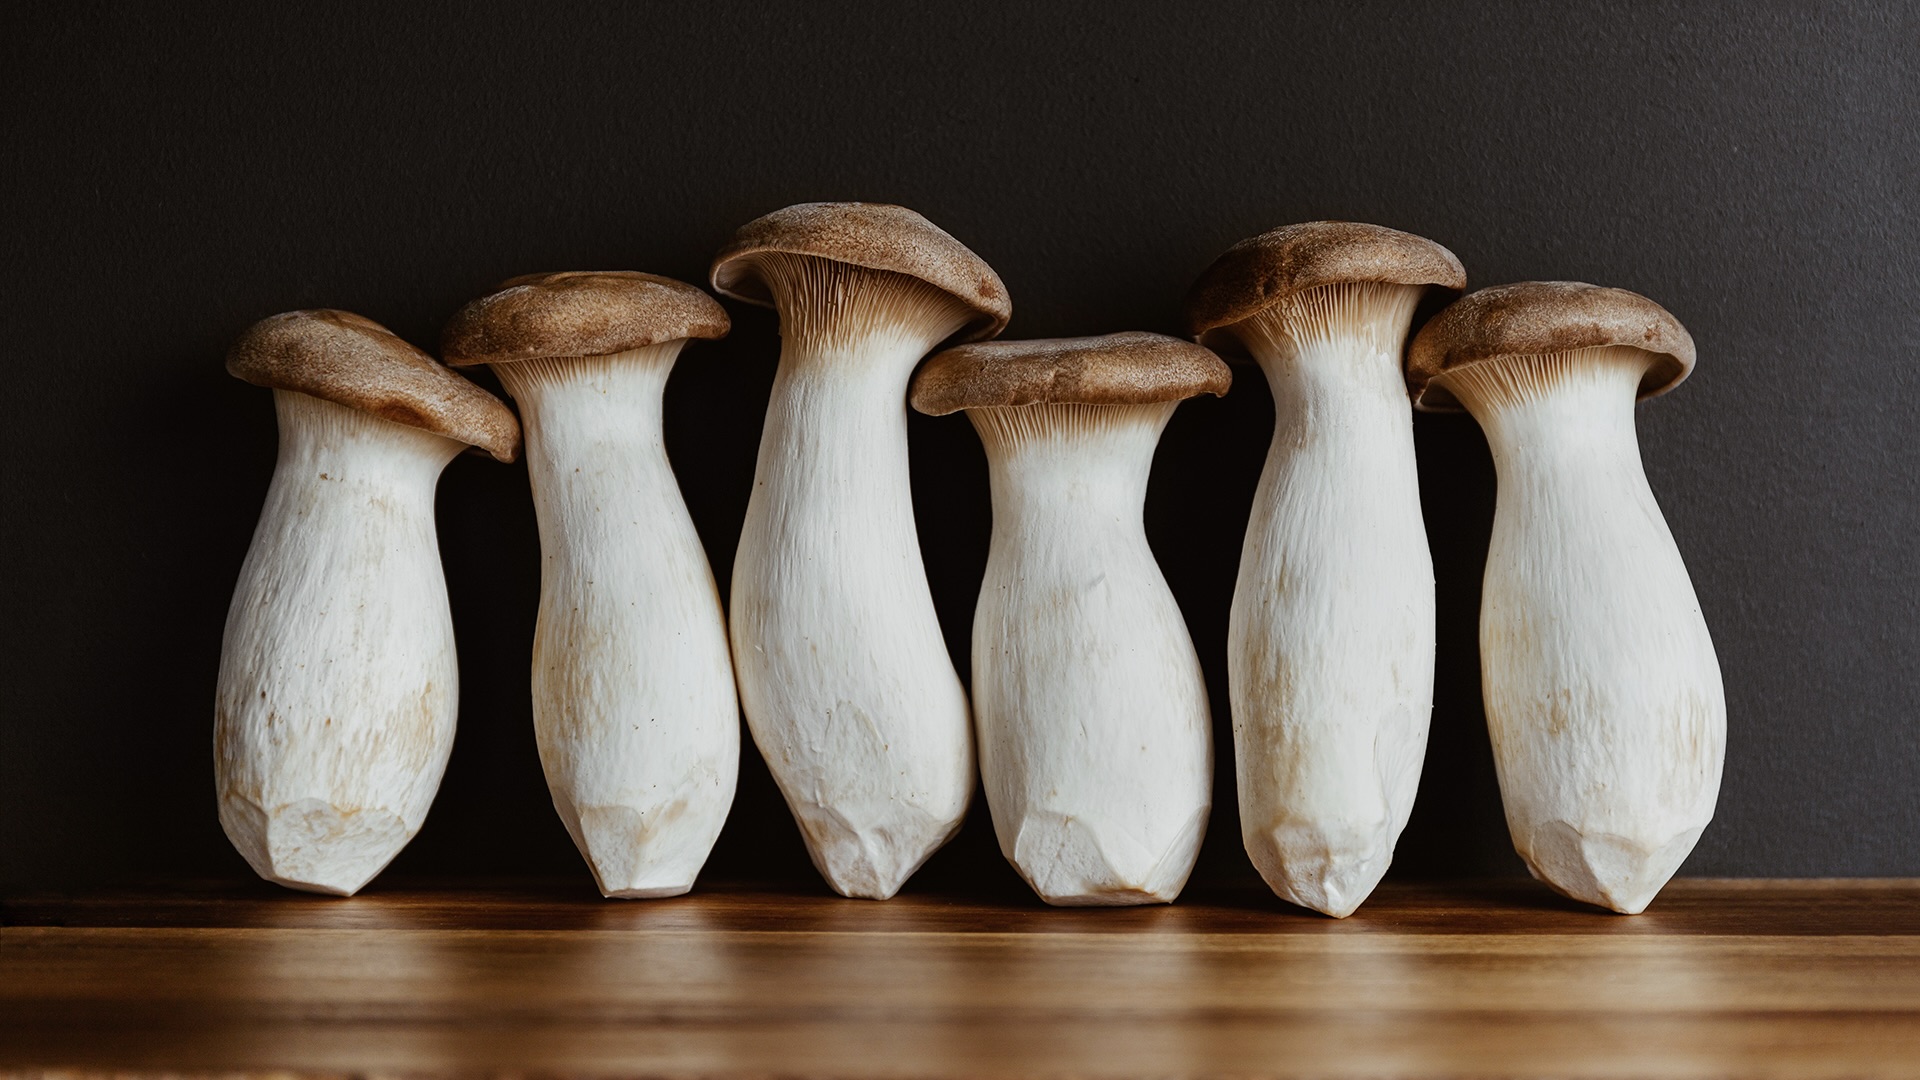
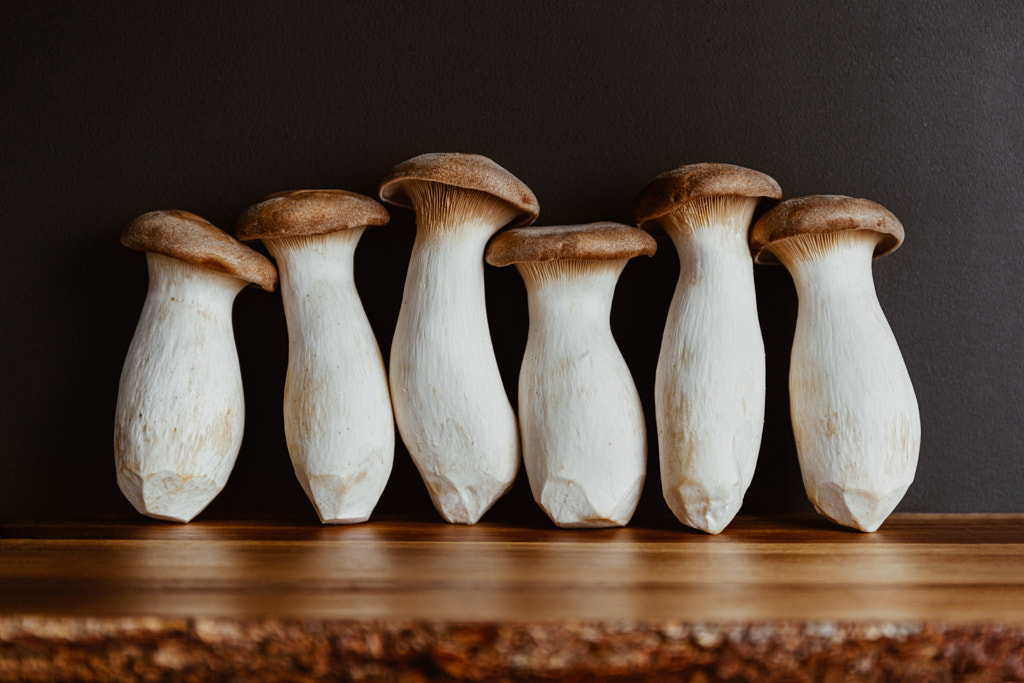
When you’re shooting food and beverages (especially fizzy drinks and those with ice), time is of the essence, so most of your work will be done before the shoot. The first step is research; take a look at what’s selling and trending within the 500px community, and make notes of keywords, ingredients, or details you might want to include. For instance, sustainable ingredients, mushrooms, and other plant-based dishes are in-demand among today’s buyers.
Once you have an idea for your shoot, it’s time to get into the nitty-gritty. Here’s where creating a mood board can prove invaluable; pull some inspirational images from magazines, food blogs, or social media to give you a feel for the kinds of compositions and angles you’d like to incorporate. Include wide shots and details, various lighting setups, and different compositions. Are you shooting lifestyle photos that include food, or are you shooting stylized shots in the studio?
These will form the foundation of your shot list or storyboard—a detailed play-by-play of the images you plan to create. Adding illustrations or sketches can be especially helpful when planning your compositions, props, or lighting. Your shot list will give you a clearer idea of what you need for the session and how long you should budget for it, helping the day of the shoot run smoothly. You can read our guide to creating a shot list here.
Tip #2: Select the right props
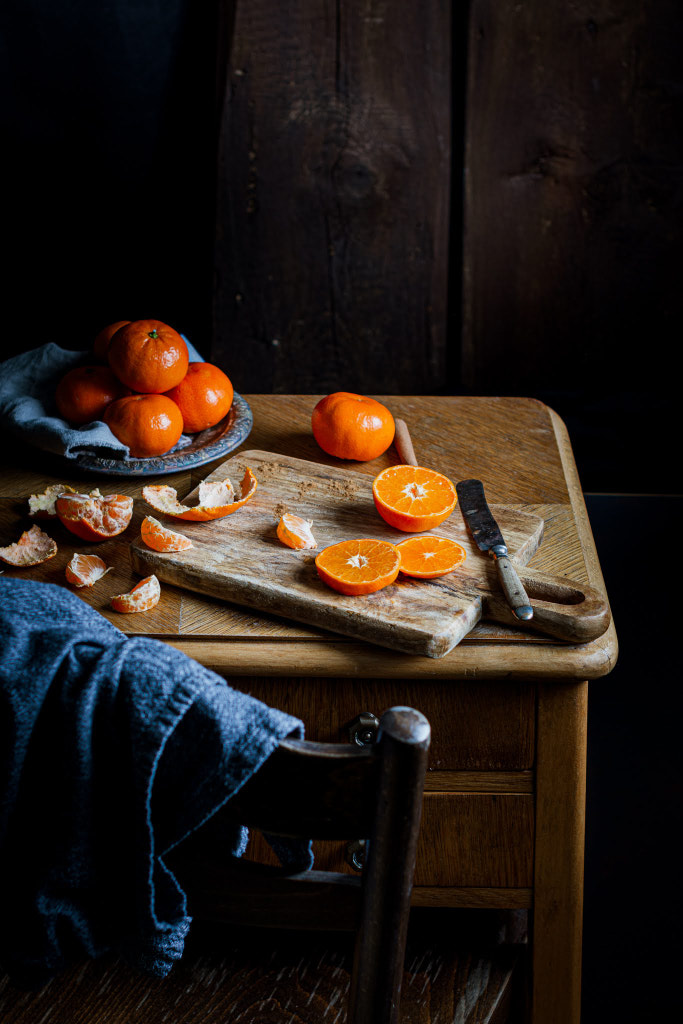
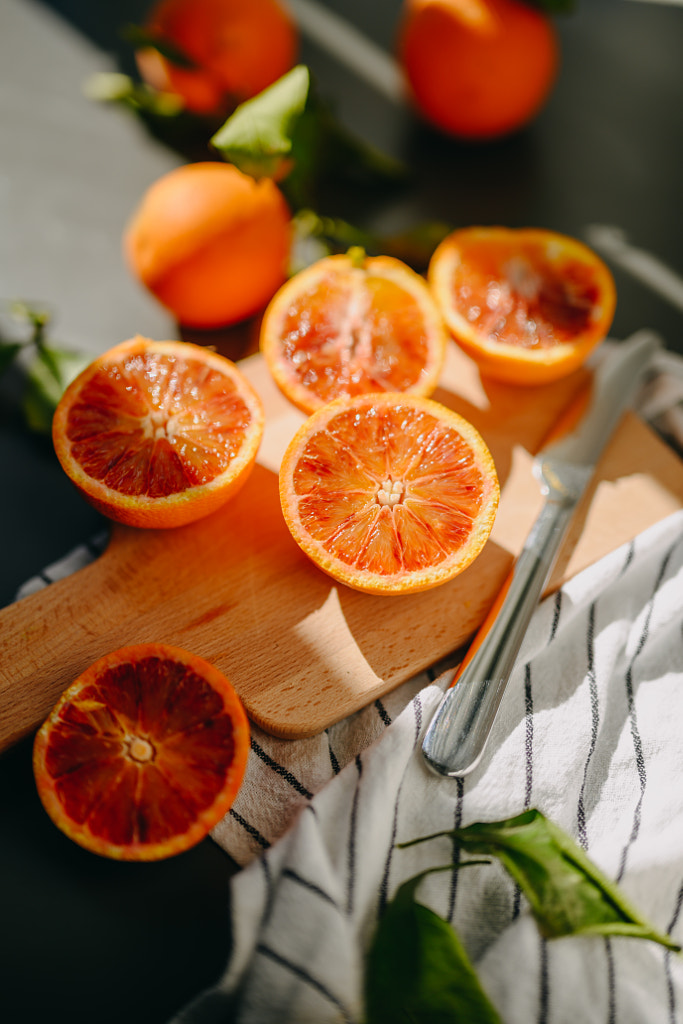
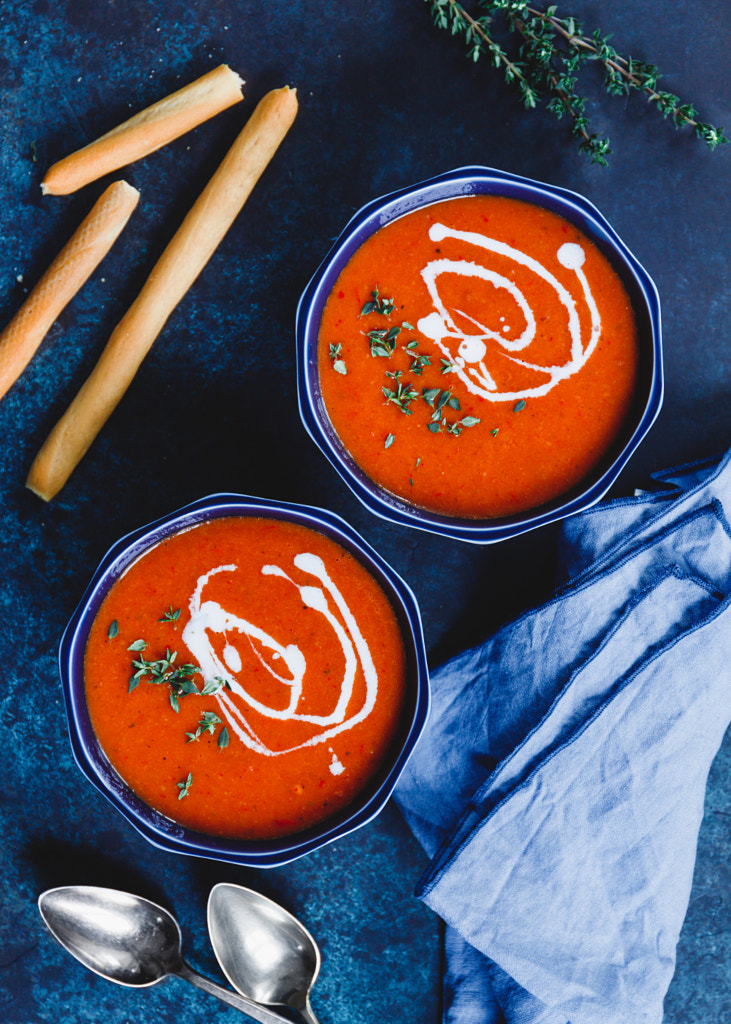
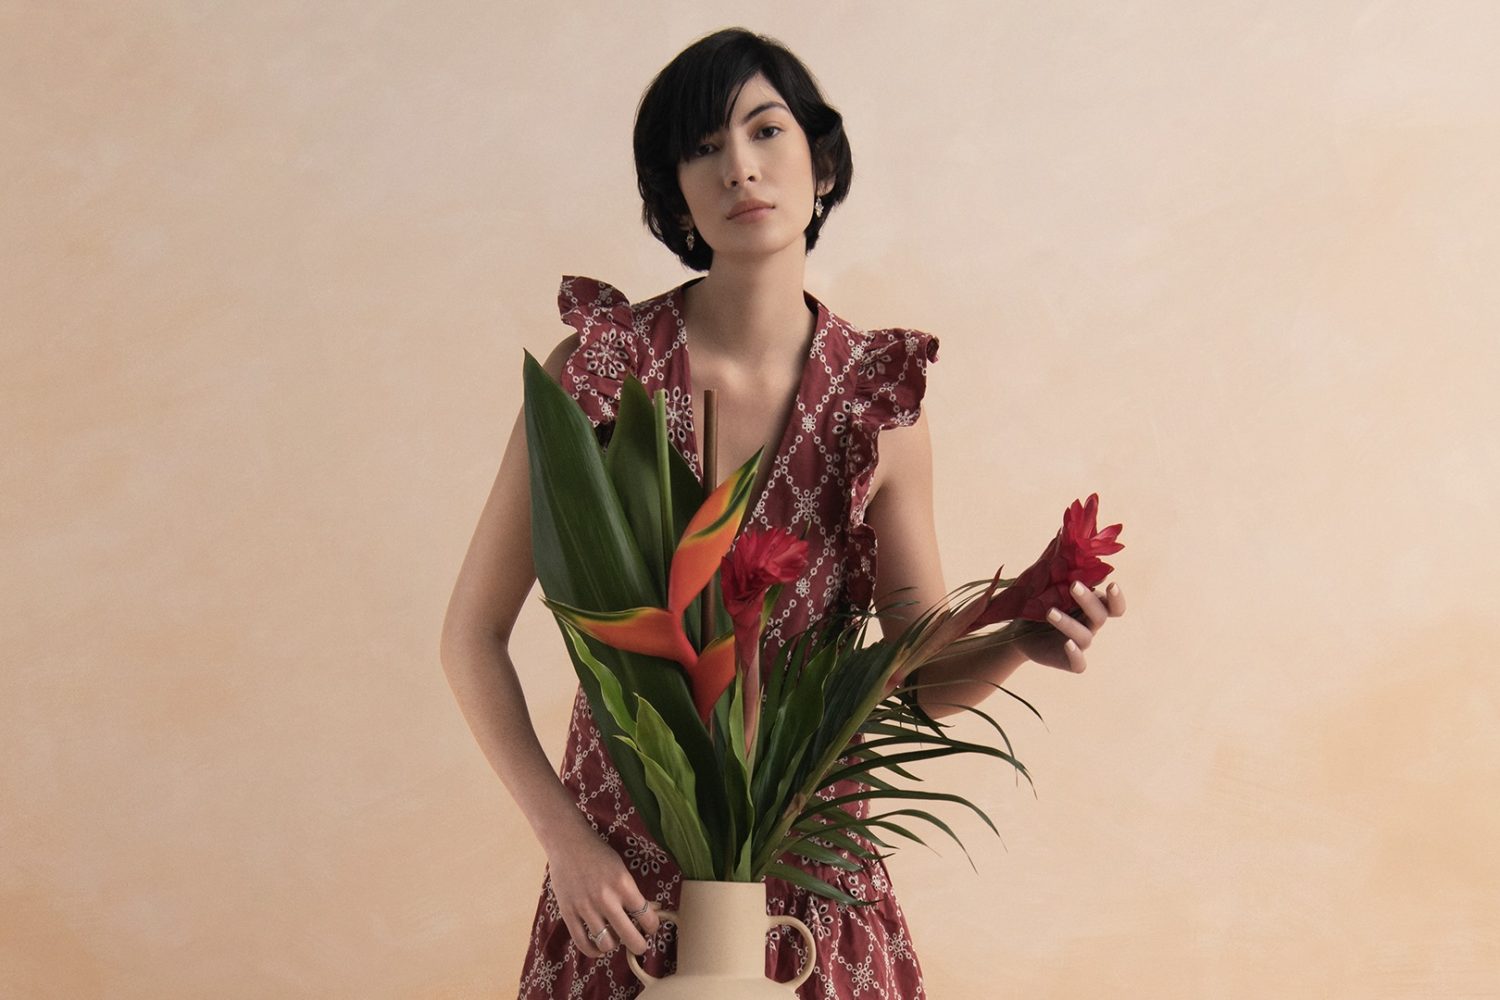
Props can instantly elevate your food photography, so think about the colors and textures you’d like to incorporate. For instance, if you’re shooting fresh oranges, perhaps you select props with a blue hue to create contrast.
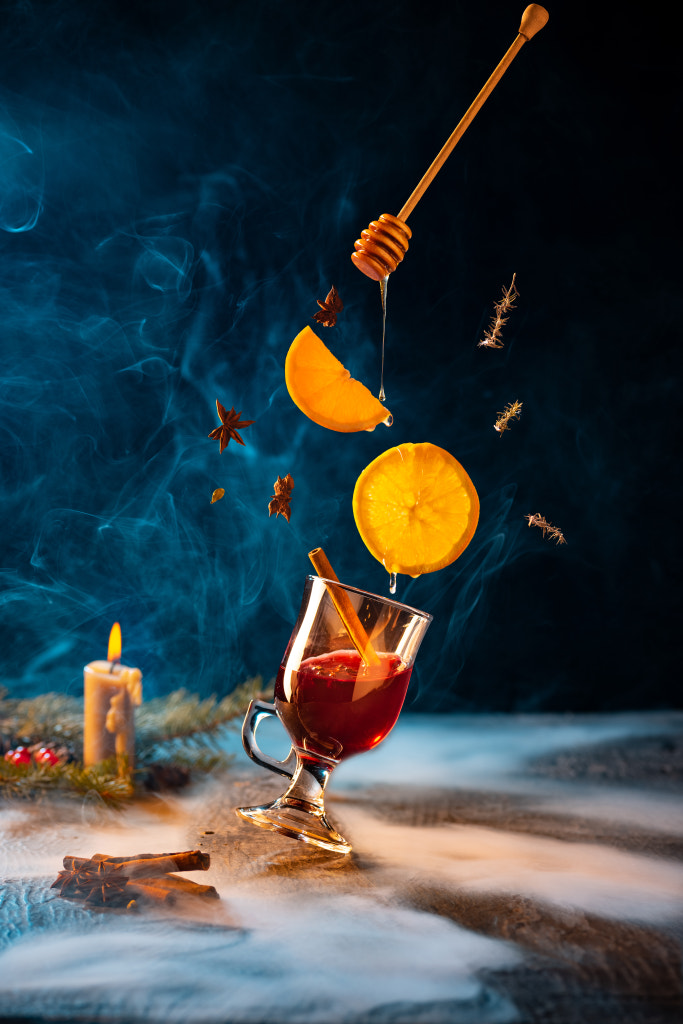
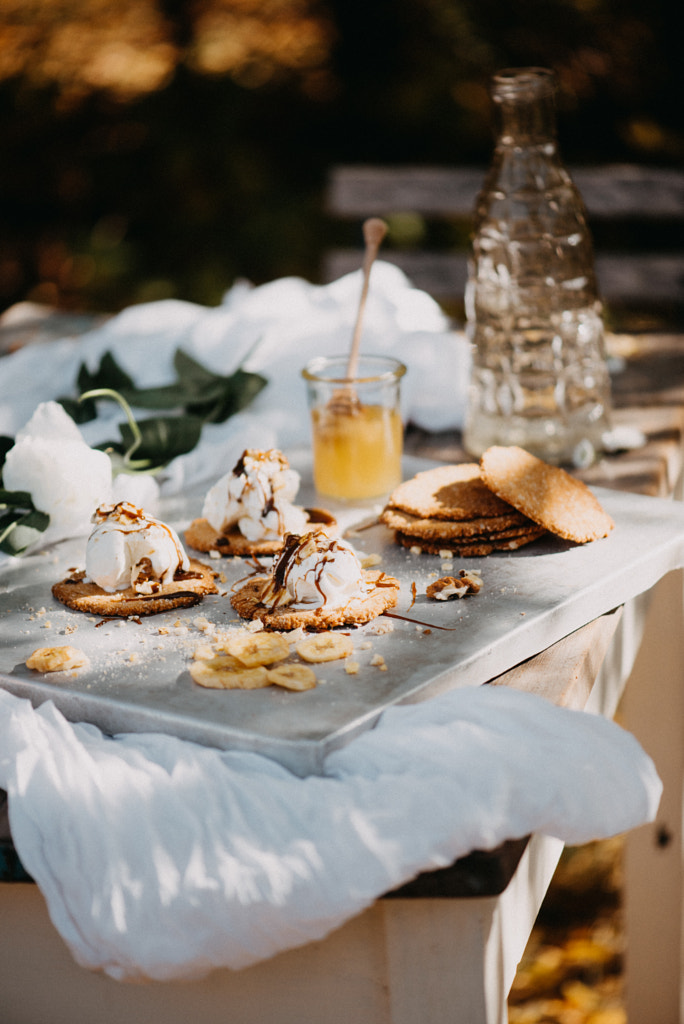
A similar principle applies to backgrounds. If you’re photographing homemade berry pie, you might go with a natural, rustic texture like wood, while clean marble might be best for a sleek, minimalist vibe. Soft blankets can create a cozy look, while antique pans can make for a lived-in atmosphere.
Start with your existing prop collection and then make a list of anything you might need to buy or rent. Thrift shops and secondhand stores are great for finding hidden gems, including dishware, baskets, and vintage fabrics you can use as backgrounds. Professional prop shops are usually pricier, but you might consider renting if you plan to use a specific prop for just one shoot.
“Beyond buying high-quality, non-reflective backgrounds, you can also create backgrounds from old laminate flooring or wood pallets,” the 500px team explains. Check out our article on four backgrounds you can make at home for some DIY inspiration. When collecting props, it can help to think in terms of layers: what will be in the middle ground, foreground, and background?
Tip #3: Source your ingredients
As a general rule, the fresher the ingredients, the better, so it can help to make the food yourself right before shooting it. Another benefit of preparing the foot at home is that you can document every stage of the process, from the gathering of ingredients to cooking and finally the finishing touches. But regardless of whether or not you’re making the food yourself, make time for styling.
“The pan, plate, cup, or wherever holds the food will be a star element, so it needs to relate to your overall theme and concept,” the 500px team says. Finally, remember that some of your raw ingredients can also serve as props and garnishes in your final composition, so buy more than you think you need just in case. Ingredients like berries or nuts can also help capture seasonal vibes throughout the year. If possible, head to your local farmers’ market for fresh, high-quality produce.
Finally, know your ingredients and recipes. For example, if you’re shooting a veggie burger, a hot patty can result in wilted lettuce, so it’s sometimes best to shoot it cold and brush it with oil to keep it looking fresh. Similarly, some recipes might look their best a little undercooked, so be prepared, consider timing, and optimize your dish for the camera.

Tip #4: Finesse your composition
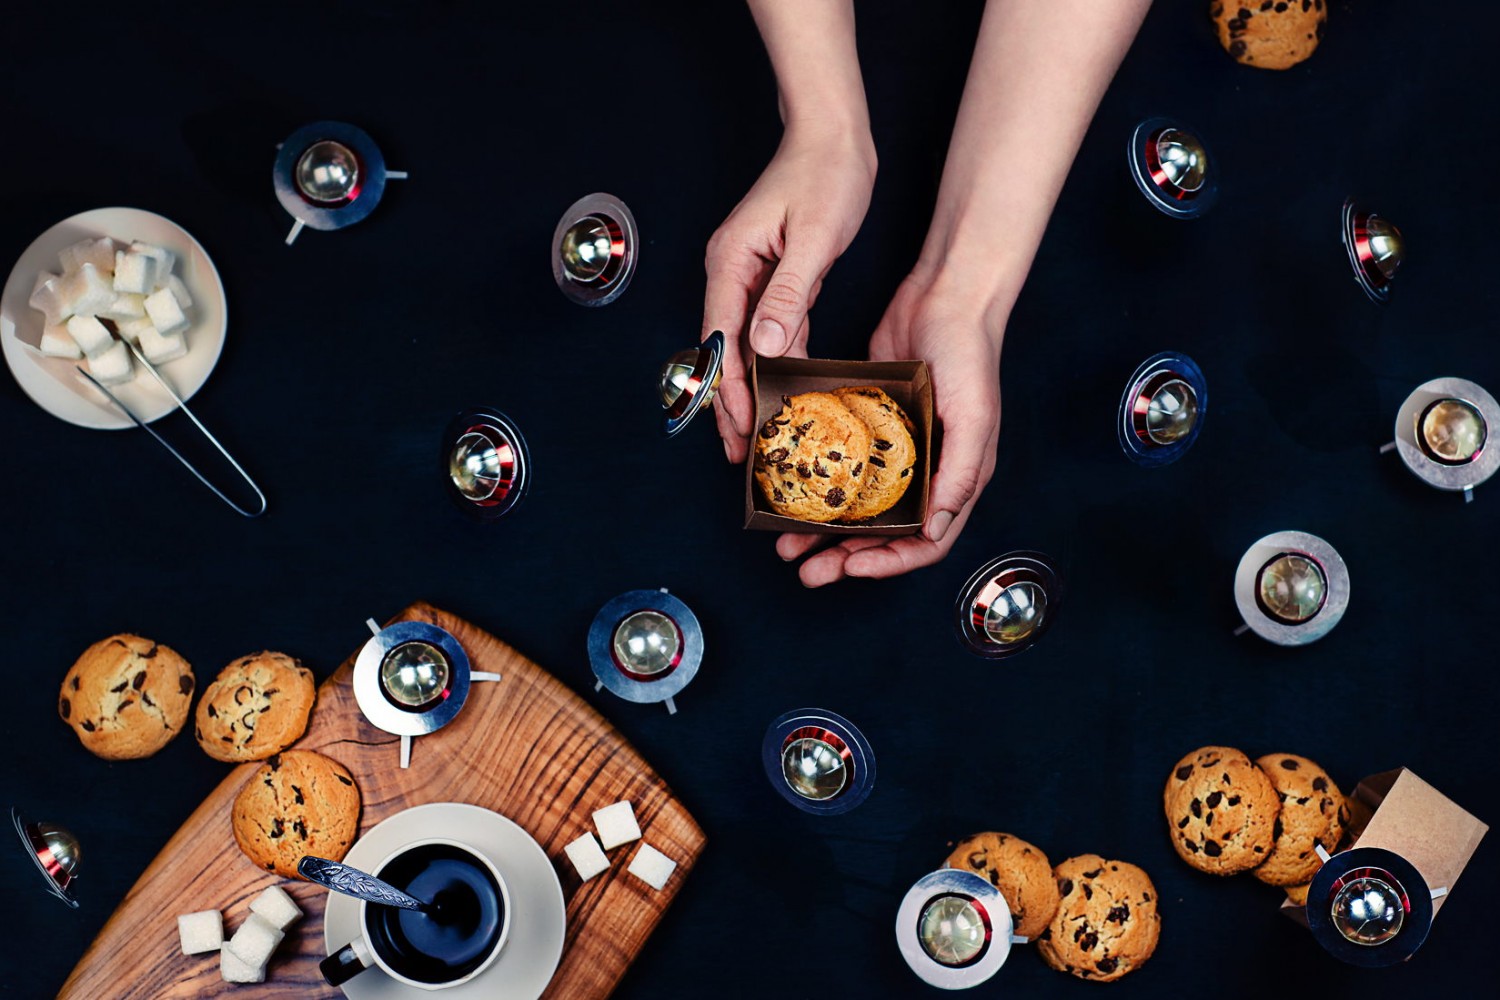
Whether you’re shooting a flatlay or a three-quarters’ view (or both), your composition can make a break your photo, so take your time and use sketches to plan where everything will fit. Do you want to fill the frame or introduce a lot of clean, negative space? It can be nice to leave some space on your plate or avoid filling your glass too full.
In general, negative space can be helpful in Licensing because clients will often use it when adding their own copy, logo, or advertising. One popular technique for placing your subject within the frame is the rule of thirds, and while it’s certainly not the only option, it is a solid place to start.
Your composition doesn’t have to be “perfect,” and a bit of spontaneity in the form of breadcrumbs or a drizzle of sauce can actually add vitality to your shot, but it should be intentional and help capture the story and mood you’re trying to tell. Food photographers have a bunch of tricks they use to get their compositions “just right.” For example, if you want to add volume to a dish (say, a veggie burger or cake), you can add hidden cardboard layers to help “plump” it up. Similarly, you can hold items in place with adhesive putty or toothpicks.
When handling glassware, consider wearing gloves to prevent fingerprints. Finally, you always want to set up your props, dishes, and overall composition before adding any time-sensitive elements or ingredients, such as ice or greens. Wait until the last minute before shooting to incorporate those. Shoot from every angle before changing your composition, and try as many compositions as you have time for before packing up your set.
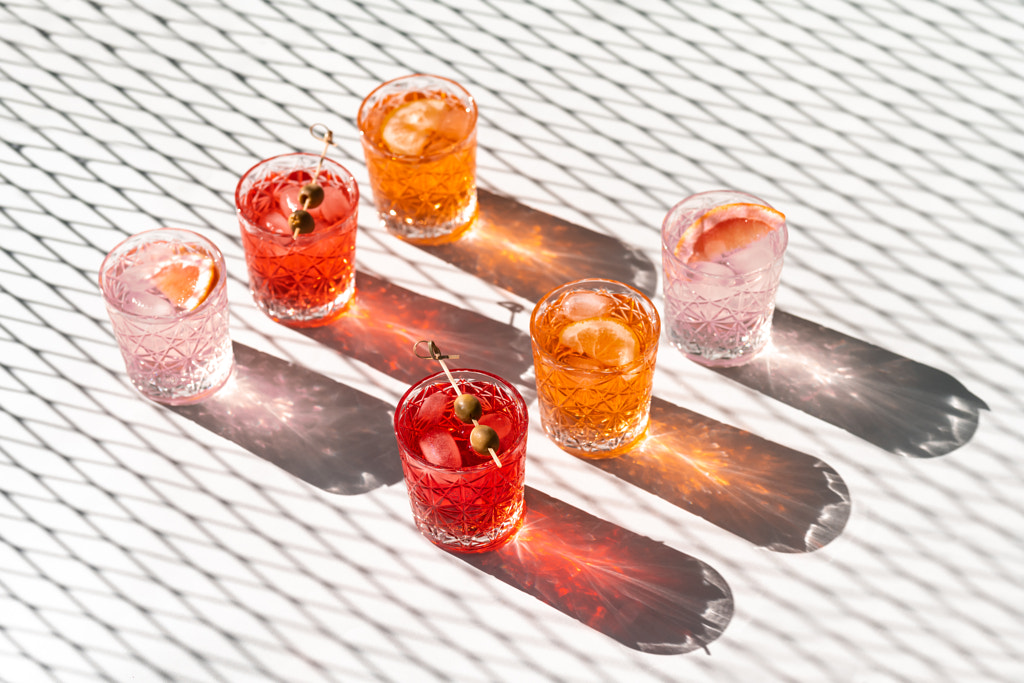
Tip #5: Highlight those natural colors
Whenever possible, most food photographers prefer to shoot in soft natural light (window light is a popular choice) because it can help you avoid any unnatural color cast. There’s always something to be said for getting everything right “in-camera” without the need for too much post-production. With that being said, most photographs can benefit from a bit of editing. Shoot RAW files so you can have the most flexibility when it comes to editing and bringing out those details.
We recommend tailoring your edits to your photographs instead of relying on presets, as these can lead to unnatural colors if you’re not mindful. Some foods will look better slightly desaturated, while others might benefit from a bit of brightening. “Avoid oversaturating or overediting, as this will make your food look unappetizing,” the team at 500px advises. Perfecting your white balance can help eliminate any unwanted color cast, keeping your food looking realistic—and good enough to eat.
Not on 500px yet? Click here to learn about Licensing with 500px.


Leave a reply