Photographers are the ultimate travelers. After all, it was a photographer, Burton Holmes (1870–1958), who first coined the term “travelogue.” In an era before air travel, he visited almost every country, creating more than 30,000 photographs along the way. He saw the construction of the Panama Canal, walked the streets of Paris, and took in the view at the Great Wall of China—and then he brought it all home for everyone to see. His pictures captivated the imagination of the American public.
More than a century later, travel is more accessible, but we continue to be enchanted by faraway places. As we emerge from the pandemic, our relationship with travel has also shifted. We’ve realized the importance of supporting local and sustainable businesses, and we’re drawn more than ever to destinations that are off the beaten path. In this quick guide, we’ll share our best travel photography tips, covering every step along the way—from gear to composition to post-production.
Pack light to cover more ground
As long as you’re shooting in beautiful light (the golden and blur hours around sunrise or sunset are usually ideal), you don’t need tons of gear. In fact, for most situations, an interchangeable lens camera and a few lenses will go a long way. Choose gear you’re comfortable with, and practice before your trip so manual adjustments become second nature. Bring more memory cards and batteries than you think you’ll need, just in case.
Aside from the “must-haves,” some “nice-to-haves” might include a tripod and filters (ND and polarizing), especially for landscape photographers. Luckily, there are some great lightweight, carbon fiber travel tripods on the market these days. There’s nothing worse than being weighed down and physically uncomfortable while you’re out and about exploring, so keep your gear as minimal as you can.
Quick tip: Invest in insurance for pricey gear while traveling, and keep your camera on you—or at least locked up when you’re not using it, just in case.
Walk or bike
There’s so much you miss when you drive through a city. Instead, slow down. Take public transportation, and then walk or bike to your destination. You can even practice the art of “getting lost on purpose”; board the train and get off at a spot that looks interesting (make sure it’s safe, of course), and spend a couple of hours getting to know the neighborhood. Even if you have a packed itinerary and a detailed shot list, we recommend setting aside a day or two just to have fun, try new foods, wander through open markets, or sit in the park.
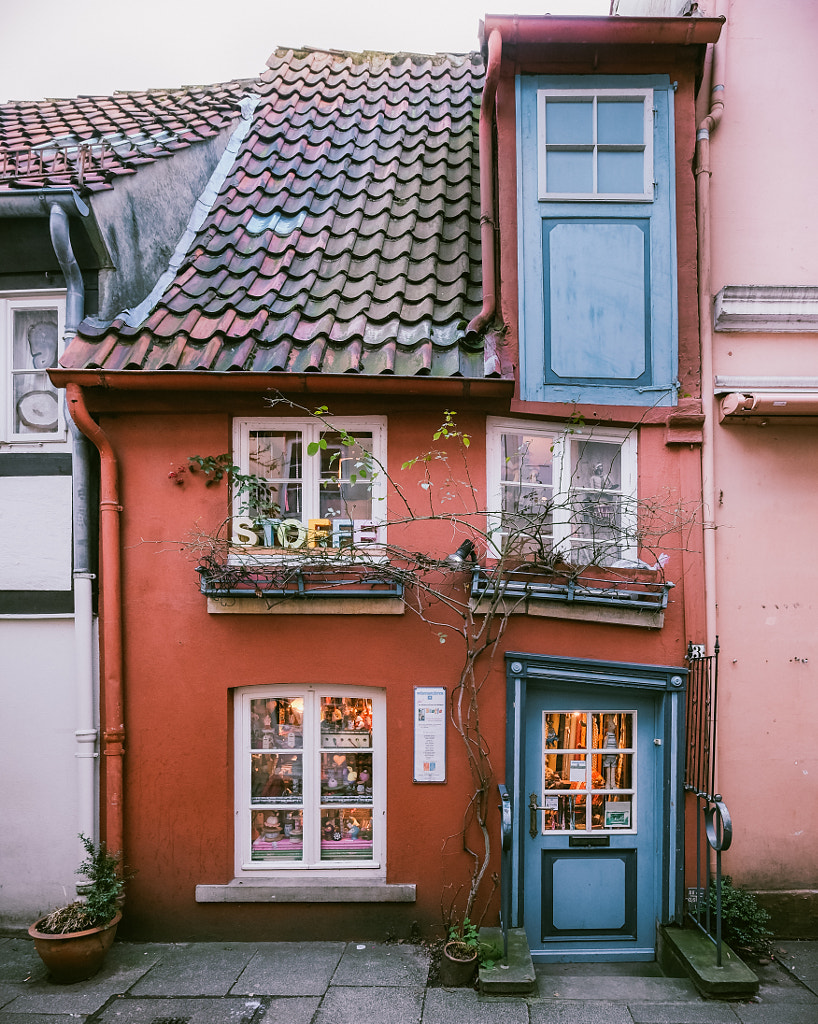
While visiting the Schnoorviertel (above), Thomas Christians took the time to explore. “A stroll through the small streets reveals a colorful mix of crafts, galleries, cafes, restaurants, and small museums,” he shared. “Something new can be discovered behind almost every window.”
Connect with someone local
Locals will be your best resource for discovering your destination, and there are a few ways to connect before your trip. One place to start is with your fellow photographers; browse social media to see who’s photographing where, and reach out to someone you admire to let them know you’re planning to visit and would love their recommendations. Another option would be to stay with a local host rather than a generic hotel; they can help show you around and introduce you to the neighborhood.
Quick tip: In many countries, you don’t need permission to photograph people in public places, but it never hurts to ask. Feel free to approach someone who looks interesting and ask for a photo; they might also have valuable travel tips and tricks, including recommendations for spots worth visiting.
Choose your host (or hotel) wisely
Even if you spend most of your time outside of your room, where you stay will determine what kinds of photos you’ll be able to create.
Choose somewhere close to the places you plan to visit so you can make a few trips throughout your stay, including a scouting trip to find your light and composition. (If you can’t scout in person, try Google Maps.) The view from your hotel or Airbnb window or balcony can also be a game-changer when it comes to wanderlust inspiration, so make sure to check out all the details before booking.
Beware of crowds
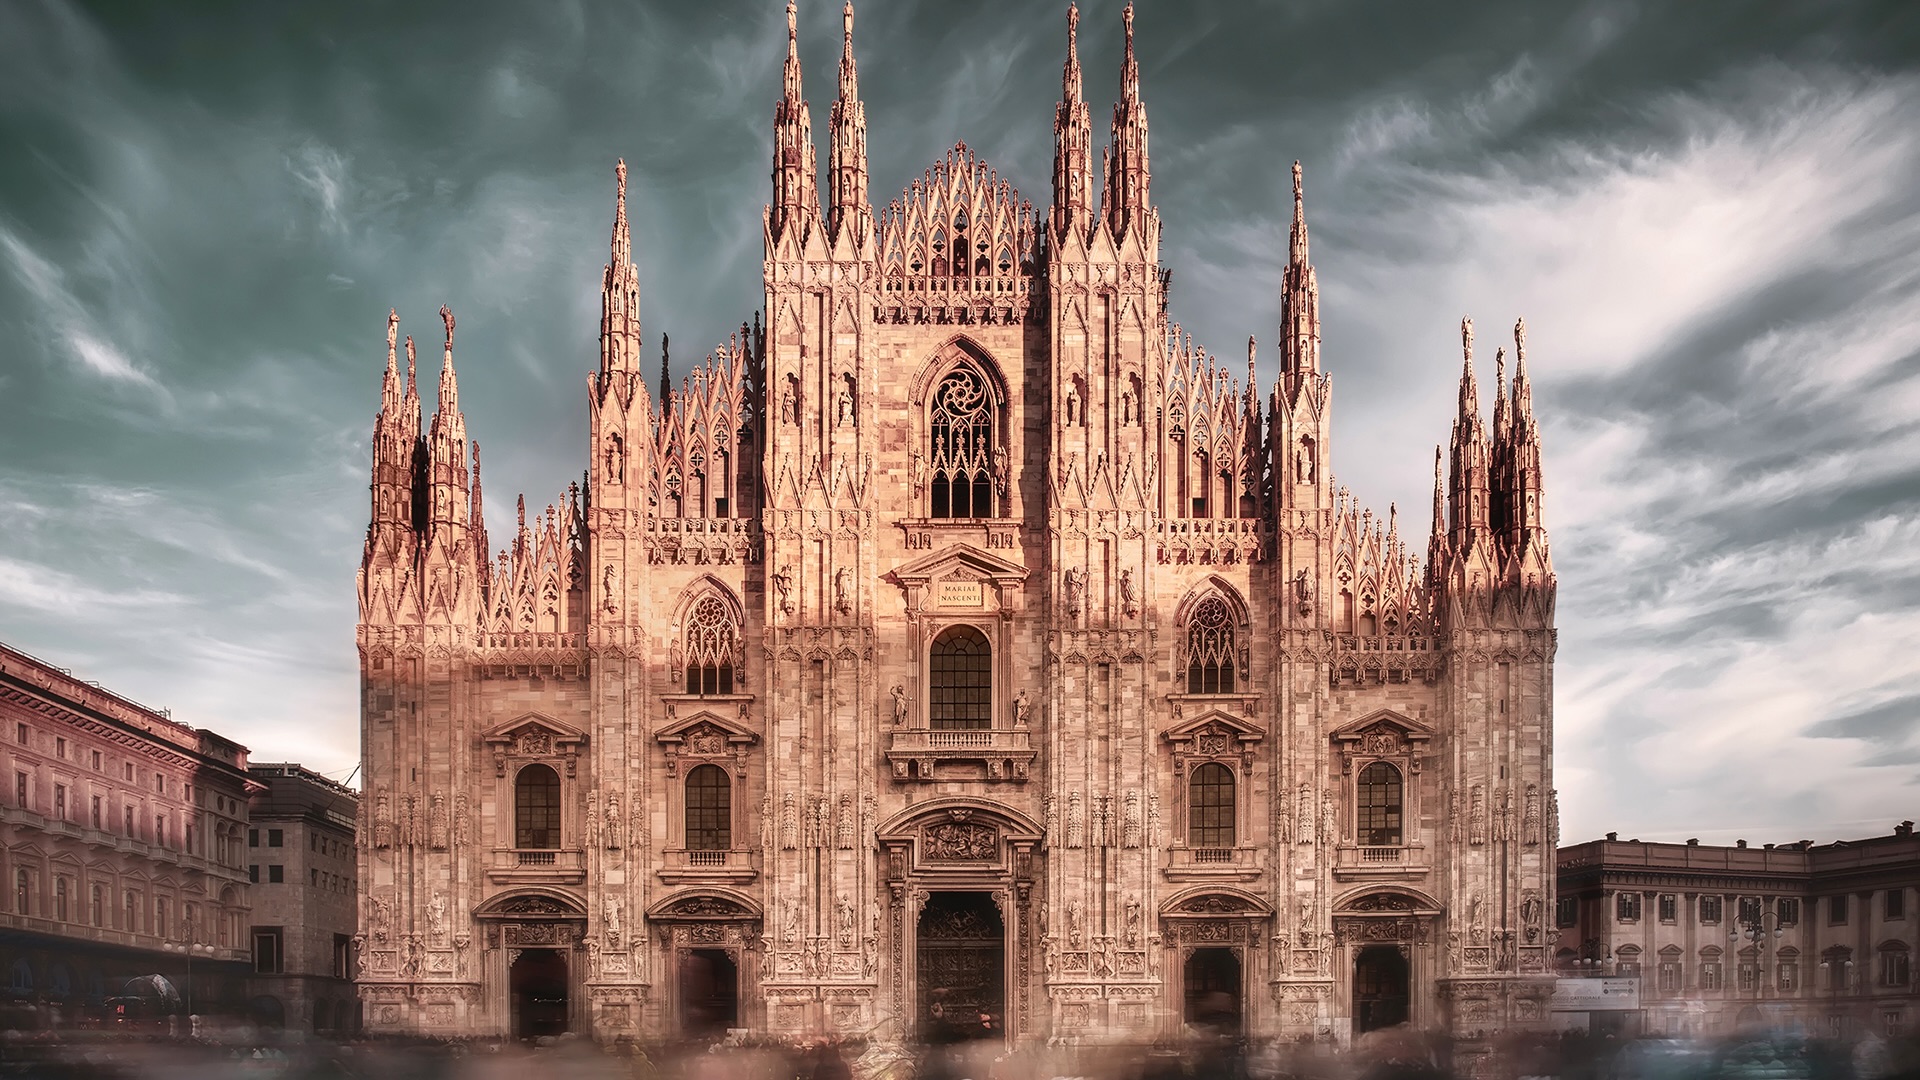
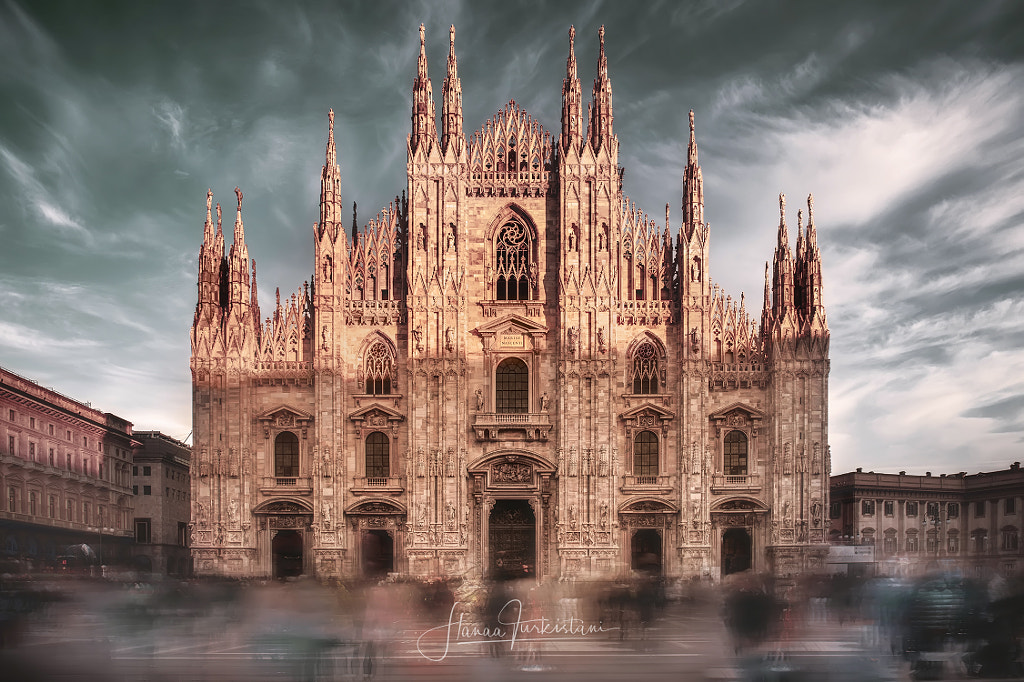
If you’re visiting a tourist-heavy location, make sure to go during a quiet time so you can get a spot with the perfect view. Low-traffic dates and times are good if you want to avoid crowds or pedestrians wandering into your background. At the same time, you can sometimes use crowds to your advantage, as Hanaa Turkistani did in the photo above. When photographing the Duomo Di Milano, Hanaa used a long exposure to capture this magical blur as people came in and out of her frame.
Change your perspective
Some destinations have been photographed ad infinitum, but that doesn’t (necessarily) mean you can’t create wanderlust travel photos with an original twist. It just means you have to get more creative than everyone else. One way to introduce another perspective on a well-known place is to use a drone; just make sure that you follow all legal guidelines in place to keep everyone safe.
Another option would be to turn to those local contacts you made; does one of them have access to a rooftop or balcony that offers an unparalleled view of the city? If you find a spot you know would be perfect, you can also reach out to the building manager prior to your trip to ask about access. Research your locations in advance, and then investigate potential vantage points that offer an unexpected view.
Mind your composition
When composing your shot, keep an eye on the edges of your frame. You can always remove distracting details, such as power lines or signage, in post-production, but it’s always best to consider these elements when framing your shot. Experiment with shooting wide and then zooming in to capture the details.
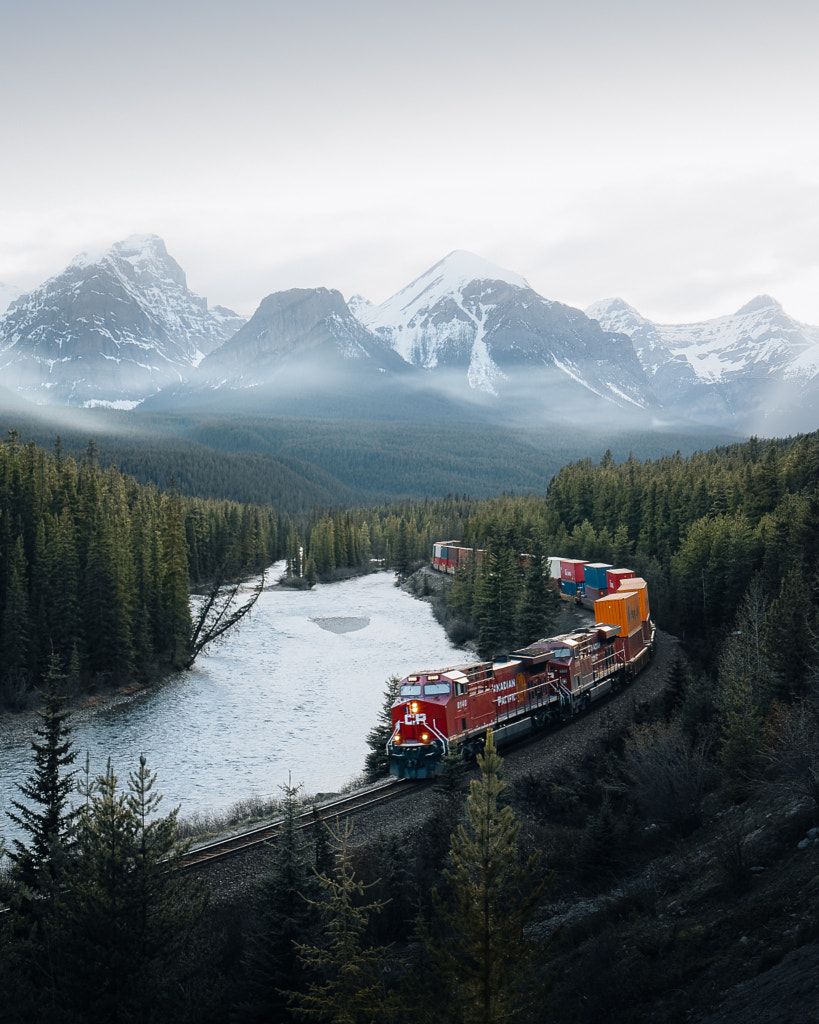
Finally, be patient. It might take some time for the light to be right and your composition to come together. Marc Hennige got lucky when photographing Morant’s Curve on the Bow River, waiting for just ten to 15 minutes for the train to come (above), but many have waited for hours just to catch a glimpse.
![[ G1 solar storm ] by Deryk Baumgärtner ? ??? on 500px.com](https://drscdn.500px.org/photo/1044844500/m%3D900/v2?sig=3fa8f51626856a5e926c61fdcae69a4c7c8ef213d51937d8b0a622e03d0aa7ac)
Edit with care
In travel photography, editing style comes down to personal taste, but all RAW files will benefit from some subtle adjustments in post-production. “High contrast and sharpening lead to a more ‘Nat Geo’ feel and perform well with nature and landscape photography lovers,” the 500px team says.
Keep an eye on the white balance; by adjusting your color temperature, you can transform the mood from warm and nostalgic to cool and futuristic. In general, we recommend using a light touch to keep your colors natural and true to life. Often, the best editing looks like no editing at all.
Not on 500px yet? Sign up here to explore more impactful photography.
Leave a reply