When people talk about still life photography, they usually imagine something serene, motionless and classic—like the painted breakfast scenes by Willem Heda. But dynamic photos with fallen cups, coffee splashes, and a total mess of a kitchen make great still lifes, too. Adding food typography to the chaos will make your image even more interesting.
Let’s take a look at how we can combine these two lovely elements together, capturing a coffee cup with a splash and flying text made from coffee beans.
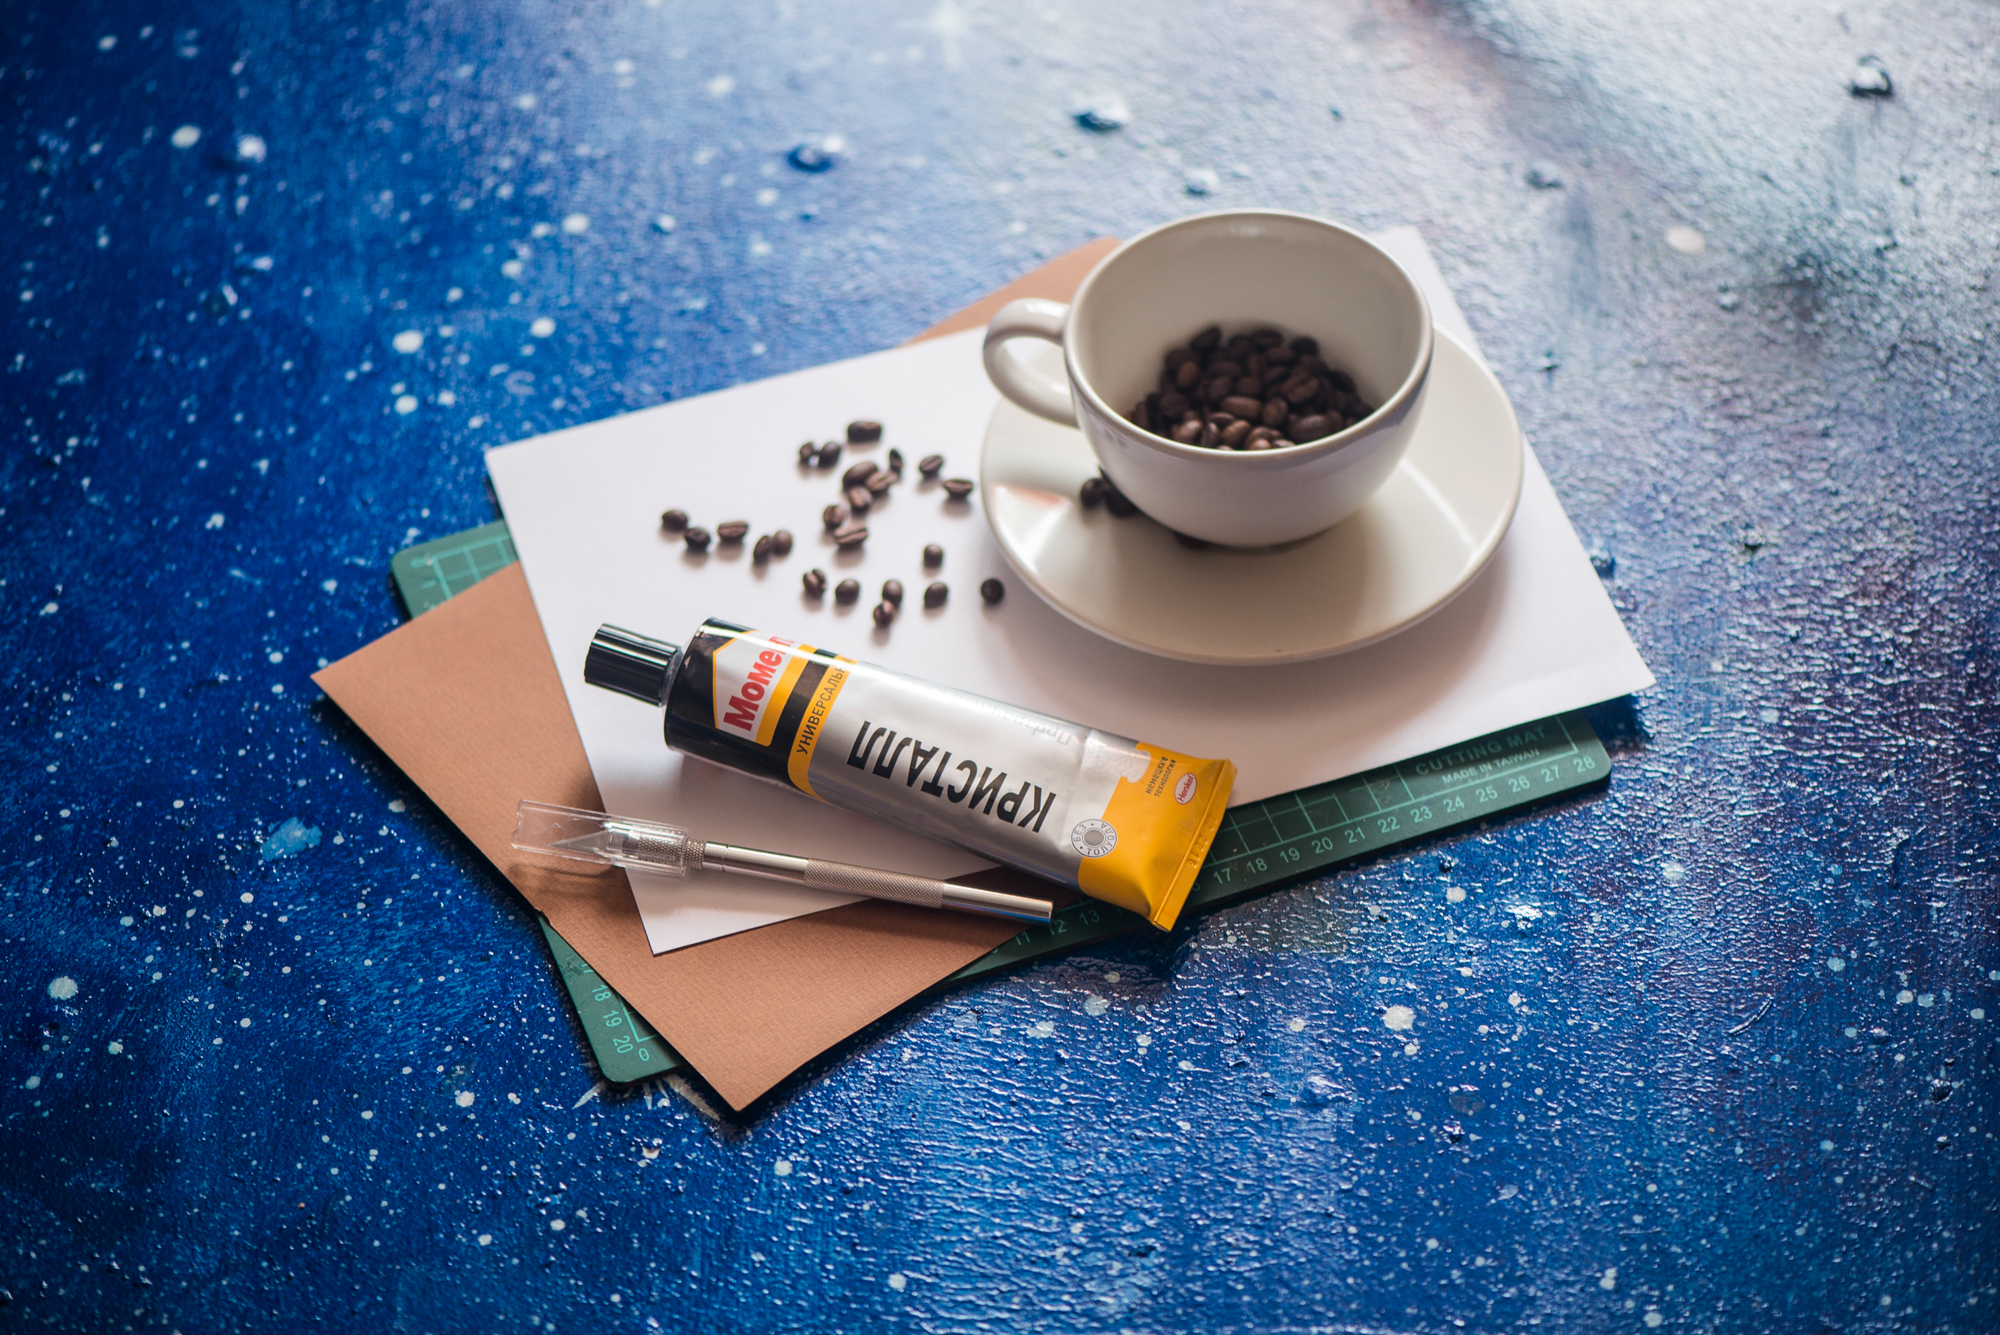
1. Props
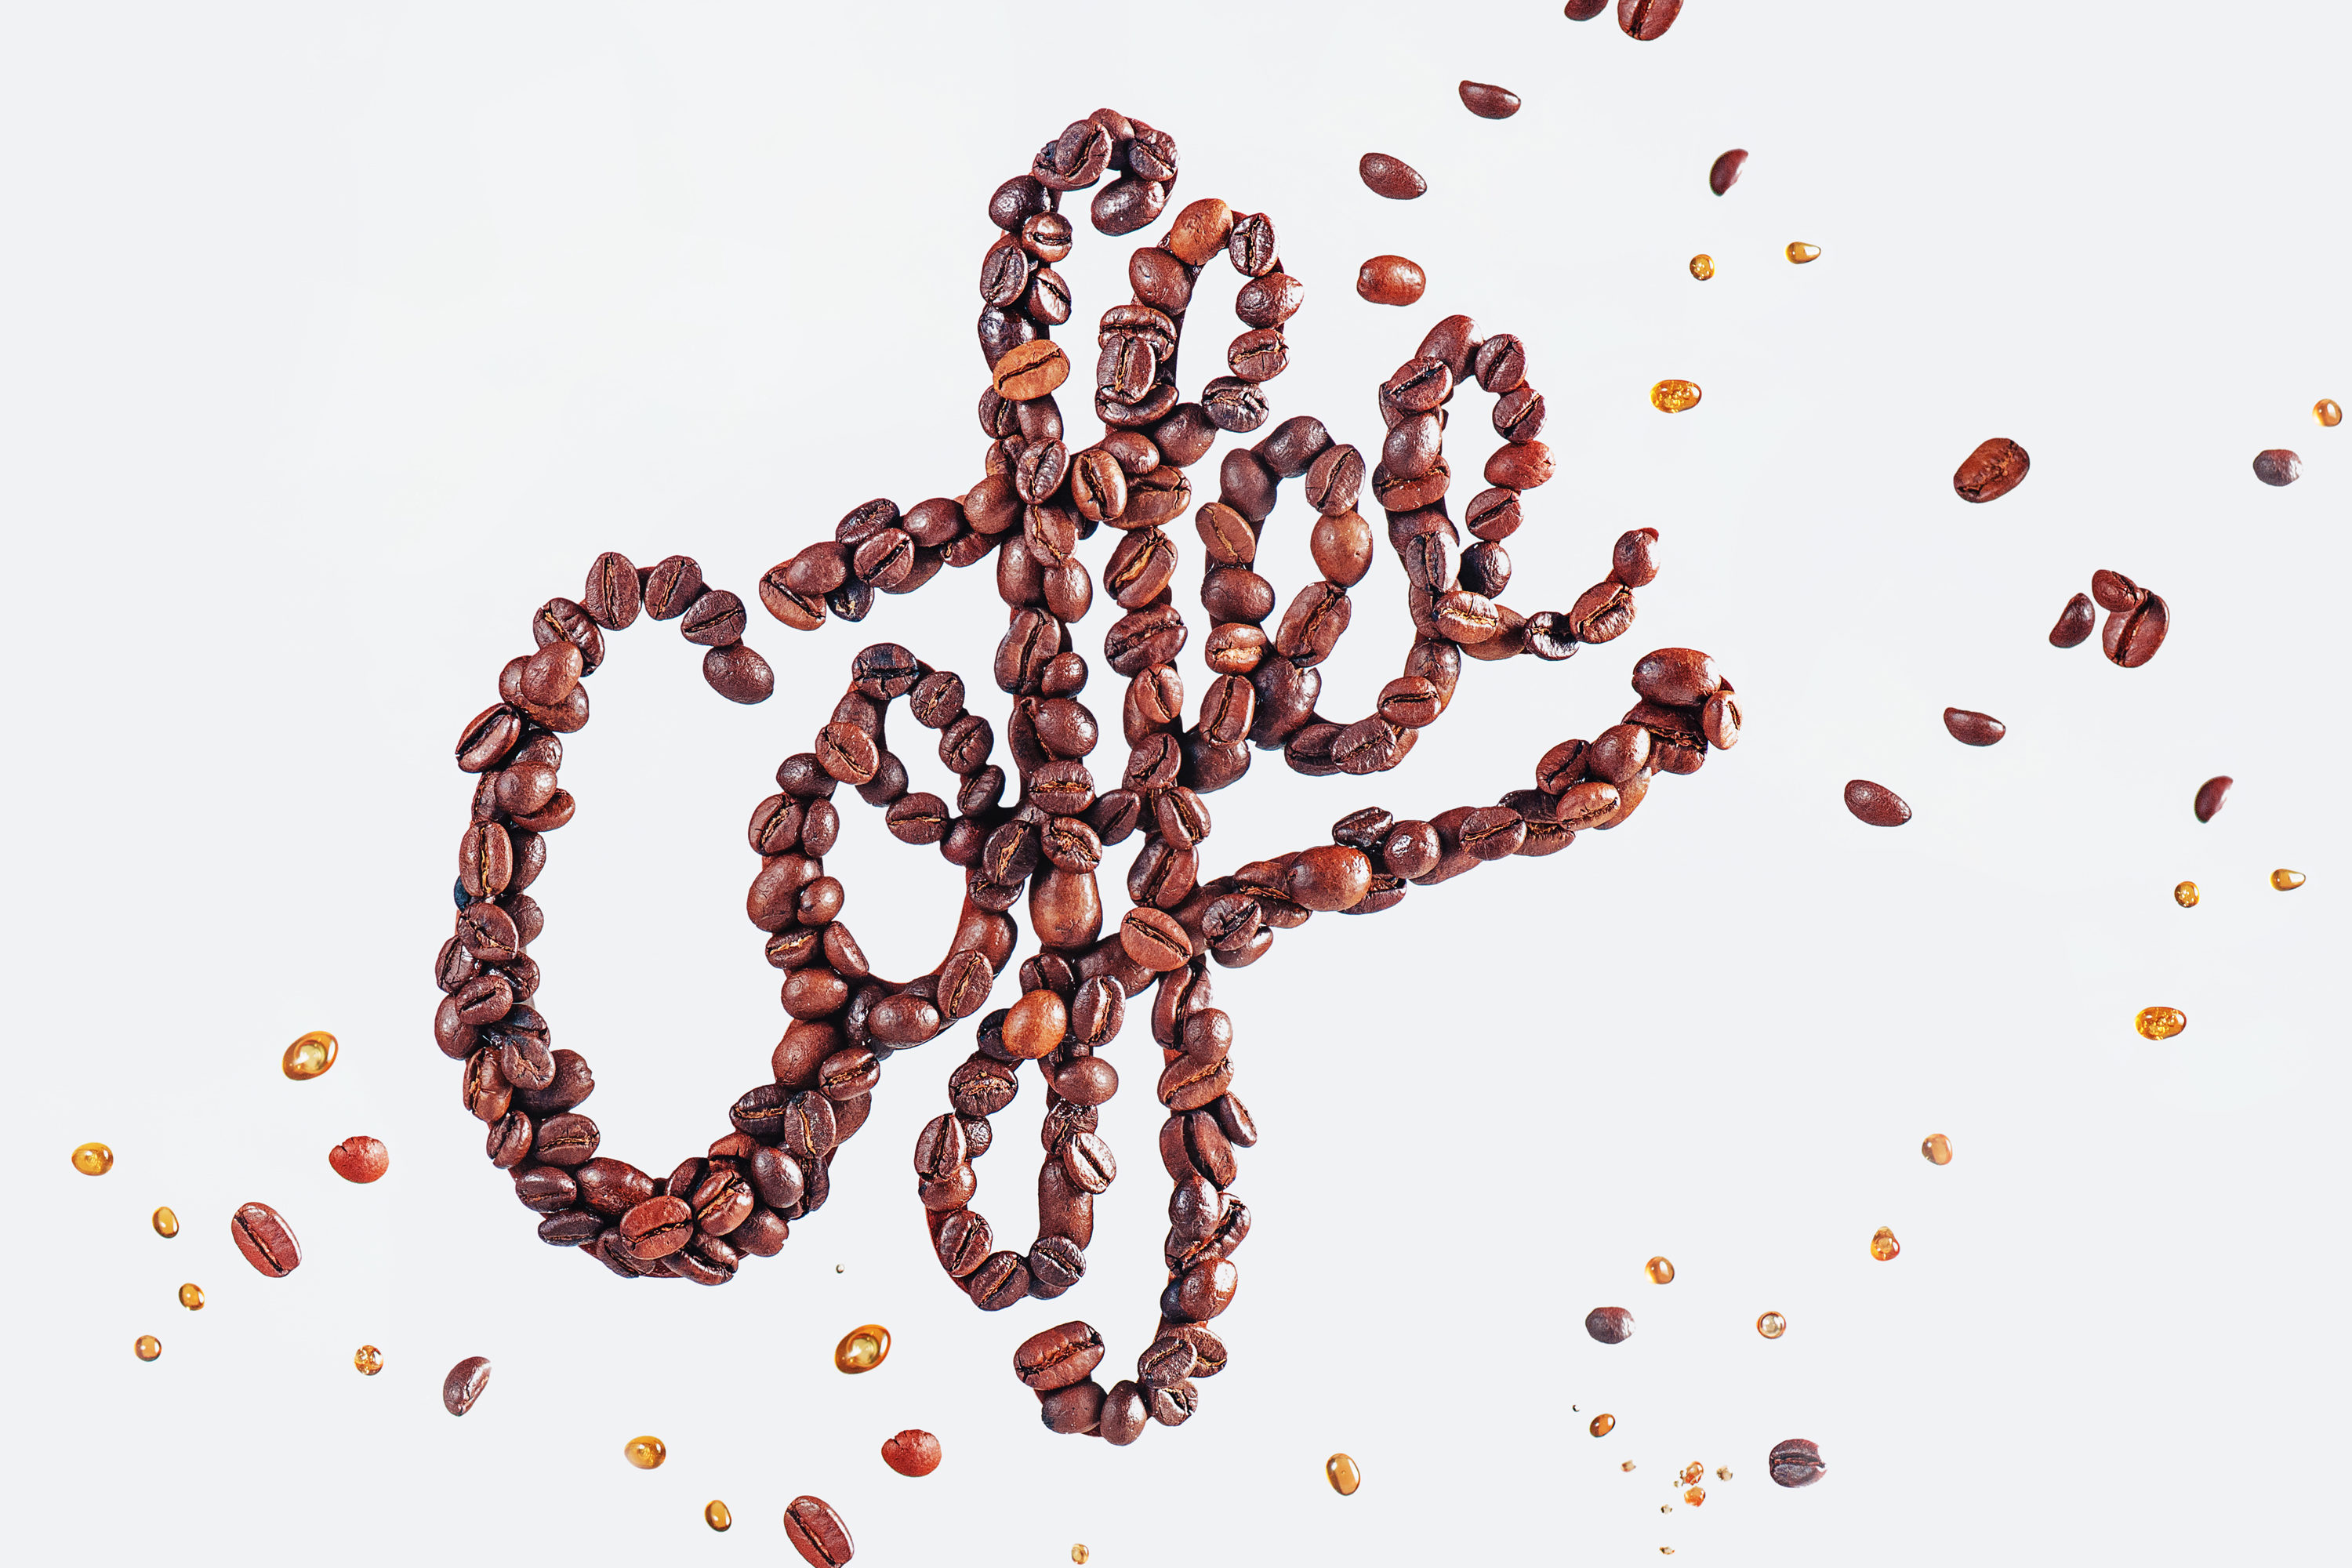
Creating real letters out of coffee beans may seem challenging, but it’s not as hard as it seems. It requires some patience, yes, but not any refined skill or special props. All the items I used are pretty simple.
For the template, you will need: some thick paper, transparent glue, a handful of coffee beans, a sharp layout knife, and tweezers.
For the composition, you will need: a coffee cup, items to create a natural-looking still life (like teaspoons and napkins), and some means to suspend the template with beans in the air (I used wire, Wimberley Plamp and a knitting needle).
For shooting the splashes, you will need: any suitable light source (two speedlights in my case), a camera, and a tripod.
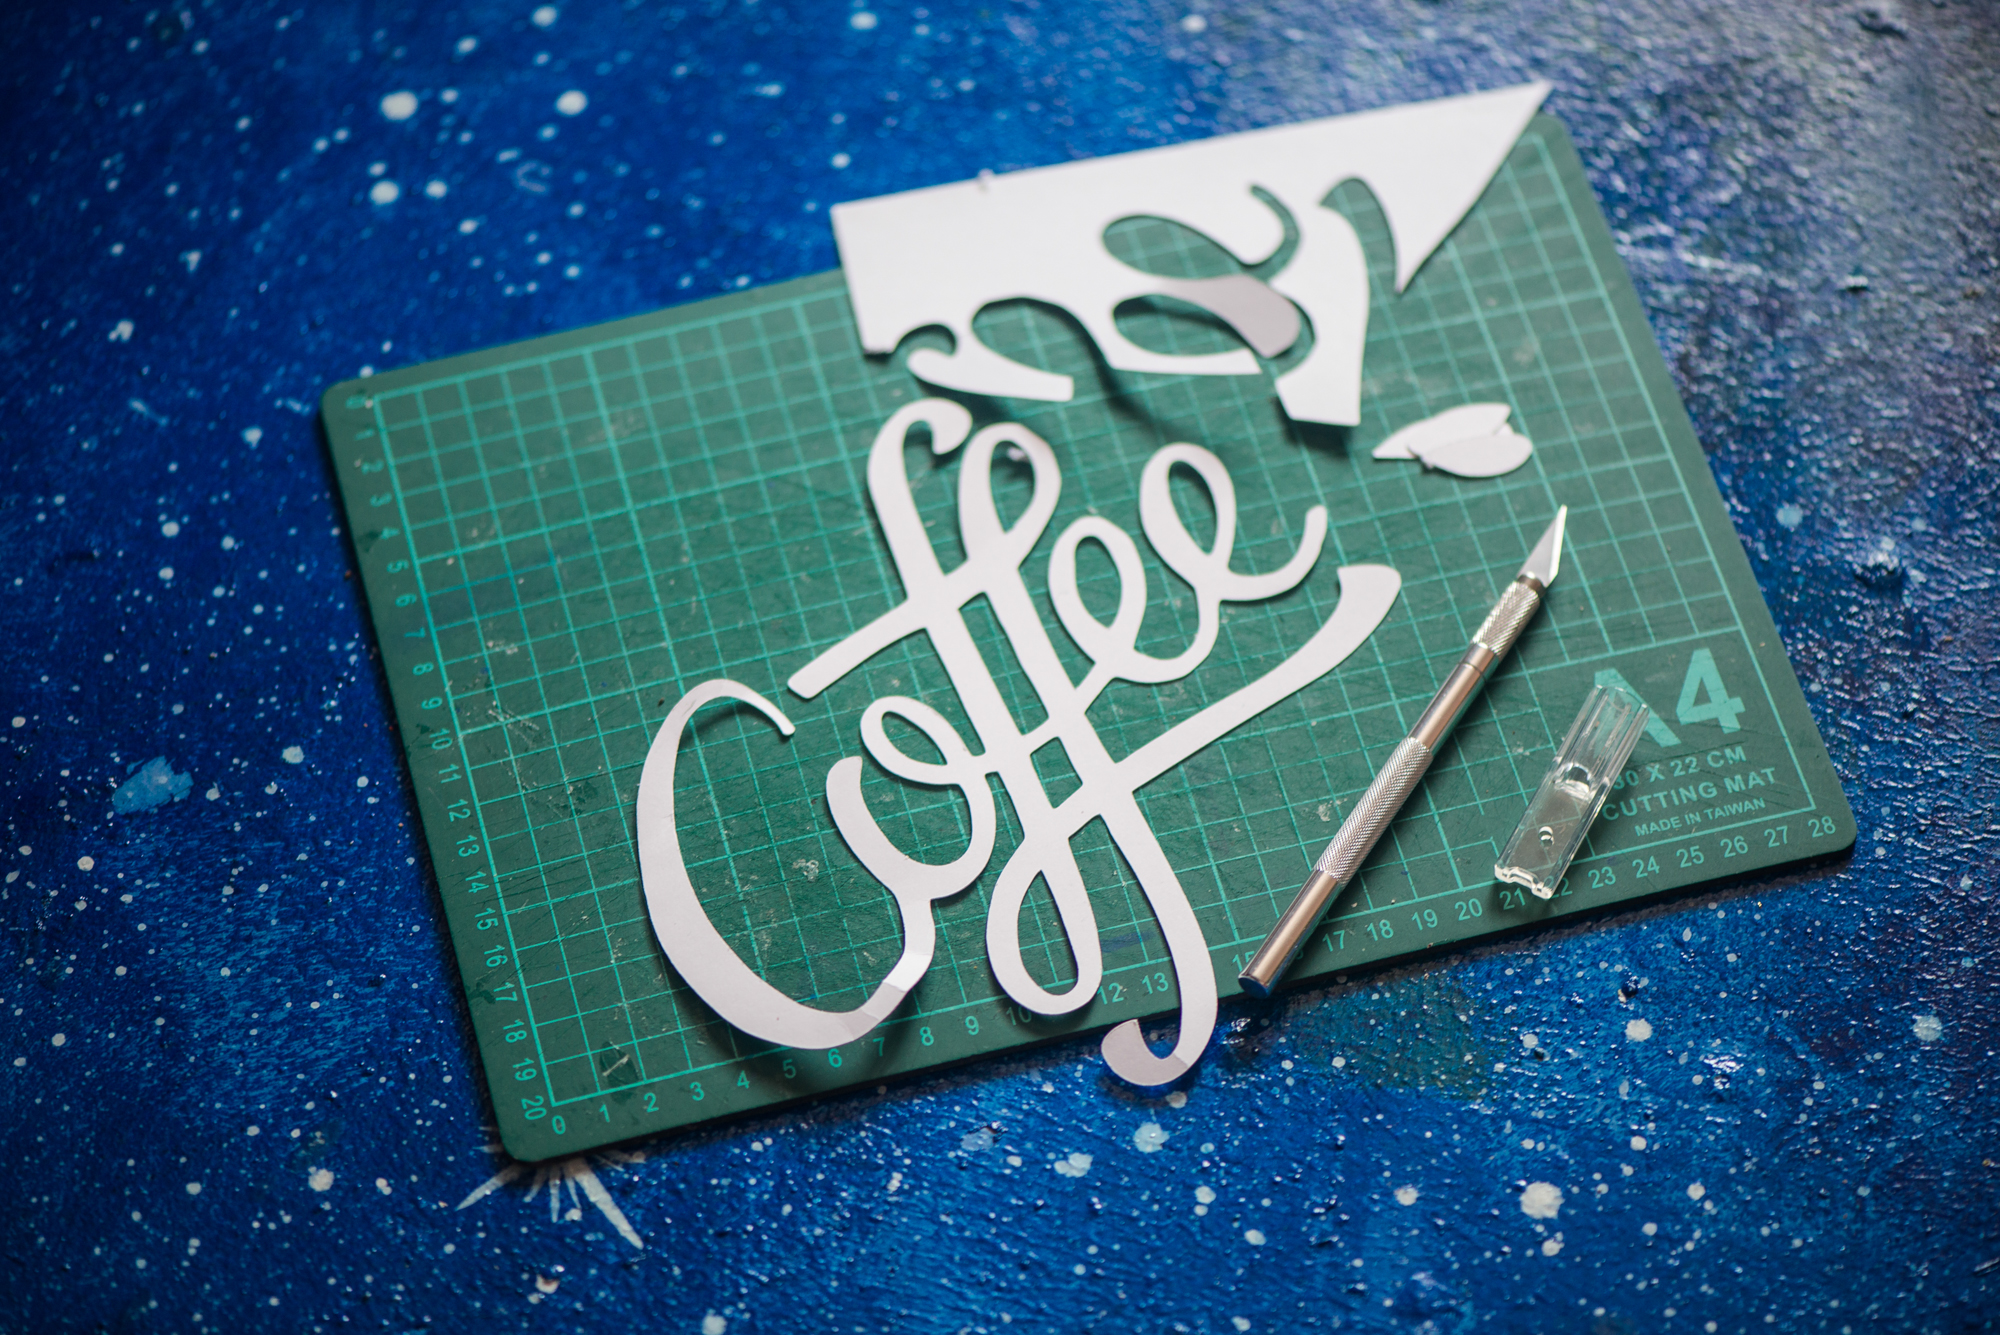
2. Template
First, let’s make the template. Draw an outline of the letters you want to use on a sheet of thick paper and cut them out with the sharpest knife you can find, or tiny scissors. I work with paper quite often, so I had a layout knife ready.
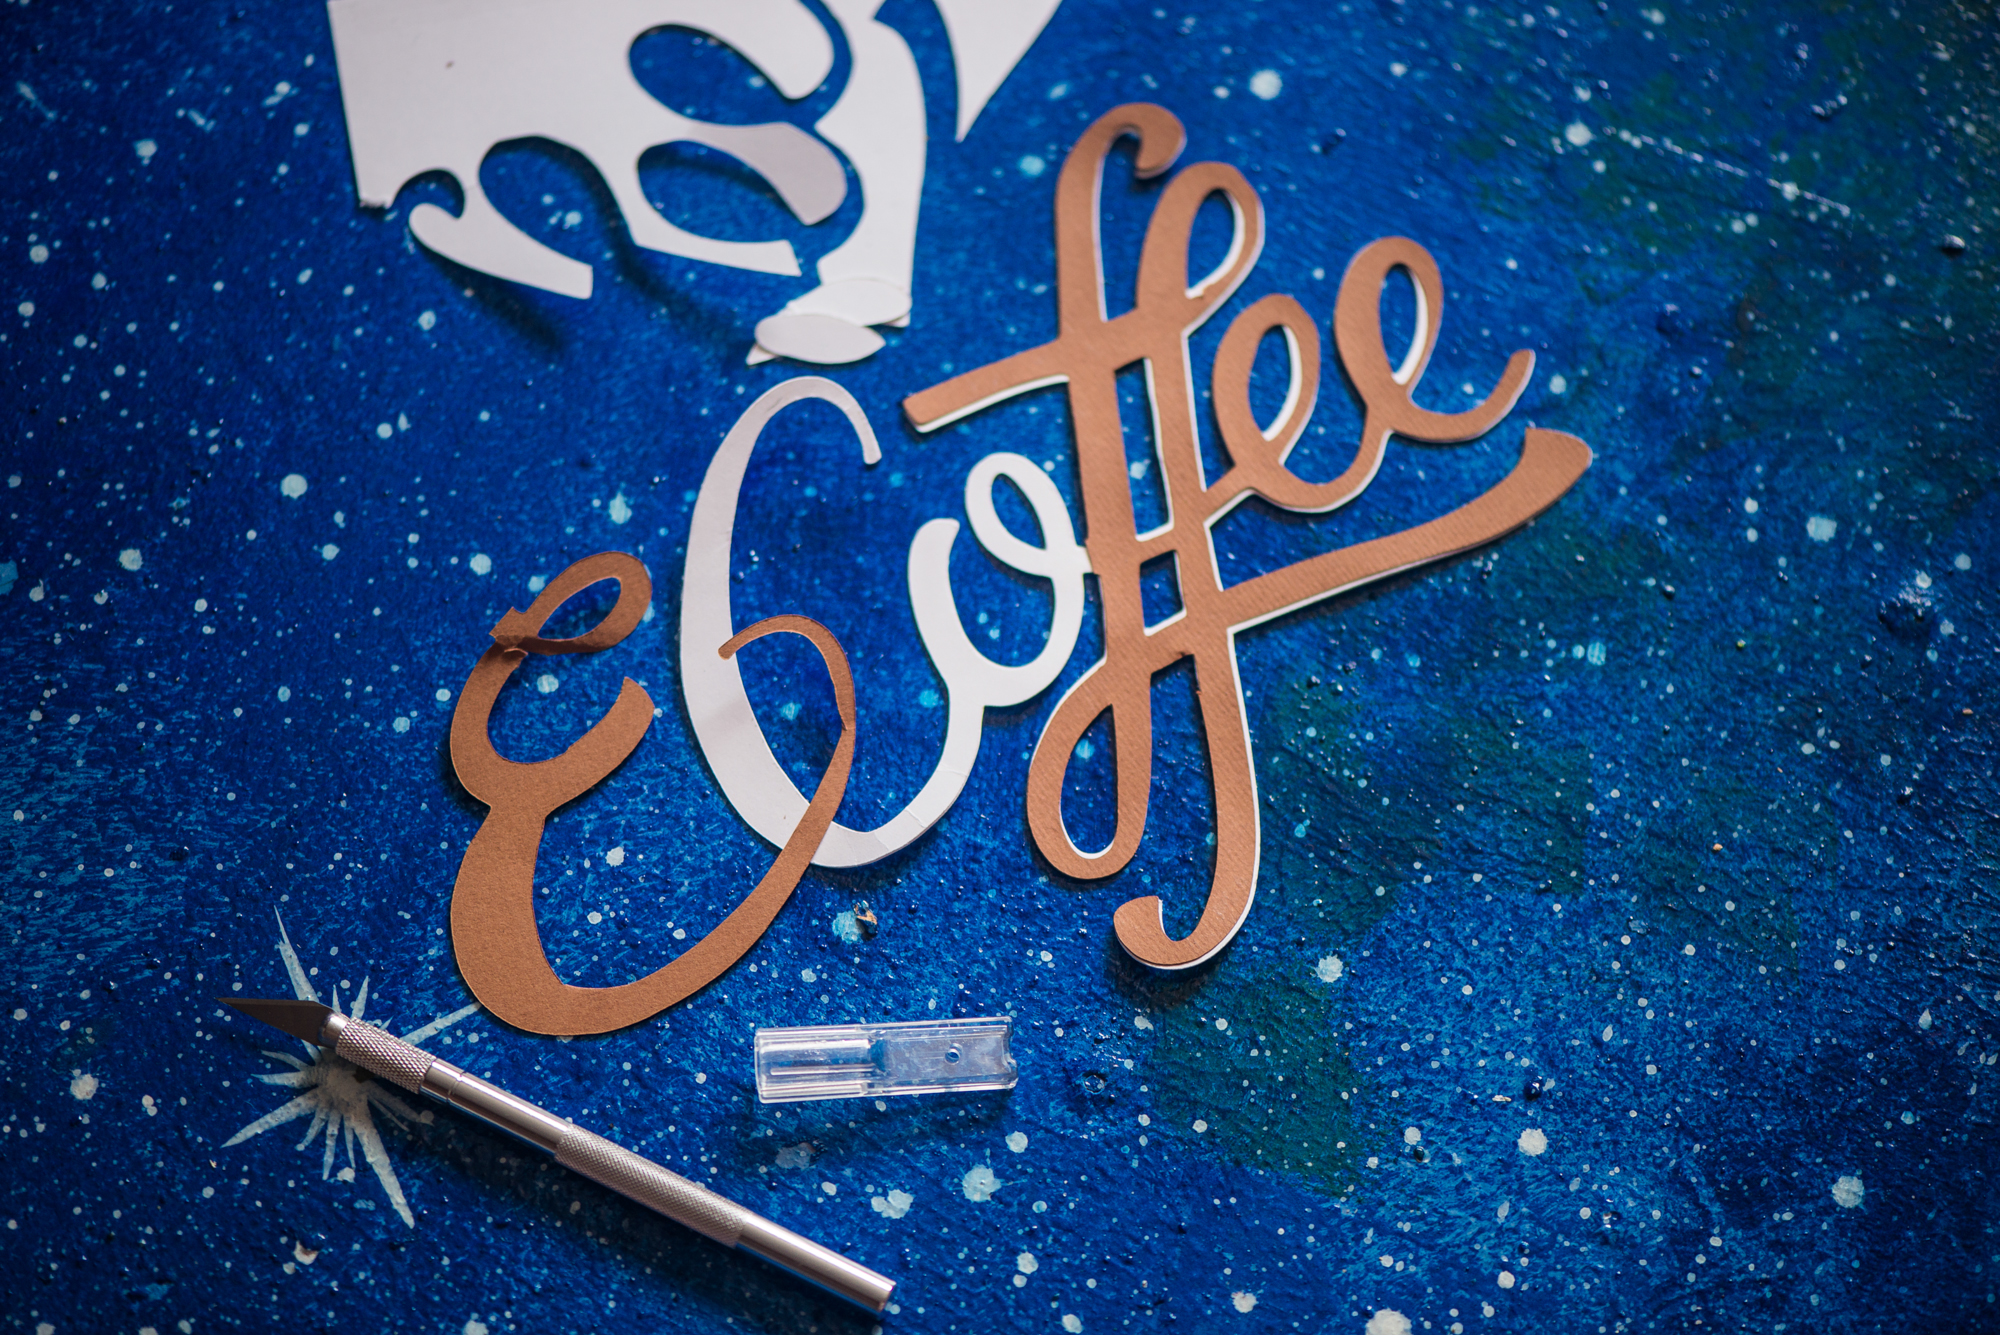
Make sure the paper is solid enough to hold the weight of coffee beans. I had to add another layer to make sure the template wouldn’t tear under its own weight. After that, glue the beans one by one to the template, paying extra attention to cover the edges so the template won’t be visible.
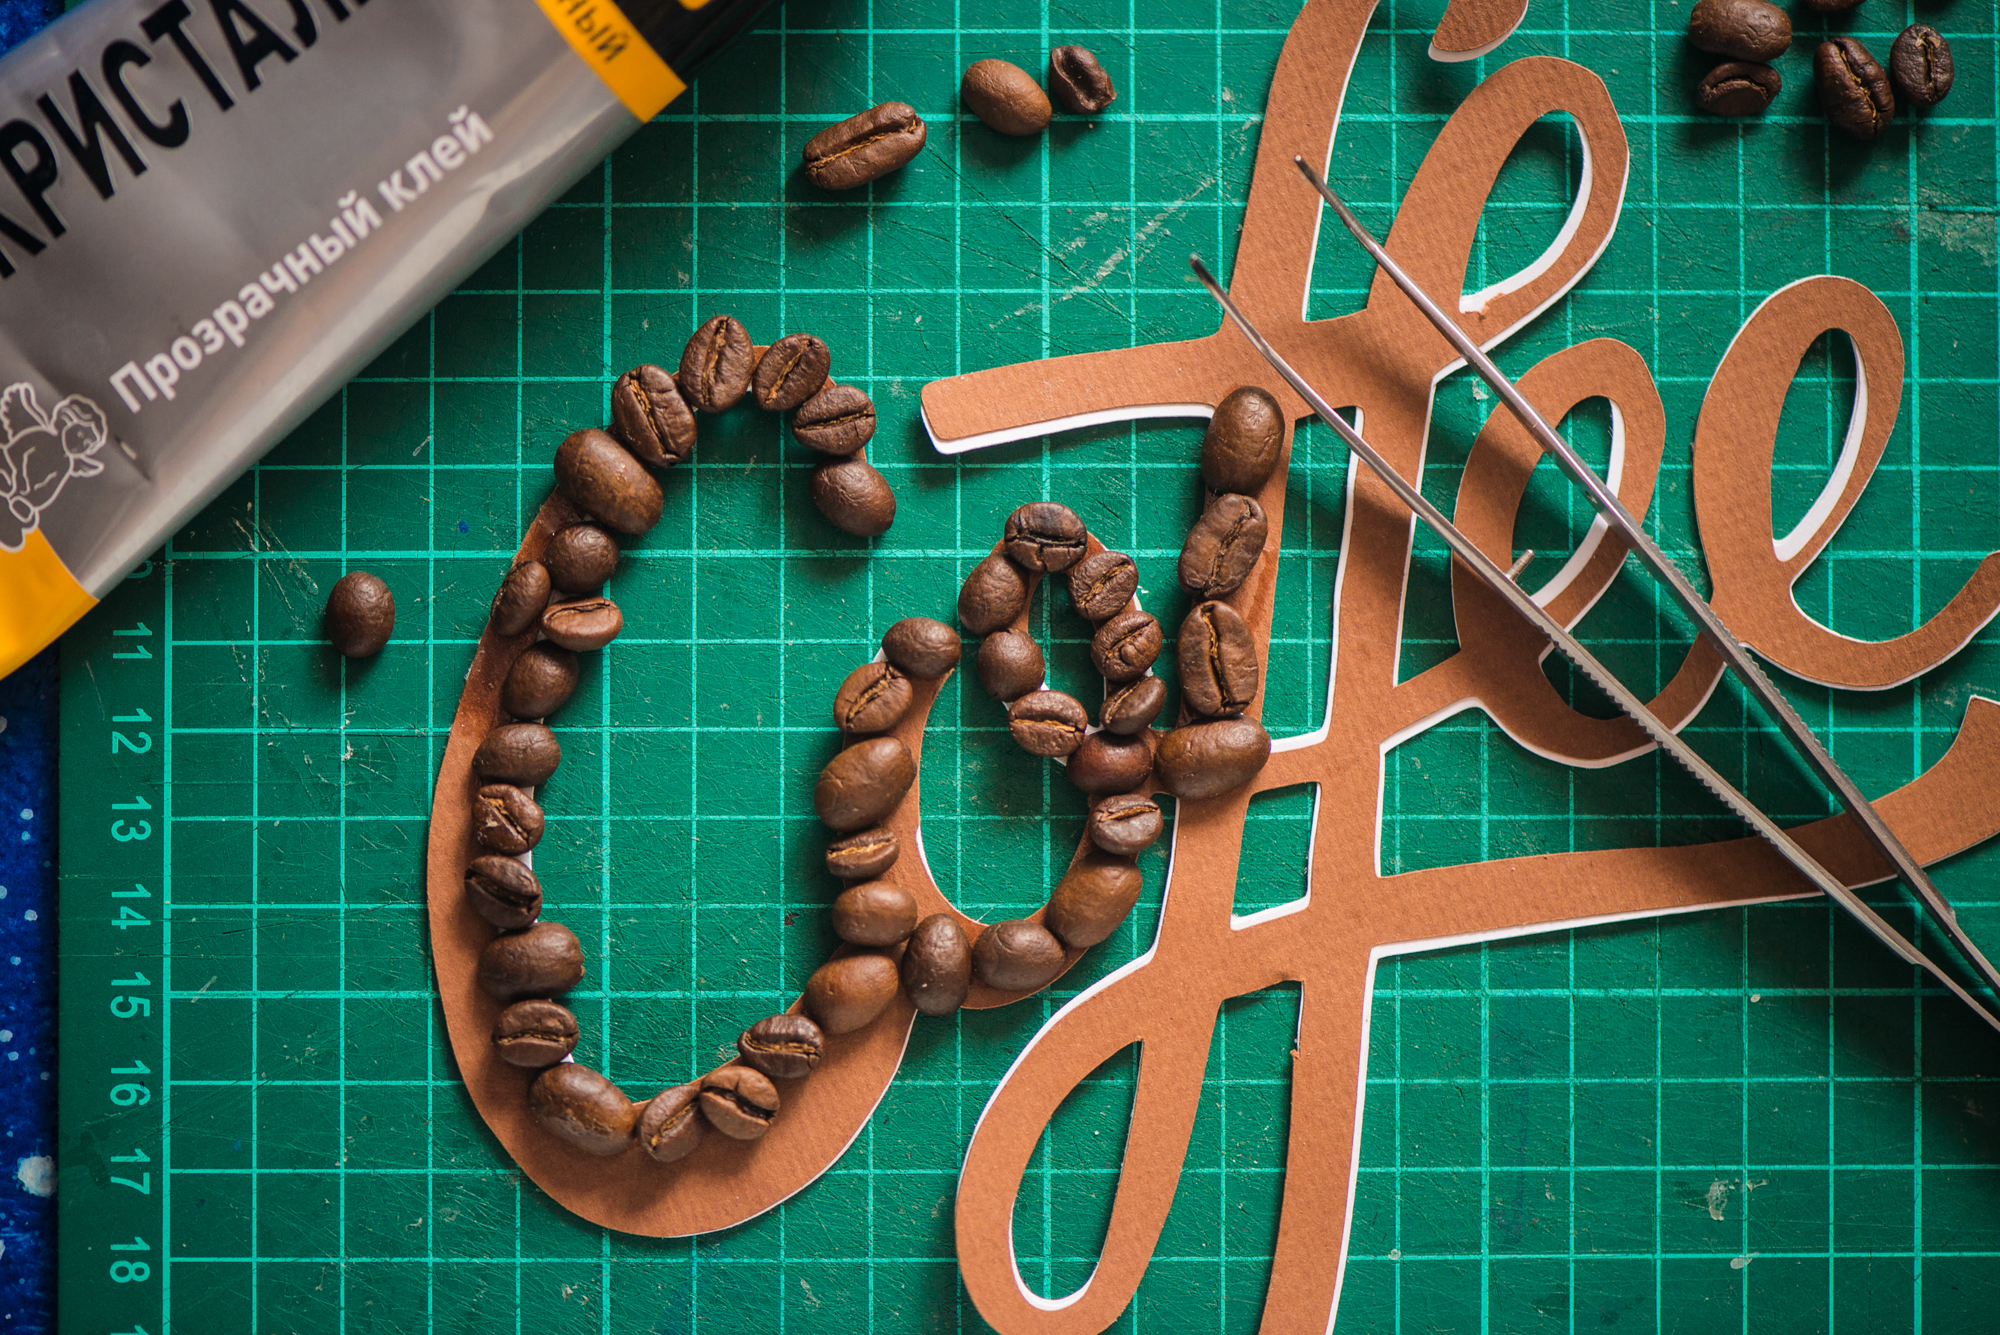
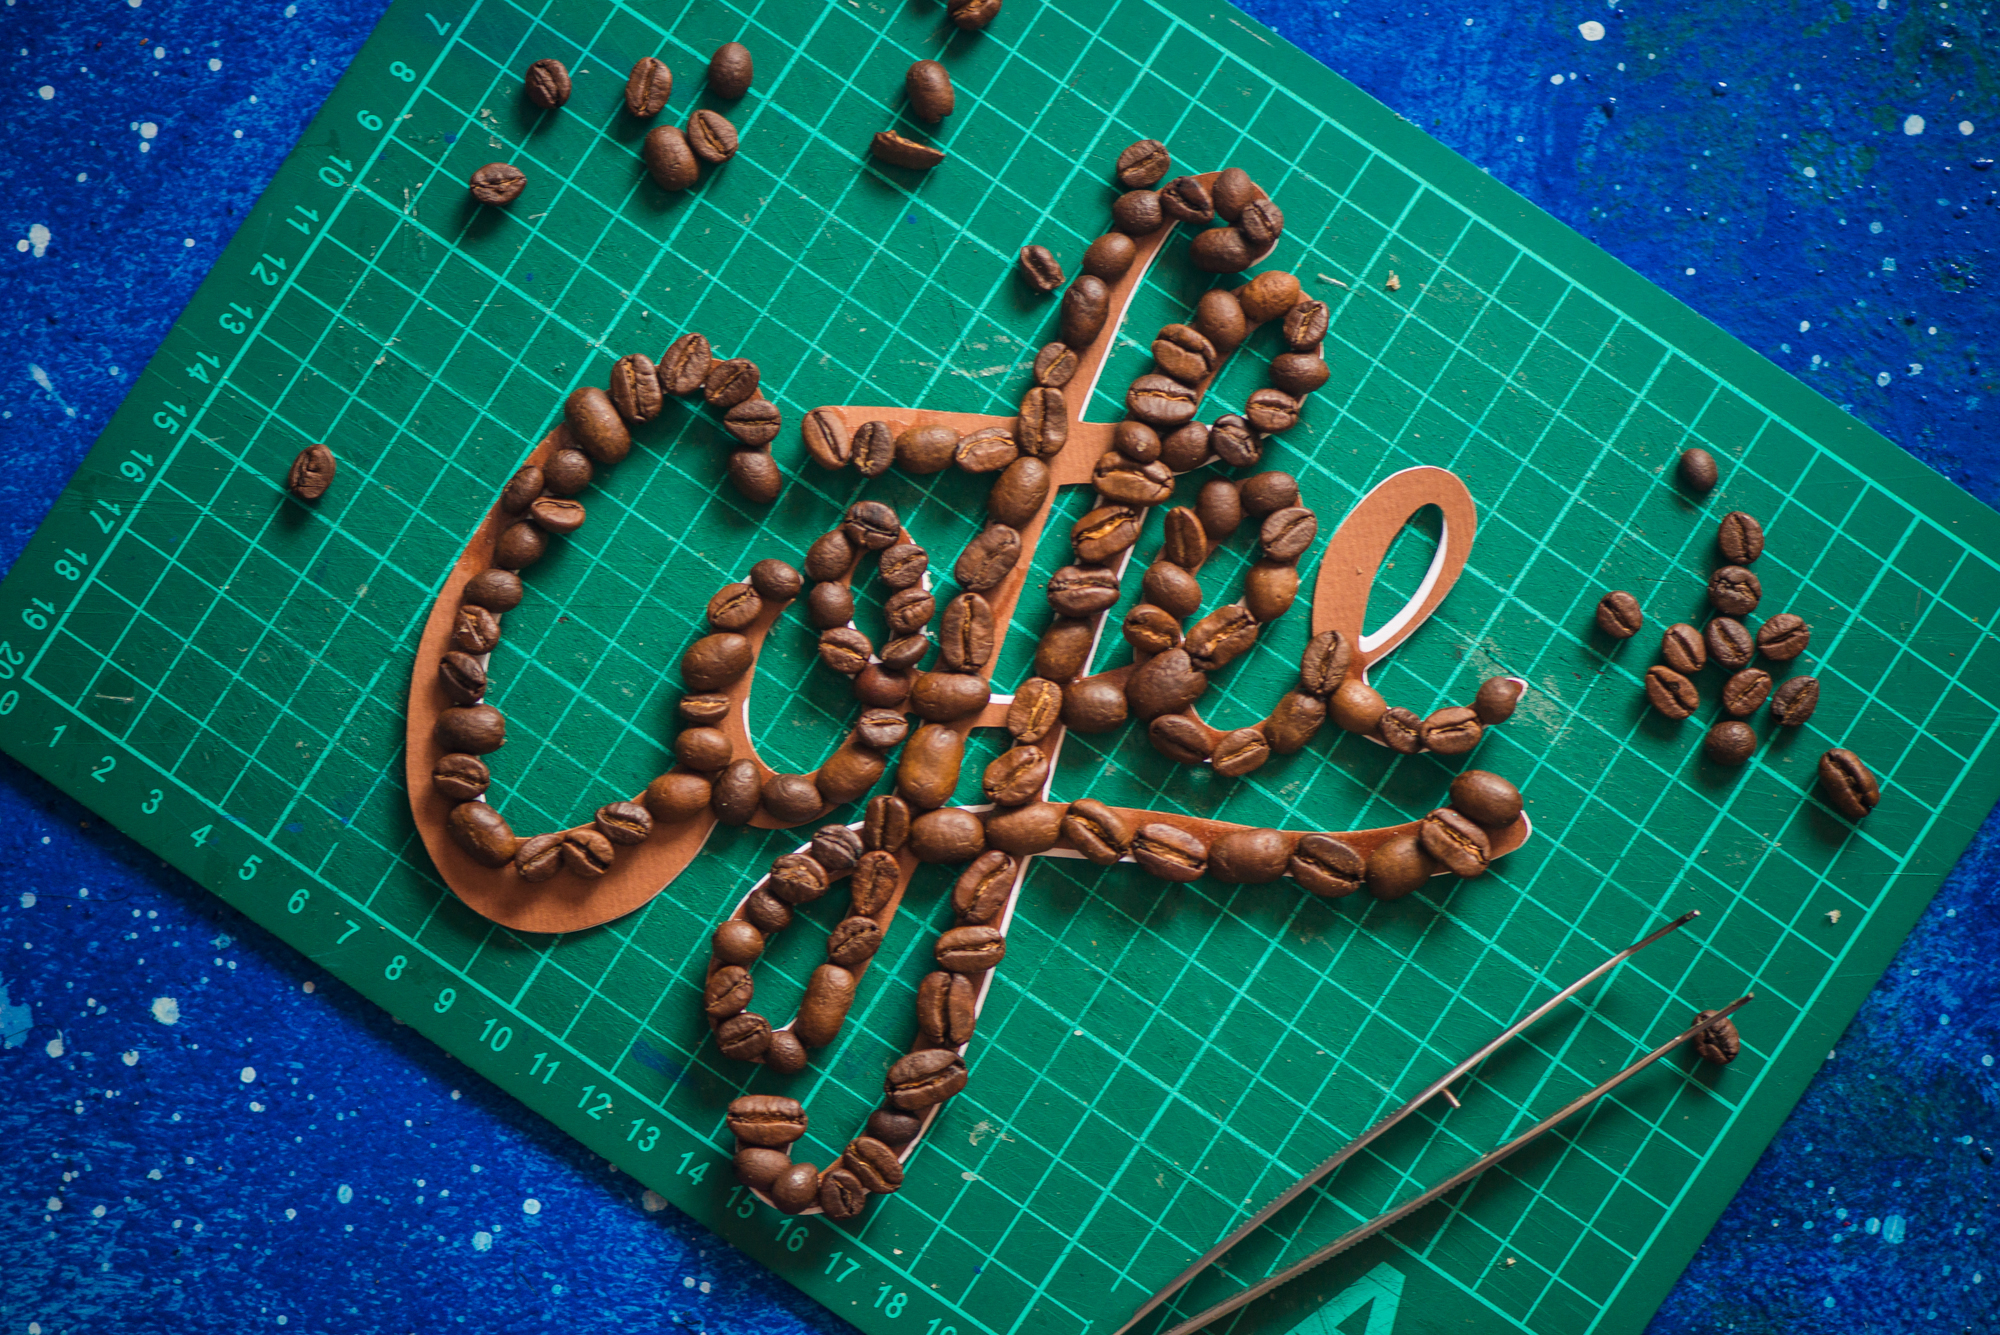
It will take some time, but the result will be quite durable and you will be able to use it more than once.
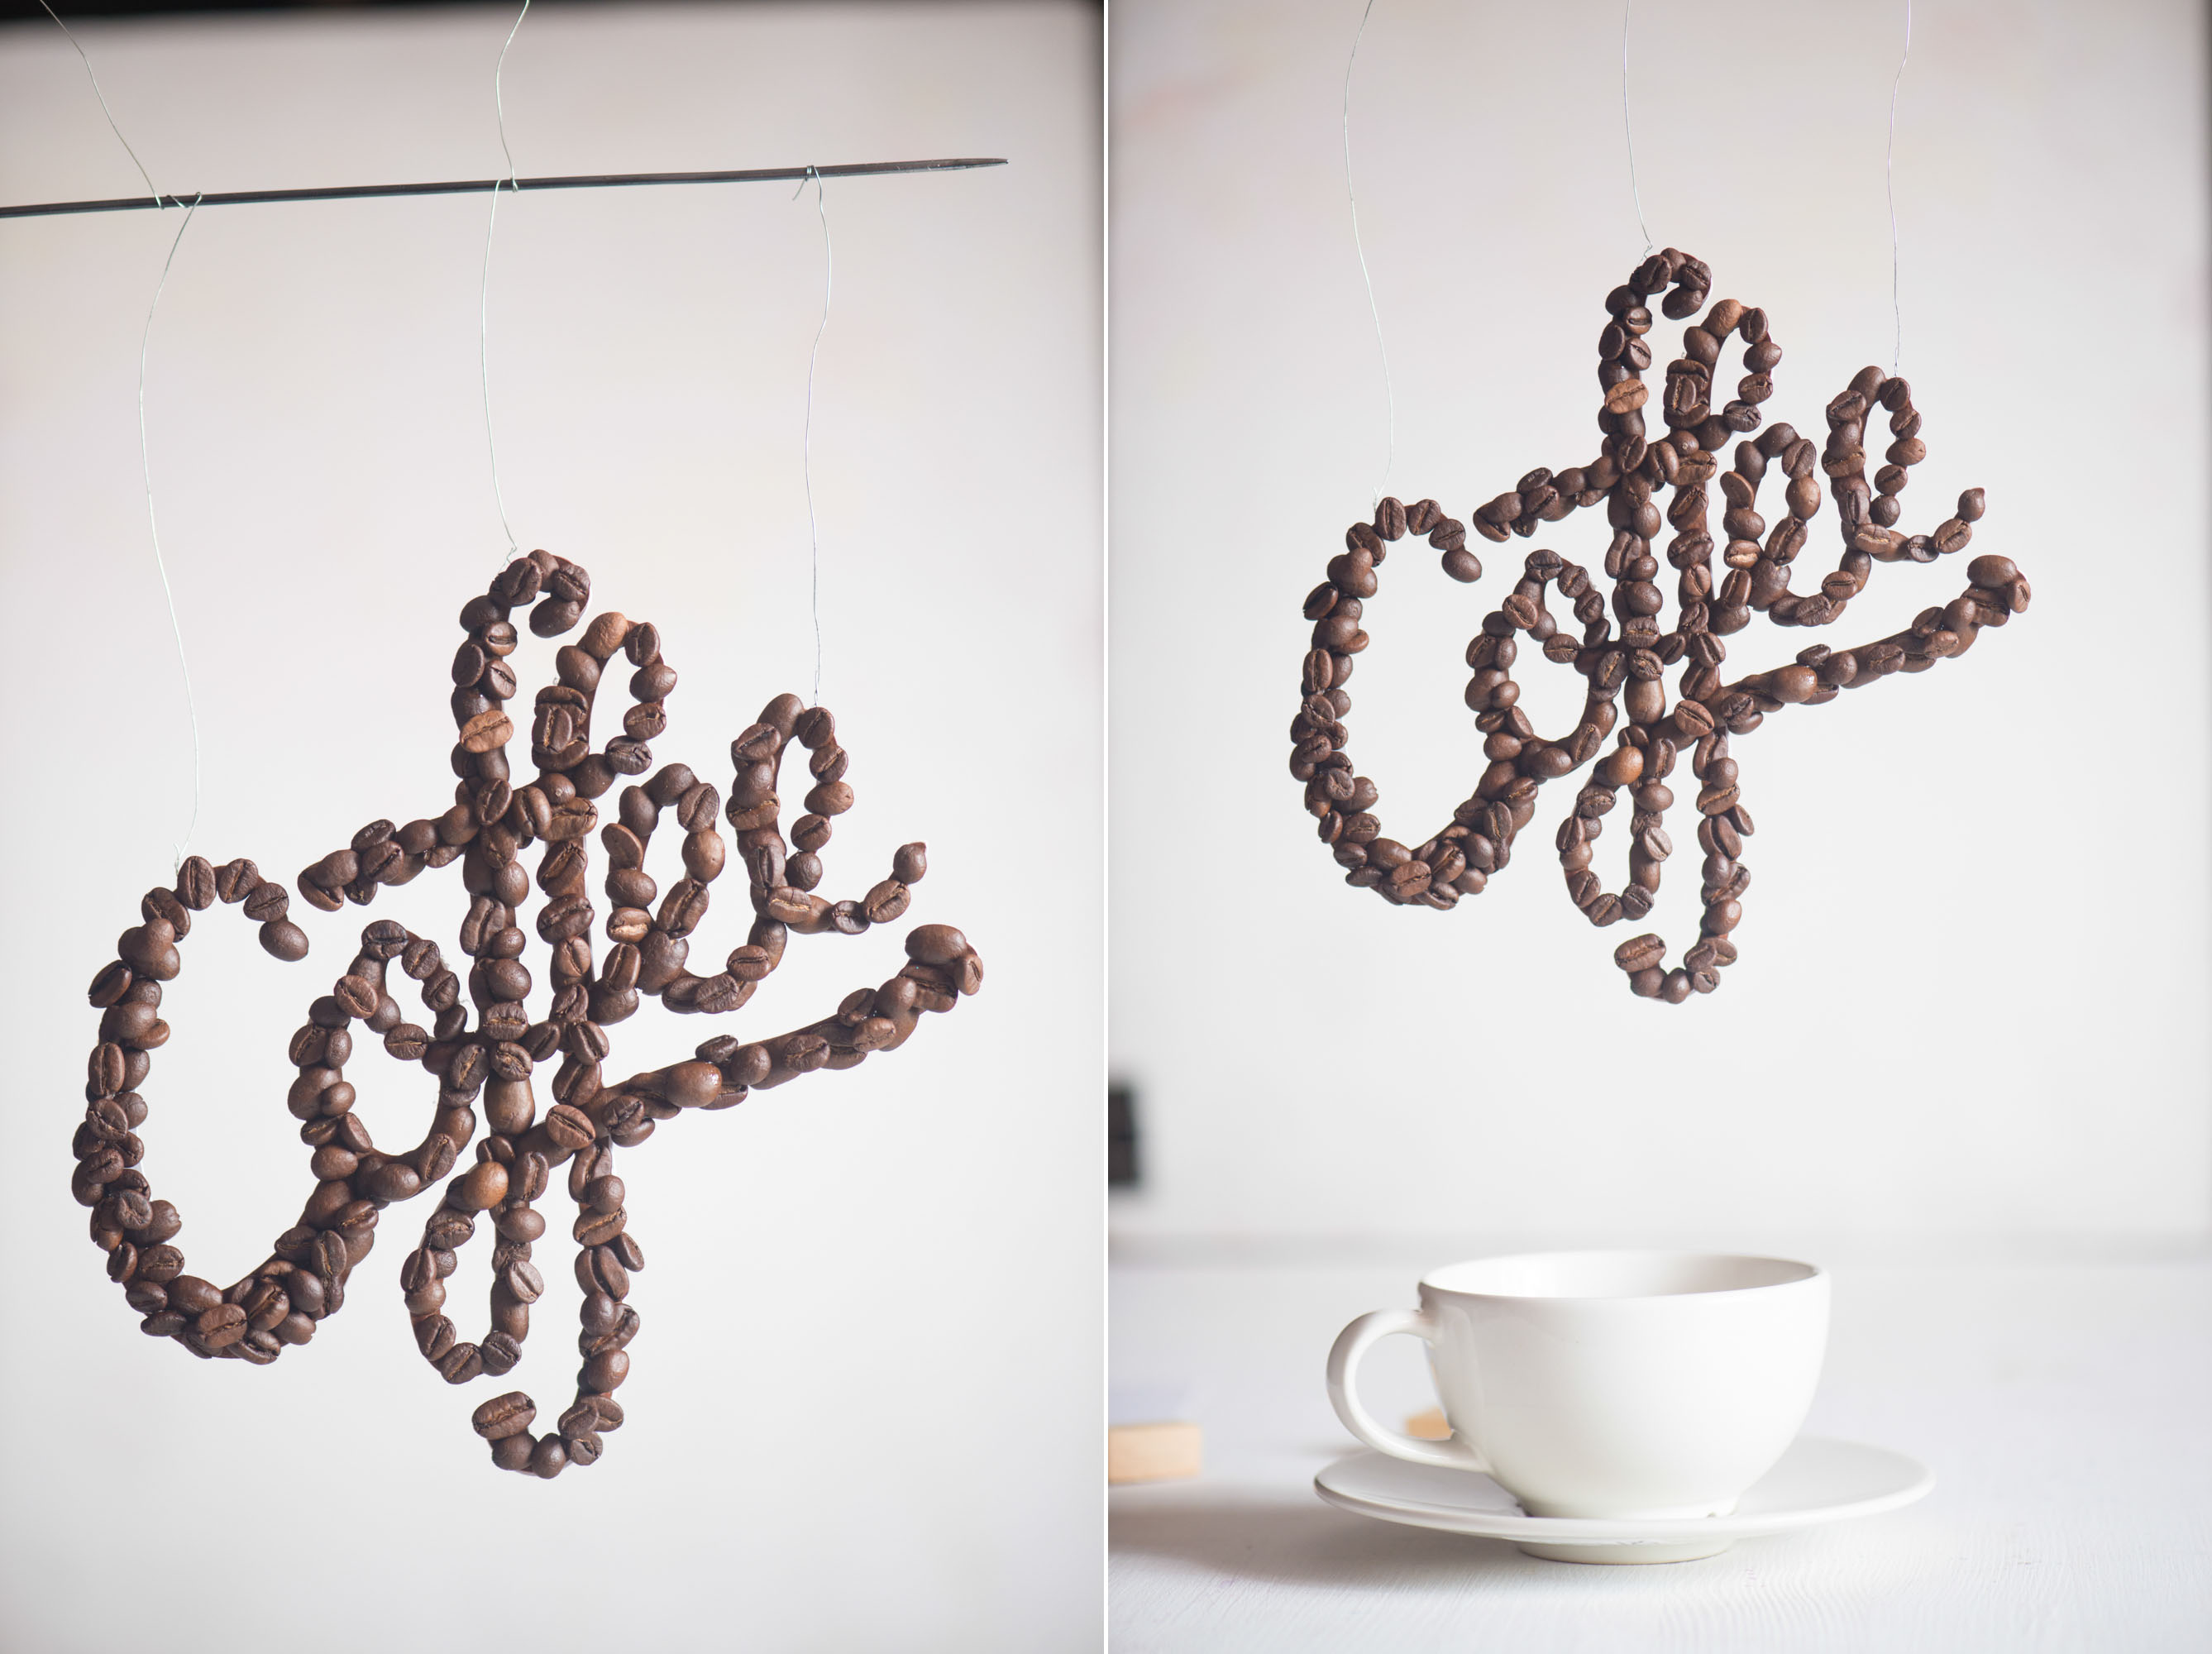
3. Glue and wire
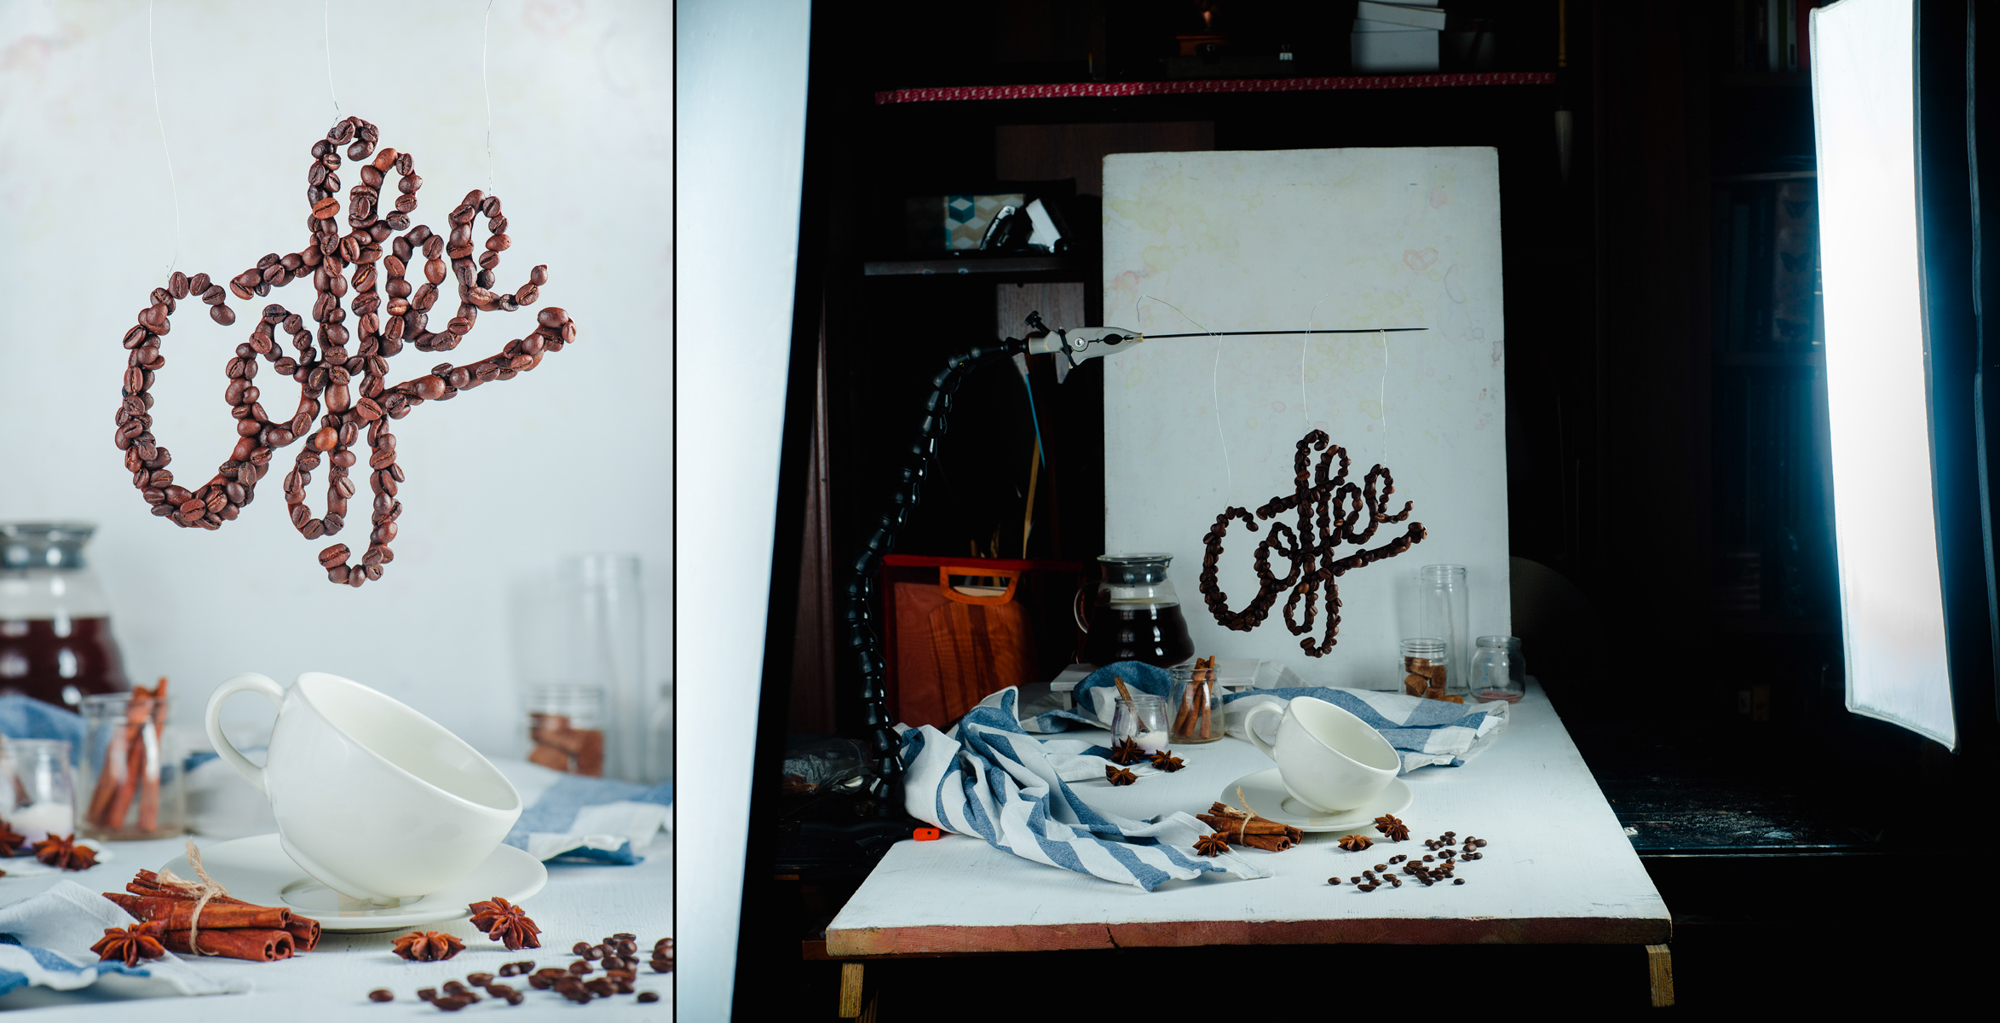
Attach wire string to your coffee inscription and hang it in the air above your coffee cup.
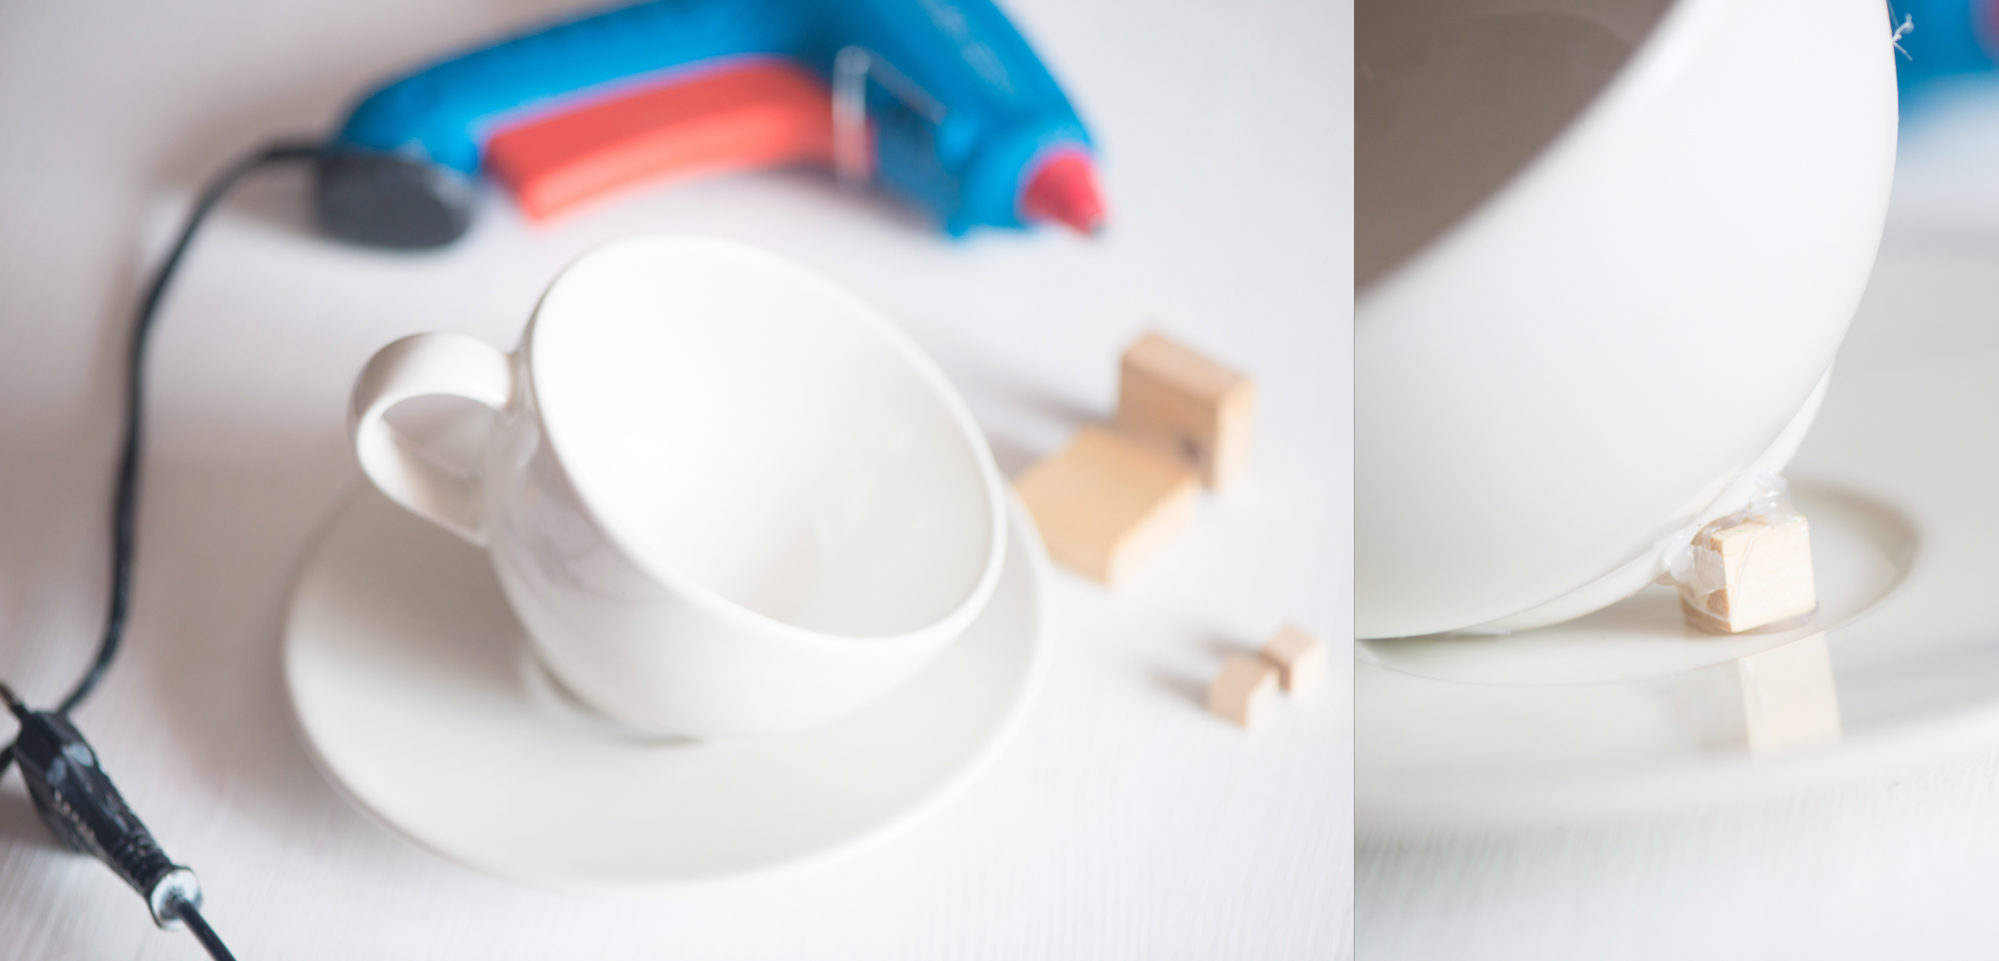
To make the coffee cup look like it was knocked down, I used a glue gun to fix it in a leaning position on a saucer.
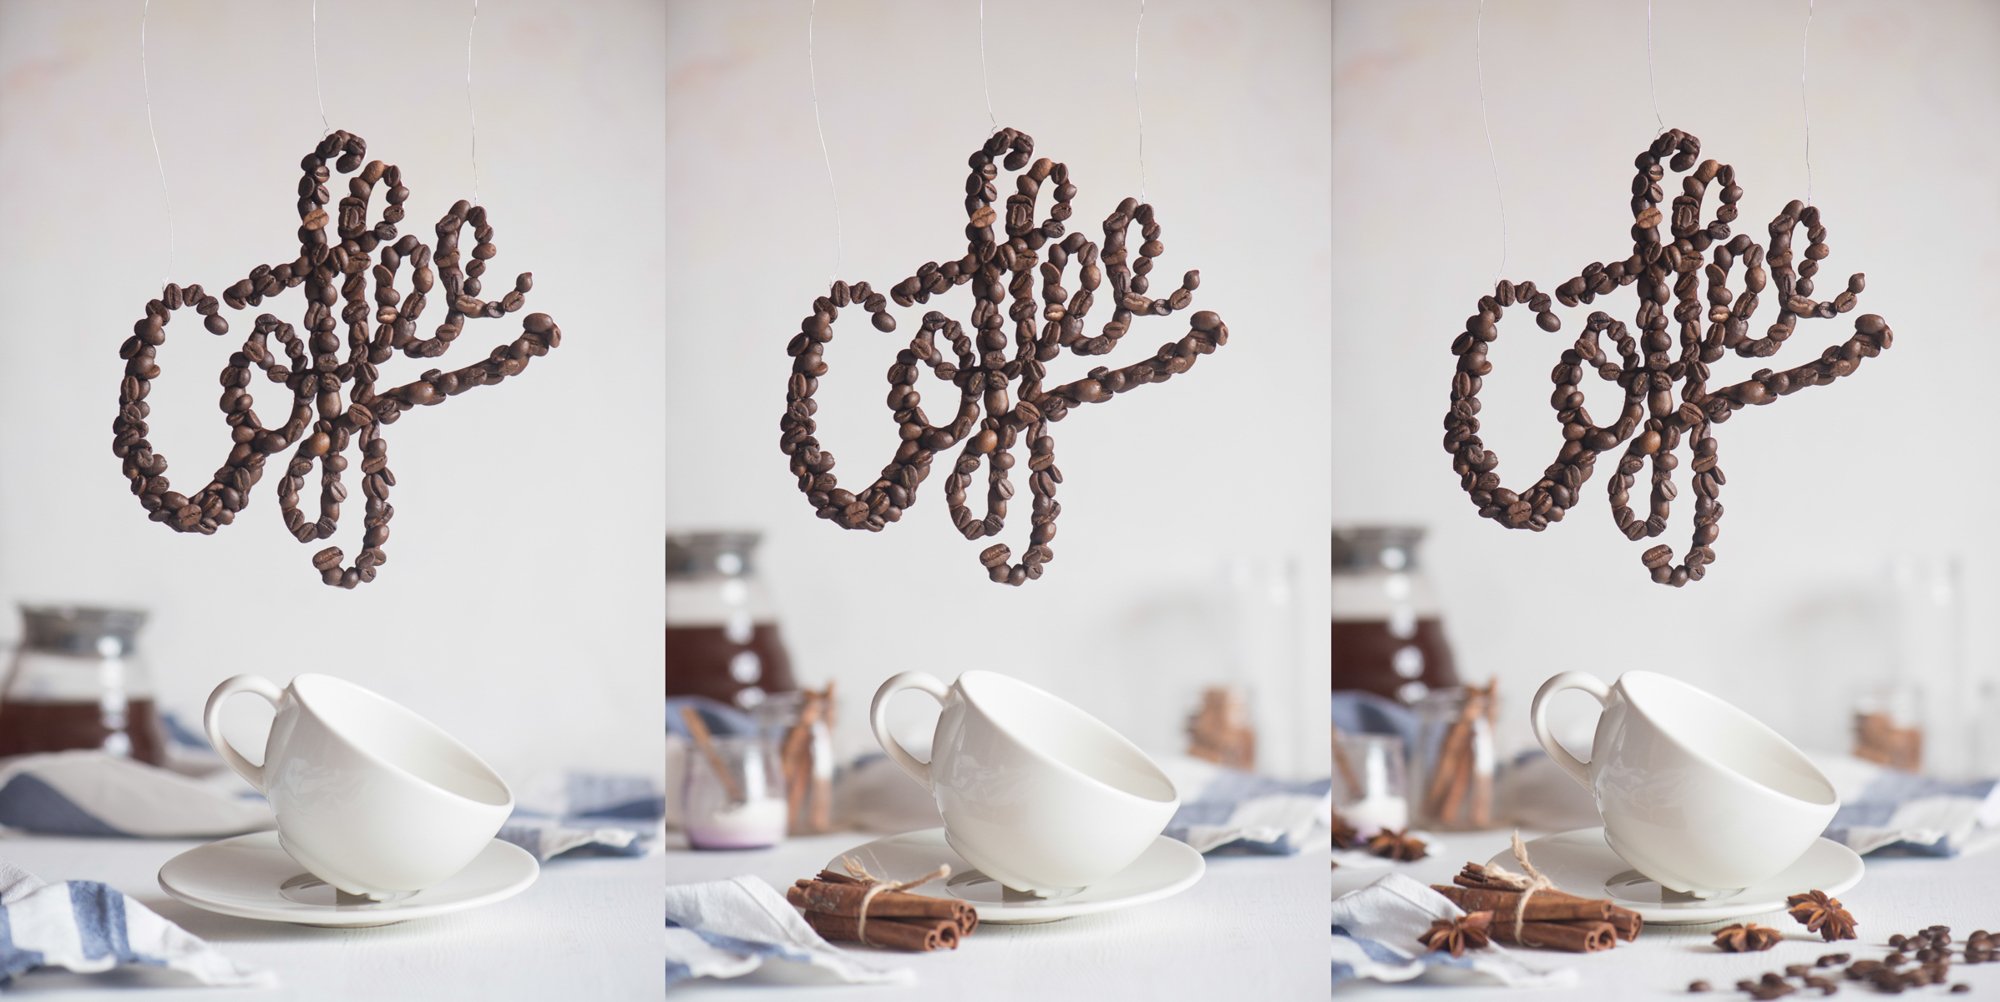
4. Composition
Make letters your central object and arrange the rest of the composition around it. Use items like a coffee pot, jars with cinnamon or milk jugs to create the illusion that everything is happening on a normal kitchen table.
5. Lighting
This is my favorite lighting scheme; I use it practically everywhere. The key light is a speedlight inside a strip box, placed on the right side, slightly behind the scene. The fill light that lifts the shadows is a speedlight behind a large diffuser on the left side.
Both speedlights were set on low power: 1/8 up to 1/128 of the power provides a very short impulse that freezes the motion of liquid, so you can capture a dynamic coffee splash.
6. Shooting
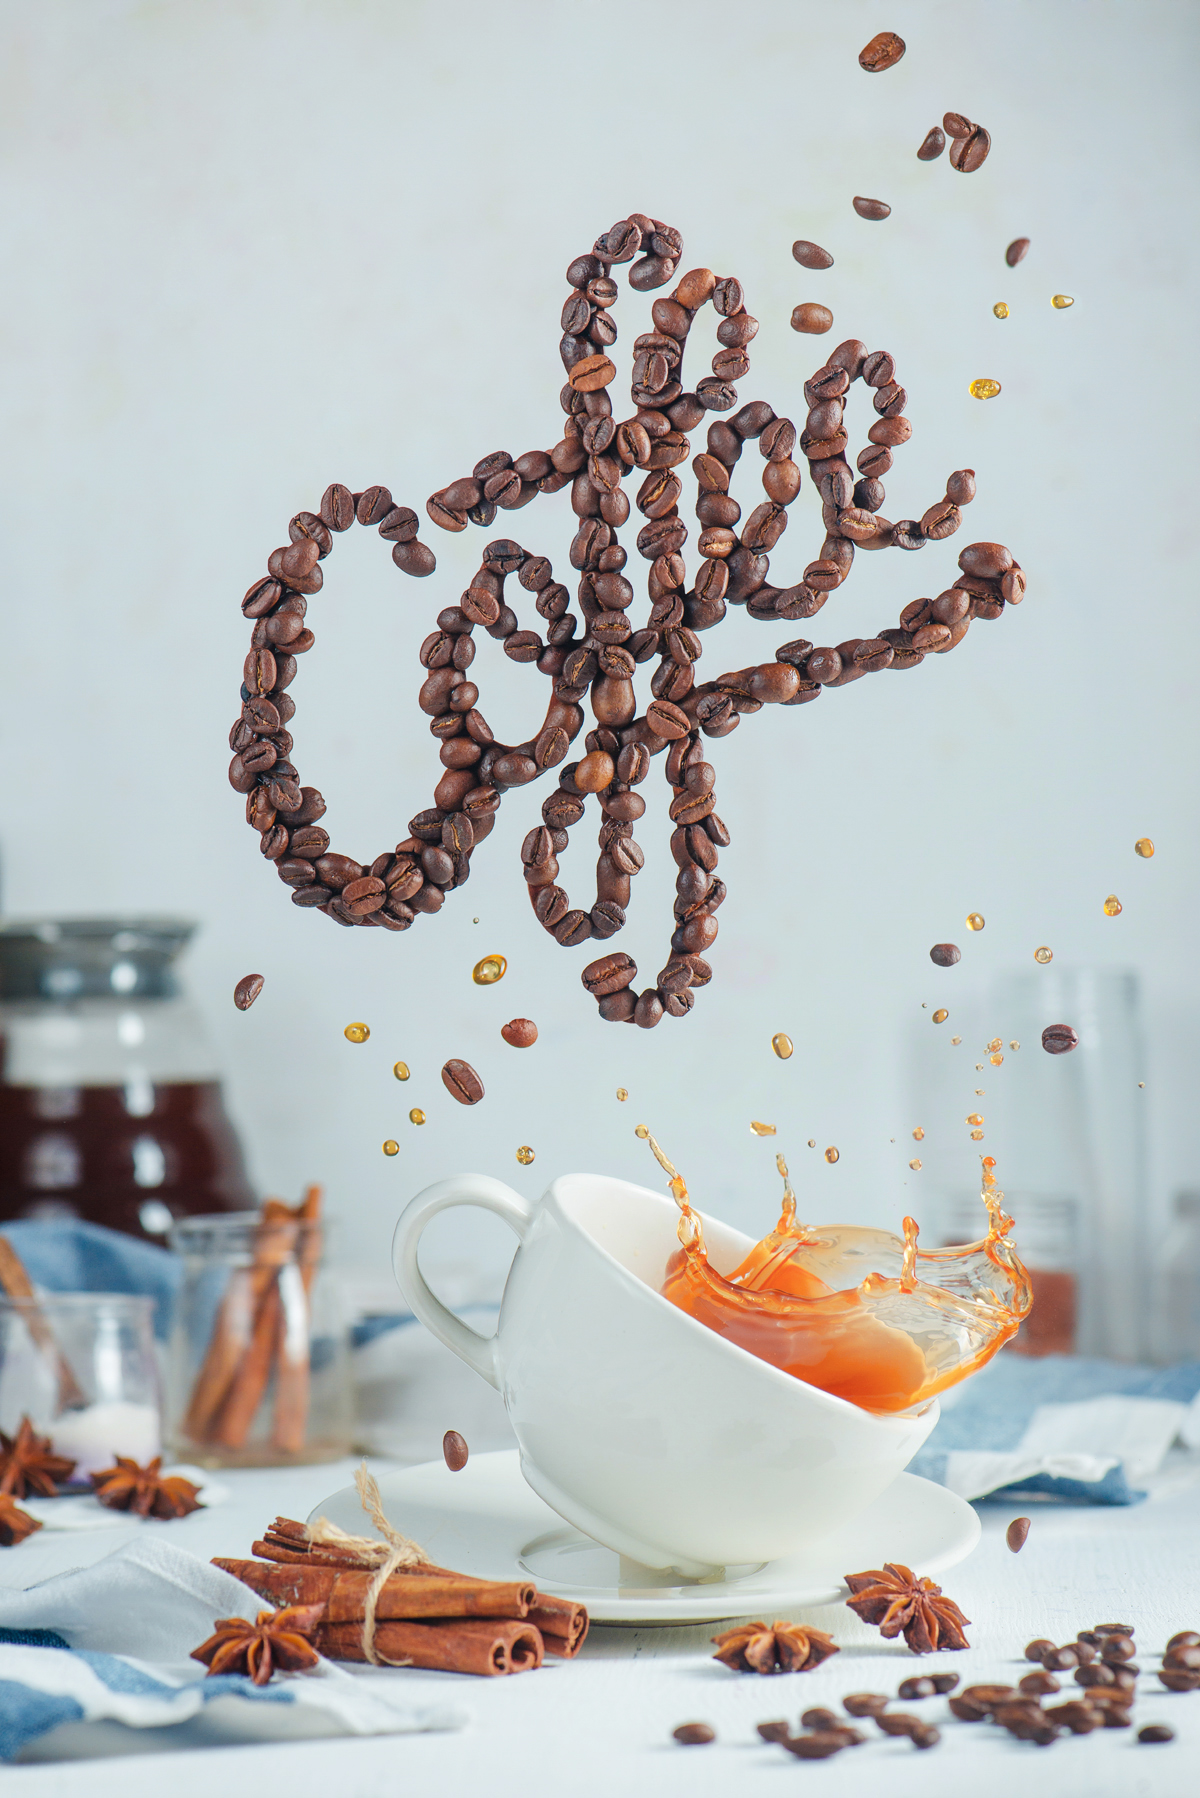
Pour some coffee into a cup with a shot glass or something equally small. The liquid will bounce off the cup’s bottom and come out as a beautiful splash. Take a sequence of shots and choose the best one for post processing. You can also add some flying coffee beans by scattering them above the scene.
7. Post-processing
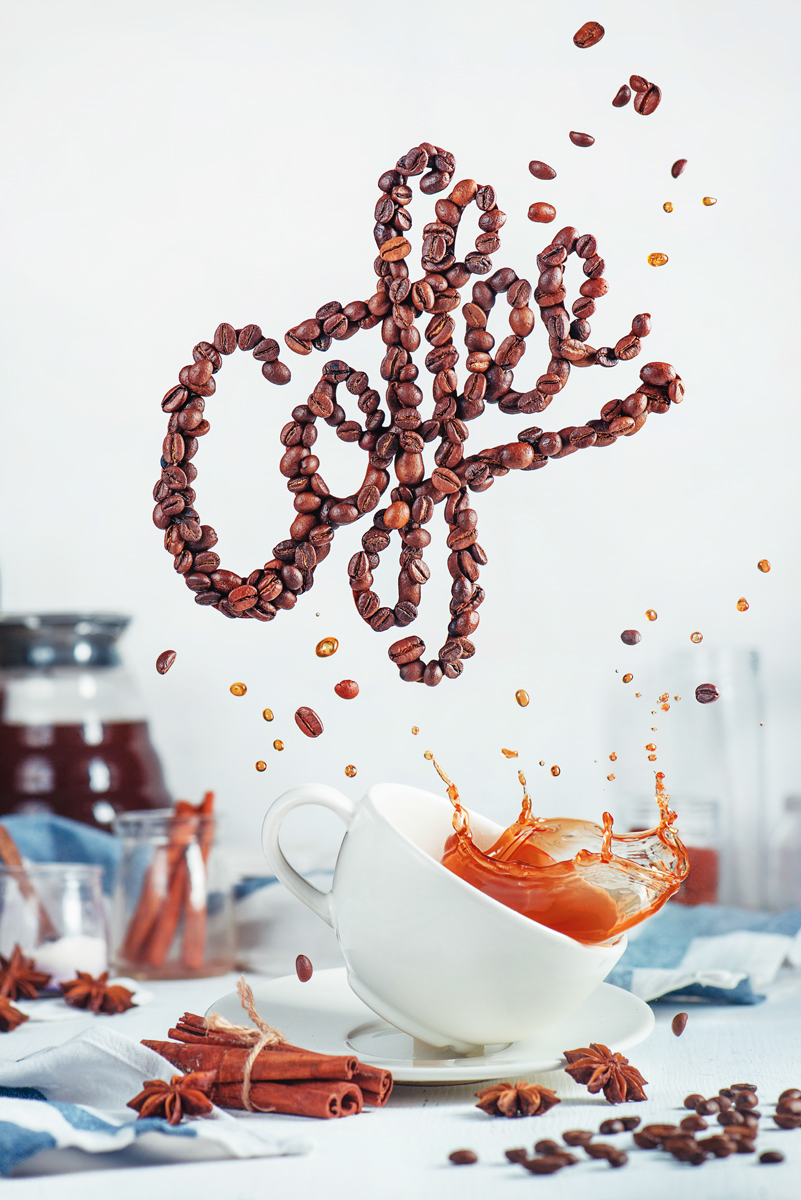
Choose the best shot or a couple of shots to combine together. For example, I took the splash from one shot and the falling beans from another and combined them together using Photoshop layer masks. After that, I added some more contrast and made the background a bit lighter. And voilà!
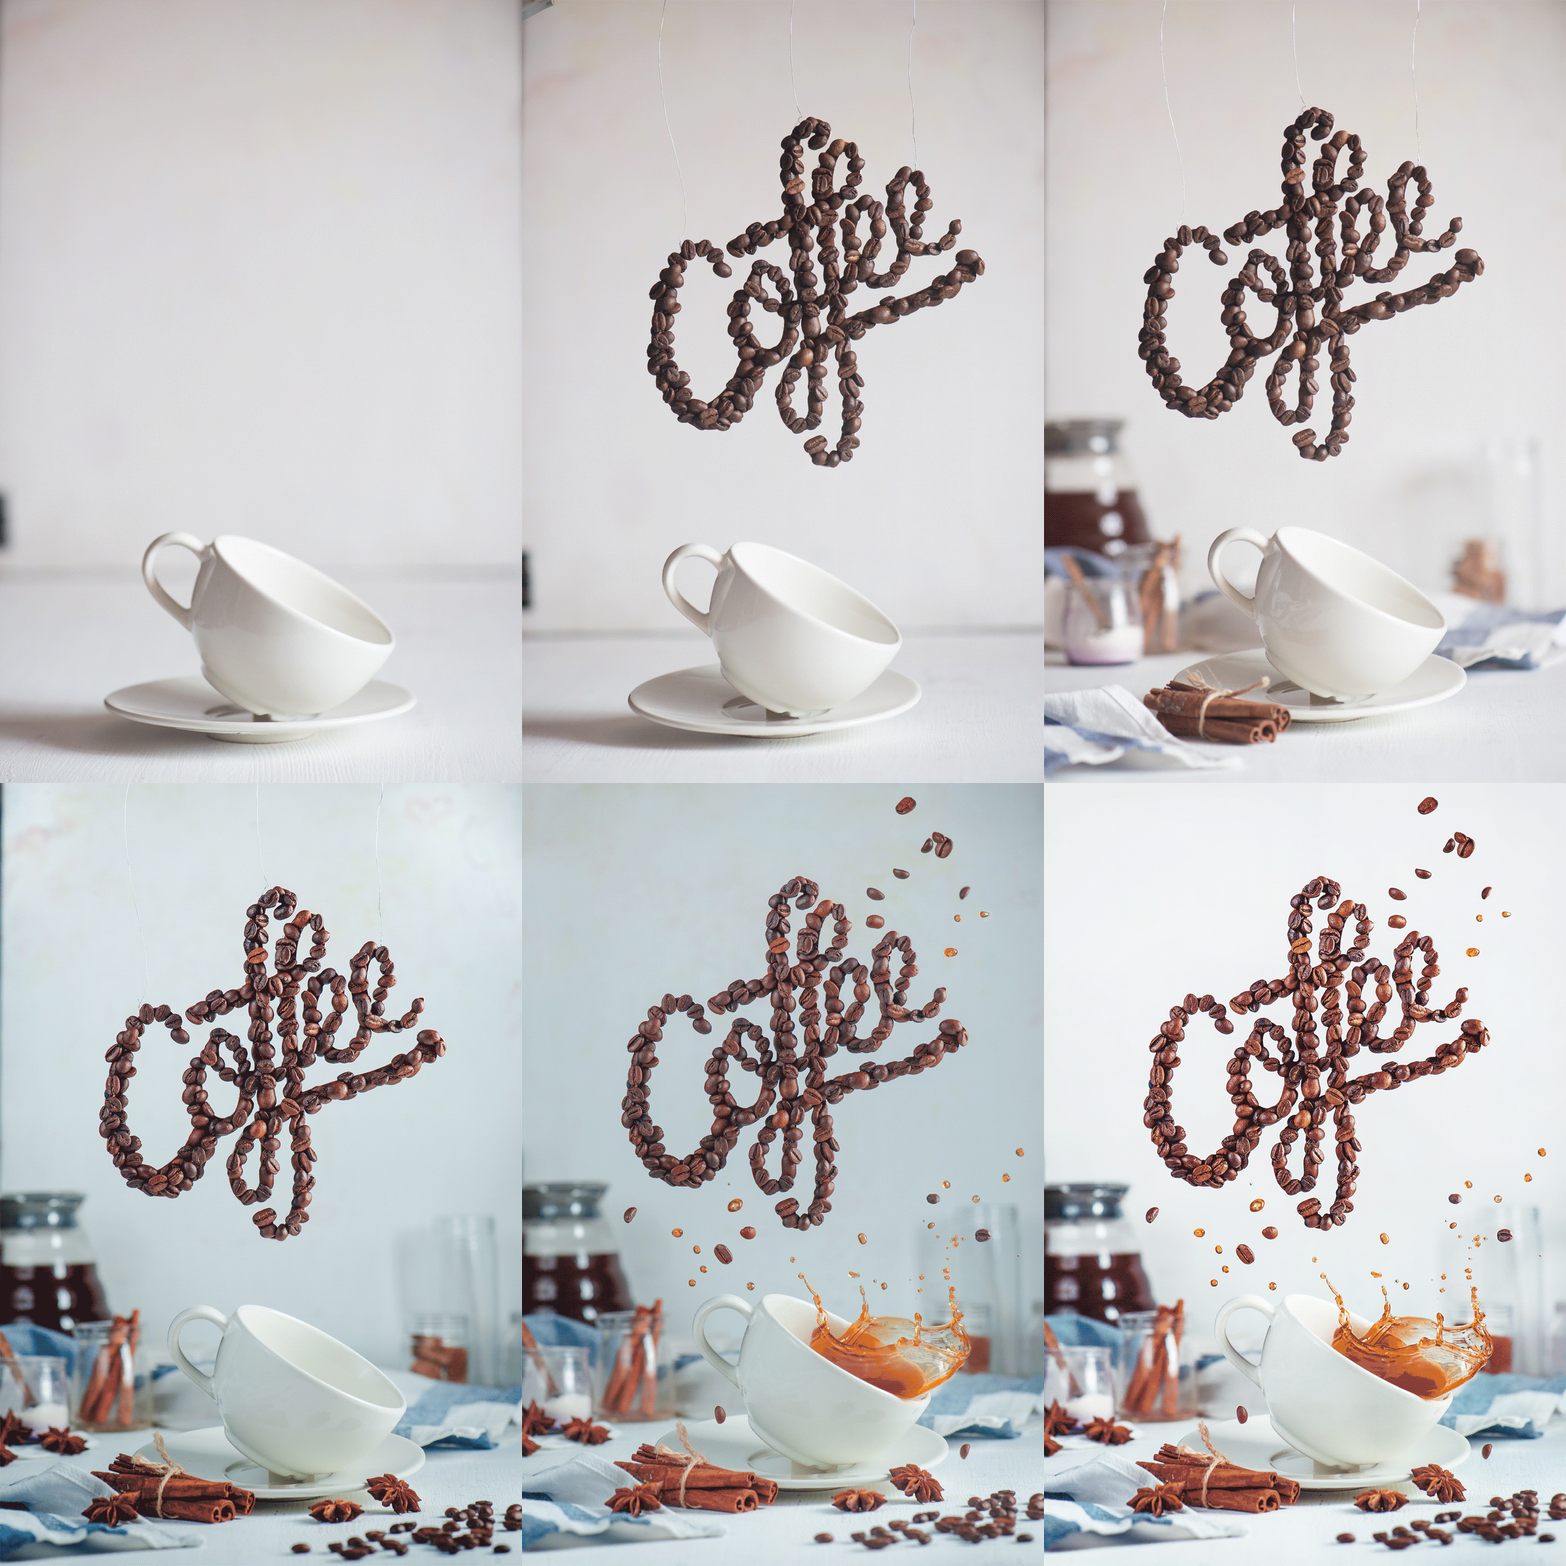
You can also try this trick with rising steam instead of the coffee splash, or with red pepper or other spices instead of coffee beans.
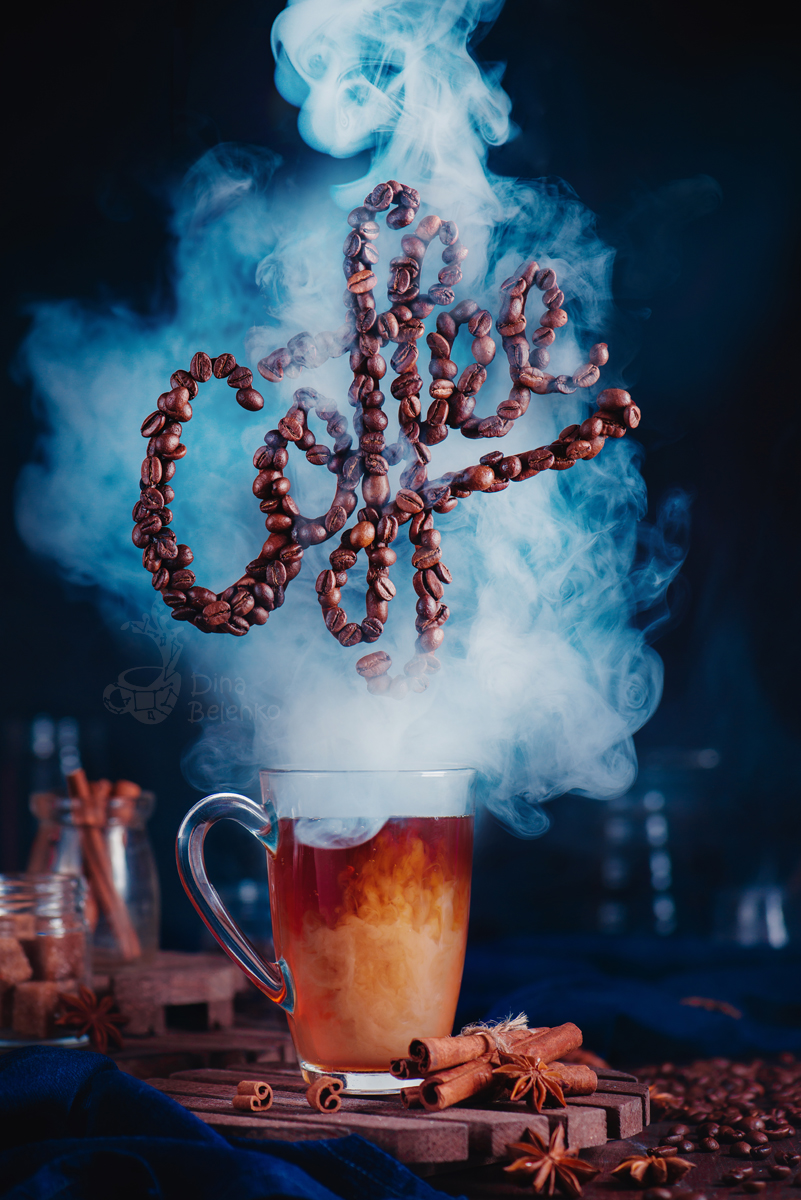
Looking forward to seeing what you come up with—stay inspired and good luck!
Photos and GIF: Dina Belenko



Leave a reply