There are maybe 20 minutes in a day when the world looks like a painting. The sun hangs just above the horizon, light stretches long and lazy across every surface, and everything, a leaf, a face, a stretch of empty road, glows from within. Photographers call it golden hour photography. And once you’ve worked in it, ordinary light starts to feel like a consolation prize.
What makes golden hour light different
When the sun sits low, its light travels through far more of Earth’s atmosphere than at midday. That extra distance scatters the shorter blue wavelengths, leaving the warm amber and rose tones intact. The result is the signature palette that makes golden hour photography immediately recognizable.
But color is only part of the story. Low sun means long, directional shadows that add depth to flat subjects. Textures that disappear under harsh overhead light suddenly come alive — the grain of wood, the curve of a cheekbone, a field of wheat. And because the light is softer and more diffused, it wraps around subjects rather than blasting them from above.
How to plan your shoot
Golden hour rewards preparation. Show up without a plan, and you’ll spend the first half getting oriented and the second half regretting it.

Know when the light arrives
Apps like PhotoPills or The Photographer’s Ephemeris will tell you sunrise and sunset times with precision. Golden hour typically begins 30–60 minutes before sunset, but the exact window varies by season and latitude. In midsummer at higher latitudes, it can stretch considerably. In winter, it can be brutally short.
Scout your location beforehand
Walking a location in flat midday light lets you see its bones without distraction. Note where the light will enter, which elements could serve as foreground interest, and where shadows will fall. Then return at golden hour and let the scene confirm or surprise you.
Arrive early, stay late
Most photographers leave when the sun dips below the horizon. The real opportunity is what comes after: blue hour. The sky shifts through indigo and cobalt, and long-exposure opportunities multiply. The 20 minutes after golden hour photography ends can be just as remarkable as the hour itself.
Camera settings that work with soft light
Golden hour light is beautiful but low, and as the sun sets, it drops fast.
- Shoot in RAW. The warm color cast is easy to adjust in post, but recovering detail from an overexposed JPEG is not.
- Use a slightly wider aperture than usual. f/2.8 or f/4 delivers soft backgrounds while keeping enough light to avoid motion blur.
- Watch your shutter speed as the light fades. 1/125s may be fine early; by 30 minutes later, you may need to drop to ISO 400–800 to compensate.
- Expose for the highlights. Blown-out skies are harder to recover than lifted shadows. Bracket if you’re unsure.
Working with backlight and rim light
“The light opens a door; your composition has to decide whether to walk through it.”
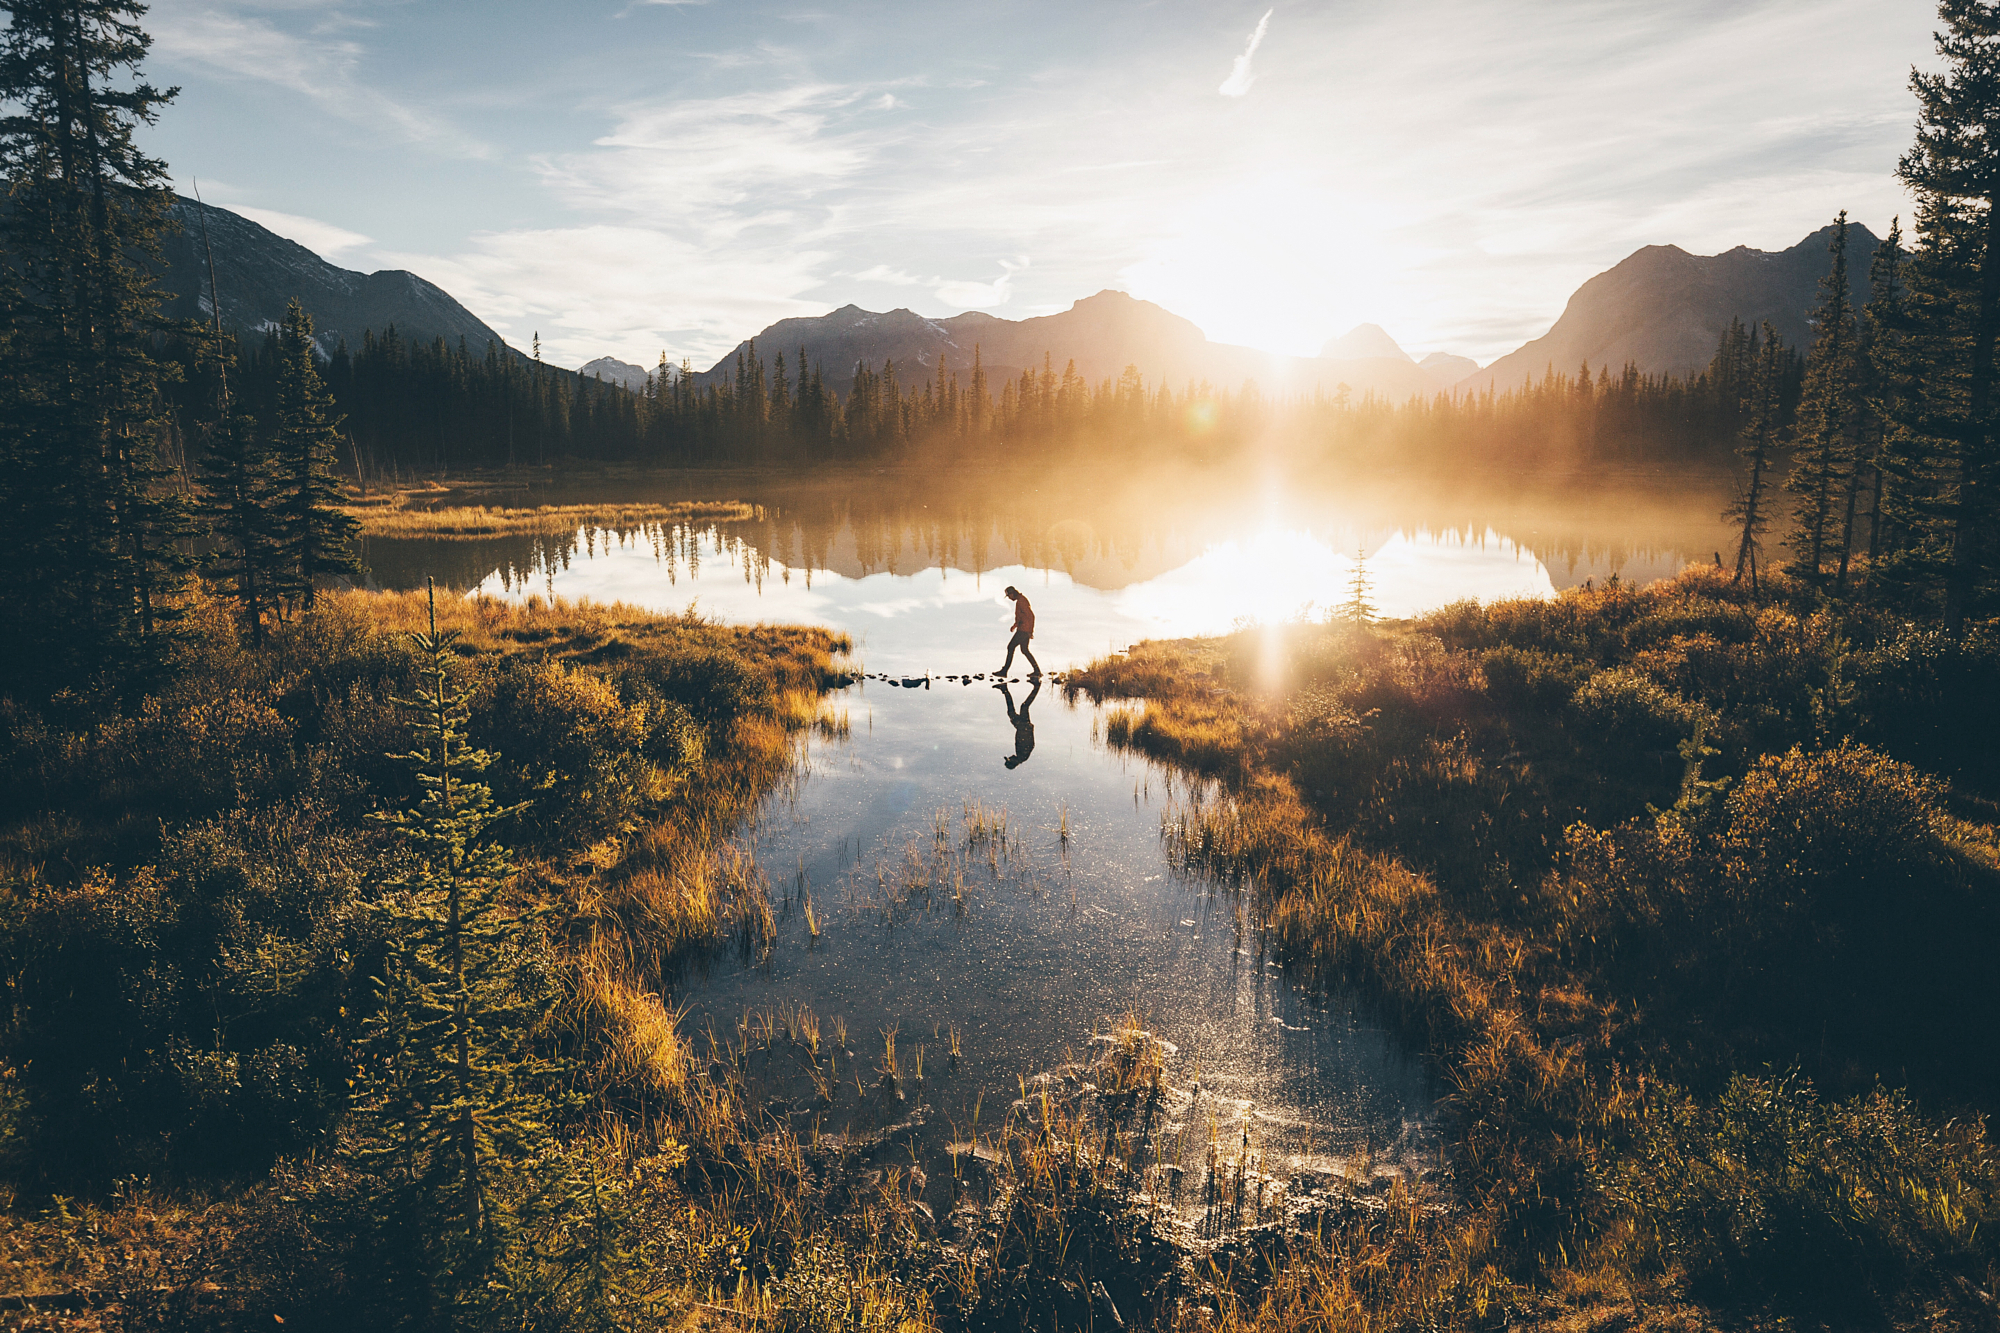
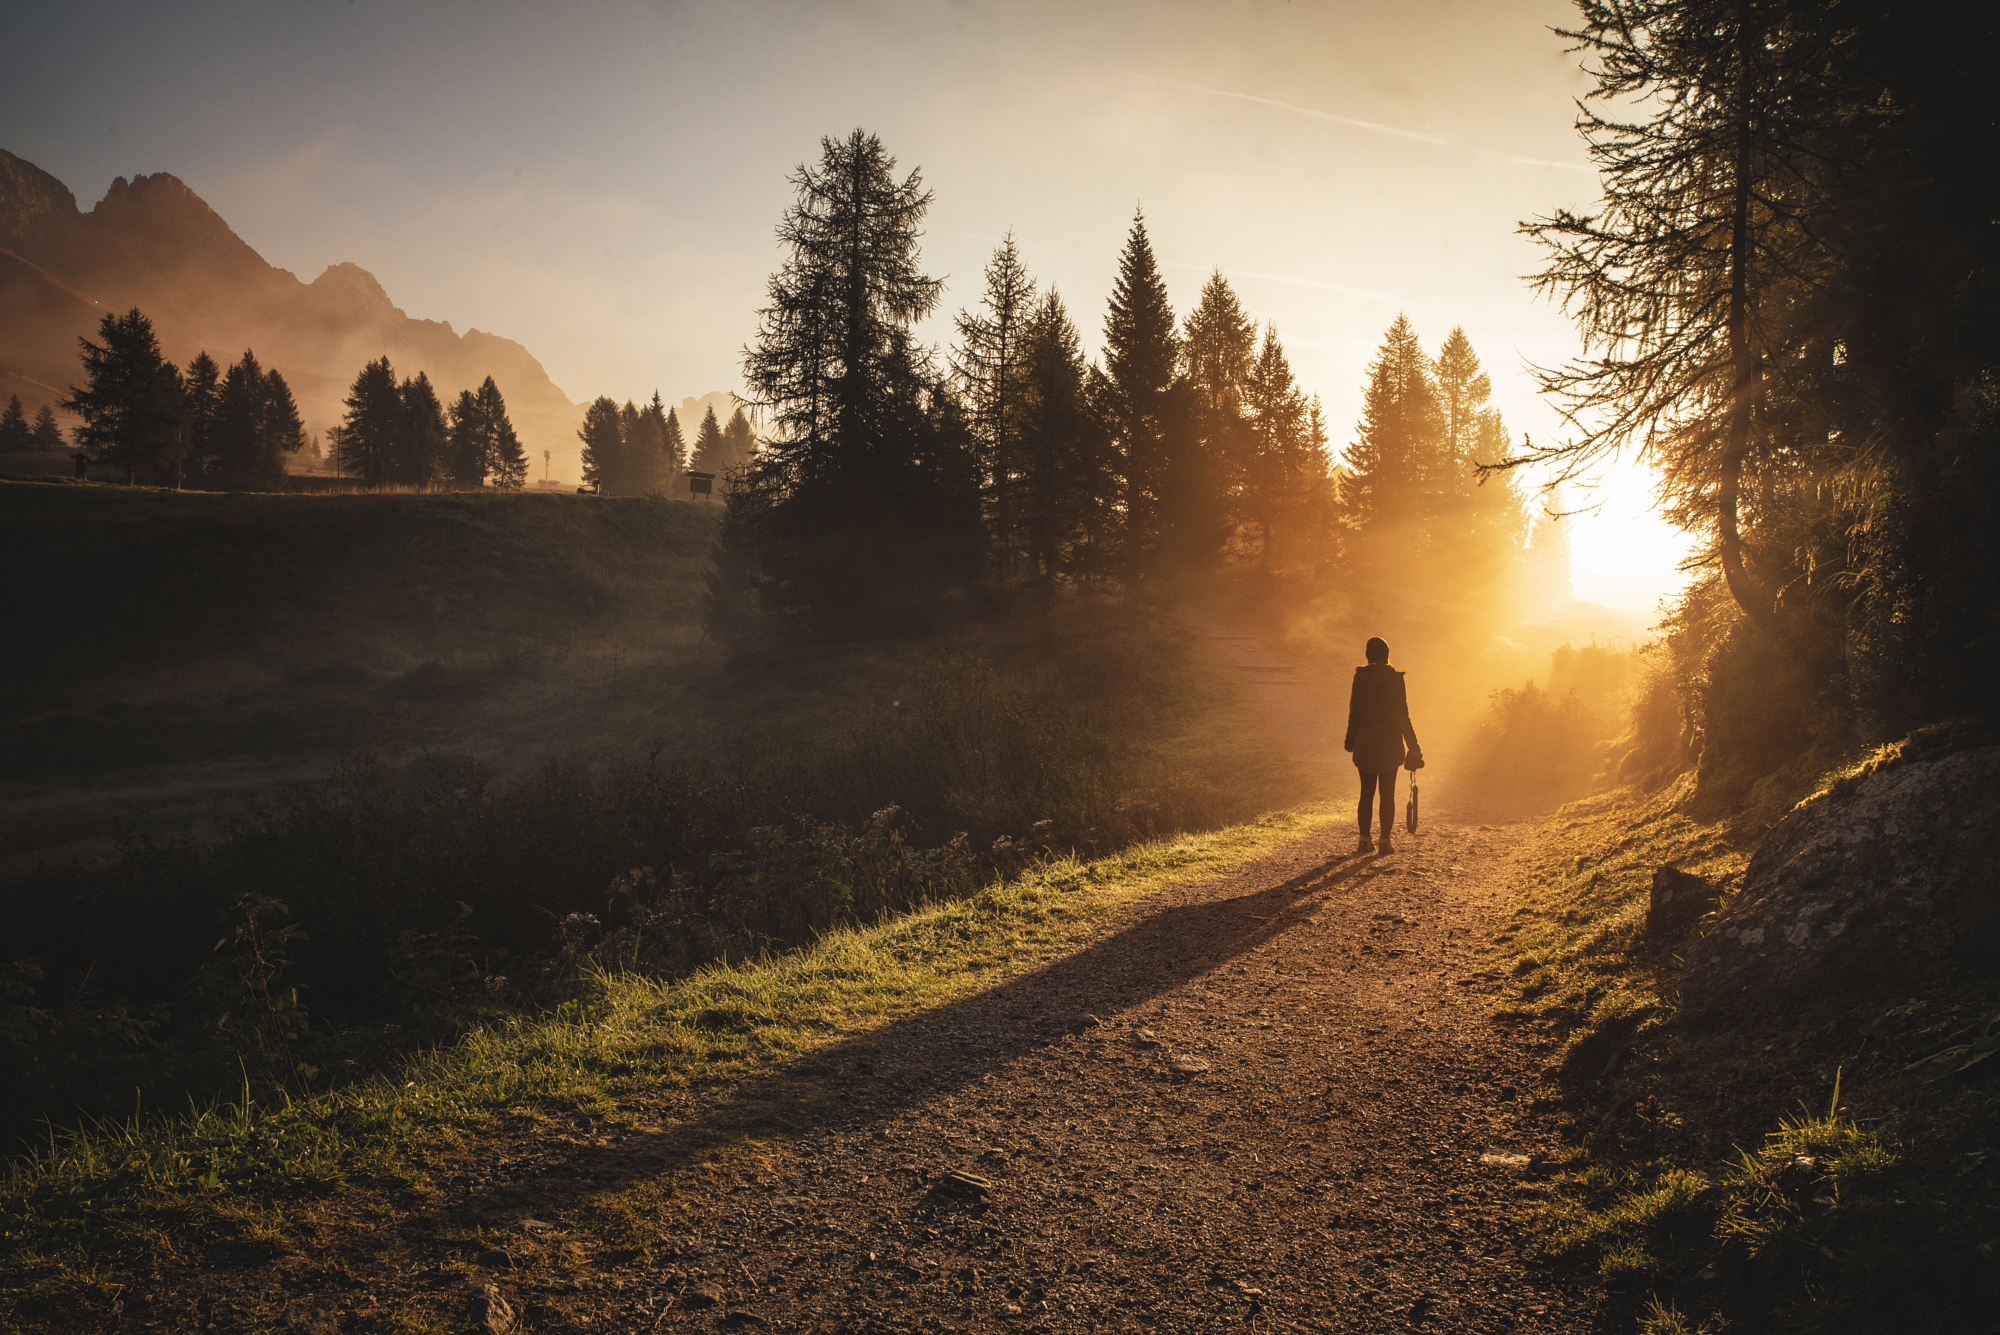
Placing the sun behind your subject is one of golden hour photography’s most powerful tools. A rim of warm light traces the edge of a subject, separating it from the background and creating a near-luminous halo. It’s especially effective with portraits, silhouettes, and natural subjects like grasses or leaves where light passes through translucent material.
A lens hood is worth having, and so is a small reflector to bring fill light to the foreground subject without losing the glowing background.
Final thought
The photographers who produce the most consistently breathtaking golden hour work aren’t necessarily the most technically skilled, they’re the most disciplined about showing up. They plan, they scout, they arrive early, and they stay until the last color drains from the sky. Golden hour photography doesn’t ask for much. It asks for your presence and your attention.