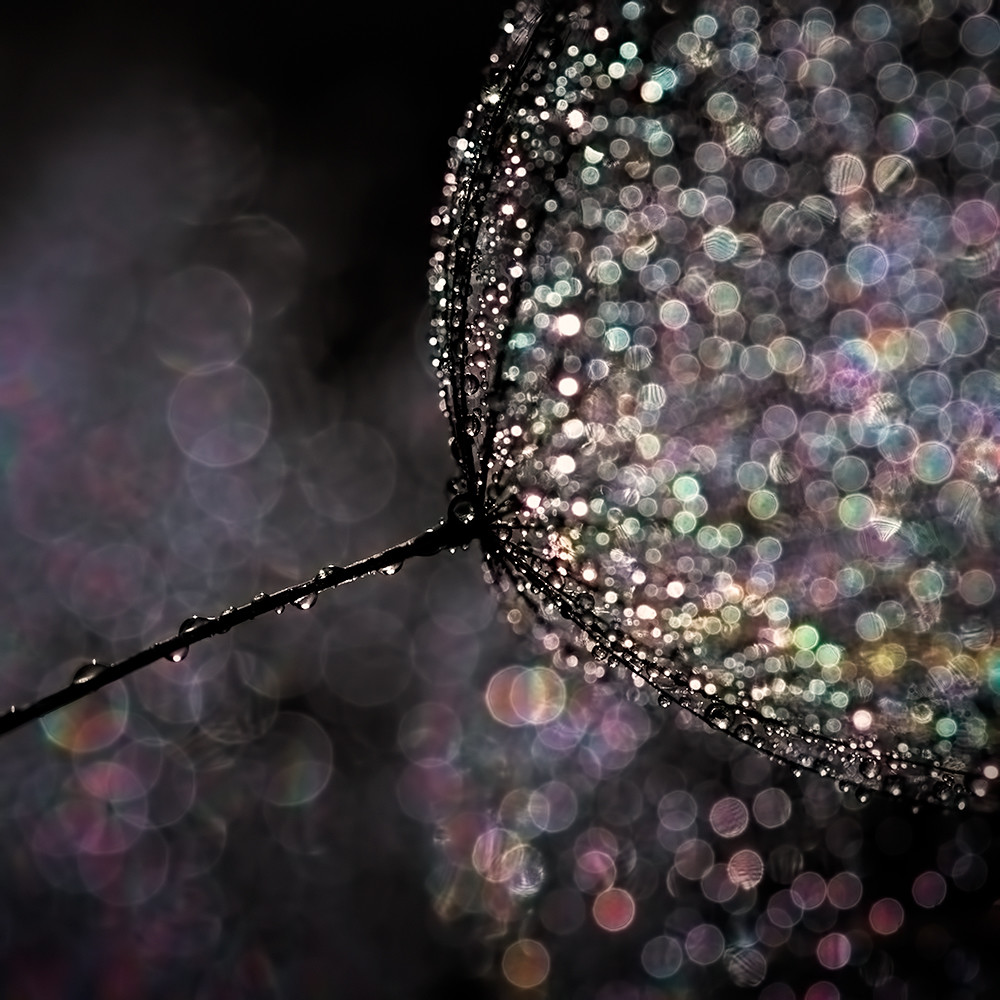
There are three reasons to try a still life like this. First, motion in the frame is always eye-catching, especially motion of liquid. Second, beautiful bokeh polygonal flares look mesmerizing and nearly magical. Third, it’s a good opportunity to express your wanderlust and love for sea. Get a couple of stones, some sand, a message in a bottle, tiny wooden lighthouse or a single large seashell, and create your own story about black sails, storms, and adventure. Let’s get started! All hands on deck!
1. Gear and props
First of all, we need a light source suitable for shooting splashes. In my case it’s two speedlights: one in a strip box, another behind a diffuser.
You can shoot with natural light if you like, but if you do so, water drops may get a little blurry and won’t be transformed into polygonal flared bokeh. If you have a macro lens, use it, since it will allow to shoot from farther away and keep your camera safe from splashes.
We will need a spray bottle to make drops of water. It’s better to choose one that produces larger particles. If your spray creates something that looks like mist, you can replace it with a plastic bottle with tiny holes in the bottom and use it to scatter drops.
Pick some items you want to use to create a still life. It can be something pirate-themed, or pretty much anything that looks nice with water—say, fruits, flowers, leaves, or even lemonade bottles. Also, a steady tripod will come in handy.
2. Composition
Keep it simple. I find it useful to draw a sketch first. This helps to arrange all the main props and add details.
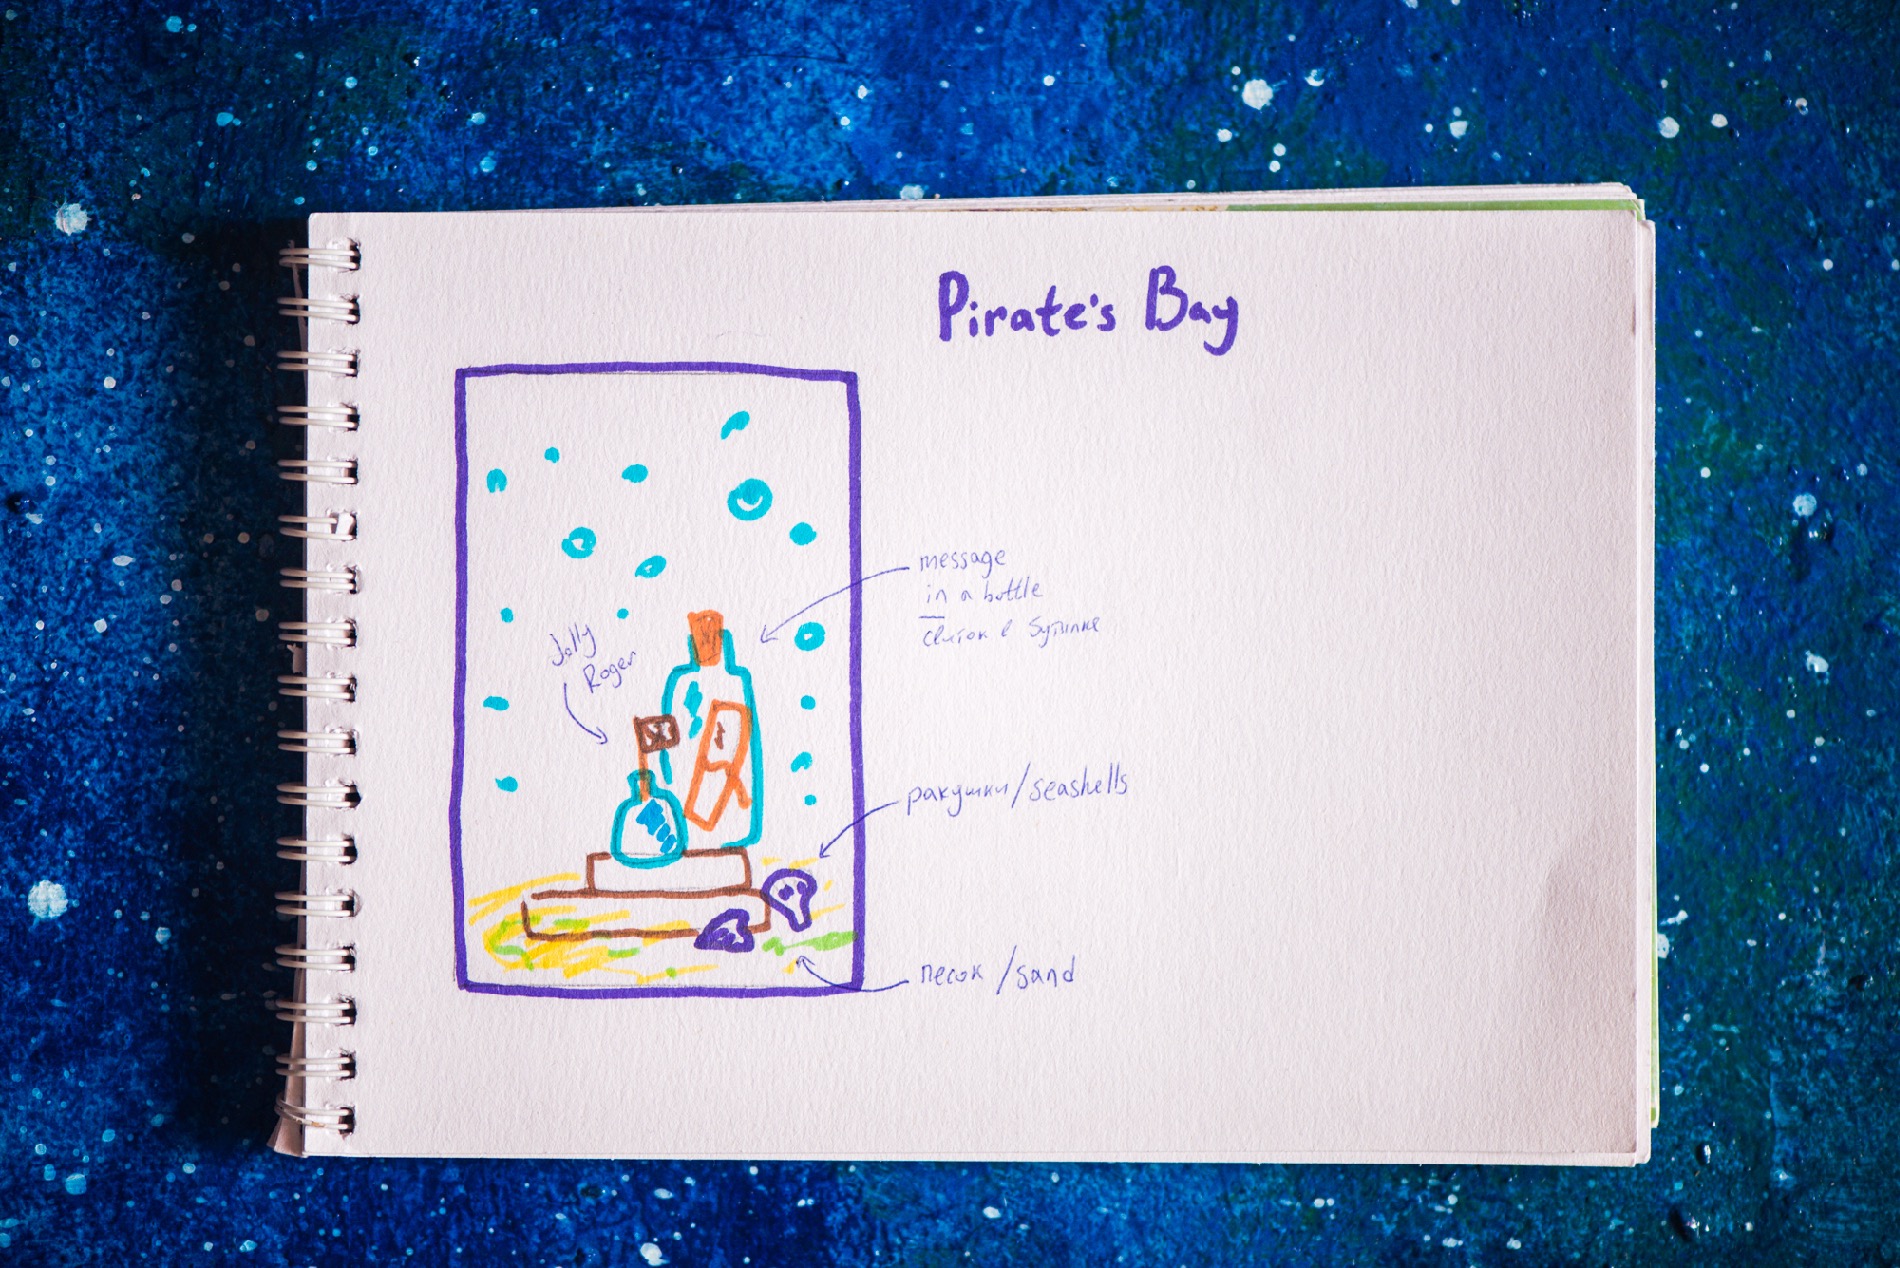
Don’t forget to leave some space within your frame for bokeh and water drops.
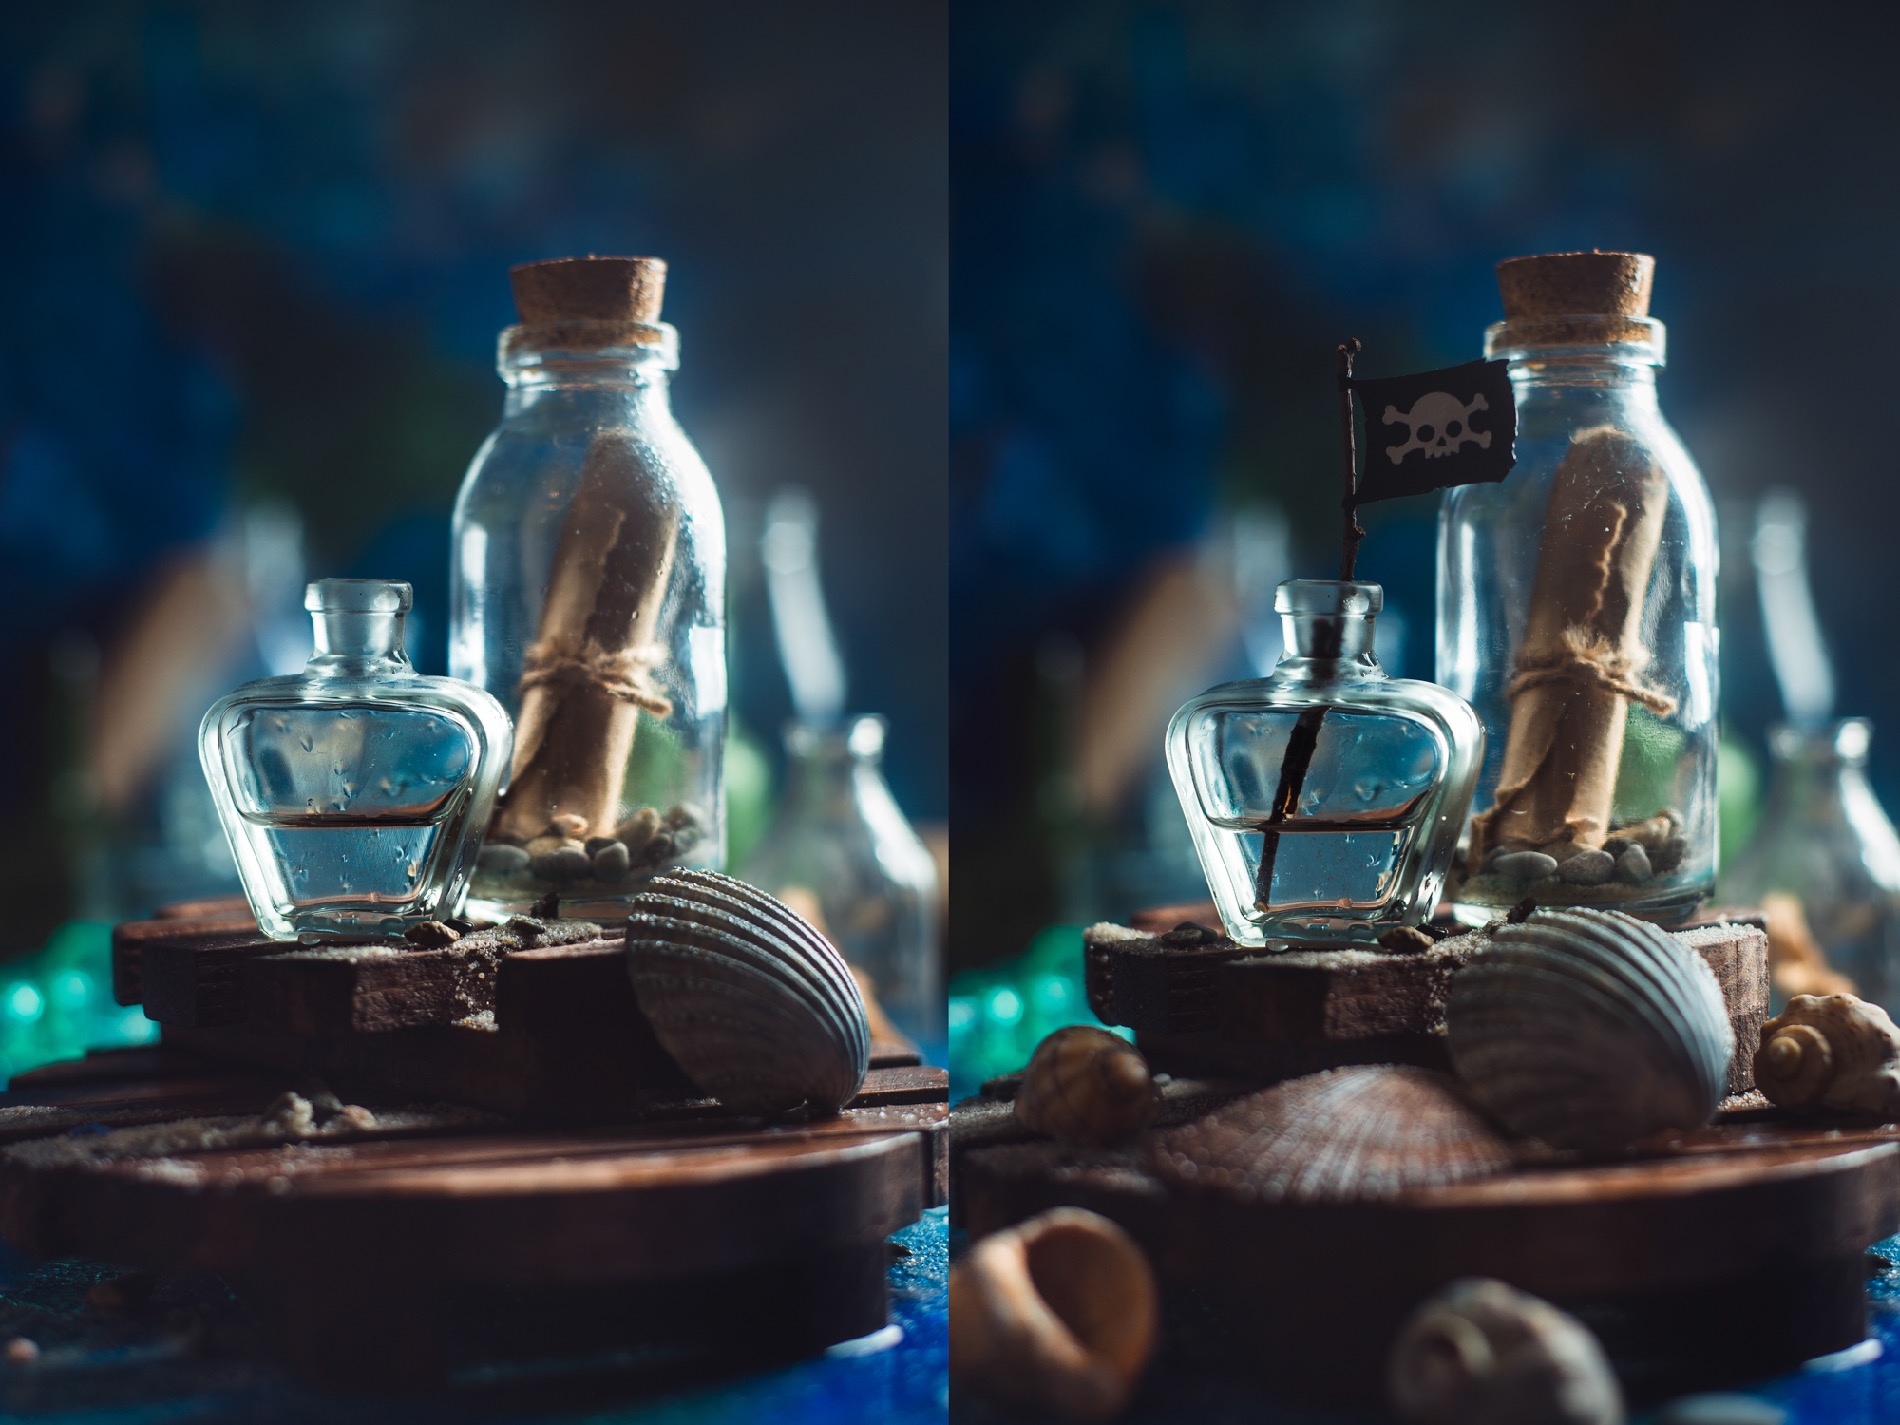
If you keep your background dark, the water drops will be more visible.
3. Lighting
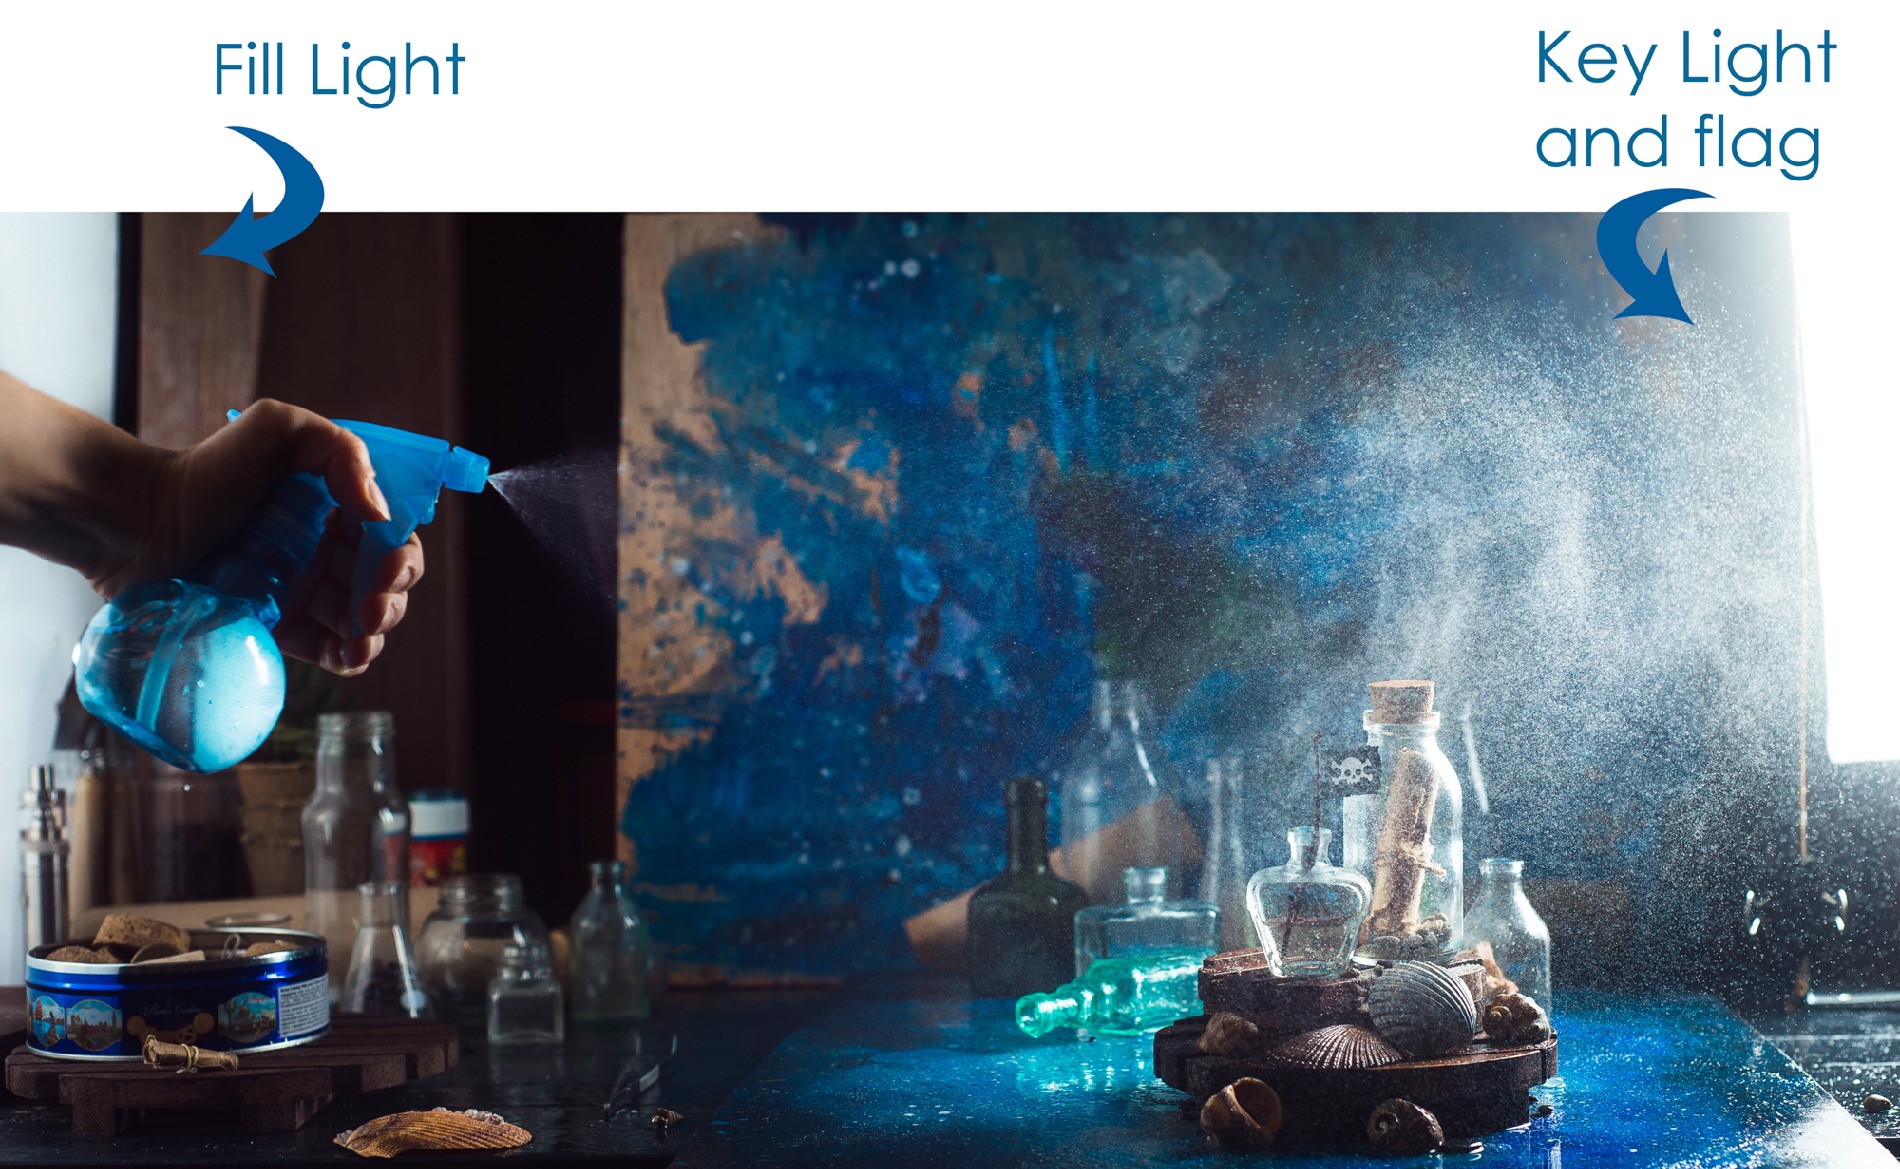
The key to beautiful bokeh flares and highlights is a back light. In my case, it’s a speedlight inside a strip box, placed on the right side and slightly behind the scene. If I could, I would hang it right behind my vertical backdrop to light the bottles, but not the backdrop itself. This is our key light.
If you’re working with natural light, set your camera right in front of the window, as if you were shooting a steaming cup of tea. Don’t set any vertical backdrops or they will block the light.
The fill light, which lifts the shadows and creates volume, is set on the right side of the scene. In my case, it’s a speedlight behind a large diffuser. You can replace it with a big reflector, if you like.
Also, there’s a black flag between my key light and background (a narrow sheet of cardboard), which cuts some light from background, making it darker.
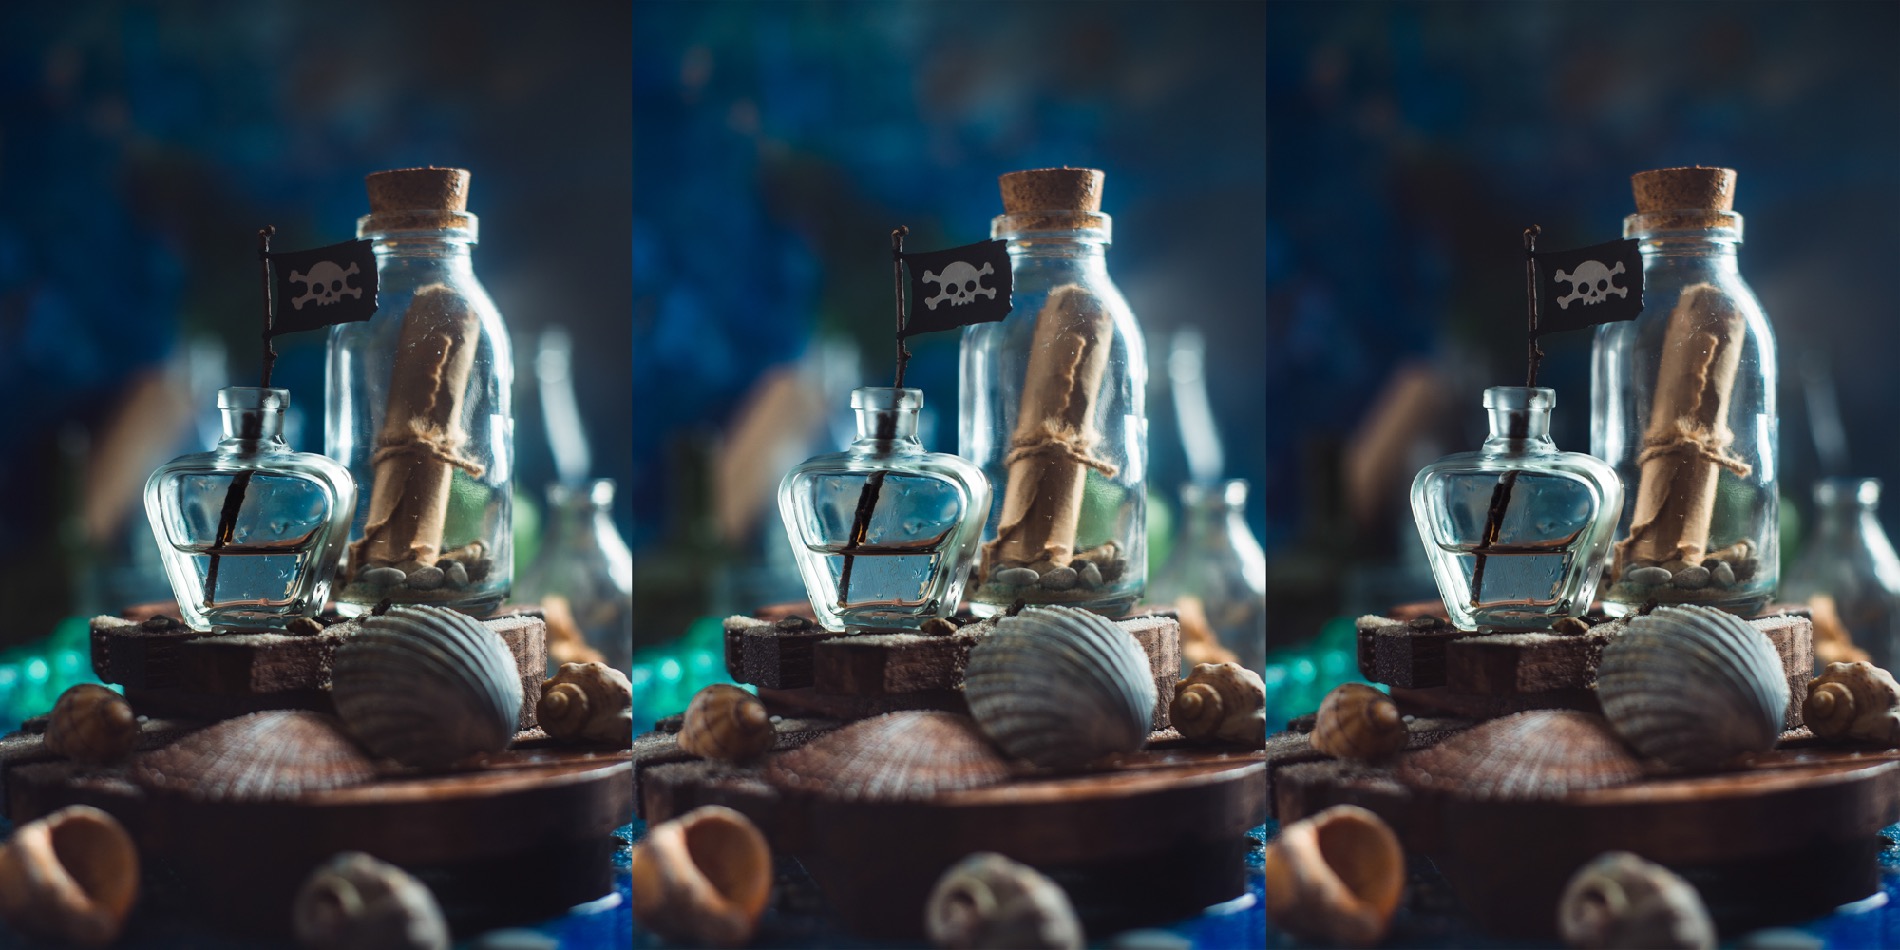
Note that both speedlights are set on low power, as it creates a quick burst of light, which freezes the motion of the liquid, making it look frozen.
4. Shooting
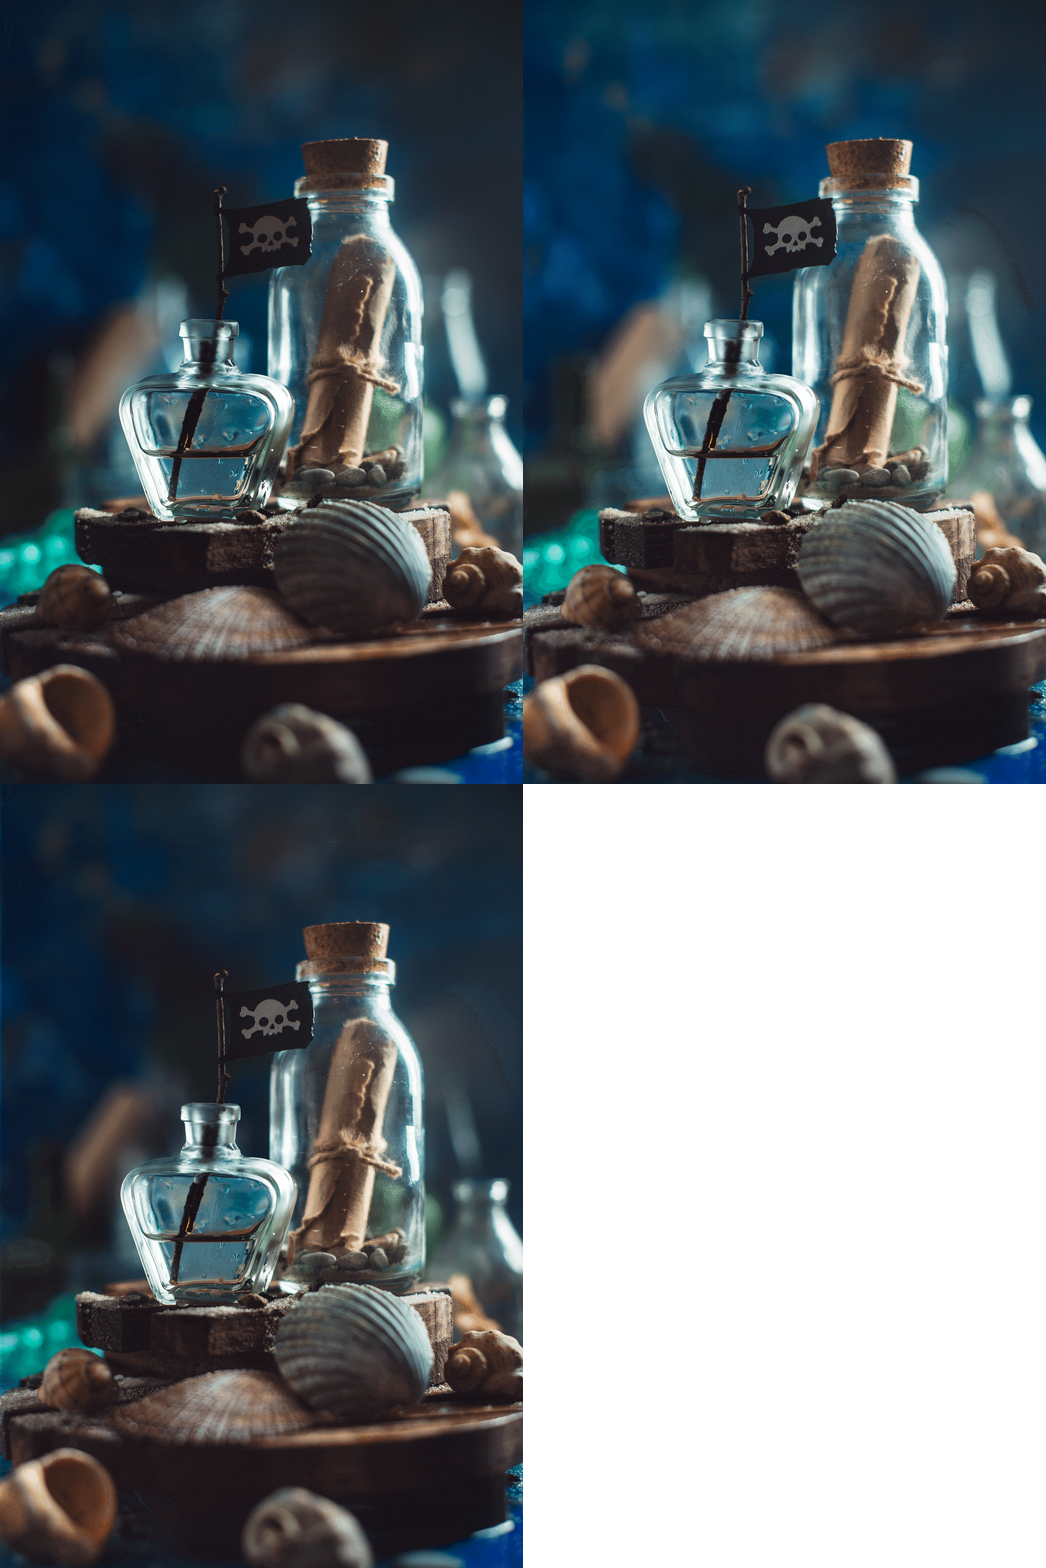
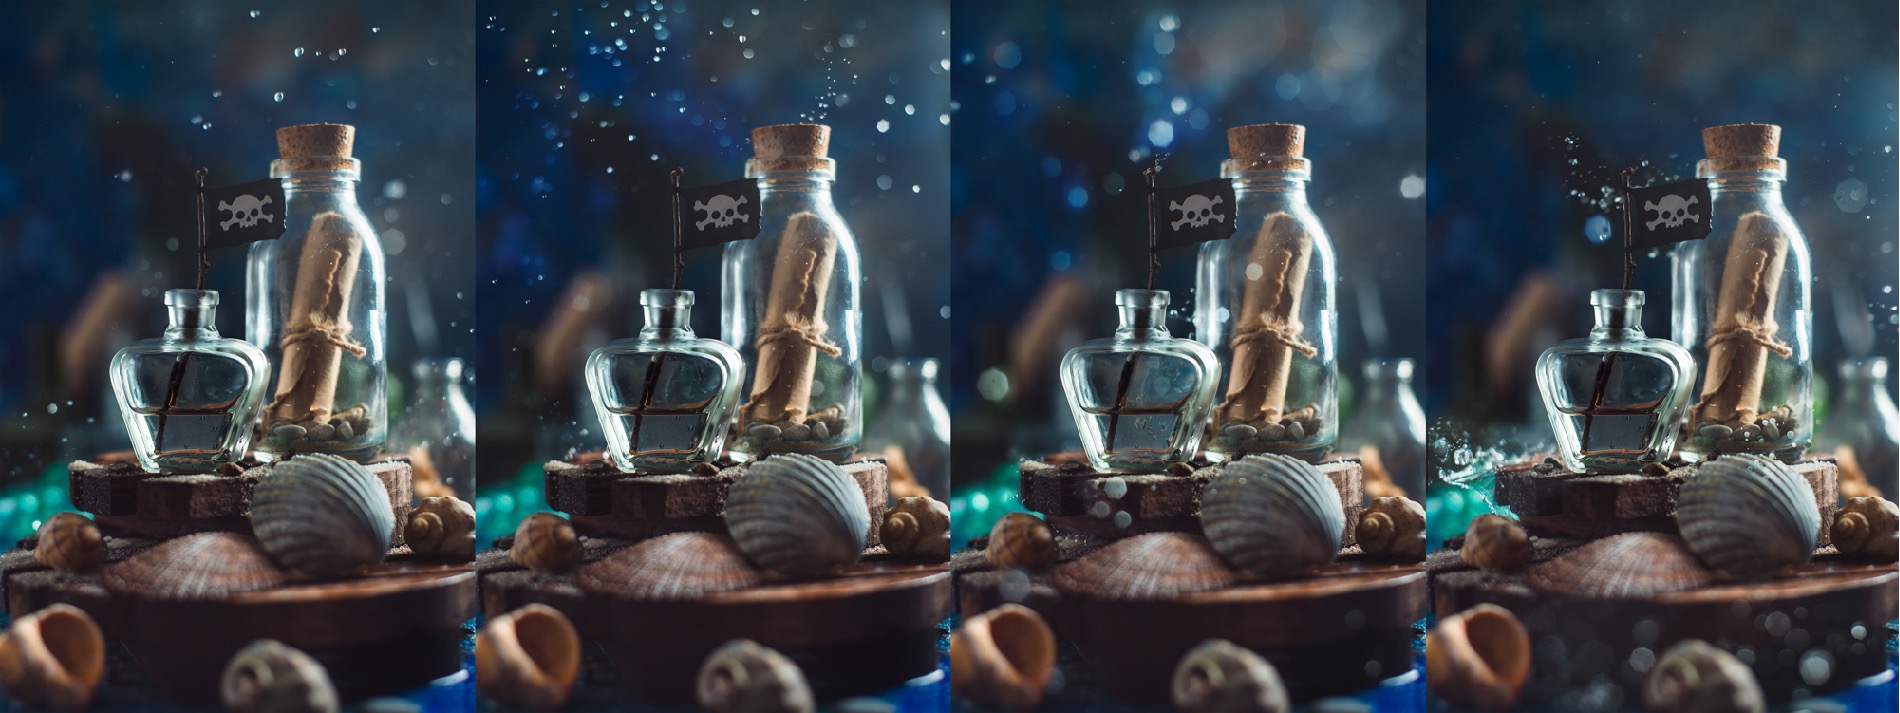
Set your camera in Continuous Mode to take a few shots in a row. Keep your lens’ aperture wide open (in my case it’s f/2.8) to create a shallow depth of field. This will ensure the majority of water drops will appear as lovely polygonal flare. Now you’re ready to shoot!
Spray some water in a direction where it won’t be in focus and take a sequence of shots.
5. Post-processing
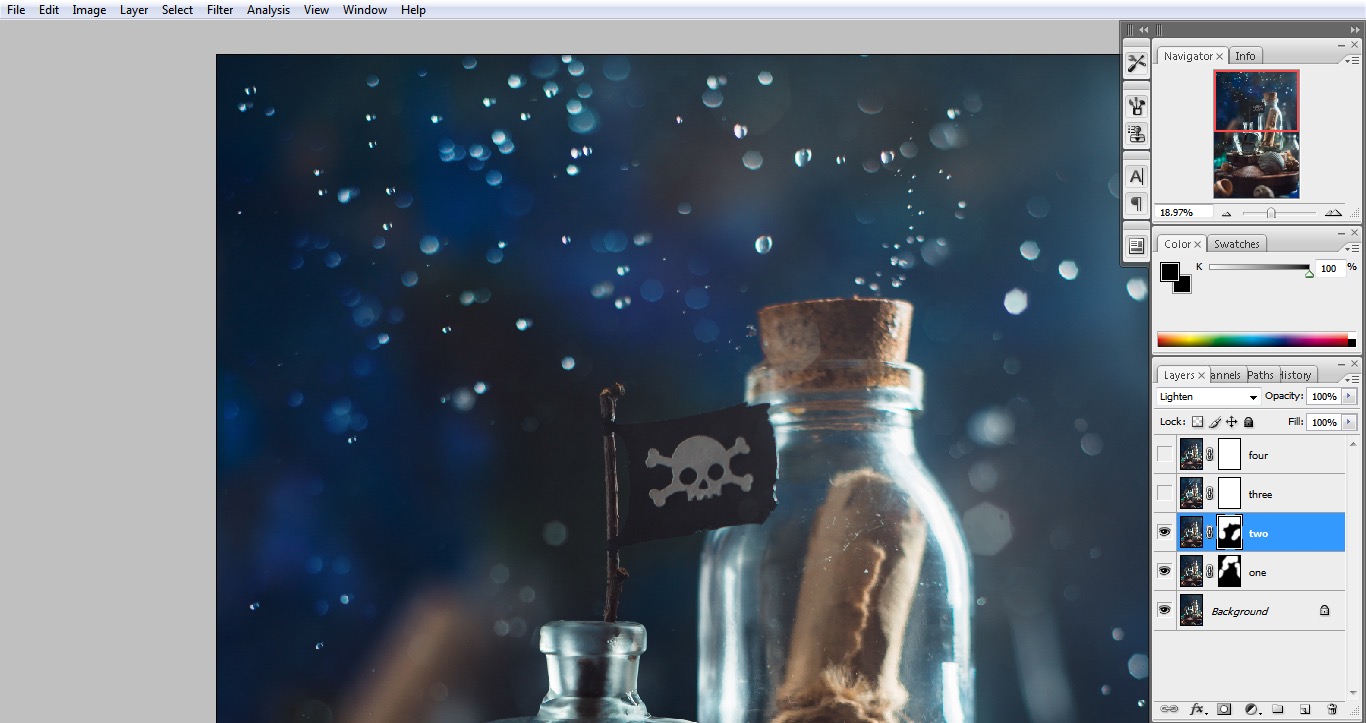
Now, you can choose the best shot and use it as it is. Or, you can choose several shots with most beautiful drops and combine them.
I combined four shots, putting each one on a separate layer, using layer masks in Photoshop.
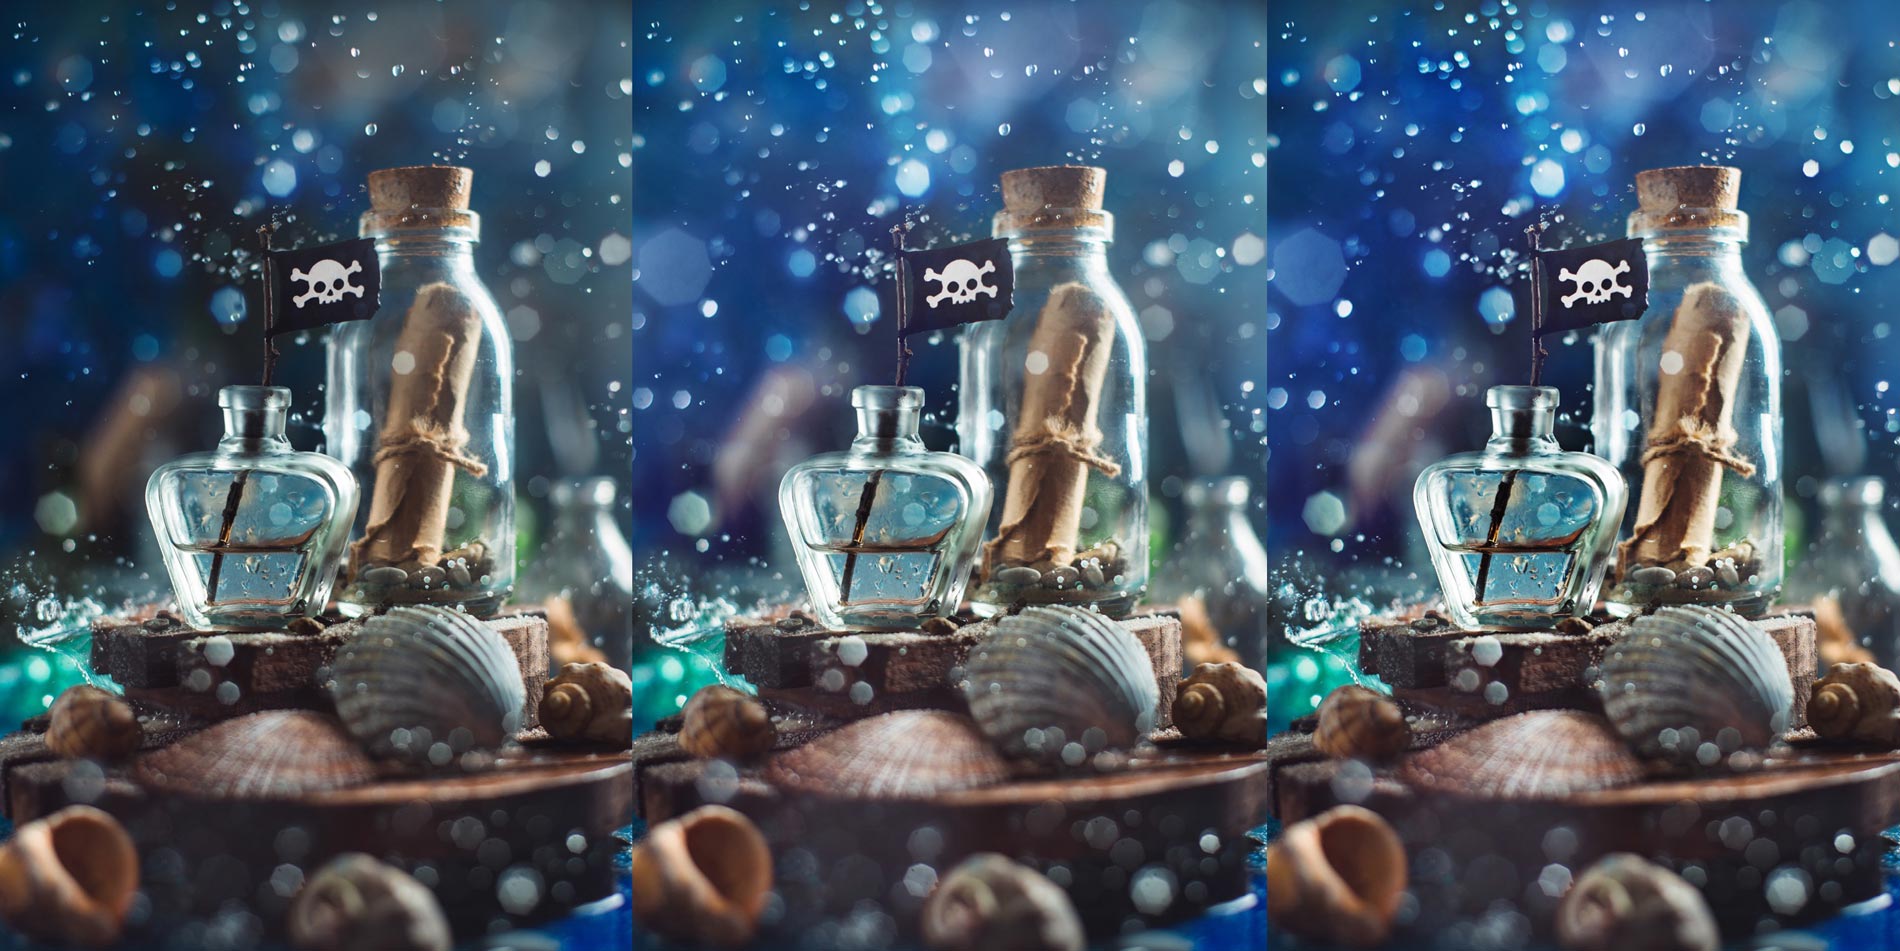
Give the picture a little polish by adjusting colors and contrast.
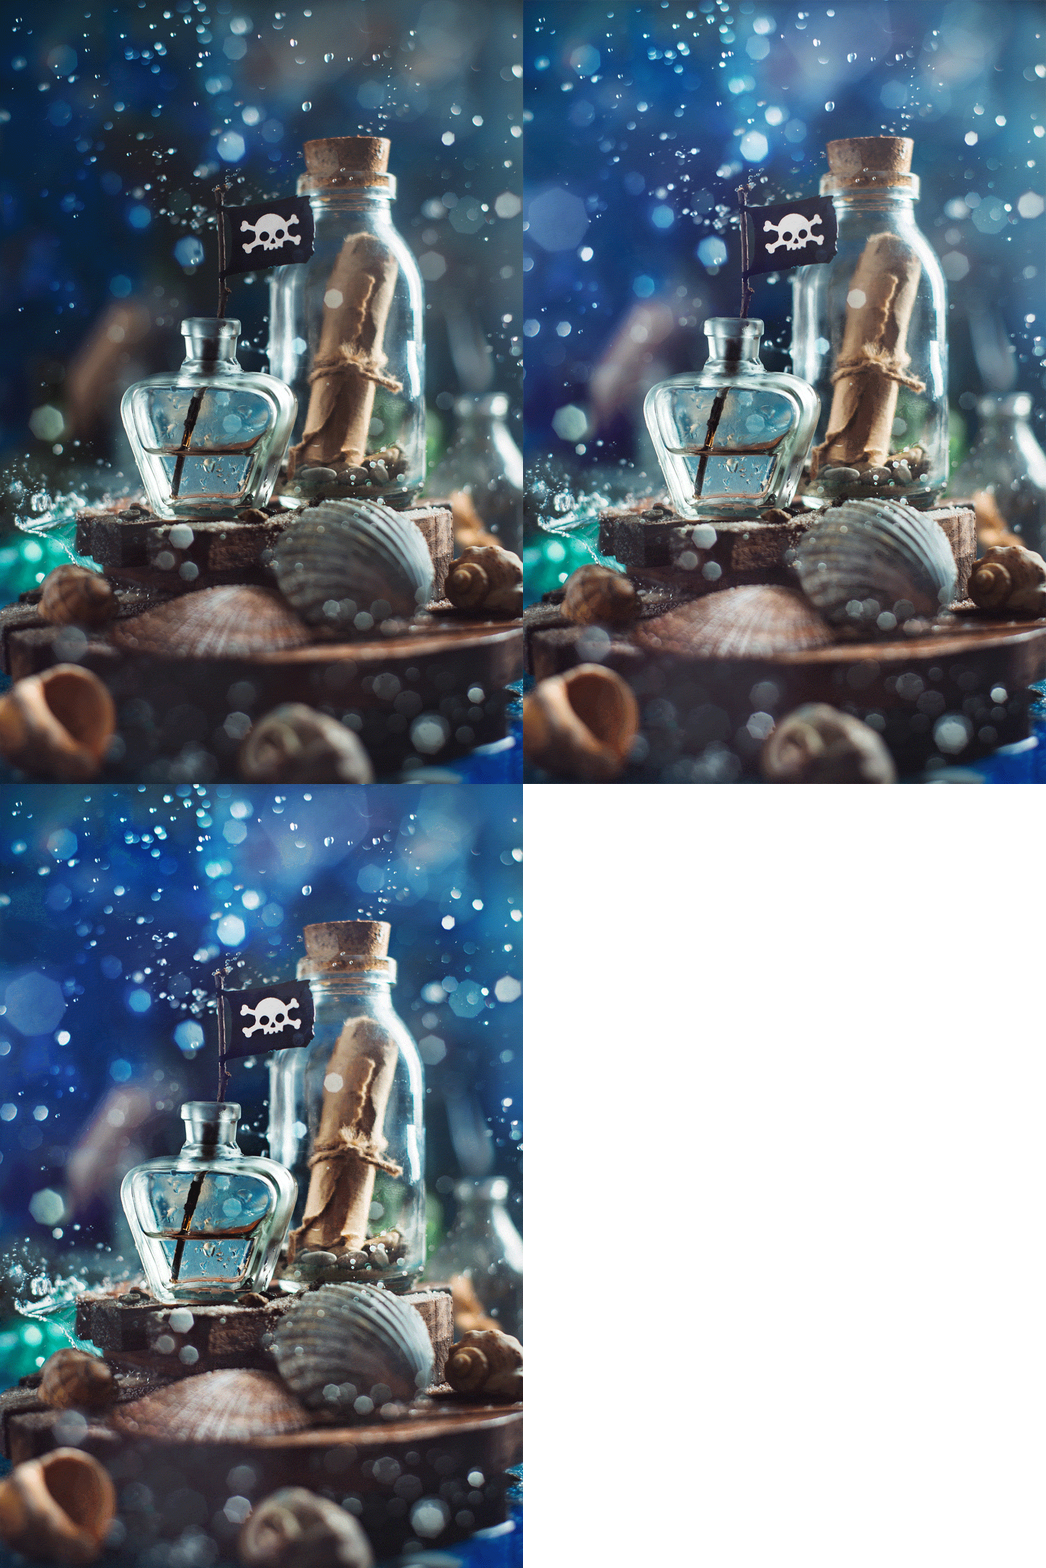
Voila! Here you can see the whole process from start to finish.
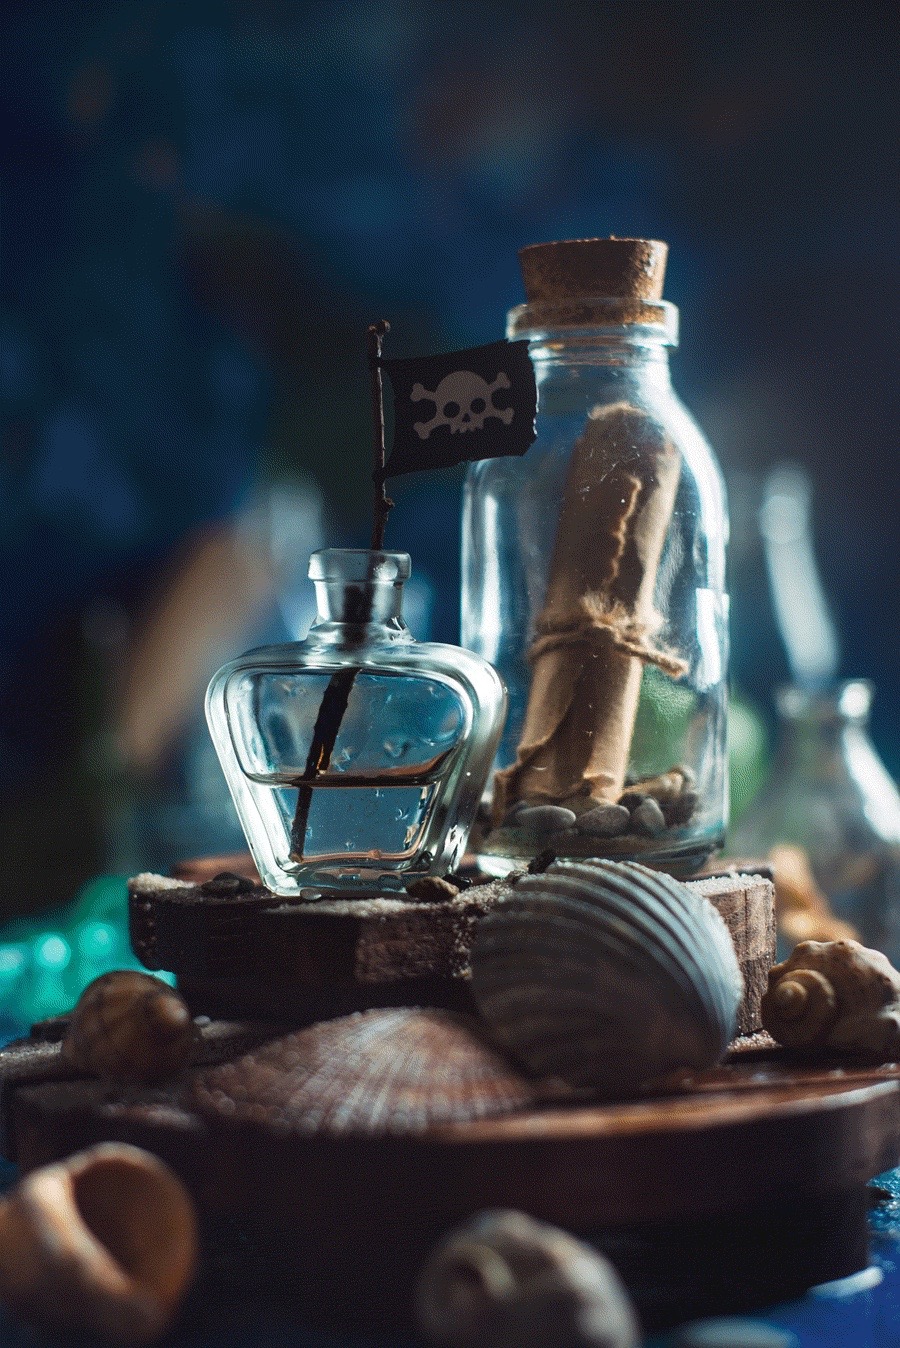
Your marine still life is ready! Hope you had fun in the process. To see more tutorials like this, backstage shots, and most recent work, follow my Instagram page.
Stay inspired and good luck!
Dina Belenko is a master of creative still life photography and a 500px Ambassador.


Leave a reply