
The last few years have seen a revolution in design and architecture—from smart home technology and the rise of “tiny houses” to green urban planning and the use of recycled materials. As our living and workspaces have changed, the field of architecture photography—established by legendary artists like Lucien Hervé and Julius Schulman in the 19th century—has evolved as well.
These days, architecture photographers are pushing the boundaries in creative and unexpected ways. Whether they’re capturing urban density by drone or honing in on the abstract, formal details of well-known buildings, they reveal to us the nuances of our cities and towns—their rich histories and their unfathomable futures.
Here’s everything you need to know about entering this dynamic genre.
What is architectural photography?
Architectural photography focuses on existing buildings and structures. This can include structures like bridges and fountains, or even entire cityscapes.
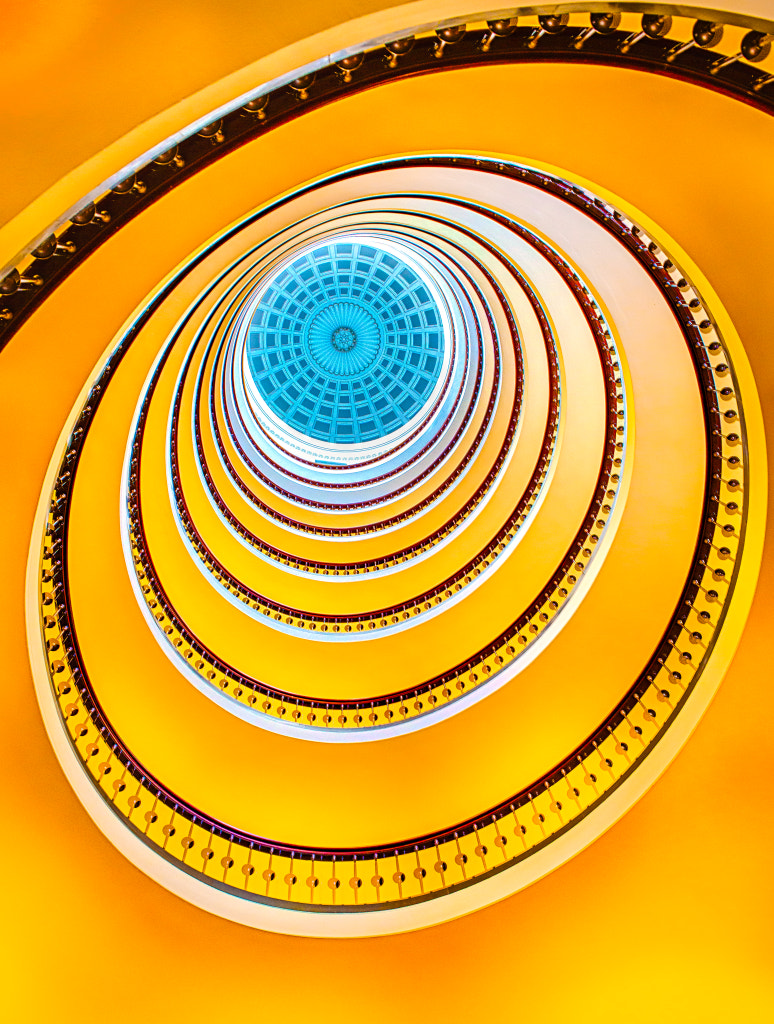
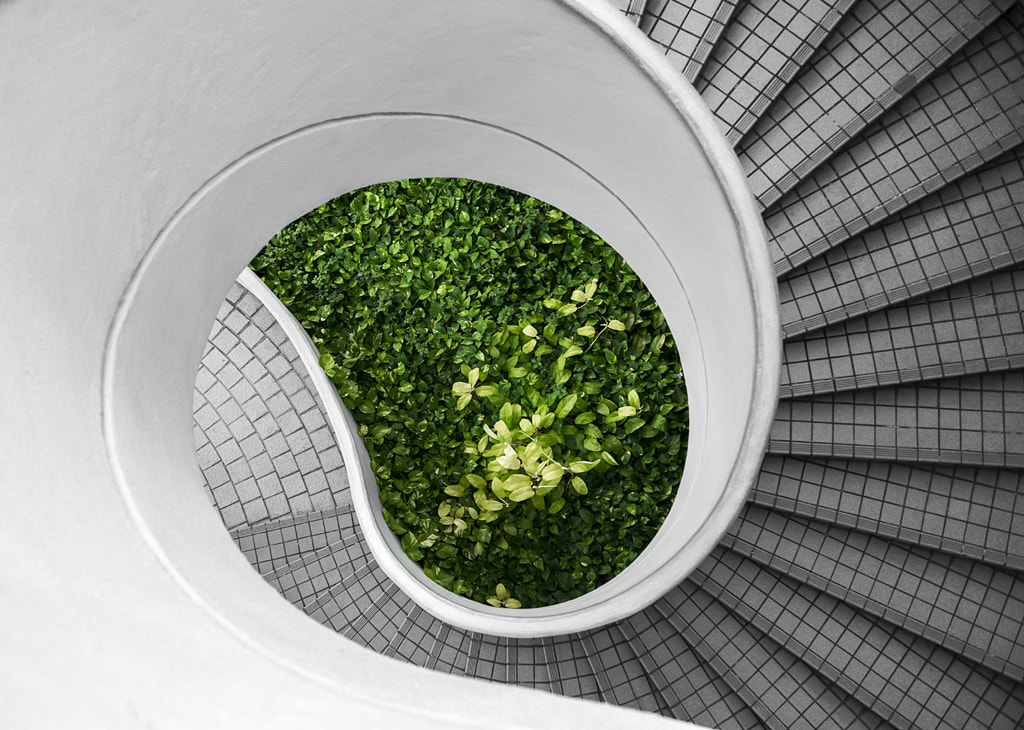
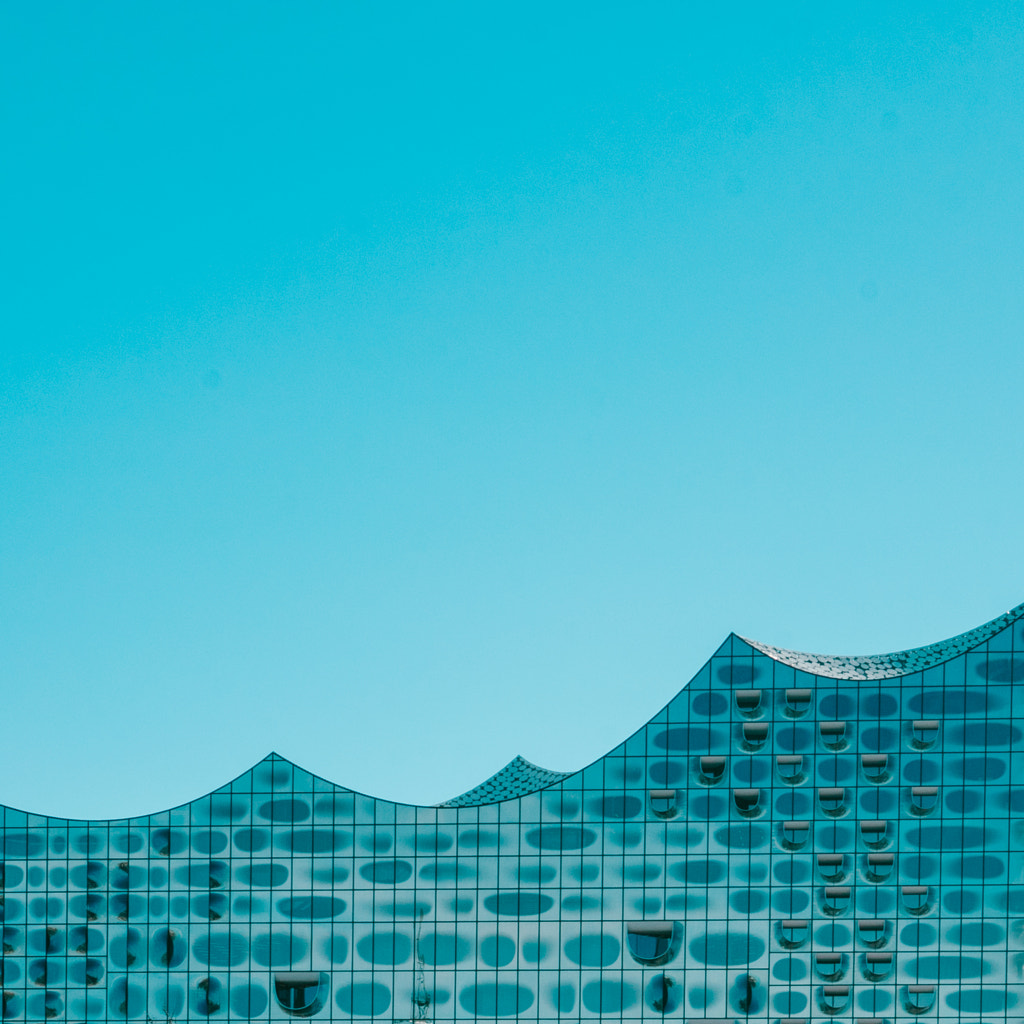
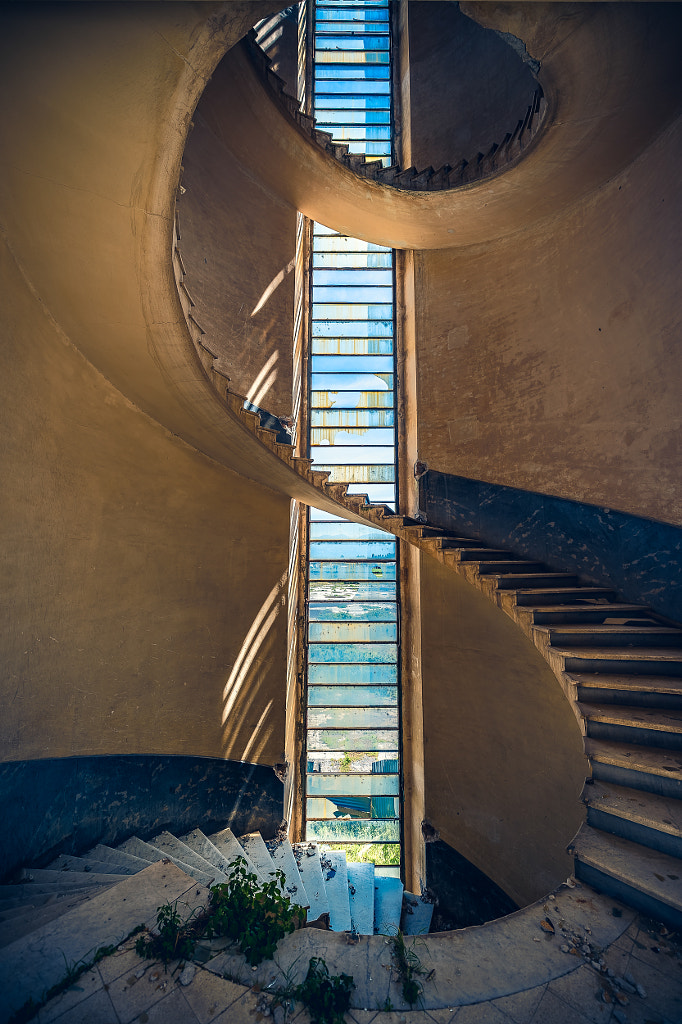
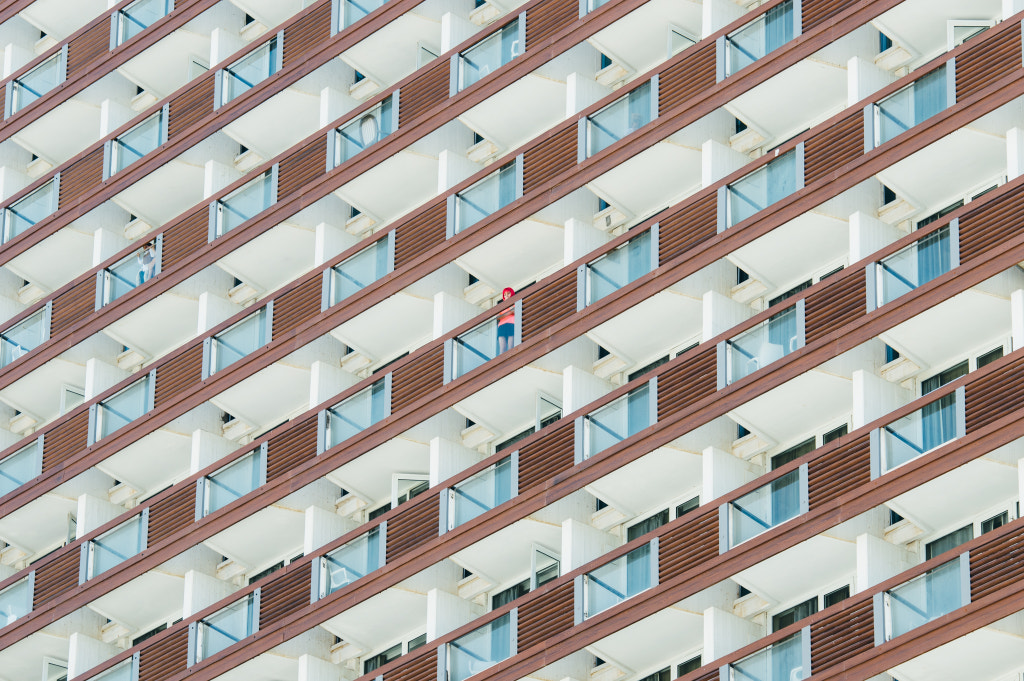
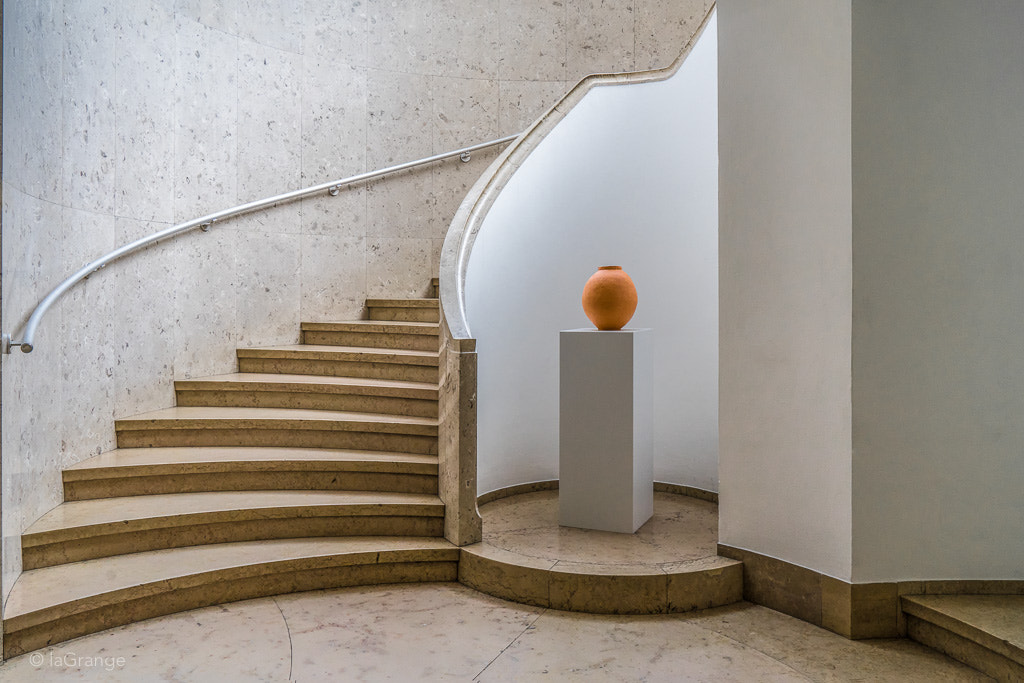
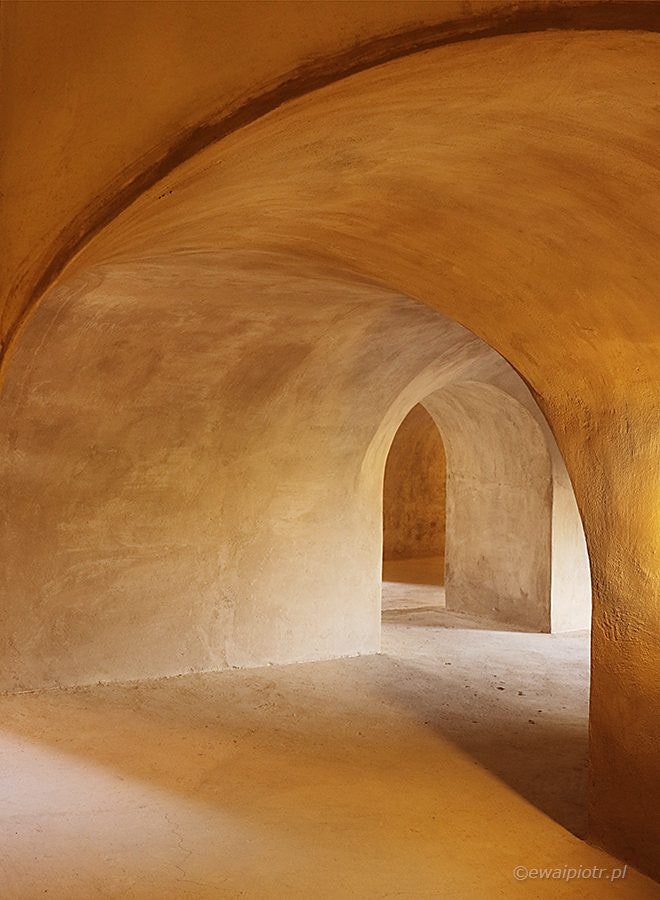
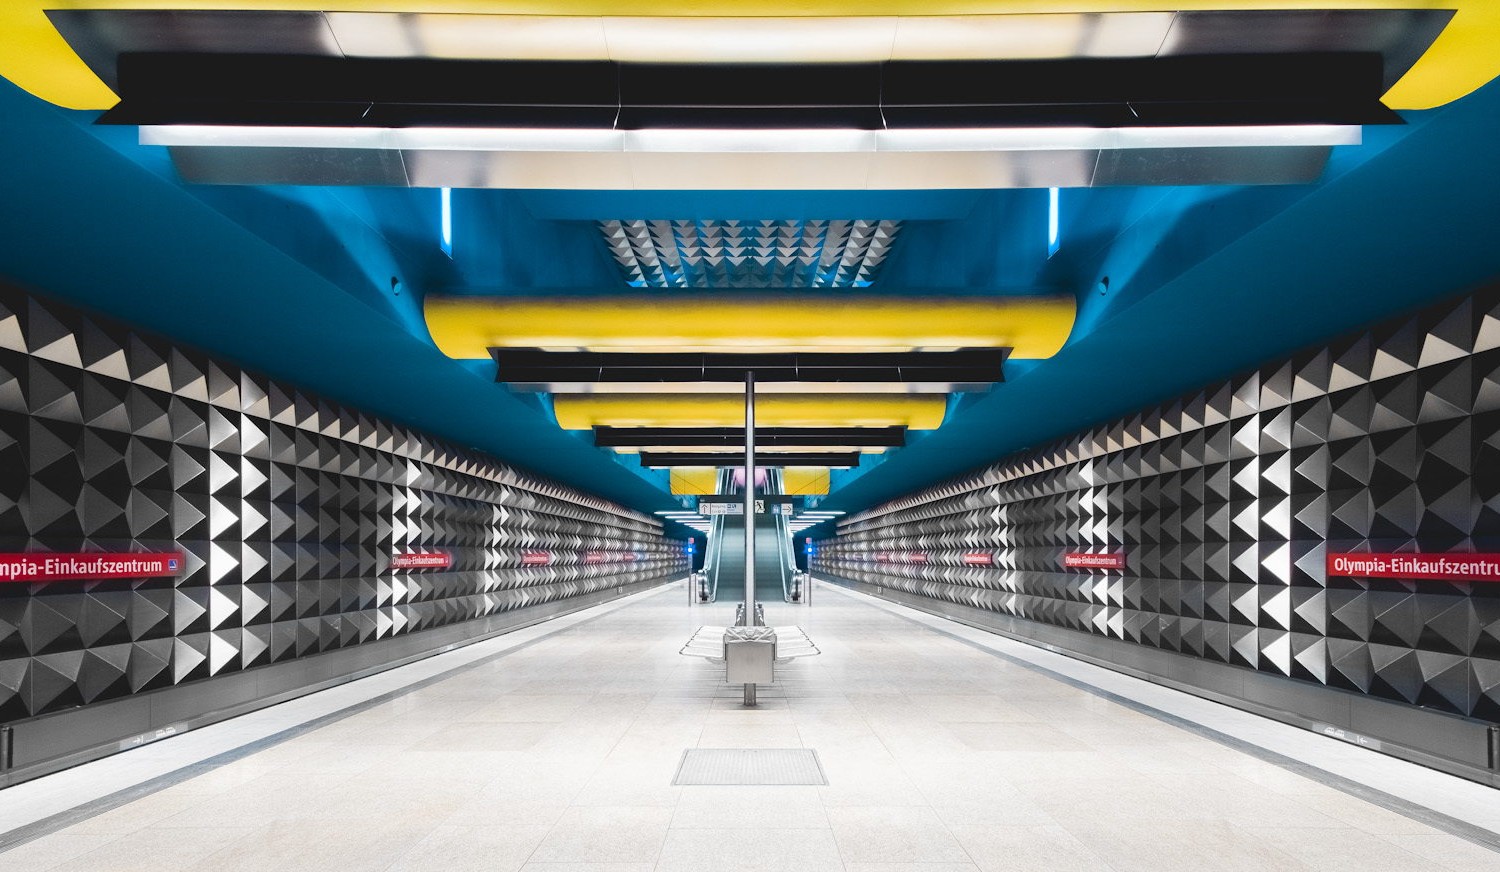
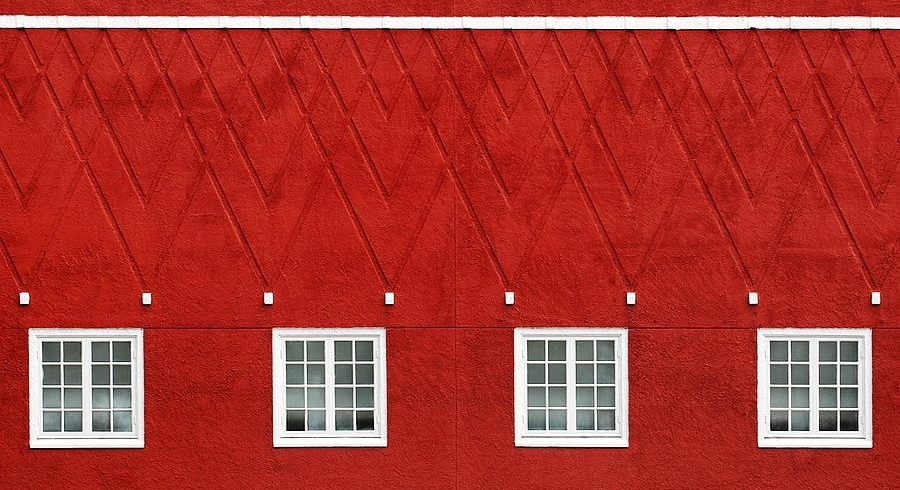
Look for elements of design in the man-made structures around you. Once you understand how to look, you’ll begin to see different compositional elements everywhere, such as leading lines, symmetry, texture, and repetition. In your architecture photography, you’ll capture these existing elements in creative ways to show them in a new and interesting light.
What gear will I need?
As with any genre of photography, you can get reasonably good results with a run-of-the-mill camera and your own creativity. For extraordinary shots, however, you may need to go a little further. In addition to your camera, you may consider purchasing the following:
–A hot-shoe bubble level
This will help ensure that your camera is completely level in the field, cutting down on your post-processing time.
–A tripod and remote shutter release
Particularly when shooting at night, you’ll need to keep your camera completely still for long periods of time.
–A graduated neutral density (ND) filter
This will help control interiors with a lot of bright window light.
–A tilt-shift lens
More on this in a moment.

1. Finding the right camera for architectural photography
You’ll also need the right camera, of course. Fortunately, you won’t need to worry much about speed in architecture photography, but rather the ability to customize your field of view with a variety of lenses. So, look first and foremost for a DSLR, or mirrorless, that will give you the ability to use interchangeable lenses.
If you’re shooting with a smartphone, you aren’t necessarily doomed to mediocre results; you just may have to work harder in post-processing and pay special attention to the extra options in your phone camera. You may also be at a disadvantage because people tend to take a big camera more seriously and show more consideration. If it looks like you’re taking a selfie, people have no problem walking in front of you.
2. Choosing architectural photography lenses
The best lens depends on the situation. If you are shooting from an odd angle, a tilt-shift lens can help you manage the perspective in your image without physically relocating the camera. A prime lens will help with sharpness, but you’ll need to zoom with your feet. A zoom lens will give you flexibility, which is helpful in public locations where you can’t guarantee a vantage point ahead of time, but you may have to sacrifice some sharpness. It’s up to you to determine the lens features that are the highest priority.
Six steps to capturing stunning architecture shots
There are several contributing factors to a great architectural shot: timing, place, and the different elements around the structure you’re planning to photograph. The next six steps are a checklist you can follow as you plan your first architectural photoshoot.
1. Find your location
The most important element of architecture photography is getting a vantage point that will do your subject justice. You’ll need to take accessibility into account when you’re scouting. For an exceptionally tall building, look for distance. For a popular location that’s likely to be crowded, brainstorm how you’ll get above the crowd.
2. Learn about the structure you choose
Looks aren’t everything, even in photography. Some of the structures you will want to shoot may have a special history or significance. If you’re shooting a landmark that may carry a meaning you aren’t aware of (for example, a statue or monument), research it. You may be able to incorporate that bit of personality into your image.
3. Use a tripod to maintain sharpness
With architecture photography, you may not have the ability to use artificial lighting to the same extent you normally would. This means you may use a lot of long shutter speeds in your shooting, so you need your camera to stay as still as possible. A tripod will also help keep your camera in the same spot in case you need to take multiple exposures to composite in post-processing later on.
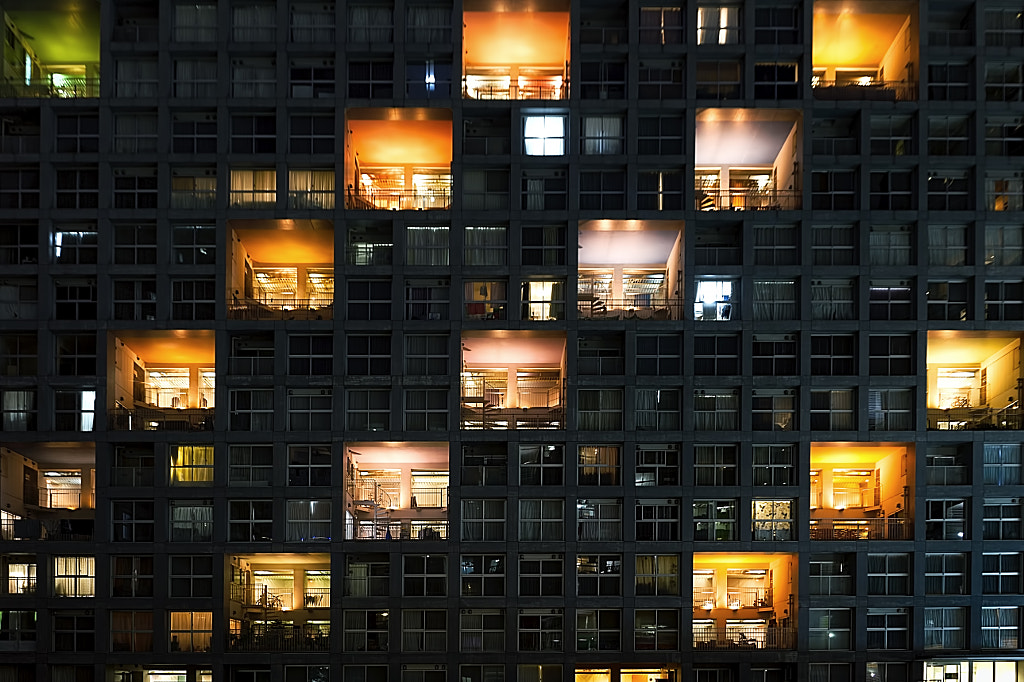
4. Mix up your timing
Different times of the day will give you a different view, even if you’re shooting from the exact same spot. Buildings with a lot of windows may have glare at a particular time of day, or a historical monument may be too crowded to photograph properly during peak hours. Experiment with your timing to see what works and what doesn’t.
In terms of light, The Photographer’s Ephemeris is a great planning tool that offers baseline knowledge of how light may behave at your location, even if your first time there is the day of your shoot.
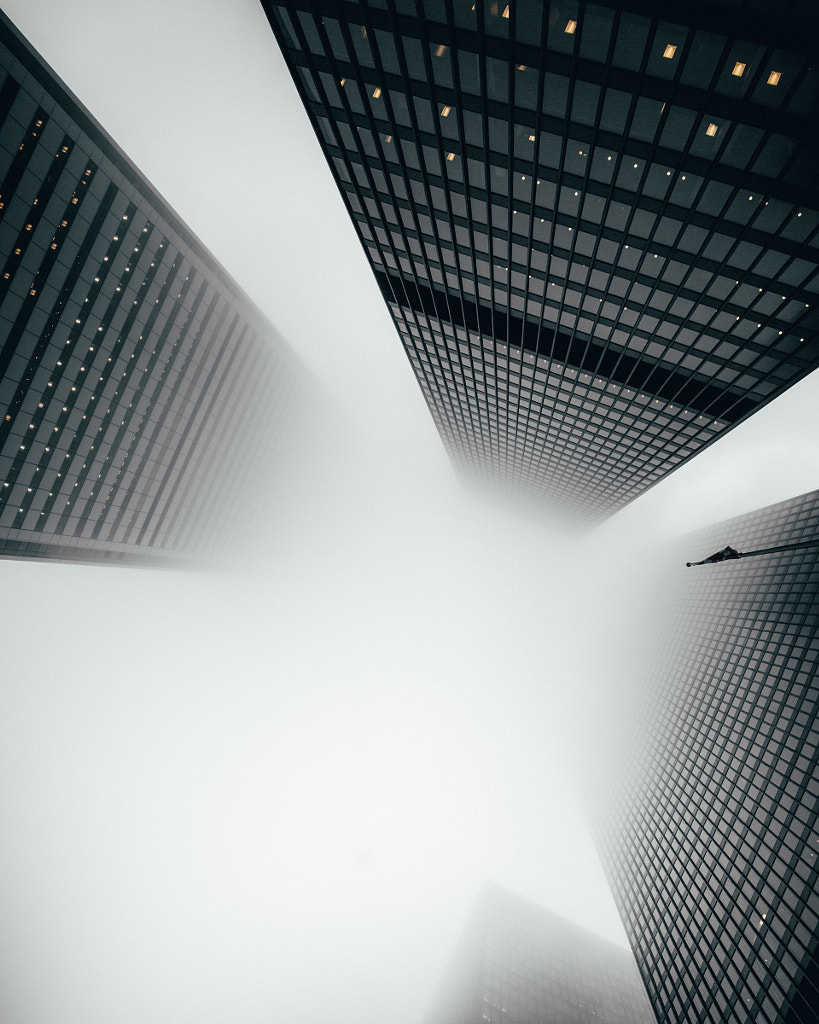
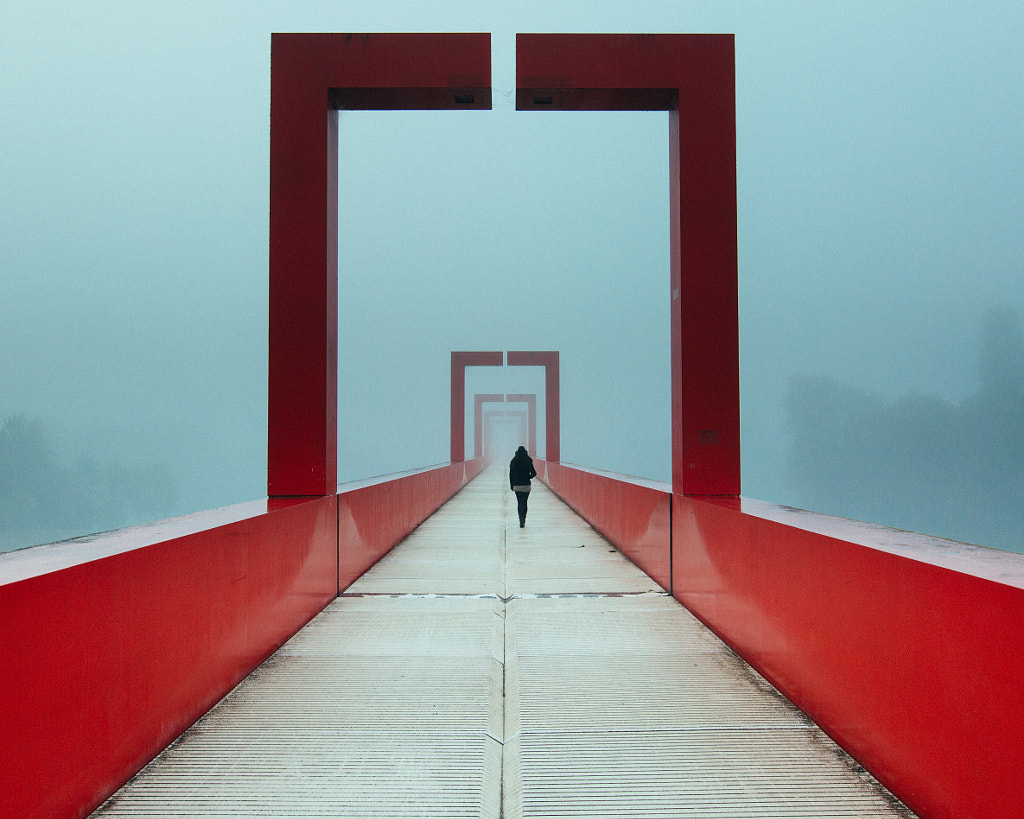
5. Find different angles
Don’t get caught up trying to fit the entire structure into your frame. A perfectly-centered photograph is compositionally predictable, anyway. If you prefer a centered subject, however, look for man-made or natural structures and items to frame your shot. Archways, branches, and window housings are all interesting candidates for a frame-within-a-frame.
You can get even more interesting angles with a drone if you have access to one. An entire world of bird’s-eye photography will suddenly open up, or you may simply be able to get your camera into a place you might otherwise not have been able to reach.
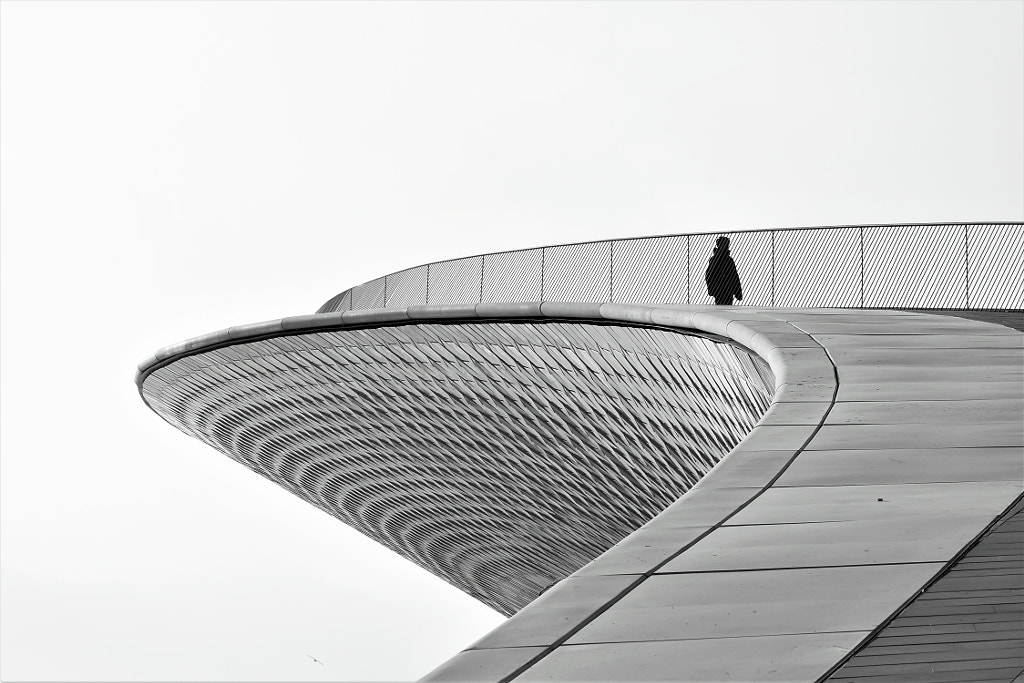
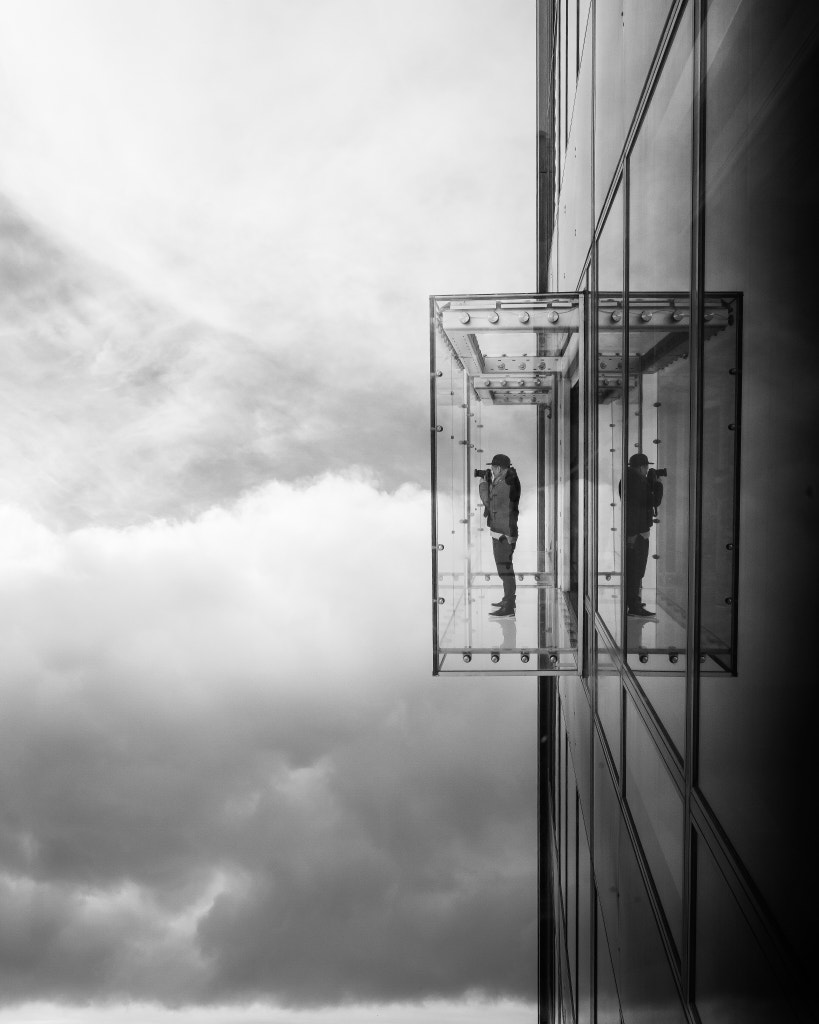
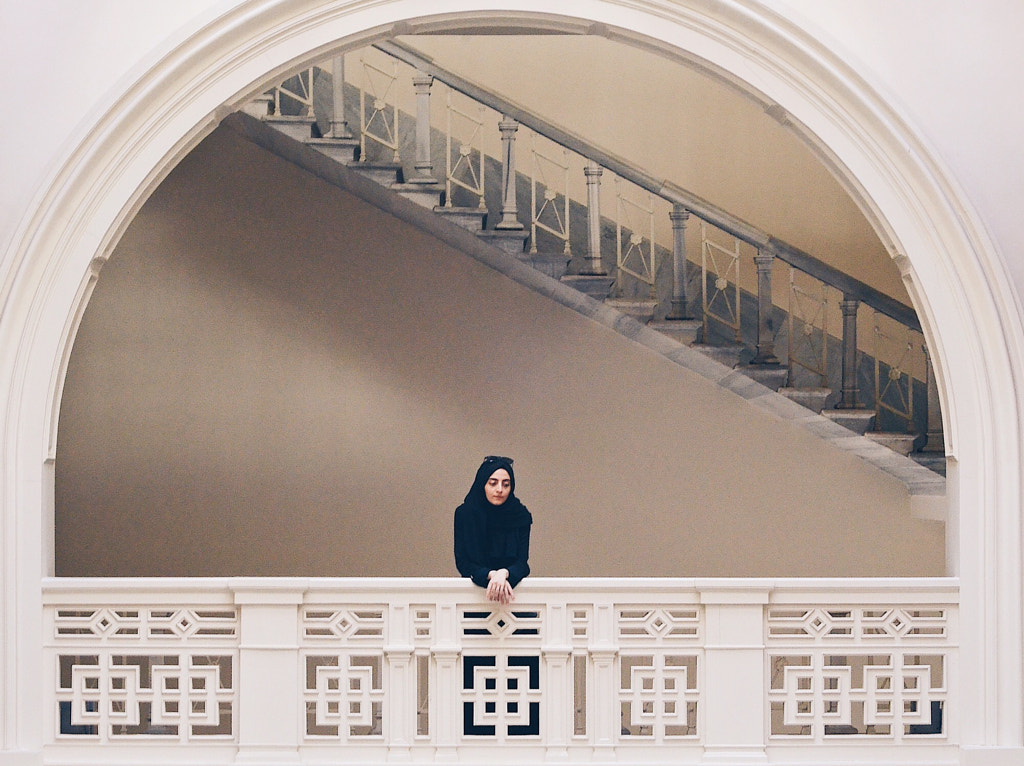
6. Include bystanders
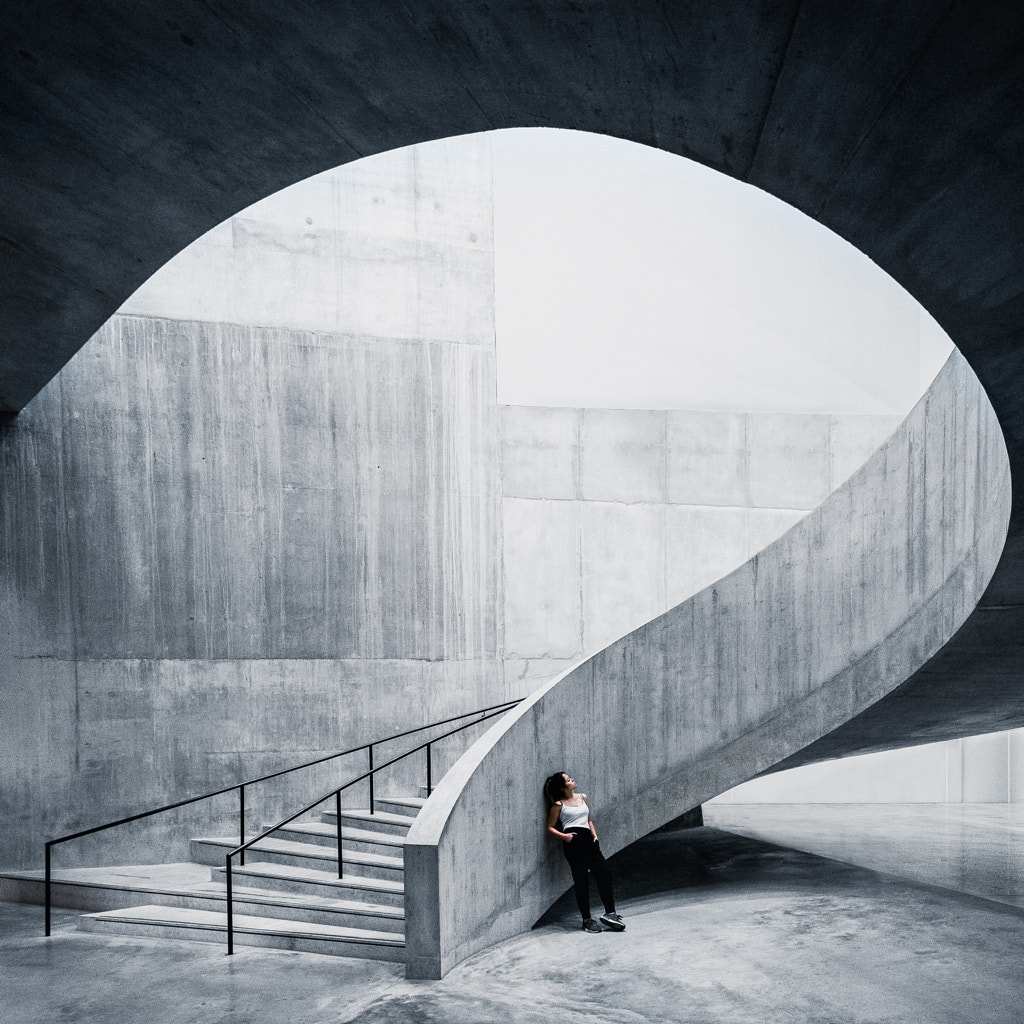
People are useful in architecture photos for demonstrating scale. A giant skyscraper looks ten times larger when you see a grown man looking minuscule next to it. You can also use people to clarify the purpose of the architecture, highlight details, or convey a mood through body language. Children climbing on the structure, or people sitting in odd places around the building can add an air of whimsy, as well.
Unique challenges in architecture photography
Although you sidestep the challenges of high-speed shooting in this particular genre, there are a few factors to plan around, like distortion and low lighting. Here are a few go-to solutions:
1. Manage tricky lighting with HDR
You probably won’t be able to light most exteriors yourself, so you’ll be relying heavily on available light. An HDR helps you stack your exposures to get the best version of your highlights, mid-tones, and shadows in the same shot. You simply take a series of identical frames, slightly increasing or decreasing one element of exposure each time. Then you combine the images in post-processing to get a balanced image.
2. Defeat distortion with lens profiles
Architecture photos are particularly prone to distortion, but that’s a quick and easy fix thanks to digital photography. Most lenses have known tendencies, which will register in Photoshop or Lightroom through the image metadata. You can easily go into the lens correction options in your software of choice and accommodate those tendencies.
If you’re using a third-party lens that isn’t supported, or a software that doesn’t recognize it, you can still probably use the transform settings to skew, warp, or distort the image manually.
3. Remove unnecessary people from your photo
Although there are many reasons to include people in your architecture photography, there are an equal number of reasons you may not want them. You can choose not to include them in the first place by waiting until the shot is clear or using a long exposure so that they don’t show in the final image.
If you prefer to deal with the problem in post-processing, take multiple shots at the same angle, layer them in Photoshop, and composite them using layer masks. Alternatively, you can create a new, empty layer and set your cloning tool to sample all layers, then clone (or heal) the person out of your photo.
4. Know when it’s okay to use Photoshop
Know what level of post-processing is acceptable. If you’re working for a client, get their input on what elements can stay and what can go. For real estate photography, accuracy is important. For a stock photo, you can use a little creative license to get a better composition. Again, this is important if your structure has cultural or sentimental significance. You could risk offending a lot of people by trying to “pretty up” a structure that they care deeply about just as it is.
5. Use post-processing to perfect your light balancing
We already explored how you may have less control over your lighting with architectural photography. You can offset this with some quick light-balancing adjustments in your editing software. Brighten your shadows, but darken your blacks to increase detail without adding muddy dark areas. Then, darken your highlights and brighten your whites ever so slightly to do the same with your brightness.
Taking your Architecture Photography a Step Further
Do you enjoy architectural photography enough to pursue a career in it?
Look for online classes you can start taking now (Skillshare and CreativeLive are both great, reliable resources). This is the only way to truly learn the things you may not even know that you don’t know. It’s also a good way to begin building your portfolio. Clients will want to see examples of your work, so it’s a good idea to start doing practice shoots and putting your best shots in a portfolio.
Don’t neglect the business side of your education. You’ll need to learn about contracts, the right time to use a property (or model) release, and how to track your finances as an entrepreneur.
Now you’re ready to go out and tackle your first architecture photography shoot. The only thing left to do is gather the right equipment, find your location, and start building a portfolio that will impress future clients (or your friends on social media). Either way, you’re well on your way to mastering a new technique and becoming an even stronger photographer.
Not on 500px yet? Click here to learn about Licensing with 500px.
Leave a reply