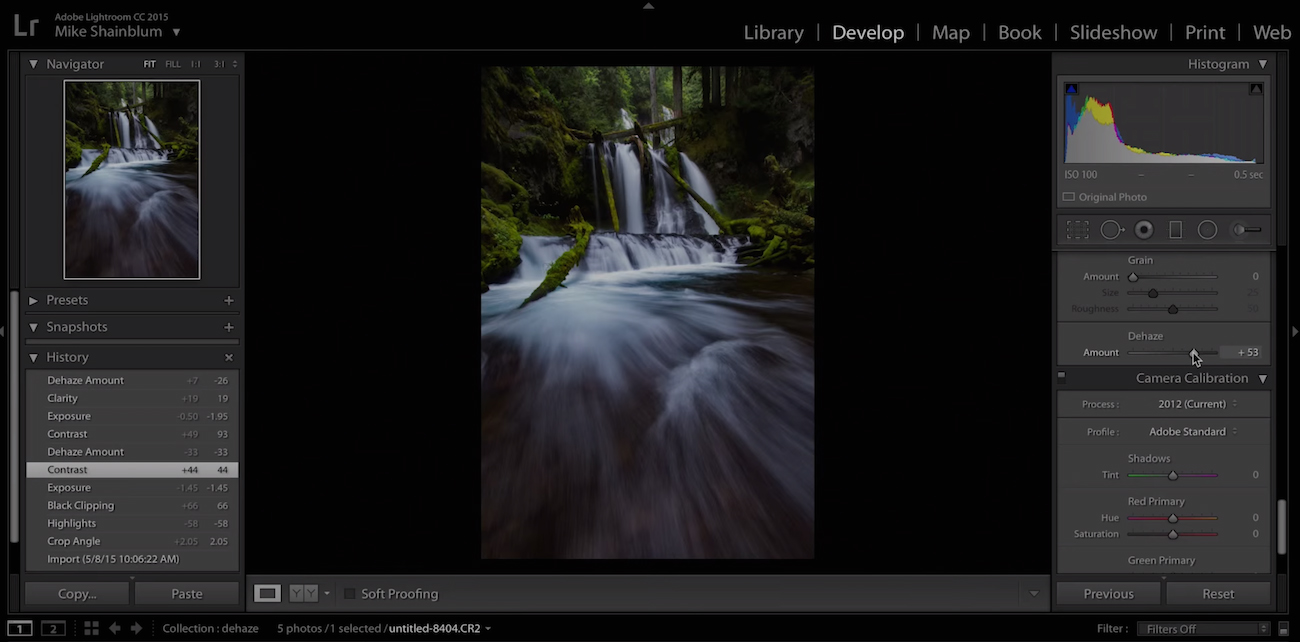
We showed you the power of Adobe’s neat new Dehaze tool in Lightroom and Camera RAW last week, when we shared a short video put together by 500pxer Grant Friedman, but if you thought Dehaze was only good at what it was named for, you’re in for a treat.
Another talented 500px photographer you may have heard of, Michael Shainblum, decided to take the new Dehaze tool for a spin recently and came up with a few really neat uses that we’re betting you hadn’t thought of yet.
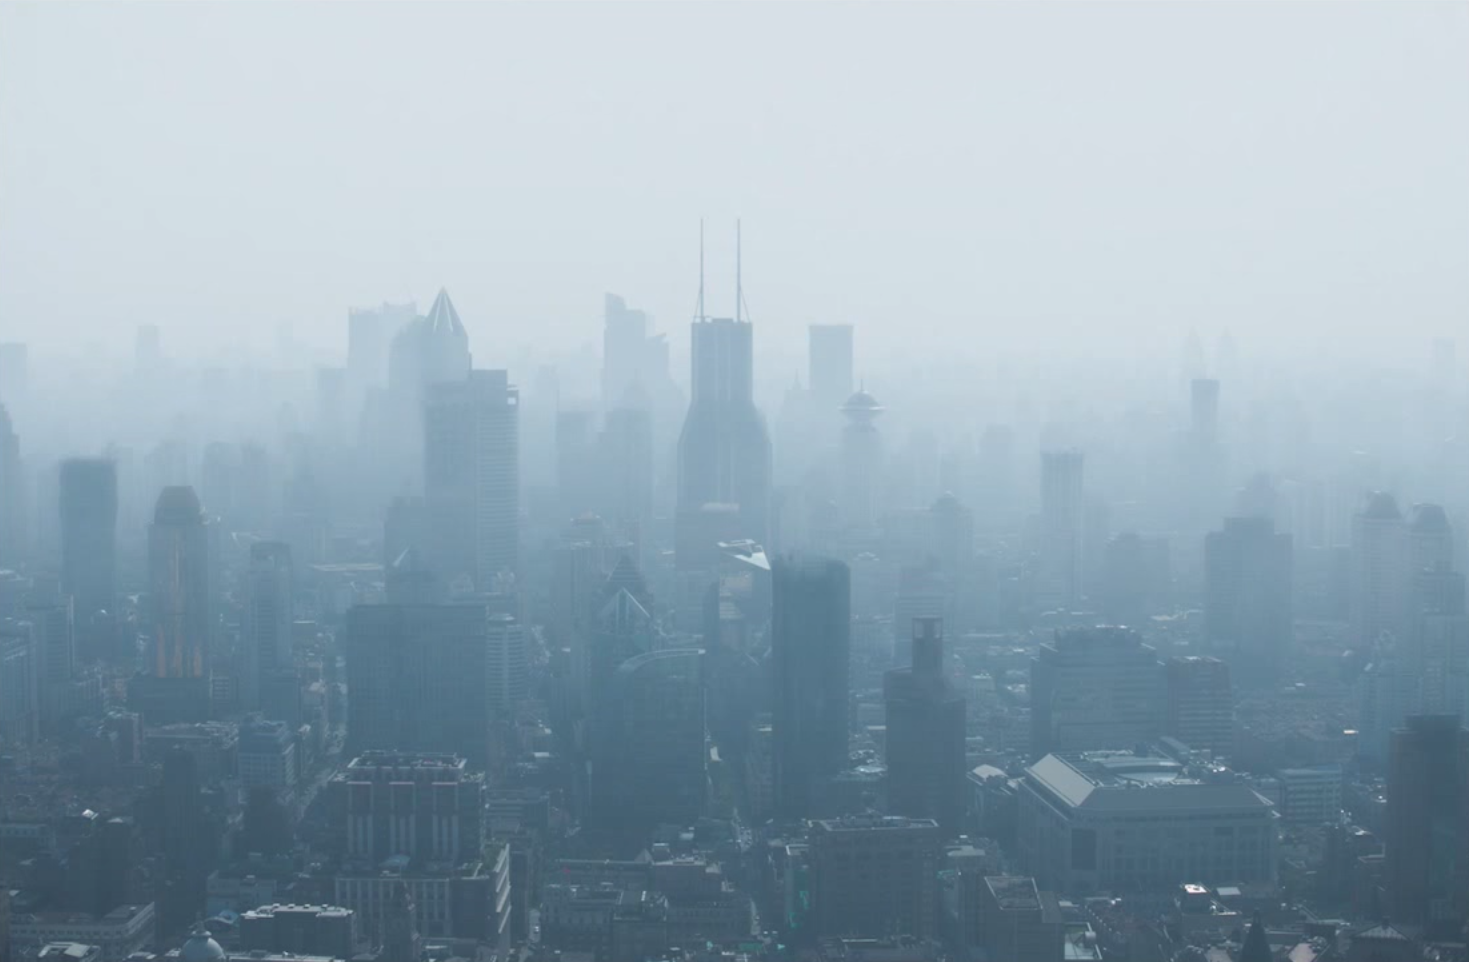
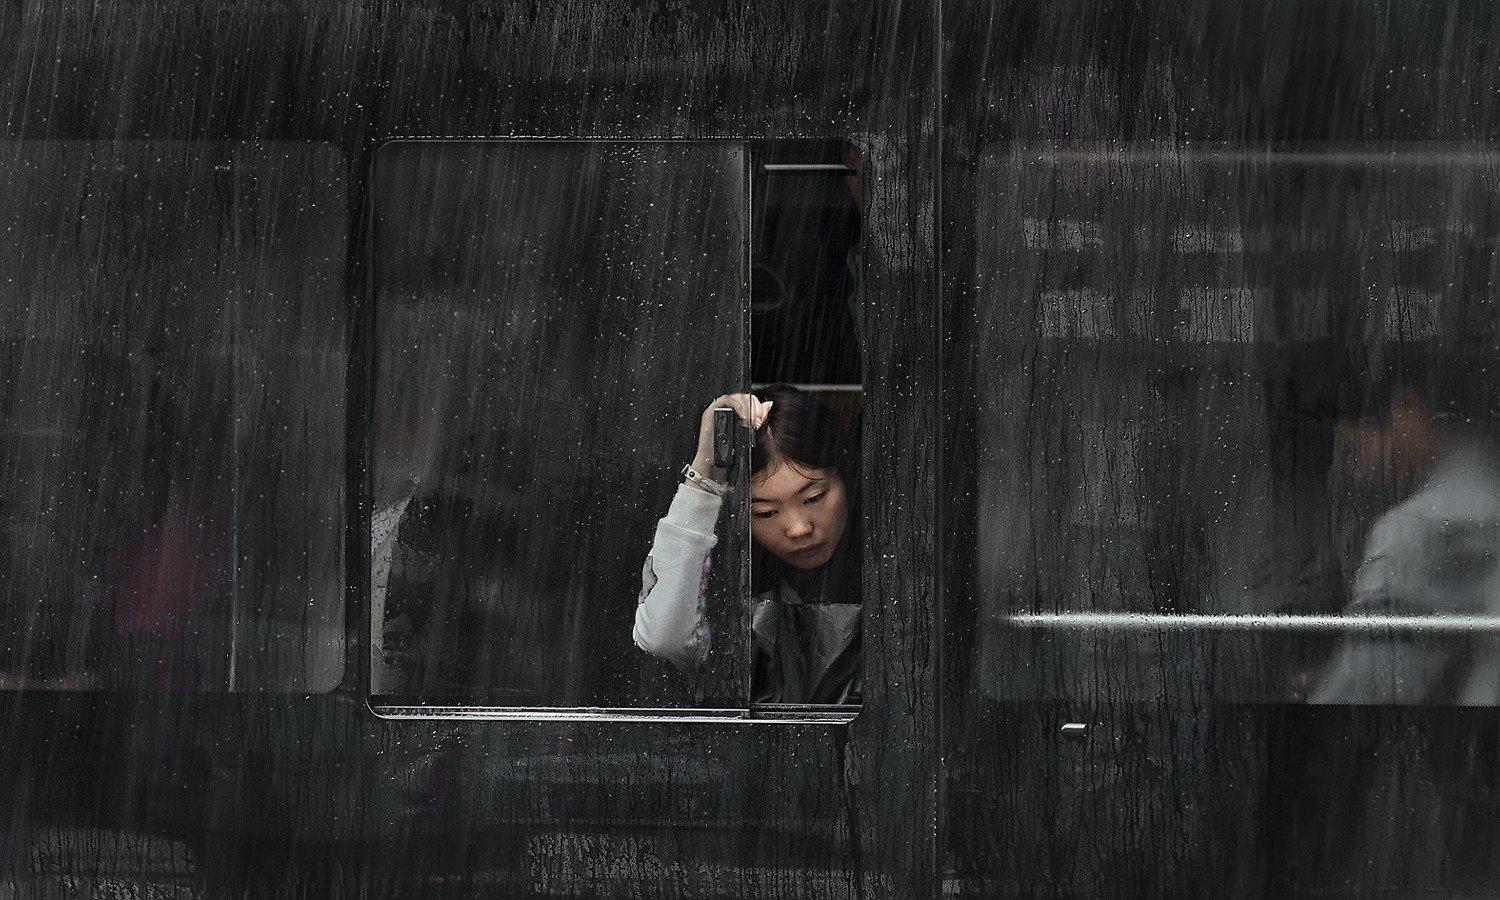
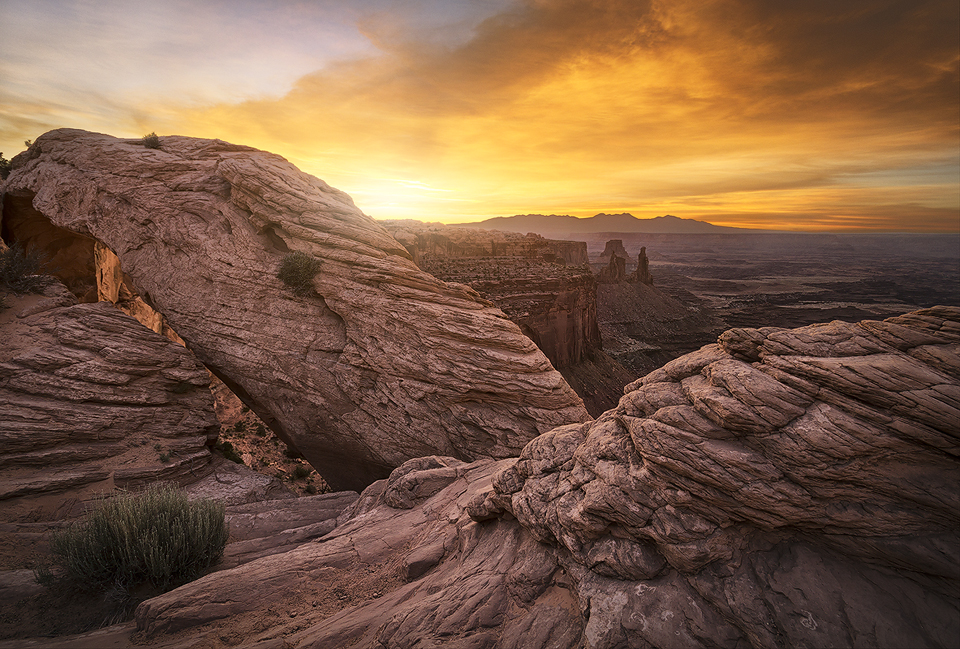
He runs you through each of the use cases in the short video demonstration below, but the main three ideas are: use the tool to ADD haze (looks like you’re adding fog to an image), use the tool to increase tonal contrast in an image without haze, or use the tool to add a ghostly look to a clear image by adding in ‘haze’ after the fact.
Check out his short demo below:
As you can see in the video, there’s a lot of tweaking to be done beyond just moving the dehaze slider in one direction or another, but even the preliminary effects Michael gets are pretty neat.
Adding tonal contrast to an image has never been easier… neither has adding extra ‘fog’ to an already hazy skyline. And we’re willing to bet he turns that waterfall image into something really interesting after adding in some haze and tweaking some of the other parameters.
[twentytwenty]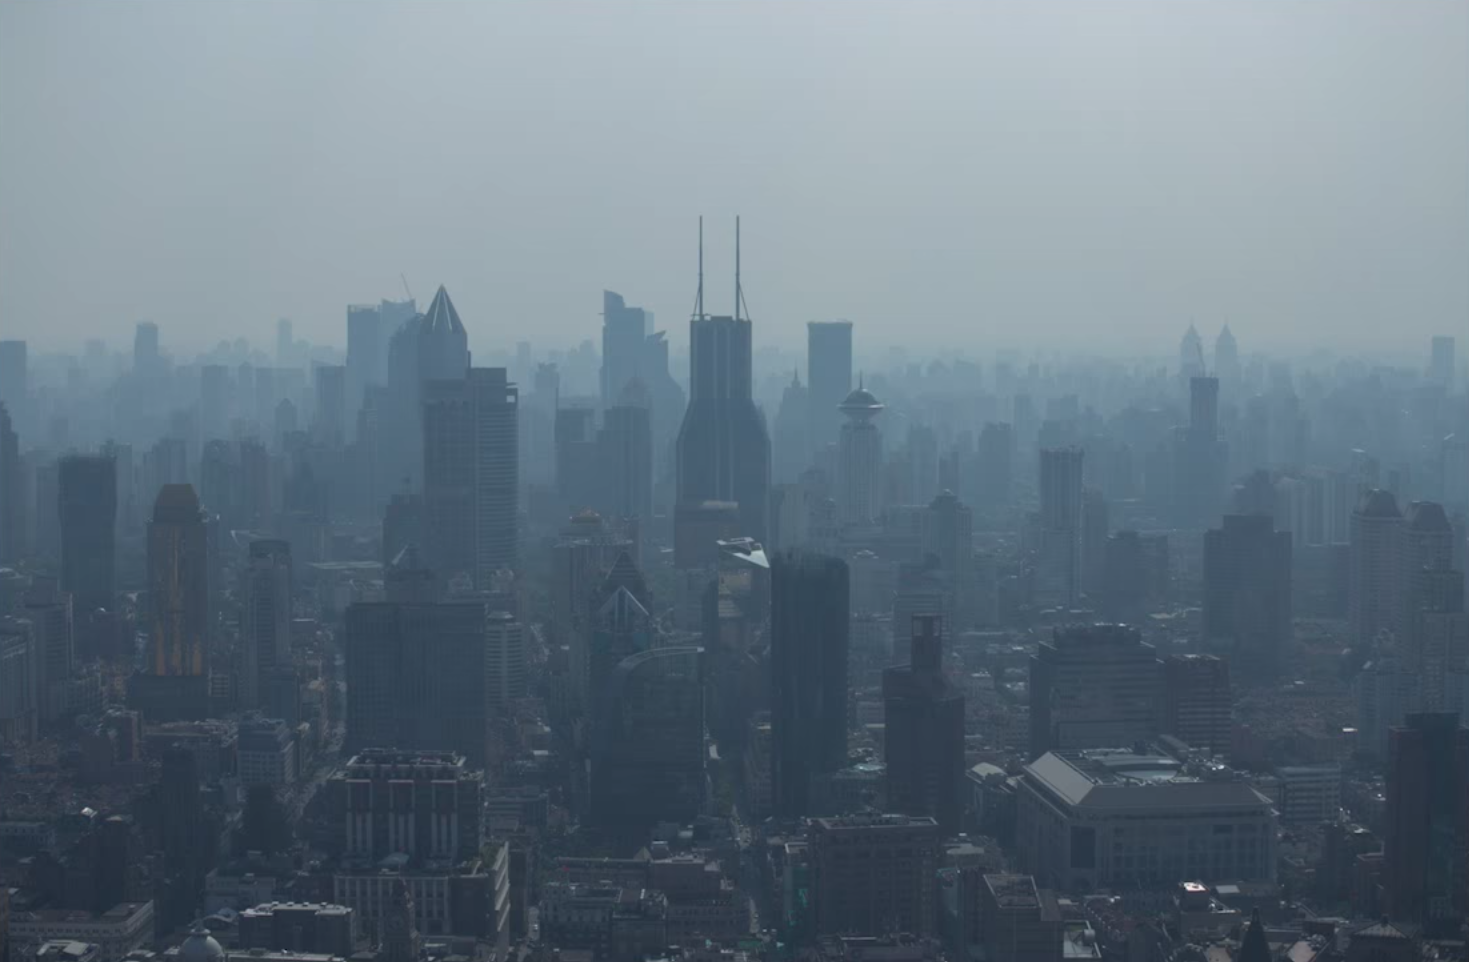
 [/twentytwenty]
The lesson Michael demonstrates here is simple, and it applies to a lot more than just this one tool: when it comes to post-processing, don’t get bogged down on what the tool is “supposed” to do.
Try new things, experiment, mess around, and you may just stumble across an effect or look that you really like—and if you’re really lucky, you might invent something totally novel.


Leave a reply