Vadim Sherbakov is an independent art director and photography enthusiast. He specializes in interactive web projects and applications for mobile devices at his primary job and he lives in Moscow, Russia.
As a photographer he is interested in landscape and cityscape photography and he is a big fan of aerial photography, using a drone to capture new angles on familiar subjects. He travels quite often to different destinations around the world and tries capturing both traditional and aerial photos of the same places.
He is new to 500px community but will be publishing more of his work in the near future. So check out his account here, or see his video work on Vimeo and join him on social media through Facebook and Instagram.
This article was originally published on Medium and is being republished on 500px ISO with express permission.

My name is Vadim (aka Madebyvadim), and for a few months now I’ve been using the awesome DJI Phantom 3 Professional version quadcopter to capture new and different photos. In this article, I’d love to share some of my experience with you, and help you make the best out of your next aerial photo shoot. Let’s do this!
First, I should say that I only use the Phantom 3 product, though I am sure all the points here are applicable to many other drone models. That said, my advice is most relevant to those of you who want to consider drone photography as a logical step forward and/or addition to your current photography gear.
Let’s face it, the Phantom’s camera is great, but not without its faults. Yes, it shoots 12MP RAW format, but noise and focus are weak points, and shake due to the wind is unavoidable. So, to make best of this awesome-but-limited tool, I follow these principals when I use it:
1. RAW is the Key
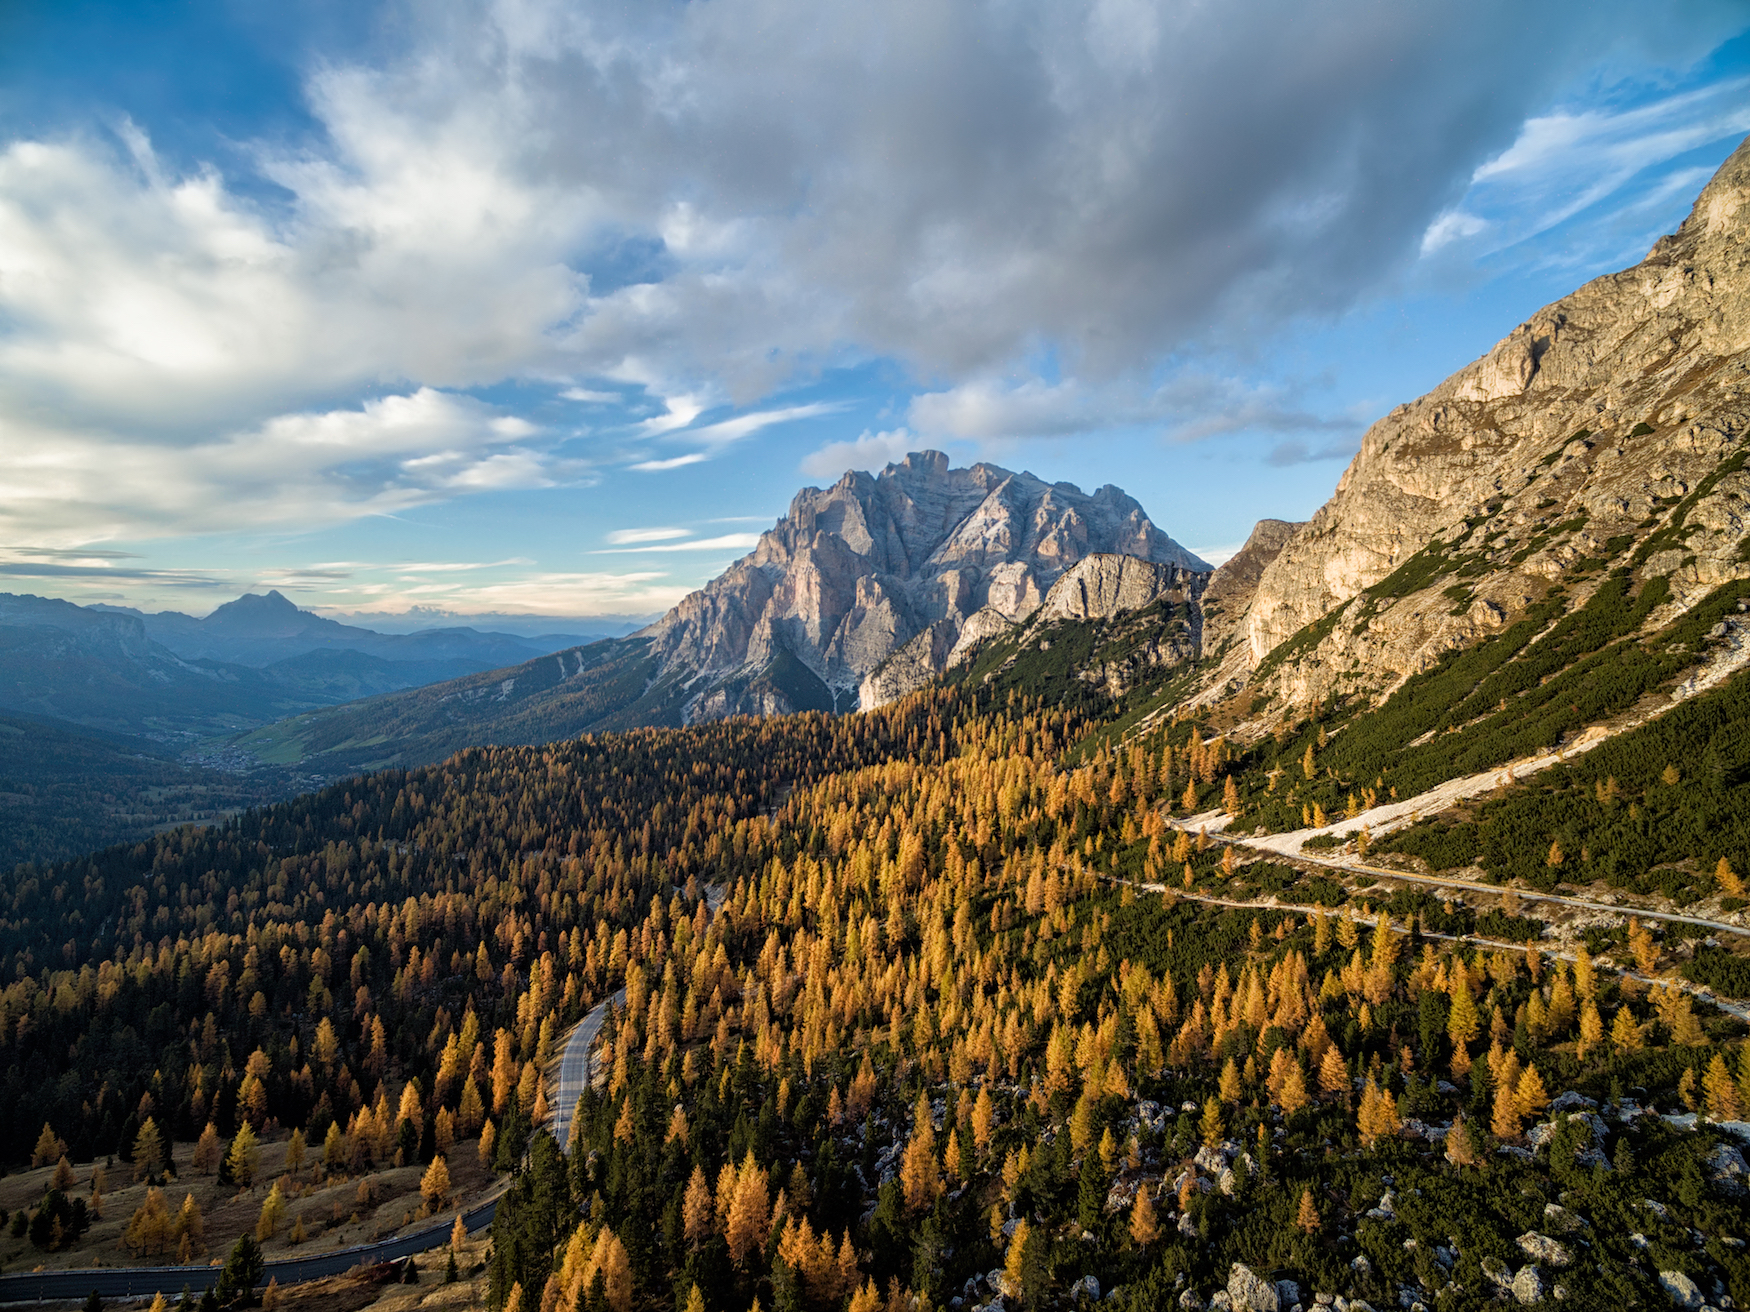
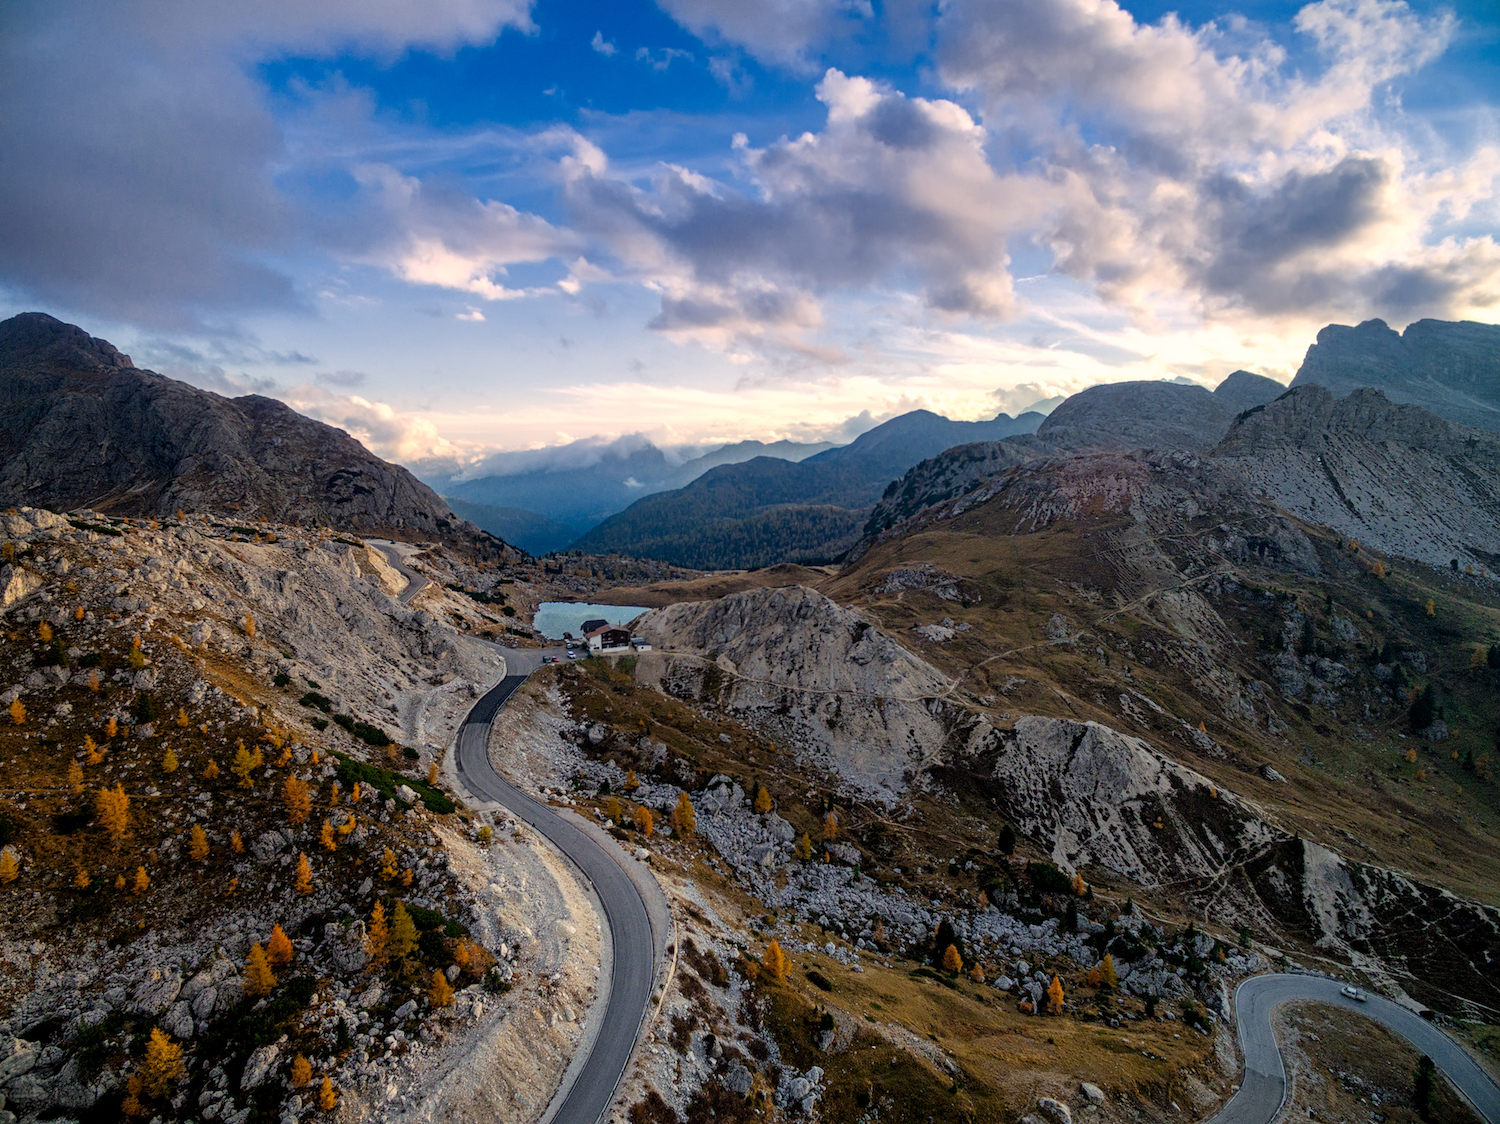
Dolomites, Italy
Almost every single professional photographer will tell you that the best way to shoot is in RAW format. They always shoot in RAW in order to be able to correct any flaws in exposure or color with greater precision.
This is even more applicable to drones. Since the camera resolution is only 12MP, it would be a crime to compress it into the .jpg format and not use the advantages of the RAW format.
“Yes, but I only shoot for fun,” you say. Even so, you might one day capture the-best-drone-photo-ever, and how disappointed would you be that day when you realize you won’t be able to process it properly because you’ve been sticking to the compressed .jpg format?
But seriously 🙂 if you are serious about trying drone photography, and I suppose you are if you’re reading this, then forget .jpgs and use RAW. Period.
2. The 16:9 or 4:3 Format Question
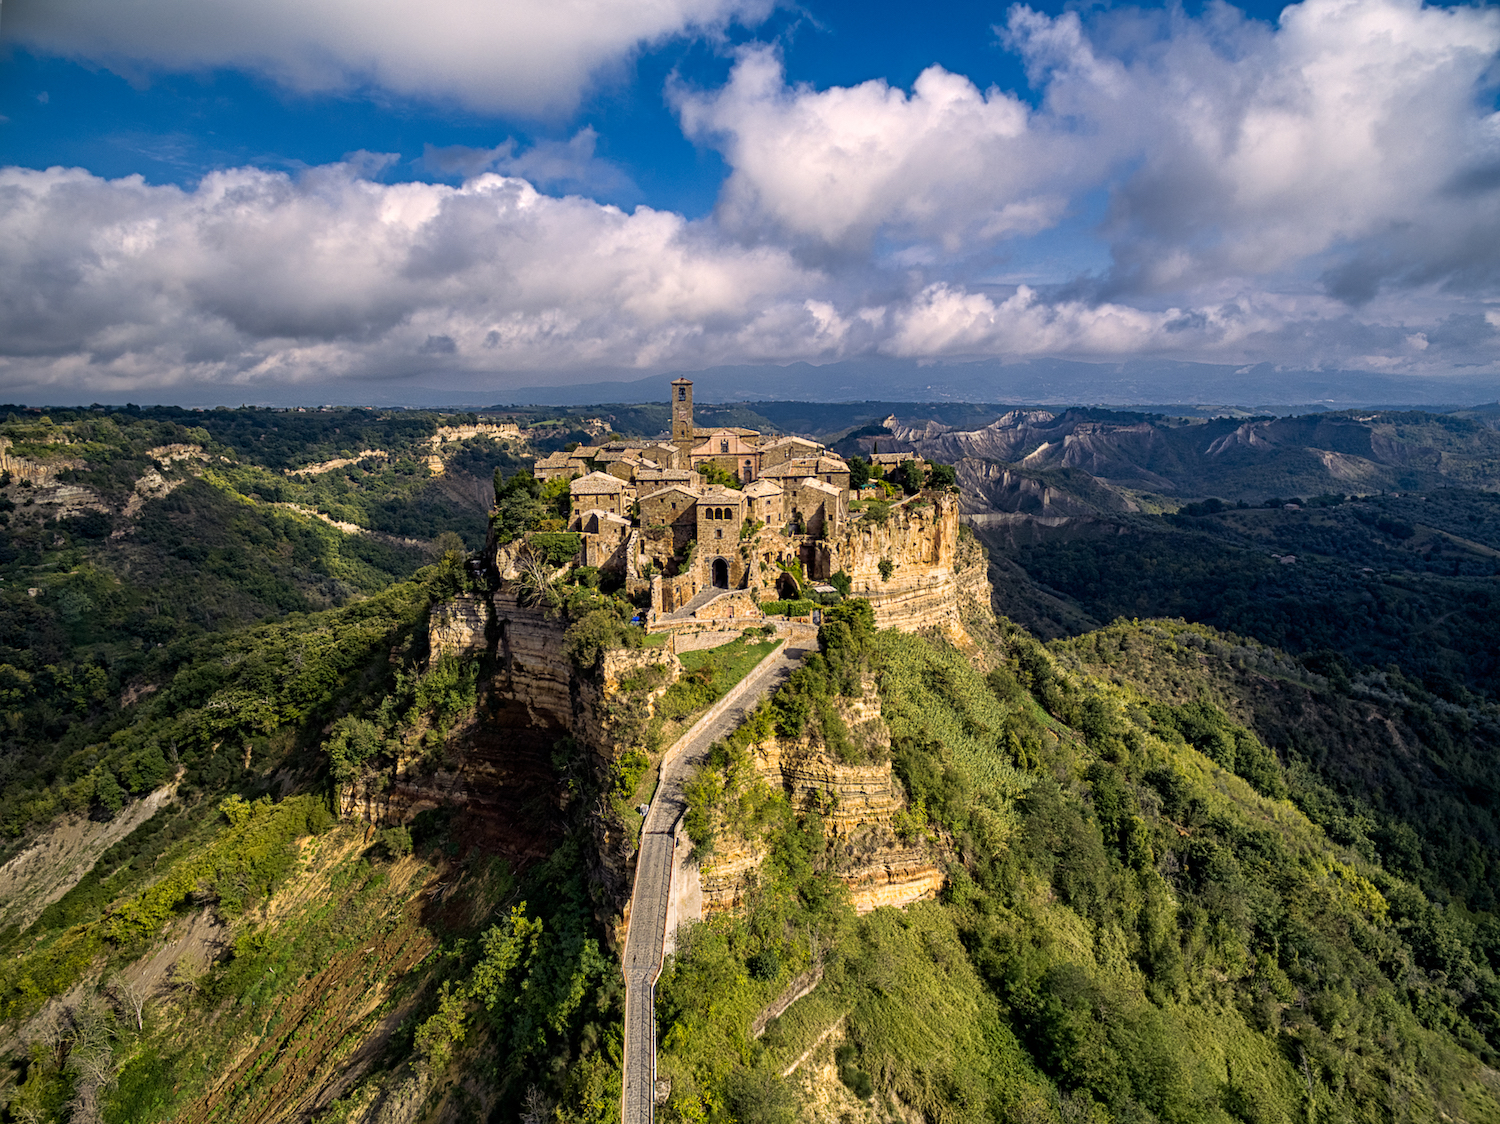
Civita di Bagnoregio in 4:3 Format
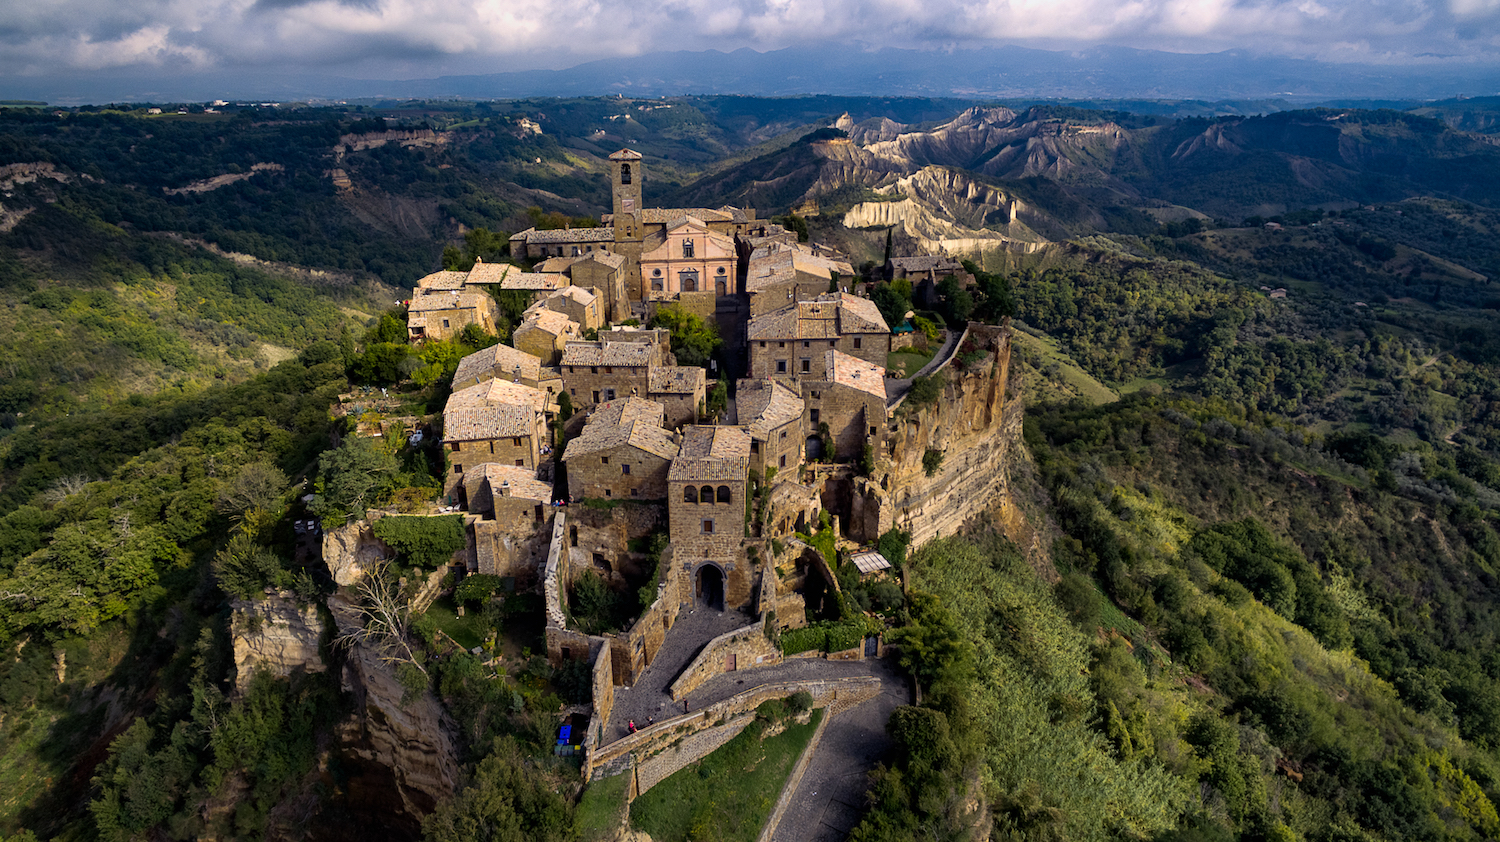
Civita di Bagnoregio in 16:9
I’ll confess I started out by shooting 16:9, since I come from a production background and it’s a more pleasing ratio for me, but I also shoot in 4:3. Furthermore, I sometimes shoot both at the same time.
Actually I am not sure why DJI is using 4:3 and 16:9 as photography formats, when the most used format is 3:2. I suppose it has something to do with video being the primary format for drone usage. Not sure.
So, I suggest you use both aspect ratios and see what works better for you, or even recompose and shoot in both at the same location. Yes, it will take more time, but I think it’s worth it… especially later in post-production when you have more flexibility in choosing the right shot for your portfolio.
3. Bracketing is the King
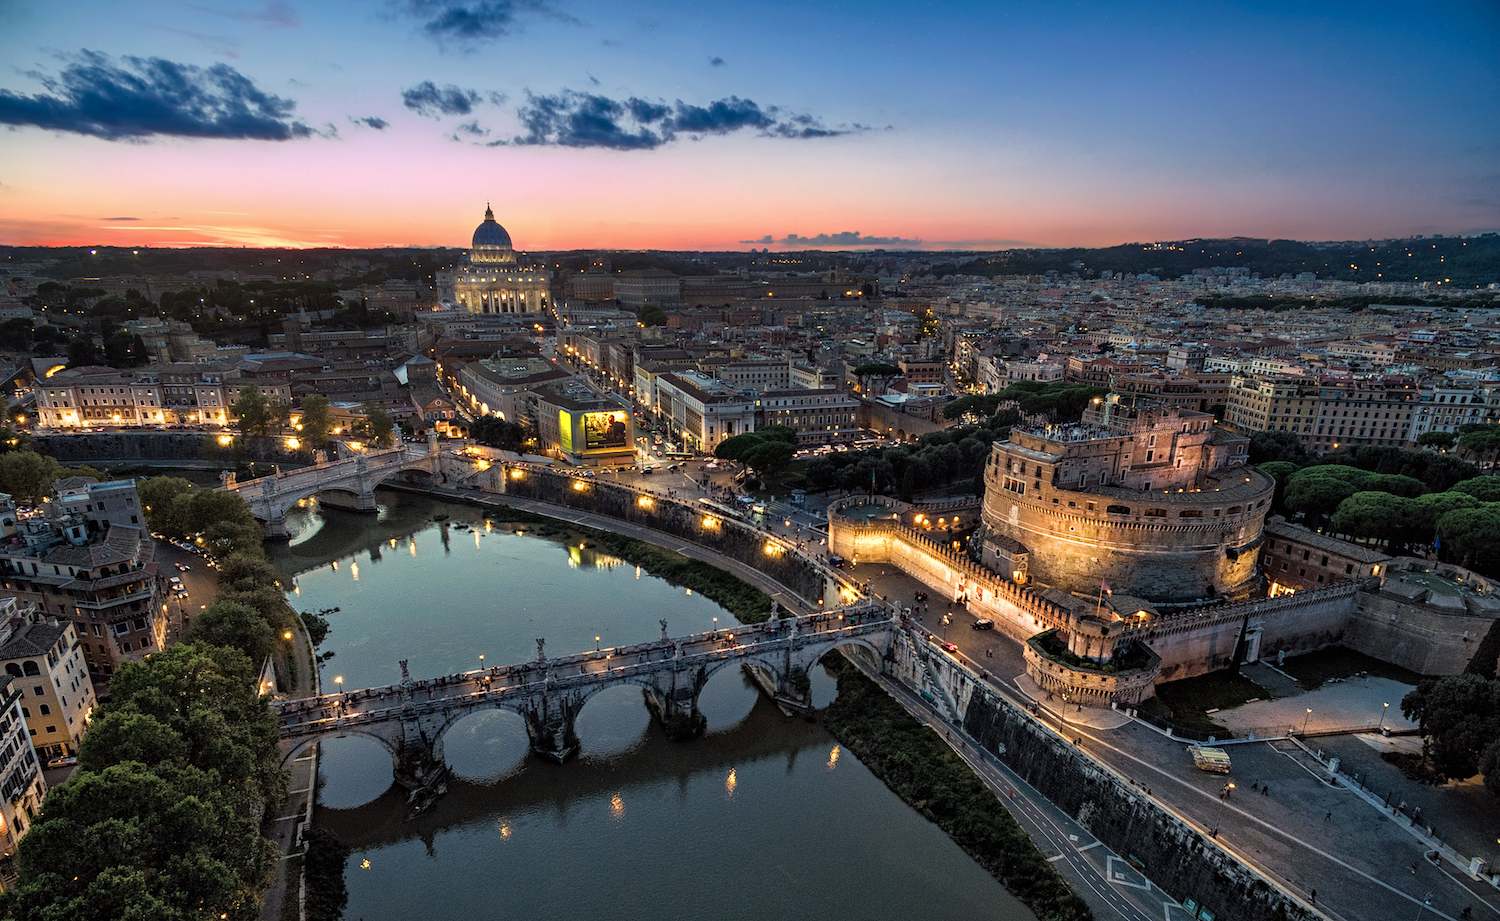
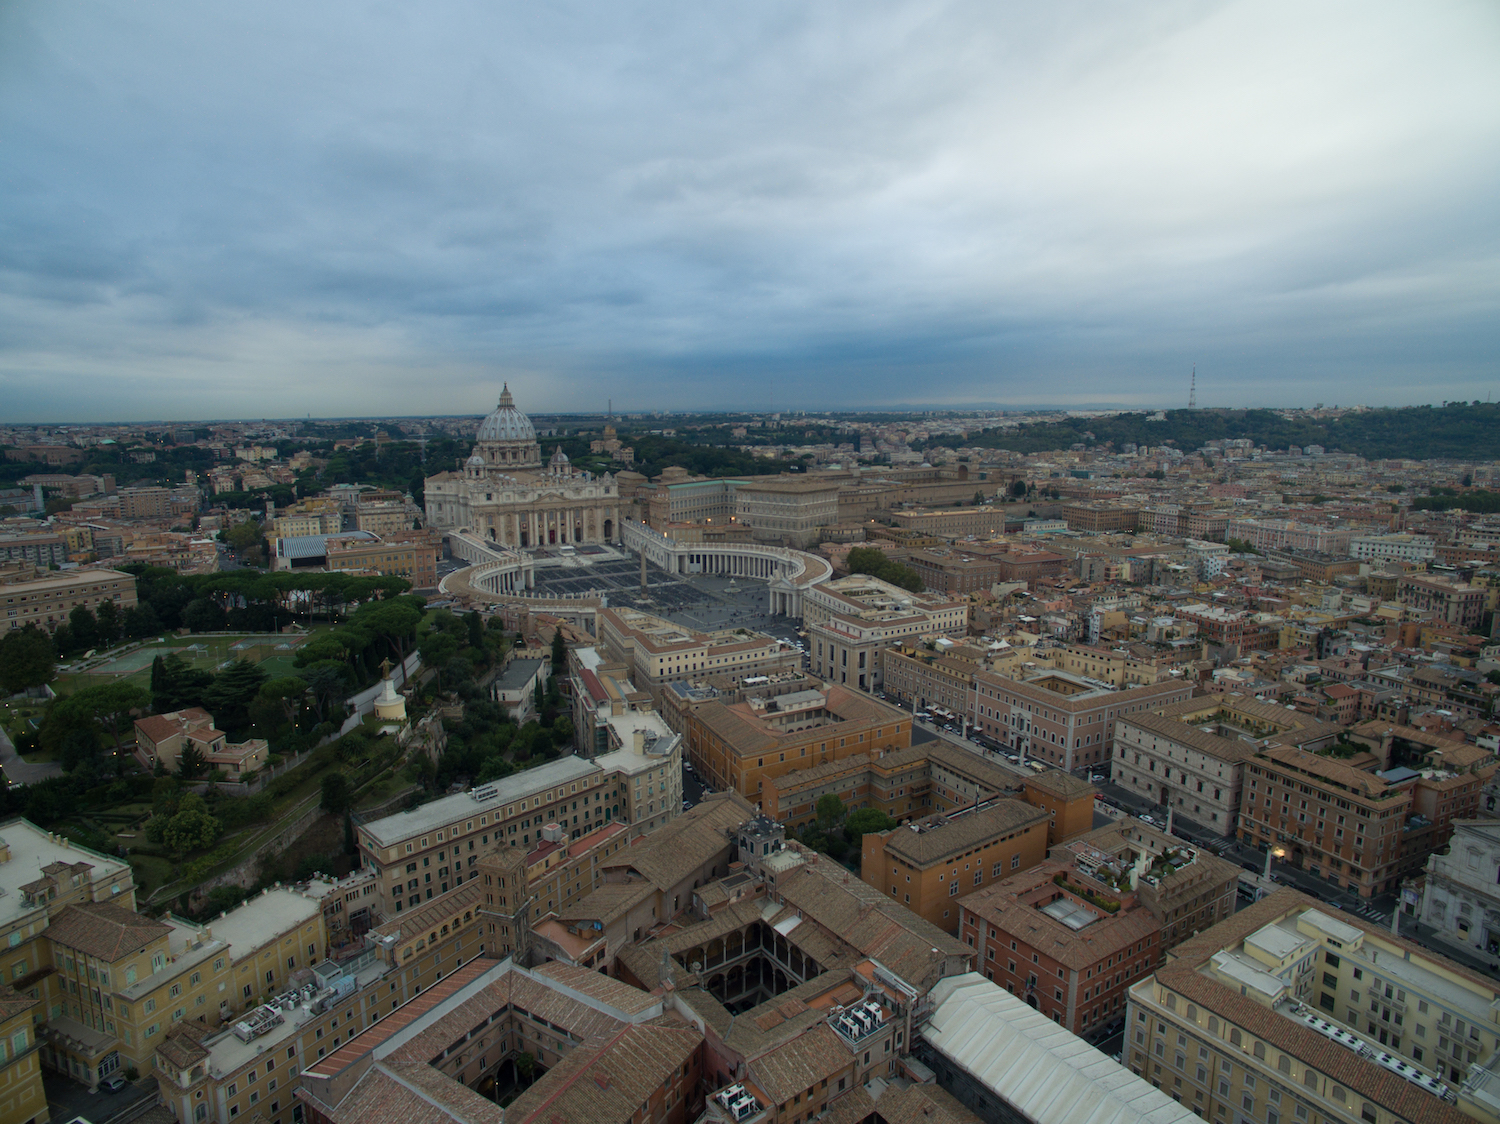
Rome, Italy

Braketing with 5 Shots
This is a really awesome feature, and I am glad the Phantom has it. Bracketing serves a few purposes for me.
1. If I made a mistake in assessing the correct exposure, then I can choose the right one from 3 to 5 bracketed photos I’ve taken.
2. I also use them to create HDR images (not that eye-poping-over-the-top-saturated-100-%-hdrs, but more like an intelligent HDR).
In that case, the bracketing is an absolute must. In fact 95% of my shots are bracketed shots, so I can bring shadows back later or bring out highlights even more if necessary, instead of having only one option from a single shot.
4. P (auto) and M (manual) Mode
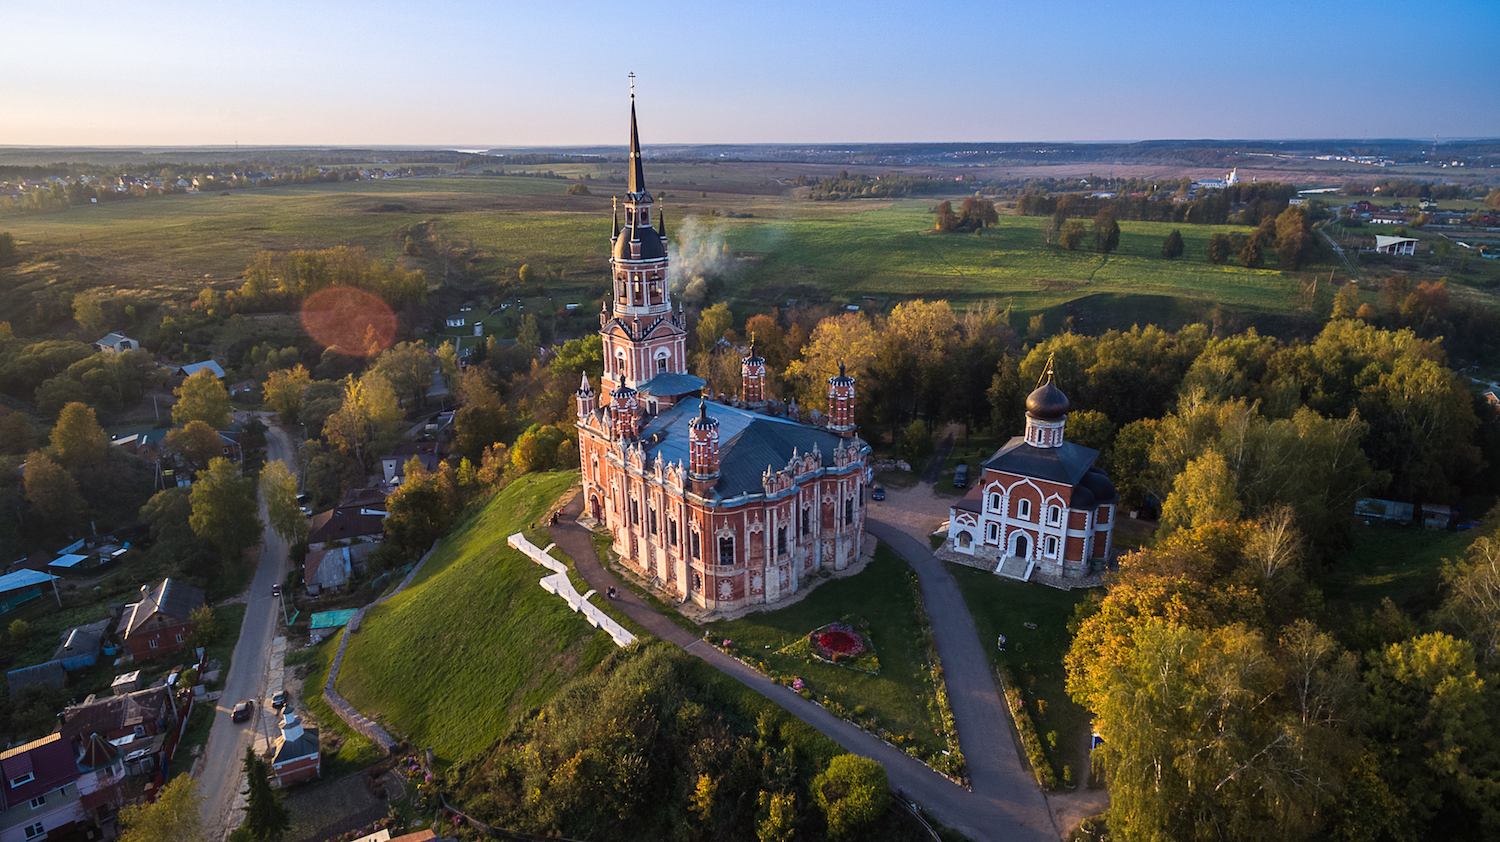
Russia
I almost always shoot in Manual mode. This lets me choose the lowest possible ISO as well as the shutter speed I desire.
The DJI app does not let you know if you have over or under-exposed your picture like a traditional camera would; there is also no half-released shutter button, unfortunately. So you would need to rely on histogram or use this trick:
First, switch to P mode and see what DJI auto mode is offering you, then switch back to M and build on what you saw in P mode.
5. ISO, How Low Can You Go
Italy
My advice on this subject is simple: always to shoot at the lowest possible ISO, which happens to be 100 on Phantom 3. This lets you minimize the noise in your photos, plain and simple.
Of course, you need to be aware of shake when shooting during the night and use common sense. I would not recommend going over 3sec exposure; if you end up needing a longer exposure, I’d advise you to go higher on your ISO in order to stay in that 3sec range.
6. Shaking of the Drone & Night Photography
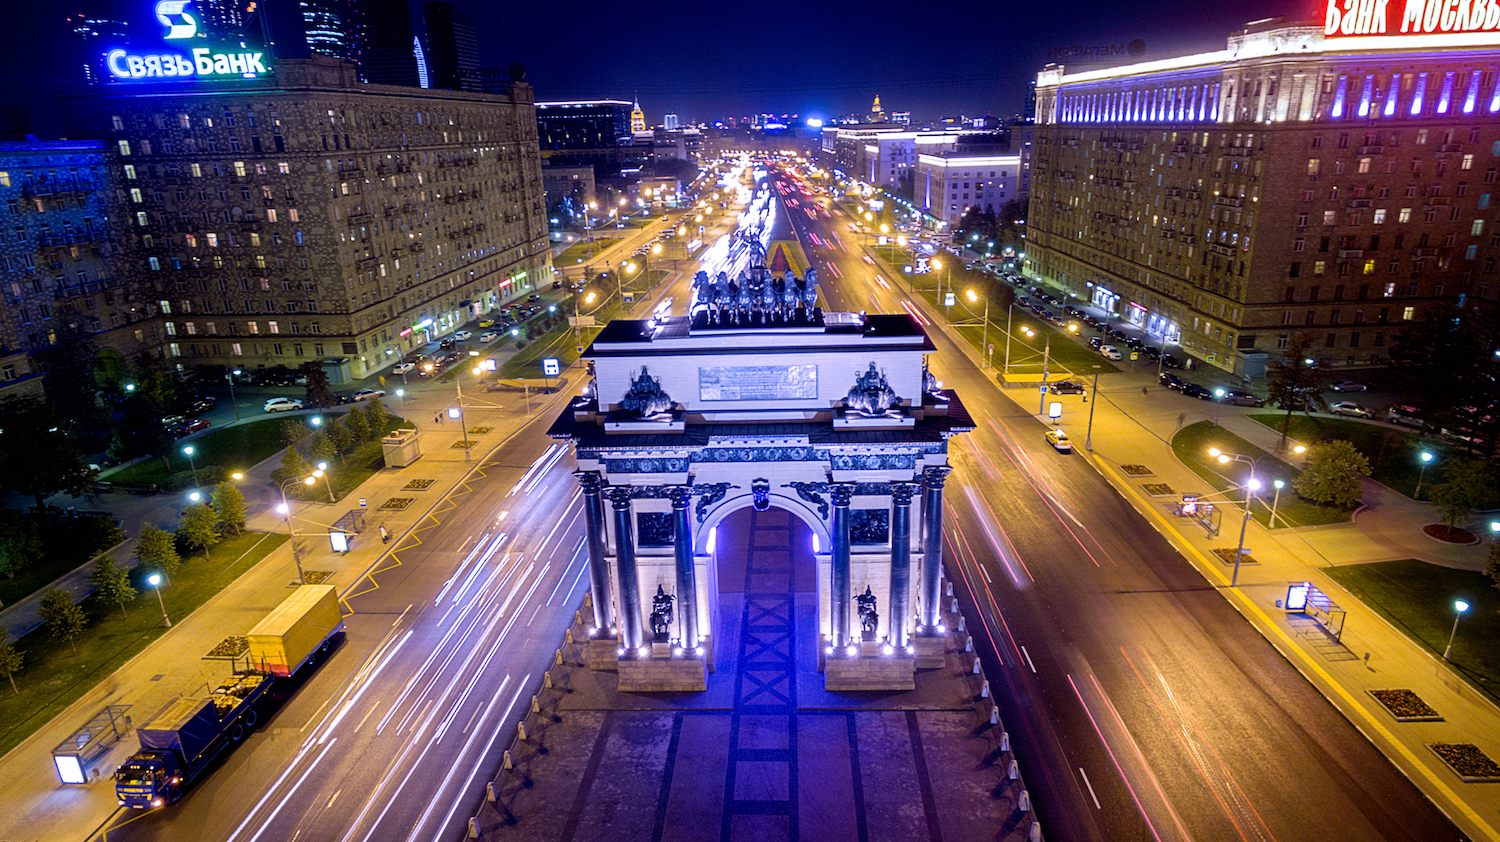
Moscow with a 3sec exposure
This is relevant to a previous point. The drone is a machine that flies up high where the wind is stronger, and although it tries its best to stay stable, some shaking is unavoidable even in low wind conditions. The higher you go, the windier it typically gets—so even if it’s absolutely still on the ground, you may get wind up above.
Although the Phantom offers the ability to go as high as 8sec on the shutter speed, as I mentioned before, it is advisable not to exceed 3sec unless you’re okay with shaky photos.
7. ND and PL Filters
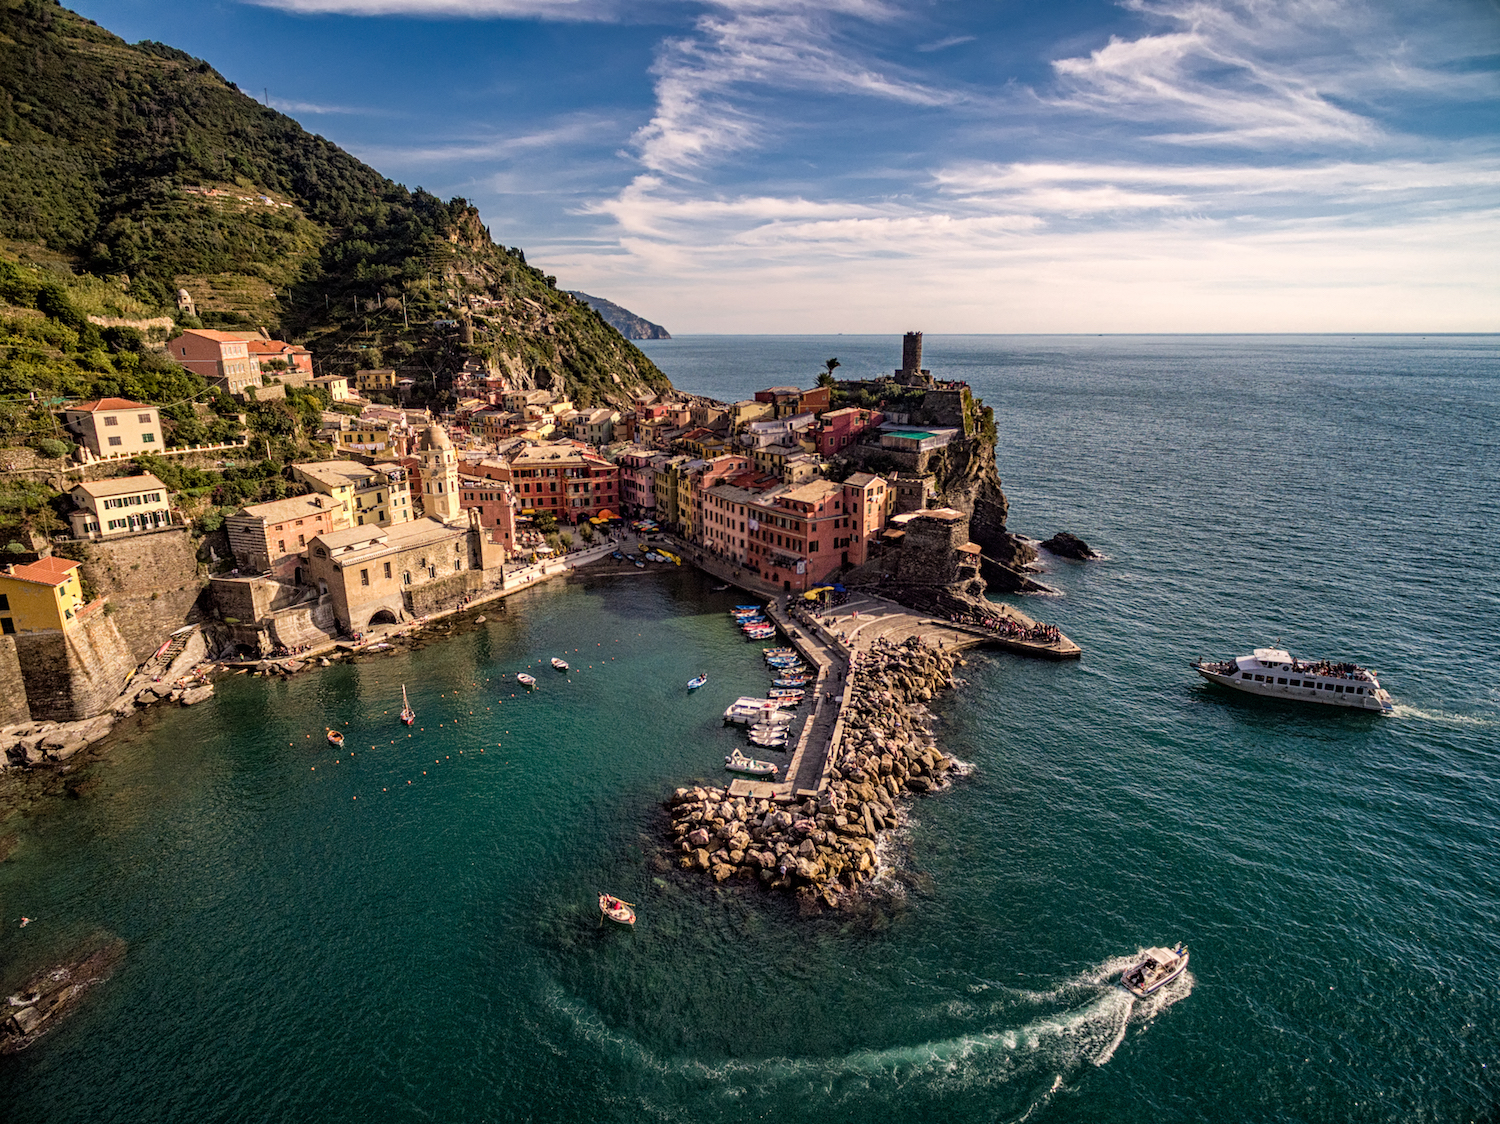
Vernazza, Cinque Terre
I use ND filters quite often, but that’s because I also shoot videos. In order to get a cinematic effect on a shoots, one should use the double of the fps one is shooting with. For example, I use 4K 24fps, which means I should ideally be shooting at 1/50 sec shutter speed. In order to achieve that on a bright day, I need to use Neutral Density filters to reduce the light coming into the camera and enable a slower shutter speed.
Since I use it but mostly for videos and its too complicated to us for photos, I’ll launch my drone, shoot photos, bring it back, put on the ND, and get it back up to shoot a video.
If you are going to use ND filters, be careful in dim lighting. The ND filter reduces the light coming into the camera (that’s the whole point), which slows down your shutter to the point where you might start getting some shake in your shots. In low light, stick to a default camera filter that is supplied with the Phantom.
A circular polarizing filter is another beast. You may know that you need to rotate it to the right position to achieve the desired PL effect when using it on traditional cameras; however, there is no possibility to do so on the drone, so I have never used PL filter.
8. Post-Processing
Rome Before
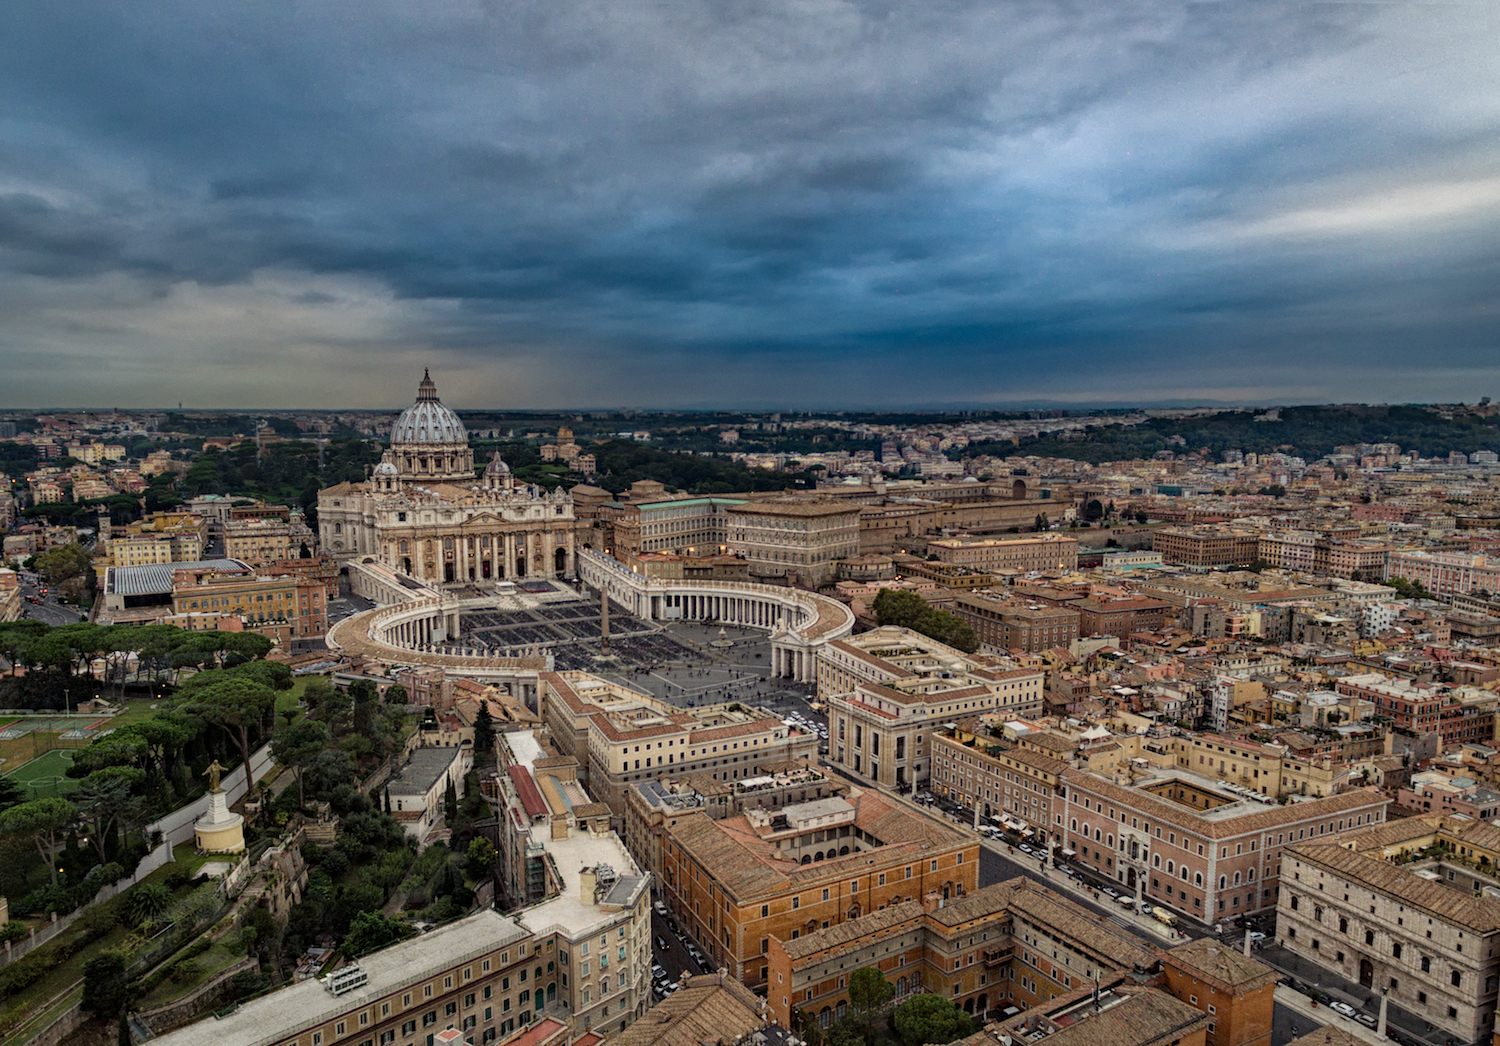
Rome After
The shot in my example above was resized, straightened, and colour corrected in both Lightroom and Photoshop to achieve the look of the final version.
Don’t be lazy and share unprocessed shots straight out of camera. There is always room for improvement in any photo you take.
You will be amazed how a photo can be transformed in your favorite post-processing software. I use Adobe Lightroom and Adobe Photoshop to post-process all of my shots. As I said before, I use bracketing extensively to combine 3 or 5 photos together before post-processing. See #3 for that subject.
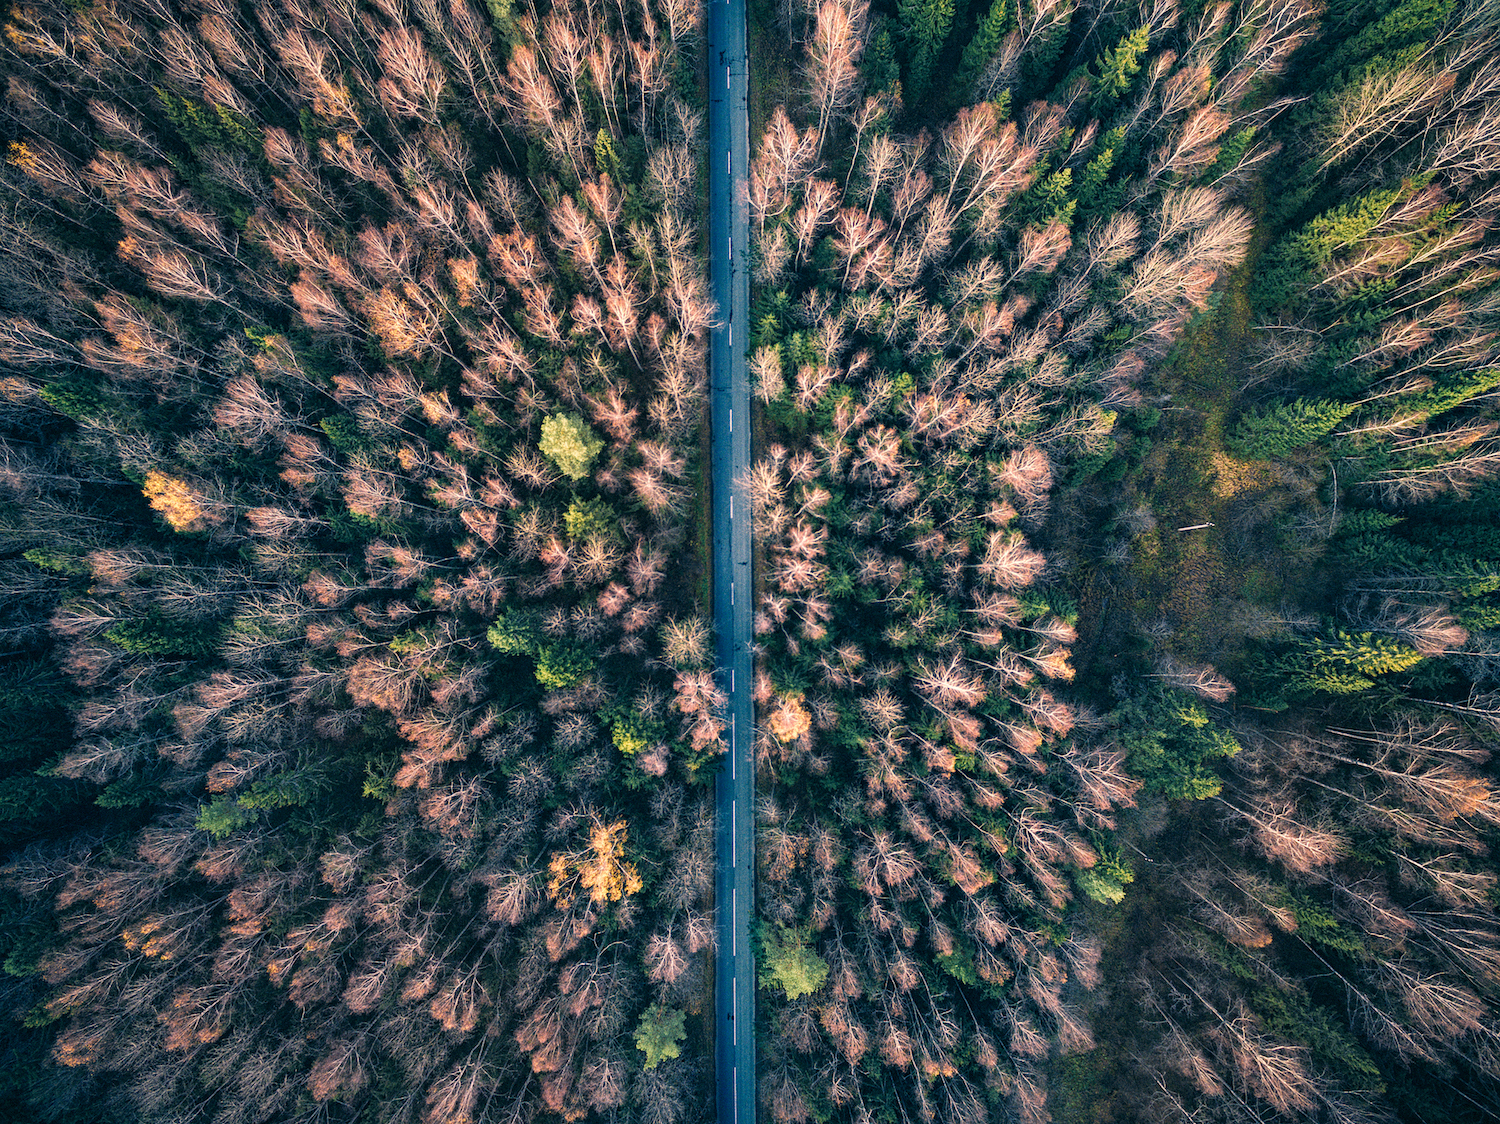
9. Unique Angles, Panoramas, Long Exposures etc.
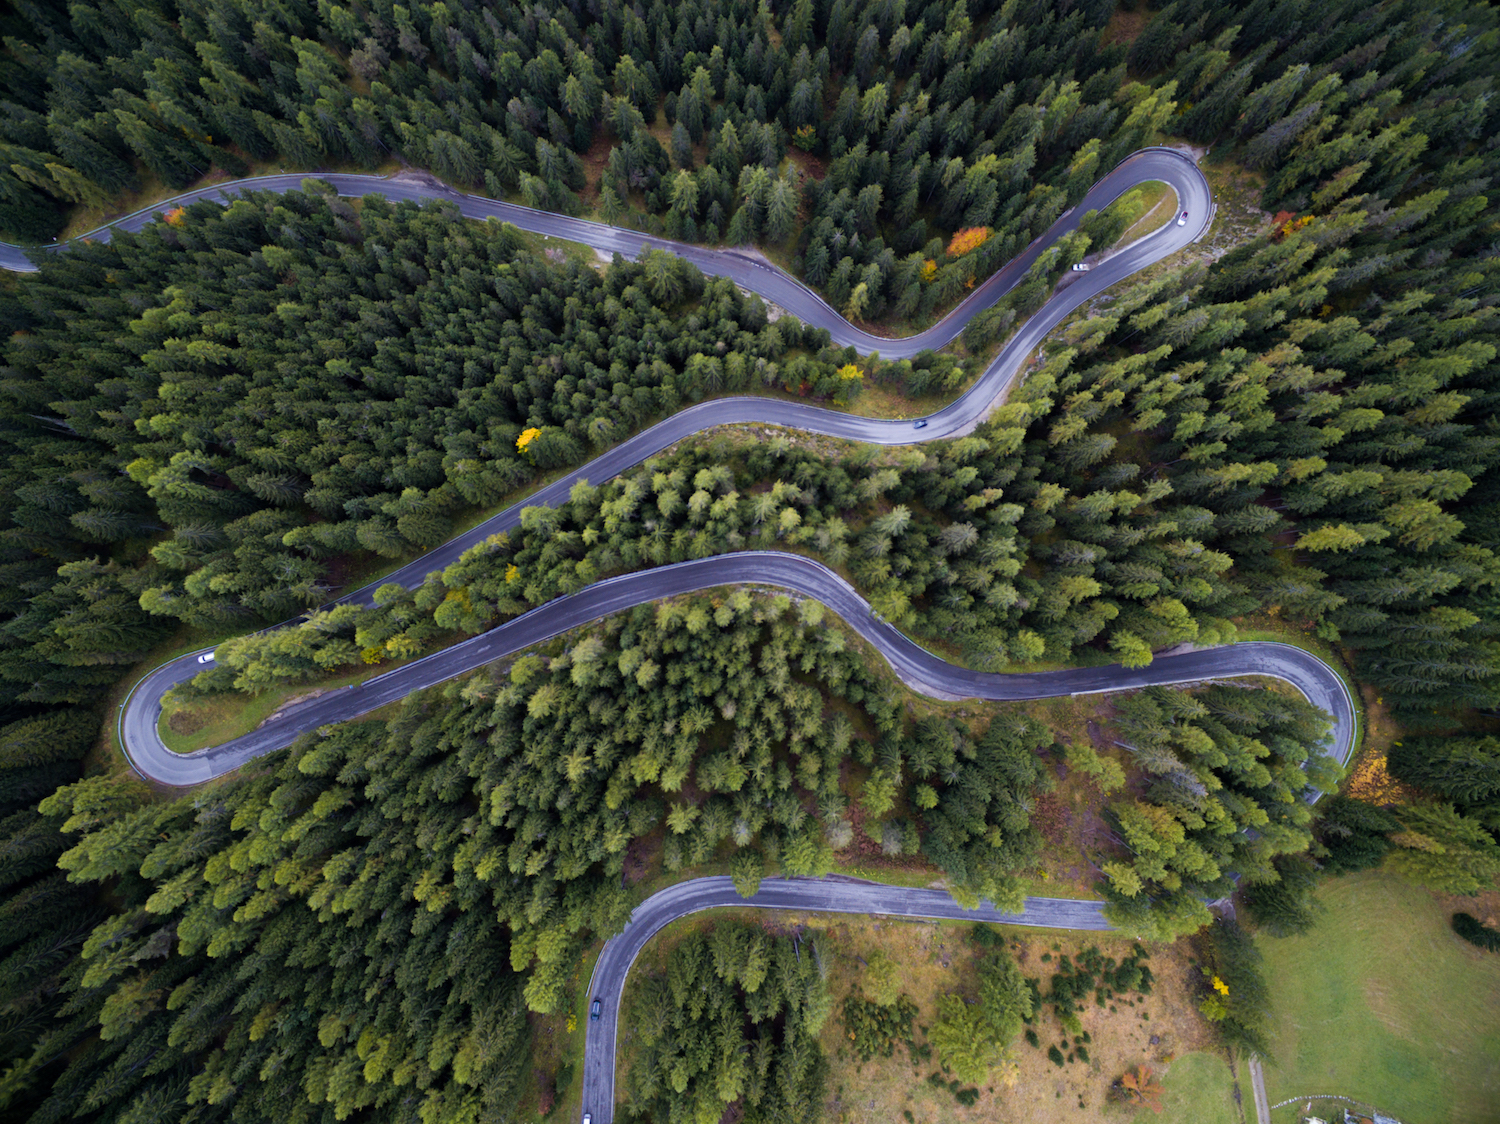
Mountain road from above
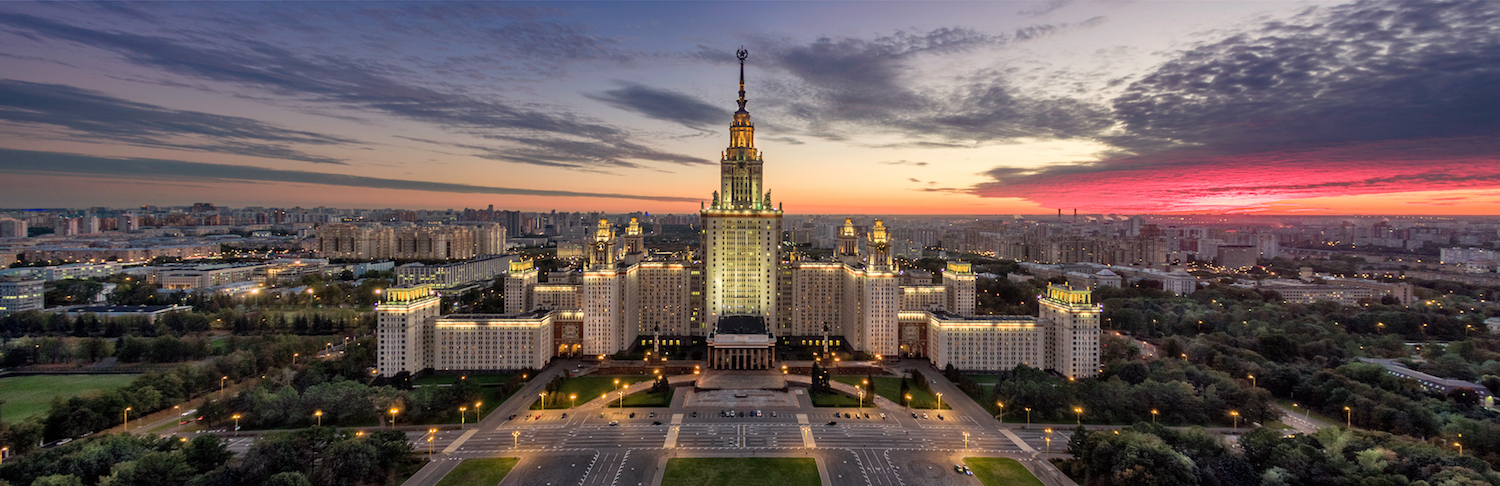
Moscow State University aerial panorama
Be creative.
You are no longer plagued by the inability to use the right spot in the right location. Drones are unique in the sense that they can take your photographs literally to the next level. So stop thinking in traditional terms—experiment, be open to the new shooting possibilities drones open up for you.
10. Drone Technicalities
Above Russian forest
This subject may vary across the models, but for the sake of simplicity I would assume that these issues apply everywhere.
What I am talking about here are the small technical things that need to be done to your drone before the flight in order to be as safe and productive as possible. Live it,?learn it as they say… and I am talking from experiences that haven’t always been very pleasant. It is better to follow a couple of easy pre-flight steps than to lose your drone and all the great things you captured with it.
Calibrate the Compass
Firstly, one must always calibrate the drone compass once you arrive on a new location far from the previous one (change landscaped, say from a field to a mountainside). This definitely helps avoid abnormal behavior in the air.
Check Your Figures
Secondly, check your figures. By that I mean you should check the drone’s compass sensor index after calibration. Even if your software claims that it is OK to fly, take the time to check those indexes.
For instance, it’s ok to fly my DJI when the index is between 1500 and 1600. Higher index means greater disturbances around, i.e. metal in the ground, some reflective surfaces, etc.
Hover…
Thirdly, this is my own technique that I am simply sharing; I’m not claiming this as an absolute must-follow. It is up to you and your common sense whether you adopt it or not. But it did help me save my drone from crashing a couple of times.
So here it is: take some time to hover. What I mean is, don’t speed up from the ground as soon as the propellers are on. Ease it up a bit and hover. It gives you time to land the drone in case there are any immediate malfunctions or you feel that it has started behaving strangely. Take a couple of seconds to do this, and only fly up once you see that you are in complete control.
Mind the Wildlife
Fourthly, mind the wildlife in the air. I am dead serious about this. Seagulls, for instance, are often eager to attack your drone in order to protect their territory.
Download your Data Right Away
Last but not the least: download your data. I’ve developed the habit of downloading everything from my SD card right after the flight. This way I am safe from losing precious materials in case of any drone emergencies on subsequent flights.
Conclusion
Although I really love using drones for a new and exiting photo opportunities, I often wish that DJI would give us an even better quality camera at an affordable price, so we could use the Phantom series, (one of the best on the market, in my opinion) to its full potential… a man can dream.
In the meantime: Thank you. Fly safe!


Leave a reply