
Dina Belenko is a creative still-life photographer from Russia and incredibly successful 500px Marketplace photographer. Her artistic images capture magical stories behind everyday inanimate objects.
In this article, Dina shares a super simple tutorial that shows how you can photograph “dreams in a jar”… all you need is some paper and creativity!
I strongly believe that the simplest way to became a better photographer is by using everything you have right now to your advantage.
Are you an owner of a cheap little camera? Good, it’s light, you can take it everywhere, and you can try some pretty extreme things with it without worrying about the damage. Don’t have any cooking skills to practice food photography? Go for a donut and a cup of coffee, this pair is just as good as foie gras.
Don’t wait for a perfect equipment, perfect props, or the time you are ready. You’re never ready. You go when you’re ready enough. And you don’t need much to be ready enough…
What I’m getting at is the most wonderful, flexible, and versatile material you can use for bringing your ideas to life. It’s simple… it’s affordable… it’s paper.
Just look at all that stuff people manage to make from coloured paper and cardboard: from fashionable hats to miniature landscapes:


If you’re not ready for crafting an entire megalopolis with glue and scissors, start with something minimalistic, clean, and simple. Silhouettes are a great choice. Use simplified iconic shapes of the objects you need to create a story—this would be more than enough! So, let’s get started.
1. Props
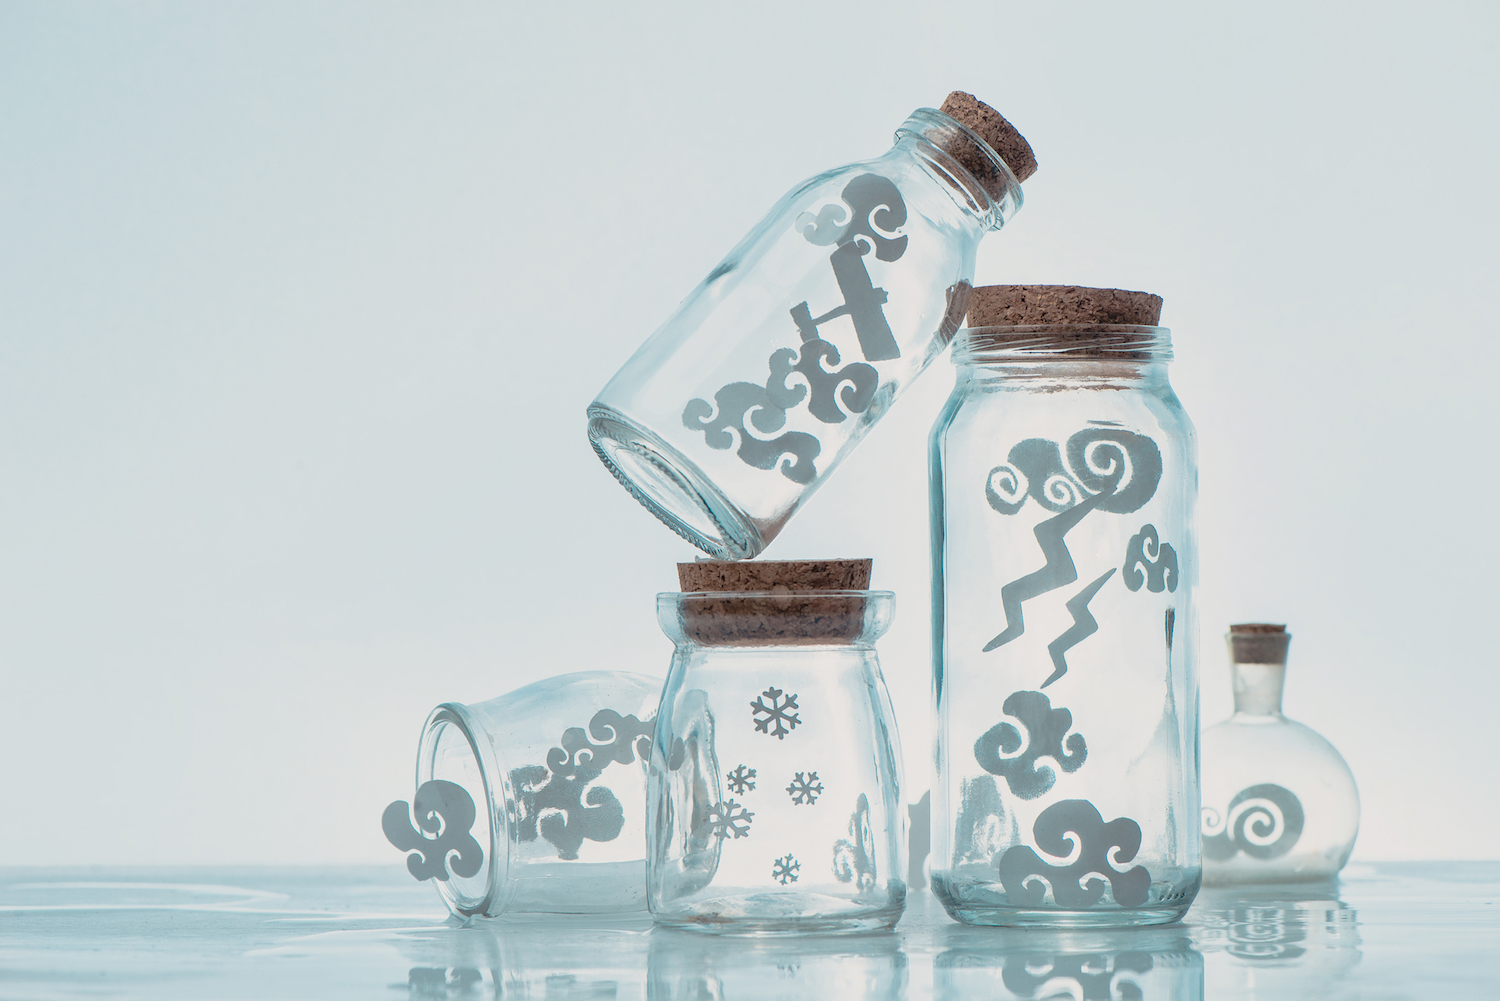
First of all, we need an idea. How about collection of memories? Your last summer at the seashore kept safe and sound inside a glass jar—just like jam or marmalade? Or maybe you want to store the weather—that snowy day right before Christmas? Or one of your dreams—some castles and dragons, anyone?
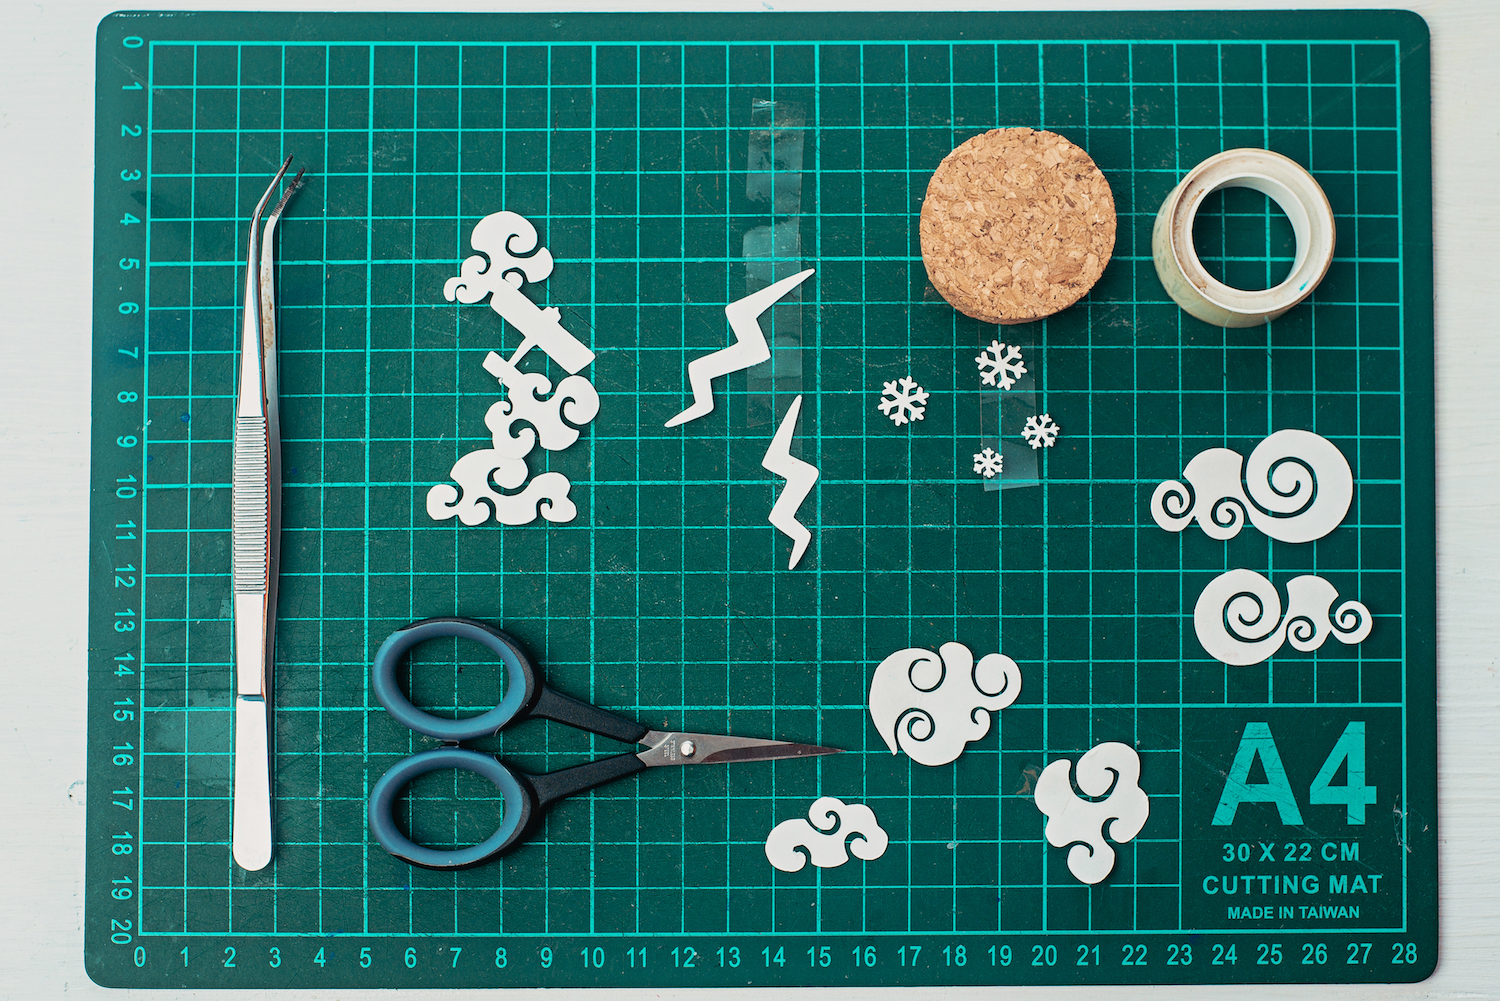
I picked some elements related to sky and weather: a bunch of clouds, an airplane, two lightning bolts, and a couple of snow flakes.
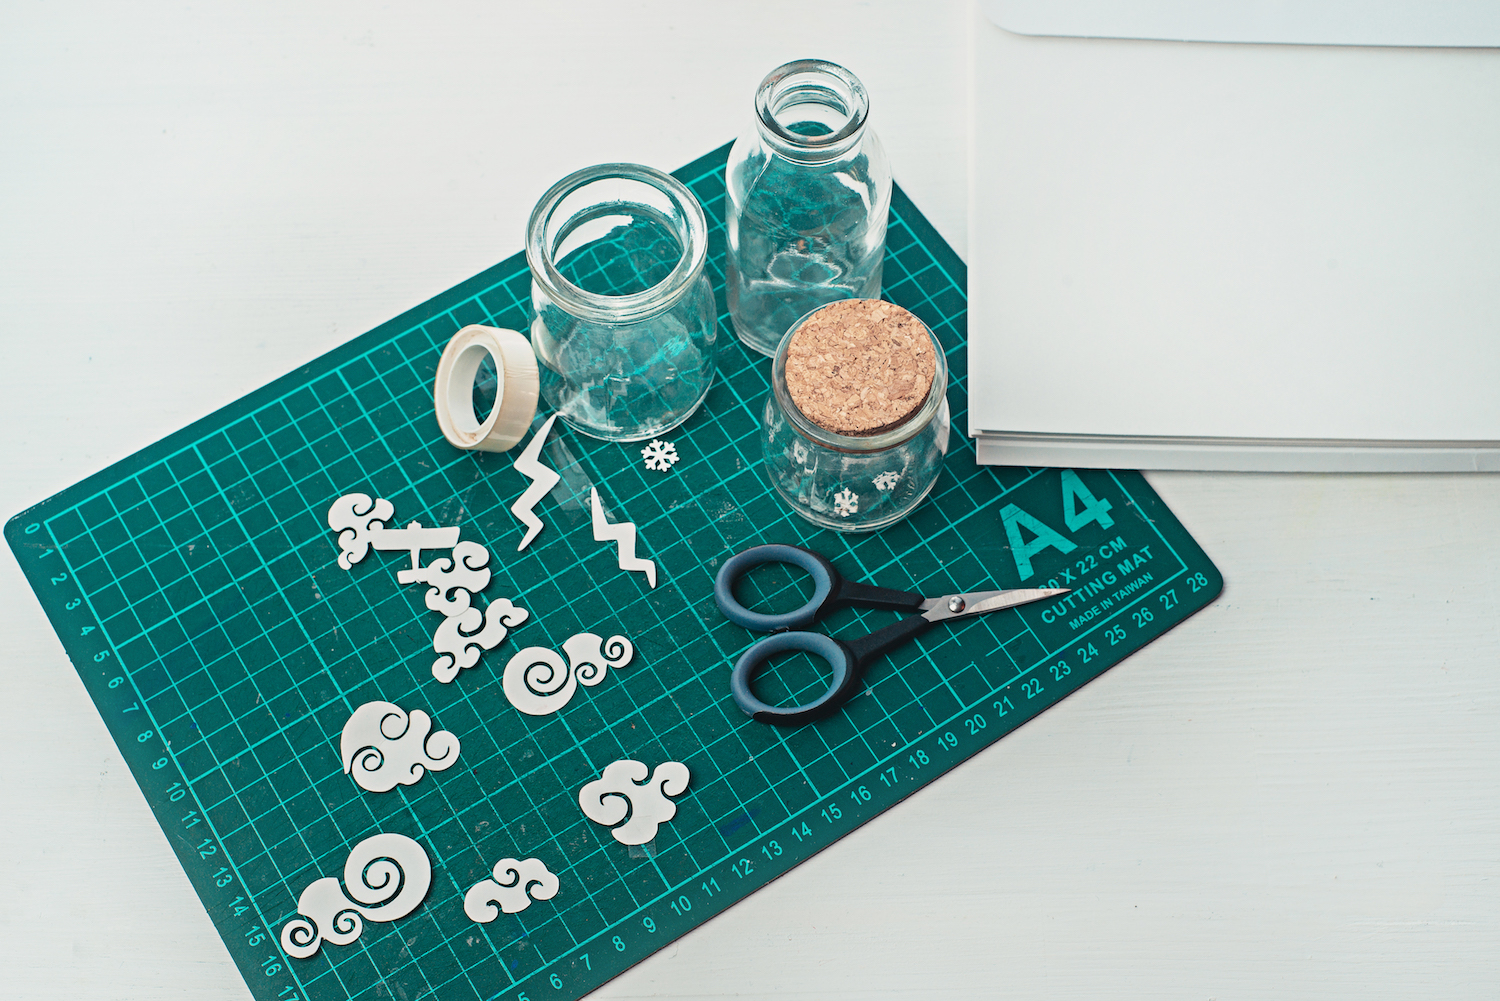
Basically, you will need:
– Papercut silhouettes. Keep the basic form simple: use craft knife and tiny scissors for little details and, if you’re not confident with cutting miniatures at all, check a local scrapbook store for tiny pre-cut objects you can use.
– A couple of glass jars and bottles.
– Thin transparent scotch and double-sided tape.
– A light source (in my case two speedlights, one inside a small softbox and the other at the back of a large diffuser).
– A camera and (optionally, but rather conveniently) a tripod.
2. Composition
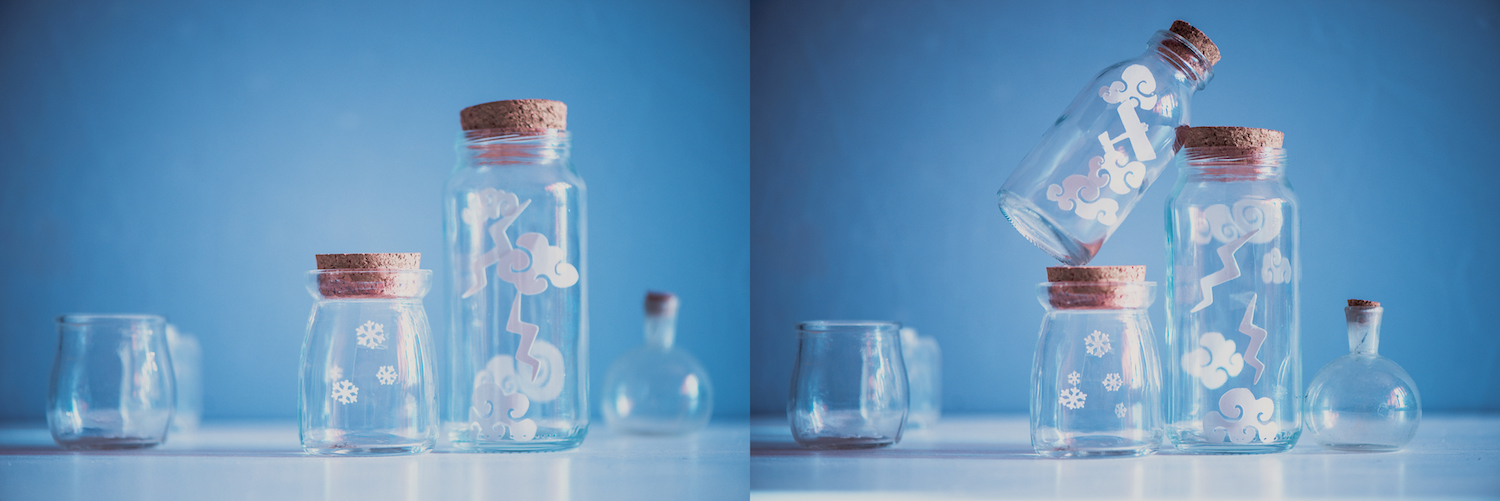
Use double-sided tape to fix your items to the rear side of jars, and transparent tape to hand them in the center (attached to the cork). You can glue some objects together, but try to put at least a couple of them at in different “layers”—some in the front, some in the back—to create a sense of volume.
After that, arrange jars themselves in a neat and simple composition.
3. Lighting and shooting
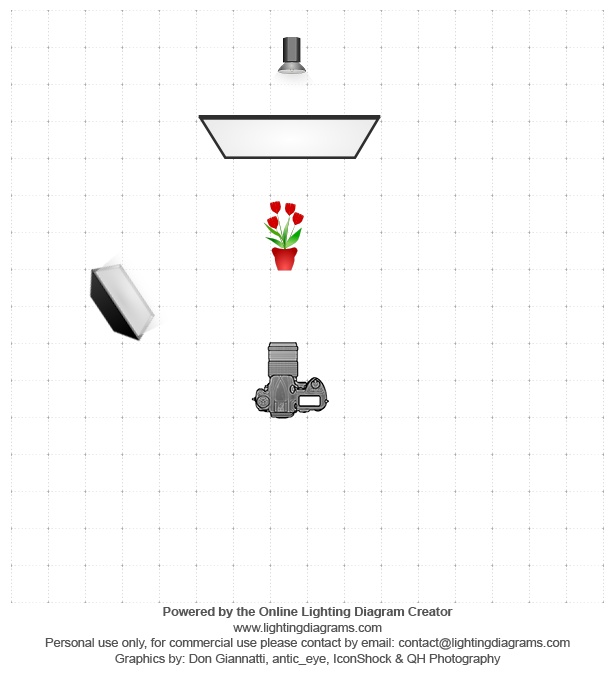
Backlighting works perfect for both glass and paper silhouettes. To create it, I used a large diffuser with a speedlight behind it (a big softbox or a flashlight, bouncing from light background, will also work nicely) and added a second speedlight inside small softbox at the right to make shadows at corks a bit softer.
Here’s the lighting diagram:
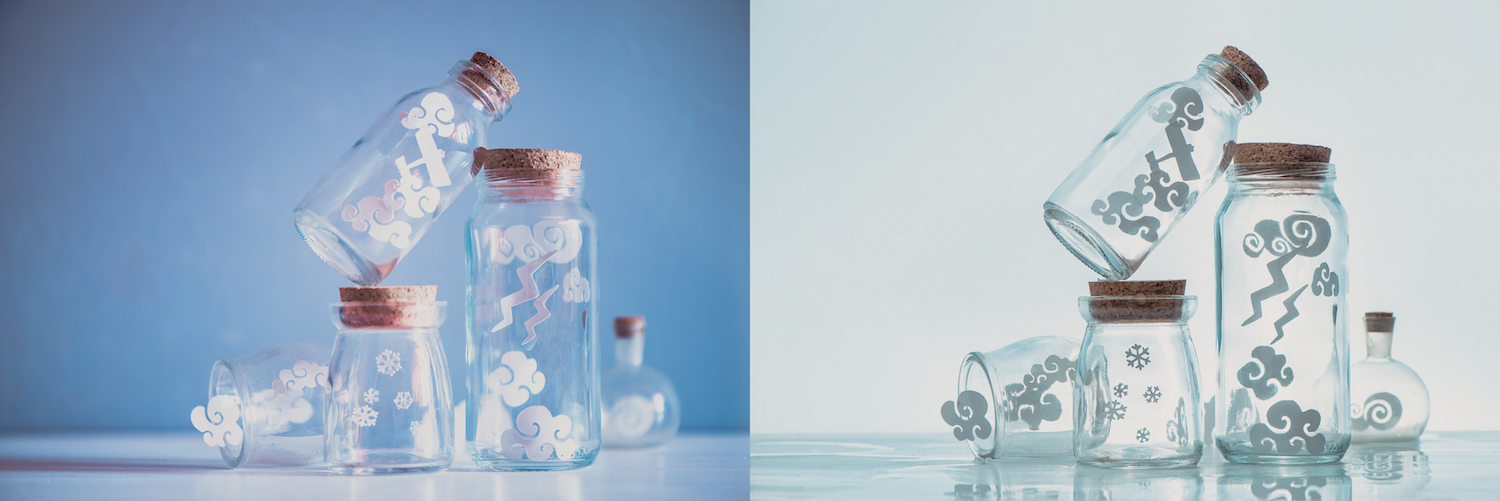
Check if you like your composition, make final changes and take a picture:
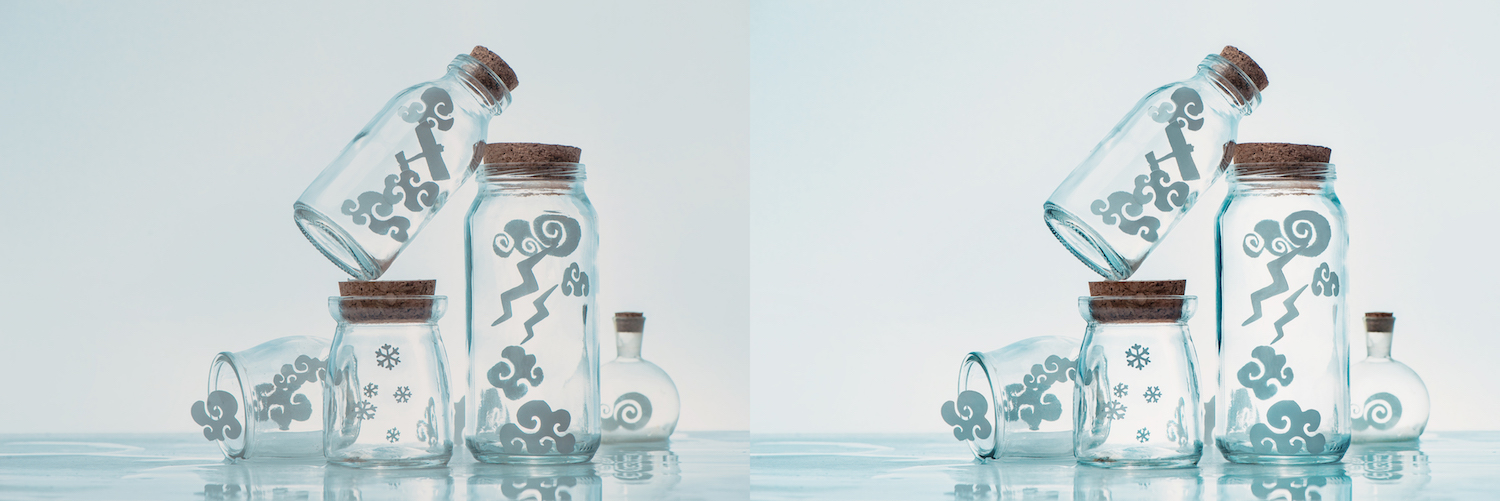
4. Post-processing
Now it’s time to give your image a little polish: adjust colours and contrast, delete any noticeable scratches on the glass, and voila! You have a “memory jar”!
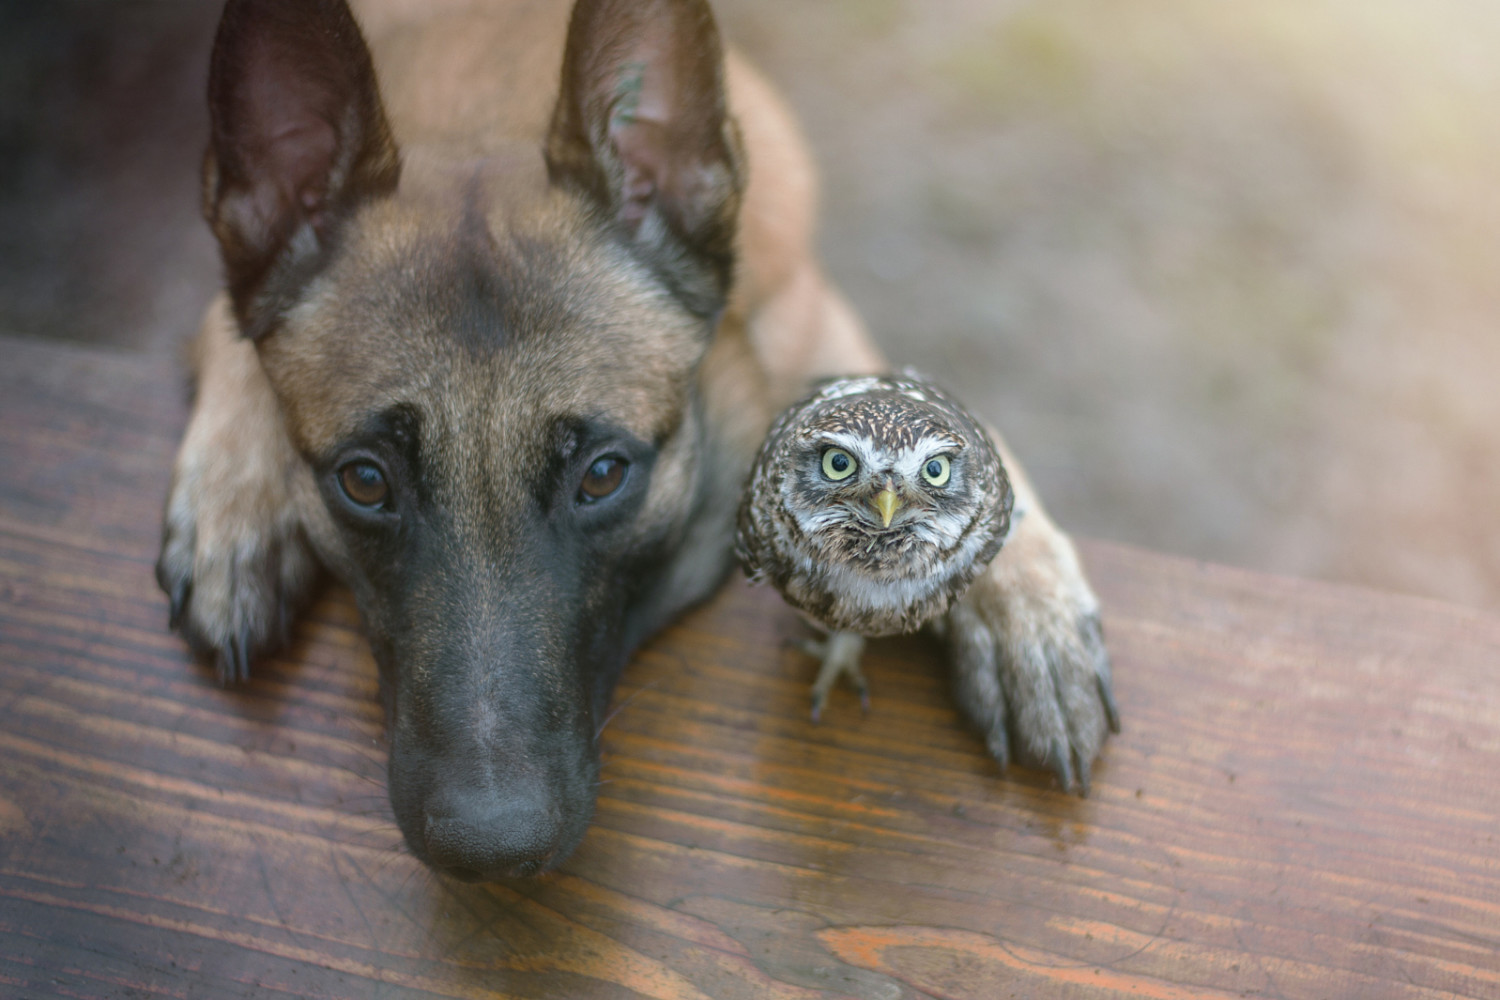
This idea is just a nice and easy way to start. Take if further (make your objects more complex), modify it (how about a portrait with papercraft magical creatures, for example?) and generally have fun, of course. Here are some other paper creations I’ve put together in the studio:


Stay inspired and good luck!

Leave a reply