Dina Belenko is a creative still-life photographer from Russia and incredibly successful 500px Marketplace photographer. Her artistic images capture magical stories behind everyday inanimate objects.
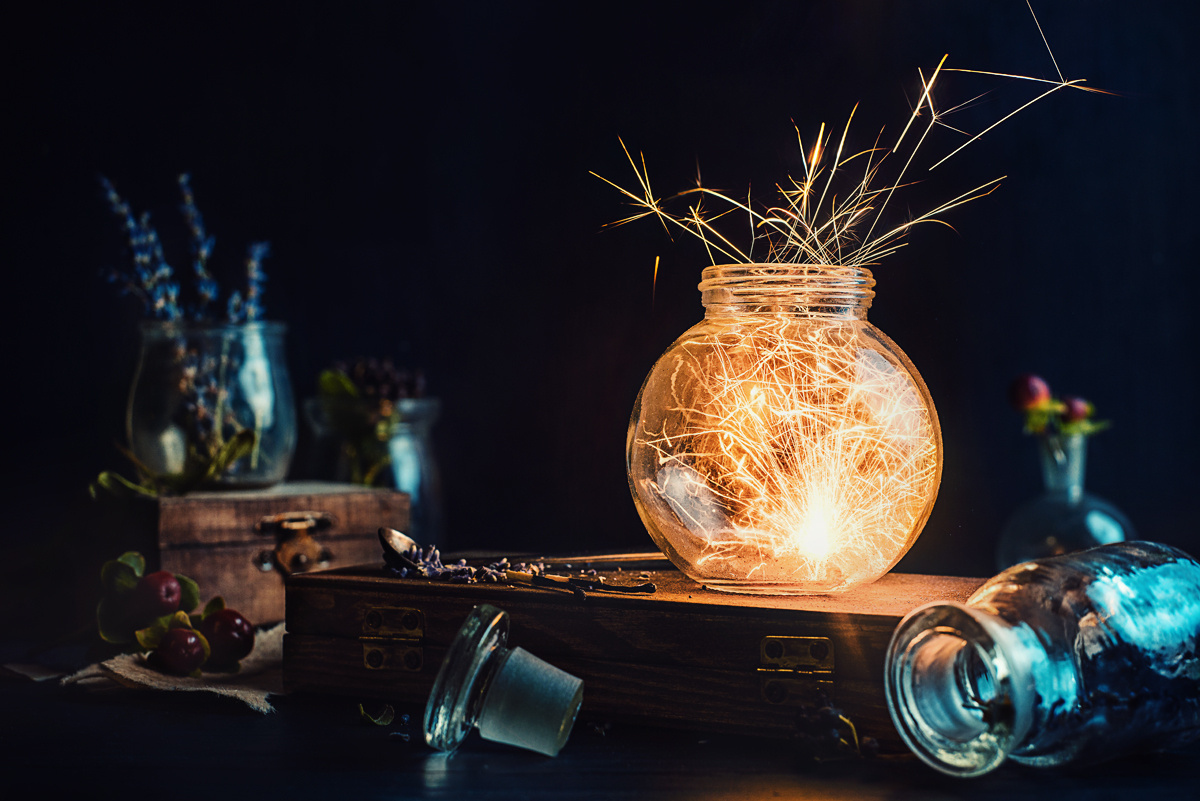
In this tutorial, Dina gets festive to create her Fire Bloom and Fire Collection photos, using sparklers to have a blast while capturing a couple of amazing still life photographs. Read on to find out how to do it yourself!
Sparklers are wonderful objects to photograph—they are cheap, easy to find, and extremely beautiful. They convey a sort of magical and festive feeling. It’s like holding a little fireball in your hands… or a tiny tamed comet.
Even shooting sparklers as they are you can get wonderful photos. If you shoot a sparkler at a sufficiently slow shutter speed, you’ll can get beautiful fiery trails that look mesmerizing. But if you go an extra mile and modify it a little, the sparkler can become even more flexible, magical, and easy to work with!
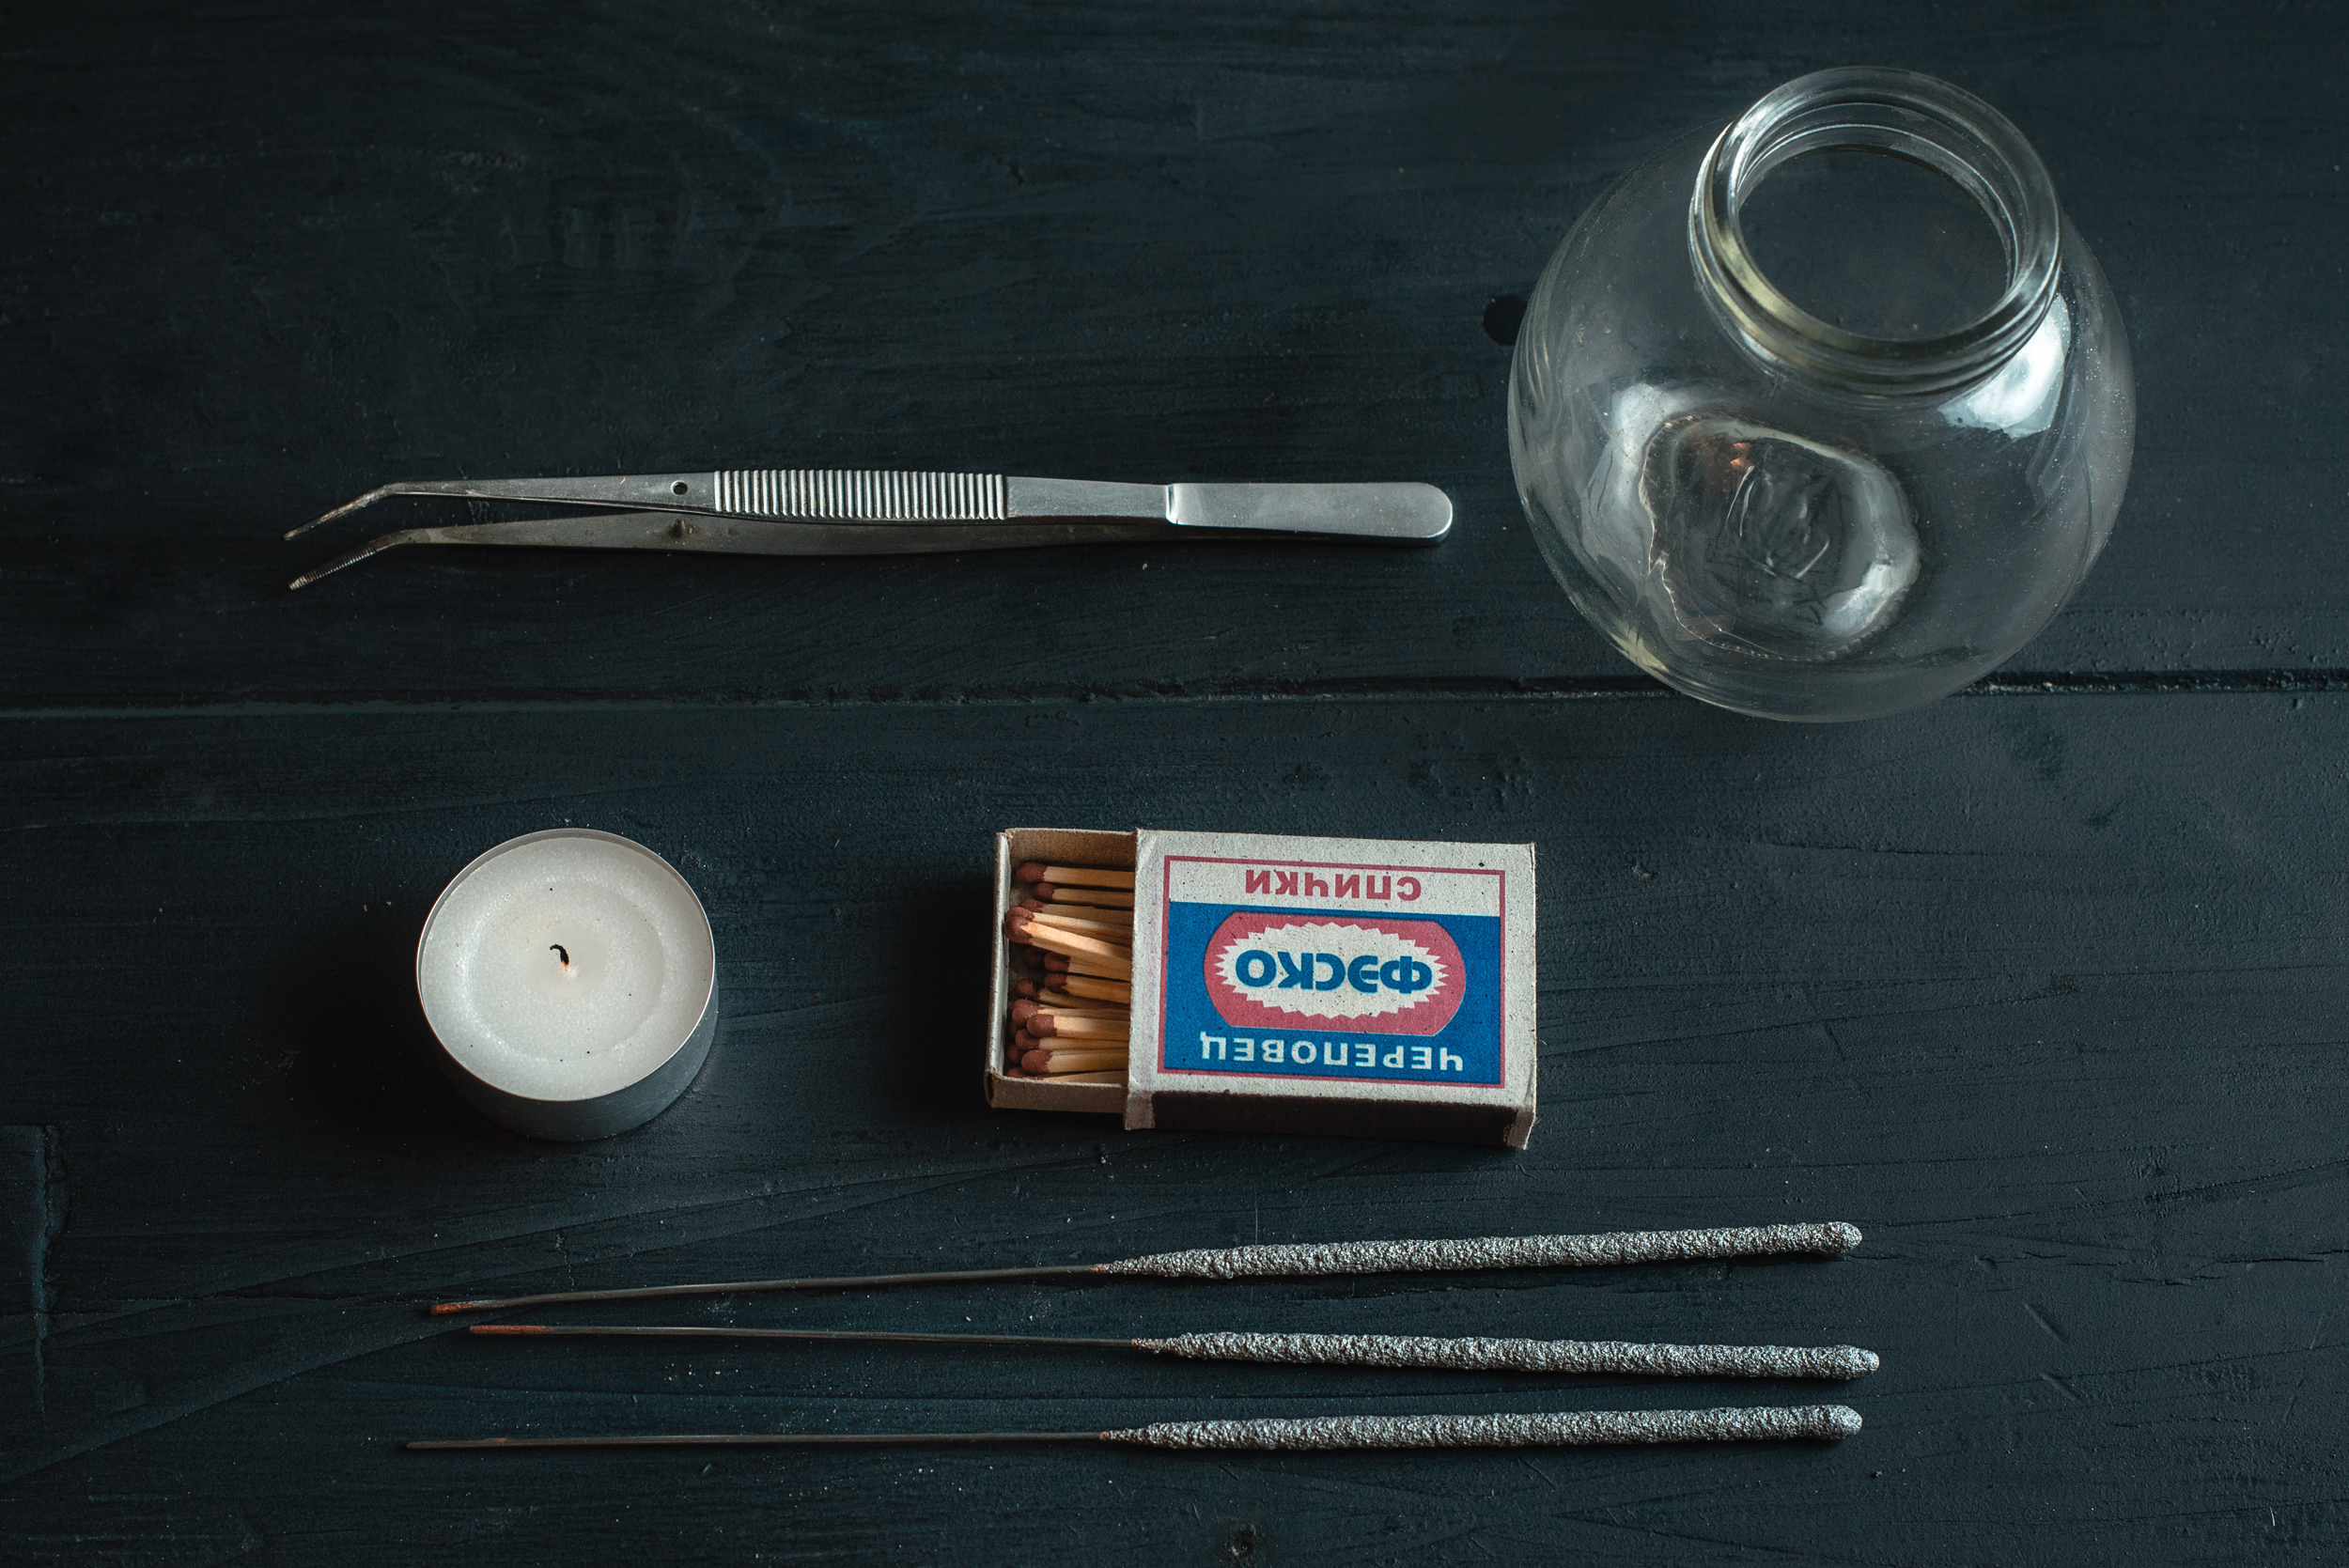
1. Props
To get the sparkler image you will need: sparklers, a pair of tweezers (the longest you can find… I use dental tweezers and highly recommend them), candle and matches, a glass jar, and any other components of the still life you want to create.
Don’t use any glass items you’re afraid to break. Sparklers can get extremely hot and the glass can crack (I lost only one jar of six, but still, it’s good to err on the safe side).
You will also need a source of light (I used a flash light SB-910, set on 1/8 of power), a camera, and a steady tripod.
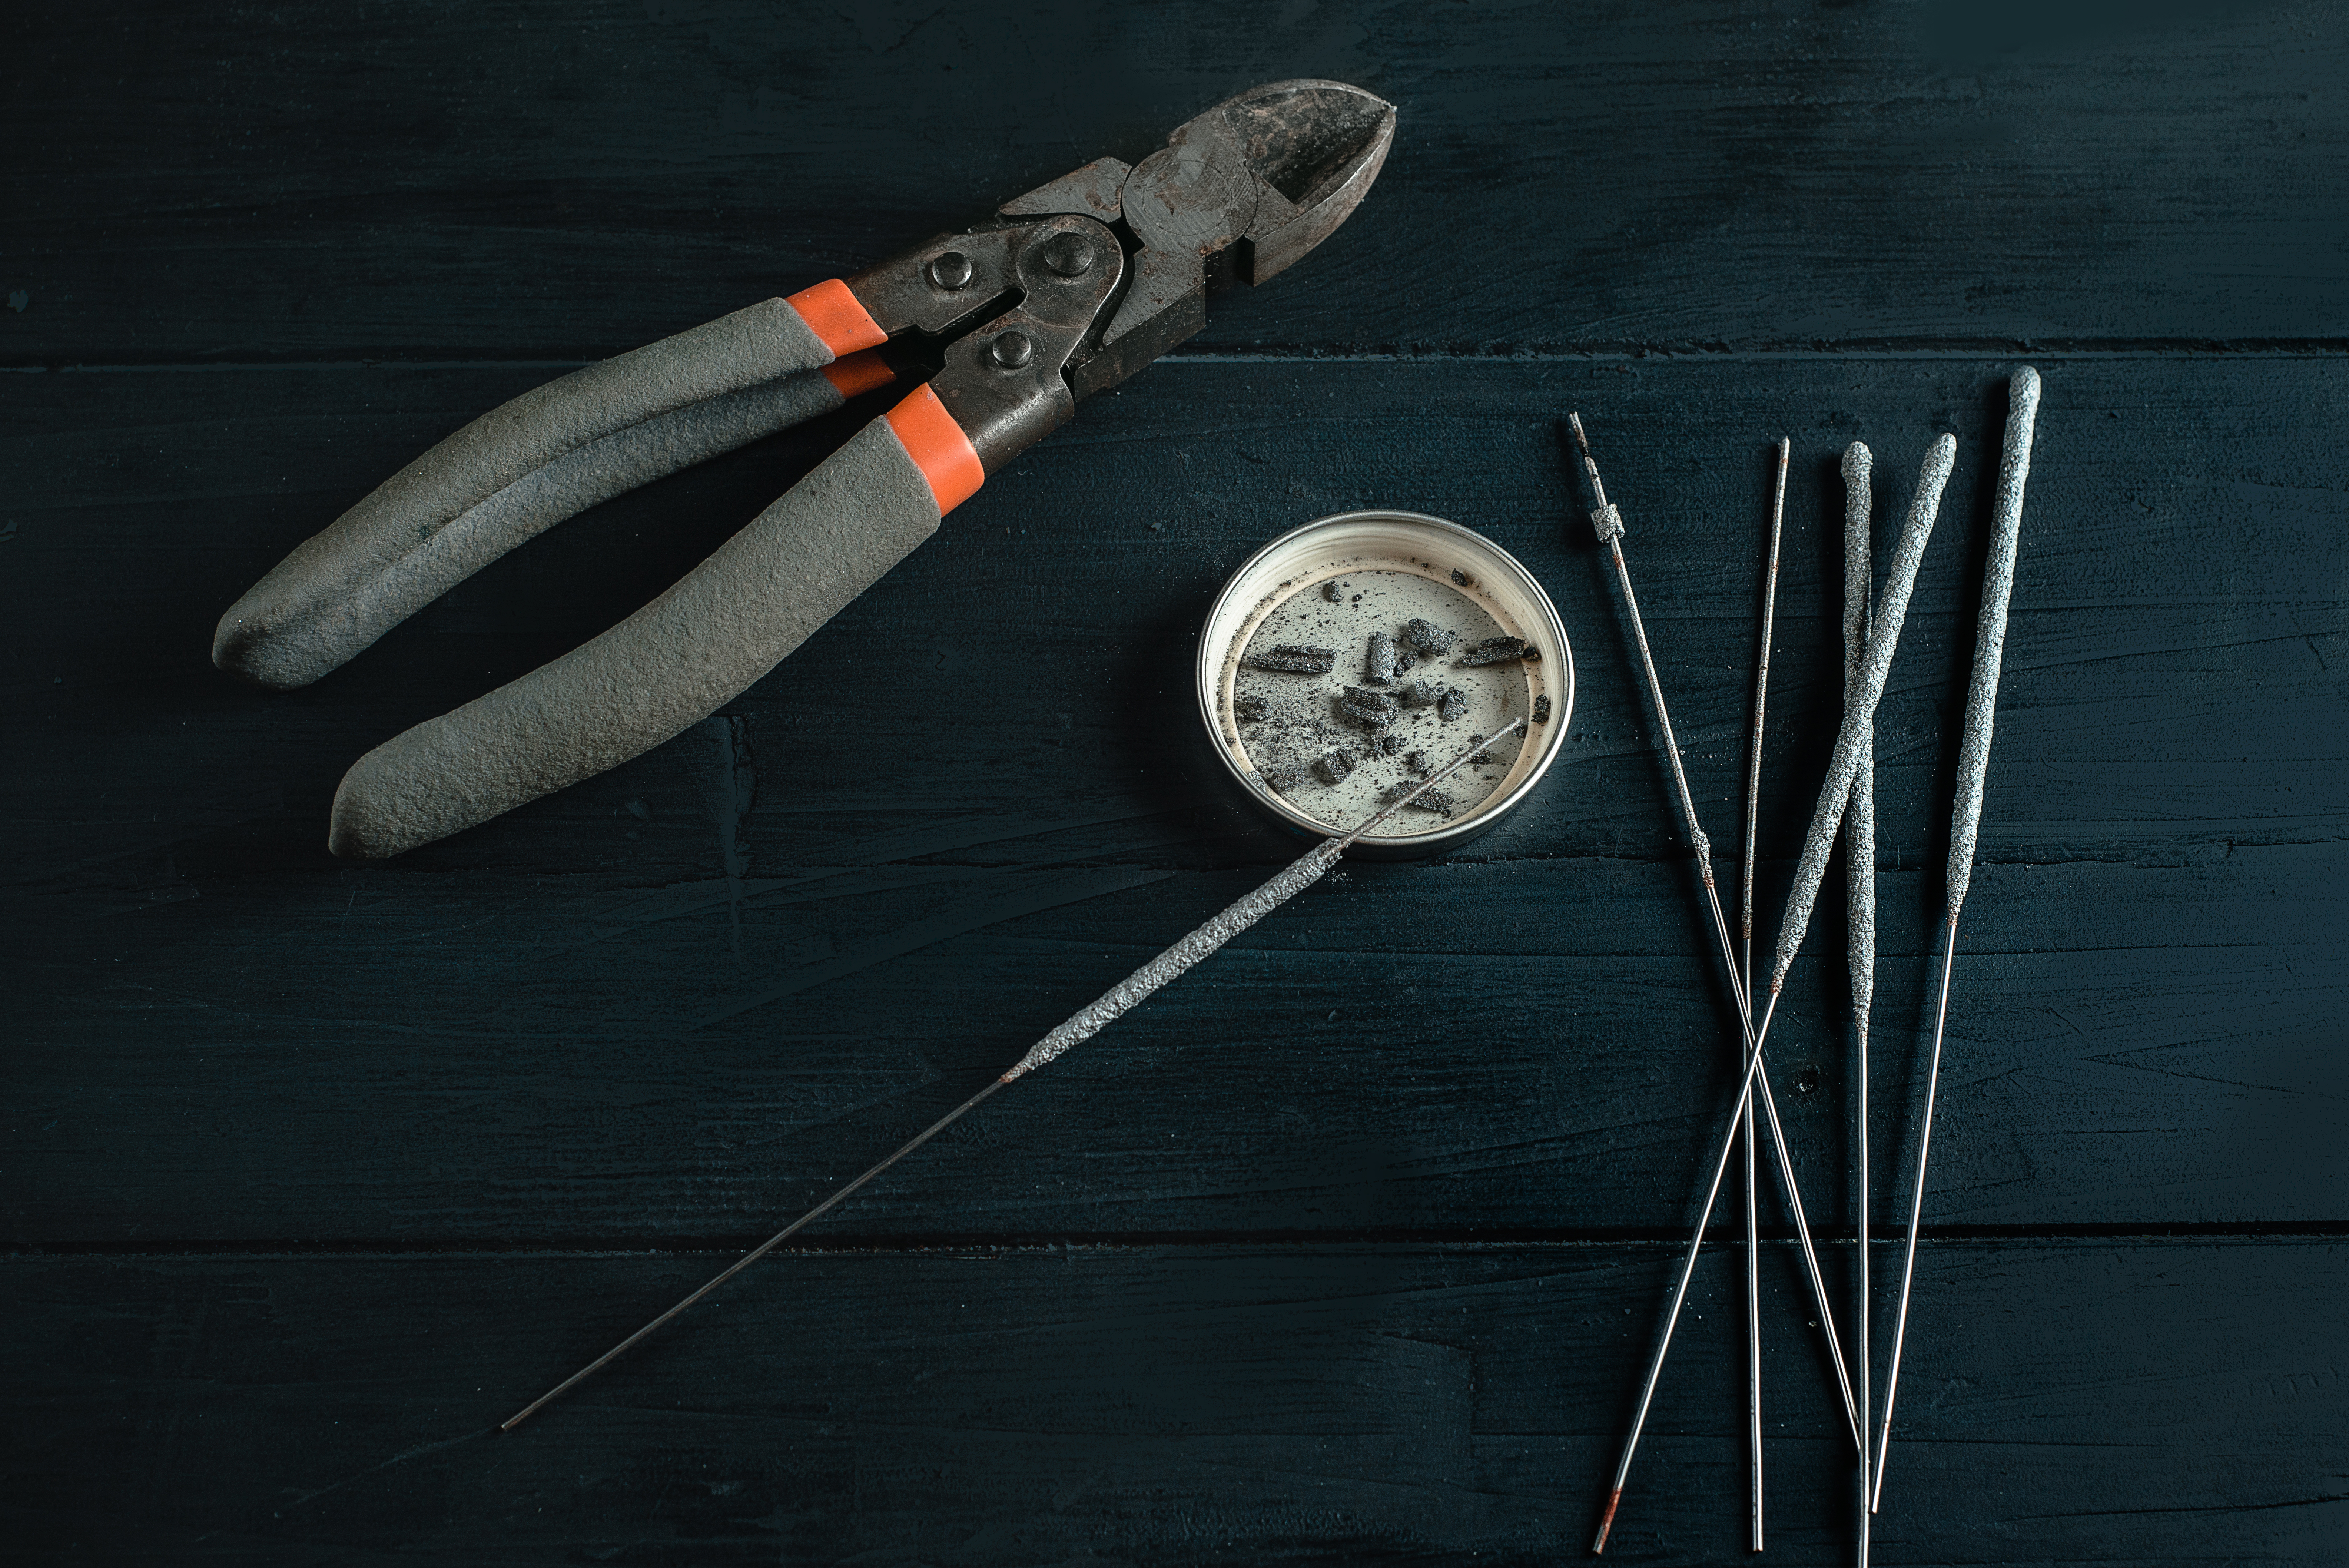
2. Preparation
We aren’t going to use whole sparklers, just the burning bits of them. So peel off the pieces of combustible mixture from the stem, keeping them relatively big and trying not to turn them into dust.
IMPORTANT NOTICE! Though sparklers are great fun, they’re still dangerous to use indoors. So keep a fire extinguisher handy, put any flammable items away (and don’t wear flammable clothes), use gloves if you have soft skin, and definitely cover your eyes with safety goggles. Always treat fire as a serious business… even a small one.
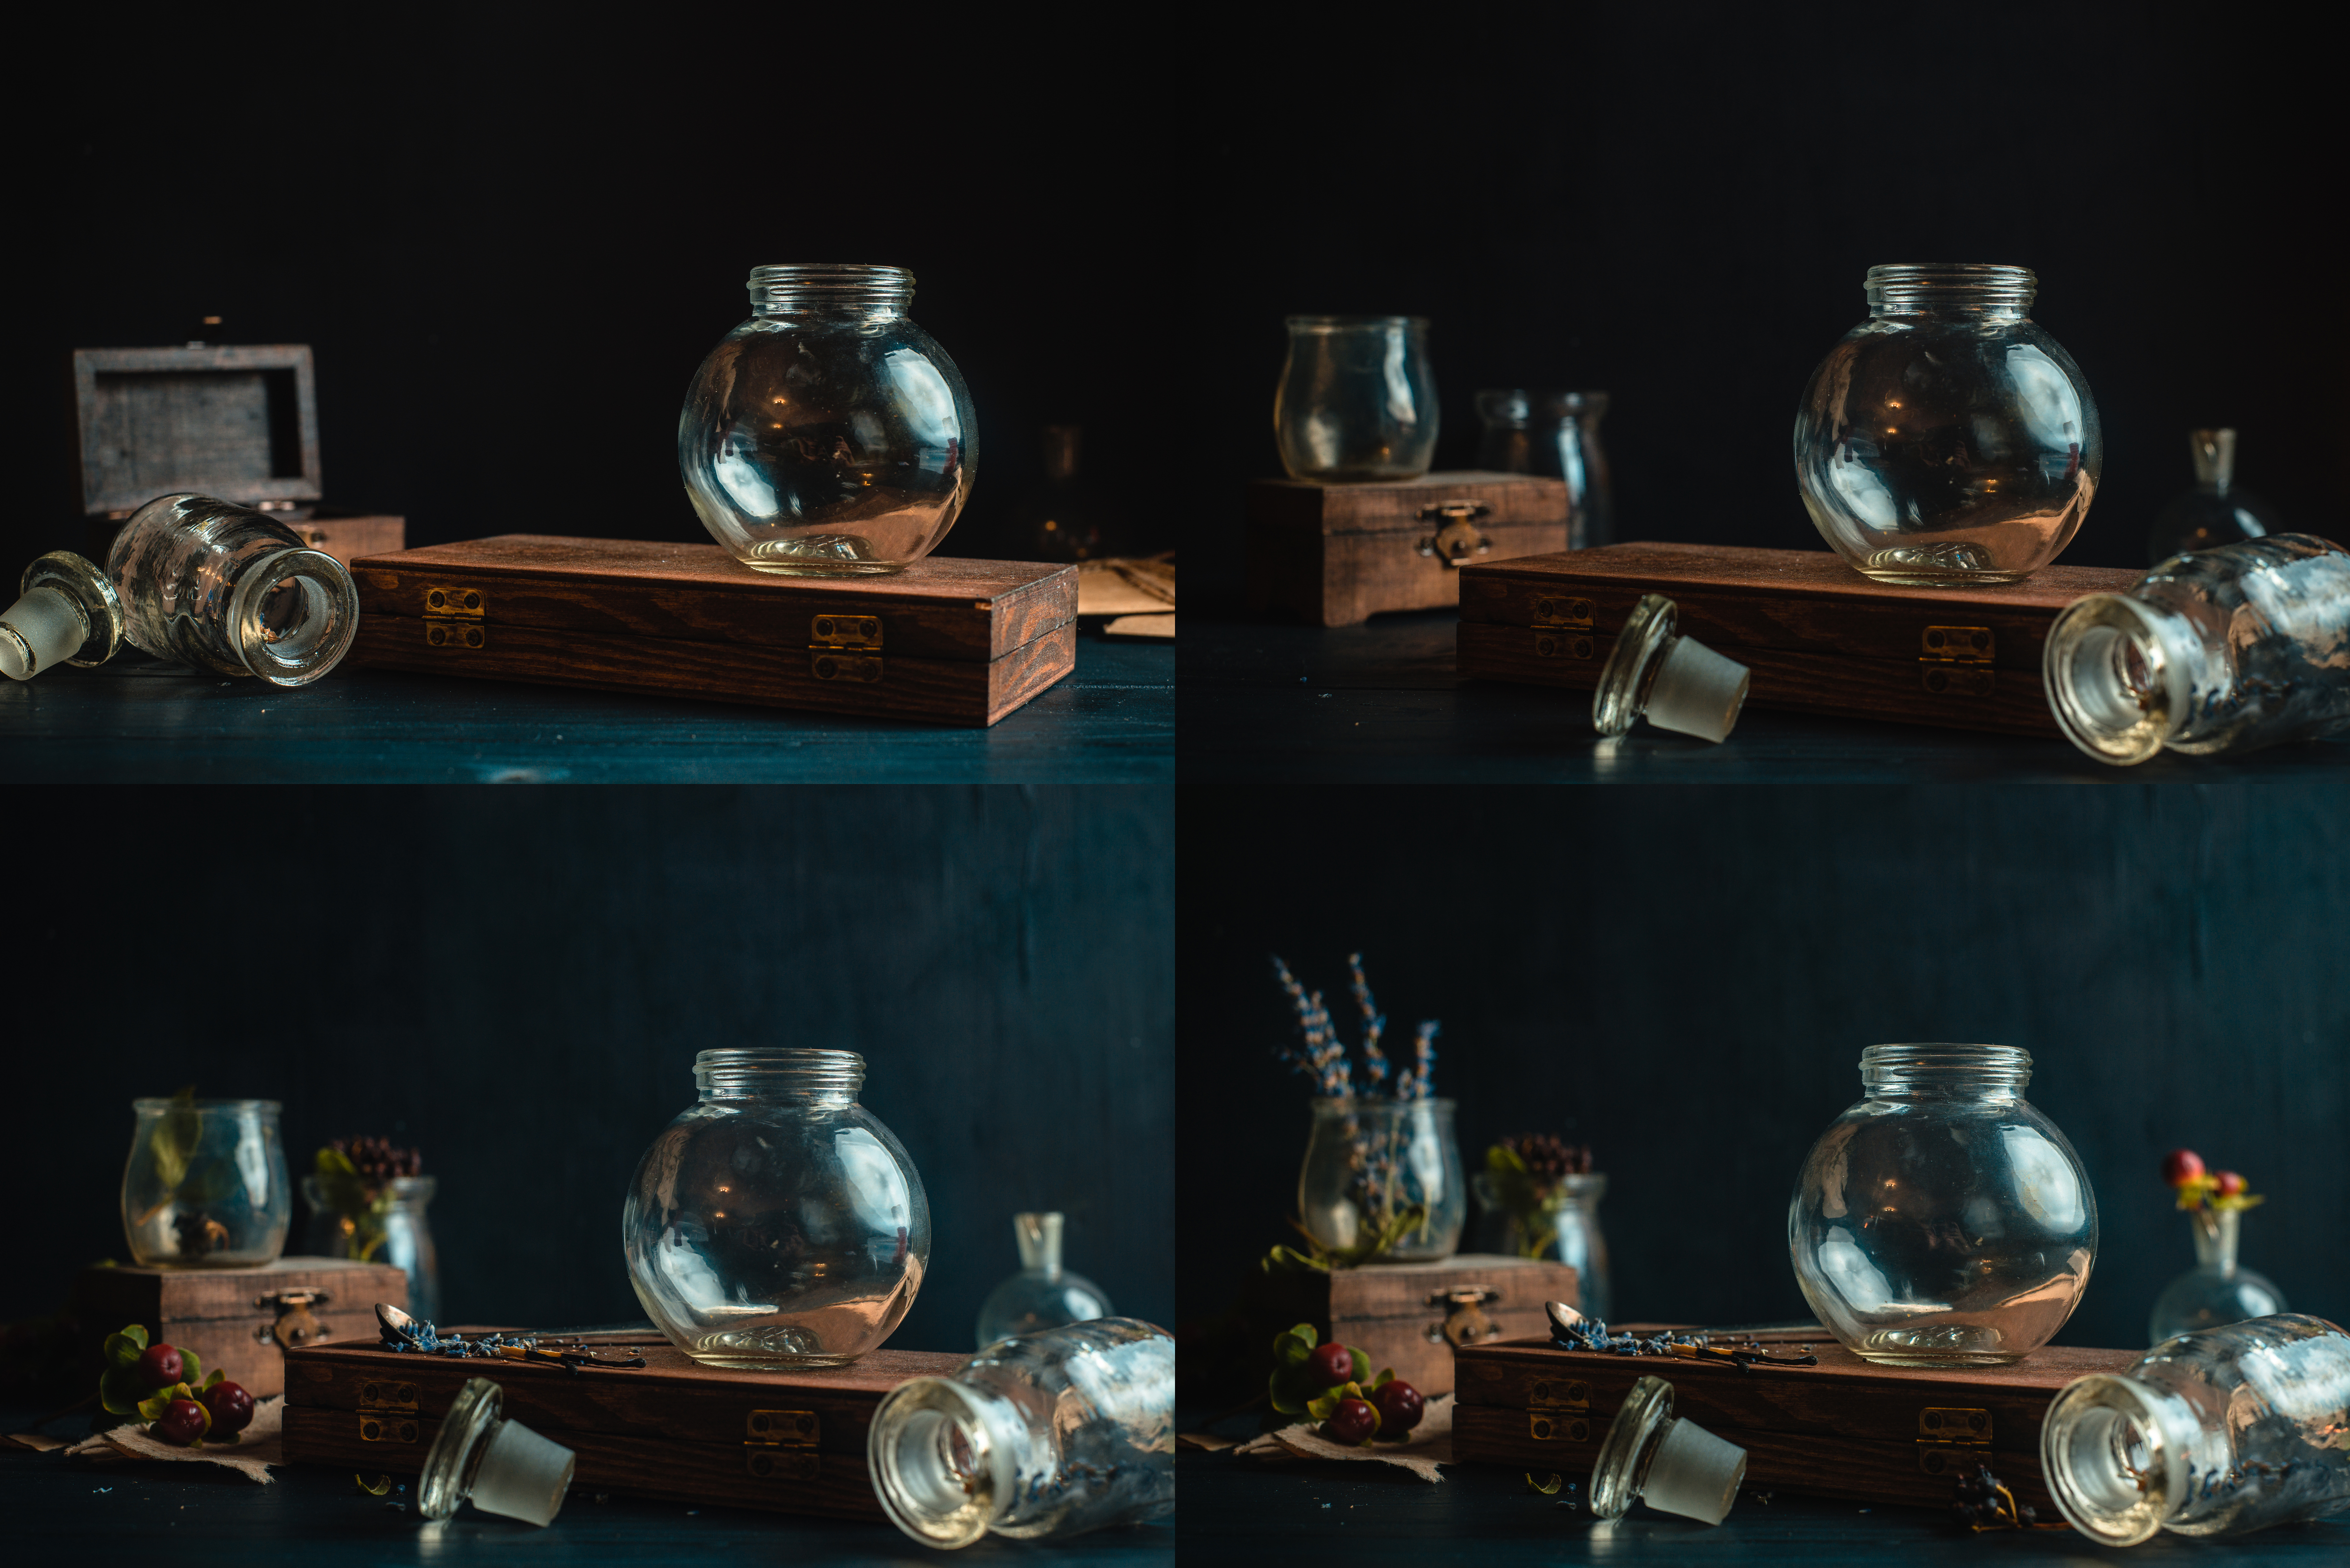
3. Composition and Lighting
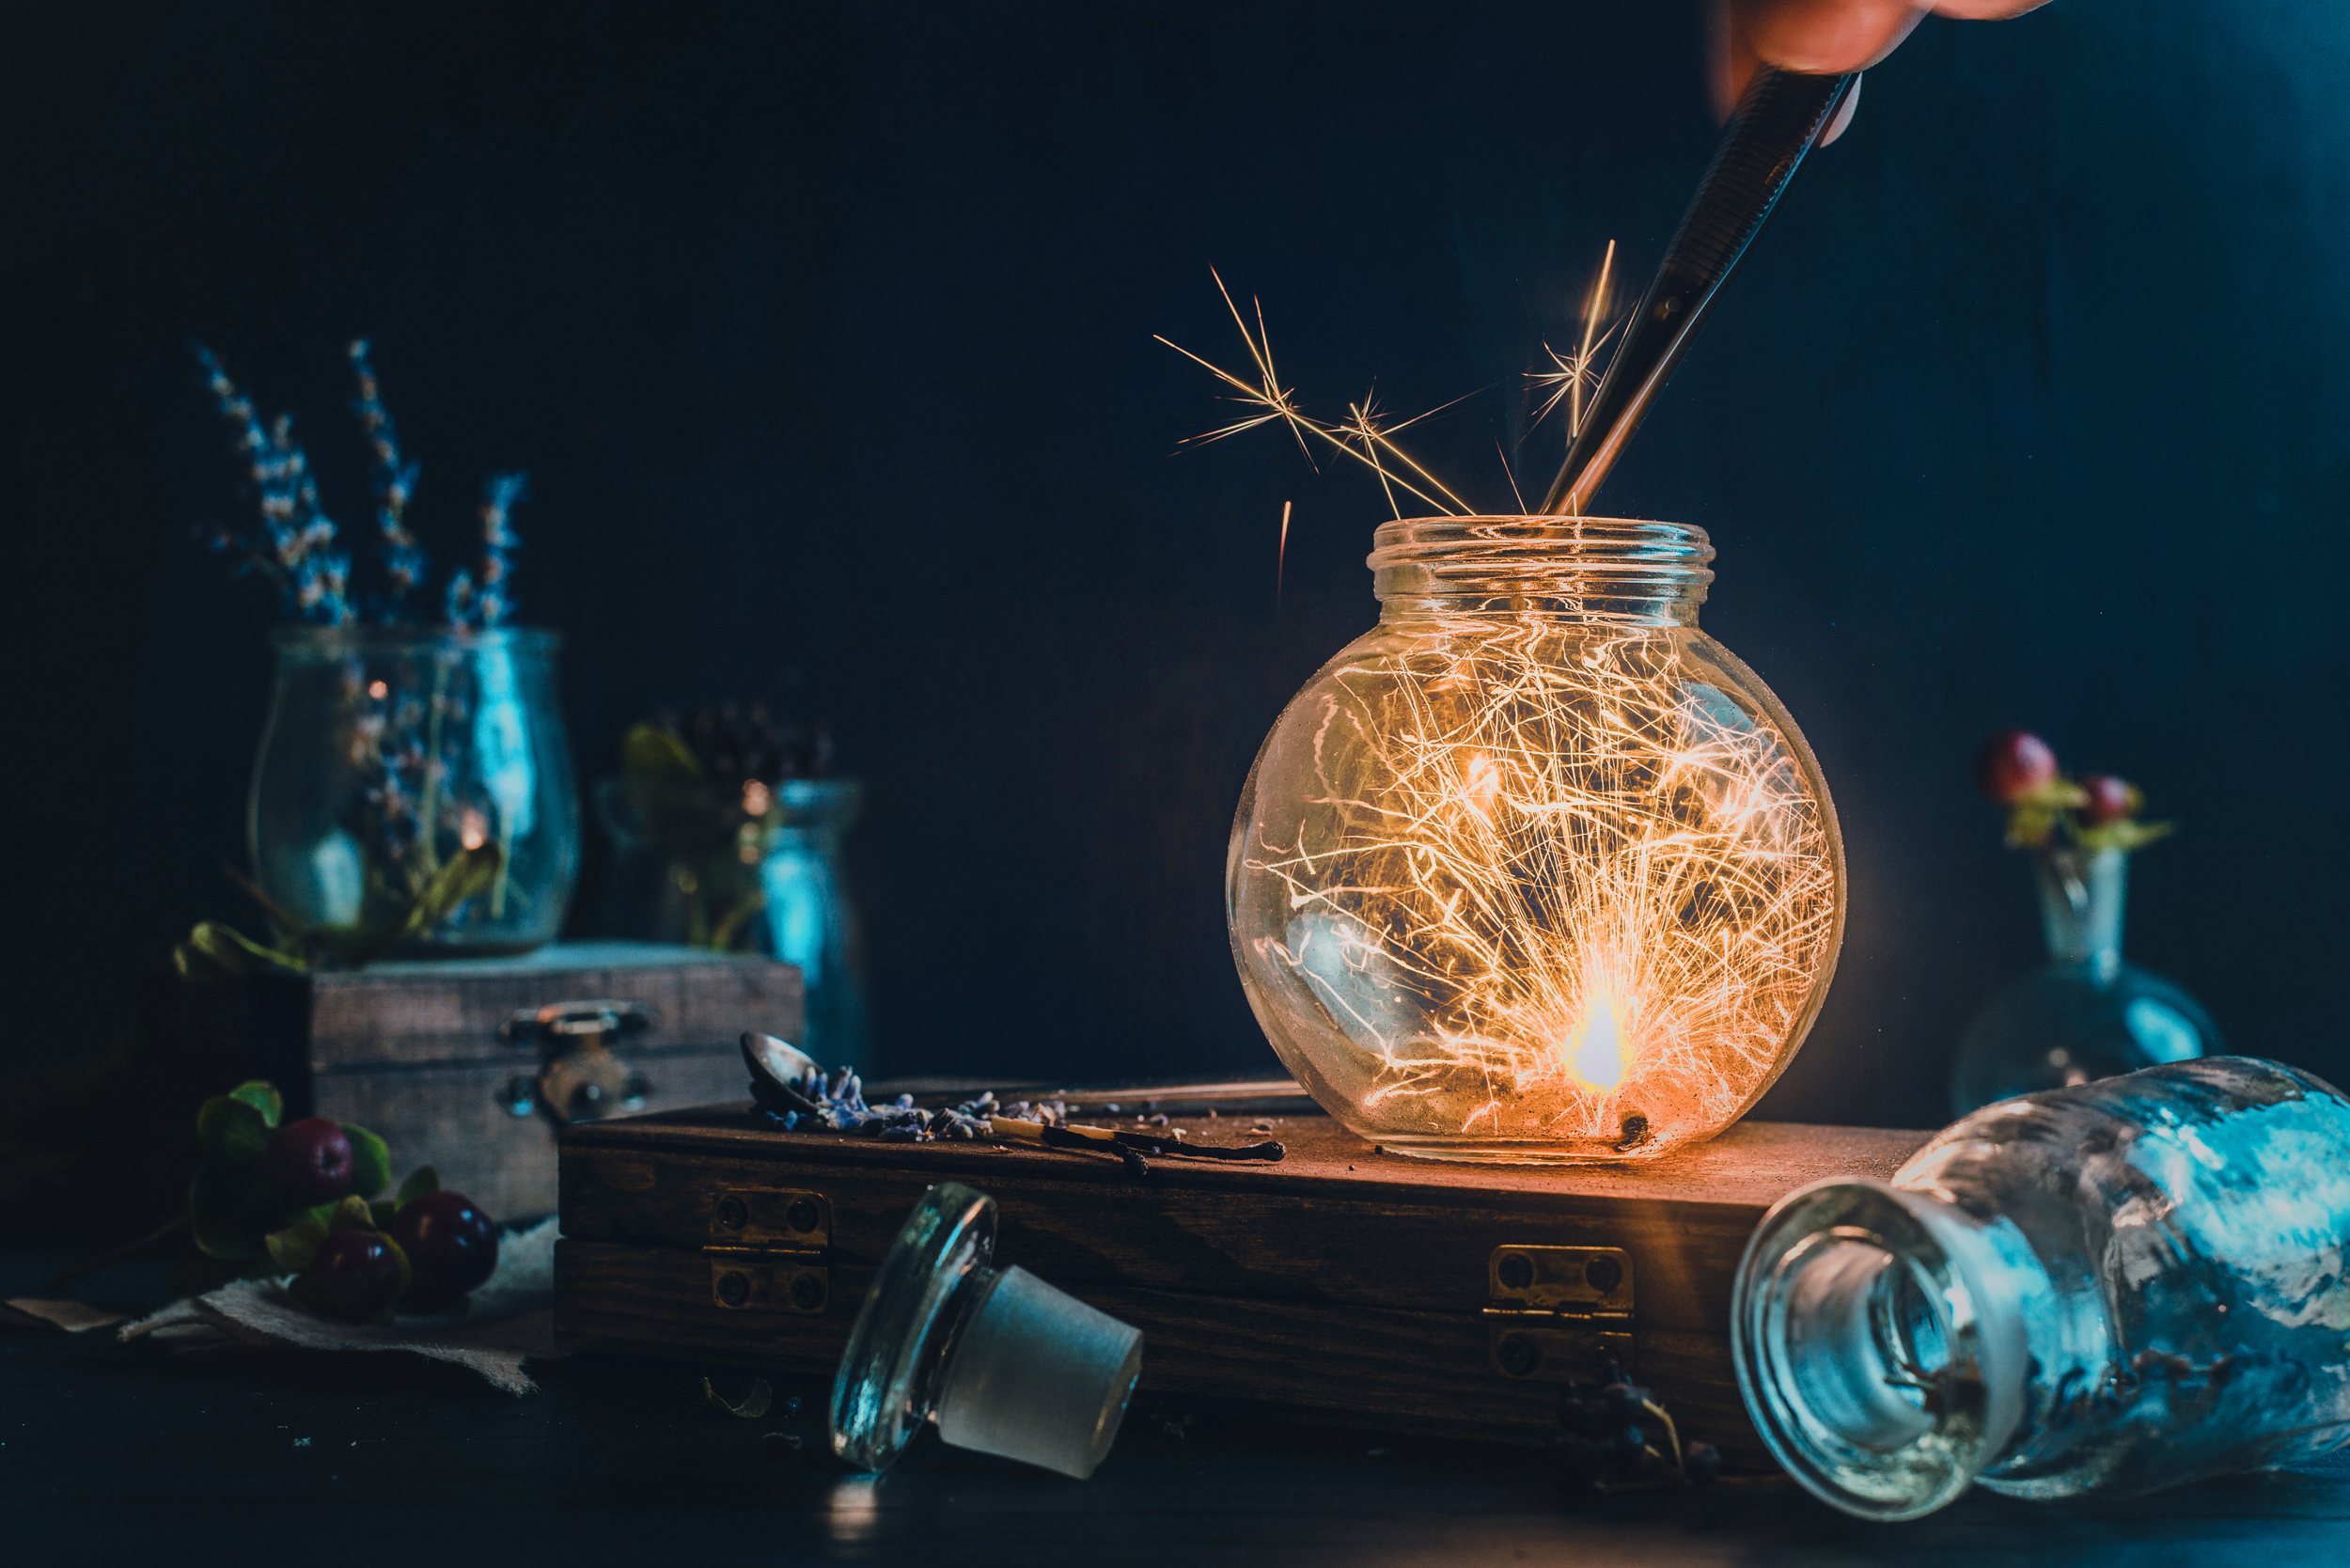
I set up a simple composition with a glass jar as the main object. You can keep the background dark, it will make the sparks more prominent. No one is saying you can’t use a light and colorful or even a white background—you’ll still be able to see the sparks, they just won’t be so evidently bright and fiery.
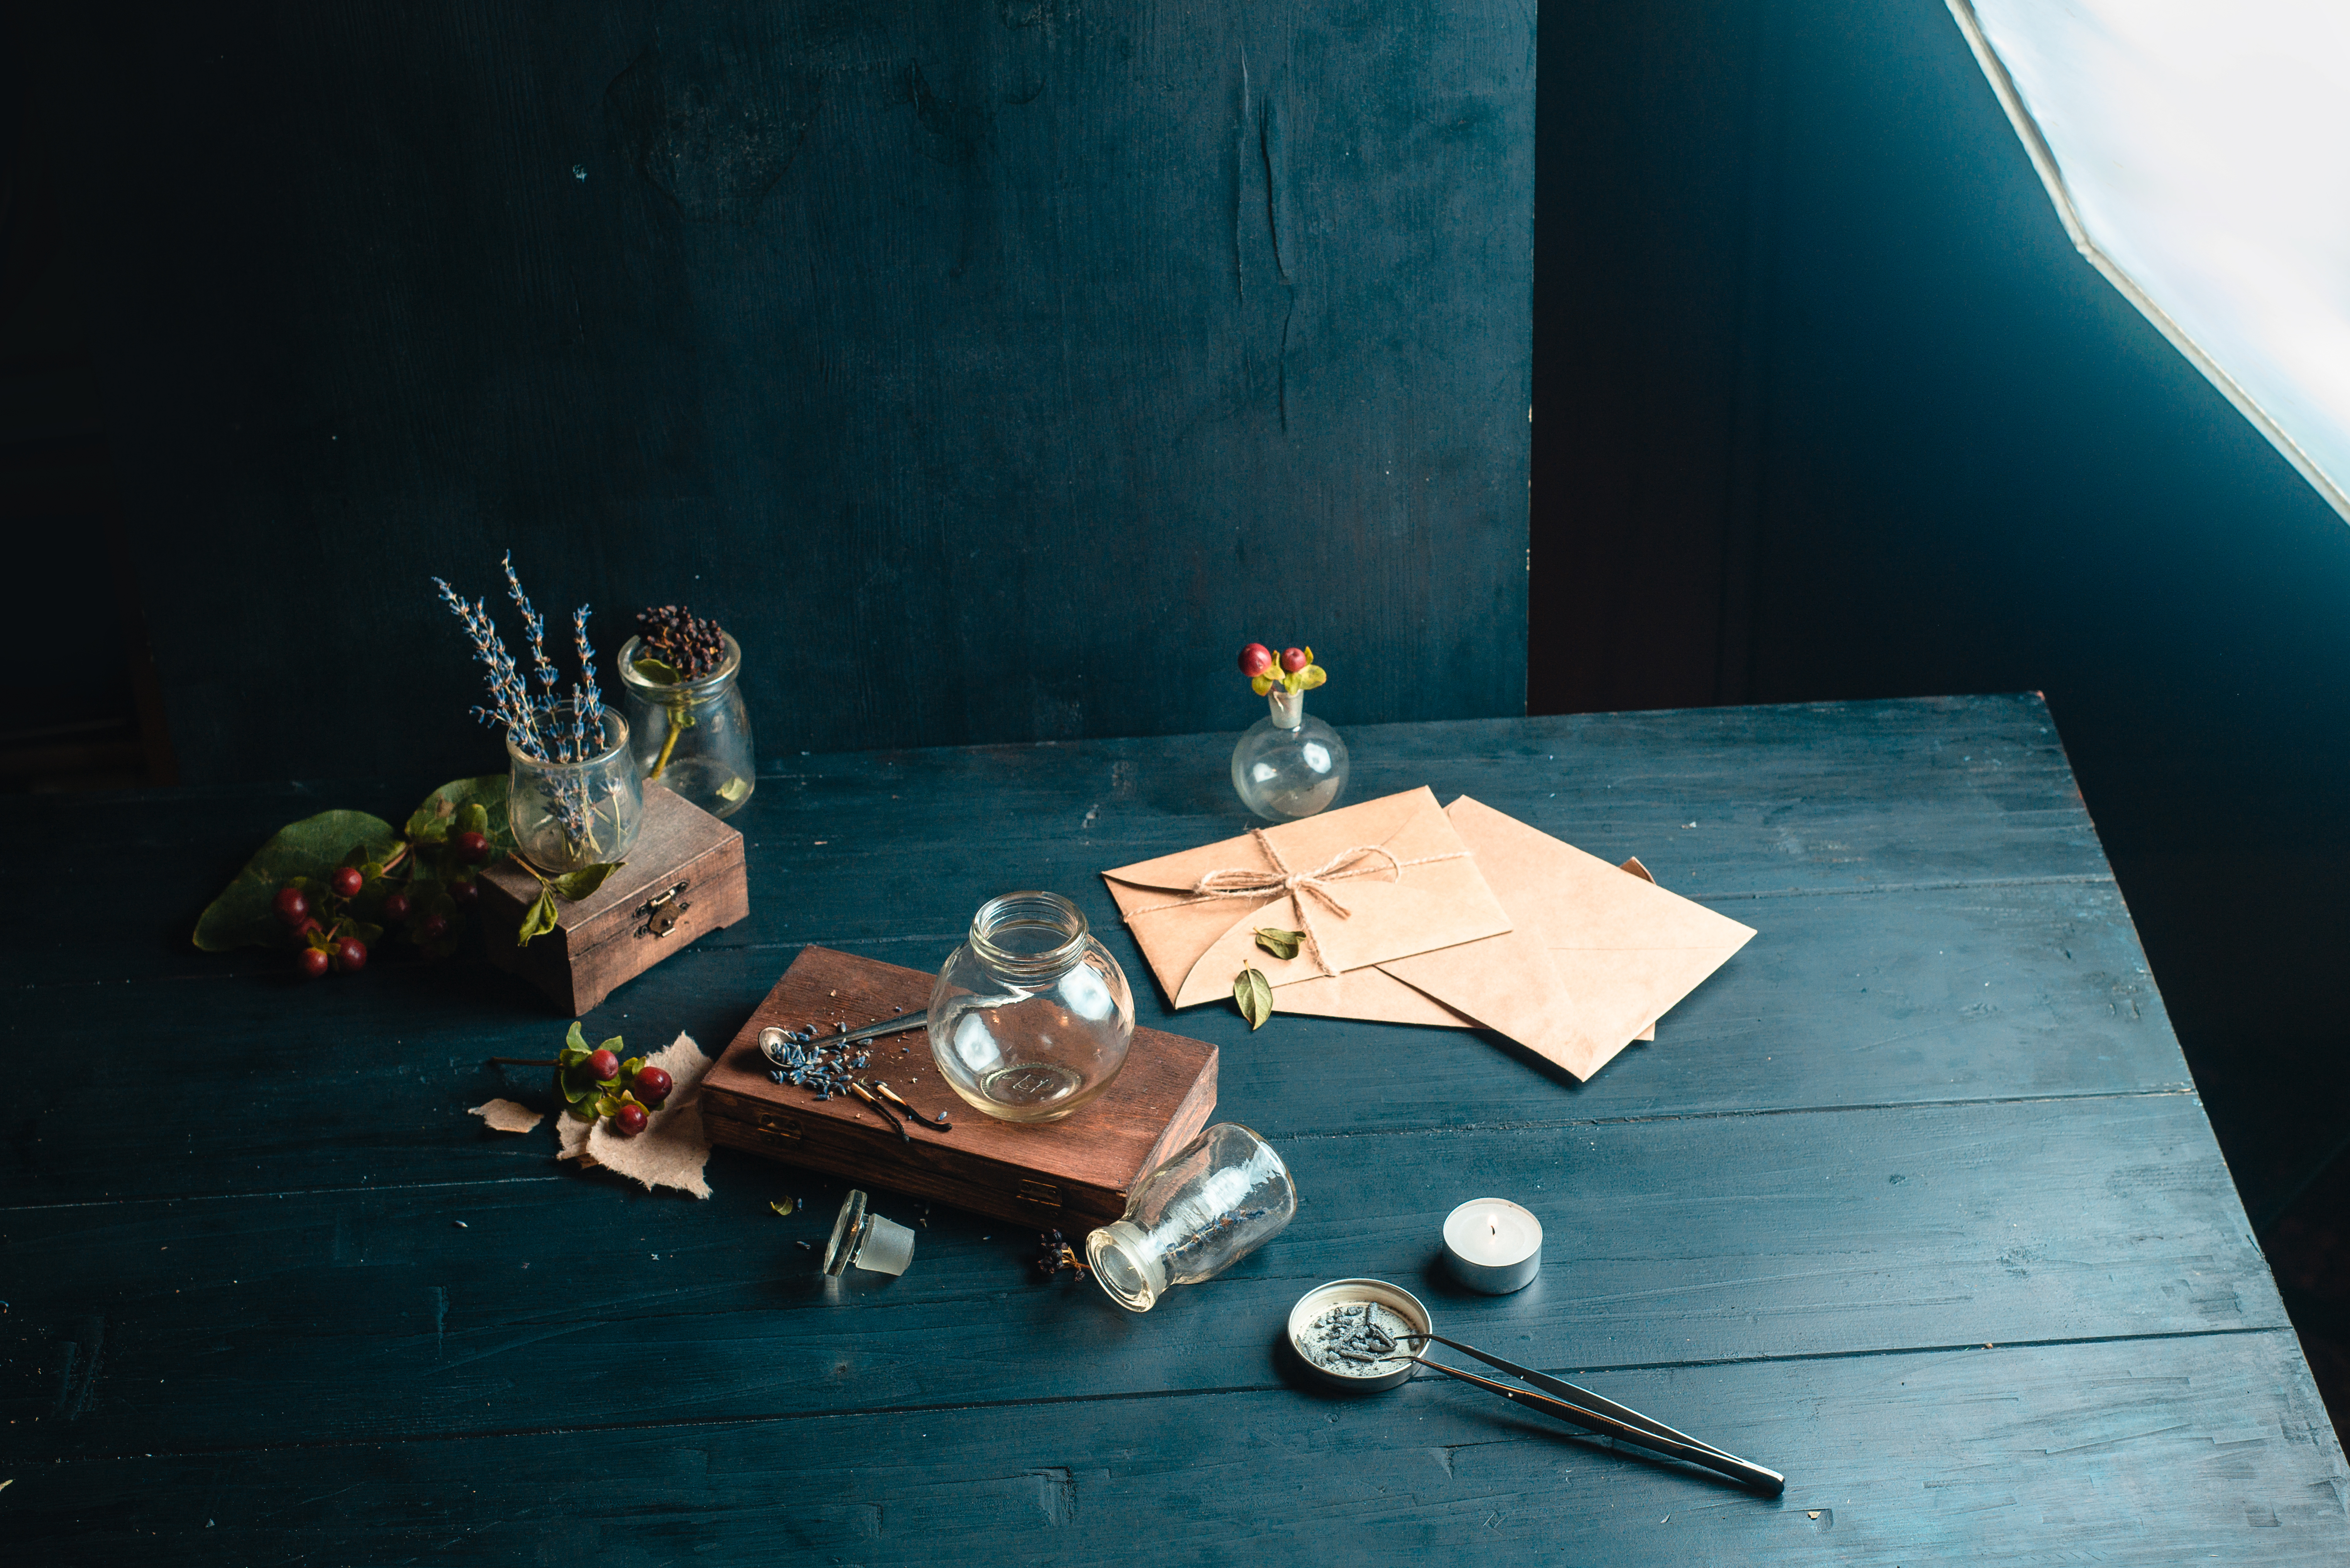
For lighting I used one small softbox on the right side (and a bit behind the scene) with a flash inside, and a reflector on the left side. It’s as simple as that. Keep in mind that the sparkler will give off its own light, so be careful to not overexpose the image.
4. Camera Settings
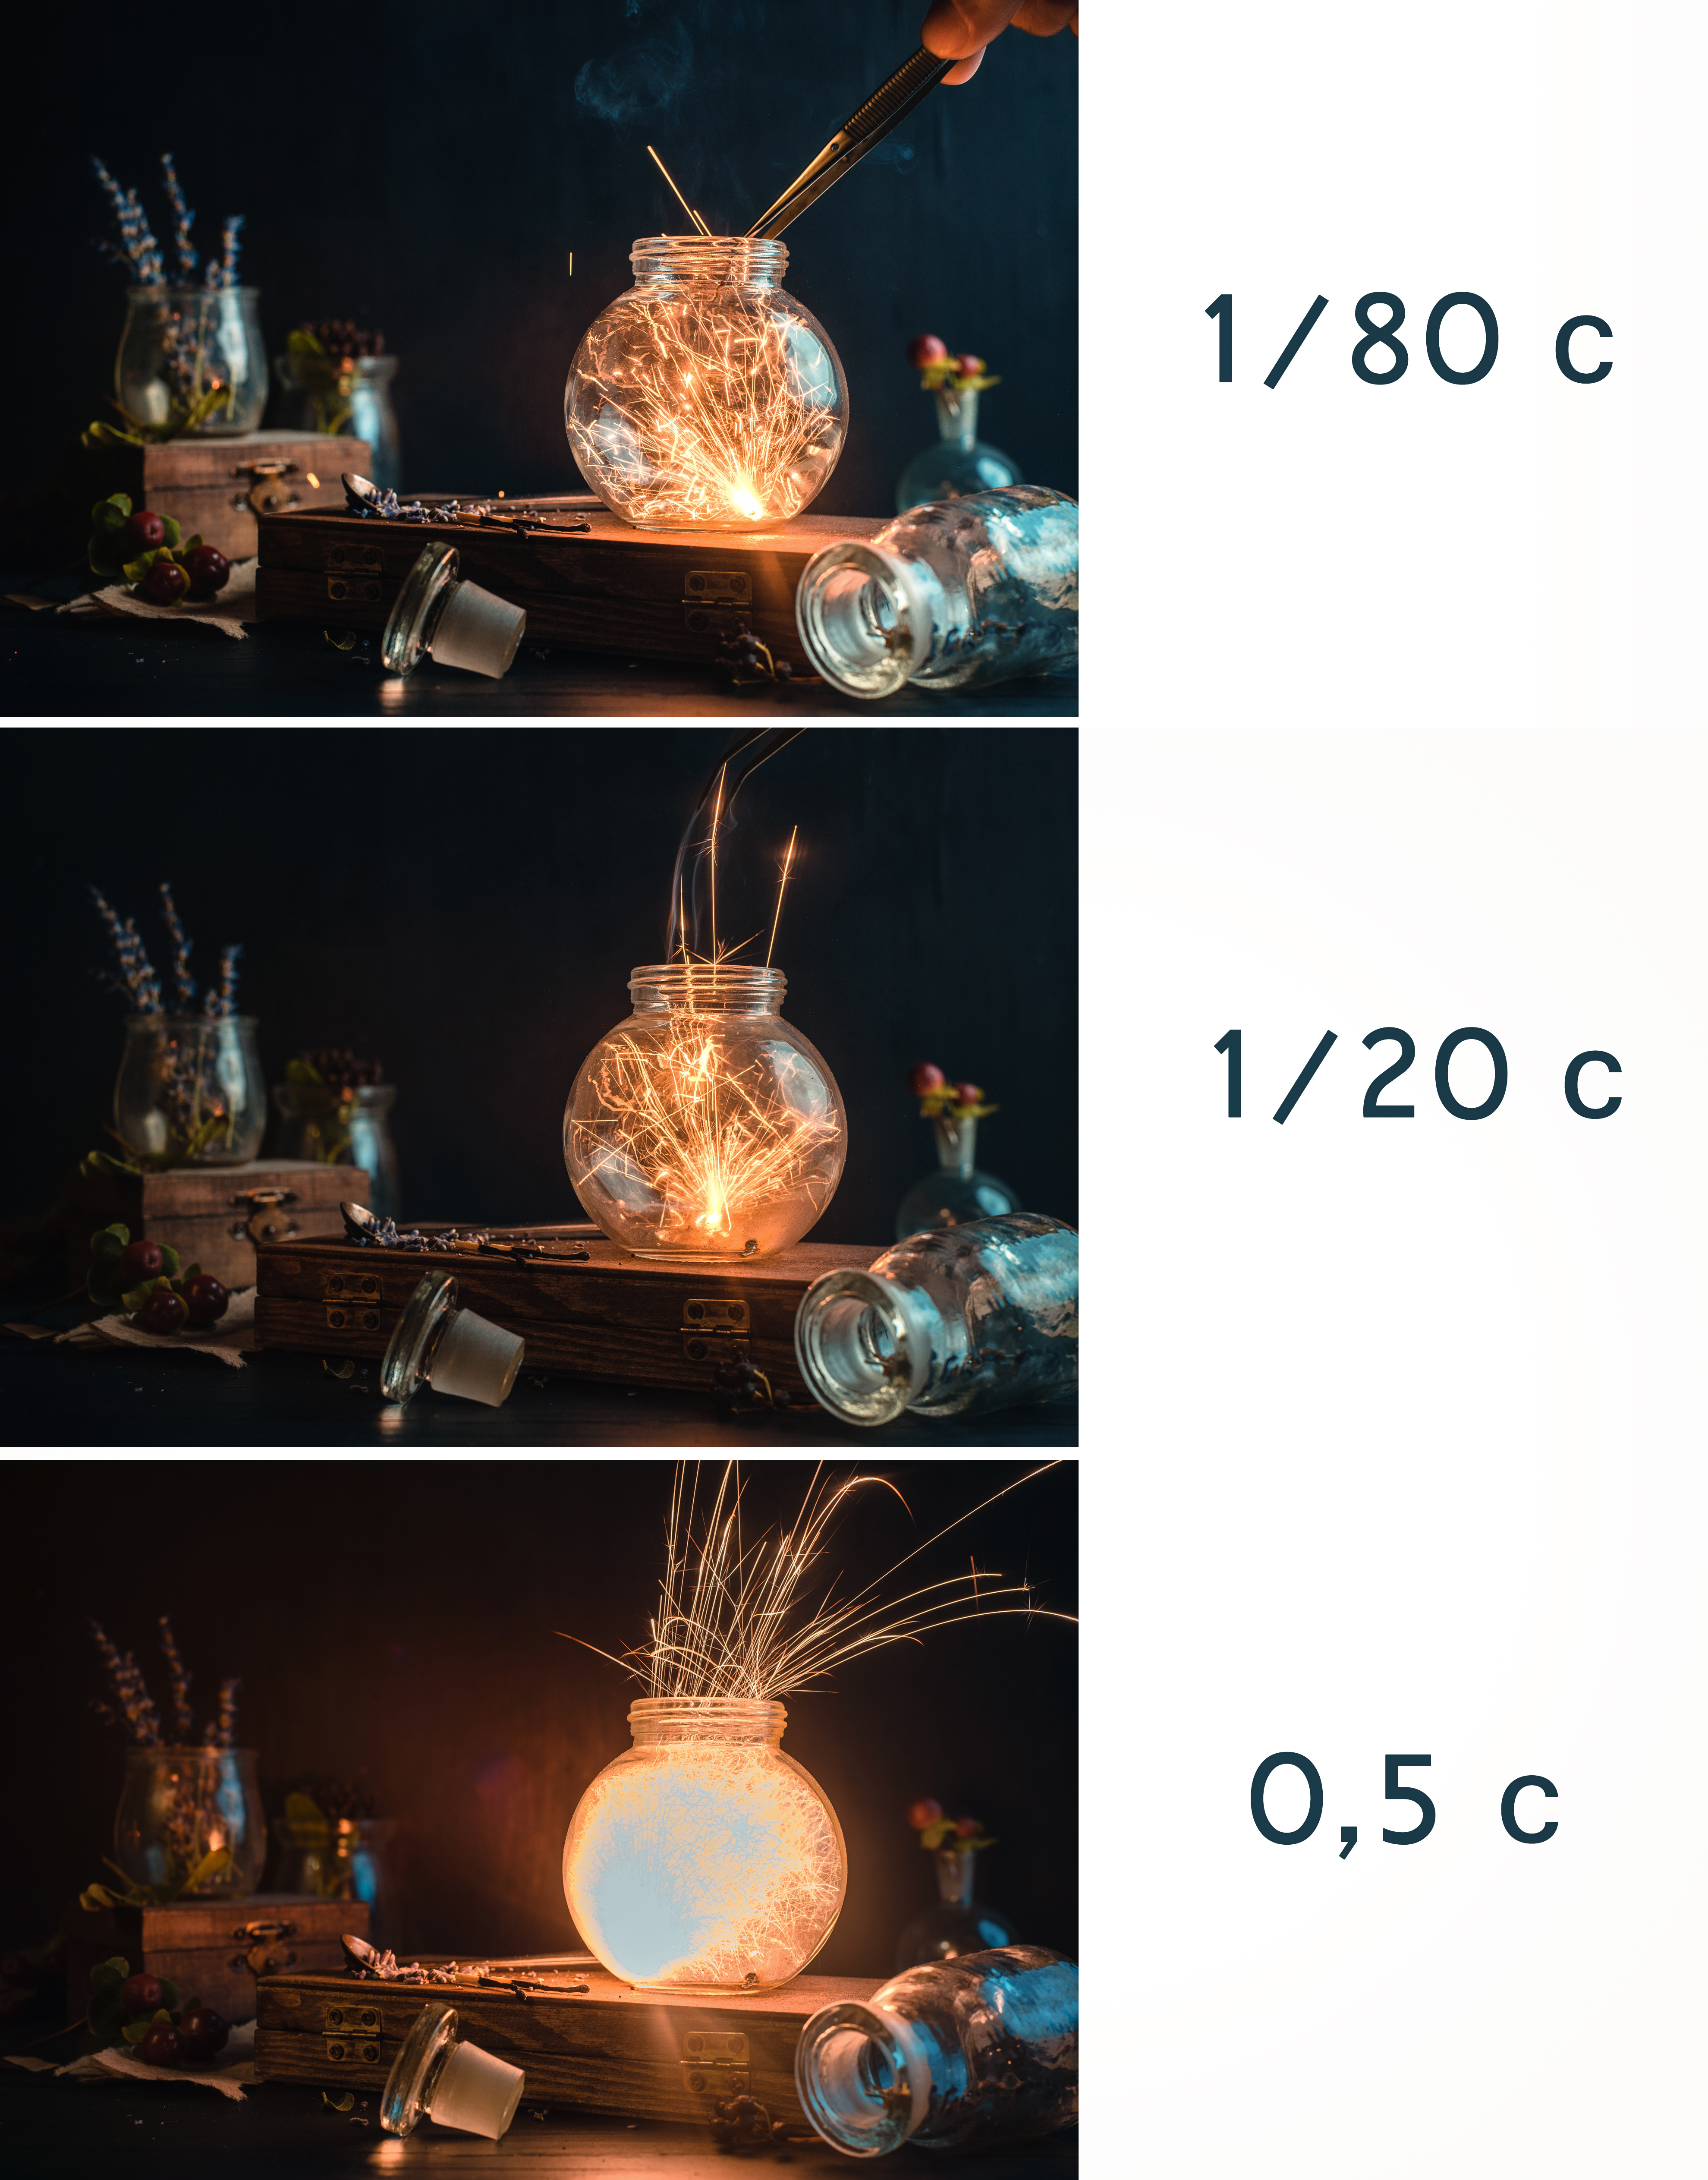
The key setting here is the shutter speed. You can vary it through a fairly large range between 1/100 and 0.5 seconds (or even 1.5sec in some cases). The longer is shutter speed, the longer the fiery tails of sparks and the more light you’ll get from the sparkler.
In my case, a 0.5sec exposure practically burnt out every detail in the jar… it was definitely too much. At short shutter speeds you probably won’t be able to get beautiful glares of sparkler light on other objects and the fiery trails might be too short. So I think a shutter speed of about 1/60 or 1/20 will be your best choice. You can capture a couple of test shots and decide which one you like most.
The second most important setting is a high-speed, continuous shooting mode (or burst mode). Make sure that your camera will shoot several photos in a row, as it will make the process a lot easier.
5. Shooting
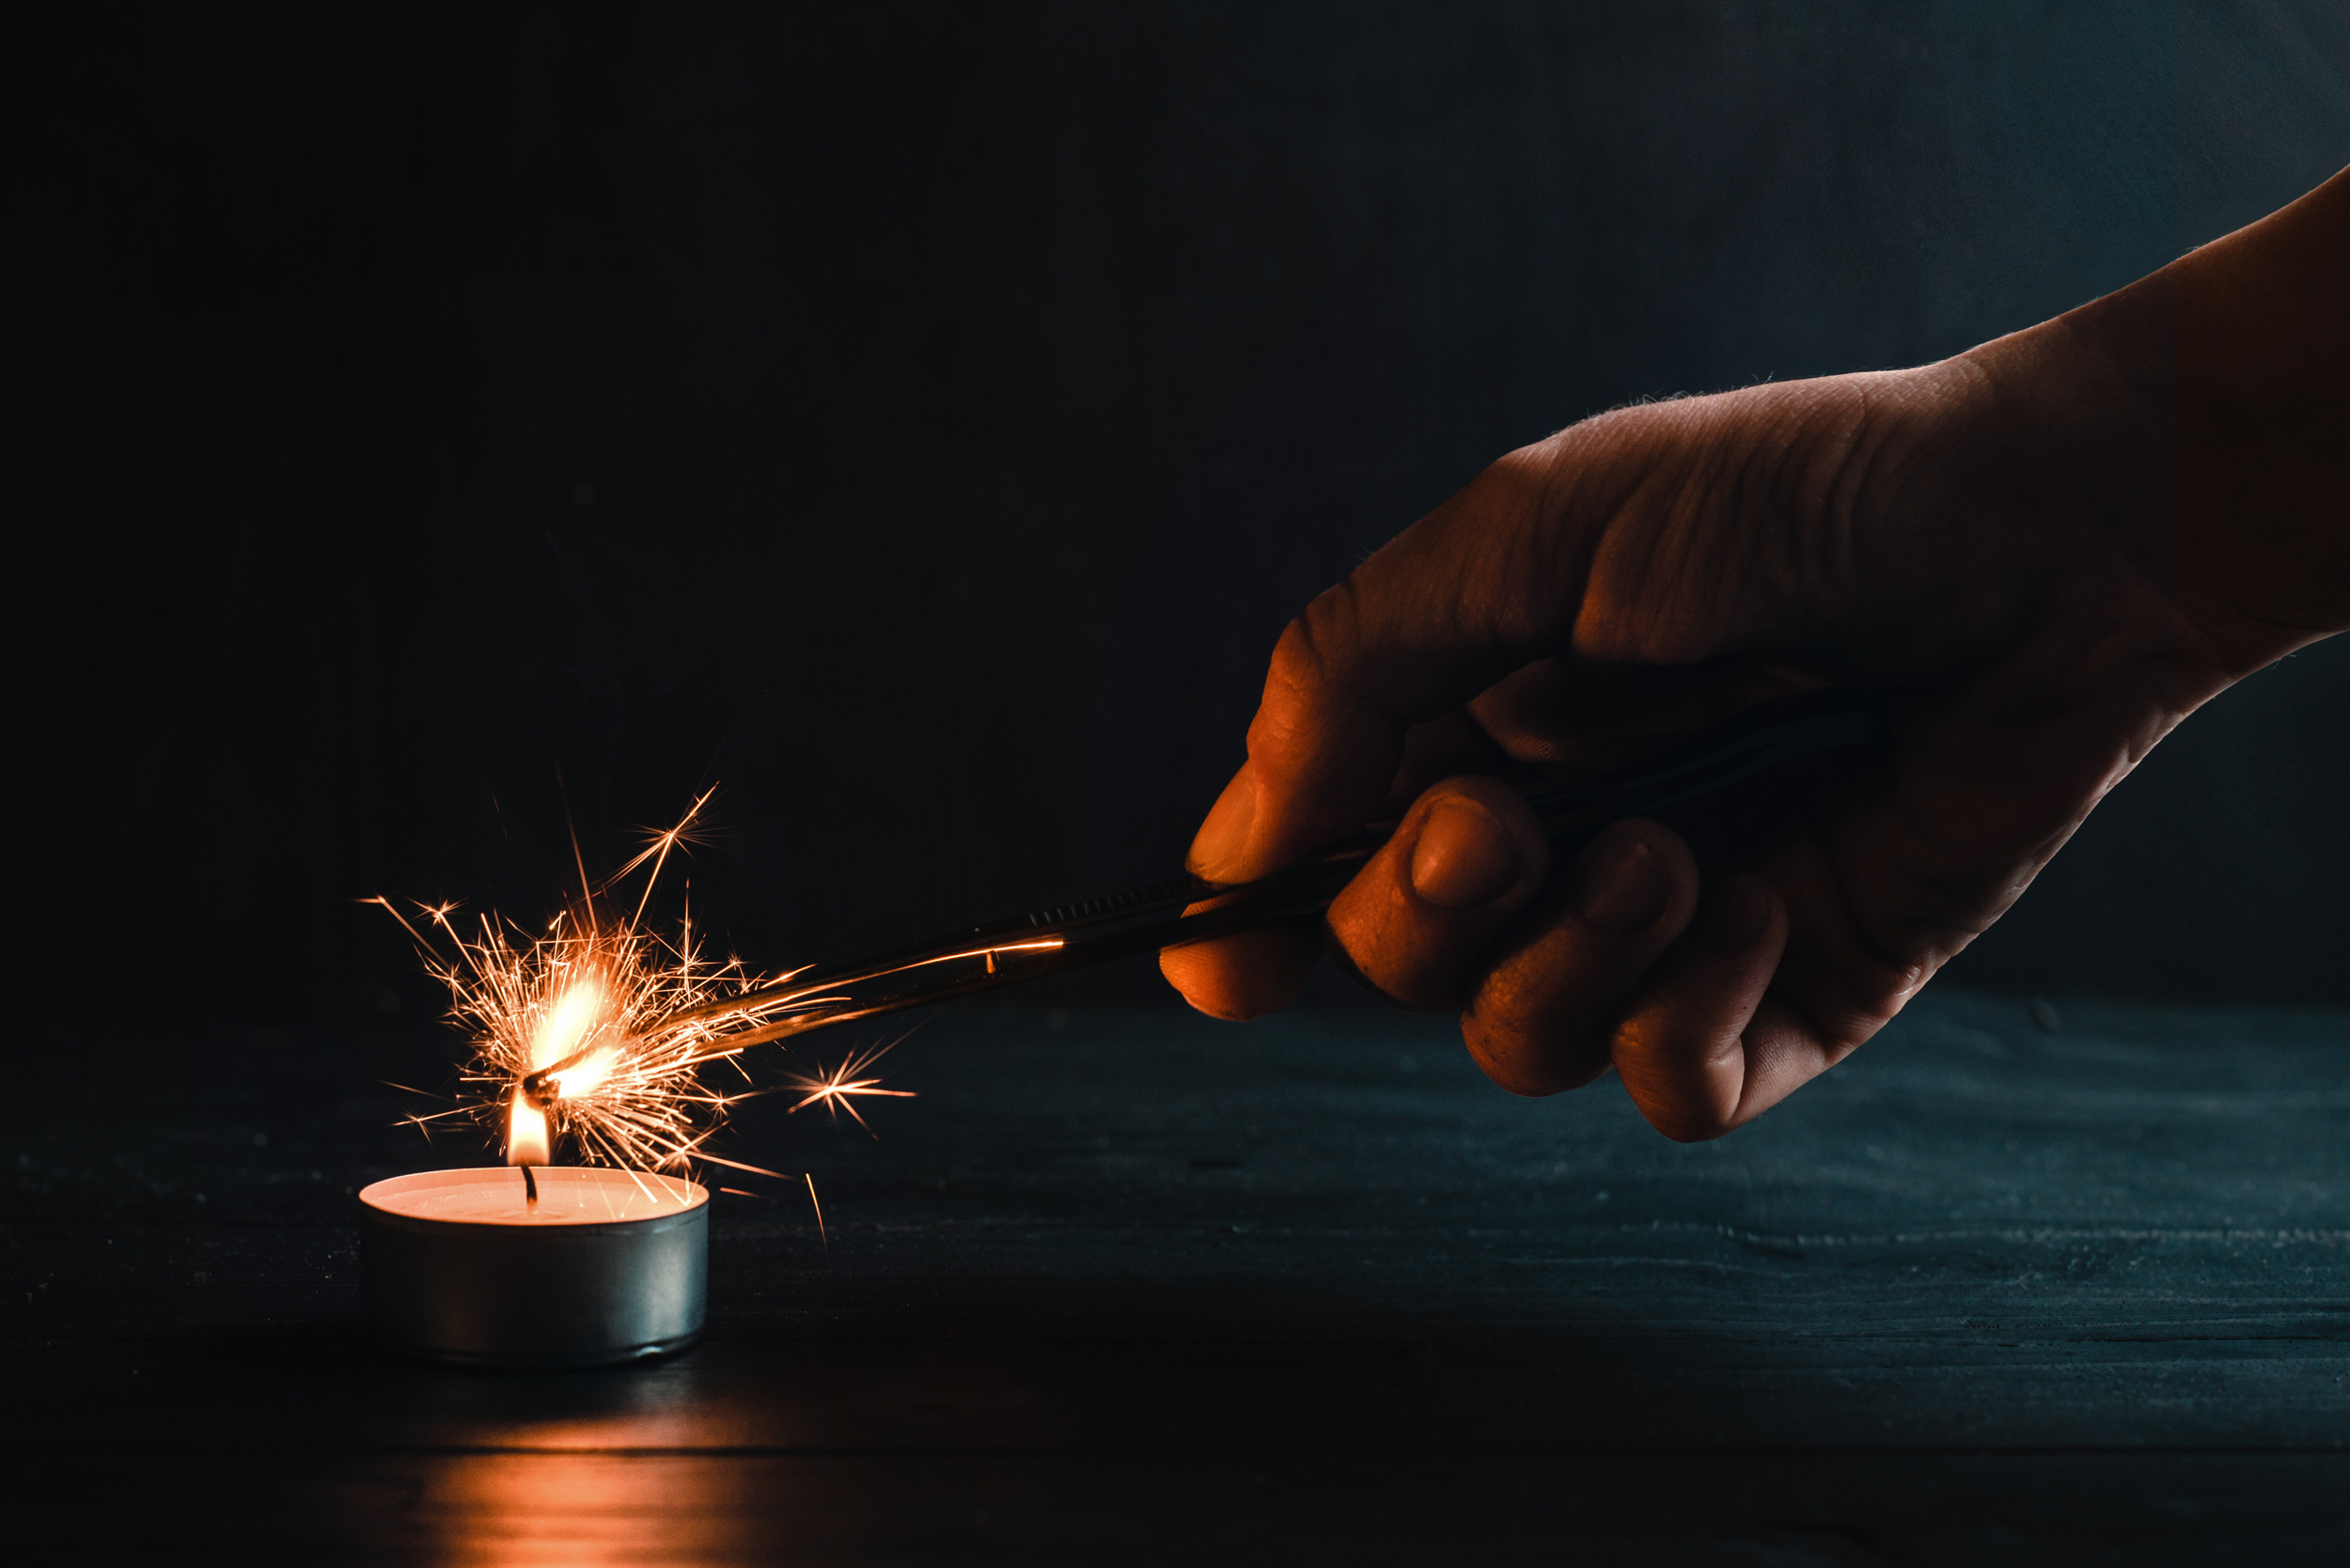
This is the best part! Pick up a piece of peeled sparkler with your tweezers, hold it above a lit candle, and right after it starts to burn, drop it into the jar. Try to act quickly and be careful with the sparks… and have fun!
6. Post-Processing
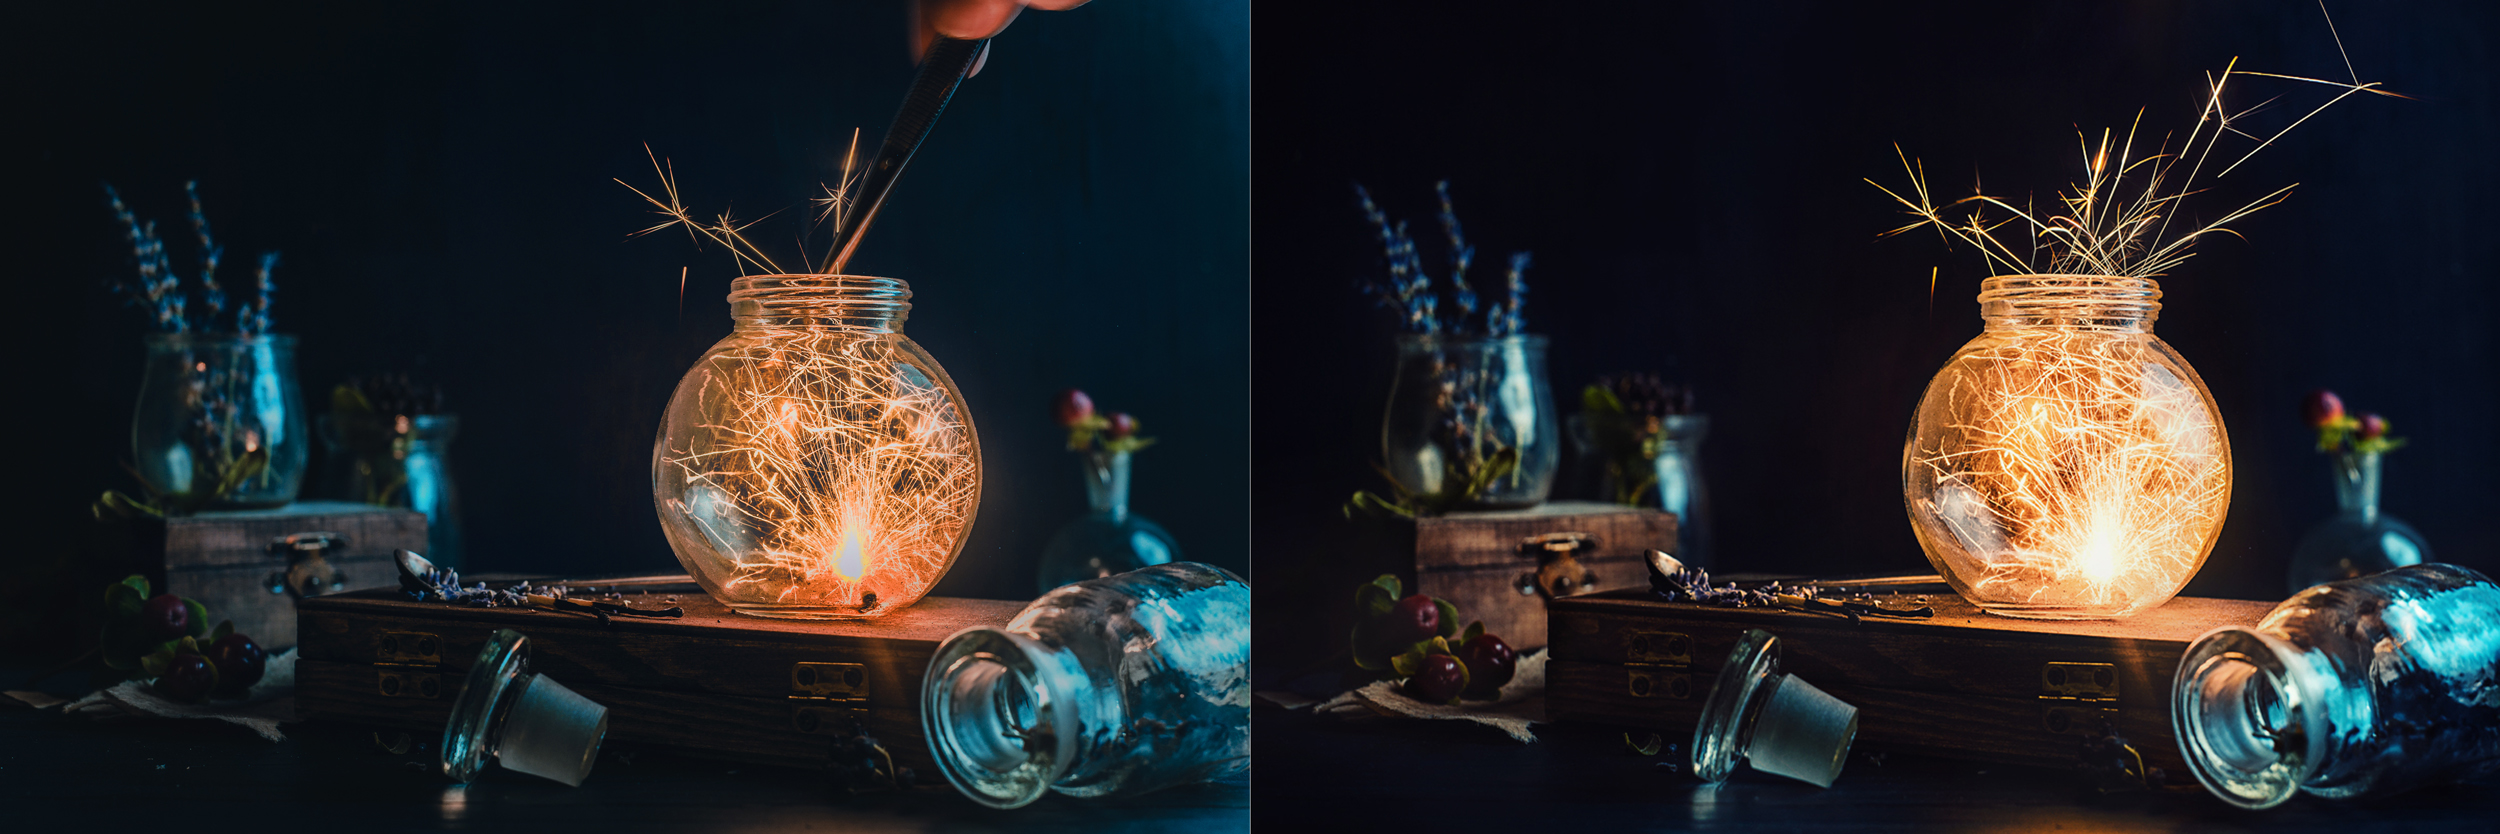
After shooting, choose the luckiest image (or a couple of them). You can add some sparks from other shots and polish it in general. In my case, I slightly altered the colour, adjusted contrast, and added a few more sparks. Voila!




Leave a reply