Despite the nature that surrounds us daily, taking a strong landscape photo is no small feat. That’s what we’re here to help you with—conquering the skills needed to take a stunning landscape shot that stands out from the rest.
Landscape photography isn’t just about aiming your camera at something pretty and pressing the shutter. It requires technique, knowledge of lighting, skills at creating a thought-through composition, the right gear, knowing how to make the most of your settings, and more.
In this article, we are going to give you our top 10 must-know tips for crafting that show-stopping landscape shot.
1. Use a tripod
2. Scout to find the perfect location
3. Equip yourself with a suitable lens
4. Learn the basics of working in manual mode
5. Position yourself in a way that uses the light to your advantage
6. Look for leading lines
7. Take multiple exposures
8. Shoot in RAW
9. Show scale
10. Think about the entire composition
Use a tripod
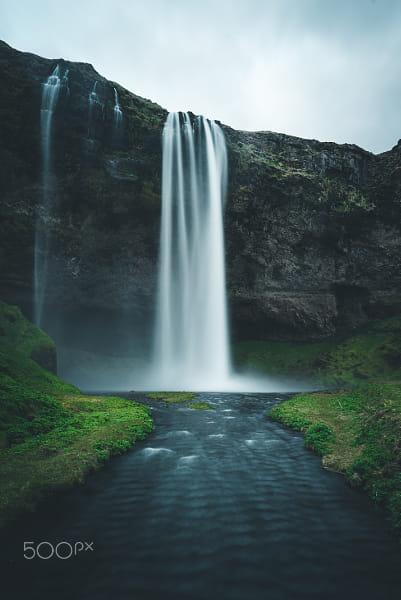
To ensure a sharp image, having a trusted tripod is crucial. This will eliminate any blur that would come from shaking hands, and reduce the obstacles to obtaining a clean image that grabs your attention. By placing your camera on a tripod, you eliminate the chance of moving the camera accidentally, and can focus on all the other elements of your shot. Double up the steadiness by using the self-timer or shutter release, and no matter how low you put the shutter speed you can guarantee a sharp landscape shot.
Scout to find the perfect location
Bucket list destinations are an easy win for landscape photographers, but there are also lesser-known locations that are ripe with potential for landscape photography. View this as your little bit of homework to get the perfect shot, with the added bonus that exploring is also a lot of fun.
Professional landscape photographers spend hours scouting out where they want to shoot. Don’t forget to also use the handy tech tools that bring the world right to you—Google maps, Fodor’s Travel, or your favorite travel bloggers. Don’t leave your location up to chance—plan, plan, plan! Find the ideal location for a dreamy landscape, pay attention to the lighting and wildlife, and then return with all your gear and make it happen.
Equip yourself with a suitable lens
Pair your camera with a compatible lens that is optimized for shooting landscapes. You’ll need a wide-angle lens, which offers a wider perspective and therefore captures more of the scene. These lenses have smaller focal length numbers (35mm and below).
Aside from choosing your lens based on what you need from it, make sure you keep it clean and protect it. Landscape photography can require a lot of hiking, and this can jostle your equipment, so make sure your camera bag protects your lens.
Learn the basics of working in manual mode
Set the Mode Dial to ‘M’—this is the manual mode where you’re the boss! You can now adjust the shutter speed (think of this like the camera’s blink), which controls the speed of the lens opening and closing. Tweak the aperture, which controls the size of the opening to the lens and how much light is let in. Check the ISO, which determines the camera’s sensitivity to light. Once these have all been set to your preference, you can keep an eye on the light meter to ensure everything is in balance and not too over or underexposed.
Shooting in manual mode gives you full control over your camera settings, but it can be a bit intimidating at first. However, shooting in manual mode is one of the most important tips that you will ever learn for landscape photography. With your DSLR or mirrorless camera in manual mode, familiarize yourself with the exposure triangle—shutter, aperture, and ISO.
Position yourself in a way that uses the light to your advantage
Lighting is everything in photography—when there isn’t enough, or too much, we won’t be able to make the details out.
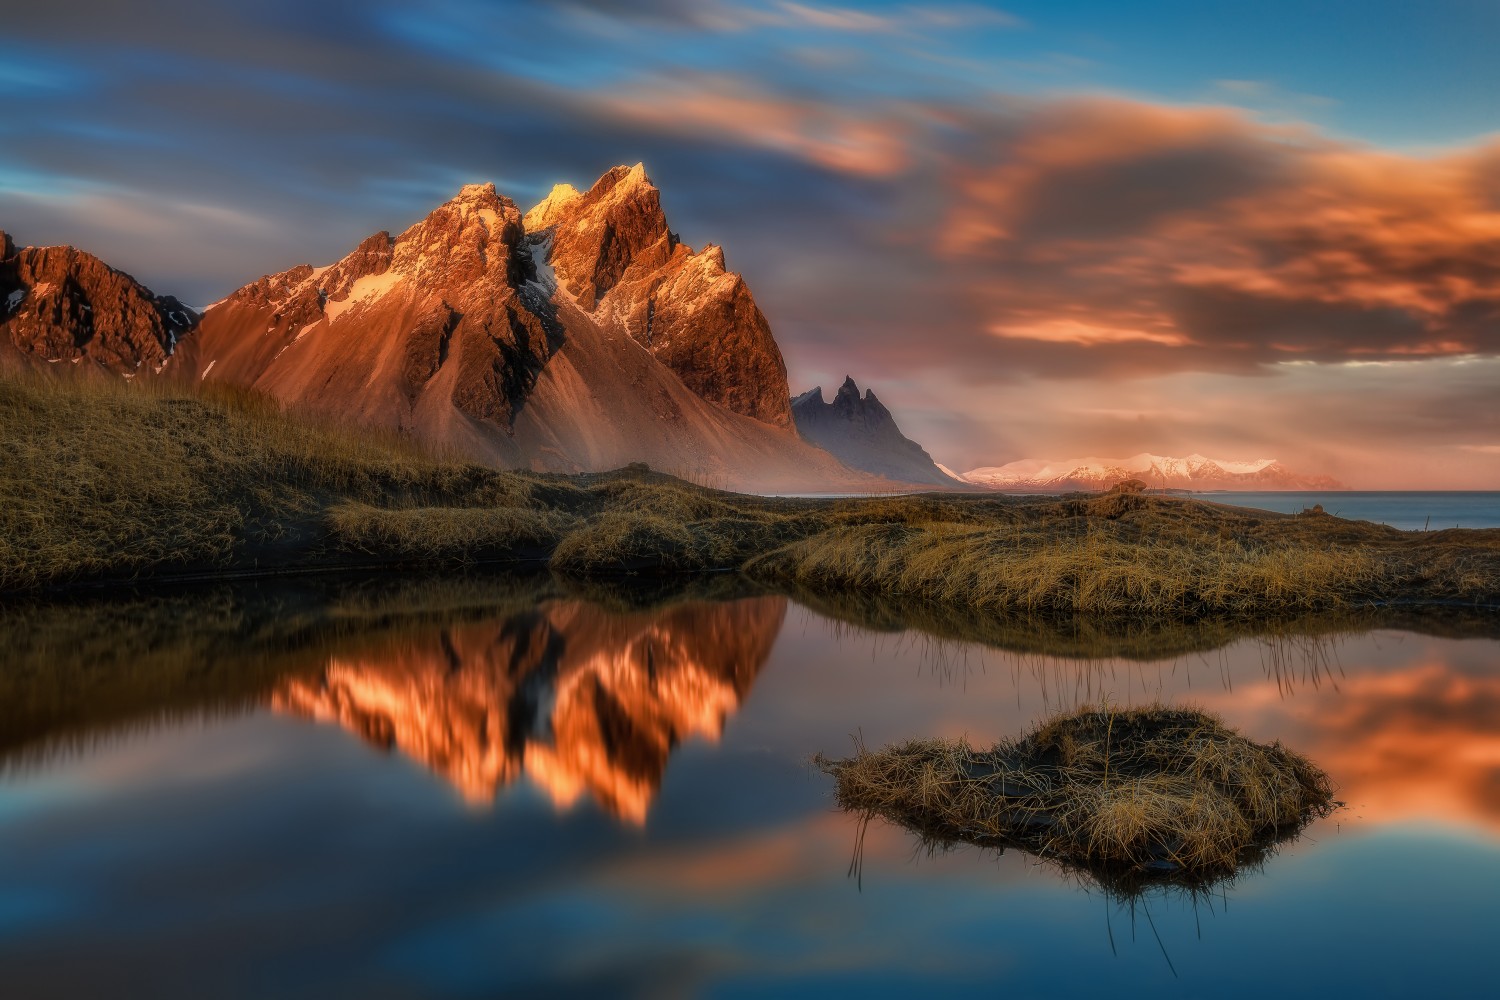
Pay attention to the direction of light in the scene. Early morning and late afternoon (golden hours) often provide soft and warm light, while midday sunlight can be harsh and create strong shadows.
There are a few options for how to position yourself in relation to the light, and these depend on if you want the light to enter from the front, back, or side. Backlighting is less forgiving, but can result in a very dramatic shot. Front lighting is when you position yourself in front of the light source—in landscape photography this is a popular choice as it allows the light to hit and expose all the elements of the landscape. Side lighting, where the light comes from one side, can emphasize textures and add depth to the landscape.
Look for leading lines
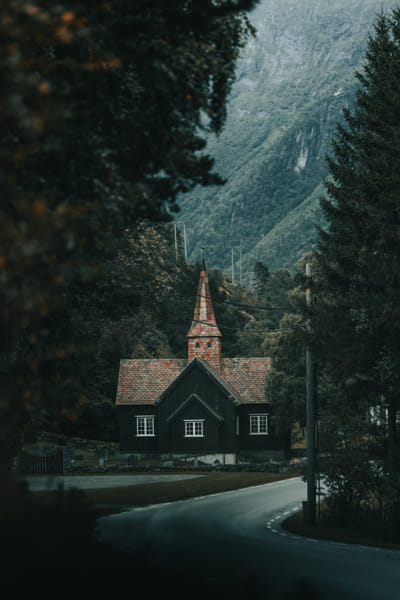
Leading lines are a powerful compositional tool in landscape photography, guiding the viewer’s eyes through the image and adding depth. Look for natural or man-made lines in the landscape. These could be roads, rivers, fences, shorelines, or even patterns in fields. These lines should be distinct and clear to the viewer if they are going to guide them. You can also enhance leading lines in your post-processing by playing with contrast or clarity.
Take multiple exposures
By capturing a series of images at different exposure levels (underexposed, normal, and overexposed), photographers can ensure they capture the scene with optimal exposure. This is particularly useful in challenging lighting conditions or when shooting in manual mode.
Shoot in RAW
Shooting RAW provides more flexibility and control over the final image. RAW files contain all the data captured by the camera’s sensor without compression or processing. This results in the highest possible image quality, with more color depth and detail compared to compressed formats like JPEG. They also allow for more adjusting in your editing software, so any mistakes made while out in the field shooting can be corrected without compromising the image.
Show scale
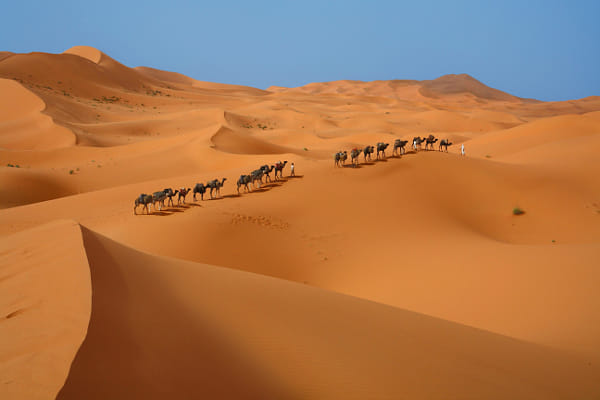
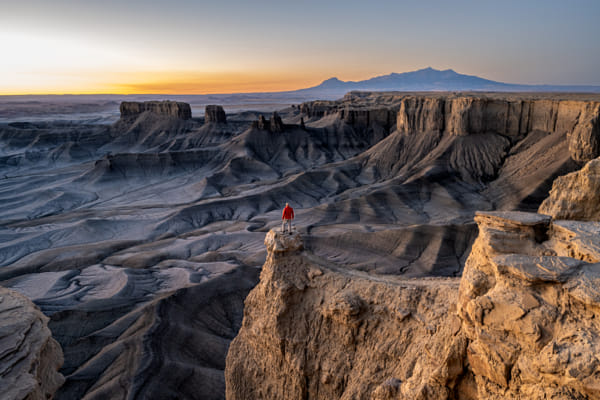
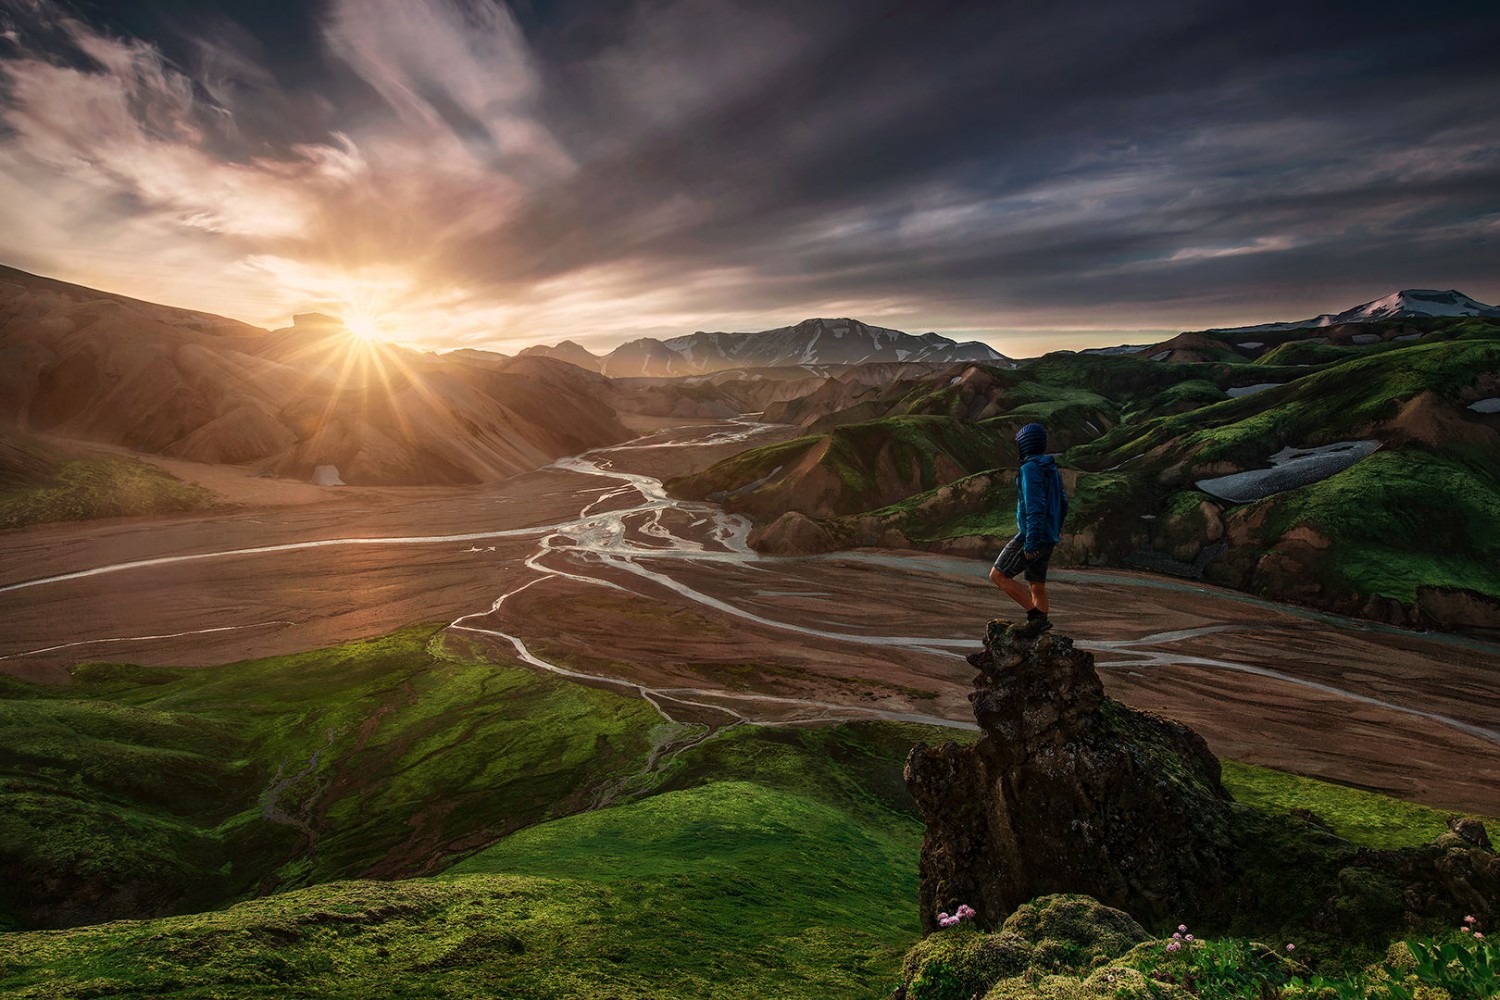
There are many ways to show scale in landscape photography, like by contrasting people or structures against the mountains and valleys. Creating a sense of scale helps your viewers orient themselves with the image.
Adding scale to your landscape photos is like tossing a tiny adventurer into the vast world of your frame. Want to make those mountains look mighty or that forest seem endless? Just sneak in a recognizable element, like a person or animal, and watch as your landscape transforms into a grand adventure snapshot. It’s like a Where’s Waldo for nature lovers—spot the tiny explorer, and suddenly, you’ve got a masterpiece that screams ‘epic journey.’
Think about the entire composition
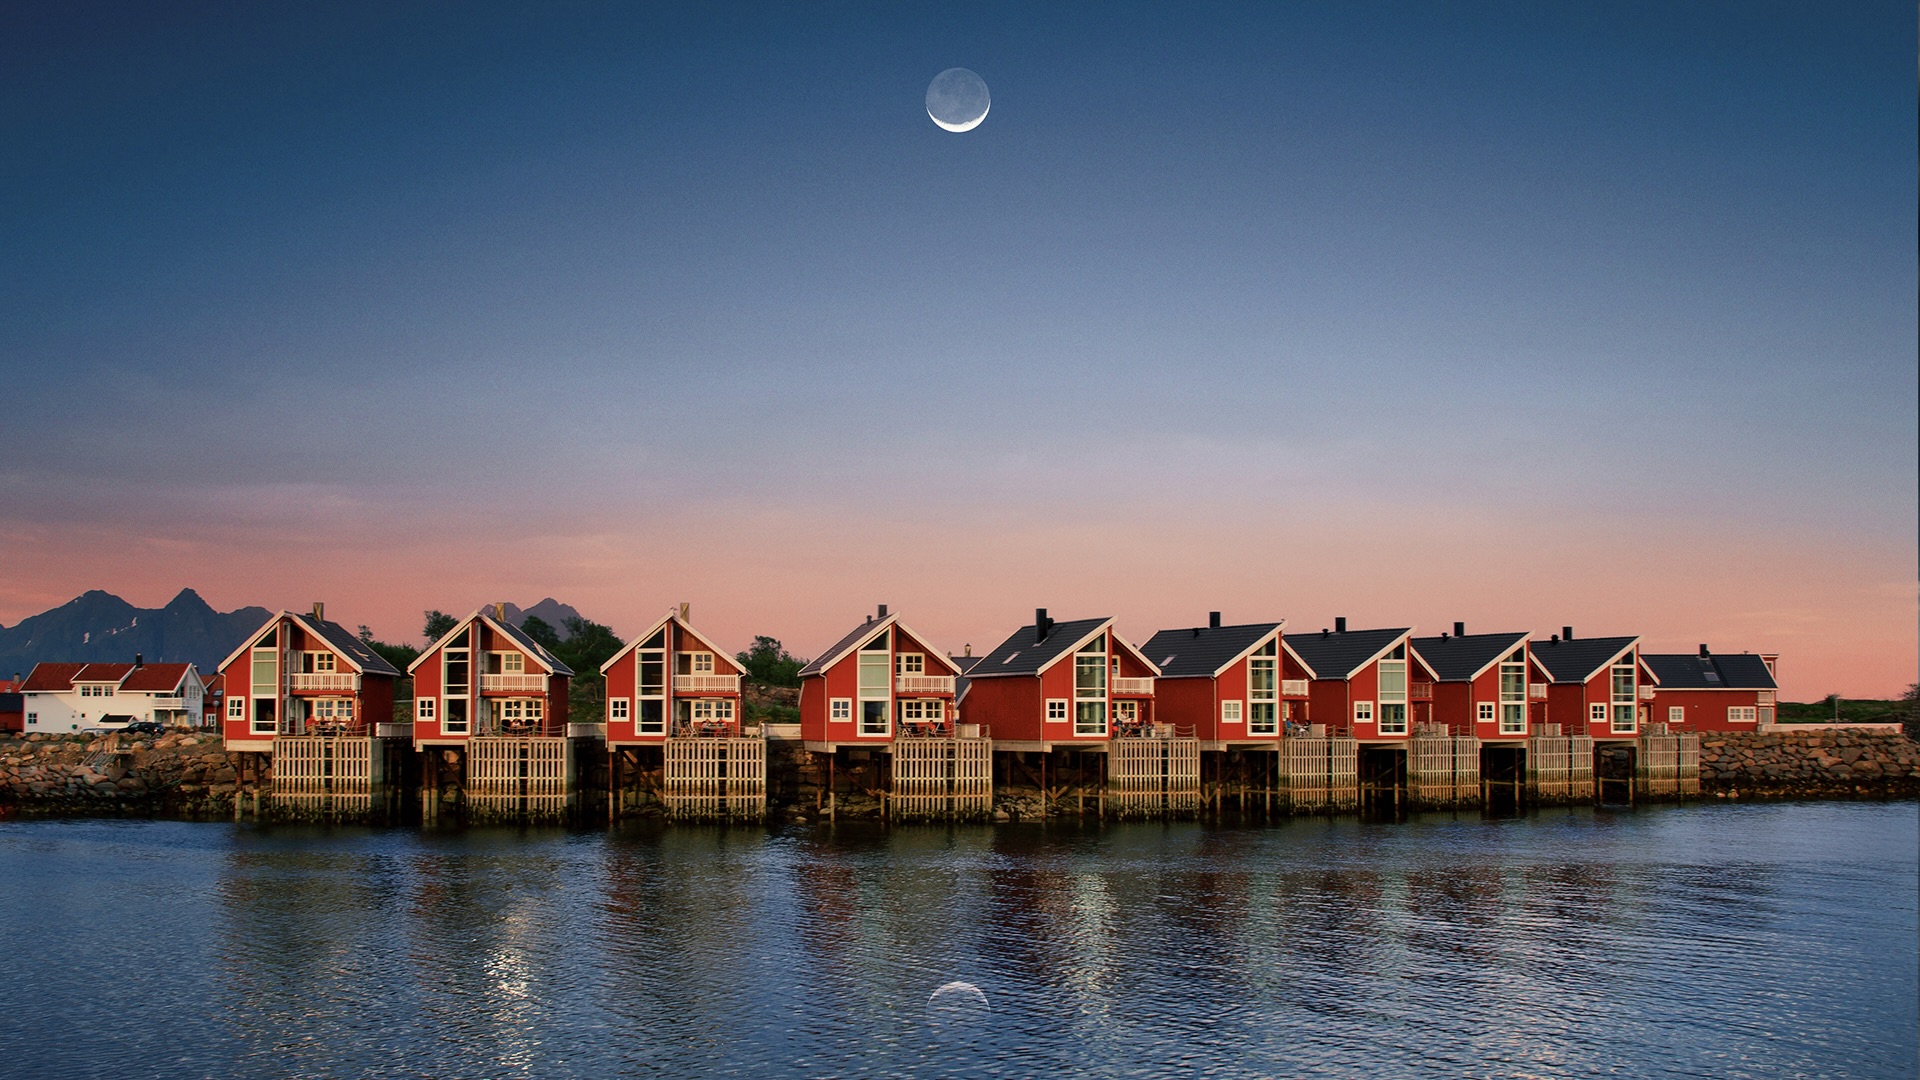
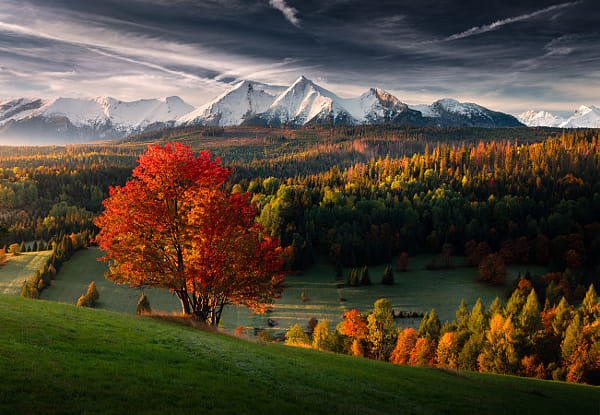
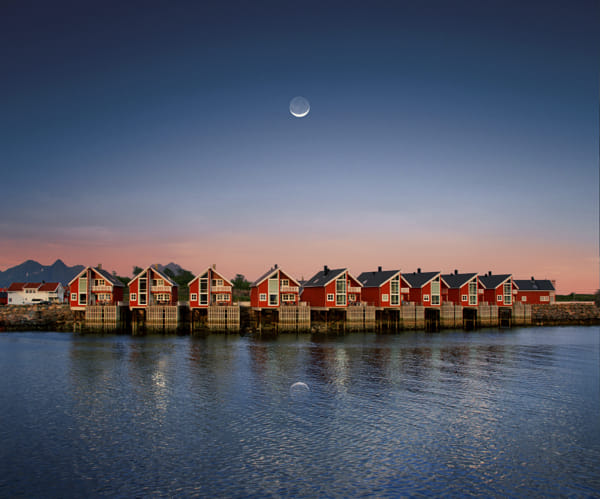
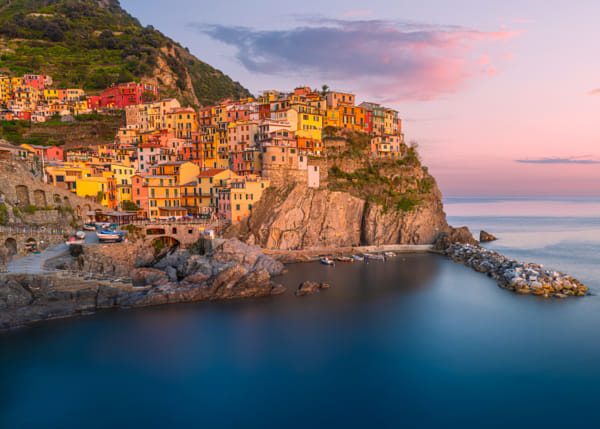
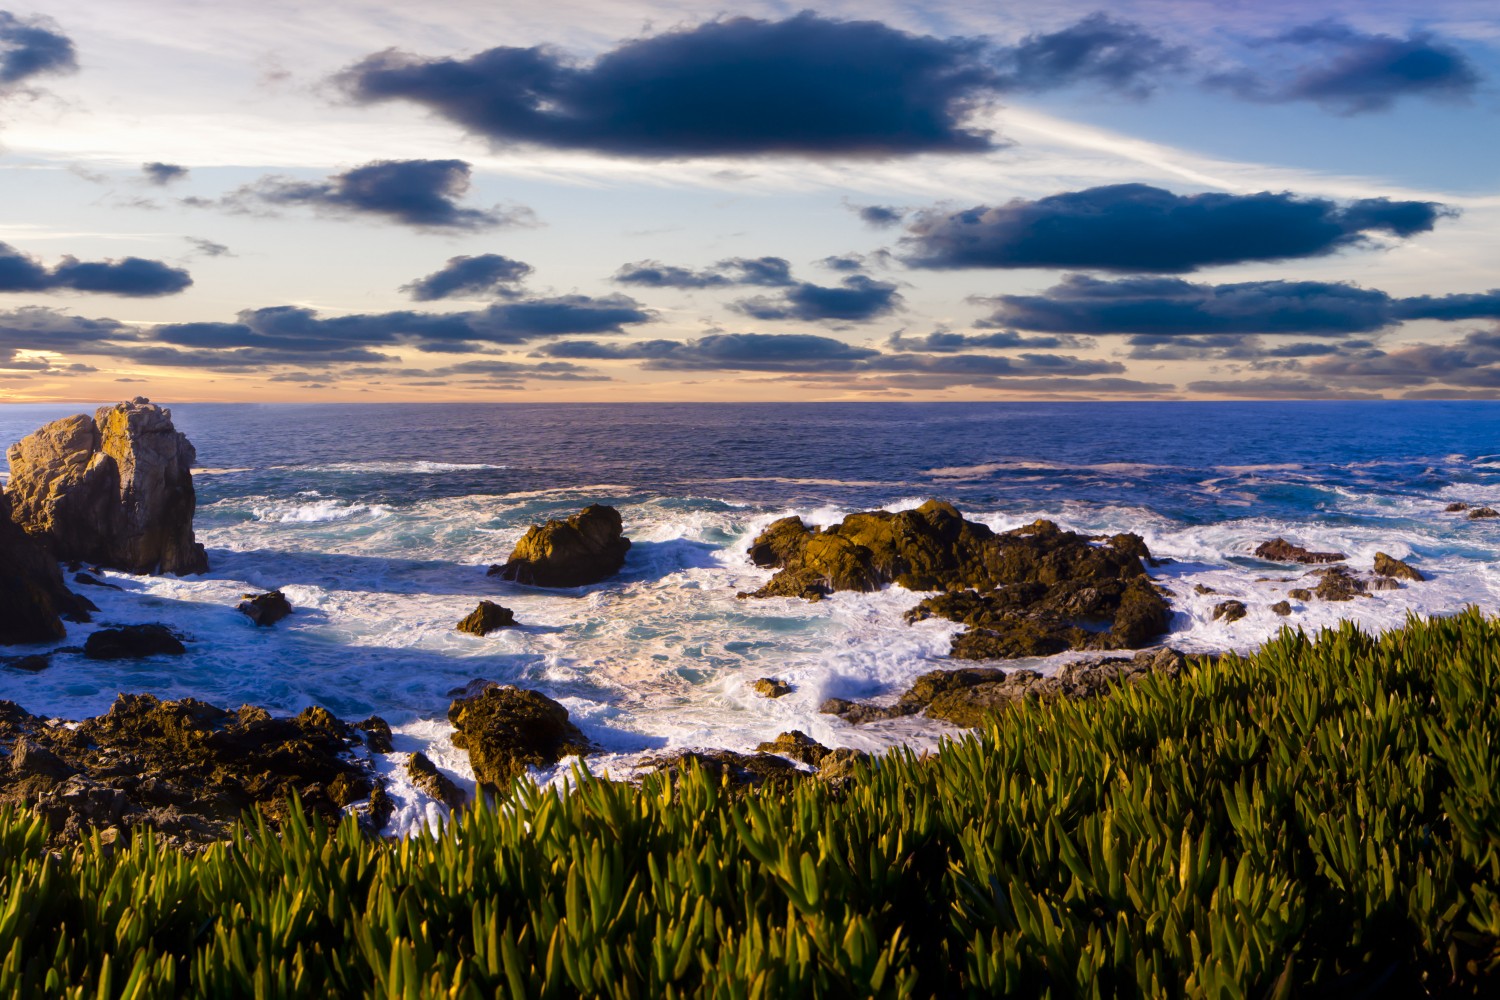
The landscape is all around you, but you’ll still need to frame your shot. Crafting a killer landscape composition is like composing a work of art. Start with an interesting foreground, followed by a compelling middle ground. And don’t forget the pièce de resistance—a breathtaking background—like a majestic mountain range or a fiery sunset.
Not on 500px yet? Sign up here to explore more impactful photography.
Check out these other articles:
Licensing Contributor Lukas Klima shares his process for taking exceptional nature photography


Leave a reply