

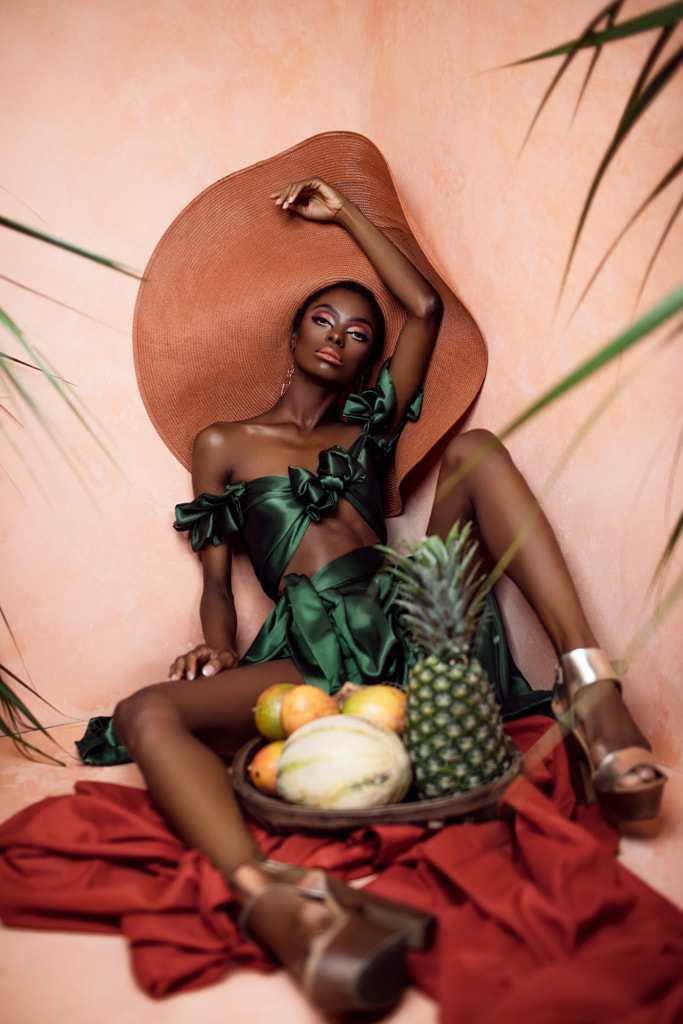
Believe it or not, Angela Perez set up this tropical-themed portrait shoot not in the sun-drenched streets of Cartagena but within the confines of her apartment. She painted the tileboard background herself, set up palm tree leaves on light stands, and introduced a fan for movement. Angela is one of countless photographers around the world who came up with ingenious solutions to small spaces during the last two years, reminding us that excellent photography doesn’t require an expensive studio rental.
The two most important elements for a home photo studio are space and light, though the amount required will vary based on your subject. A product photographer, for instance, could get away with a smaller space than a portrait photographer, who will likely need several feet of wall space.
Consider the dimensions of the room (height, width, and length), and optimize the space by removing any furniture and giving yourself room to move around. Garages and basements can also work well for budget studios, especially if you plan for full-body portraits, which will require ample room. The bigger the space, the more flexibility you’ll have in terms of lenses. Also, it’s not glamorous, but when creating an affordable studio space, you’ll need room for electrical outlets and extension cords for your devices.
When choosing a room, opt for one with matte white walls, as white walls can be made to look white, gray, or black depending on how you light them. Look for a space with plenty of natural sunlight coming through the windows (or garage doors). Ideally, you can work with a window that faces north or south to avoid getting direct sunlight. If the light is too harsh, diffuse it with sheer white curtains. You might also invest in blackout curtains if you want to block the light from entering the room. When setting up your backgrounds, consider the location of your light source (e.g., the window).
You can buy a reflector, or make your own, to help bounce the light and fill in unpleasant shadows. If you’re buying, choose a silver and gold-sided reflector for more versatility. Flags can also be made at home and will come in handy for sculpting that light to perfection. You can make a diffusion panel with everything from a bed sheet to a shower curtain. Clamps and stands are essential for positioning your modifiers.
When it comes to backgrounds, clean white walls offer a nice point of departure, though you can use any number of fabrics, papers, or materials to suit your taste. If you have the budget, you might invest in several options, including white and black muslin, vinyl, or seamless papers. Paper is best for avoiding wrinkles and creases, but professional rolls can get expensive.
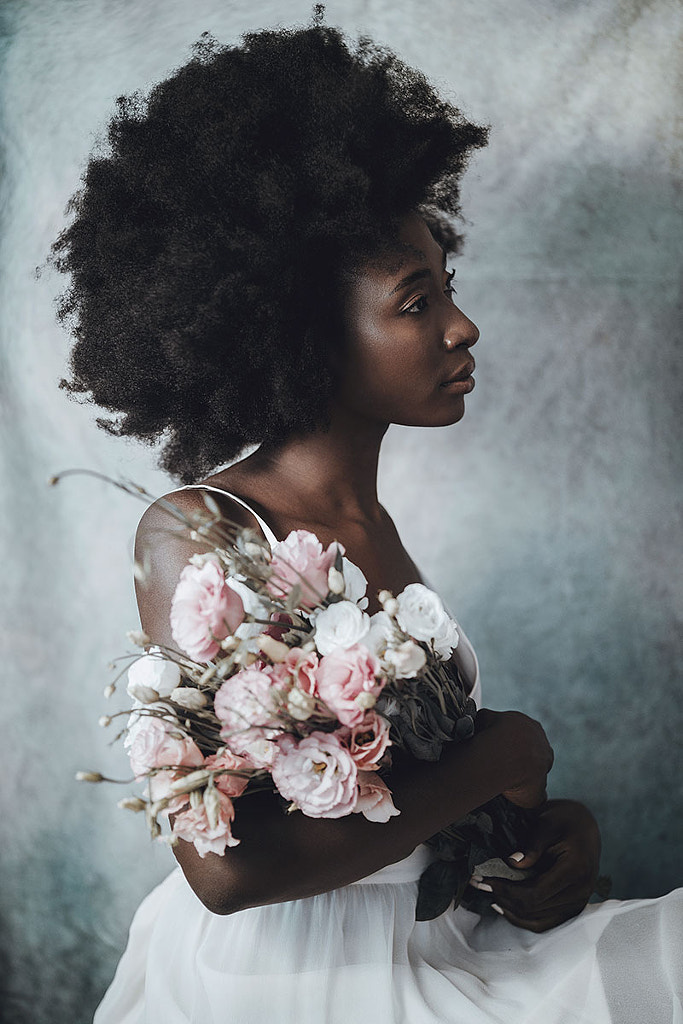
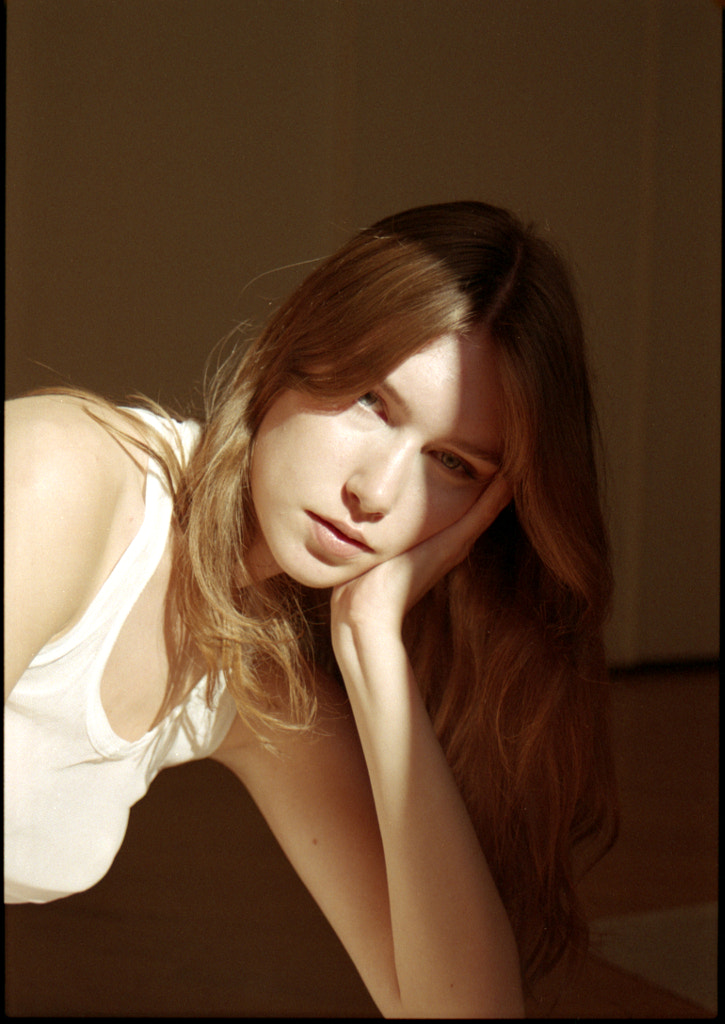
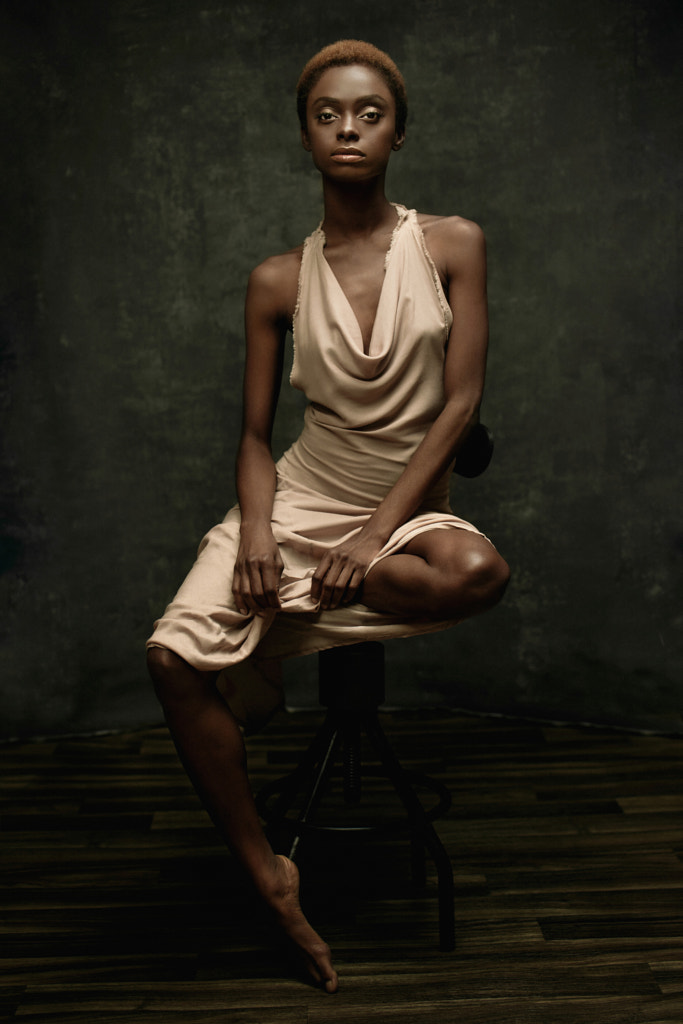
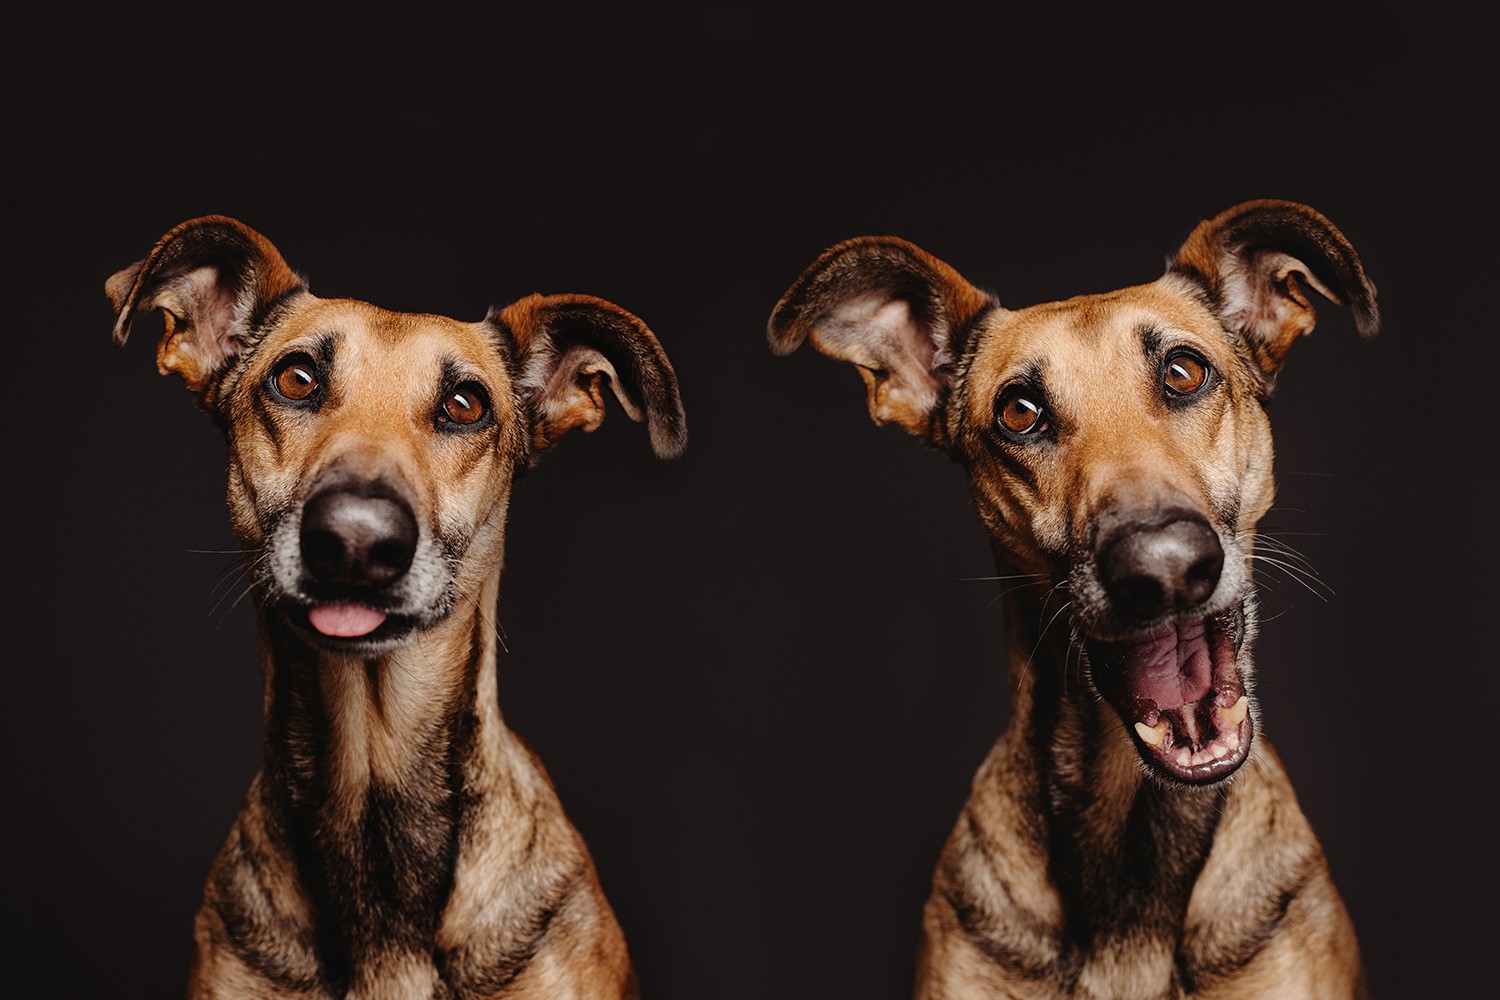
Additionally, dedicated backdrop shops like Kate provide unique options for photographers; Jovana Rikalo used a Kate backdrop for the portrait above. DIYers can use affordable materials like blankets or curtains—or browse fabric shops. Dahyembi Joi has used everything from bedsheets to silky shirts for her gorgeous portraits.
If you do use fabrics and don’t want any creases, just keep a steamer on hand. We’ve also seen photographers paint their own paper and fabric backdrops using brushes and sponges. You can make your own backdrop stand using PVC pipes, though you might be able to find affordable options at your local camera shop.
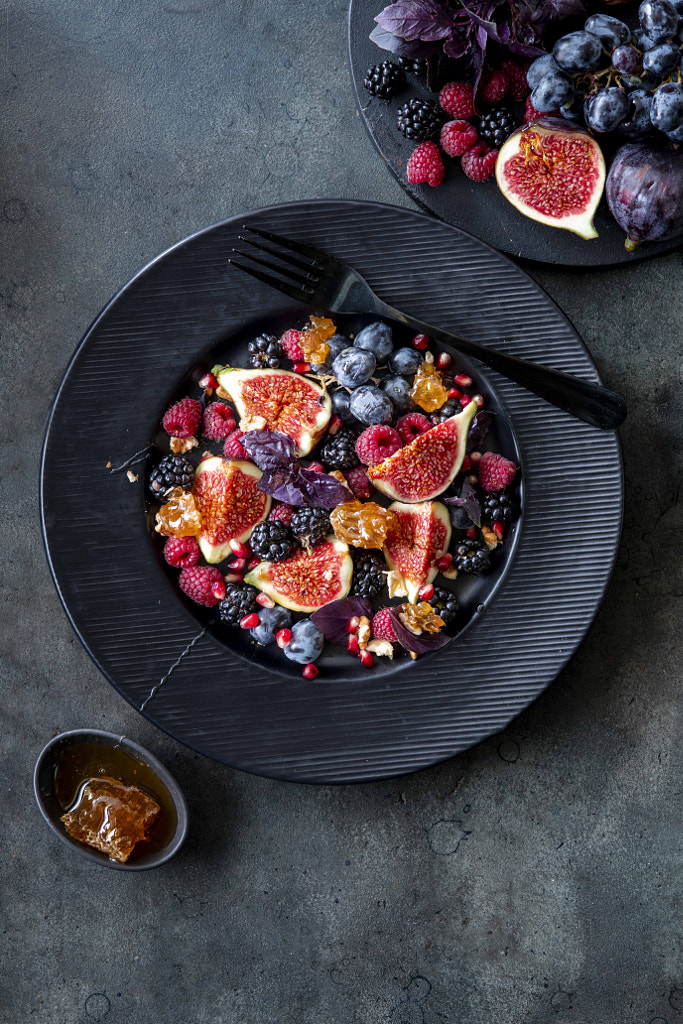
If you’re a still-life photographer, you can even make your own backgrounds out of repurposed materials like wood, stone, and metal. While prop stores are invaluable resources, you can also source more affordable props by visiting thrift stores and flea markets. Over time, you’ll develop a collection that suits your taste and needs. A white folding table is also good to have for tabletop or still life photography, while you might want platforms, stools, or boxes for portraits.
Now that we have the must-haves out of the way, let’s discuss nice-to-haves. While not strictly necessary, a lighting kit will give you more options and flexibility, so you don’t have to rely entirely on natural daylight. This is likely where you’ll spend most of your money.
If you need to freeze movement or specialize in portraiture, your best option is a strobe, but continuous sources like LEDs work well for still lifes and product photography. Continuous lighting is less powerful than flash, but it’s generally more affordable—sometimes significantly. Continuous light is also easier to navigate because what you see is what you get. The more lights you have, the more floor space you’ll need, so keep that in mind.
With photography studio lighting, you’ll likely need light stands, sandbags, and, of course, modifiers. Beauty dishes work for focusing light, with strong shadows to sculpt the face in portraits, while softboxes will soften your light for less contrast. Softboxes can be made at home using cardboard, foil, and tracing paper. Just make sure not to use this DIY setup with any hot light sources, and in general, be super careful around hot bulbs!
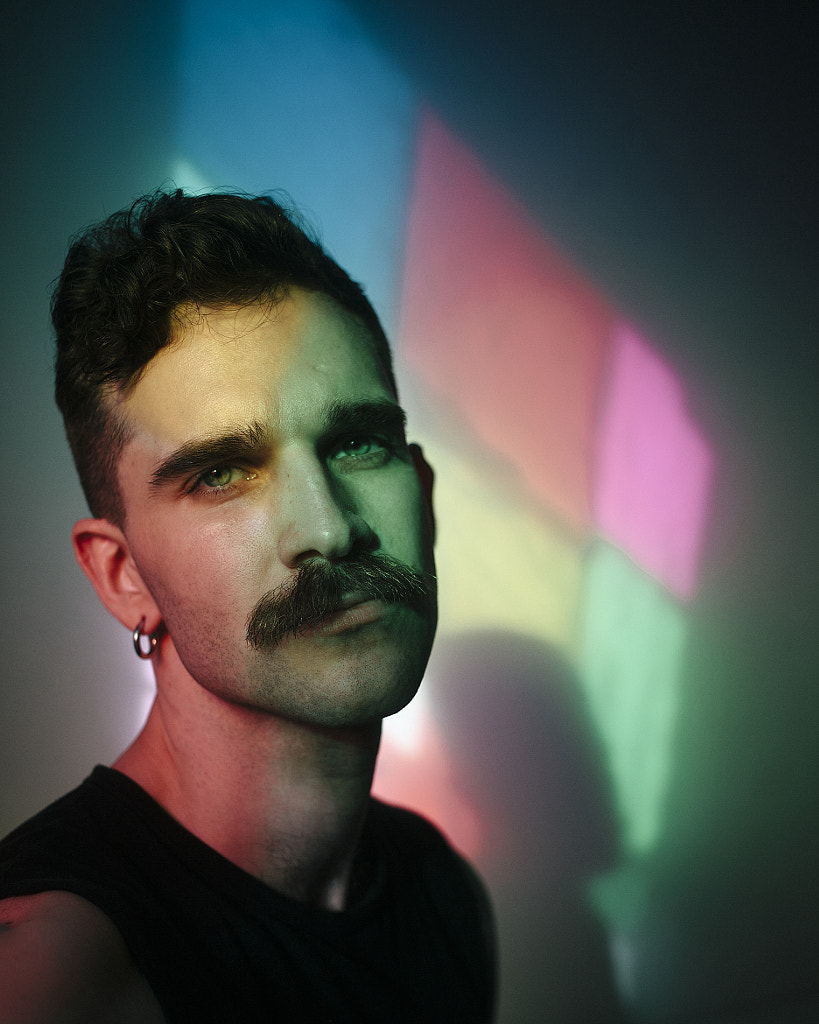
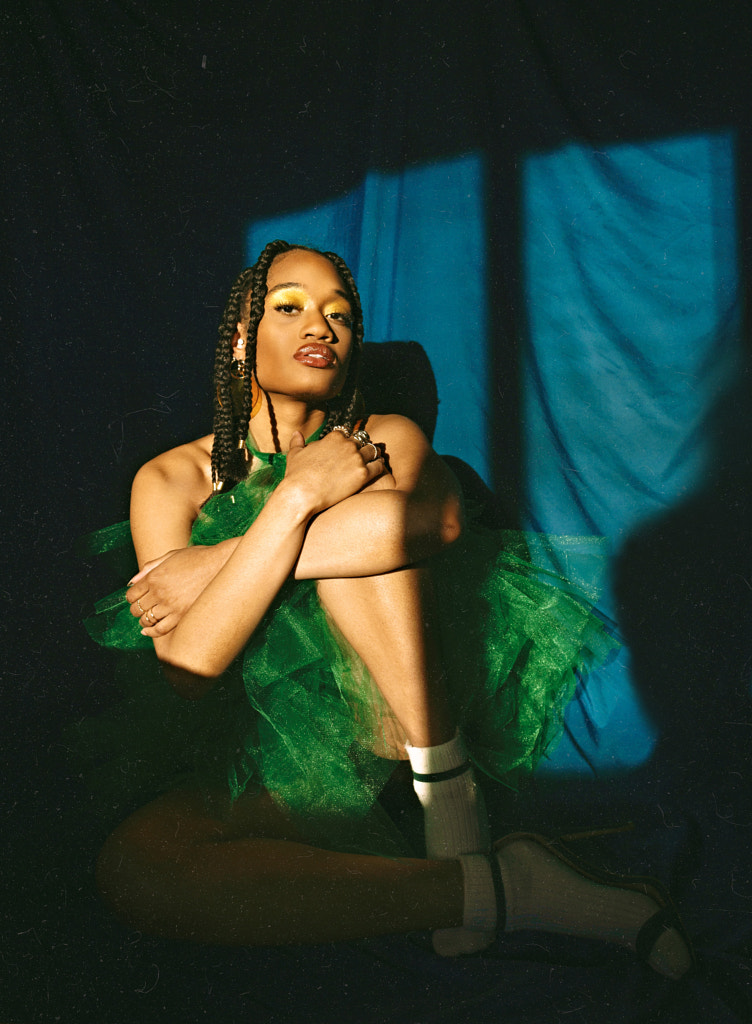
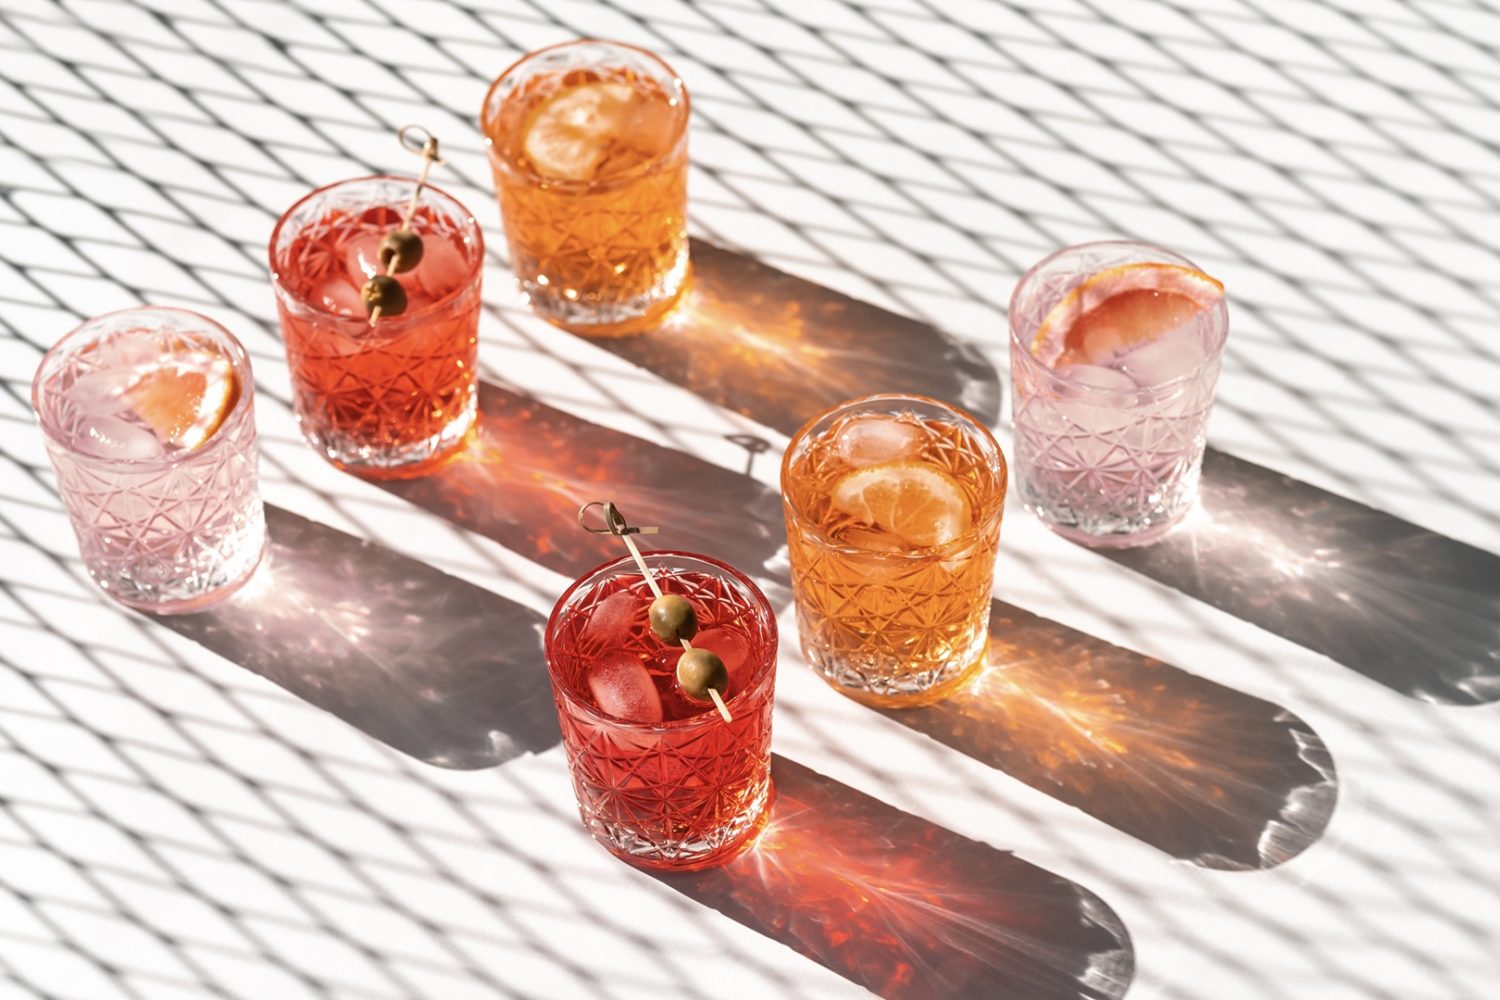
A honeycomb grid, used as a sub-modifier with a softbox, can also be useful for preventing light spill and a soft yet focused lighting effect. Shoot-through umbrellas can be a good alternative for a softbox, and they tend to be less expensive. If you want to color your light, you can also invest in gels. (For a creative stained glass effect, you can even experiment with taping gels to your window, as Eivind Hansen did in the self-portrait above).
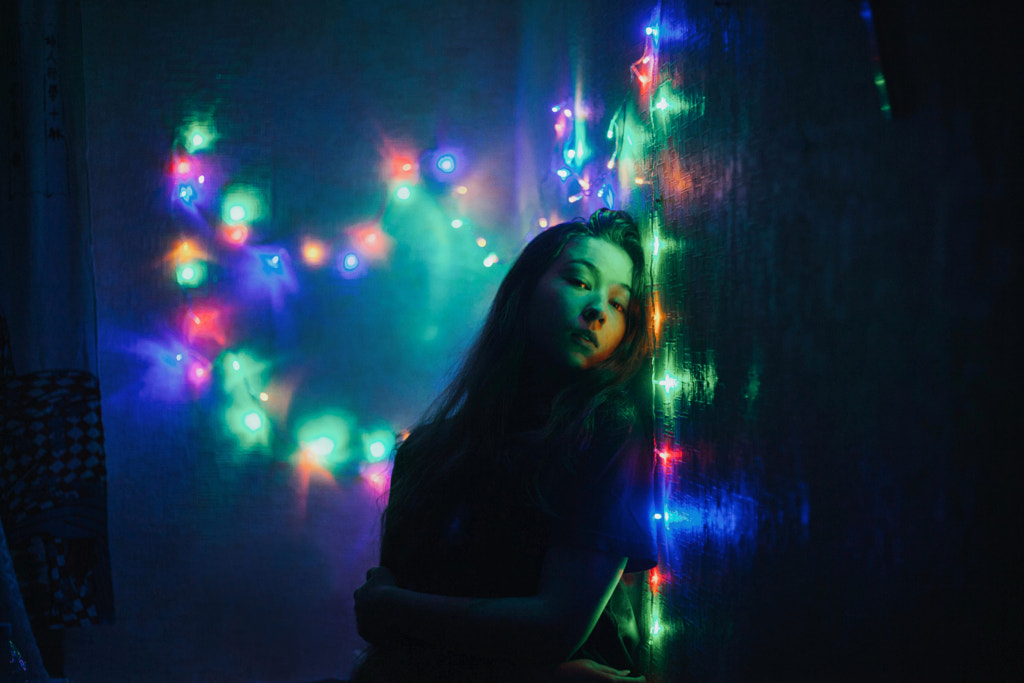
With that said, we’ve seen photographers use all sorts of lighting to make stunning images, even a simple table lamp. Taya Iv has used holiday lights to create a magical atmosphere. Our best tip is to rent or borrow any equipment before you buy it. You might find pricey gear to be incompatible with your space, or you could find a better solution down the road. When you are ready to buy, look into used options. It’s easy to fall into the trap of spending too much too quickly, but the truth is you often need just a few solid lights, stands, and backdrops to make your studio work for you.
Not on 500px yet? Sign up here to explore more impactful photography.
Leave a reply