The last year has changed the way brands connect with customers, increasing the demand for online marketing and strong images. As more companies and publications turn to royalty-free stock photography, shutterbugs around the world have turned their passions into passive income by Licensing their work through platforms like 500px. Plus, with Google Images recently rolling out a new “Licensable Images” feature, it’s never been a better time to build or revamp your Licensing portfolio.
When Licensing your work for commercial use (also called “creative” use), some of your photos might be declined. Reviewers follow strict standards when accepting or declining images, and understanding their thought process is the first step toward optimizing your portfolio and getting the most out of every shoot. The more high-quality images you add to your portfolio, the better your sales potential will be.
Below, we’ll cover five simple but common reasons why a photo might be declined for Licensing. Keeping these principles in mind while on-set will go a long way toward maximizing your success rate. Remember to view your images at full resolution before submitting; many of these issues can’t be spotted at lower resolutions, and 500px reviewers will examine your work at 100% before accepting it into their collection.
Reason #5: The image is out of focus
Not every detail in your photo must be in focus; for example, you might choose a shallow depth of field to blur a portrait background. But regardless of your depth of field, your subject itself should be in clear focus, not soft, and the focus should make sense for the picture and enhance the overall composition. Zoom in close to ensure it’s tack-sharp.
To start, an obvious way to avoid blur is to use a tripod or stable surface to avoid camera shake, and prime lenses tend to produce sharper images than your standard kit lens. Focus manually for maximum precision and control over your focus. Auto-focus is acceptable in some situations, but it won’t always get it right. If you don’t want to go fully manual, you can try single focus mode for stationary subjects and continuous focus mode for moving subjects.
Familiarize yourself with your camera’s autofocus points; you might have anywhere from nine to 51 points available to “tell” your camera where to focus. You can choose between single autofocus points to pinpoint a precise subject or use multiple points for subjects in motion. Keep in mind that the focus point in the center will be the most accurate.
Reason #4: There’s an IP issue
Intellectual property or trademark issues can come in the form of anything from designer wallpaper to clothing logos. Getty Images has an Intellectual Property Wiki you can browse to familiarize yourself with the types of restrictions you might encounter. In general, you want to stay away from all branded details or protected artwork.
That includes obvious things like brand logos, tattoos, and distinctive patterns (including camouflage), but it also extends to “sneakier” elements like the ports, interface, and buttons on your computer, mobile devices, or video game consoles. Even the camera lenses on your cell phone can give away the brand and manufacturer. Tech is a major trend in commercial photography, but those smaller details can lead to image rejection.
Here’s where planning your shoot comes into play. Scan your location for posters, book covers, sculptures, or even toys, maps, and globes, as these are usually trademarked. Cars can also pose problems and should not be the main focus of your image. In some cases, it might be possible to edit out the offending detail, especially if it’s tiny, but it’s best practice to scout your location and choose your props and wardrobe in advance to minimize the chances of encountering issues.
Depending on the situation, you might also be able to work around potential problems by using a shallow depth of field to blur your background so that it’s unrecognizable (in the case of a painting on the wall, for instance) or use clever framing, posing, or cropping to exclude it entirely. Avoid using any trademarked names in your titles, descriptions, or keywords.
Reason #3: The location poses problems
Any private location must have a property release, signed by the owners, tenants, property managers, or leaseholders. That includes houses and apartments, but it also extends to places like many libraries, universities, bridges, and more—and you’re unlikely to get a release in these situations. Famous spots like Lincoln Center, Pike Place Market in Seattle, the Santa Monica Pier, the Moulin Rouge, etc., can also prove problematic for commercial photographers. The Eiffel Tower is acceptable during the day, but it’s protected at night, when the lights are illuminated.
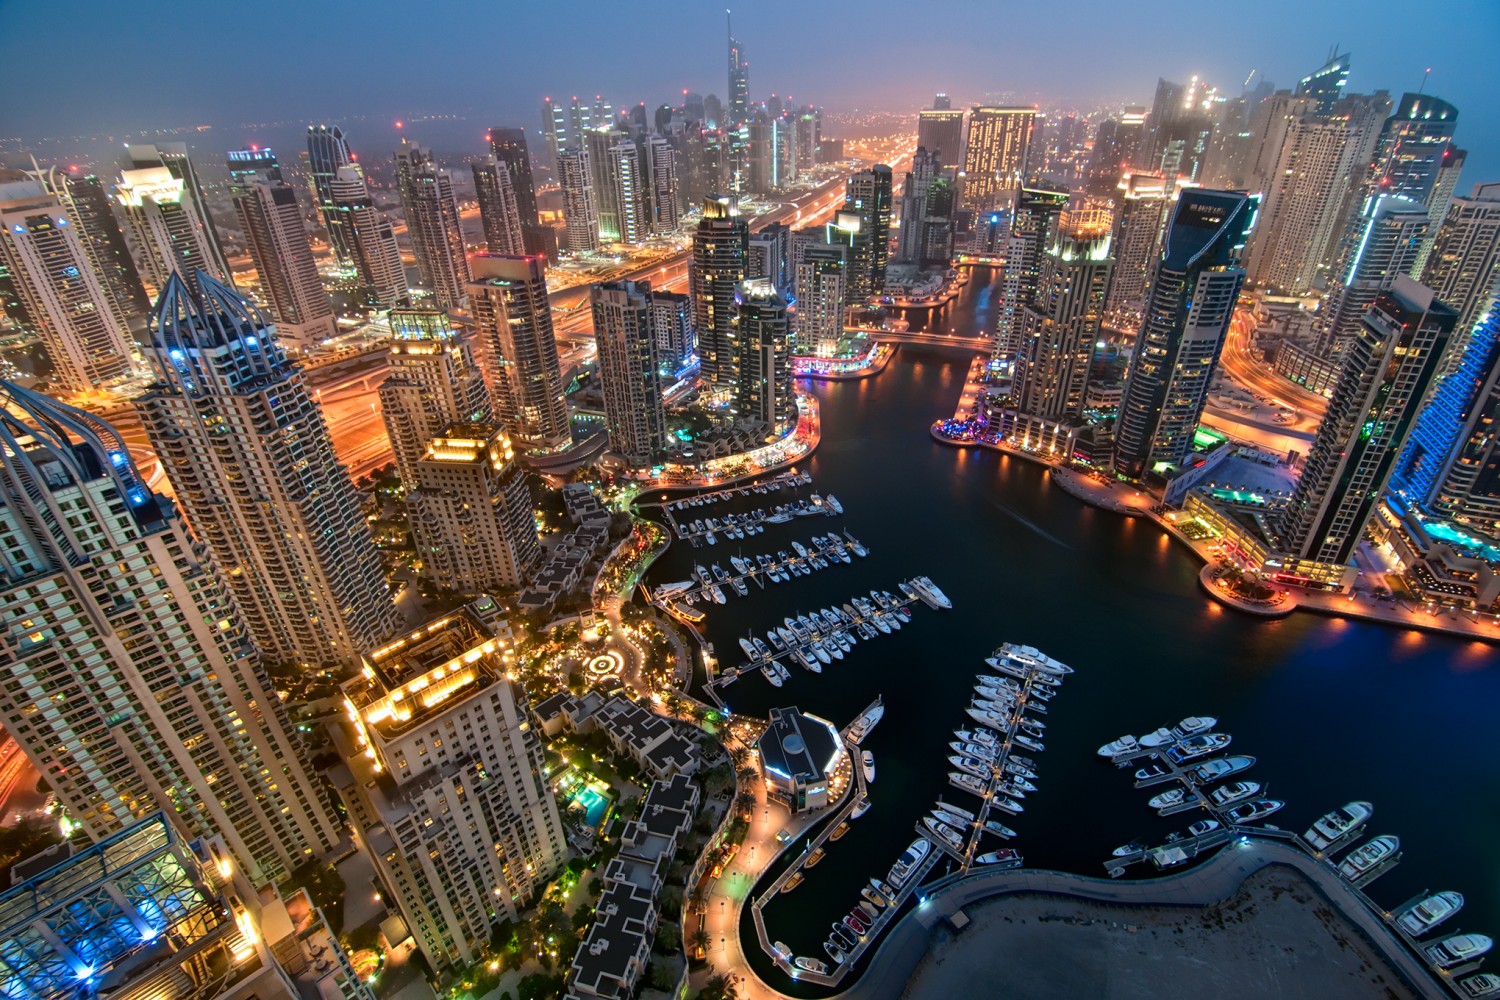
Even building exteriors can pose issues. Although general cityscapes are often acceptable, isolated buildings and distinctive architectural works, including landmarks like the Empire State Building or the works of Frank Lloyd Wright, are best avoided. Ticketed locations like zoos, amusement parks, museums, botanical gardens, etc., are off-limits, and in many cases, it will not be possible to get a release for these areas.
While it’s always best to choose locations for which you know you can acquire a release, you might be able to use close-ups, framing, scouting, cropping, and depth of field to make a protected location unidentifiable, depending on the situation. If you do this, be careful to only include generic backgrounds that don’t give away the spot.
Reason #2: The photo has limited aesthetic or commercial value
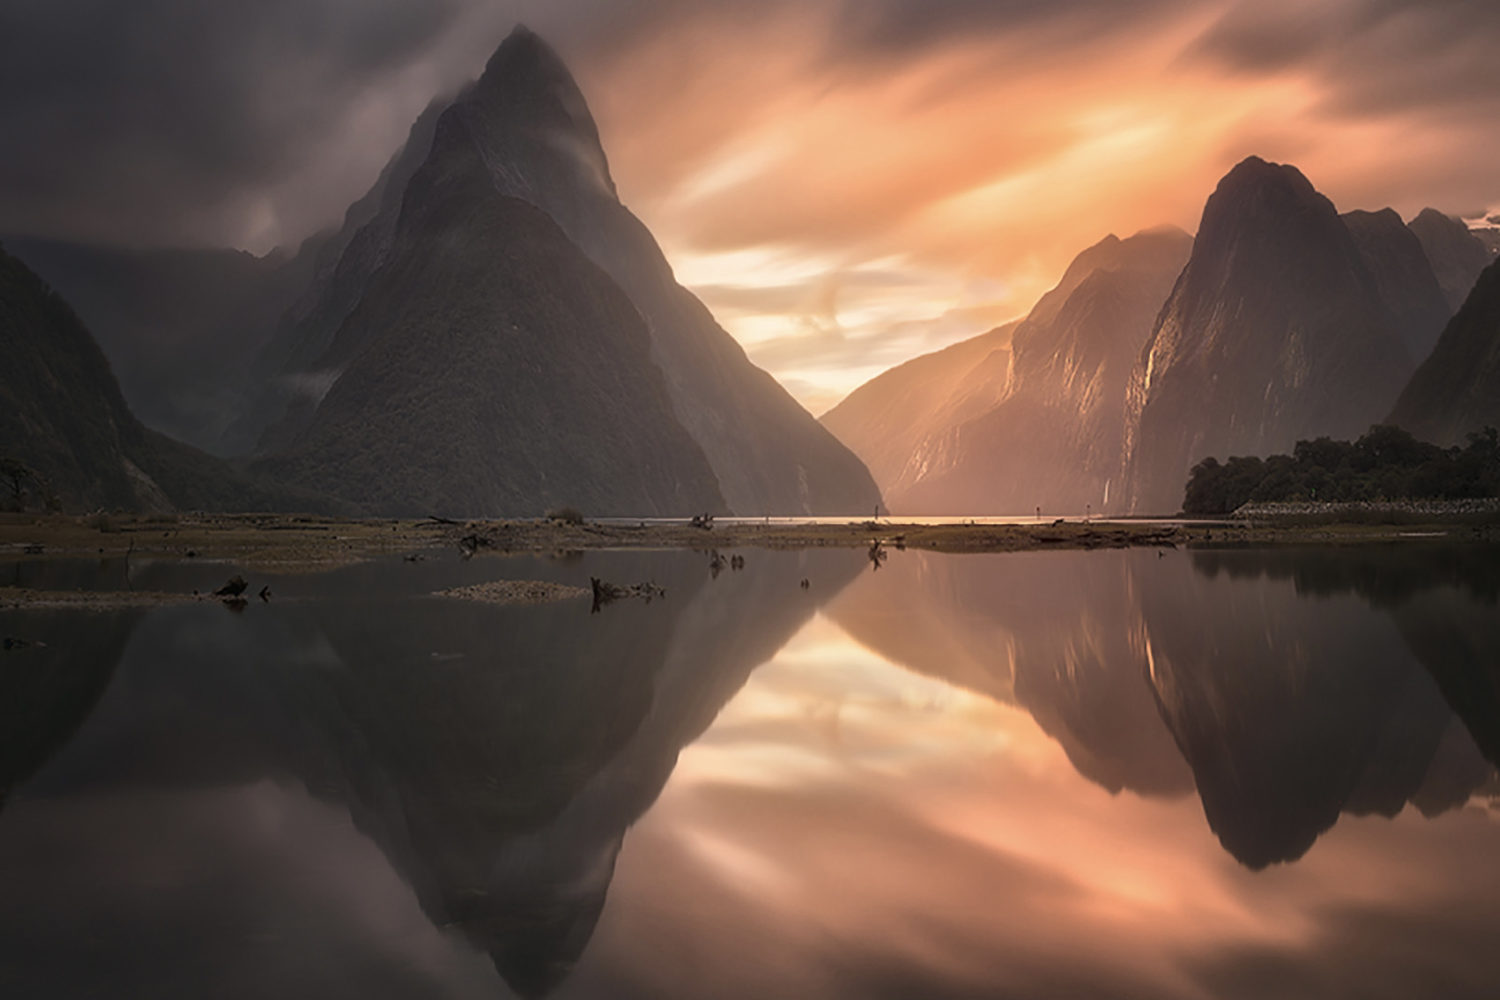
This reason for image rejection might be the most subjective, but it’s important. The first question to ask yourself is, “Could I see this photo used in an advertisement on a website, social media, billboard, or brochure?” Think about what kinds of brands might use your image; the more ideas you can generate, the better. When submitting photos, select those you can imagine selling over and over again, to a number of different clients.
The best way to get a feel for what kinds of images have commercial value is by browsing the 500px blog and taking a look at the photos featured in our Licensing articles. These stories often track timely topics that buyers are searching for in real-time, so they can be invaluable when planning your shoots. You can also check out the “New in Licensing” Galleries. These are curated collections released on 500px each month, highlighting some of the strongest images submitted.
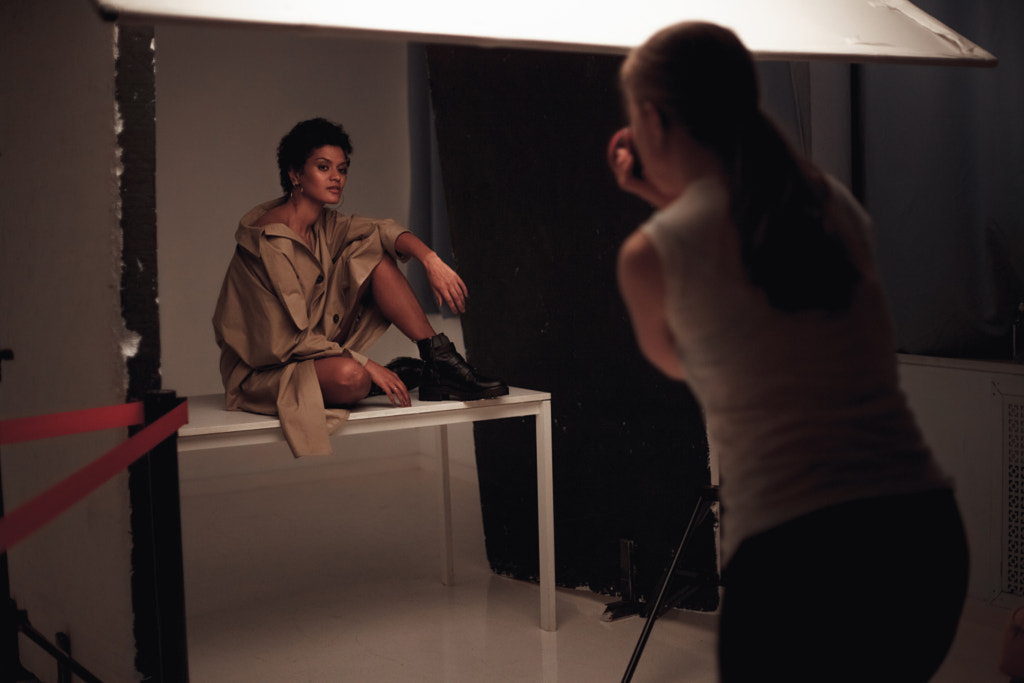
Model-released photos of people will always be in-demand with buyers because they’re relatable, and they help tell a larger story. Working with family and friends can be a perfect way to get your feet wet working with models, especially since clients love lifestyle photos with a candid or “lived-in” vibe. Remember to be inclusive and portray people living authentically. If the photo resonates with you and connects with your emotions, chances are others will feel the same.
Reason #1: There’s a general technical issue
General technical issues include excessive noise, sensor dust, chromatic aberrations, banding, pixelation, compression artifacts, and exposure issues. The first, excessive noise, can be avoided by shooting in manual mode and keeping your ISO as low as possible. When viewing your image, zoom in on the shadows to check for noise. If you can see noise at full resolution, reviewers will see it too.
Before a shoot, make sure your sensor and lens are clear of any dust spots. Solve any issues in advance so you’re only fixing your strongest images with a clean and natural edit. Compressing your images more than necessary could produce unattractive pixels, so shoot in RAW (this can also help when correcting exposure issues in post). Over-processing, over-sharpening, and the use of heavy filters or effects will also degrade the quality of your photo and can introduce posterization or banding, so tread lightly in your edits.
Finally, watch your exposure, and whenever possible, get it right in camera. Photos that are too bright or too dark, losing detail in the highlights or shadows, will be declined. It can help to diffuse your light source for more even lighting. Plus, you can always bracket your exposures on-location to give yourself the best chance of getting a perfect exposure, and you can tweak your metering modes for more accuracy. Keep an eye on that histogram to get a clearer feel for the tonal distribution of your image.
If your photos are declined for any of these five reasons, take note of the feedback and keep shooting with these principles in mind. The more you shoot, the better you’ll get at avoiding potential problems and creating pictures that resonate with clients. Finally, look at what gets accepted and what sells, and use that information to guide your future shoots. For further information about why your photo might have been declined, be sure to check out 500px’s Licensing requirements.
Not on 500px yet? Click here to learn about Licensing with 500px.






Leave a reply