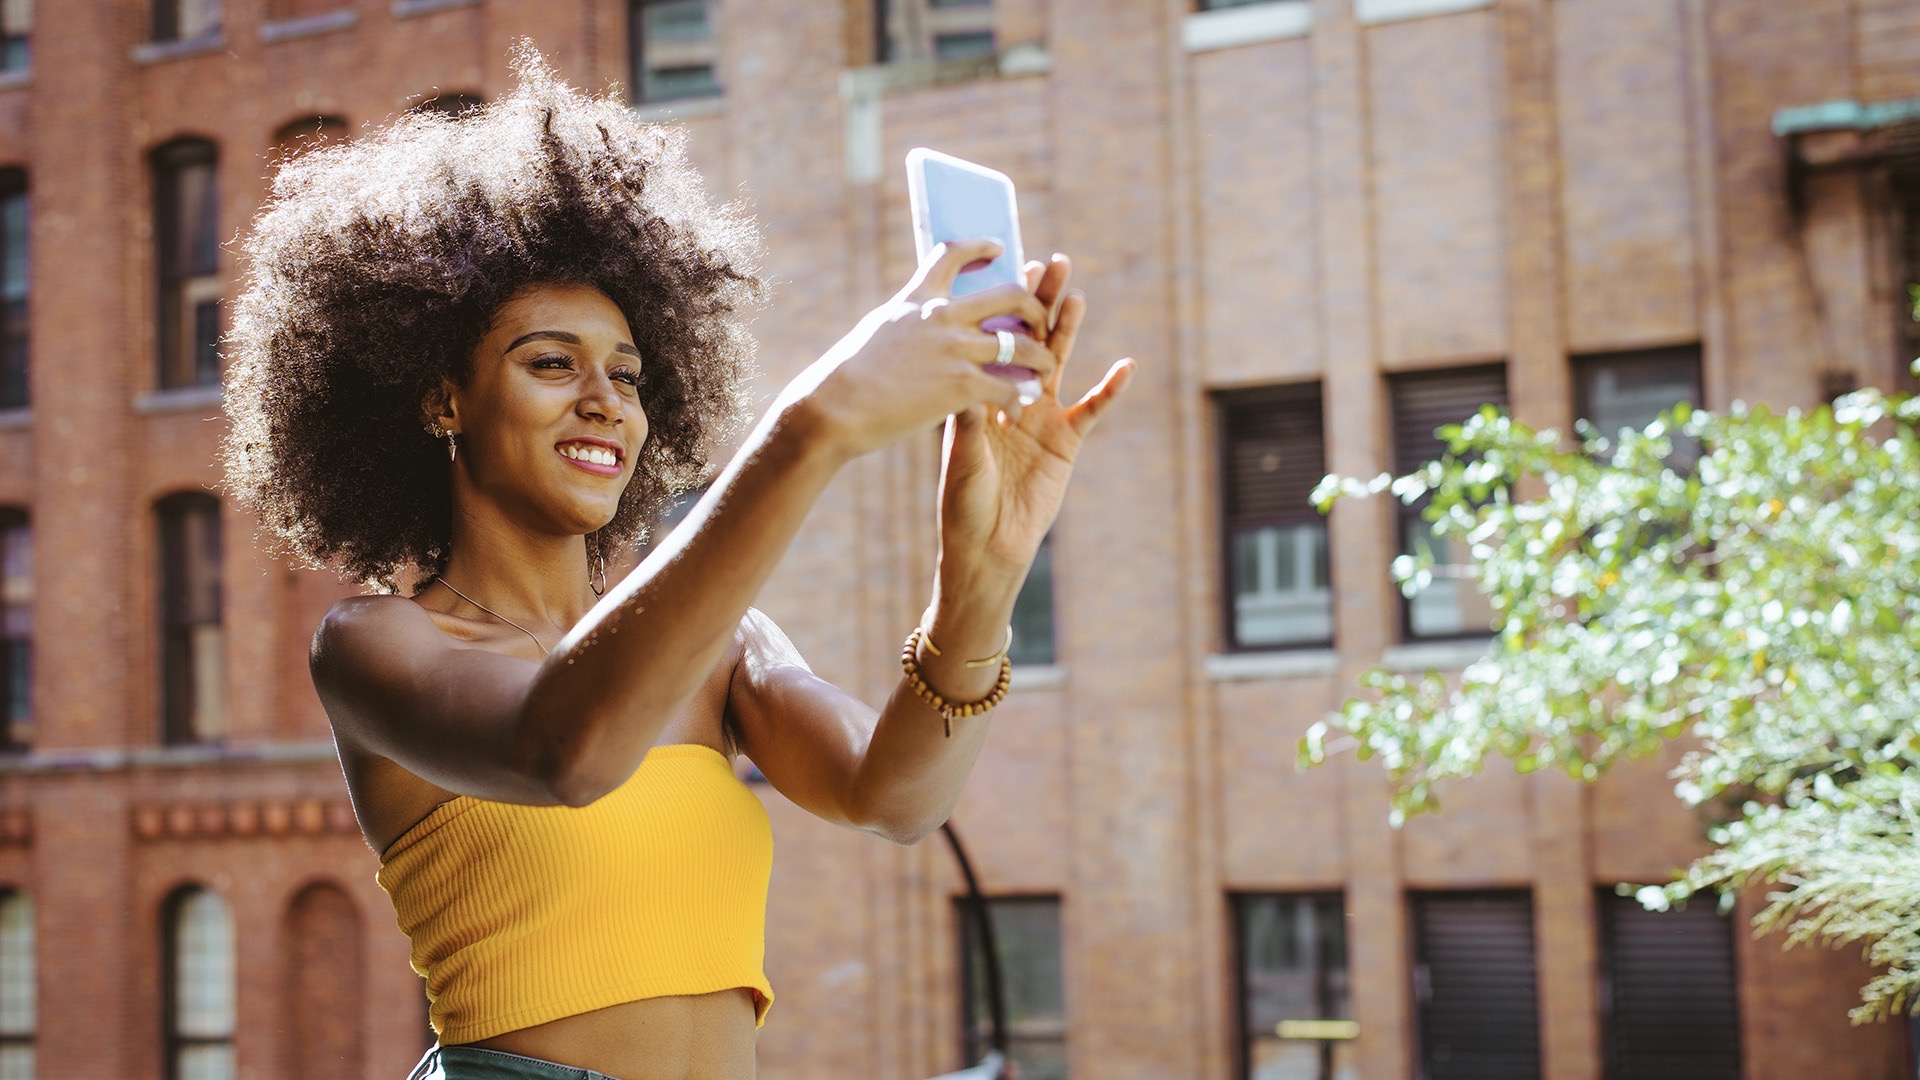
In recent years, several stock photo agencies have listed “mobile photography” among their top trends; many have even created new features to highlight mobile-only images. Other major trends like vertical image orientations and candid, #nofilter photos have their roots in cell phone photography—over time, the mobile-first aesthetic has filtered into the mainstream. Today, more and more television commercials bear the tagline “Shot on Smartphone.”
As the quality of phone cameras has improved by leaps and bounds, commercial photography has become more accessible; it’s no longer necessary to have an expensive studio setup—or even a DSLR—to take marketable images. Still, there are some rules and guidelines to keep in mind when Licensing your mobile photos. Here are 13 of our tips.
Save your files at full size
All the technical requirements that apply to DSLR photos also apply to cell phone images, so it’s important to ensure your images have the highest resolution possible. Most mobile sensors these days have a relatively high megapixel count, but some will save your images at a smaller resolution in order to save space, especially if you’ve optimized your phone storage.
While this is probably okay for your personal photography, it won’t work for Licensing; image-buyers need high-res photos to print in their ads, whether they appear online, in magazines, or on subway banners. Any JPEGS you submit for Licensing on 500px must be at least 3MP, and they should be saved in RGB color mode. Save your phone photos as larger files, and if you run out of room, back up your photos somewhere else, like your computer or an external hard-drive.
Clean your lens
Although it might seem obvious, one of the most common reasons for image rejection on Licensing is sensor dust. Dust and grease become especially sneaky when you’re shooting on mobile, since these devices live in cluttered places like our pockets and handbags.
Whenever you leave the house, remember to bring a lens cloth with you; that way, you can easily clean off your lens should a good photo-op present itself. You can also edit out dust spots in post-processing, but it’s easier to avoid the situation altogether.

Shoot in RAW
RAW files contain more data than JPEGs, but they aren’t the default for most camera phones. Luckily, you can easily download an app like Halide Camera, VSCO, or Adobe Lightroom that enables you to shoot in RAW.
That way, you’ll have more latitude during the editing process, and you’ll come away with more submission-ready photos. As long as you shoot in RAW, you should be able to correct minor technical issues like color banding and digital noise—both of which can lead to image rejection.
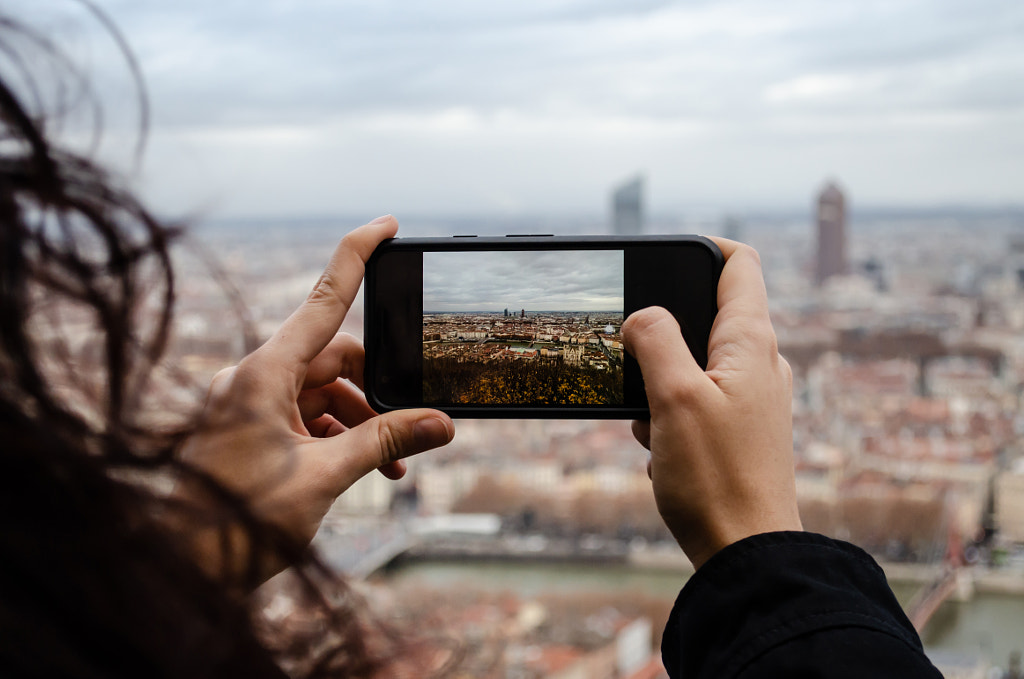
Avoid digital zoom
Any experienced mobile photographer will tell you this one: zooming in on your subject will reduce the quality of your photos. If you want to get closer to your subject, get closer physically. In the future, camera phones might have better telephoto lenses, but for now, they can’t compete with DSLRs.

Choose your exposure manually
Your phone will “guess” the correct exposure on its own, but depending on your situation, your eye might do the job better. It’s easy to set your exposure manually—on an iPhone, for example, you simply tap the screen, hold until a slider appears, and then move the value up or down.
Use manual focus
Out-of-focus images will be rejected from Licensing, so to ensure sharpness, set your focus manually. Most cameras today support an AF/AE Lock, a function that enables you to set a manual exposure and focus and “lock” it into place. Disabling autofocus can be helpful if you’re shooting multiple photos of the same scene—something you should always do for variety—and don’t want to keep adjusting your settings every time.
If you find yourself in a situation where you want to set your exposure and your focus separately (that is, expose for one part of the image and focus on something else), you can do this by using an app like Camera+ or Top Camera. If you’re having trouble getting enough light or getting sidelined by camera shake, you can purchase a mobile tripod or use an adaptor to attach your phone to your regular tripod.
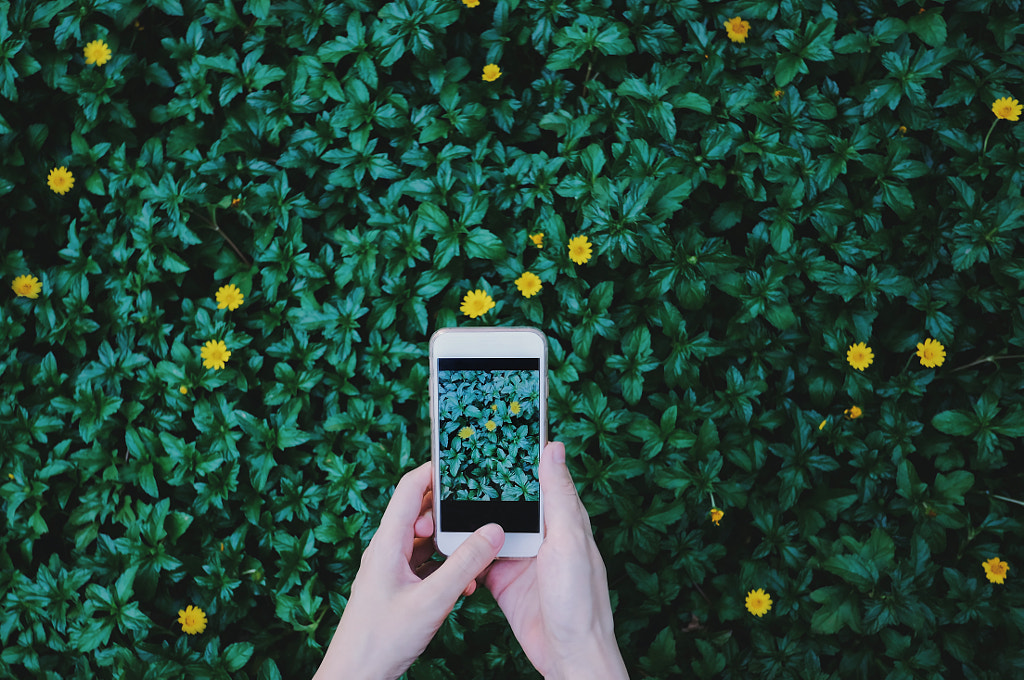
Turn on your grid
While mobile photos tend to be more spontaneous and candid than studio shots, they still need to have a compelling composition in order to appeal to clients. Image-buyers will initially view your image as a small thumbnail, so you want to make an immediate impression.
Toggling on your grid when shooting on your mobile device can help you to compose your shot. You can use it to align your subject in the center of your frame, or even better, you can use it to apply the rule of thirds.
The grid can also help you to make sure the horizon line is perfectly straight. One more thing to keep in mind: buyers often add their own copy and icons, so negative space is important. Use your grid to make sure you give your subject some breathing room. Clean compositions work best.
You don’t have to keep the grid on at all times, of course. Use it to practice, and then once you’re comfortable composing your shots with your phone, feel free to toggle it off.

Be wary of special features
For the most part, camera phones aren’t great at creating a shallow depth of field. Because they have small sensors, most of the frame will be sharp, and it’s difficult to get bokeh or a blurred background.
To compensate, some phones have special features like “Portrait Mode,” which nicely separate your subject from your background. Unfortunately, while these photos might be pretty, they sometimes look unnatural, and for that reason, they’re often rejected for Licensing. If you want a shallow depth of field, your best bet is to use your regular camera rather than relying on your phone.
Another popular mobile feature is “Panorama Mode,” which allows you to combine several images into one. While it’s handy for capturing a wide field of view, it can also have some unintended consequences, like compressed elements. For that reason, this feature, like “Portrait Mode,” isn’t ideal for commercial Licensing.
Shoot in daylight, if possible
With features like Night Mode (iPhone), Bright Night (Samsung), and Night Sight (Google Pixel), mobile phones are getting better at capturing images in low light situations, but they still work best in daylight. When it comes to Licensing, you’ll want to avoid any grain or noise, so it’s doubly important to make sure your photos are bright and clear.
On a separate but related note, phones tend to struggle with backlighting, so you’re always safer using front or side-lighting (or at least a reflector to bounce light back on your subject).

Download a release app
Including people in your mobile photos can instantly boost their relatability and marketability, but remember: if there’s a recognizable person in the frame, you always need a model release. Otherwise, you won’t be able to submit your photos for commercial Licensing. The same goes for any private property; if you snap a photo in your friend’s house, for example, you’ll need their signature in order to license it commercially.
Fortunately, downloading a release app on your phone makes the process simple and convenient. There are tons of options available—Releases and Easy Release are two popular choices. Most release apps will have the same requirements as the 500px model release, but it’s worth double-checking to make sure your chosen app has all the same information. As long as it does, it’ll be accepted. You can pull these up immediately before or after taking your photos, so you have everything all in one place.
View your images at 100%
A simple but important rule: unless you view your images at 100%, you might miss technical issues that could be corrected. Make sure you do this before submitting your mobile photos to Licensing.
Keep your edits natural
When it comes to mobile photography, the editing possibilities are virtually limitless, and apps like Snapseed, Lightroom Mobile, VSCO, and Enlight make it easier to process your images on-the-go. Use them to your advantage, and remember to color correct any photos you want to submit for Licensing.
At the same time, avoid over-processing. Heavy edits, HDR, and color grading can make your photos appear unnatural, and that can lead to image rejection. Heavy filters are also best avoided; most clients will want to do their own editing or add their own filters, so they’ll be looking for photos that are clean and simple. Keep you editing light and subtle.
Edit yourself
A camera phone allows you to take more photos than you might with any other device on the market, and for Licensing Contributors, that’s the cherry on top; the more photos you submit, the better your chances of being discovered. Still, it’s important to avoid the temptation of submitting every photo you take. Duplicate images with only minor variations aren’t worth adding to your Licensing portfolio—select the best ones, and edit and upload those for sale.
Not on 500px yet? Sign up here to explore more impactful photography.


Leave a reply