Jimmy McIntyre is a world-renowned travel photographer, educator, and 500px ISO contributor. His photos have been published in local and national magazines, including the BBC. His online courses on digital blending and post-processing, and his Raya Pro Panel, can be found on his official website.
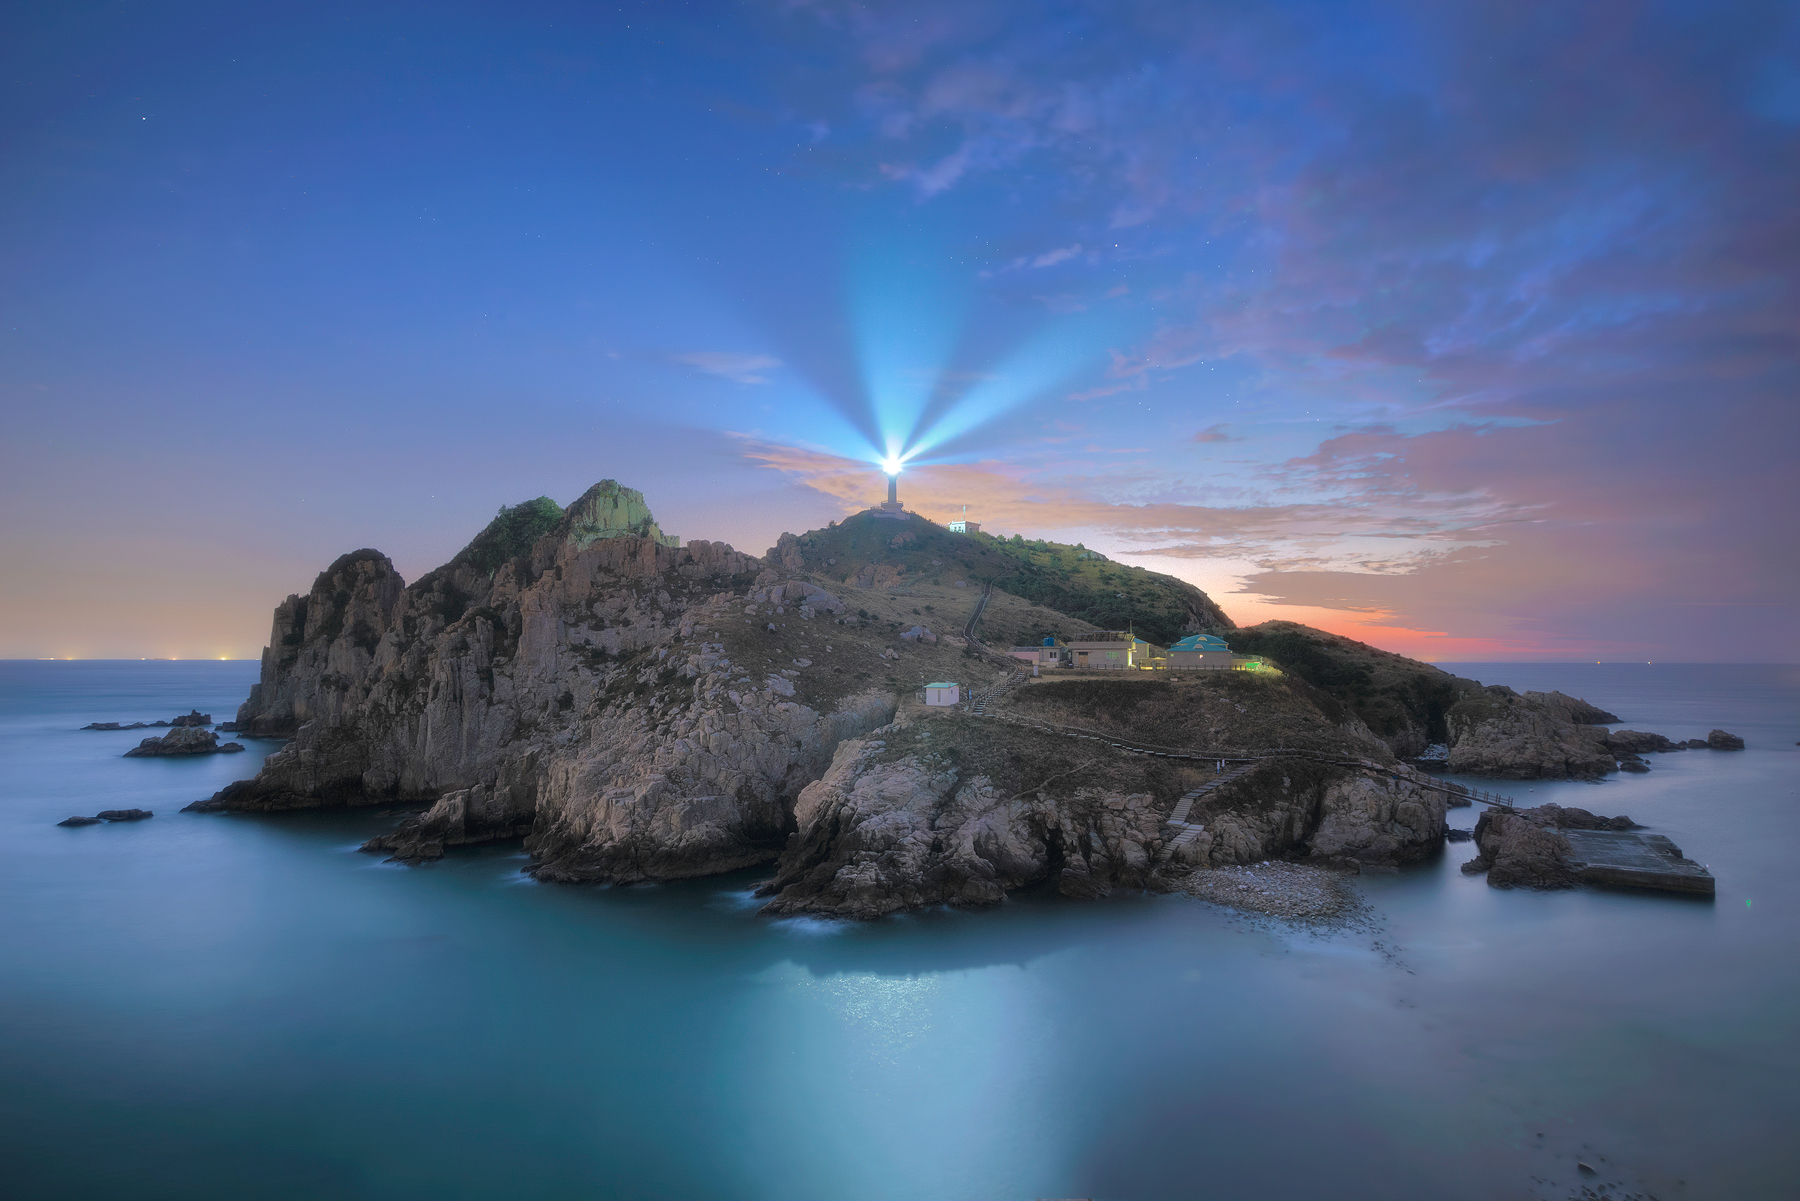
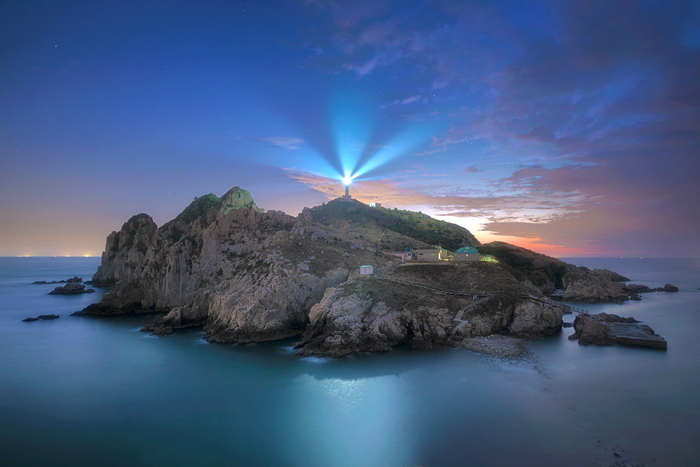
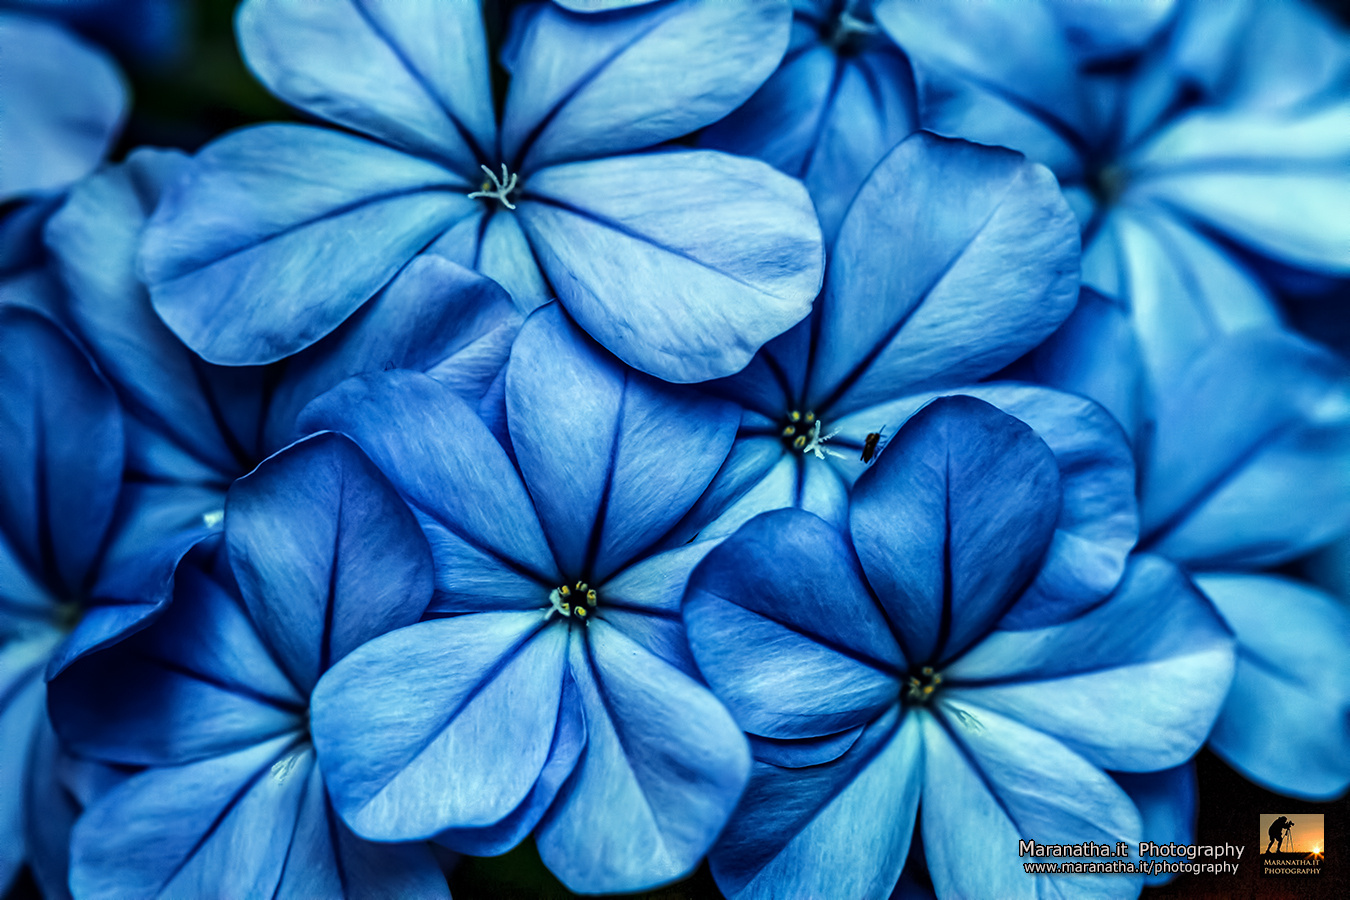
Over the past couple years the Orton Effect has grown in popularity, especially amongst landscape photographers. With the Orton Effect we can create a very soft, dreamy feel to our images, which almost feels like we’re being transported to the magical town of Hobbiton.
There are a number of ways to create the Orton Effect, and different ways to be creative with the process. In the video below, I will show you one way to quickly and easily create the Orton Effect in Photoshop.
You can also download my free Photoshop panel, which will create the Orton Effect for you with one click: The Easy Panel For Photoshop
How to Create The Orton Effect in Photoshop
1. Duplicate your background layer by holding Ctrl+J, or CMD+J on a Mac.
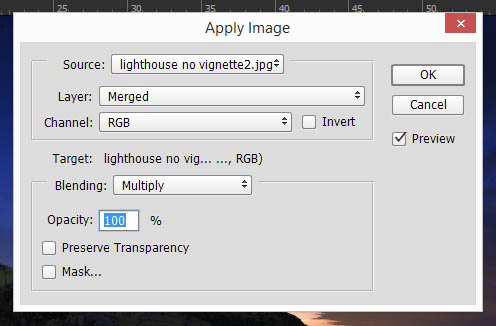
2. With this new layer selected, go to Image>Apply Image. Make sure your settings are the same as the settings in the image below.
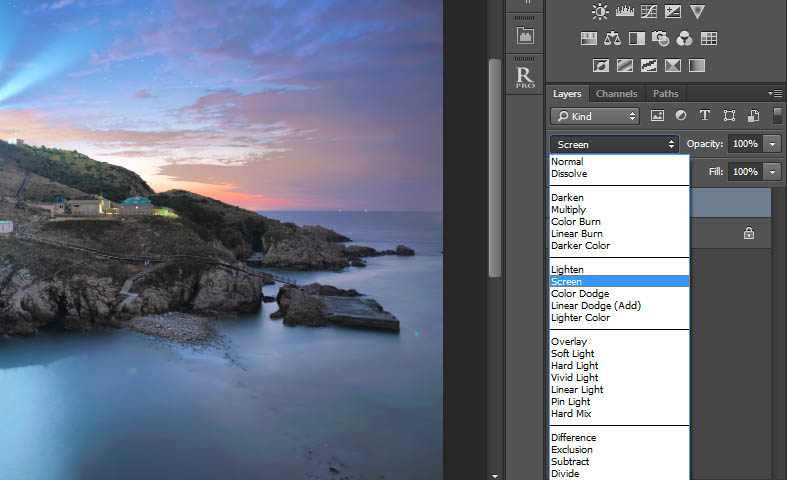
3. Next change the Blend Mode of the top layer to Screen. This will brighten the image.
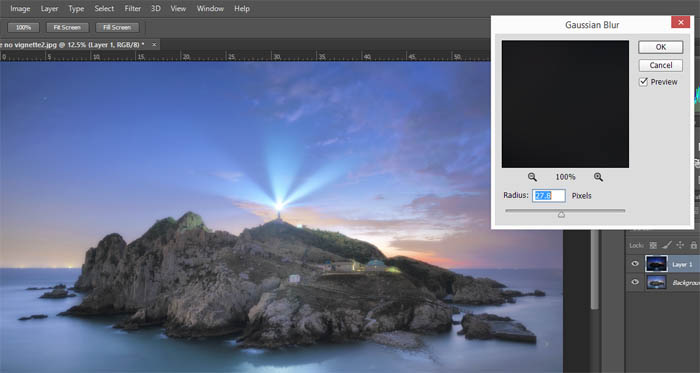
4. Go to Filter>Blur>Gaussian Blur. While looking at the image, change the Radius until you have the dreamy effect you are looking for, then press OK.
That’s it! Now you should be left with a soft, dreamy, Lord of the Rings effect.
Here’s a before & after:
[twentytwenty]
 [/twentytwenty]
I’m always happy to connect with other photographers! You can visit me through the links below:
My website
My Facebook page
YouTube Channel for more videos
My photography newsletter Including The Free Easy Panel—sign up now!


Leave a reply