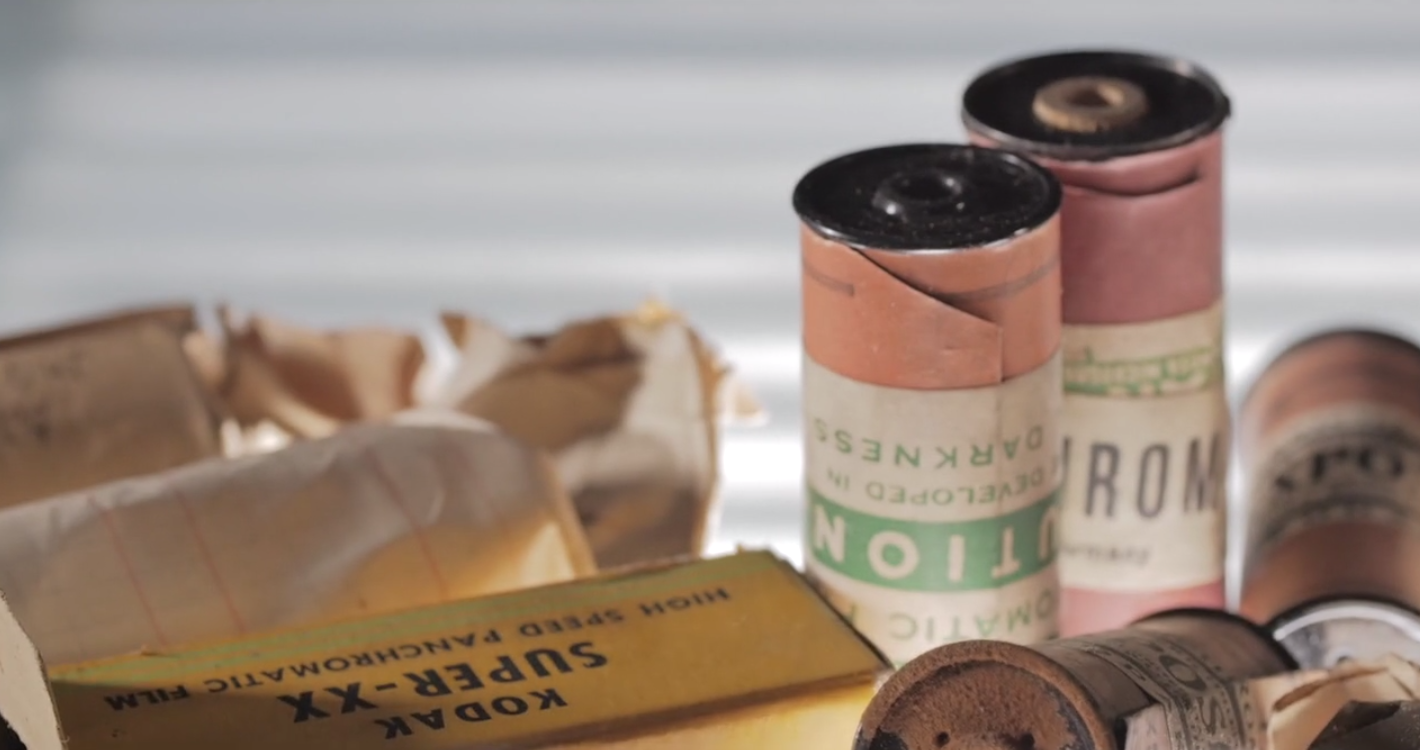
In the last few years, at-home processing has experienced a renaissance, prompting major brands to release DIY kits and products for the modern film enthusiast. Between the LAB-BOX “daylight-loading film tank,” which rose €656,903 from 4,791 backers on Kickstarter, and Ilford Photo’s SIMPLICITY range of film processing sachets, it’s never been easier to process film from the comfort of your own home.
According to a survey from Ilford, the main reasons why people don’t process their own film boil down to a lack of knowledge and lack of equipment, but what many don’t realize is that you don’t need tons of experience or expensive materials to get started. In fact, investing in some home processing equipment can save you money in the long run, as opposed to going to a lab. Plus, you’ll get insights into your creative process that you couldn’t get through outsourcing.
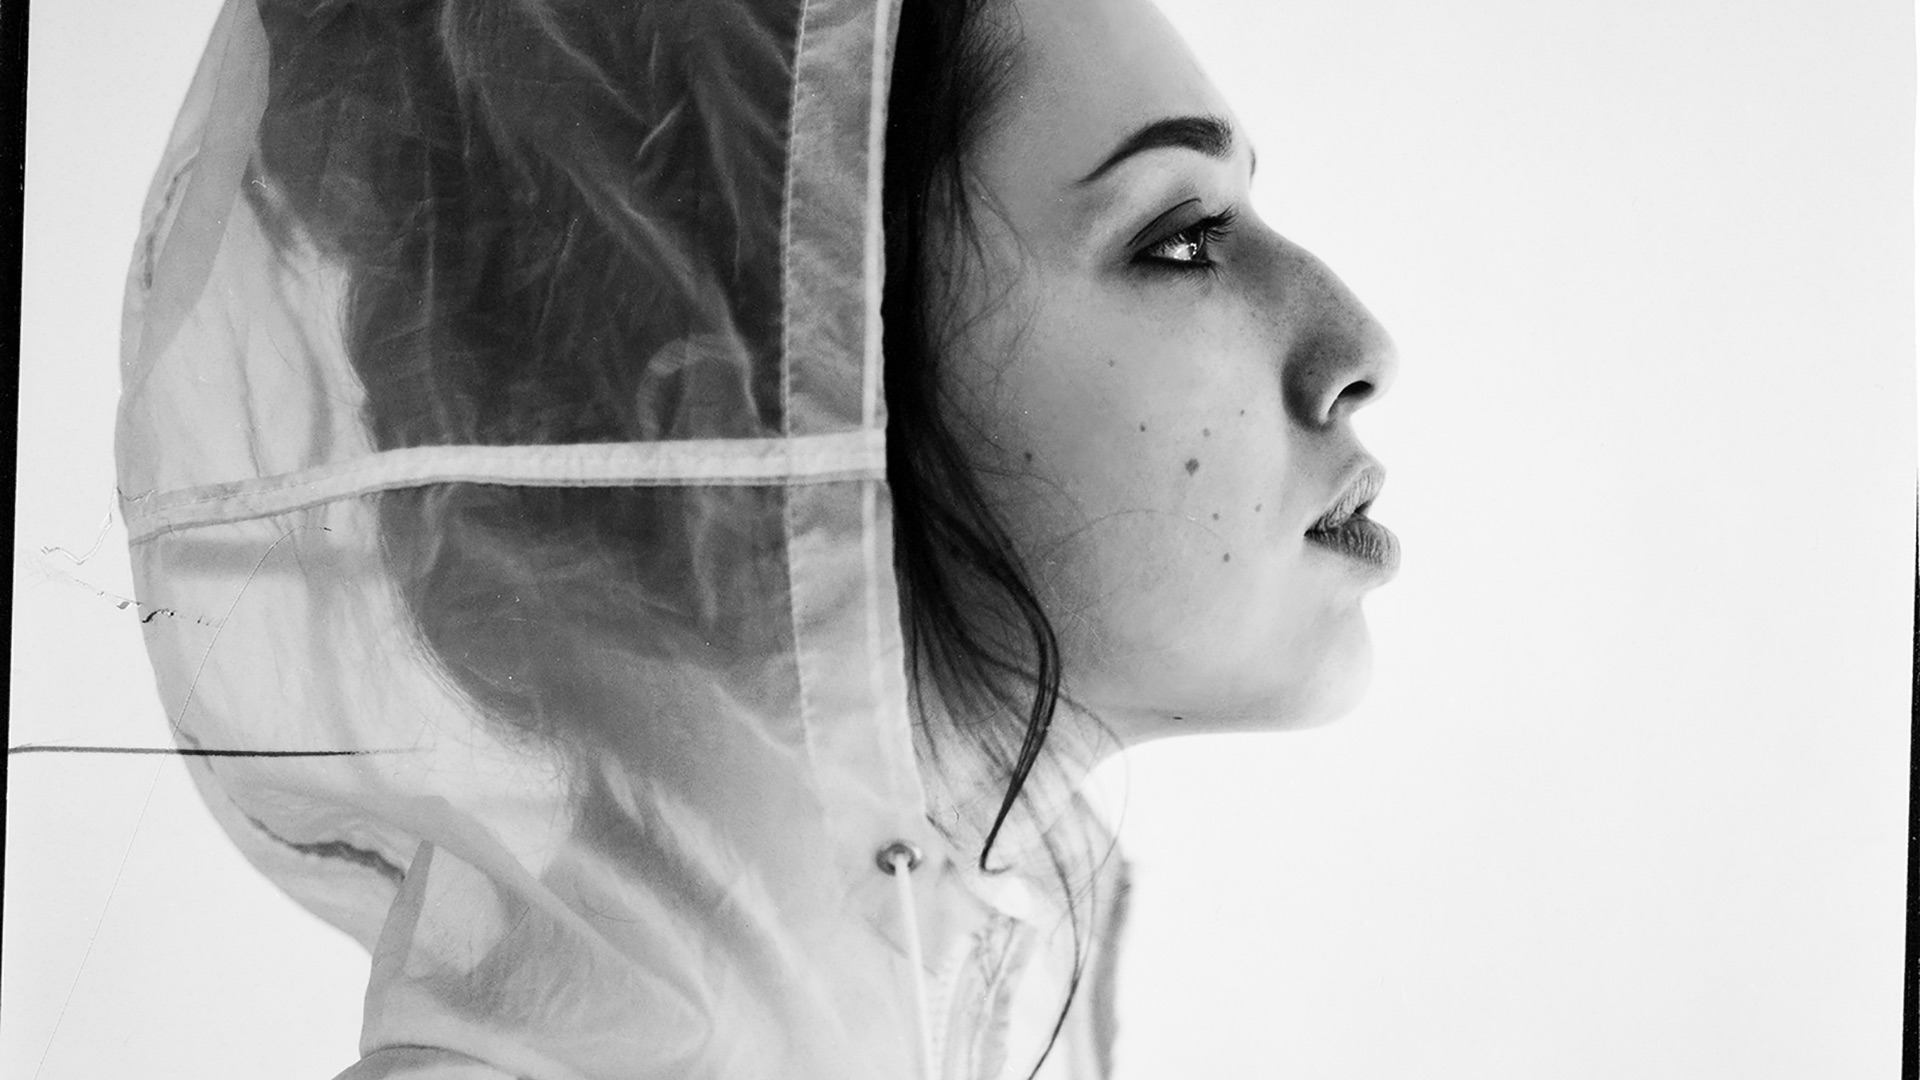
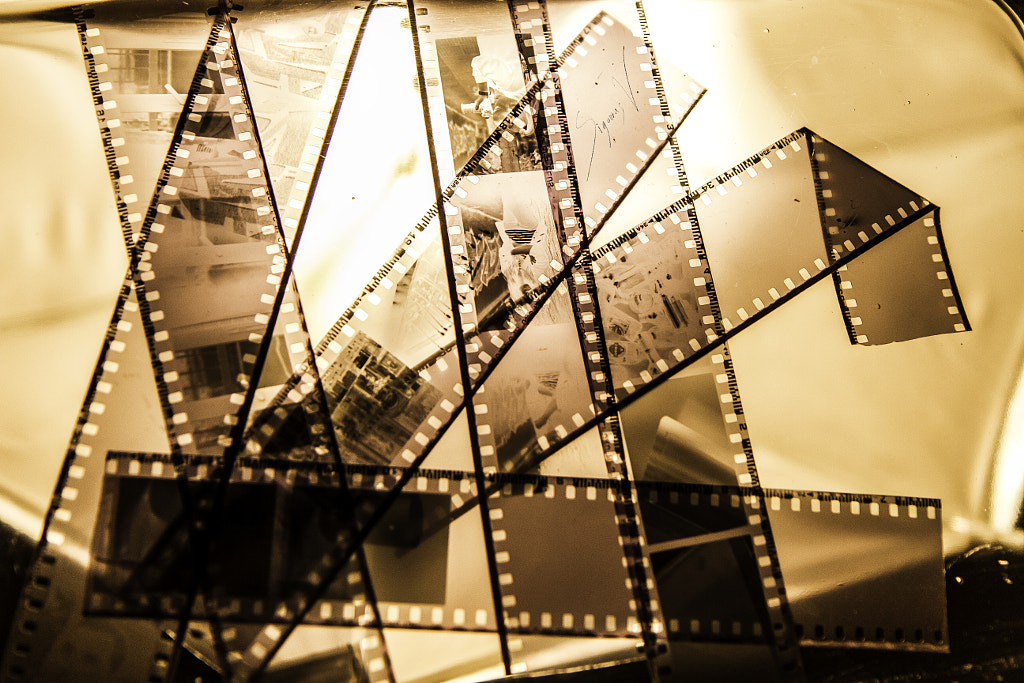
Film is far from dead; it’s thriving, as evidenced by the 60,000+ images that surface when you search “film photography” on 500px. In this quick guide on how to develop film, we’ll cover the basics of processing black and white negative film at home. Of course, you can also develop color negative or slide film at home, but many find it easier (and more affordable) to start with black and white.
What you’ll need
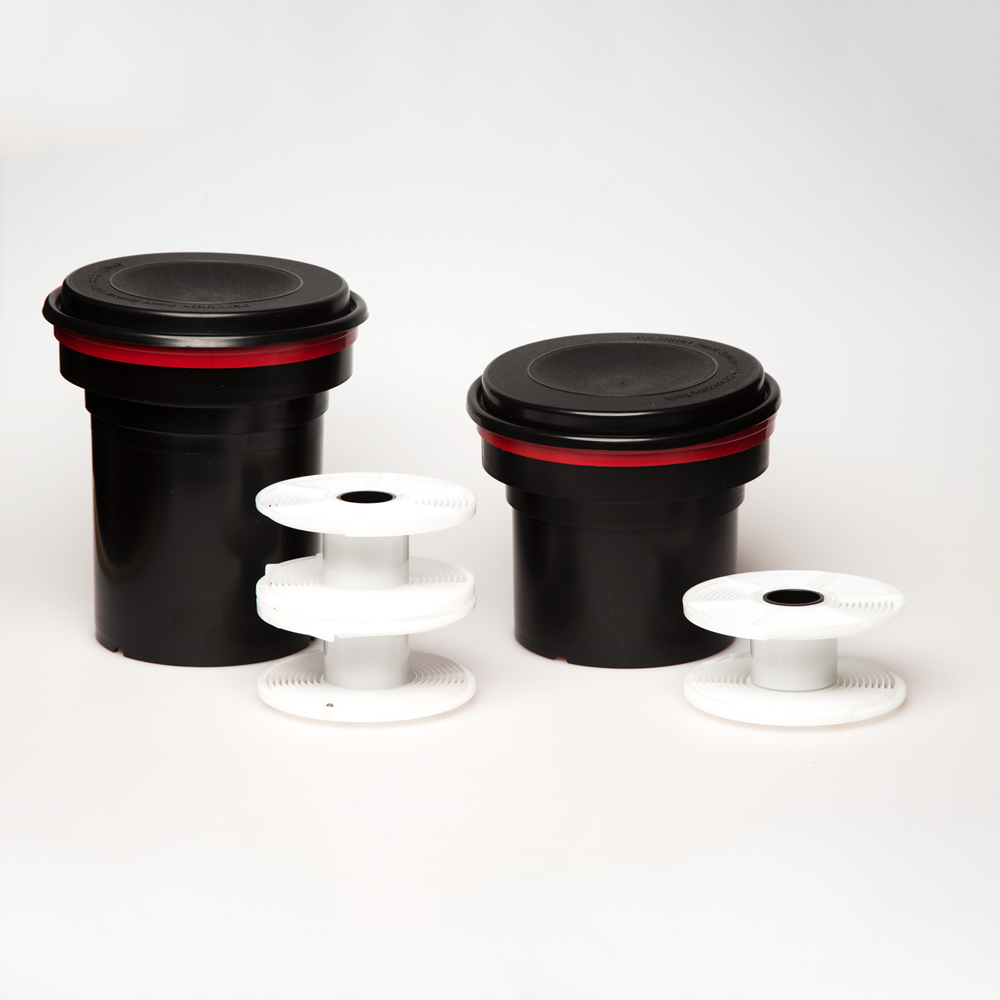
Pictured: Paterson Super System 4 Developing Tanks
Developing tank
Developing tanks come in different sizes, depending on how many reels you want to develop at a time; these will allow you to pour the chemistry in and out without exposing your film to light. Paterson has fantastic darkroom equipment.
Film reels
You’ll use these to load your film before developing. We recommend getting plastic reels, as opposed to metal ones, since they’re easier to load—though if you’ve purchased a metal tank, you’ll need to stick with metal for the reels too. Plastic goes with plastic, and metal goes with metal. You can grab a plastic tank and reel online from B&H for under $30.
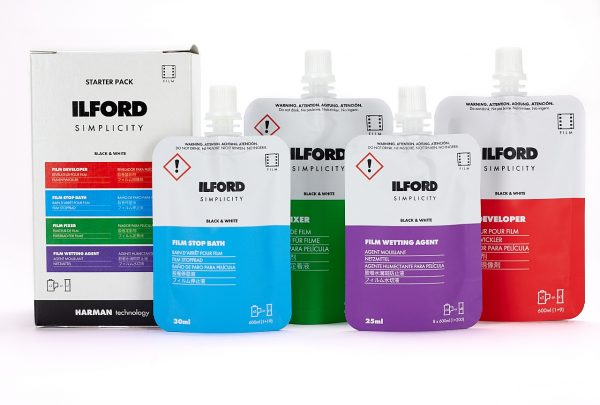
Pictured: Ilford Photo SIMPLICITY film processing sachets
Developer, stop bath, and fixer
This is the chemistry you’ll need. You’ll also need a faucet at home with hot and cold water. The developer you choose will vary based on the film you use, so double check to make sure it’s a good fit; they also come in liquid and powder forms, depending on your preference.
A wetting agent
This solution will protect your film from watermarks and streaks.
Graduates
These are for measuring your chemistry.
Rubber gloves
Grab some of these to protect your hands.
Storage bottles
Here’s where you’ll keep your chemistry when you’re not using it.
Timers
You’ll need these to time the process accurately.
Thermometers
Regular thermometers will do the trick. Obviously, these thermometers should be dedicated to film development and not used for anything else.
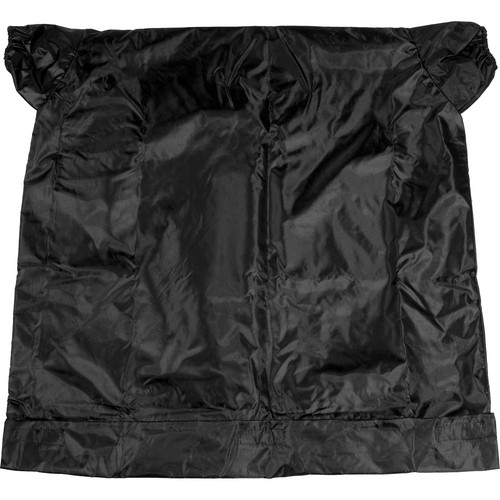
Pictured: Kalt Large Changing Bag Double Zipper on B&H
Changing bag
You’ll only need this if you don’t have a pitch-dark room at home where you can load your film.
Bottle opener and scissors
You’ll use the first to pry your 35mm film canister open and the second to snip your film leader.
Film clips
You’ll use these at the end to dry your film.
Developing your film

Developing your film at home is easy once you get the hang of it. Get your gloves on, and prepare your chemistry in a well-ventilated space. Follow the instructions on the bottles to mix your developer, stop bath, and fixer; it’ll specify what dilution to use. Use your thermometer to make sure you have the right temperature (typically, you’ll want it close to room temperature).
The next step will be loading your film, and this can take some practice, especially if you’re using metal reels. This process must be done either in a completely dark room (no windows) or a changing bag, so it can be worth using a practice film roll to get a feel for the process without having to look at what you’re doing.
To start, lay out your developing tank, center column, funnel and lid, reels, and film canister, in your dark room (or bag), and ensure you know where everything is. Once you pry open your canister (35mm), you’ll cut the film leader to create a straight line. From there, load your film onto the reels, place them on the center column, lock the funnel into place (you should hear a ‘click’), and put the lid on. Again, all of these must be done in the dark, but you can practice using a spare roll of film.
Now, it’s time for the fun part. Set up by the sink (again, in a well-ventilated location) with your prepared developer, stop bath, and fixer separated into clearly marked containers, and your gloves back on. Before adding any chemistry, you’ll want to wet your film with (room temperature) water and let it soak for about 60 to 120 seconds.
When your timer beeps, pour out the water and carefully pour the prepared, room temperature developer solution into the tank. Your film will come with a starting time for development, but as you go, you can finesse based on your own preferences. Set your timer again, and gently agitate your film continuously for 30 seconds. After the initial 30 seconds, you can agitate for ten seconds for every 30-60 seconds following.
Next, you’ll stop development by pouring out your developer and pouring in your prepared stop bath solution. When you’ve used that solution for the recommended time (at least 10 seconds, maybe longer), pour it out and pour your fixer solution into your tank. Set your stopwatch one more time for whatever is recommended, usually around three to five minutes, agitating continuously for 30 seconds and then for 10 seconds every 30-60 seconds following.
Lastly, take off the lid, place your tank under the tap, and let the water run for a rinse (10 minutes will do the trick). When you’re done, open up your reel and unfurl your film for one final rinse with a wetting agent, gripping the edges to avoid touching the negatives themselves. Add film clips to the top and bottom of your roll, and hang them up to dry in a clean place without dust (many photographers use the bathroom for this). Finally, cut your film and store it in a binder with plastic sleeves.
That’s it—you’ve successfully developed your film at home. Keep track of what you did so you can finesse the process next time; if your negatives are too thin, for instance, that’s a sign you’ve either underexposed in-camera or need to develop your film for a longer time. The more you practice developing, the better you’ll understand the entire photography process, from shooting onward.
What you do with your negatives is up to you; if you have access to a darkroom and enlarger, the next step might be learning how to print. If not, you can easily scan your photos and print them digitally.

Quick tips for developing film at home

Dispose of your chemistry properly
Avoid pouring any chemicals with a pH of 2 or less or 12.5 or more down the drain. Once your chemistry is spent, dispose of it safely; contact your local authorities or photo lab if you have any questions. Fixer poses the most problems, as it contains heavy metals, so find a silver recovery unit via your local lab or darkroom or contact your local chemical waste center for instructions.
Try a few developers
Black and white film developers can produce varying results in terms of grain, texture, and contrast, so once you get the hang of developing at home, try out a few options. You might like the look of one more than another.
Embrace mistakes
As we mentioned, your first few rolls might come out thin due to underexposure or even low-temperature solutions, so approach your first several rolls with an open mind. If they aren’t perfect, take note of what you can change going forward. Developing film is as much an art form as it is a science, and over time, you’ll develop preferences in terms of developer solution brands, development times, and more.
Go eco-friendly
It is possible to develop film at home without the usual chemistry; many innovative photographers used caffenol in place of liquid and power developer. Not only is it safer for you, but it’s also better for the environment. You can find tons of recipes online, and you’ll just need instant coffee, vitamin C, and washing soda—much better than ammonia and formaldehyde. Another bonus is that you can safely wash these solutions down the drain.
Cook up some film soup
This one isn’t for everyone, but it’s a lot of fun. “Film soup” is an experimental technique that involves soaking or “cooking” your film in various liquids and chemicals before developing. We’ve seen people use everything from coffee to lemon juice to wine to “cook” their film. You can even incorporate food coloring.
The results are often unpredictable, and you always run the risk of ruining your photos, but you can also end up with dreamy, magical effects. It’s also an experience that’s often unique to developing at home, as most labs won’t accept “souped” film.
Not on 500px yet? Sign up here to explore more impactful photography.


Leave a reply