
Udi Tirosh is a photographer, writer, inventor, entrepreneur and dad. Definitely not in that order. He is the editor of DIYPhotography, and has an exquisite taste in sushi.
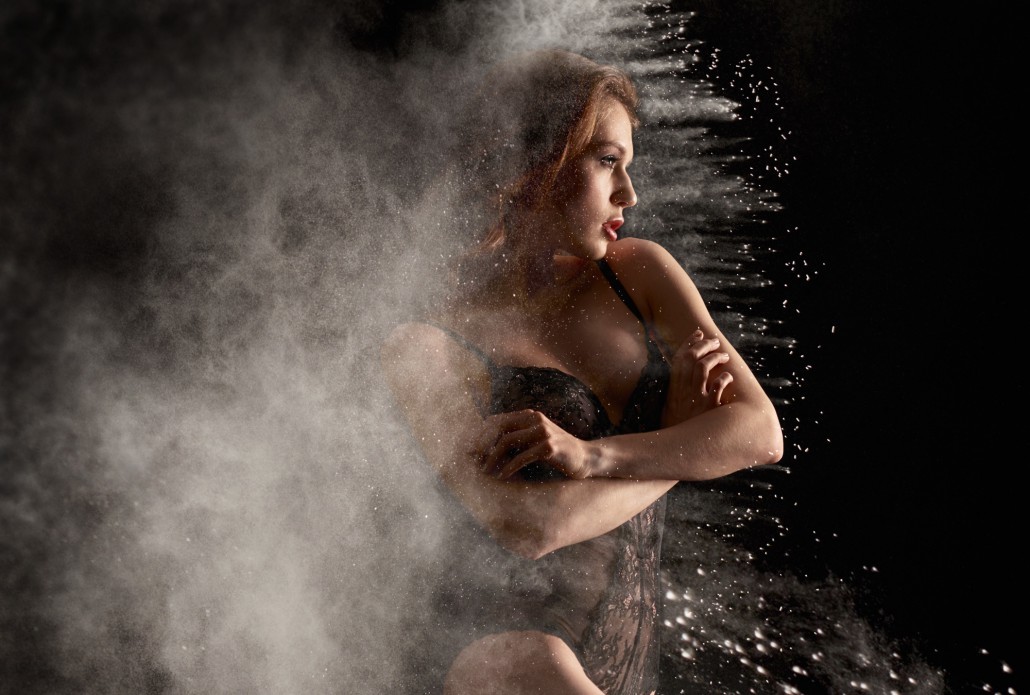
Do you know those portraits where huge clouds of powder are thrown at models and dancers?
The explosion of flour creates great drama, impact, and a wonderful sense of motion. If you haven’t seen these types of photos before, here are a few examples from the 500px community:


Of course flour is not studio friendly, or even safe—after all, it can combust! Worse yet, it will void the warranty on your gear.
So how do you get a good floury photo without the mess? You Photoshop it of course!
Now, don’t get me wrong, doing a flour shoot is a lot of fun… A LOT OF FUN… and if you can afford the time and have the space I definitely recommend it. But if not, here is how you fake it in Photoshop.
Getting some flour
The secret for this is using flour images that were shot with pure black background (more on that in a bit).
For this tutorial, we used flour from the DIYP Image Manipulation Store, but other resources are available on the Web and you are definitely encouraged to shoot your own if you prefer (just find a good place for it and be careful).
Screen Blending mode
Remember how, a second ago, I told you to find flour shot on a black background, (of course you do, it was LITERALLY one sentence ago). This is because we are going to overlay the flour on our model using screen blending mode in Photoshop.
Screen Blending mode’s super power is to find anything black on a photo and make it transparent. It works for sparks and it’ll work for other on-black resources just as well.
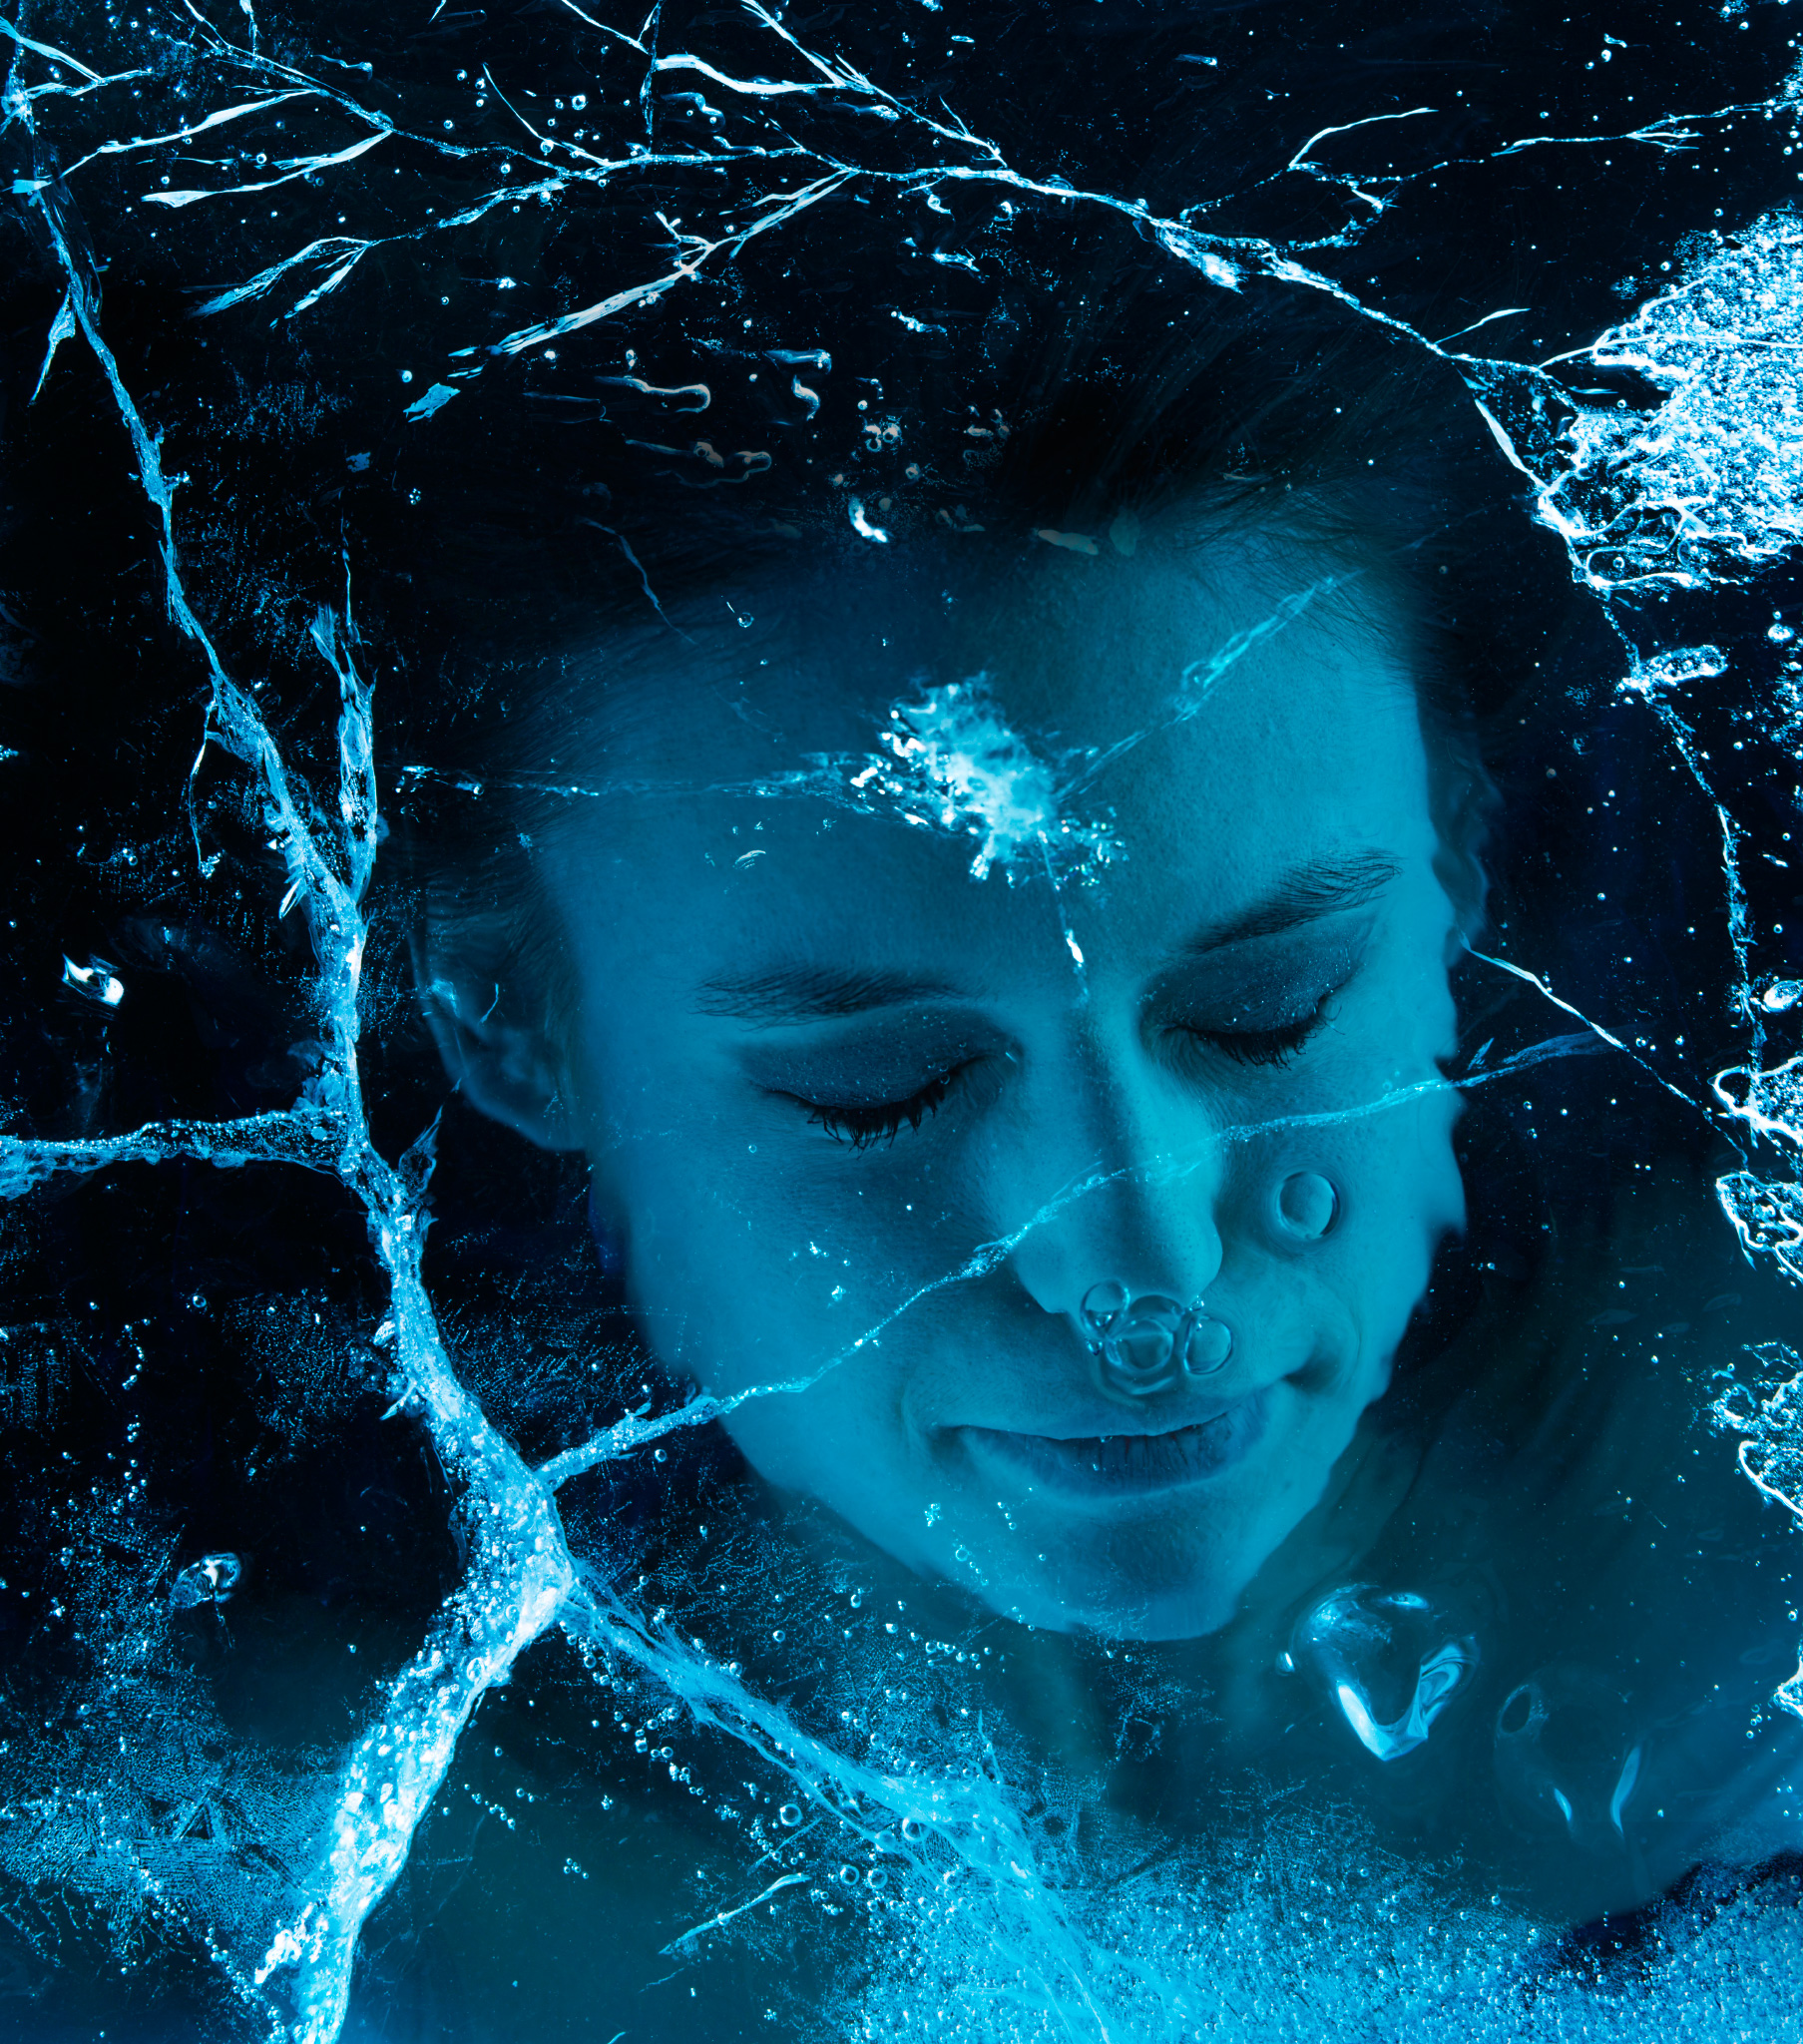
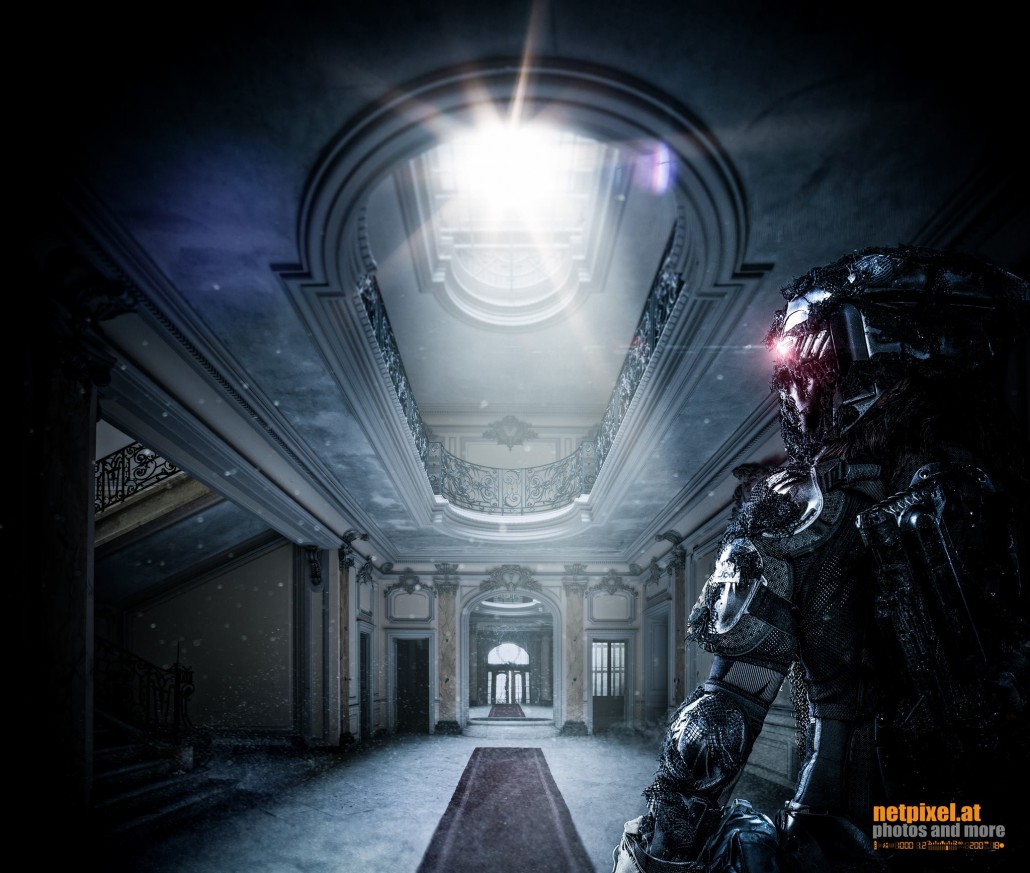
Here are a few examples, all done using the same technique:
Broken Glass – Credit: Stefan Kohler
Bubbles – Credit: Patricia Kelly Fischer

Light Rays – Credit: Netpixel
Applying the technique
1. Start with your base photo. It can be a low key photo, like the one we worked with, but it can also be a happier photo.
2. Select a few flour files and overlay those on your portrait. You can change the size and location of the overlays (your model will be gone for a second… no worries, well bring her/him back).
3. Set the blending mode to screen. Now, the new flour layers will only show the flour, your model is reveled.
4. Mask away unneeded flour. For the best results, have the model hide some of the flour that should be behind her/him by masking it out.
5. Pro Tip. I like it when some of the flour textures show the edge of the cloud and the little floury fireworks, but this is personal taste…
6. There you have it! A model in the middle of a flour cloud, AND a clean studio.
Here’s the before and after:
[twentytwenty]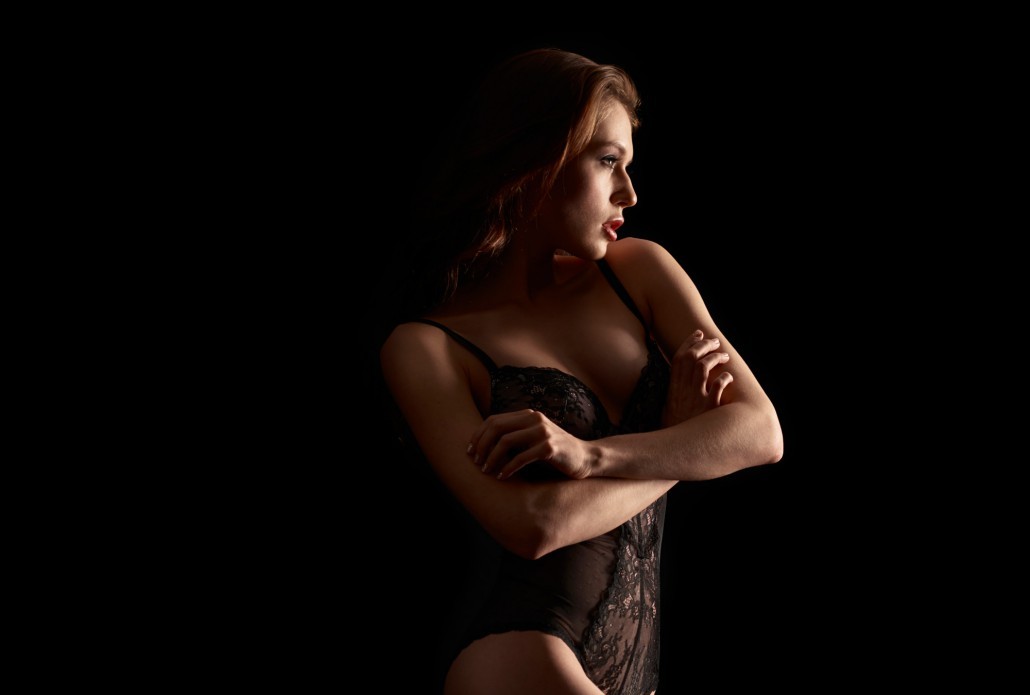
[/twentytwenty]
And here’s a video that’ll walk you through the steps listed above so you can see the editing technique in action:


Leave a reply