Roderique “Dracorubio” Arisiaman is a professional photographer, Photoshop wizard, and artist, using photography as his canvas to create imagery and stories beyond reality.
You can follow Dracorubio on his website, Facebook, and G+ account. This post was originally published on DIY Photography and is being re-shared here with express permission.
Here’s a quick, yet powerful, tip on how to move a portrait from great to awesome fairly quickly. While this method is quick the results can be very impressive if done right. You would need a fire on black pattern like the Fire Pack from the texture store (either the commercial package, or the CC-BY license, but then you have to link every image to the store), a copy of Photoshop, and, of course, a portrait (preferably on black).
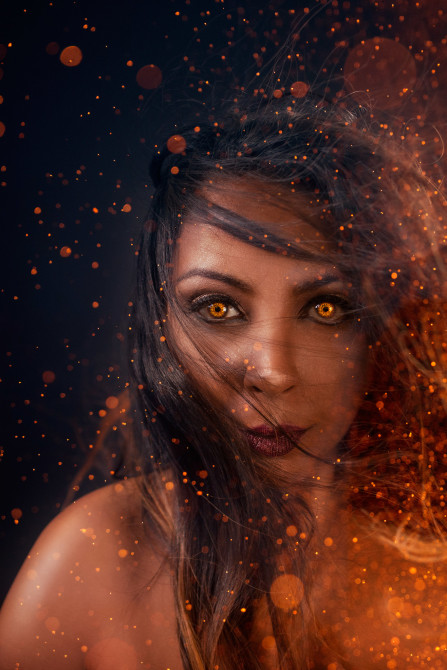
I recently worked with Dutch model Natash van Veen and MUA Maaike Buurman on several portrait shots. We also worked on some other shots, which I will share soon, but for this article, I wanted ot focus on a technique to quickly enhance a portrait.
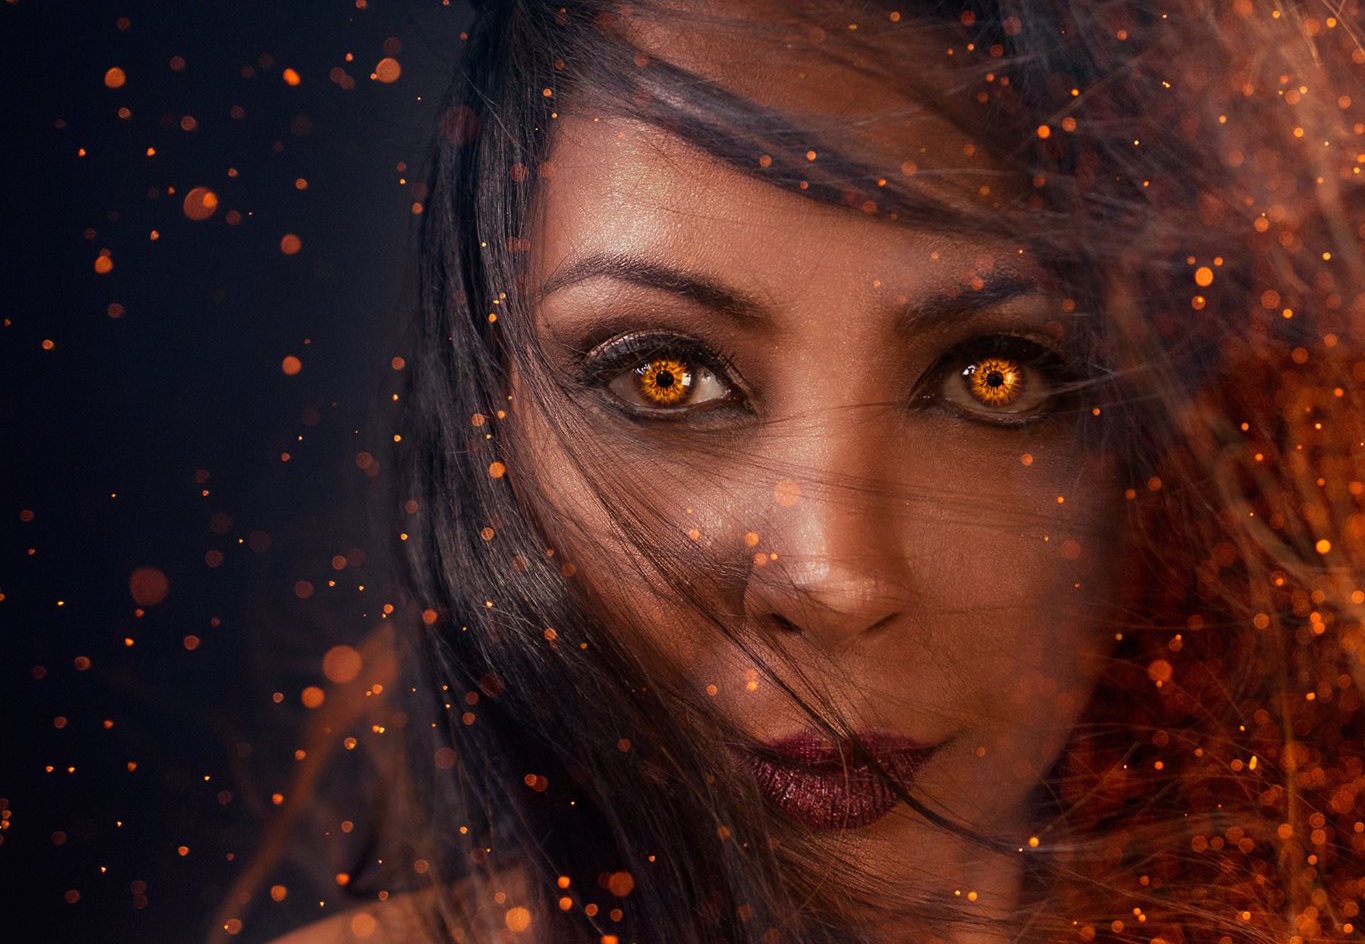
Besides our initial shooting plan, Natash asked me if I could provide a portrait of her with some sort of golden/fiery eyes. I could not resist.
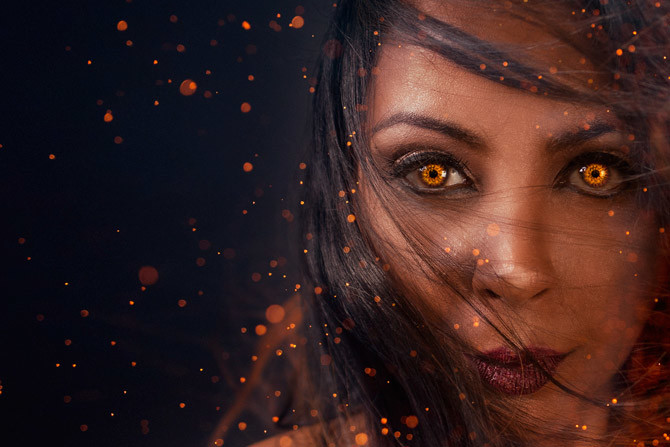
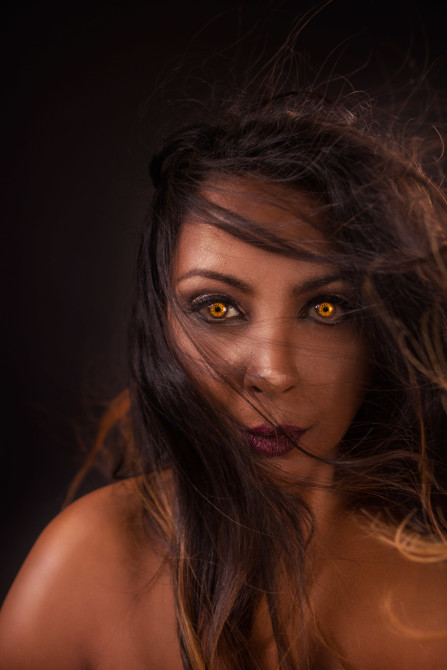
We made a few portraits and I selected this one. Use the slider to see how I added the fire eyes (which is a story for another post).

 [/twentytwenty]
But I still felt it was missing something. The eyes where fierce and golden, And I loved the dynamic emotion in the image, but it still felt empty. Something else was needed. Something that would also motivate the fire in her eyes and enhance the overall look.
So I started flipping through the large collection of fire and sparks images in the Fire Pack and found an image of sparks (RAWexchange_Fire_005) with just the right amount of in and out of focus sparks. This one:
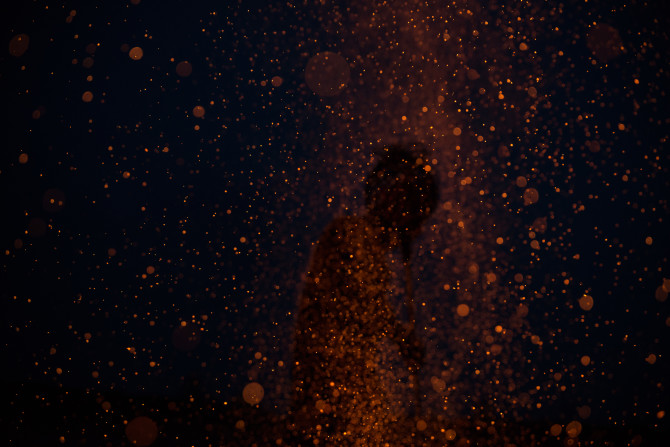
I copied the fire image over the portrait in a new layer, and set the layer blending mode to screen. Screen will filter out the dark parts of your texture layer and will only add the bright parts to the underlying layer. Effectively adding fire and lights to an image.
Now I could adjust the sizing and placement of the sparks layer to fit the portrait, and I masked out a few sparks from the face. Here is a before and after of adding the sparks:
 [/twentytwenty]
With just a few simple clicks I added more depth and power to a portrait using the Fire Pack and a simple layer blending mode.
The nice thing about this trick is that it is easy to implement and it creates an impressive look fairly quickly. Feel free to try this with your next portrait.

Leave a reply