
Post-processing is a crucial step in modern photography, allowing photographers to manipulate and enhance colors to achieve their desired effects. Here’s how to effectively use post-processing techniques to bring your images to life.
Understanding color in post-processing
Color adjustment: Color adjustment involves modifying colors to improve balance and visual appeal. This includes correcting white balance to ensure accurate color representation, adjusting saturation and vibrancy to make colors pop, and tweaking hue to alter tones. For instance, adjusting white balance can neutralize a yellowish indoor light, making skin tones look more natural. Fine-tuning saturation can bring out the vividness of a sunset without looking unnatural.
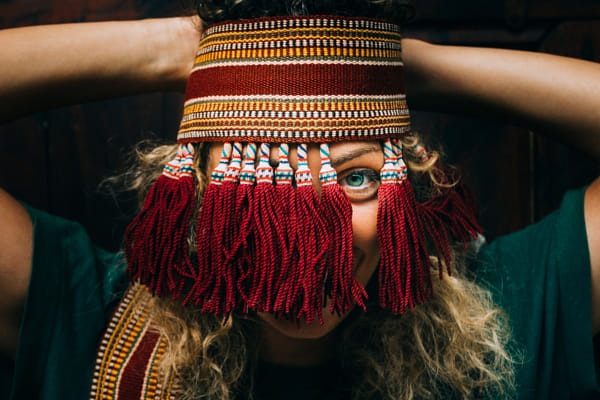
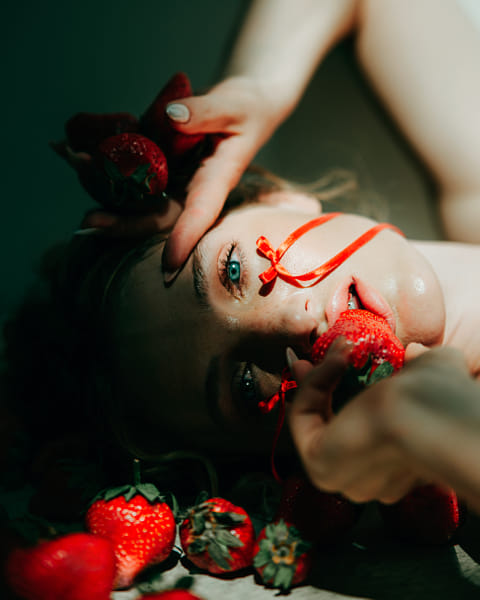
Color enhancement: Color enhancement focuses on boosting specific colors to make them stand out. For example, enhancing blue tones in a seascape can make the water more striking, while boosting reds in a portrait adds warmth and vitality. Techniques like selective color adjustment allow for precise control, enhancing specific colors without affecting the entire image. Using a tool like vibrance targets less saturated colors, enhancing your image subtly compared to saturation adjustments.
Common applications
- Color correction: Adjusting colors to make them more accurate and natural-looking. For example, correcting a photo taken under fluorescent light might involve reducing the green tint to restore natural skin tones. Additionally, color correction can fix issues like washed-out colors or overly dark images, bringing out the true colors captured by your camera.
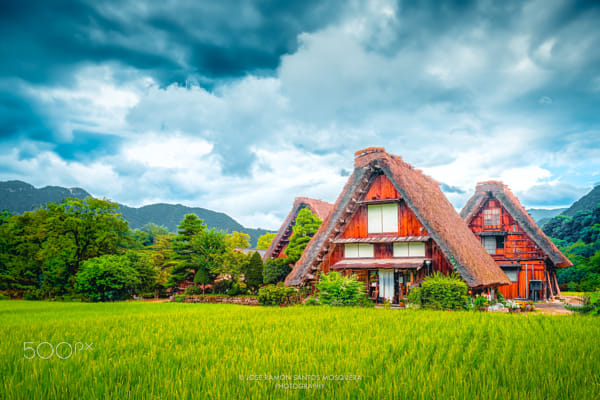
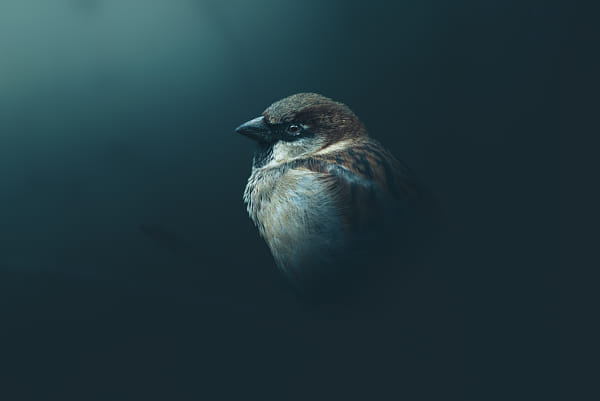
- Color grading: Applying stylistic color effects to create a specific mood or look. For instance, you might use cool blue tones in the shadows and warm orange tones in the highlights to create a dramatic, cinematic effect. Color grading can transform the emotional impact of an image, making it a powerful tool for storytelling.
Techniques for post-processing color
Basic adjustments
- White balance: Correct the white balance to ensure the colors in your image are true to life.
- Exposure and contrast: Adjust the exposure and contrast to enhance the overall look of your image.
Advanced adjustments
- Hue/saturation: Fine-tune the hue and saturation of individual colors to achieve the desired effect.
- Color curves: Use color curves to make precise adjustments to the tones and colors in your image.
Selective color
- Target specific colors: Adjust specific colors in your image without affecting the whole photo. This technique is useful for enhancing complementary colors or creating harmony.
- Masking: Use masks to apply color adjustments selectively to certain areas of your image.
Advanced techniques
Split toning
- Adding mood: Apply different colors to the highlights and shadows of your image to create a specific mood. For example, adding blue tones to the shadows and orange tones to the highlights can create a dramatic, cinematic look.
- Application: Ideal for landscape and portrait photography to add depth and interest.
Color grading
- Cinematic look: Use color grading to achieve a cinematic look. Adjust the midtones, highlights, and shadows individually to create a cohesive color palette.
- Stylized effects: Experiment with different color grading presets to find a style that suits your image and enhances its emotional impact.
Gradient maps
- Creative color effects: Use gradient maps to apply a gradient of colors to your image. This technique can create unique and artistic effects that enhance the visual appeal.
- Application: Ideal for creating abstract or surreal images.
Practical tips to try
Using presets
- Consistency: Use color grading presets to maintain a consistent look across a series of images. This is particularly useful for photo essays or themed shoots.
- Customization: Customize presets to suit your specific style and preferences.
Shooting in RAW
- Flexibility: RAW files retain more color information, allowing for greater flexibility in post-processing. You can make significant color adjustments without losing image quality.
- Fine-tuning: Make precise adjustments to colors and tones to achieve the perfect look.
Field tips
- Pre-visualization: Consider how you will adjust colors in post-processing while shooting. This helps in composing your shots more effectively.
- Practice regularly: Regular practice with post-processing techniques will improve your ability to achieve the desired color effects.
Exploring color in post-processing can transform your photos, enhancing their visual appeal and emotional impact. By understanding and applying these techniques, you can bring your images to life and create stunning works of art. Experiment with different methods to find what works best for your style and subject matter.
Not on 500px yet? Sign up here to explore more impactful photography.


Leave a reply