
With the global photo editing software market size expected to reach $1,183.8 million by 2026, it’s never been easier to enhance your images in post-processing. Editing apps are more accessible than ever, and professional and amateur photographers alike are boosting their potential with smarter, AI-driven tools. It’s no longer necessary to outsource editing and retouching to a professional, and many commercial photographers are producing quality, marketable photos themselves.
From retro filters to cinematic color grading to “light and airy” presets, the photo industry has seen several editing trends come and go, but in commercial photography, simple, natural edits have remained in demand with every passing season. In the world of advertising, your approach to processing can make the difference between a good photo and a best-seller—while trends come and go, photos with timeless edits sell month after month, without going stale.
We’ve compiled this quick educational guide to using post-processing to increase the marketability of your portfolio, now and well into the future. Read on to learn how to edit your images for commercial Licensing, while also appealing to a variety of clients and marketers.

Embrace natural tones
Vibrant colors, bold contrast, and color blocking have all been trending in commercial photography lately, but buyers still crave colors that look natural and true-to-life. That means avoiding oversaturating your images in post (tread lightly with saturation and vibrance), and it also means paying close attention to color correction, especially when you’re dealing with skin tones and portrait/lifestyle images.
Steer clear of filters or heavy edits; your photos should look like they’ve barely been touched, even if you’ve made some tweaks. Watch your histogram while you edit to make sure you aren’t creating any “spikes.” If you’re working with a set of images, the colors across each frame should remain consistent, as some clients will want to purchase more than one. Keep your edits similar, with minor tweaks across individual images.
Today’s marketers are looking for photos that feel professional but relatable and real, and that often means no filters. While some might later apply their own stylized edits, doing anything drastic yourself could severely limit your sales potential and lead to image rejection.

Check your white balance
One easy way to get rid of unnatural color casts is to use the white balance eye-dropper tool. All you have to do is select the tool and locate an area of your image that contains a neutral gray tone; it can help to have a white balance card on set during every commercial shoot for this purpose.
Once you click on that spot, any color cast should be largely removed; from there, you can go in and finesse using your temp/tint sliders. Keep in mind that your RGB readouts should be equal (or pretty close) for areas that shouldn’t have any color cast. Photos with neutral or subtly warmer color temperatures tend to sell best, so you can go slightly warm, but keep it natural.

Avoid HDR
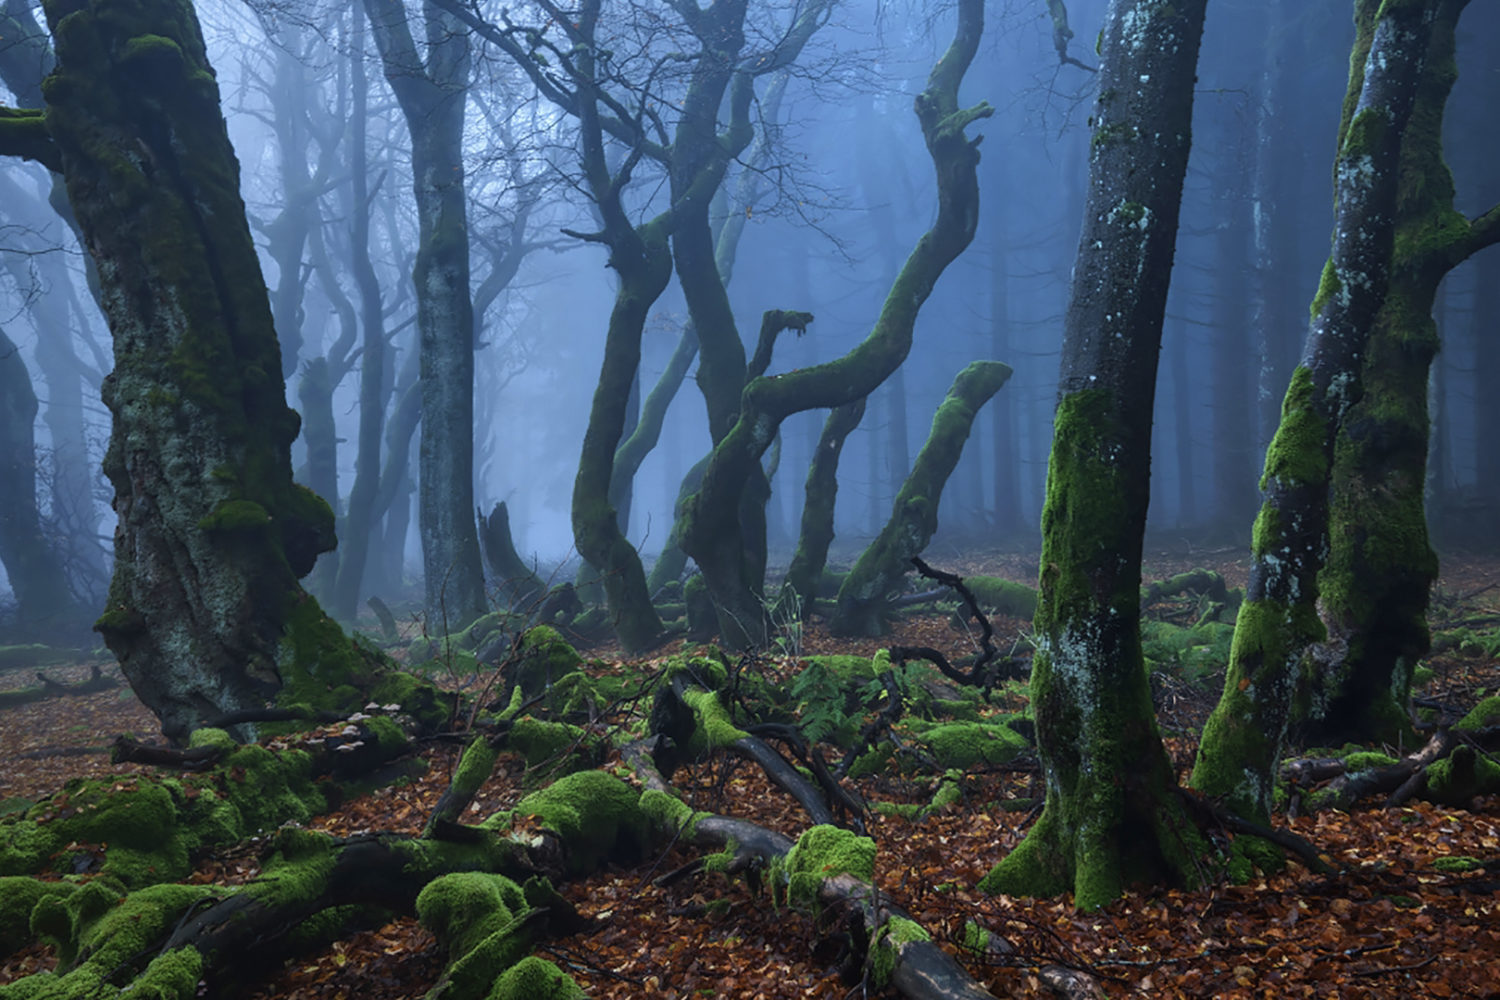
Here’s another tip that ties back to the importance of maintaining a natural look. High-dynamic-range (HDR) images are made by combining multiple exposures to create one image; the benefit is that you can use it to create a wider dynamic range, bringing out the shadows or darkening the highlights, but the cost is that it’s easily overdone or used in photos that don’t need it in the first place.
When this happens, the technique produces artificial-looking colors and over-processed images. You’ve seen these “hyper-real,” almost electric images before; they tend to have a strange 3D effect, as if an extreme filter has been applied. It’s common in landscape and nature and photography, but it’s best-avoided when submitting your images for commercial use. Because they won’t sell, they’re often rejected.

Swap the patch tool for the clone stamp tool
Finding a trademarked or branded detail in your photos can be frustrating, but it happens, especially when you’re dealing with logos on clothes or tech devices. These details will prevent your photo from being accepted into commercial Licensing, but they’re easy to clean up with the clone stamp tool in Photoshop or an equivalent.
Why the clone stamp tool, instead of the patch tool? Unfortunately, the patch tool sometimes results in distorted, blurry areas that can lead to image rejection, but when used correctly, the clone stamp tool produces edits that look seamless and natural. It also works better when working with different colors and textures and gives you more control over the final image.
Just remember to sample as small an area as possible and sample often for consistency; view your photos at 300%-500% to make sure everything looks good in terms of color and texture, no matter the resolution.
One final tip about retouching: it’s necessary to remove logos and other unwanted elements, but be careful not to over-edit images of people. While the commercial photography of yesteryear might have featured “picture-perfect” skin without any blemishes, the tides are turning. The skin positivity movement has placed increased pressure on brands to steer clear of heavily edited images, so when photographing people, show off their real skin.
Work in layers
This one is a huge time-saver, and it’s especially important for commercial photographers who are managing high volumes of images at once. “The most essential editing tip we can give anyone is to always work in layers,” the 500px Content Team tells us. “Always duplicate the original as the background layer and lock it. Do all your editing and adjustments on other layers.”
There are many reasons to use layers, but the biggest one is that they won’t destroy your image; you can make edits and easily undo them or compare them with your previous versions. Just toggle each layer on and off using the “eyeball” symbol (in Photoshop) to see how each edit affects your final image.
Aside from allowing you to selectively edit parts of your image, layers give you more control and foster a deeper understanding of what works and what doesn’t. Use an adjustment layer for all the steps mentioned above, from color correction to retouching; it takes a fraction of a second to add and saves you time and energy in the long run.
Not on 500px yet? Click here to learn about Licensing with 500px.


Leave a reply