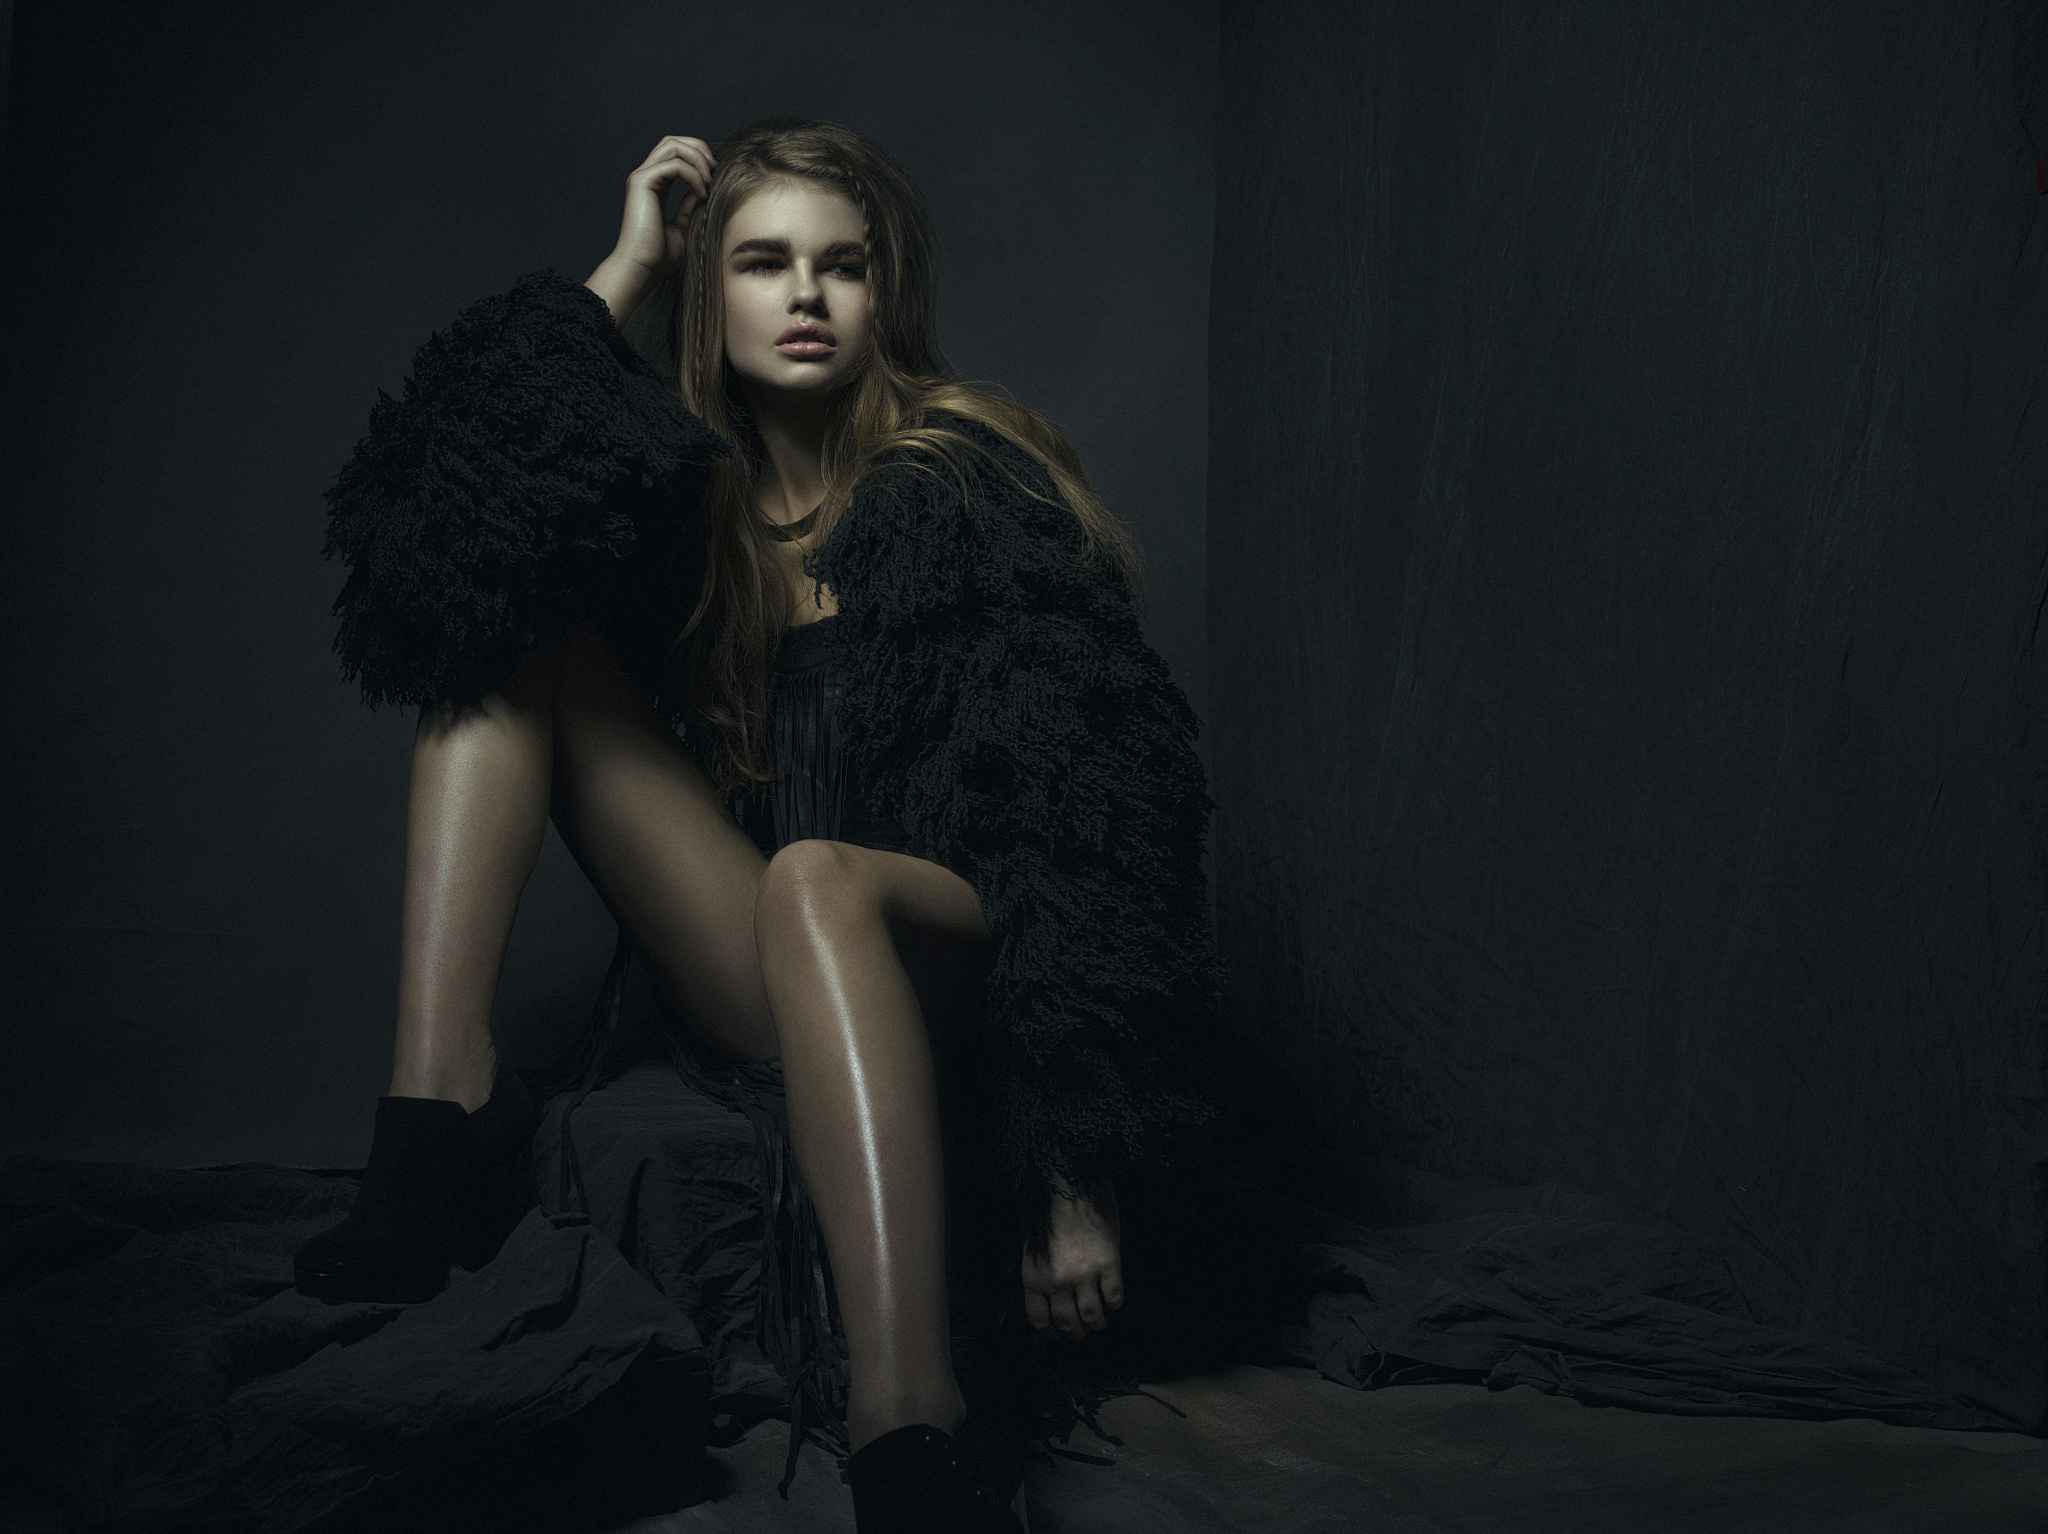
Did you miss photographer Clay Cook‘s Live Edit last Thursday? Feeling sad about it? Wish you knew how exactly he edited that glamorous, sultry portrait from the before we showed you into the after he uploaded exclusively to 500px?
You’re in luck! Even though he doesn’t record his Live Edits (then it wouldn’t exactly be “live”…), he was kind enough to share his workflow with us in text form so we could pass it down to you. Scroll down to read it all for yourself.
And don’t forget to scroll all the way to the bottom to get Clay’s Top 5 editing tips, watch him shoot this portrait in his “First Person Shooter” POV video, and see a walkthrough of two of the more complicated techniques he uses.

Overview
I have a standard workflow that I use to edit every image. It starts with going through the image, working through the problem areas, and coming up with a “gameplan.”
I usually start with a Liquify layer, bringing and tightening up small areas subtlety, in this case I mostly worked with the hair. Then, I move into cleaning; which involved a process of removing blemishes with the Healing Brush and taking out any stray hairs with the Clone tool.
Once the cleaning process is complete I move into Dodge and Burn using a series of Curves Adjustments; I bring out any highlights with Dodge and add contour with Burn. It’s a process that requires a lot of patience and a lot of practice. I also use Dodge bring out any weird shadows.
Once D&B is complete I move into Frequency Separation in which I blend strange skin coloring and blend any sharp shadows or strong highlights. It’s important to use Frequency Separation sparingly, it can go wrong very quickly.
Once all the re-touching is taken care of, it’s just a matter of finalizing the image with color, sharpening, and noise. I have a several-step process for color grading which includes a combination of Hue/Saturation, Curves, Selective Color, and Color Balance.
I tend to sit on the image for at least 24 hours, I tend to change my mind when it comes to color. Once color is complete I finalize the image with “Sharpening With Surface Blur” and adding a touch of noise to reduce any color banding.

Top 5 Tips
1. Don’t be afraid to take risks, but never “overcook(over edit)” an image.
2. Use the Opacity slider to back off an heavy handed re-touching for a more natural look.
3. When Color Grading, step away from the edit and let it breathe. You may come back with an entirely different approach.
4. Use Dodge to bring out highlights, Burn to darken shadows and add contour.
5. Use Frequency Separation sparingly, only to blend colors and blend shadows to highlights.
Videos
First Person Shooter: Capturing the Photograph
Post-Processing: Sharpening with Blur
Post-Processing: Color Grading
To see more from Clay, be sure to check out his website and blog, show him some love on Facebook and Twitter, visit him on Model Mayhem, or follow him on 500px.
Full Photo Credits
Photography: Clay Cook
Styling: Sydney Murdock
Makeup: Isidro Valencia
Hair: Amie Migirova
Model: Abigail Garrett
Photography Assistant: Jacob Roberts, Dave Meall


Leave a reply