
Have you ever wondered what it would be like to shoot wedding photography? That is exactly what this photography for beginners post is all about! I’m super excited to share this with you, a full overview, behind the scenes, what goes on, the fun stuff, the stressful stuff, what needs to be prepared and basically just a really awesome summary of the whole day, start to end.
Weddings are a serious matter, the real deal and you don’t get any second chances. That’s why you need to be prepared, organized and know your stuff!
So, let’s set the scene: you have booked the wedding a year ago, regularly communicated with the couple throughout the year, had a pre-wedding meeting to go through the timeline of the day and all other details (I’ll go through this in detail in another post), and now the time has come, tomorrow is the wedding day!…
The Day Before the Wedding
There is a little bit of work that needs to be done before the wedding day; not much, but just enough so you can wake up stress free and ready to rock 🙂
Here is a little checklist that I do the day before EVERY wedding!
1. Text the bride telling her how excited I am to be shooting her wedding and basically just checking in (so she knows i’m 100% coming!).
2. Gather all my gear and make sure camera batteries are charging, flash batteries are charging, quickly clean my lenses and clear all my cards.
3. Double check the schedule and refresh my memory about where I’m going and what I’m doing. These days 99% of the time I find I have already shot at the locations or venues so this does not require much prep, but back in the day I used to do a recce and plan out the whole shoot, shot by shot, pose by pose.
4. Check the GPS so I know how long it takes me to get to my first destination. I always like to rock up 5 mins early as I feel it just sets me up for an awesome day!
5. Make sure the car has petrol in it. I don’t like stressing about this on shoot day.
Morning of the Wedding
Alright, we are up, super excited and it’s time to get moving! I usually start the day with a massive breakfast to keep me as full as possible for as long as possible. Everyone is different, but I can get seriously ‘hangry’ when I don’t eat and can get a little grumpy! So on that note, I ALWAYS BRING FOOD WITH ME on the day.
I meet so many photographers and videographers that don’t eat all day and I seriously don’t know how they function! As I’m running around all day on high alert and high energy, I like to graze all day while driving between locations and stay hydrated 🙂
Ok, time to get moving! Last checklist before we are on our way:
1. Gear is packed and in the car. Double check that everything is there and that batteries and cards are back in the camera bag and not still charging in the house!
2. Lunch is packed!
3. Dressed to impress, looking professional ready for a wedding. Imagine yourself as a guest, make sure you dress the part! In my company, no jeans, t-shirts or anything else that looks sloppy. You’re representing yourself and your brand, make sure you look good!
4. Make sure you have all your paperwork. I use an amazing cloud-based studio diary system called Tave. Seriously couldn’t run my business without it (more about that in another post)
Ok, lets go!
Groom Coverage (45 mins – 1 hour)
It’s time to put my game face on and nail the groom coverage. The second I walk in the door, I’m smiling, I introduce myself to everyone (within reason, some big European weddings might have 50+ guests already partying!!), make sure the groom is happy and relaxed, and start building rapport with everyone important, inc Mum, Dad and bridal party. Half the job is making sure everyone likes you and feels comfortable around you. If you can nail that, then taking the pictures will be sooo much easier!
I briefly just want to touch on what to shoot, but I will also go into way more detail about this in a future post. Although photography is a very creative industry and some photographers like to just ‘wing it’ on the day, I personally like to stick to a very specific, systematic shot list that I’ve developed to make sure all my bases are covered and nothing important is forgotten. Especially because 9 out of 10 times I’m shooting to create a wedding album, so I need to make sure I have the coverage so I can fill the album and hopefully more 🙂
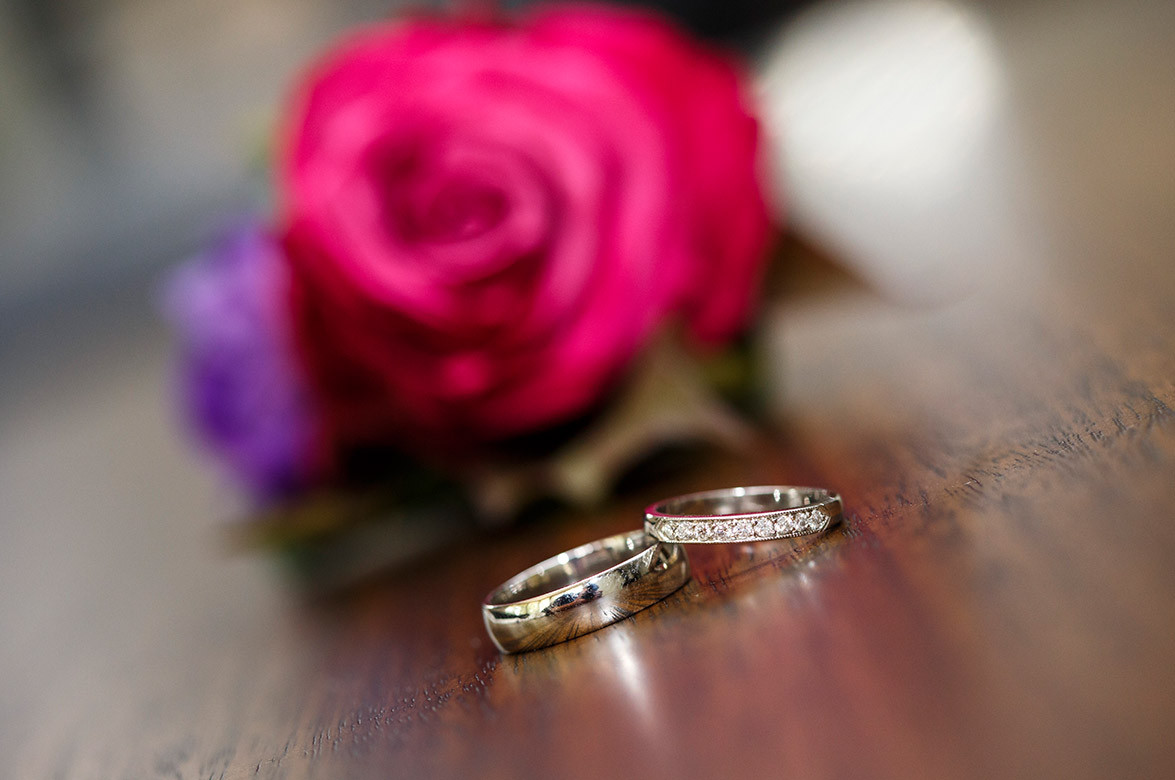
So, back to it, I always start with the details, rings, cufflinks etc. This gives me time to chill out, suss out the surroundings and gives the boys a little extra time to get ready. Once the details are done, I find the prettiest room in the house with the best lighting and the least distractions in the background (photographer with their back to a window) and the fun begins! In a nutshell, I always shoot the following:
Natural Light Shooting Indoors (again most of the time with my back to a window):
1. Details
2. Boys getting ready
3. Combos with groomsmen and individuals
4. Spend a little bit of time getting portraits of the groom
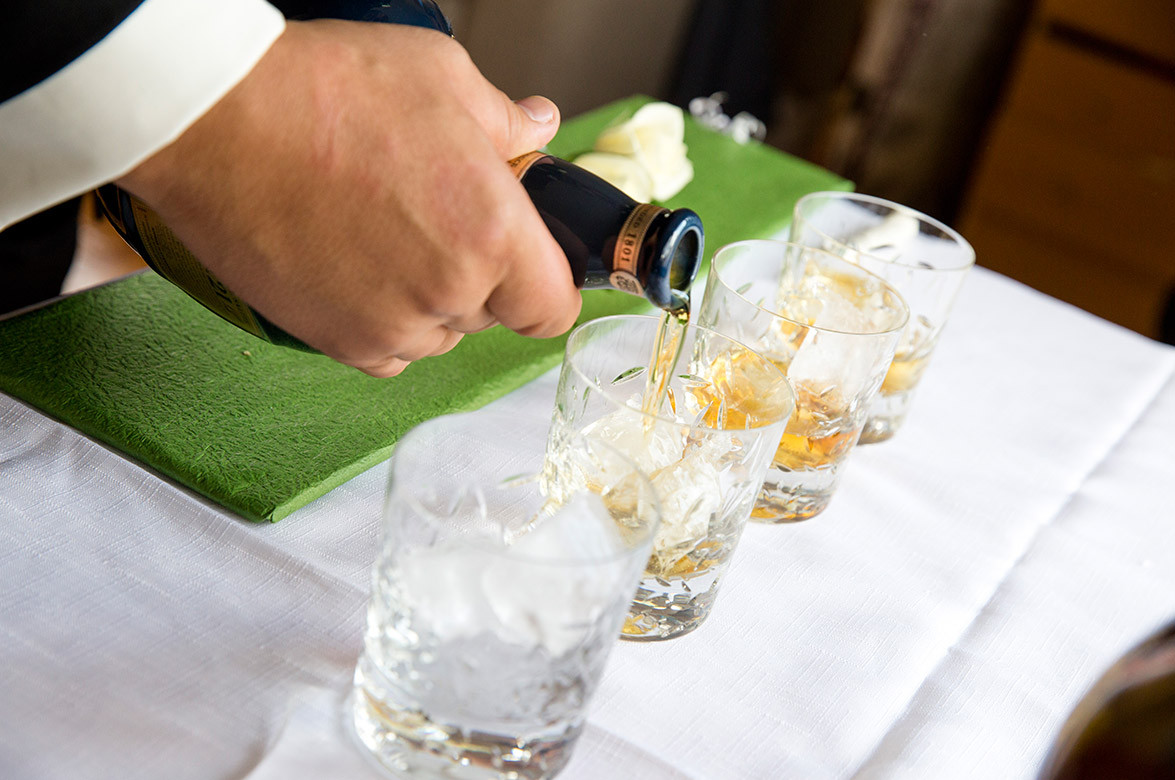
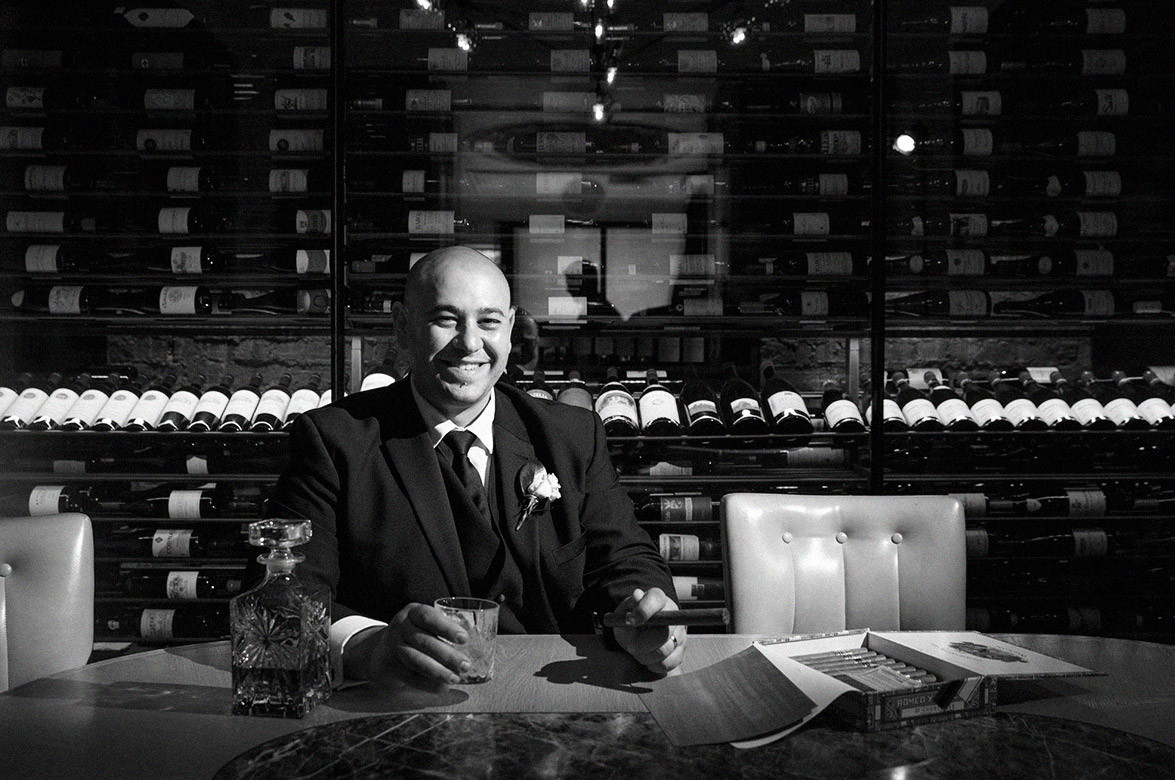
5. A ‘cheers’ serious with some beer, scotch or whatever their poison!
6. Family shots, all different combos
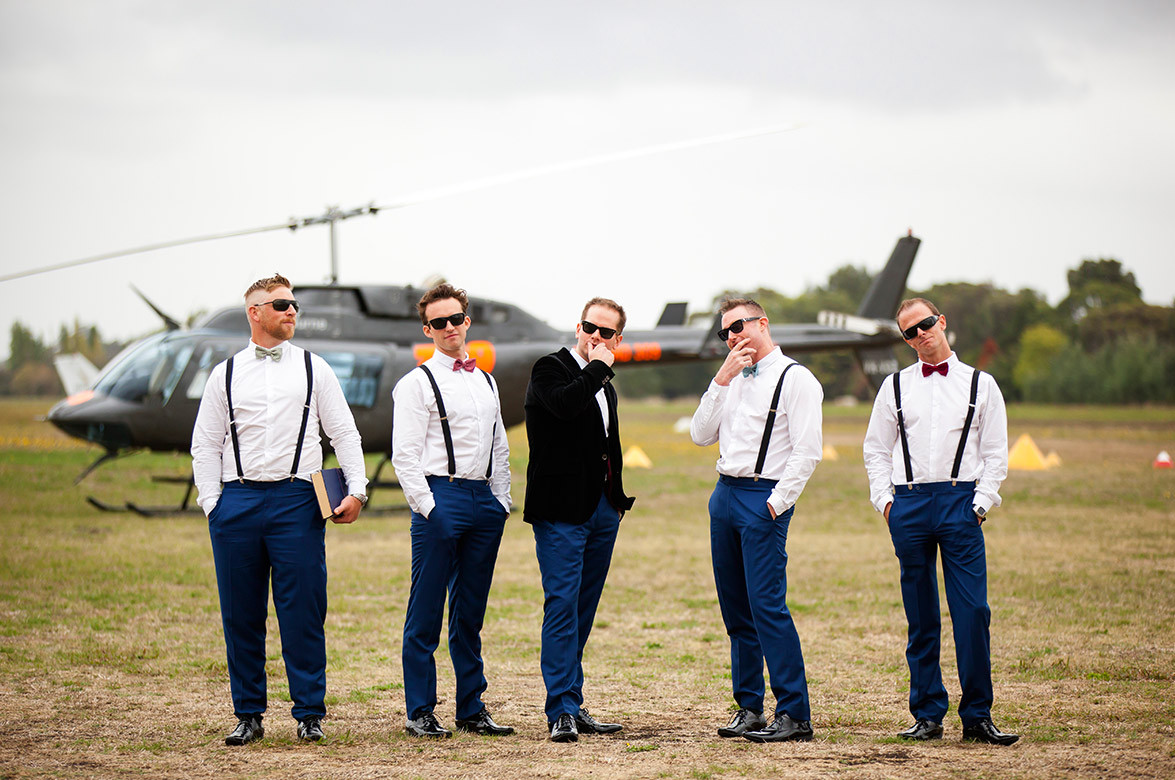
Video Light Shooting Indoors (close the curtains, turn off the ceiling lights and create some mood)
1. Fun shots of all the boys trying to be cool!
2. Portraits of the groom
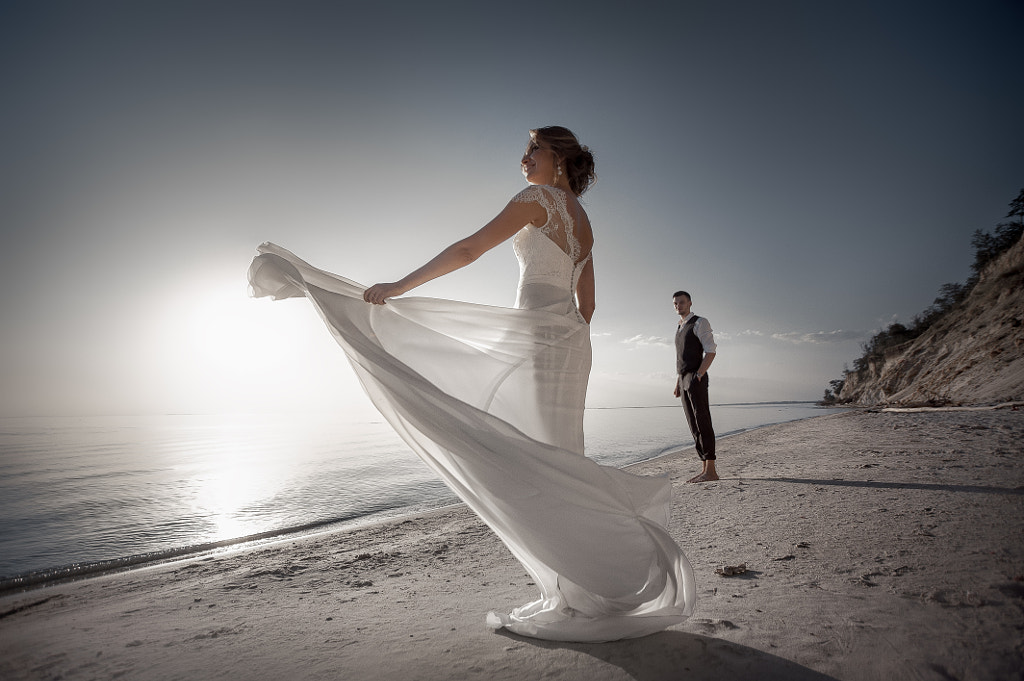
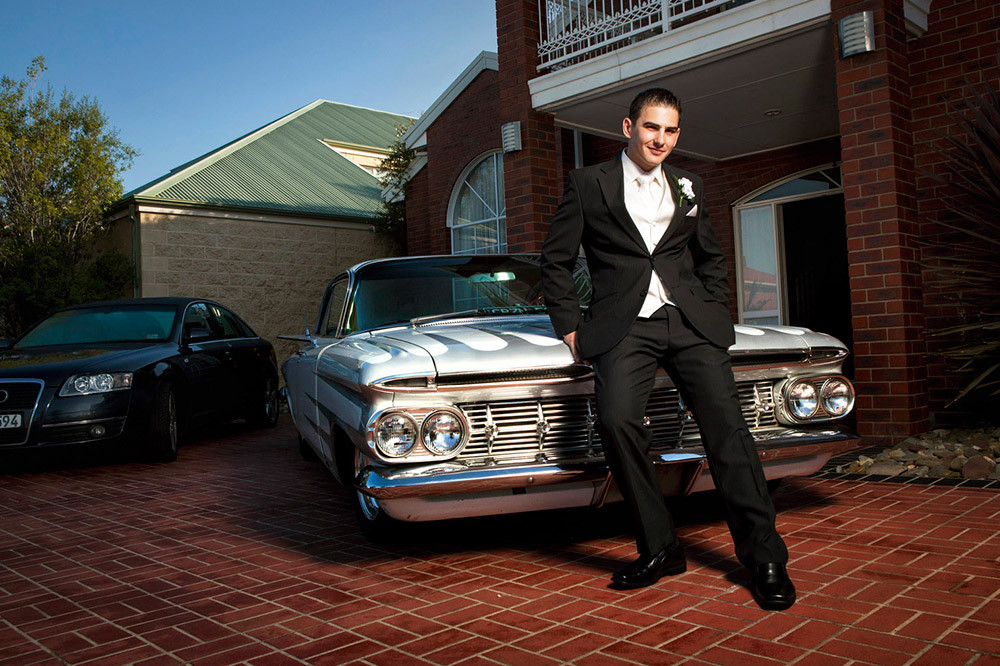
Outdoors
1. Walking shots
2. More silly combos having fun
3. If there is time I will also pull out my Elinchrom Quadra and take some commercial or fashion style shots, too.
**Business Tip** This may seem like a lot but like I said earlier, most of the time I’m designing a wedding album and ideally each new scene is an additional double page spread in their wedding album, and ideally again, hopefully, the images are so ridiculously awesome that they couldn’t possibly remove them from their album! From a business point of view, we have 10 scenes here, so just the groom coverage could fill 20 pages of their wedding album (more about this in a future post)
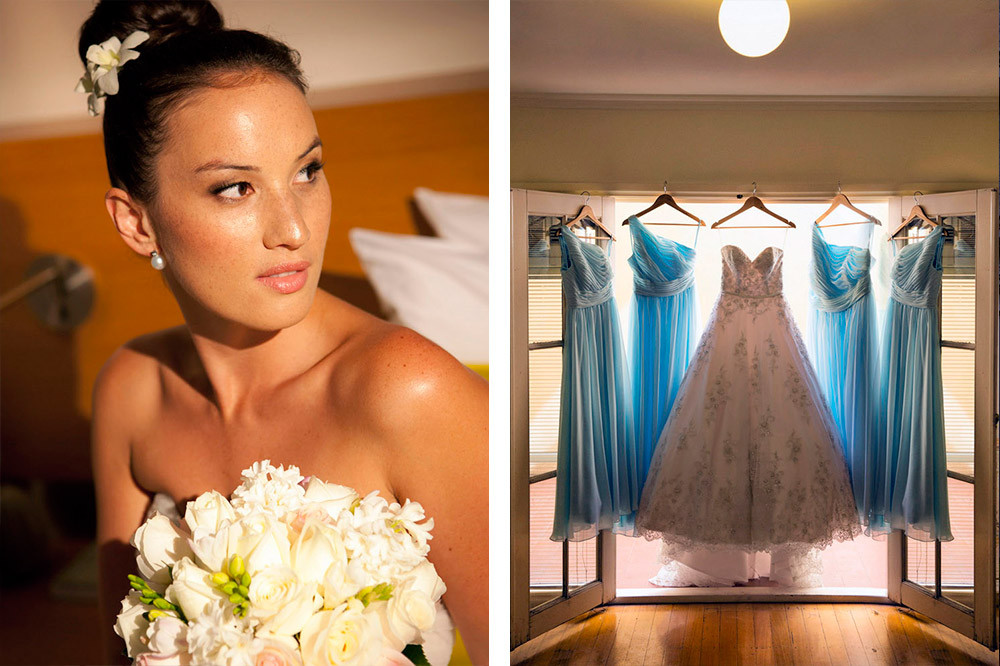
Bride Coverage (1 hour – 1.5 hours)
The beauty of shooting the bride coverage is that it is very similar to the groom coverage. 80% of the same rules apply except the images will be brighter, more colourful and a little more playful. Remember – big smiles on arrival, followed by introductions, building rapport and making everyone your best friend!
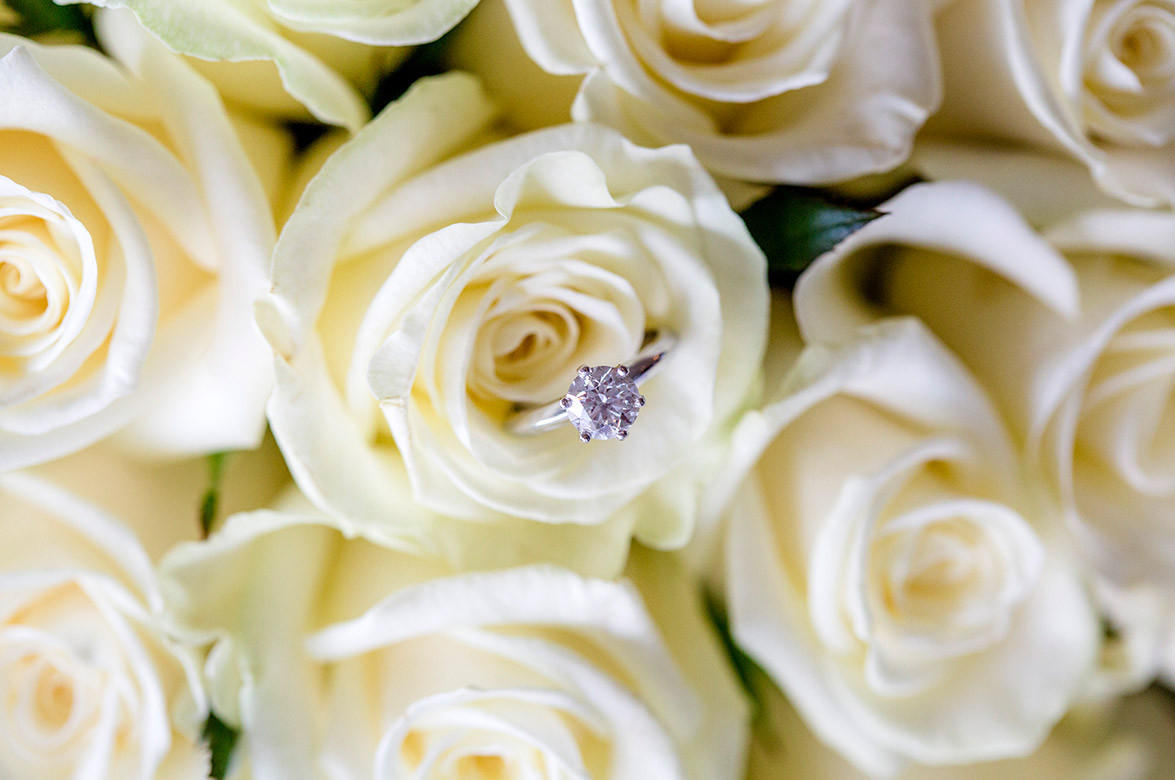
As before, I always start with the detail shots (engagement ring, flowers, shoes etc) which gives me time to relax and get a feel for my surroundings 🙂 and gives the girls time to finish fluffing around with the final touches of hair and make-up.
A little trick I like to use at the girls house is to do a lot of the photography in the master bedroom. It’s usually well lit, has enough space, is clean and gives me a nice setting for portraits too. Best of all, I can close the door and keep everyone else out while I get some one on one time with the girls and can get all the shots I need without distractions!
To break down the shots, I basically follow the same regime as the boys coverage:
Natural Light in the master bedroom (ideally with my back to a window)
1. Details on the bed or coffee table
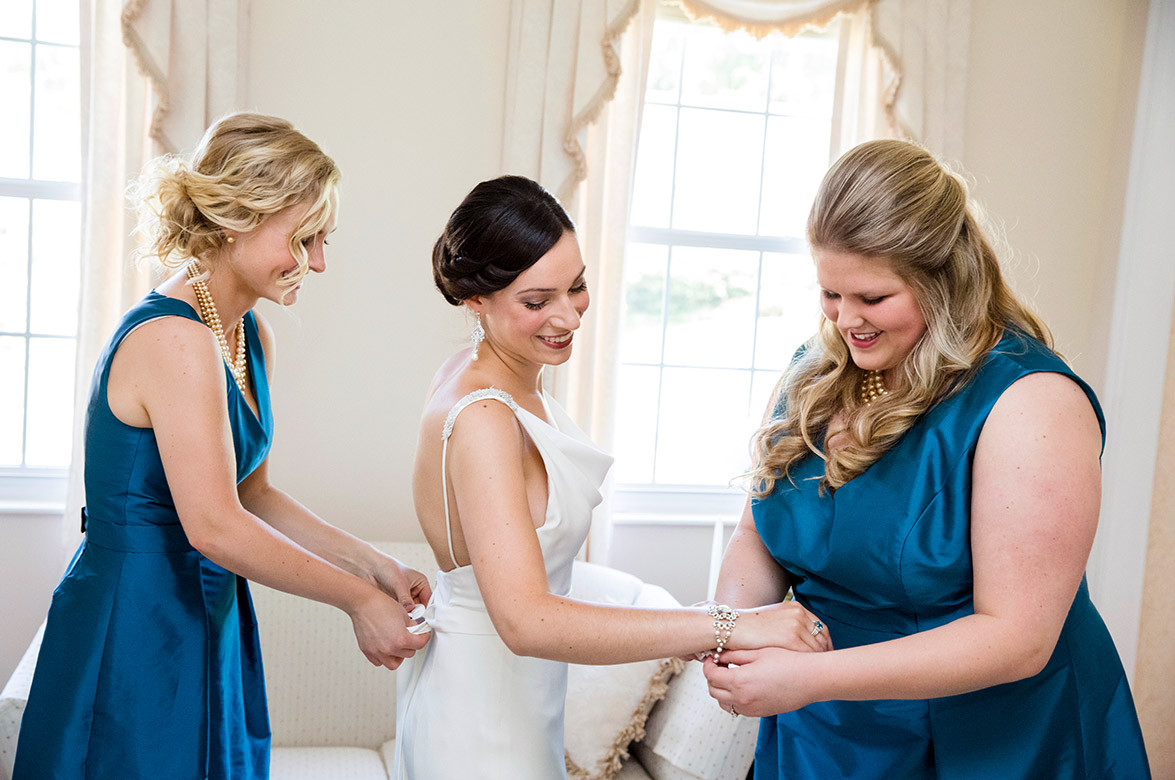
2. Girls helping the bride get ready
3. Combos of the bride with her bridesmaids and individuals too
4. Get some beautiful portraits of the bride near the window and on the bed
Natural Light in the lounge room (again, ideally with my back to a window)
1. A ‘cheers’ series with some champagne
2. Family shots, all different combos
Video Light Shooting Indoors (close the curtains, turn off the ceiling lights and create some mood)
1. If I have time I try and do a few more portraits of the bride with video lighting. It gives the bride more variety and adds value to the overall shoot when you deliver the images.
That pretty much covers the bride coverage, so it’s time to hit the road, eat some grub, re-hydrate and make our way to the ceremony!
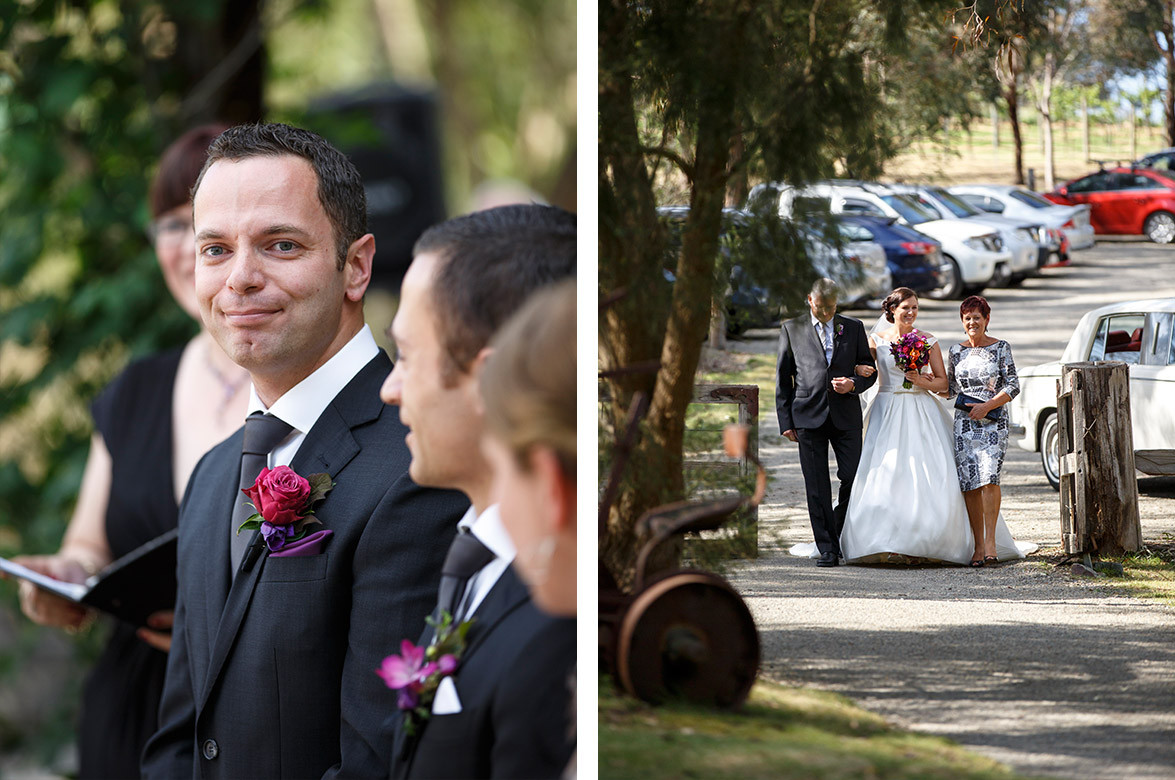
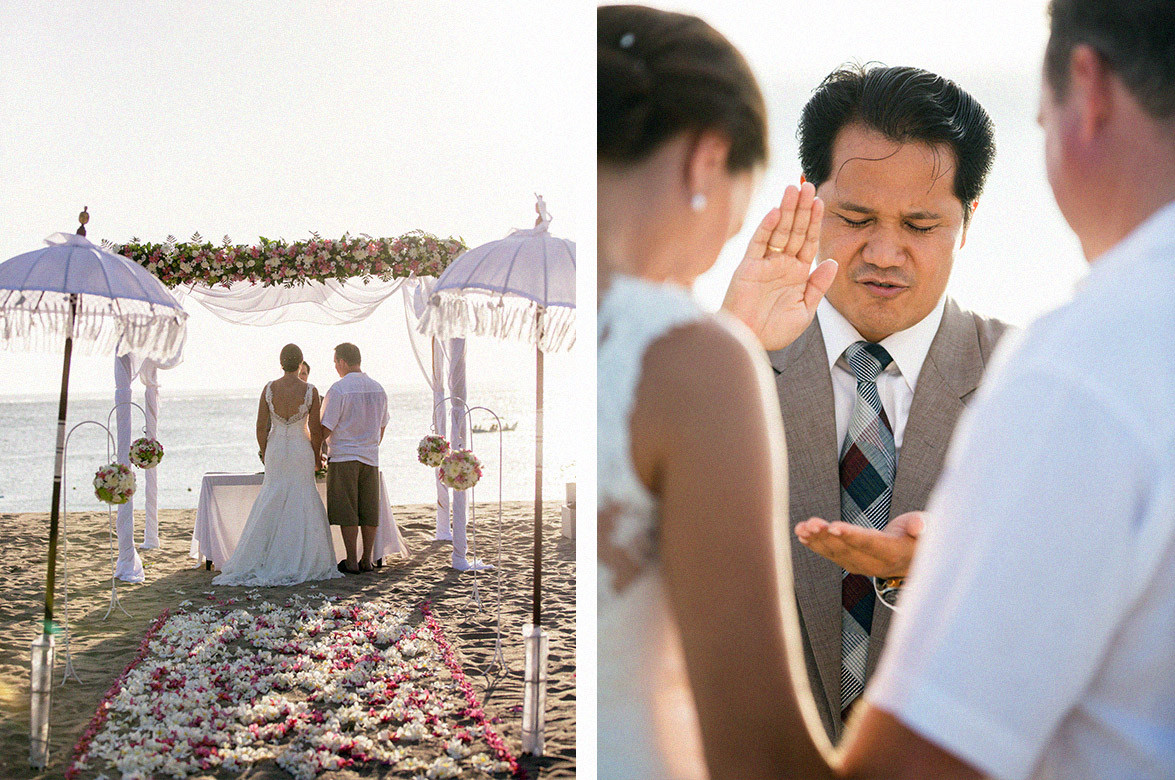
Ceremony
I hate to start on a negative, but I have to tell you, even after 10 years this is one part of the day that can still be a little stressful. If the wedding is all in one venue then it’s never a problem, but if it’s a city wedding and there is a significant drive involved from the brides house to the ceremony, I’m often a little worried about traffic, parking and getting to the church before the bride!
Luckily this has never happened yet, but there have been times that I have been late because of traffic but then the bride was too, so I got away with it!
So, back to work. We are about halfway through the day and this is a section where I feel I can relax a bit. What happens at the ceremony is totally out of my hands and out of my control so my job is simply to just capture what goes on to the best of my ability. Apart from being technically challenging as churches are notorious for being dark and yellow, I find it fun, and always love hearing the couple say their vows, especially if they make them up themselves 🙂
Some key shots to get here are:
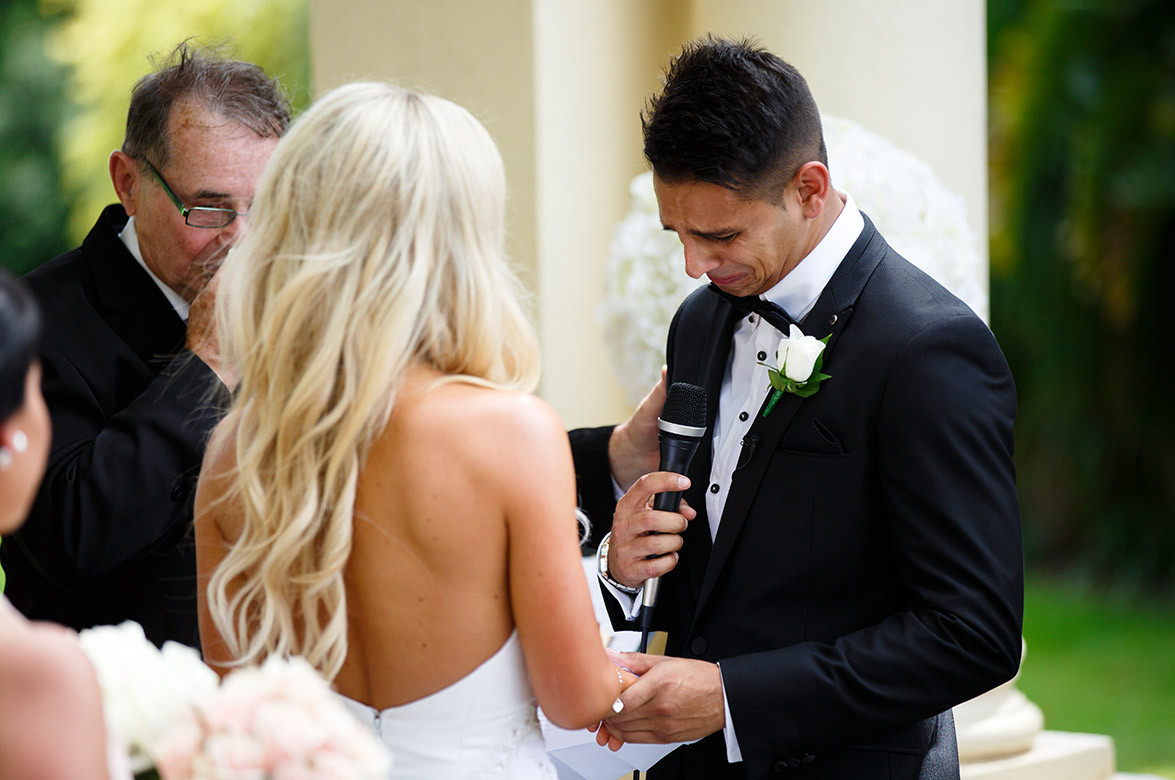
1. Bride walking in and almost more importantly the grooms reaction!
2. A nice wide angle shot of the church from the back.
3. Close up of each of them saying their vows.
4. If you can get it, get a close up (with a long lens) of the rings going on the finger
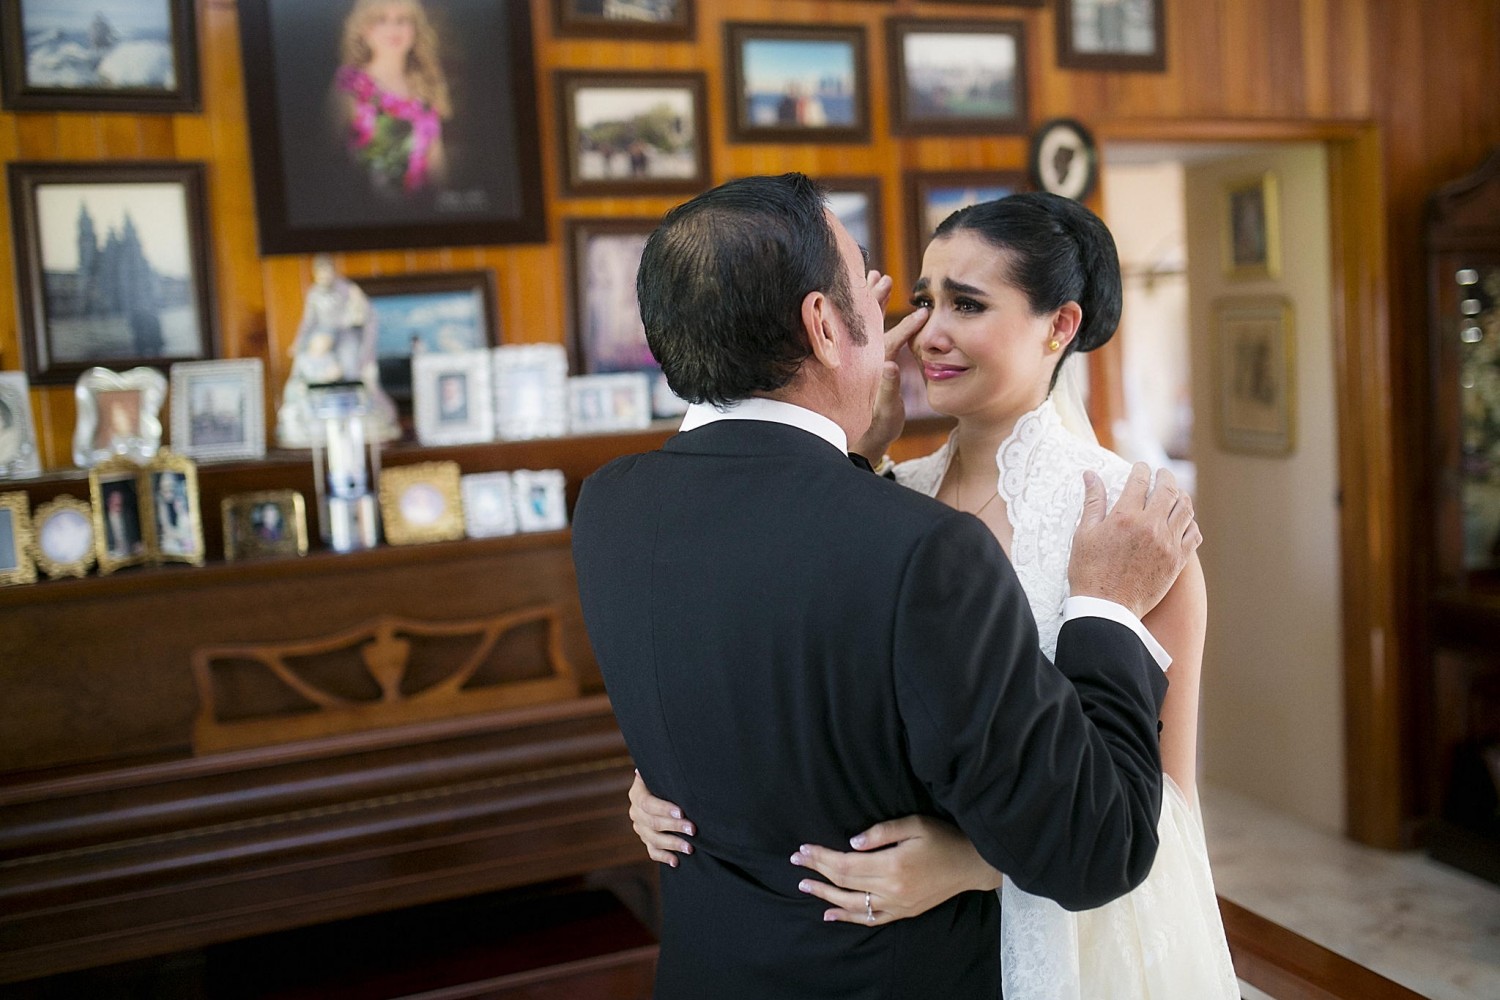
5. Keep a close eye on the parents, if they shed a tear, make sure you get it!
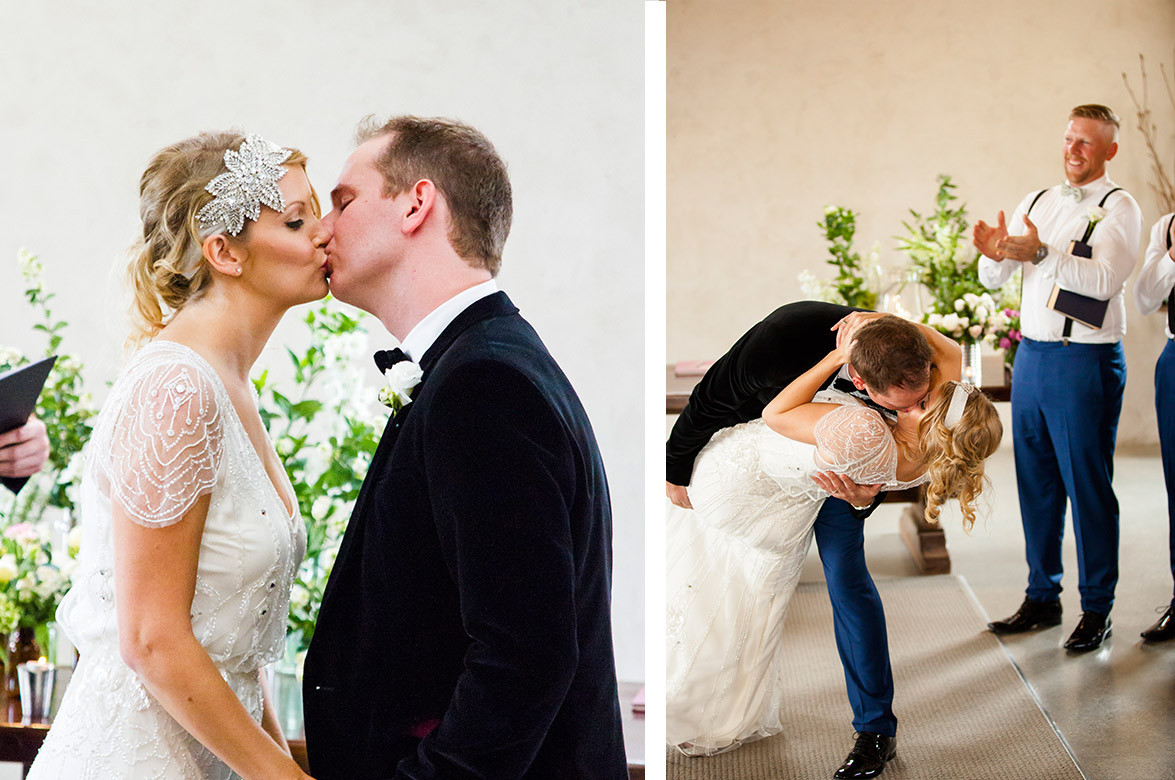
6. THE KISS! In 10 years of shooting I have only missed the kiss once! It just happened to so quickly and unannounced and was over before my camera even had a chance to focus! I looked over at the videographer who was standing next to me with as the blood drained from my face and he just gave me a big smile, he emailed me a still from the video the next day! close call!
7. Get some shots of the signing
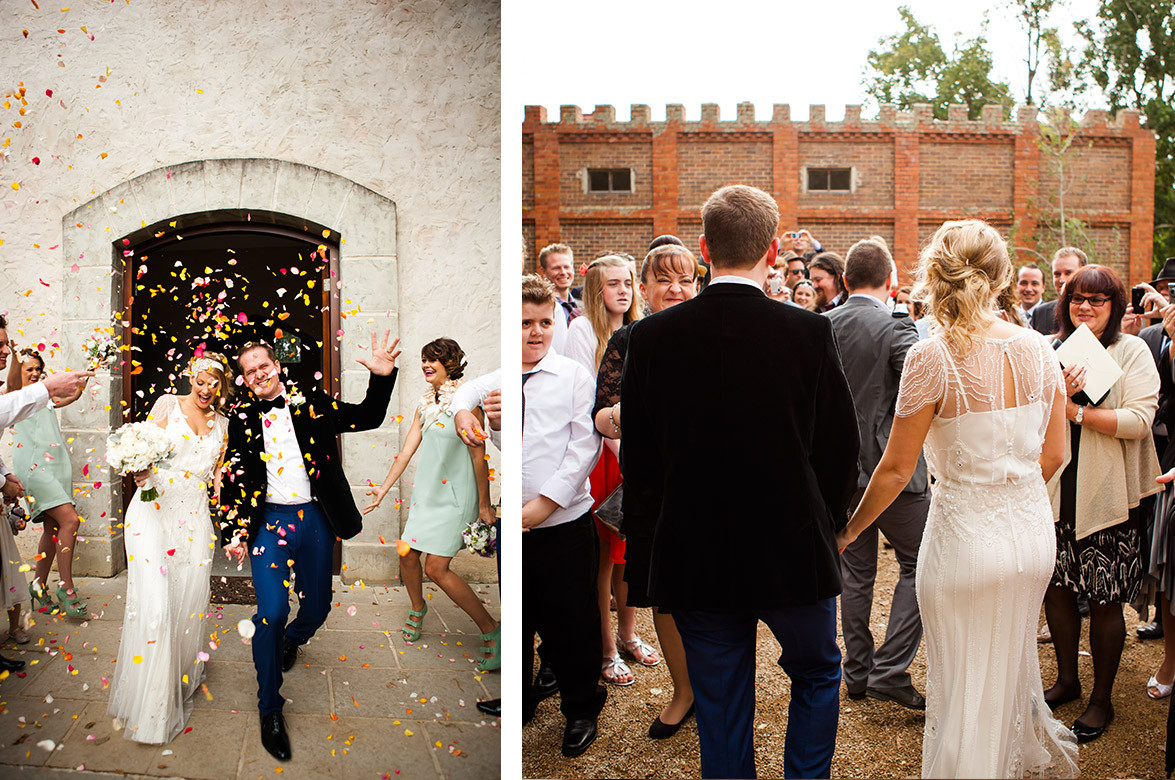
8. Lastly, I love walking out (backwards) with the bride and groom taking shots as they walk through the cheering crowd.
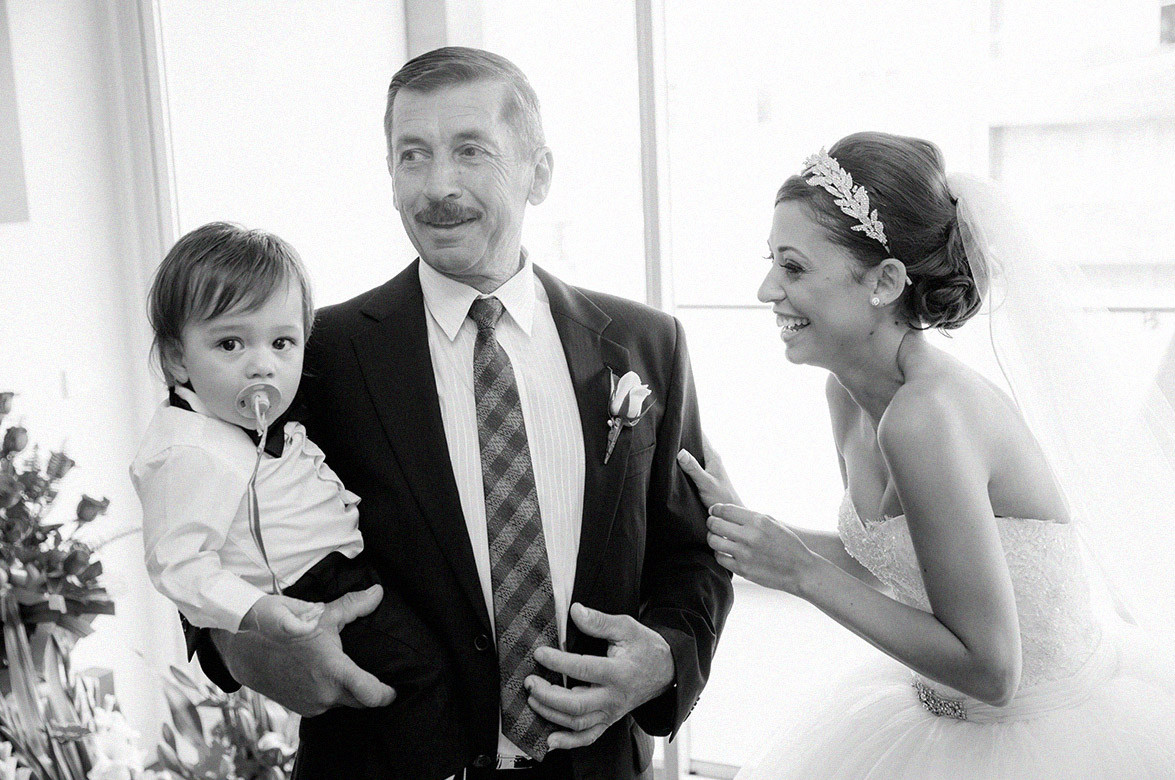
Congratulations, Group Photos & Family Photos
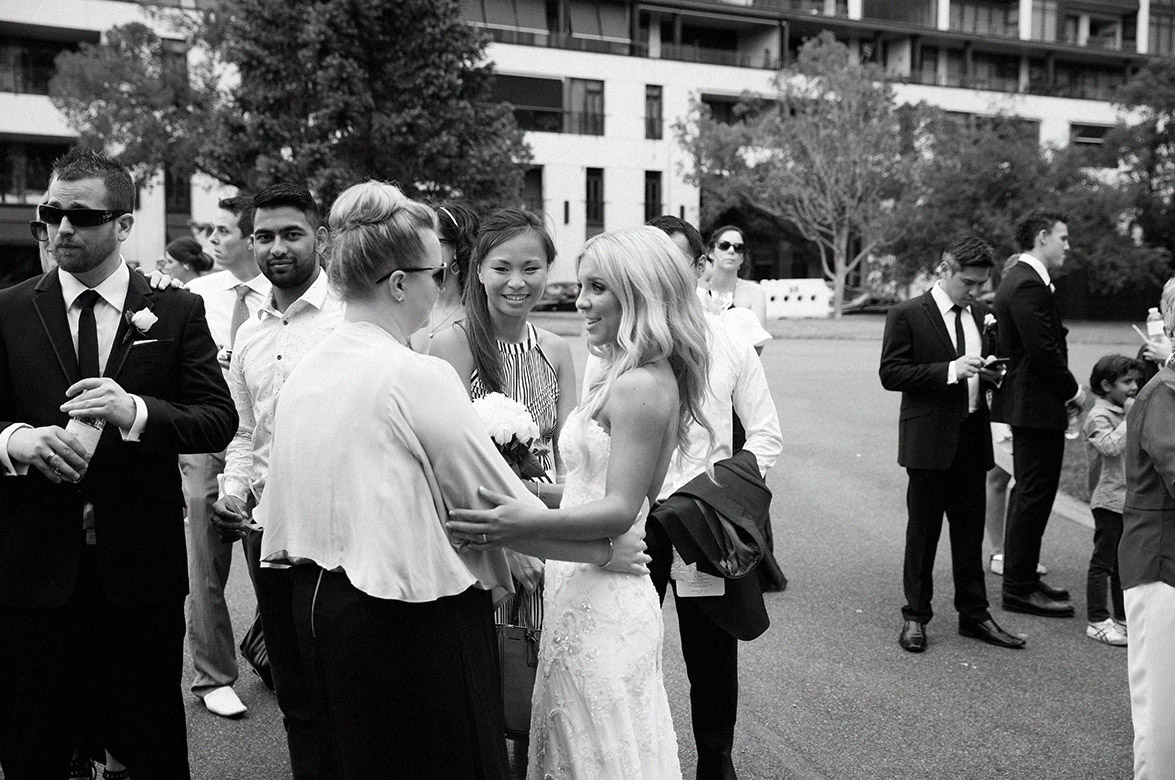
Congratulations Shots
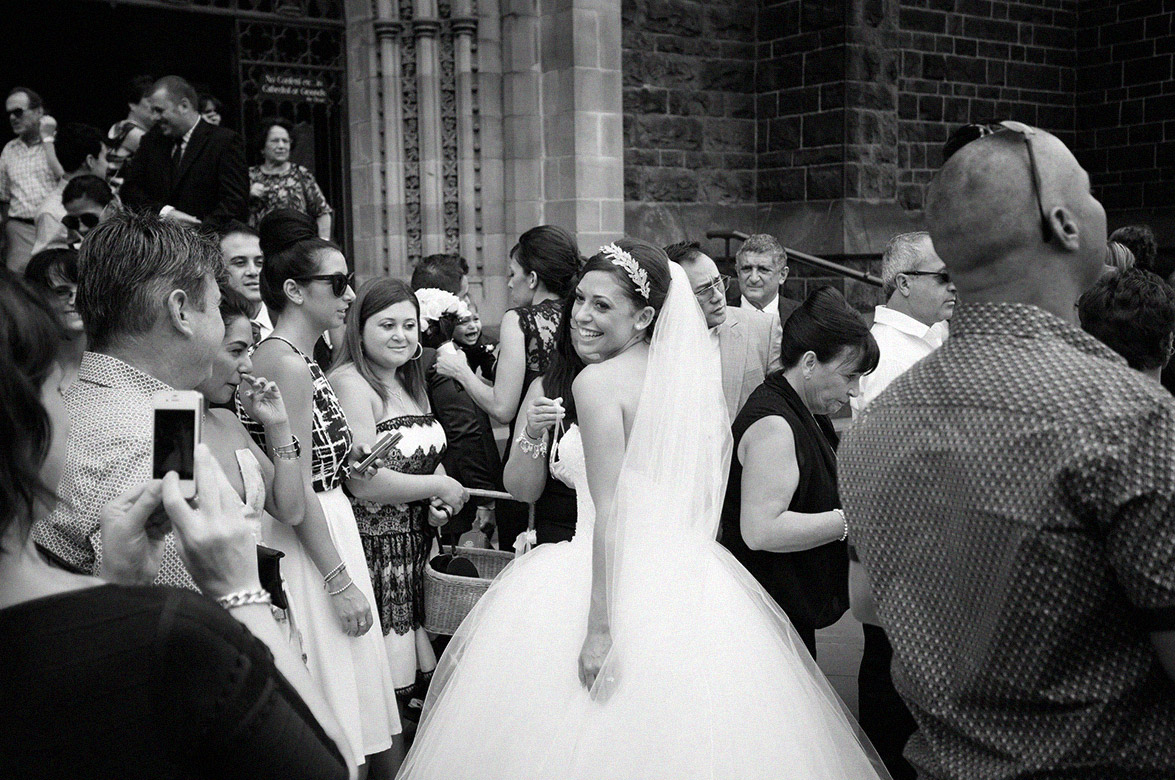
So, we are outside (weather dependent) and all the guests are flooding out of the church or ceremony area toward the bride and groom. There are a few shots that I really like to get here:
1. General wide angle shots to show the atmosphere and size of the crowd
2. Close ups of the couple being congratulated by their parents and siblings
3. and then I make an effort to run around the crowd and get photos of people in groups as a family or a group of friends.
**Business Tip** Although running around getting shots of everyone can be a lot of work, I find it’s a really awesome way to meet people and get photos they were not really expecting, and then most of the time those people will visit your website to have a look at the photos (and maybe purchase) on your web gallery! Great for website traffic and marketing!
Then usually 1 of 2 things will happen that you need to keep an eye out for! People will slowly start to leave or disperse OR I’ll notice the bride is starting to get a little fed up with all the hugs and kisses. If I notice either of these two things happening, I’ll grab the couple’s attention and check if they are ready for the group photos!
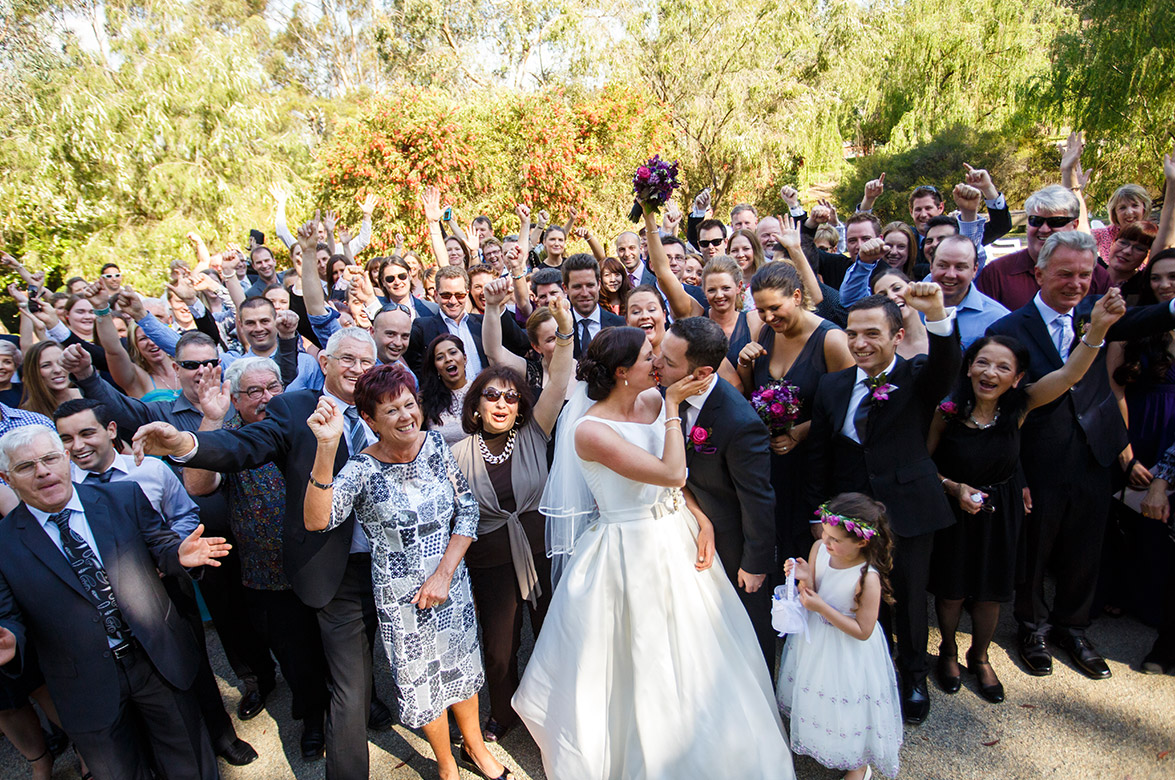
The Group Shots
Time to get up on that trusty ladder and put your public speaking to the test! When I was starting out I used to HATE doing this and was terrified of being the center of attention in front of 50-300 people! But like with anything, over time you get better at it and build confidence, and now I love it! Again it’s a great marketing opportunity where you get to put yourself out there in front of everyone, including potential future wedding clients 🙂 So I usually crack a few jokes and get everyone laughing, and take a few different combos of photos for variety.
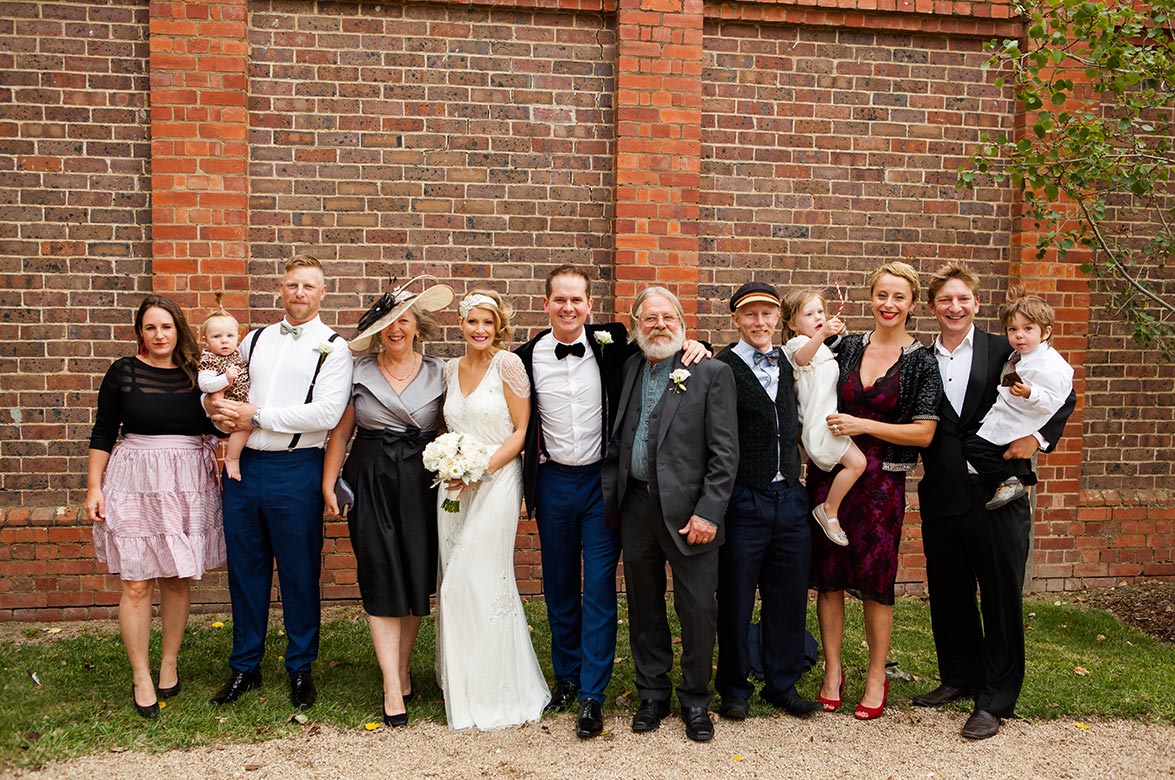
Family Shots
This was another part of the day that I used to dread, but with a bit of training and a good system, I can now do it with my eyes closed! I find this is usually a part of the day where the bride and groom can get a little frustrated and impatient, so it’s your job to step up and take control of the situation.
**Tip** At the end of the group photo, make an announcement that you will be doing family photos, point to where you will be doing them, and then make it very clear that you require all the immediate family to make their way over. This was everyone knows what is going on, there is no confusion and will make the family photos way quicker and easier to coordinate!
So, set up the bride and groom in a good location, ideally with their back towards some greenery, or the prettiest background you can find. Be aware of the sun and the shadows it is casting on everyone. Try and get everyone in the shade if possible, if not, their backs towards the sun to prevent squinting and just watch for flare in the camera! Once the bride and groom are good to go, start calling out the combos. Another quick tip, always take 3 or 4 photos of every family just to make sure you get one where no one is blinking, even count them in, 3, 2, 1, shoot!
And we are off again! Back in the car to nibble on some food, drink some agua and off to my favourite part of the day, LOCATIONS!
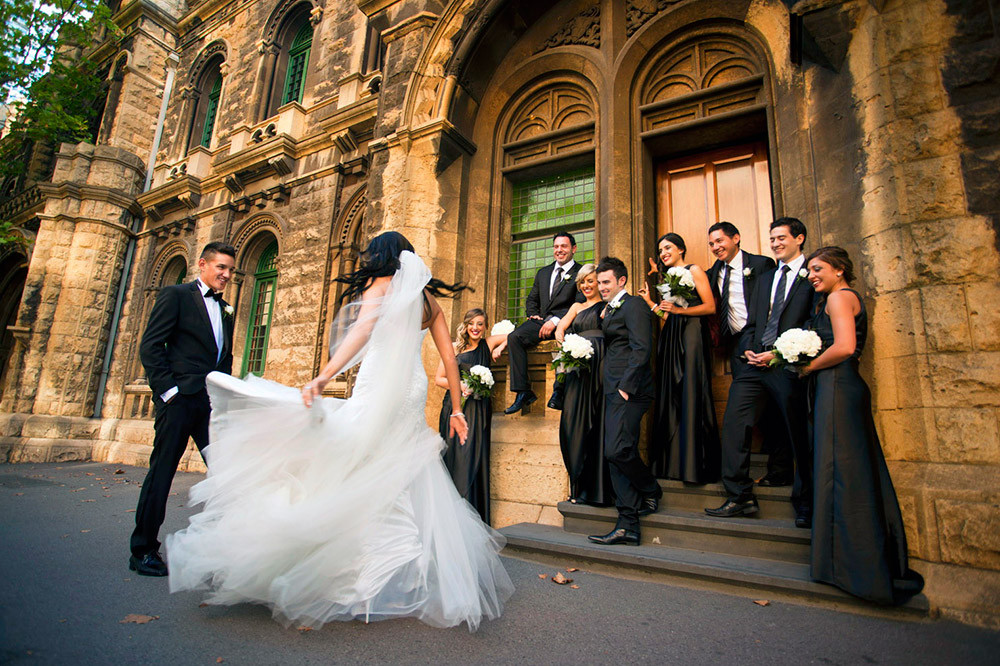
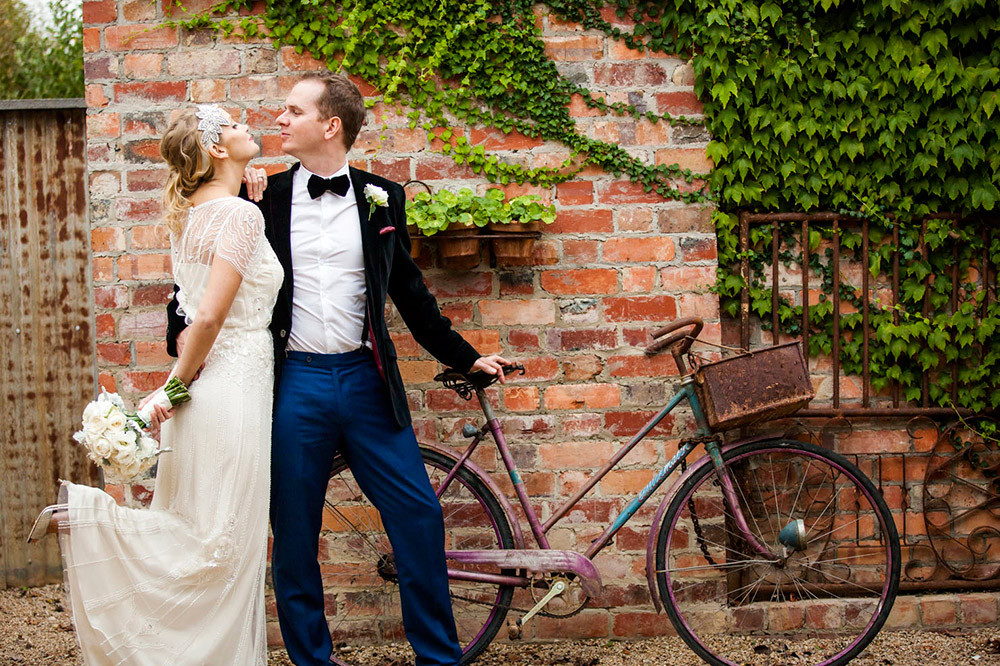
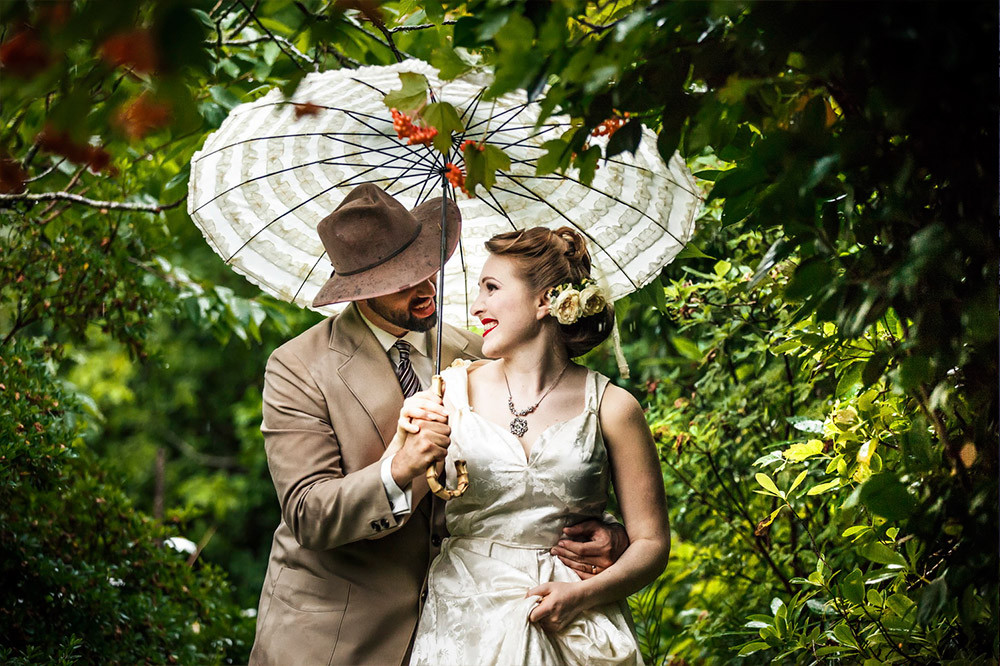
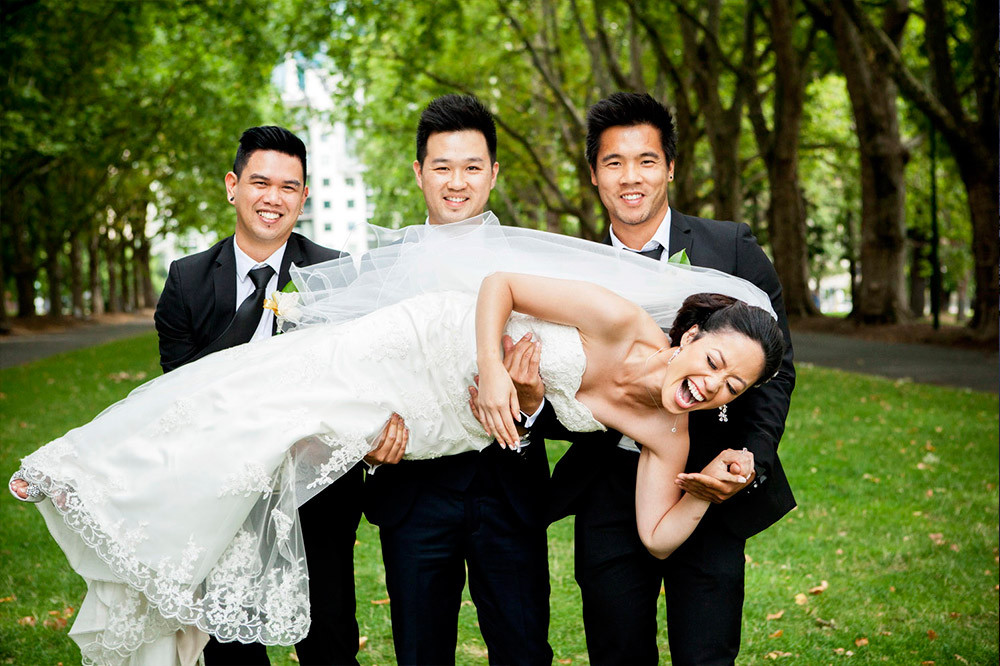
Locations
I love this part of the day, it’s just you and the bridal party. Generally, the mood is a lot more relaxed, the ceremony is over, beers come out and everyone chills out. But, while the bridal party is relaxing, this is the part of the day that I find the most challenging!
In a nutshell this is what you need to remember and need to do:
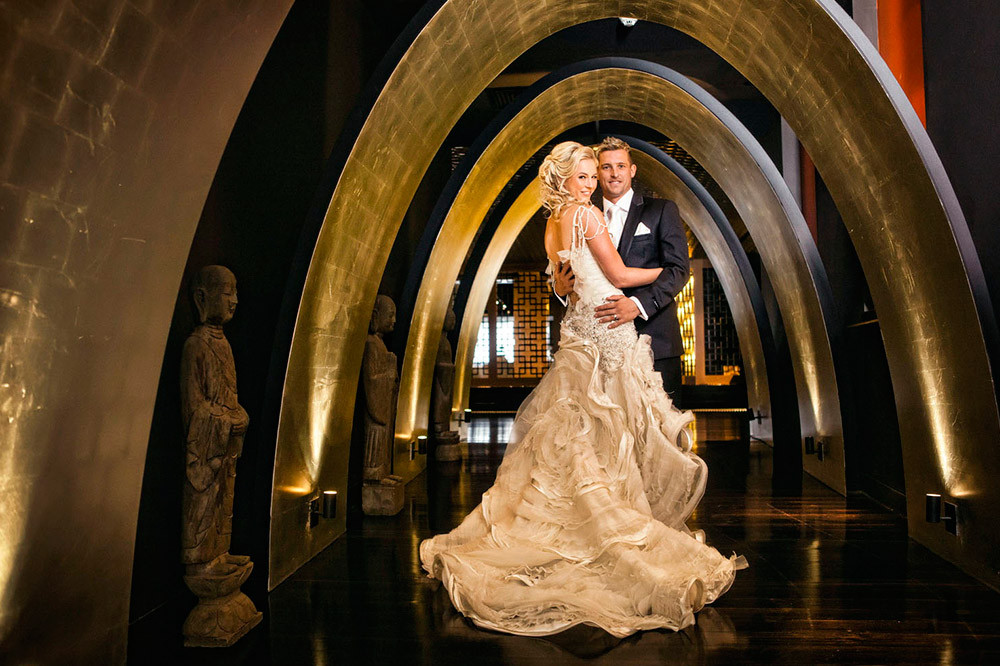
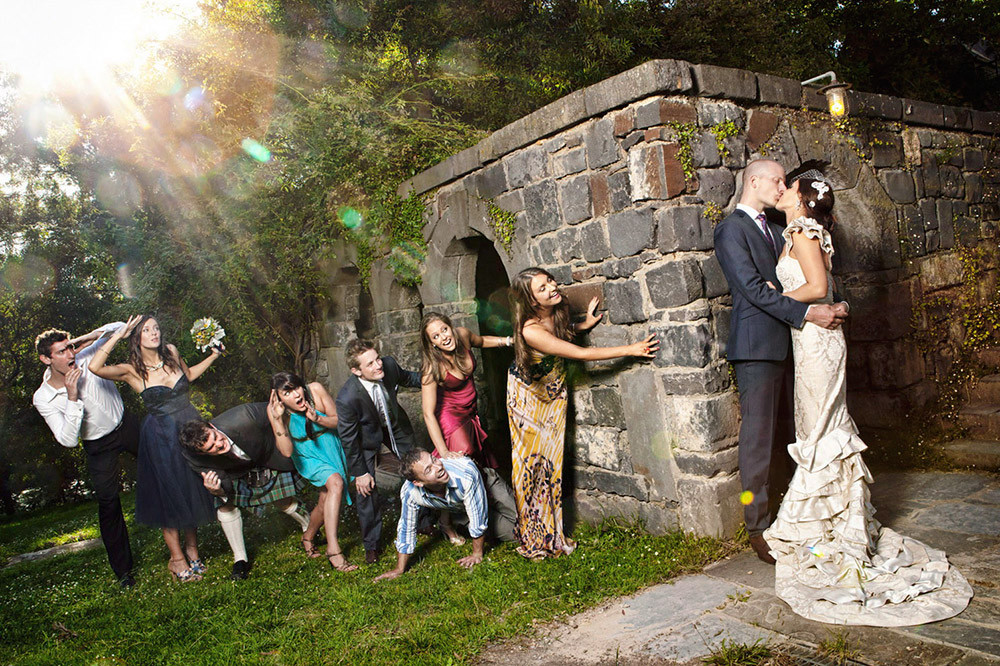
1. Get heaps of beautiful photos of the couple that are worthy of putting up on the wall
2. in a variety of different locations
3. using a variety of different compositions
4. getting them to do a variety of different things
5. while making the whole experience super fun
6. without repeating any of the same shots (ideally)
7. and make sure you are keeping track of time
8. and getting to 2 or 3 different completely different locations
9. while being challenged with traffic, lighting, backdrops, parking and even random people in the backgrounds
10. AND… don’t forget the bridal party photos and photos of their transport (exotic or vintage cars etc…)!!
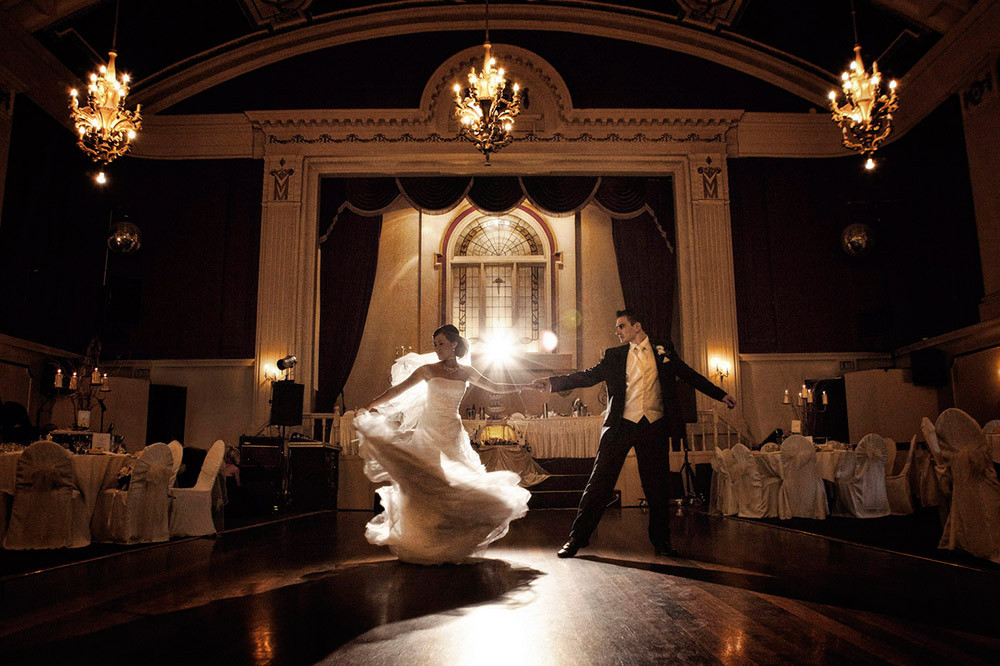
Reception
We’ve made it! The last part of the day is upon us and I can totally relax. I find the reception very similar to the ceremony in terms of difficulty. Everything just happens and it’s out of my control, so I’m just there to capture it to the best of my ability.
I usually stay at the reception until the first dance. I personally find that everything up until the first dance is super important and afterwards just become repetitive.
This is what I do:
1. Get plenty of shots of the guests (again for meeting them and also driving traffic to the web gallery later)
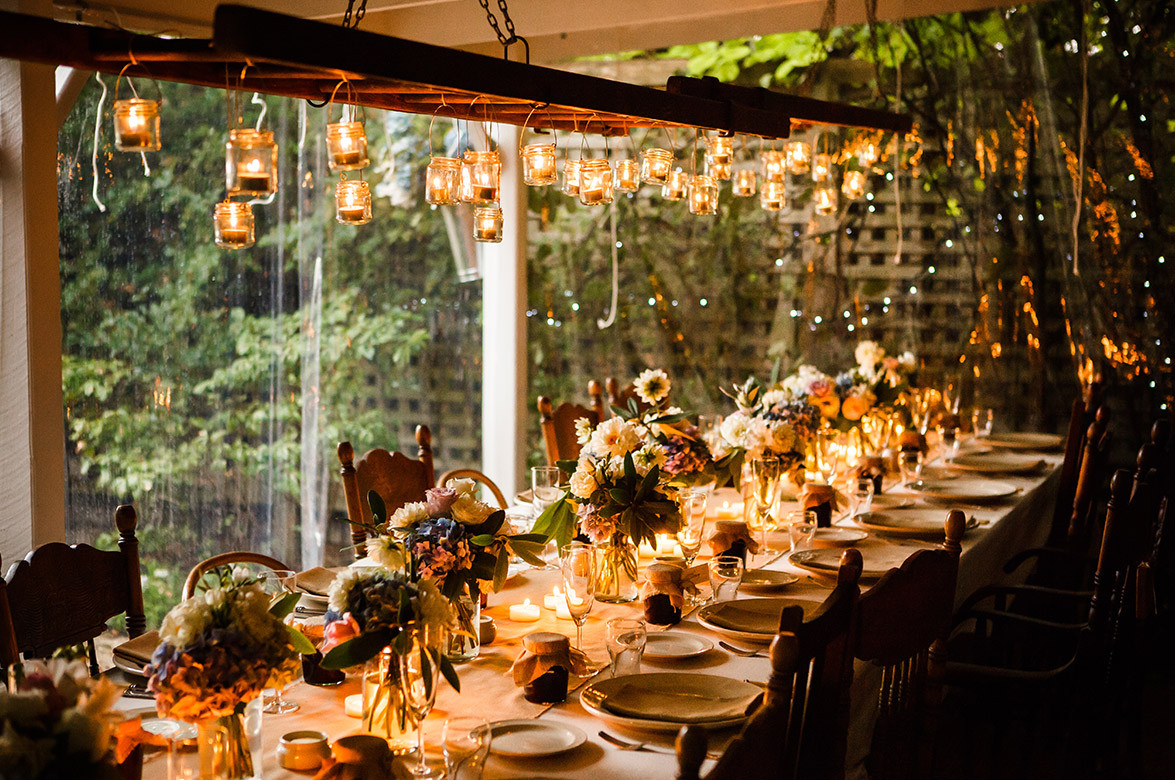
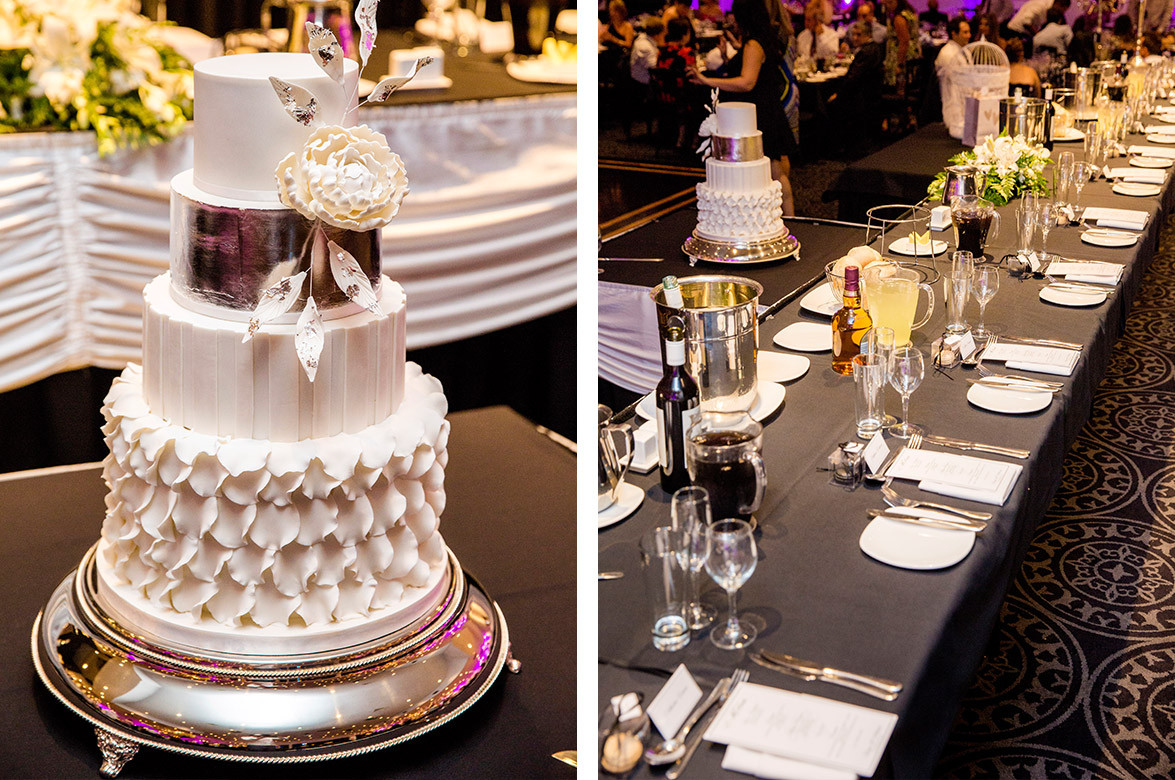
2. Shots of the venue
3. Details inc the cake, table settings, name place cards etc
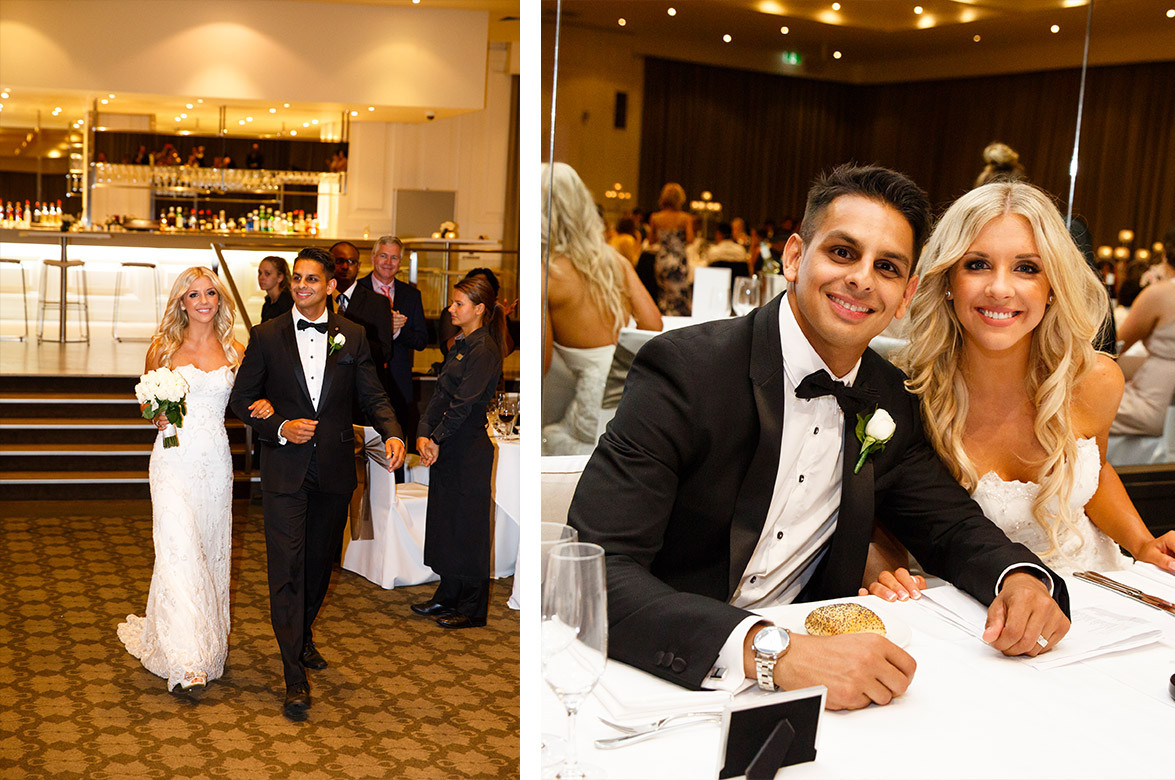
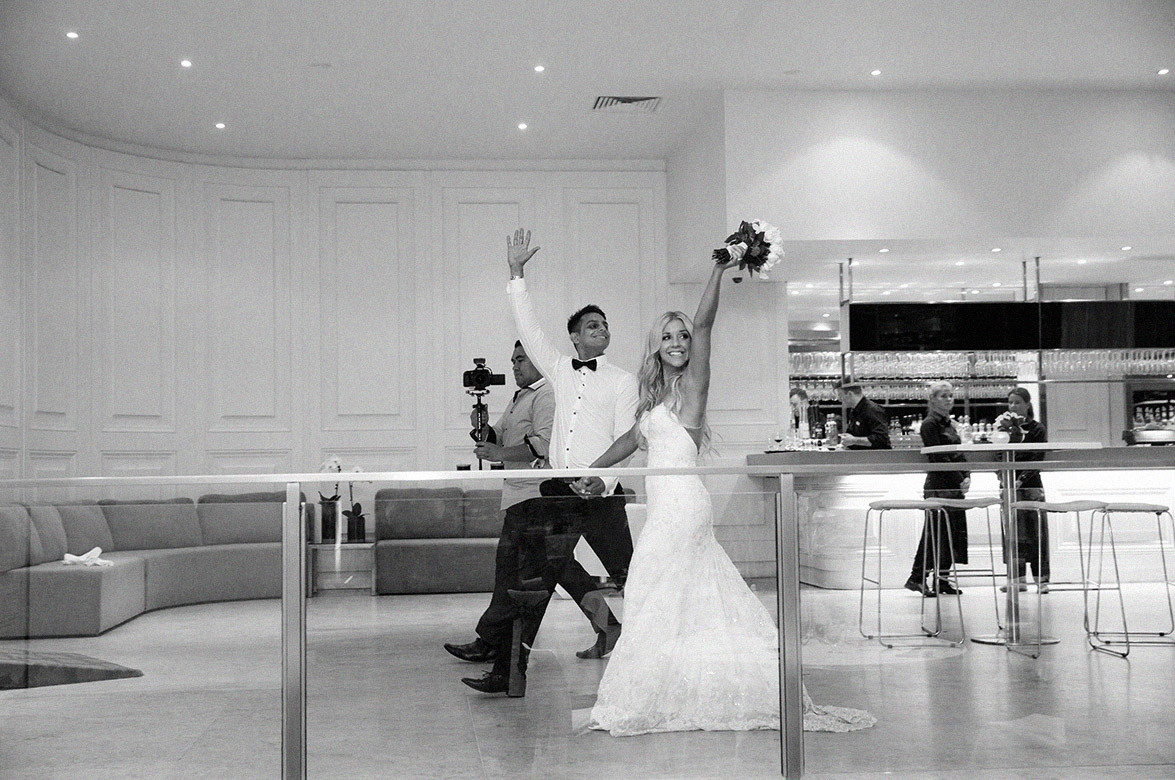
4. The bridal party and couple being announced
5. Some shots of the couple and bridal party at the table
6. During entree I generally chill out 🙂
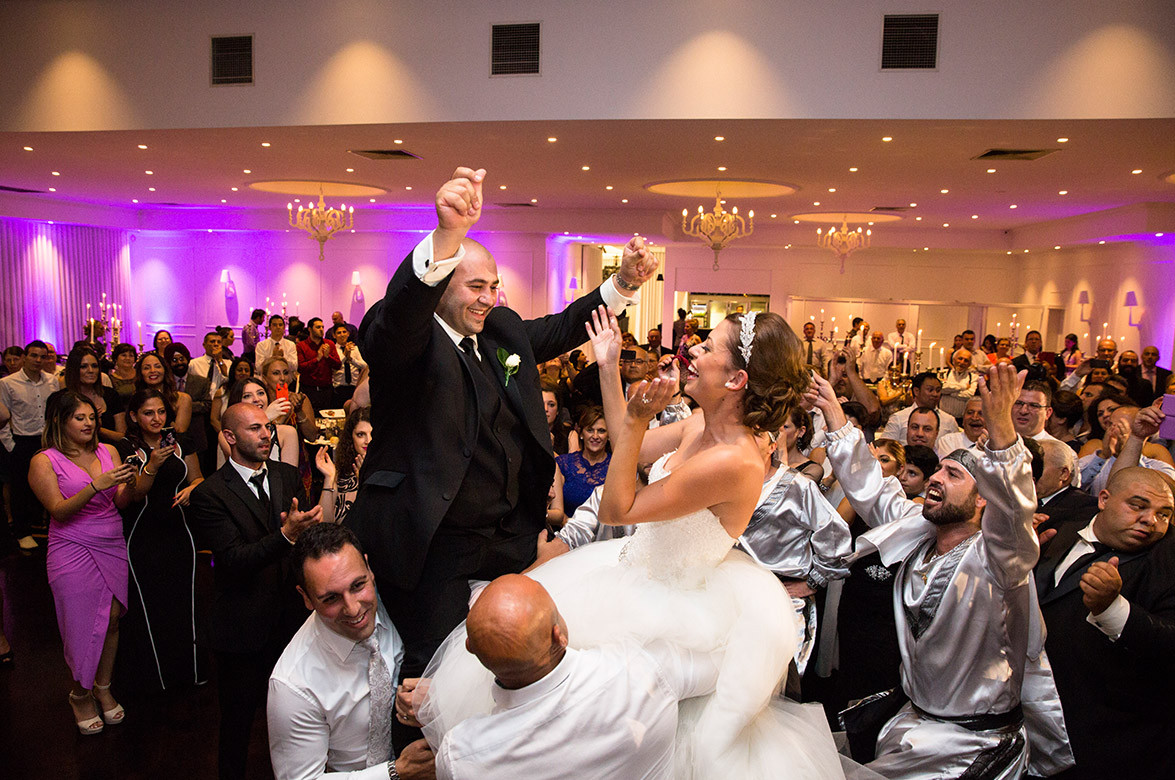
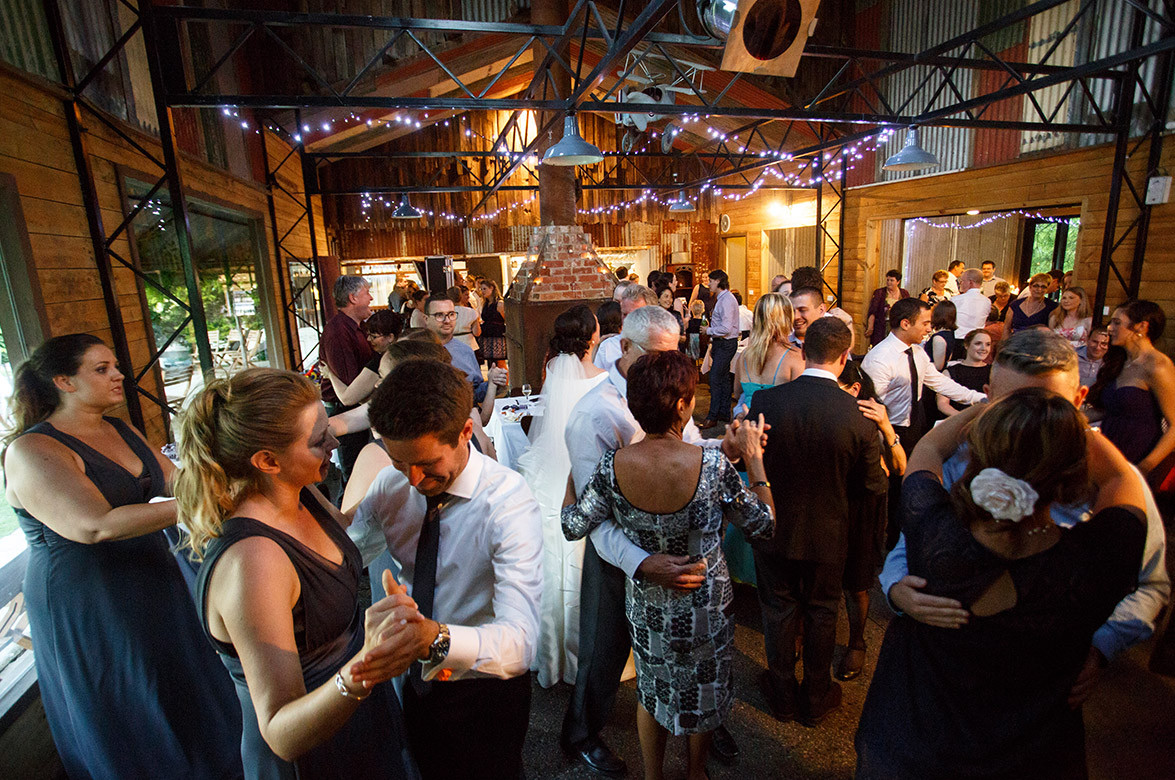
7. Then (usually) the first dance begins and I finish off the night by getting plenty of photos of the couple, then the bridal party is announced and then (usually) the dance floor is opened to everyone with some final wide angle shots of a dance floor full of people with the couple in the middle.
AMAZING! WE HAVE MADE IT TO THE END! I always say goodbye to the couple, tell them how much fun I had (which is true) and wish them the best time on their honeymoon! Time to pack my bags and hit the road!
After the Wedding
Ha, just when you thought the day was over and you could go to bed, not quite. There is one more thing that MUST be done. This is my 100%, unbreakable, must do, golden rule for every single wedding no matter what my plans are that night!
As soon as I get back to the studio or home I ALWAYS UPLOAD ALL THE CARDS AND CHECK THEM ON MY COMPUTER before doing anything else!
Once I know the photos are uploaded and safe, then I can finally relax. Or, if I’m shooting again the next day, I put everything on my hard drive, clear my cards and get ready for round 2 tomorrow!! 🙂
Thanks for reading!!
Thanks so much for reading my blog post and stepping into my shoes of what it’s like to be a wedding photographer on shoot day!
I would LOVE to hear your feedback on what you thought of this article. Was it helpful? Did you learn anything useful? Did I miss anything important? Or if you have any advice for me or other readers, I would love to hear it. Please leave a comment below 🙂


Leave a reply