
According to a recent survey, professional wedding photographers, on average, spend just 4% of their time taking pictures. Editing, by contrast, eats up a whopping 77% of their time. While this survey only covers wedding photography, it does give us an idea of the importance of post-production in today’s market.
When it comes to commercial photography, high-quality post-processing is essential. 500px Licensing Contributors sell their photos to companies and publications all over the world, and for top-earners, basic editing skills have proven invaluable. “Photos taken with a practical purpose in mind, plus some post-production work—not unedited snapshots—are in high demand,” Paul Frisson, Director of Content at 500px, tells us.
Every photographer has a unique approach to post-processing, but in general, there are a few quick and easy steps most Licensing Contributors follow in order to create a marketable stock image. Of course, these “rules” won’t apply to every single one of your photos, but if you want to license your work successfully, make sure to keep them in mind.

Shoot RAW
Most digital cameras shoot JPEGs by default, but RAW files open up a world of possibility when it comes to editing. That’s because they retain much more detail, brightness, and dynamic range than the compressed JPEG. What’s more, you can more easily “rescue” RAW files in post because you’ll have the power to fix blown-out highlights or bring back some detail in the shadows.
If you do shoot in RAW, however, keep in mind that images coming straight from your camera probably won’t sell. Unlike JPEGs, these files won’t come out of the camera with perfect white balance and saturation. They’re meant to be processed, so they’ll always need some work to bring out their full potential.
Edit objectively
Top Licensing Contributors generally submit batches of at least 25 to 50 photos each week, but they’re shooting much more than that. Before you start adjusting those layers, the first thing you have to do is decide which images are worth your time and effort. There’s no point in processing an out-of-focus or noisy image, as they won’t appeal to buyers and will probably get rejected anyway.
If you plan on selling your images commercially, be ruthless with your selections. It can help to ask a colleague to take a look and help you edit if you’re unsure.
Reduce noise
Reviewers and buyers will look at your photos at 100% resolution, so when you check for noise, make sure you do the same. Any visible noise will need to be fixed.
You can reduce noise directly in Photoshop, or you can install a plug-in from a dedicated noise reduction software like Neat Image. Alternatively, you can try exposure stacking to counteract noise resulting from high ISO.
Watch the contrast and exposure
If you shot your photo on an overcast day without a filter, you might need to boost the contrast a bit to make it pop. Keep a careful eye on those highlights and shadows—bring them down or up as needed to make sure you don’t lose any fine details.

Color correct
Using a strong color cast can work on the artsy end of things, but for a commercial photo, all the colors should be just right. That way, buyers can adjust the image or add filters to suit their needs. There are tons of ways to color correct in Lightroom, but a good place to start is with the white balance. For a quick fix, grab the dropper tool and click on a spot in your photo that should be neutral white or gray. Voila, any obvious temperature issues will disappear.
You can further refine your colors by adjusting your Temp and Tint values or moving your Hue, Saturation, and Luminance sliders. You can also play around with Tone Curves. With a RAW file, in particular, your colors will likely need a boost in vibrancy and saturation to make them come to life. No matter the tools and sliders you select, the key is to aim for a natural, realistic look. All things being equal, a neutral and readily adaptable image will outsell a dramatic, stylized one.
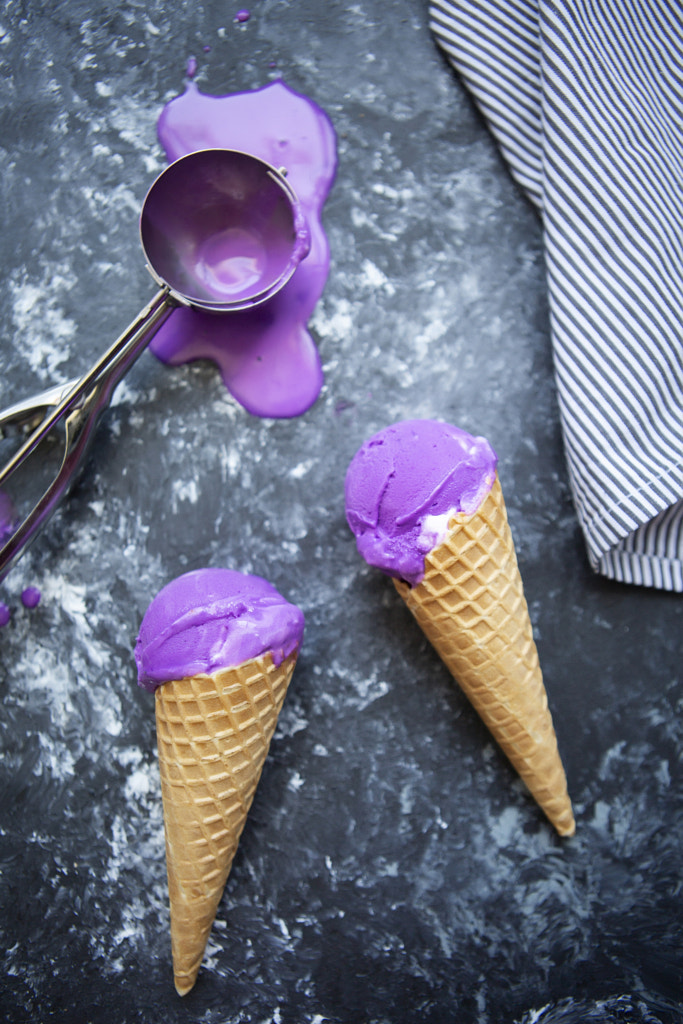
Hint: Pay special attention to the purples, as those will help you to identify any chromatic aberrations.
Erase blemishes
When we say “blemishes,” we’re covering the usual suspects, like dust on your sensor or an unattractive lens flare. But we also mean branded and copyrighted elements like logos, which will prevent you from selling your photos commercially. Wherever possible, you should clean up these flaws in-camera by removing branded products or using special tape to mask visible logos, but if it comes down to it, you can also fix these issues in post-production.
Depending on the size of the logo or blemish, you might opt to use the spot healing brush, the clone stamp tool, or the patch tool. There’s no one way to get rid of those problem areas, so play around with different methods and see what works. The important thing is that it looks seamless, as any poorly edited photos will likely be rejected.

Crop your photos
Image-buyers need a variety of orientations, so upload a few different crops to give them more options. Spend some time perfecting your horizontal and vertical crops, and make sure you get rid of any distracting details in the corners of your frame. You can even save some frequently used image ratios, like those found on Facebook or Instagram, as presets to make it easier for buyers to find the right photo for their purposes.
During the cropping stage, you’ll also want to make sure your photos are perfectly straight. An image-buyer can spot a skewed horizon from a mile away, and it takes just seconds to correct it using Lightroom’s alignment guides.
Add keywords and metadata
Keywording is the key to making your photos discoverable, and you can do it easily in Adobe Bridge or similar applications.
To save time, save some keyword presets that you can apply to batches of photos, but remember to go in and finesse your metadata for individual images as well. The better and more appropriate your keywords, the higher your chances of making a sale.
Rein it in
Post-processing is crucial for creating a marketable image, especially if you’re shooting in RAW, but it’s easy to go overboard. While an obviously filtered photo might look cool, a super distinct and stylized look could harm its commercial viability.
If you’re used to creating dramatic HDR images or bumping up your saturation and contrast to the extreme, consider using a lighter touch for photos you plan to sell. Designers can always experiment with different aesthetics once they purchase a photo, but while searching for the right image, they’ll be on the lookout for something clean.
Learn more about Licensing with 500px here.


Leave a reply