
Roeselien Raimond is a Netherlands-based photographer who is fascinated by both nature and creativity. After working as an art therapist, she shifted her focus and became a professional web designer. In 2009, she won a semi-professional camera in a photo contest, which encouraged her to take photography more seriously. Since then, her work has published in several well-known international magazines. These days, she expresses her love of nature through writing, painting, and photography.
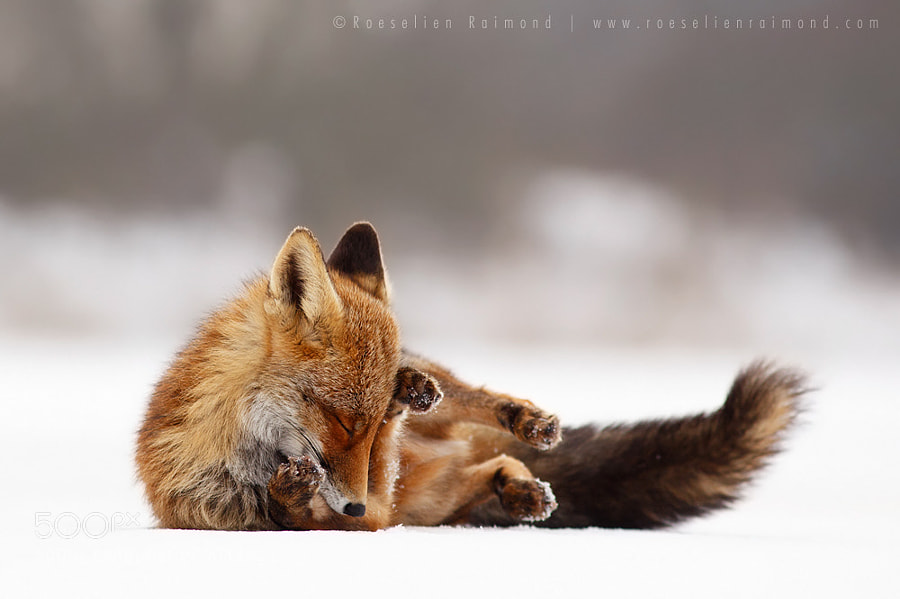
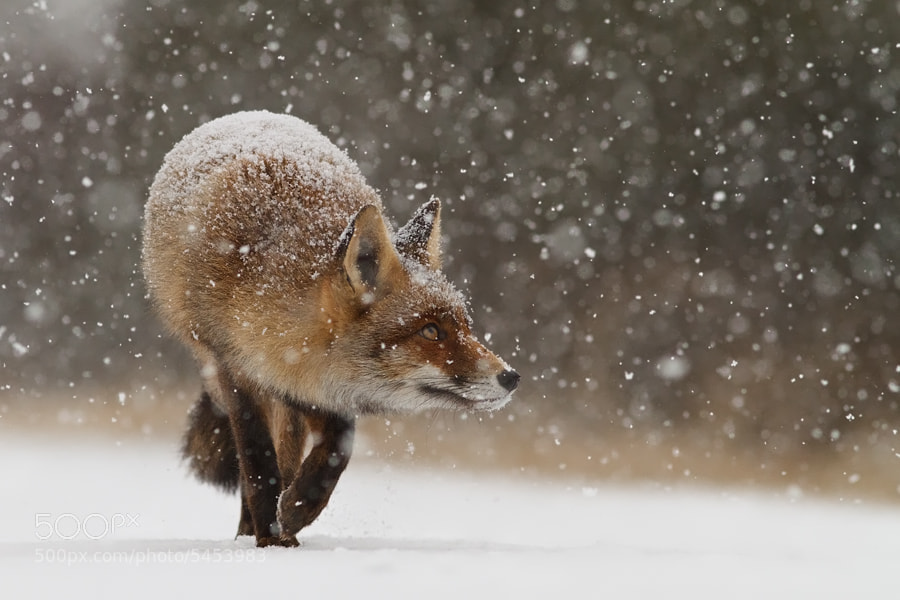
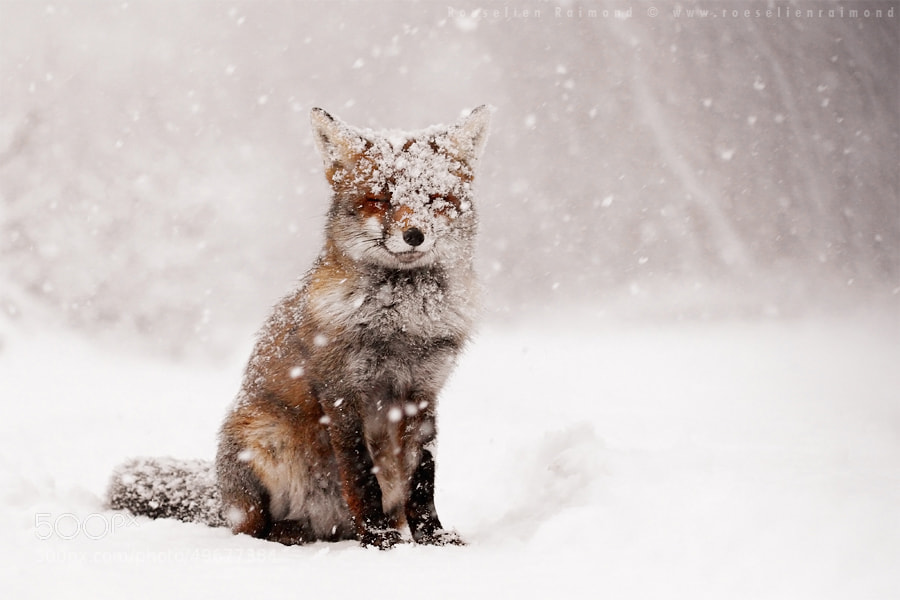
If you’ve seen her majestic photos of foxes in the snow, grinning from pointy ear to pointy ear, you’ve probably also wanted to know how she captures these shots. In the tutorial below, she shares 7 useful (and sometimes vital) tips for photographing wild animals frolicking through a white, winter wonderland.
Being from a country where snow is a rarity, I wouldn’t dare to call myself a snow photography expert. I’d like to share a few of my snow experiences with you, though.
When we finally do have the chance to do a nice wintry shoot, we’d better be prepared, right? So here’s my ‘Wildlife Photography in the Snow checklist’ — use it to your advantage.
1. Watch Your Exposure
No offense to your beloved and undoubtedly highly intelligent camera, but I’m pretty sure that, like most of its colleagues, it doesn’t understand the concept ‘snow’. All it sees is a white overdose and it will try to ‘help’ you by making it middle gray, simply because it assumes that 18% gray is best for you.
But we don’t want our snow to come out ugly gray, we want pristine white snow. Here are some ways to explain this to our camera:
Compensate your cameras’ aberrance by adjusting the Exposure Value positively. (+1/3, +2/3 etcetera)
b) Exposure compensation when using Manual
Compensate the exposure by slowing your shutter speed, widening your aperture, or increasing your ISO. All options will result in more light reaching your sensor.
c) Spot metering
Let’s say you are taking a photo of an animal in the snow. If you’d measure the entire scene, most likely both snow and animal will become underexposed. By using selective metering (spot metering), you can measure the light for the animal correctly.
d) Using a Gray Card
Try to find a neutral gray object to measure the right exposure. This could be a gray card, but also the palm of your hand or a clear blue sky.
e) (Auto)Bracketing
Bracketing — making one normal, one underexposed, and one overexposed photo of the same subject — increases the likelihood of capturing the correct exposure. The photos can be combined afterwards in a photo editing program to achieve the right exposure for all components.
Bracketing only works with a tripod/rice bag and a rather static subject.
f) General rule:
The brighter the sky and/or the higher the percentage of snow in your photo, the more compensation will be required.
2. Protect Your Gear
As we all know, most cameras don’t like cold, and they hate humidity. A few years ago, I worked with a semi-professional DSLR in quite heavy snow fall. At a certain point, it became so wet and cold, that most of the buttons stopped functioning. Needless to say, this is a nightmare for every photographer.
The best way to protect your gear is to put it in your bag while it’s snowing. In case you really can’t avoid shooting in a snow storm:
Available in prices ranging from nicely cheap to ridiculously expensive. I created one myself out of a trash bag and a rubber band and it works perfectly.
b) Use a Lens hood.
Snow is highly reflective and a lens hood will help you avoid lens flares; but more importantly, it will help keep your glass snow free.
c) Do not to shoot into the wind.
d) Kitchen Towel
Take a dry kitchen towel with you, just in case the camera gets wet anyway.
3. Protect Yourself
As we speak, you are probably sitting in a pleasantly warm room in a comfy chair, enjoying a nice hot cup of cocoa and this might sound like stating the obvious.
But, I promise, once you’re out there in the cold, you’ll mark my words.;)
I can tell you from experience that it’s quite frustrating when you finally have this beautiful model in front of you, but you just can’t click the shutter because your fingers are frozen stiff.
Use fingerless gloves or very thin ones that allow you to control your camera. You can buy them, or simply create them yourself. All you need is two non-fraying gloves and a pair of scissors.
b) Snow shoes/boots
Good winter shoes help prevent hyperthermia, and with good profiles you avoid the risk of slipping. General rule when it comes to winter shoes: the uglier the better.
c) Set of chemical hand warmers (like Hot Hands)
d) Dress like the Michelin Man
Wear at least two pairs of pants, three sweaters, and two beanies. (Luckily we’re doing snow photography, not entering a beauty pageant).
4. Take Care For Your Batteries
Batteries drain faster as it gets colder. A perfect way to to keep them warm is to keep them close to your body. You might also want to take a spare battery with you, just in case this measure is not sufficient.
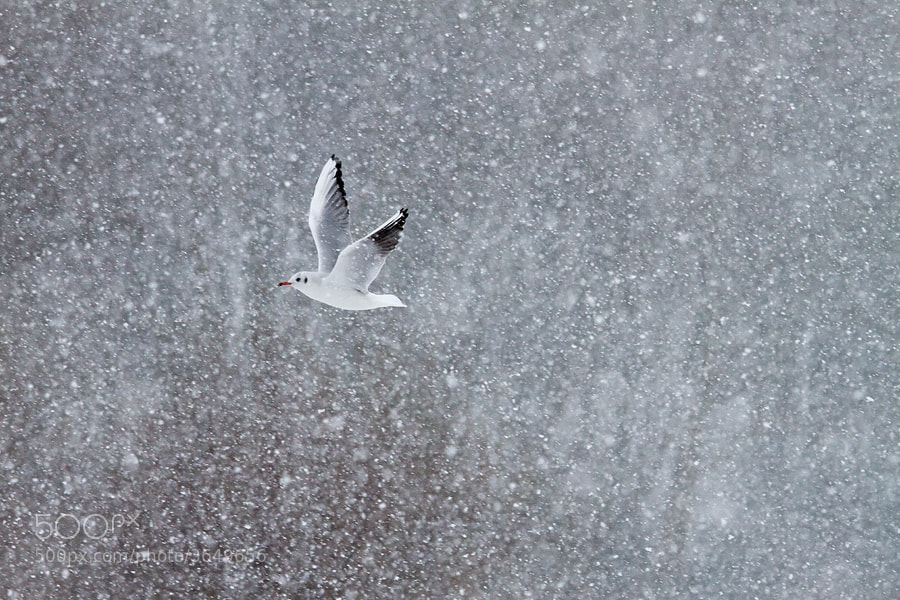
5. Watch Out For The Twirling Snowflakes
They look so cute and innocent, these sweetly swirling snowflakes, but don’t let them fool you: they are nasty little AF-magnets that try to draw all focus to themselves instead of the subject of your choosing.
Manually focusing will help you ignore these little buggers.
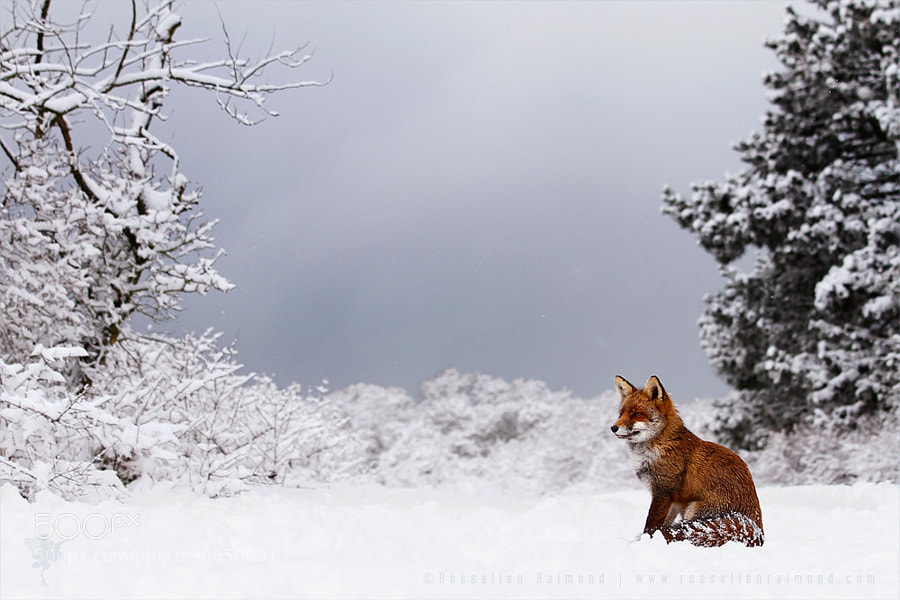
6. Be Aware Of Your Footprints
It’s totally imaginable, that, when it finally snows, your enthusiasm takes over and you’ll find yourself happily hopping through this beautiful white scene, in a moment of childhood nostalgia — don’t.
The snow is your canvas. Footprints in the snow can be pretty cool, as long as they belong to a fox, a bear, or some other wild animal. A human footprint is hardly ever cool, so mind your steps!
7. Afterwards: take care for your camera.
Hopefully our faithful friend helped you create some wonderful shots and survived the harsh circumstances. Now it’s important to take real good care of her/him/it.
To avoid condensation, don’t bring your cold gear directly into a warm room. Allow the camera to acclimatize slowly by leaving it in your bag for a few hours.
And… hopefully you can enjoy your beautifully frozen moments!


Leave a reply