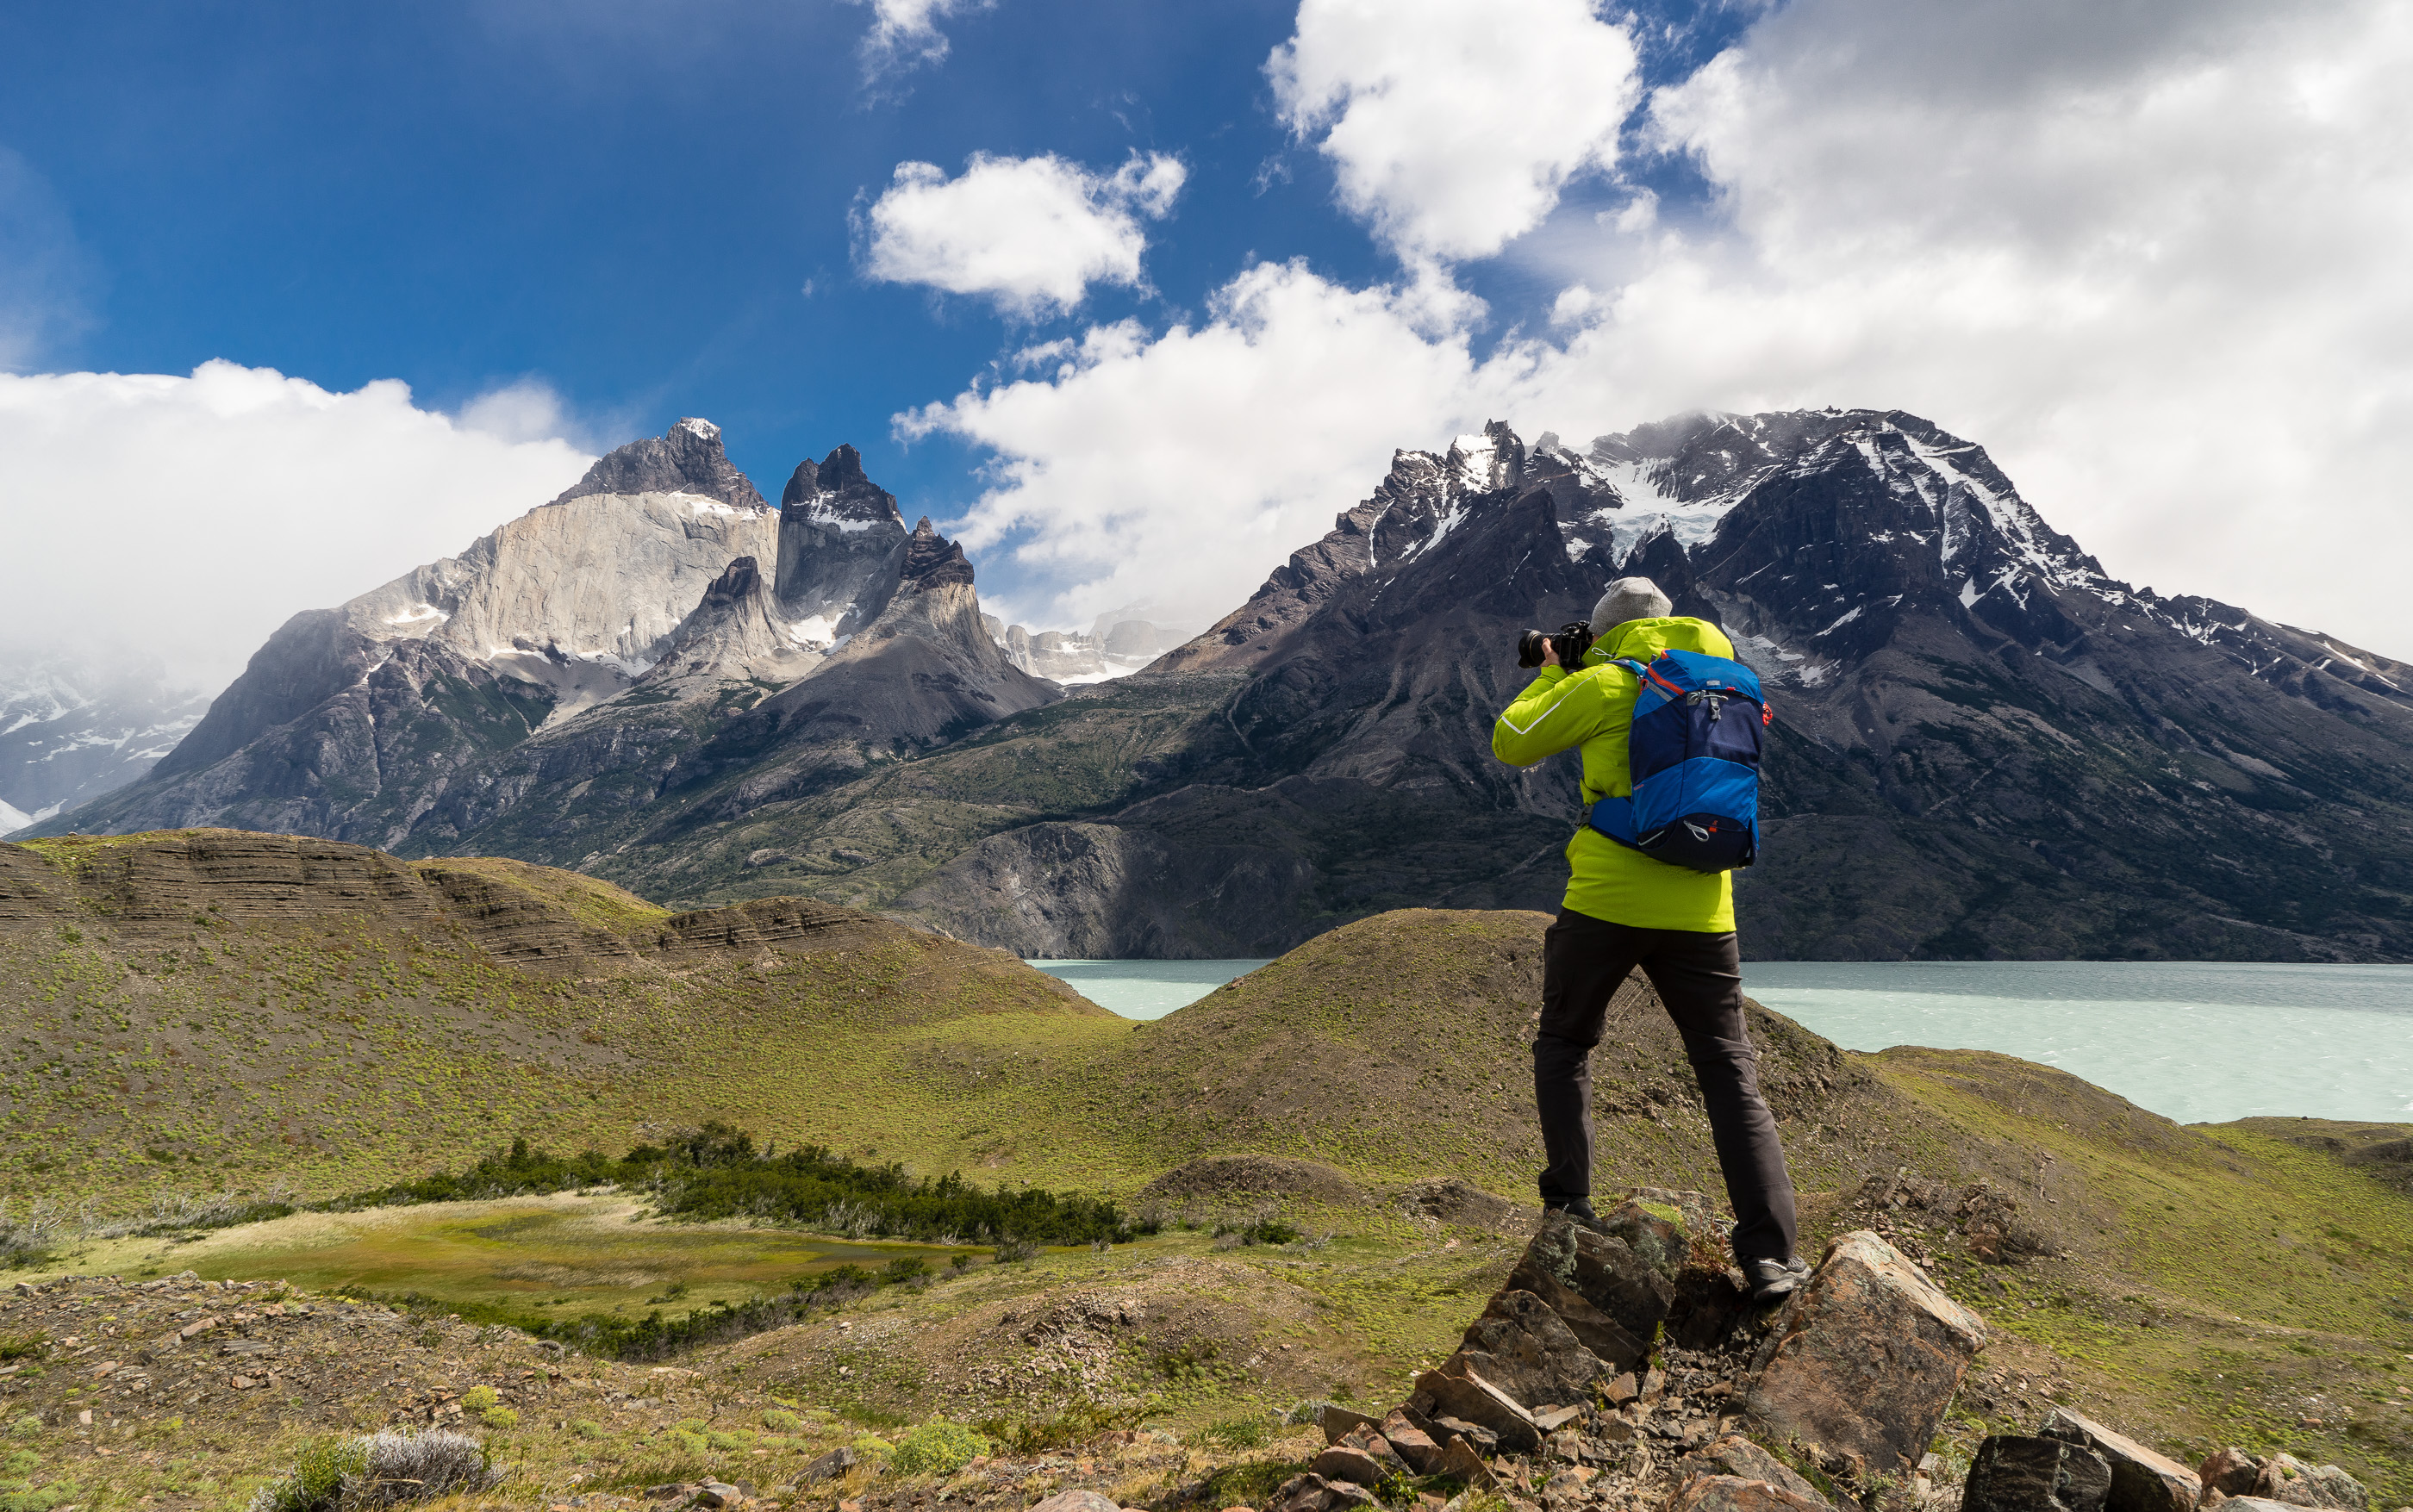
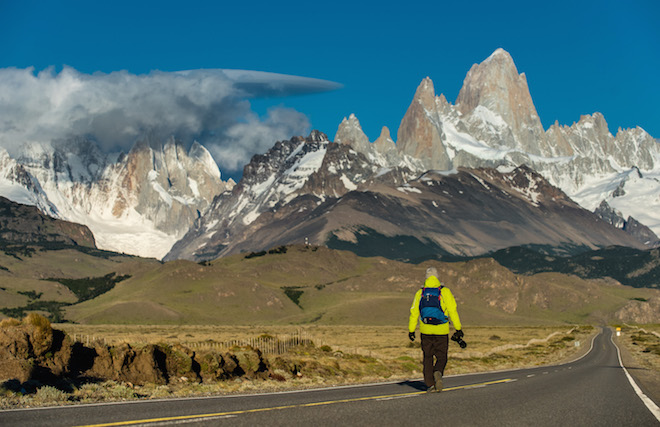
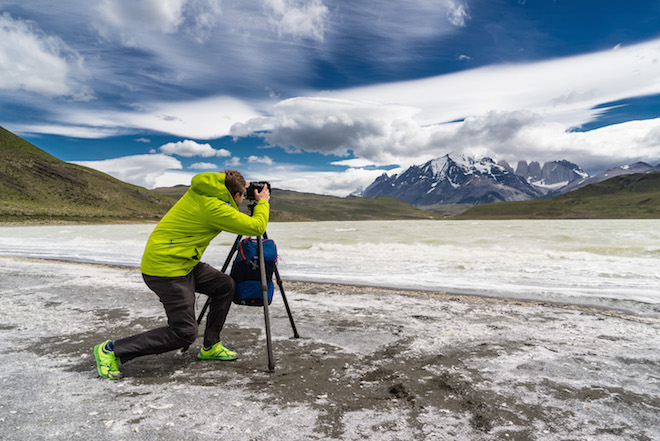
In early December, I went on a mind-bending trip to Patagonia, visiting Argentina and Chile where I got to see the beautiful mountains of Fitz Roy and Torres Del Paine. This was my first trip anywhere in South America, so I wanted to prepare well for it.
While shopping for different items—gradient filters, new lenses, and such—I wanted to upgrade my old backpack to something else. That’s when the team behind MindShift Gear (the guys behind the trusted Think Tank Photo bags) offered to have me try out a new backpack.
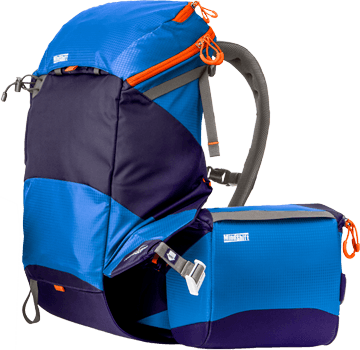
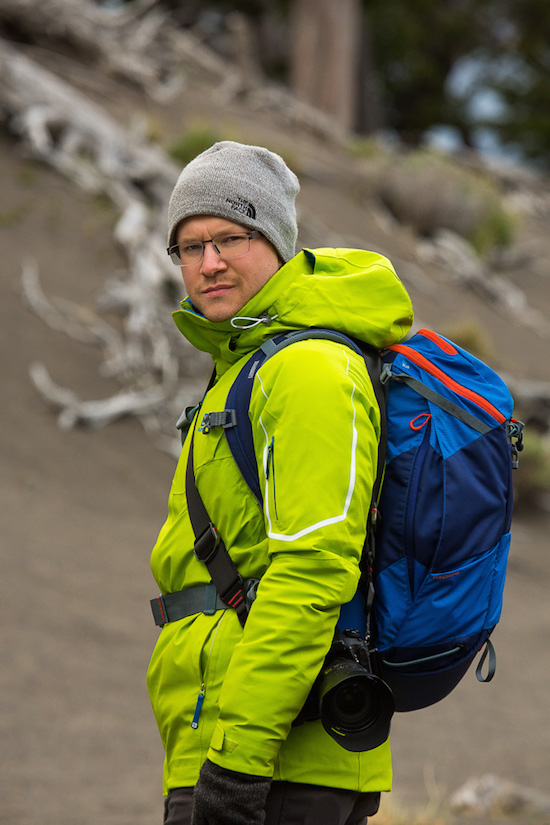
I could’ve chosen any backpack, but once I laid my eyes on the MindShift Gear rotation180° Panorama in a lovely Tahoe Blue color, the decision was made.
I’ve been using a Lowepro Photo Hatchback 22L AW since 2011, and I absolutely love it for its universality and everyday appeal, so I was looking for something similar in size and functionality.
The Panorama backpack has exactly the same capacity (22L) but separated into two distinct sections—16.5L is in the top part of the backpack and 5.5L is in the “Belt Pack”, which rotates around your hips, allowing quick access to your camera without removing the backpack.
The Belt Pack is the signature feature of this backpack, so I was eager to try it out in the field.
Patagonia in December should feel like summer. It’s the other side of the world. But somehow, I had to dress up the same way I dress for the coldest days in Toronto—all winter stuff. Luckily, if you pack a mirrorless camera in the belt pack, you will have a lot of room left for your clothes and personal items in the top section. For me, it didn’t quite work that way.
I got the backpack with the optional but highly-recommended Photo Insert, a sectioned insert for holding lenses in the top part. I stuffed the following items into the backpack:
In the belt pack:
• Sigma 35mm f/1.4 Art
• Half a dozen of Sandisk SD cards
In the top section:
• Nikkor 14-24 f/2.8
• Rode VideoMic Pro
• WD My Passport 2TB portable hard drive
• Couple of ND filters and Lee Filter System
That’s it. The backpack itself is pretty compact, but the way it is sectioned it actually has less space than a Lower 22L backpack. I felt like I had lost around 1-2L of space because of the hard sectioning required for the rotating nature of the belt pack.
There are a few pockets inside and on the sides, but I felt the need for more. There’s one big expandable pocket on the left side that holds a water camel pack, along with the hole to get the water tube onto the strap, but it’s hard to throw small items in there—you might end up losing them. On the right side, there’s just a small pocket for a water bottle.
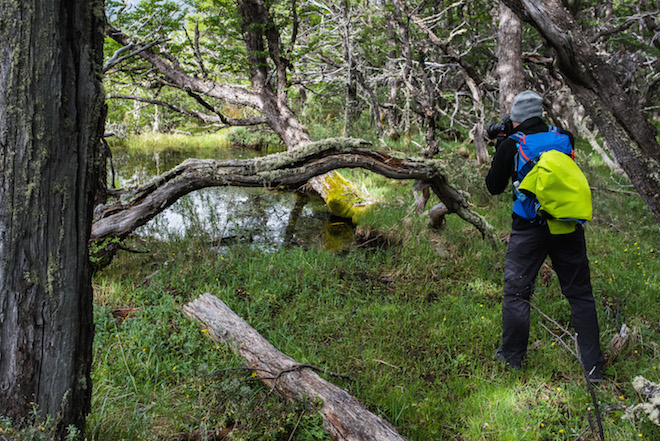
One thing that has to be mentioned (and praised) is the back support. I have a pretty weak back, so every time I come back from a trip like this, my back is ruined. I can’t sleep, and have to book multiple massage sessions to just get back to normal.
This time, however, I was shocked. We hiked a pretty rough terrain for 15 km one day, from an early sunrise at 4 A.M. to late afternoon, and—even with a full pack–I felt good. No pain whatsoever. The side and back support is first class, so I can see myself packing it for any rough and demanding photo trips going forward.
There are also three ways of attaching and holding a tripod. But I have to admit—I haven’t tried any of them. My Really Right Stuff tripod is pretty big and heavy, so I was afraid it would pull me back, if had I attached it there.
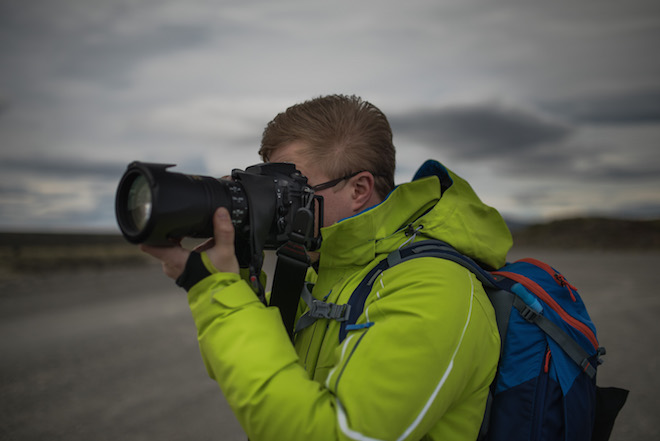
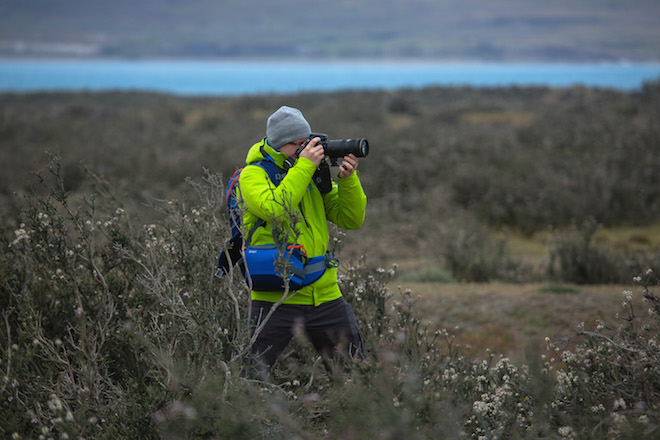
The main feature—the rotating belt pack—works as advertised. It’s very convenient to just pull the magnet latch and rotate it.
The belt pack holds a camera with a lens plus an extra lens, but it’s tight. So while a “naked” Nikon D810 would fit just fine, the D810 with a third-party strap (Peak Design) and L-plate doesn’t fit comfortably. I also found that storing another lens there complicates things a lot, so I usually kept my D810 in there with just one lens, either Sigma 35mm or Nikkor 24-120mm.
It’s good for the city or a day hike, but if you change lenses a lot, or like to keep your camera tucked away most of the times, your options are limited. I wish the belt pack would be just 0.5-1L bigger.
However, should I switch to something like a full-frame Sony A7 II along with smaller and lighter lenses, the belt pack would be perfectly suited to hold a camera with a couple of lenses, leaving the whole top section for clothes or other personal items.
One thing that actually annoyed me with the belt pack was when the backpack was off. If you want to get your camera, you have to take the belt pack out, and it felt messy. Eventually I got used to it. But still, this limits the convenience level in situations when you need constant quick access to the camera. So the ideal use for the rotation180° Panorama backpack is a long day hike, either in the city or outdoors.
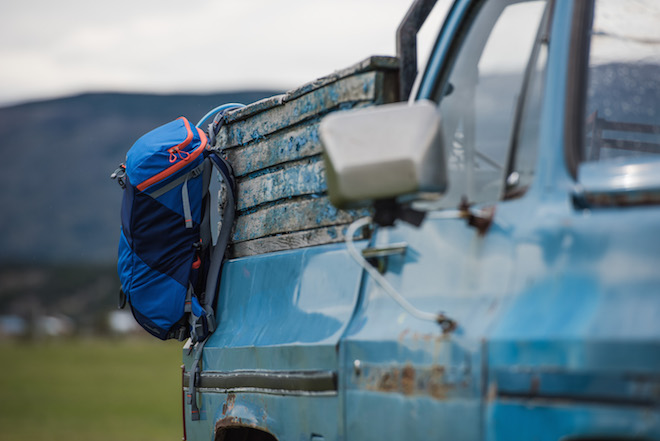
I also got the optional rain cover, but the backpack itself is water resistant as well. I never experienced any problems with the seams or the material in the rain. I assume the rain cover is for heavy downpour, which luckily, I didn’t experience during the trip.
Conclusion
MindShift Gear has built a very solid backpack. Knowing their attention for quality and good materials, it will last a really long time, making it a great companion for my future photo adventures. Be it a serious photo tour or just a hike in the woods with a small mirrorless camera—this backpack can support it all.
PROS:
• Belt pack works as advertised
• Great rain protection
• Excellent build quality
• Several ways to attach a tripod
• Support for camel water pack
CONS:
• Belt pack is small for a big DSLR
• Few pockets
• Harder to access the camera with backpack off
Overall Rating: 8 out of 10
To see more Gear stories, check out our Gear Guide section here on 500px ISO.

Leave a reply