Finding the perfect location for a photo shoot can be tricky. Budget constraints, lighting issues, and space can complicate the selection process and make your portrait session less than stellar. This step-by-step tutorial will help you stage a room in your home to create the perfect portrait session.
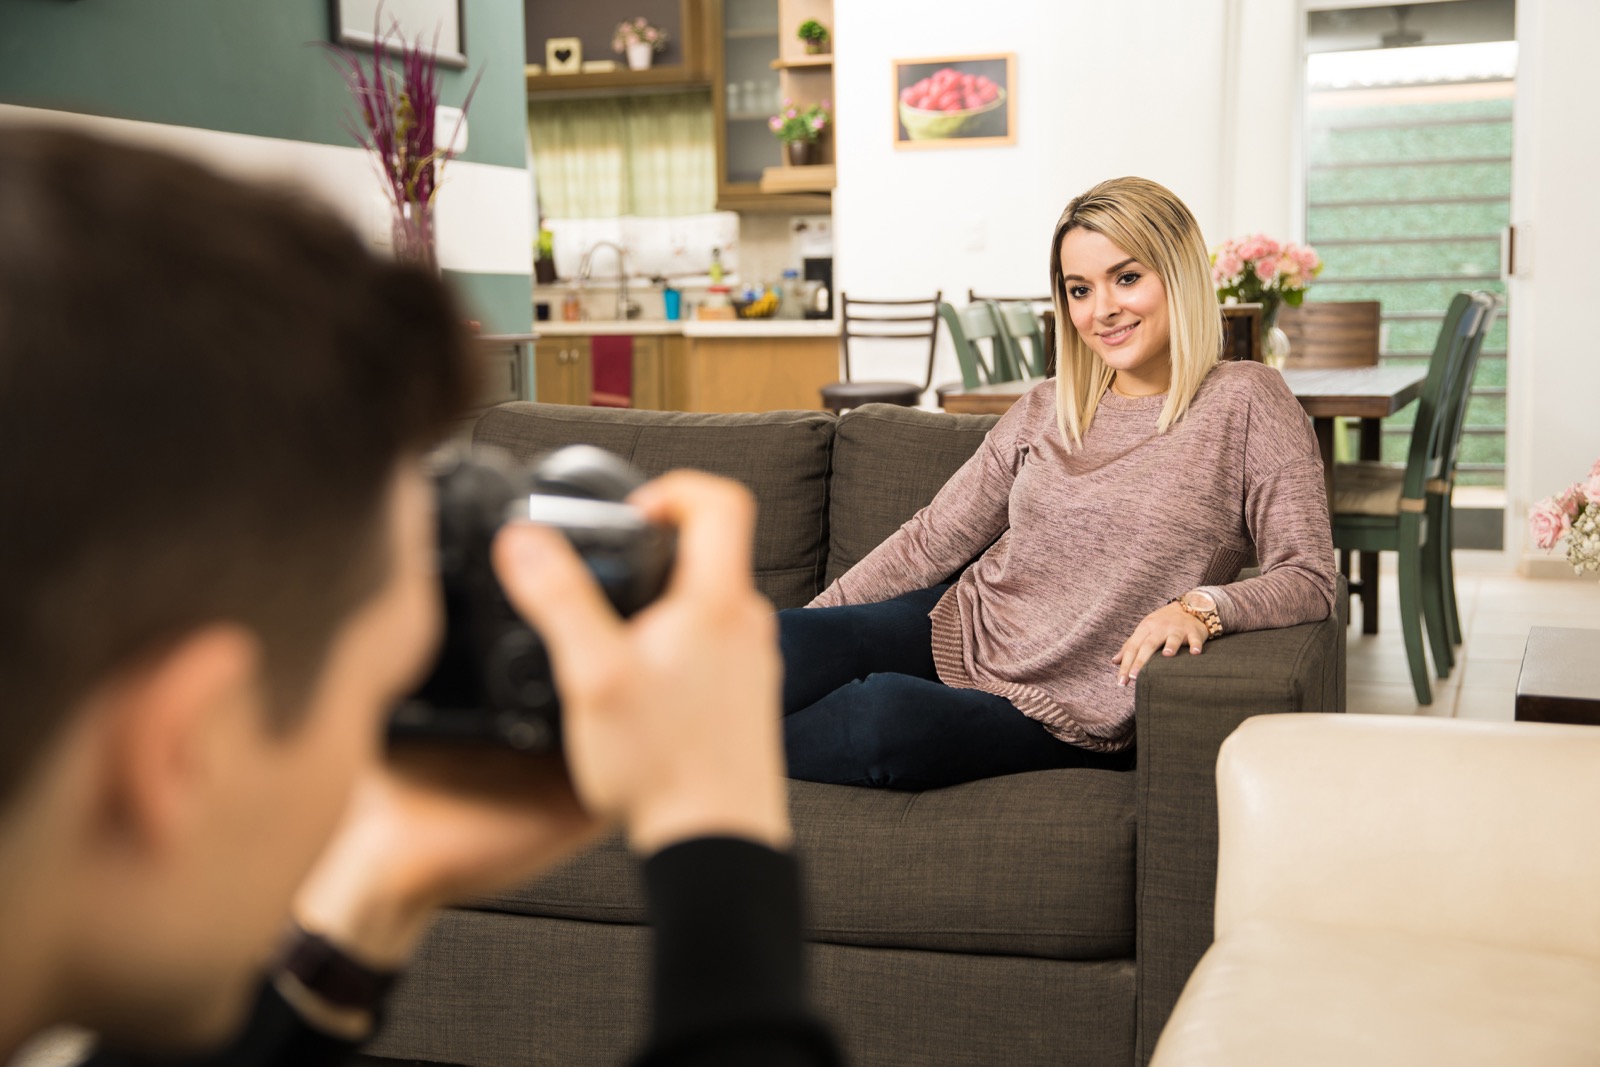
1. Choose your portrait style
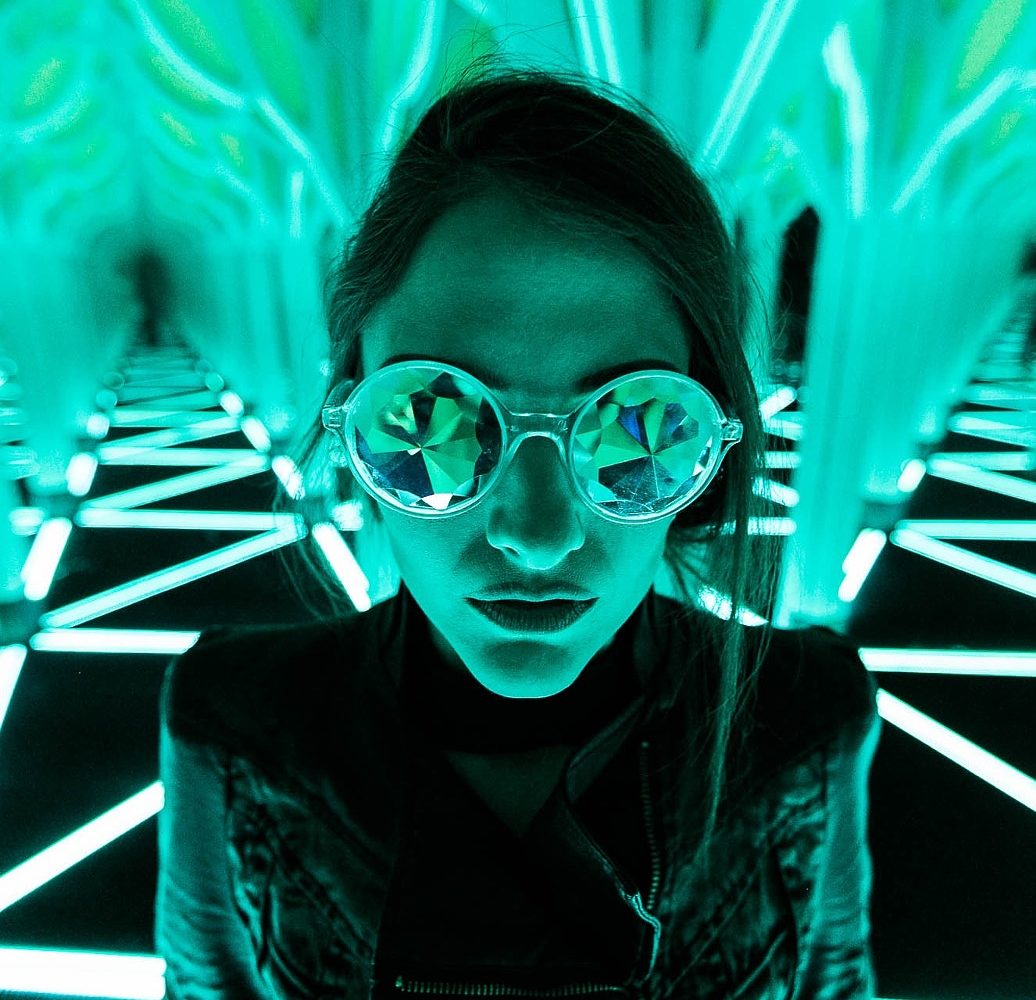
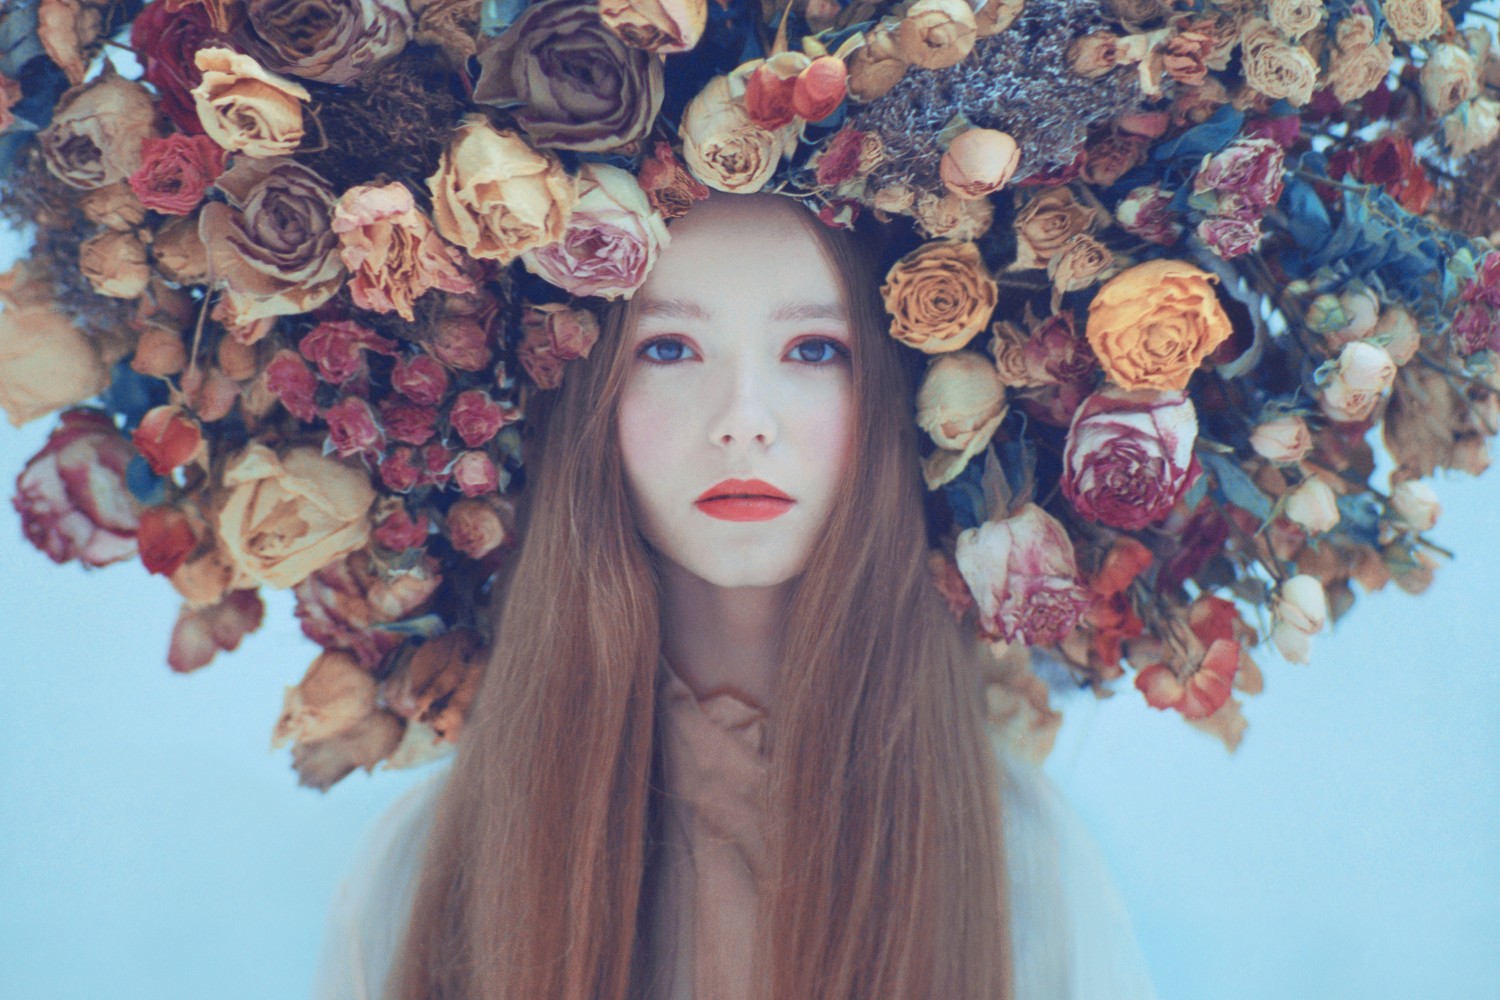
The first step in creating a pop-up portrait studio in your home is to determine your personal portrait style. The style you choose will affect the rest of your setup process, so first decide whether you want a formal school or mall portrait with a clean backdrop, a candid Annie Leibovitz-style session, or something in between. Your style will vary according to your professional photography preferences, but it’s a good idea to take your surroundings into account, as well as the attitudes and styles of the people you’ll be photographing.
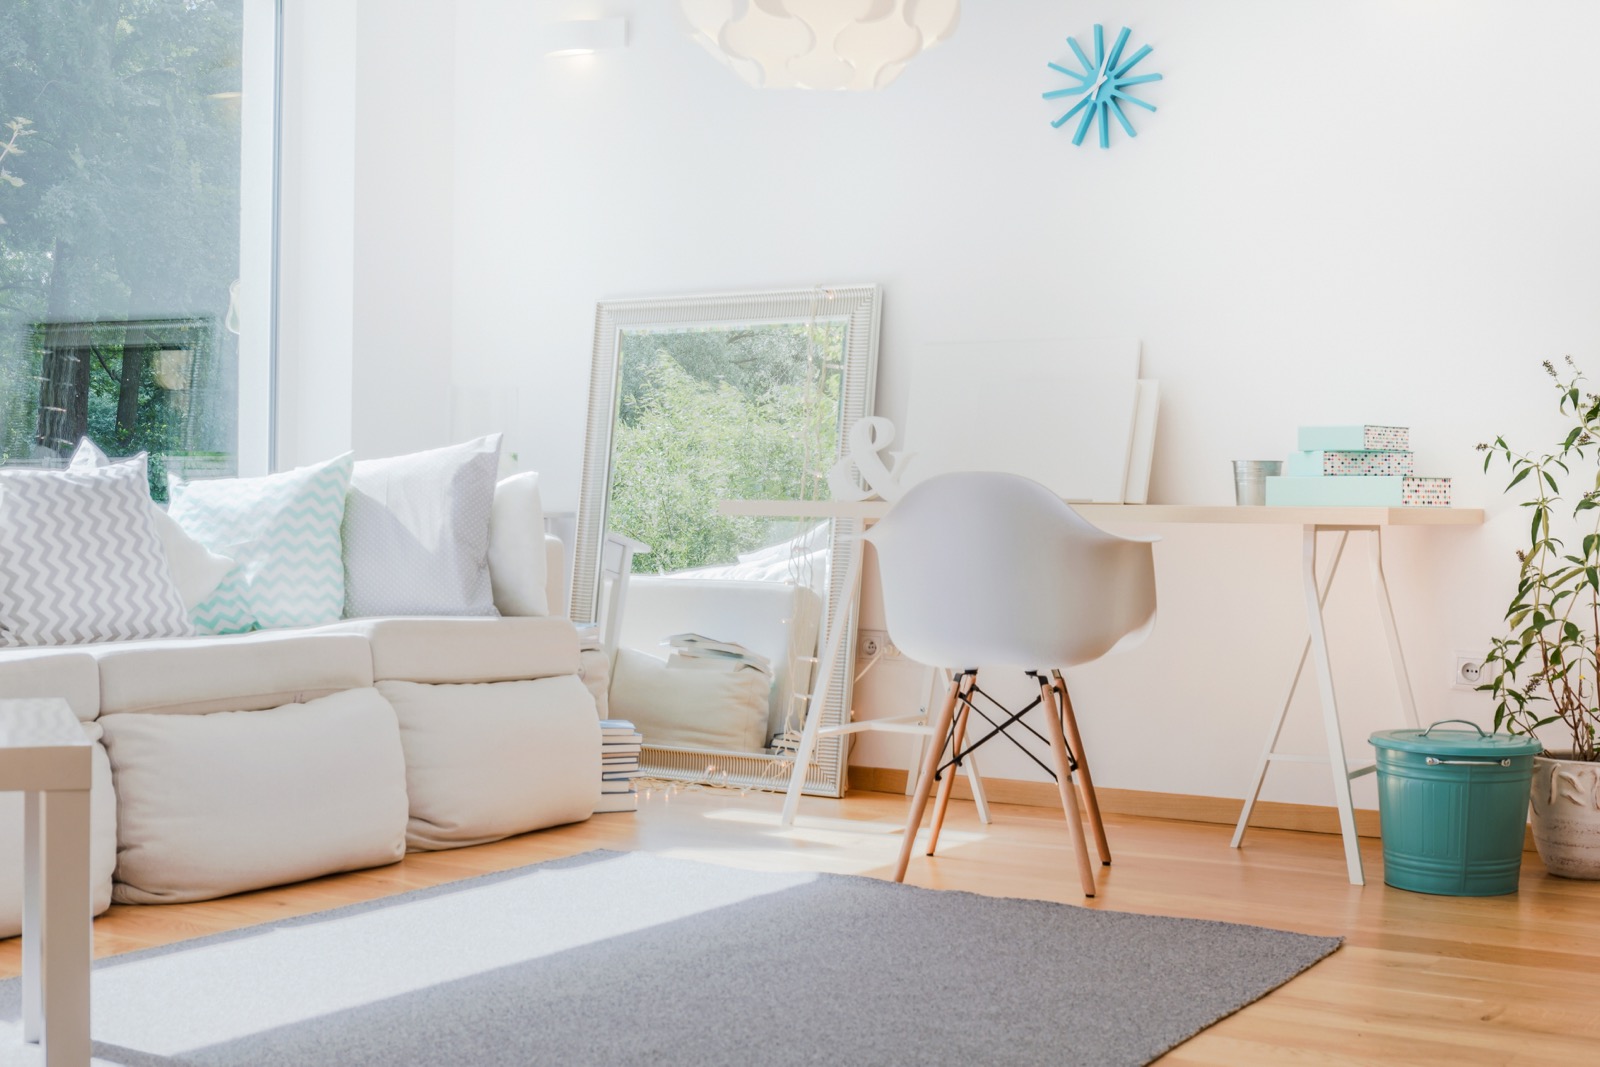
Bright small cozy room with sophisticated decorations.
2. Designate a studio
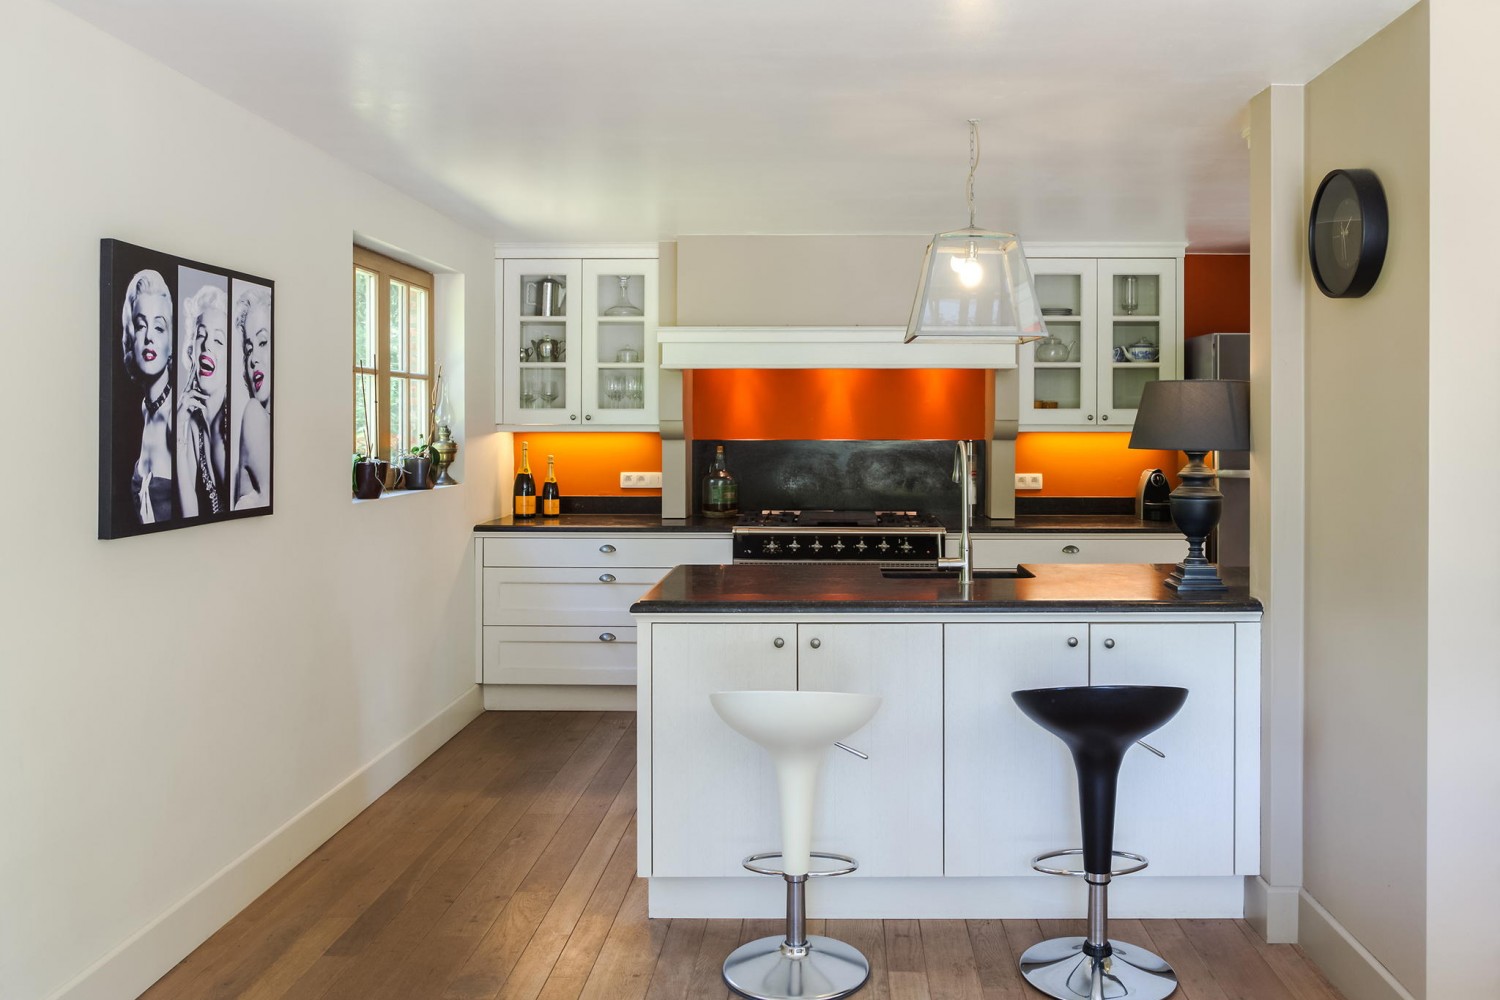
Finding a room to turn into your pop-up studio is less daunting than it seems. The main criteria in your studio search should be lighting, space, and background. If you’re planning on using the room as well as your subjects in your photo session, consider the kind of space you require: kitchens are perfect for cooking or baking enthusiasts, while low-key family shoots can work in living rooms, play rooms, and even outside. Regardless of the space you choose, make sure to leave plenty of room for your camera (and tripod, if applicable), lights, and other photoshoot accessories. If necessary, have extra flat surfaces available and think about how your space can facilitate outfit and background changes.
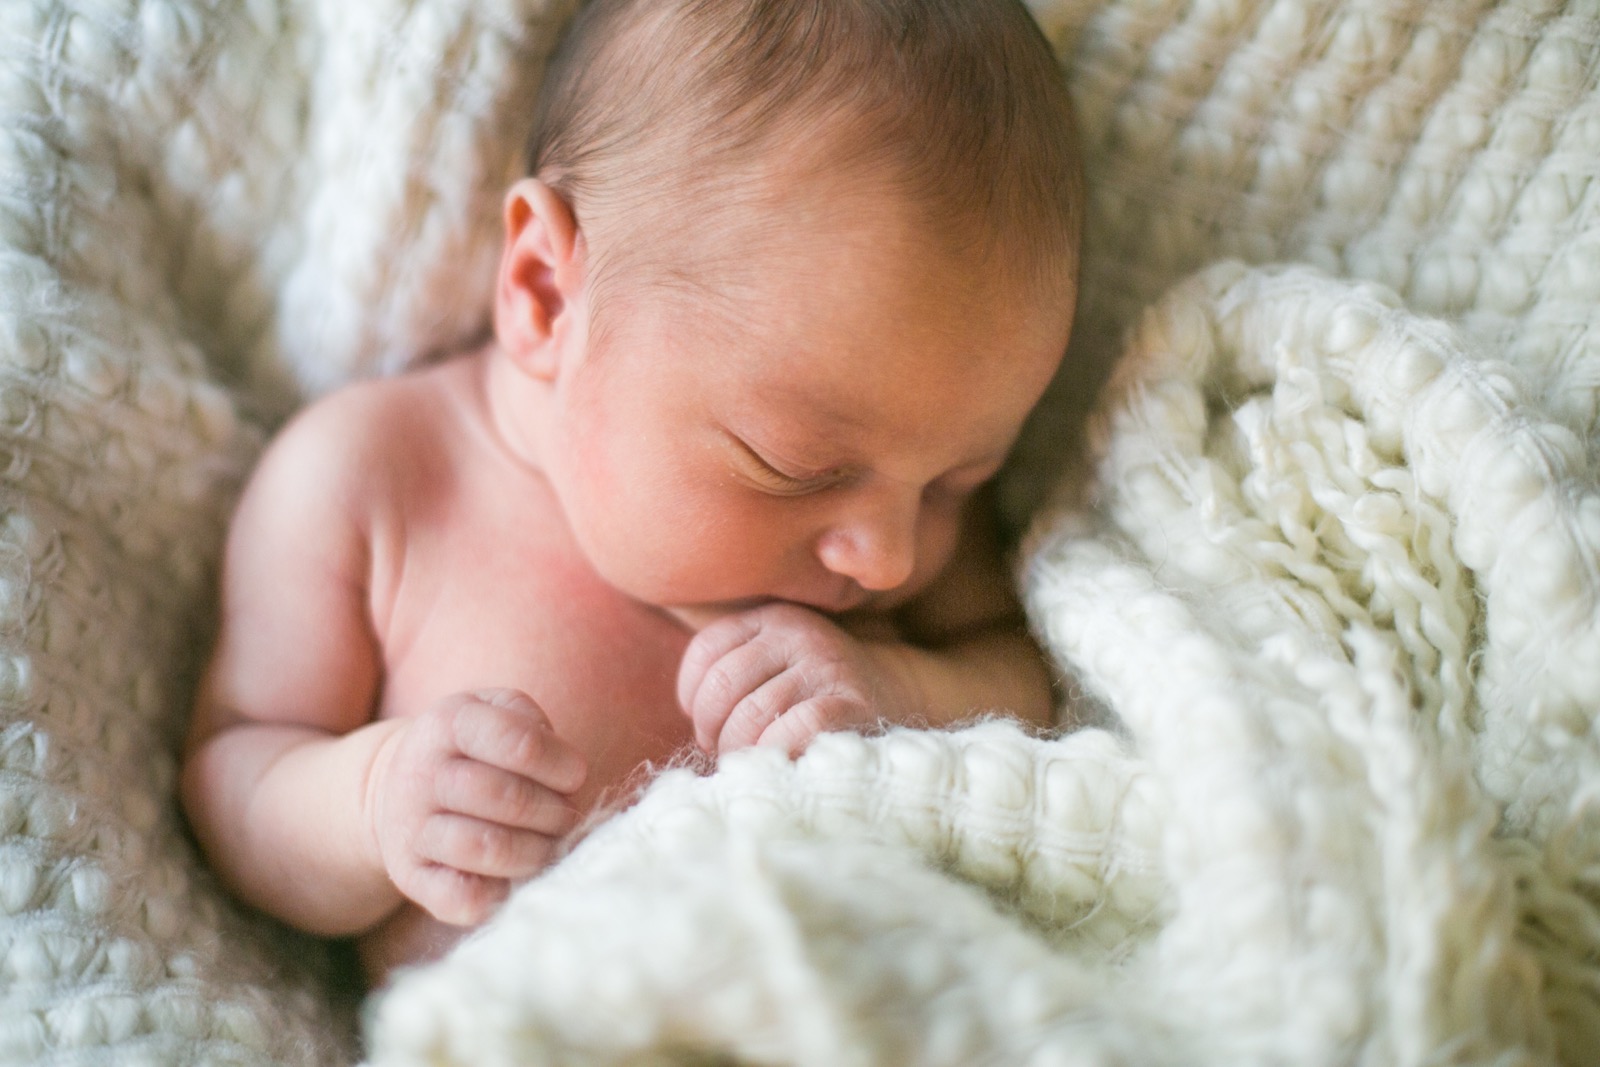
A brand new one week old baby boy sleeps wrapped in a white fuzzy blanket. He is peaceful and his hand rests near his mouth.
3. Make lighting a top priority
Every photographer knows that lighting is one of—if not the—most important factors to consider when setting up a portrait session. If you want to achieve the highest quality, most natural-looking shots, find a space with as much natural light as possible. A bright room is also your cheapest option, since you won’t have to spend as much on expensive artificial lighting and accessories like softboxes, umbrellas, or diffusers. A few top tips here: time and choose your shoot and location based on the best lighting sources, have your subjects face the natural light source, and diffuse particularly strong sunlight with a thin white sheet or sheer curtain to soften your photos. You don’t have to splurge on new windows to make the most of natural light!
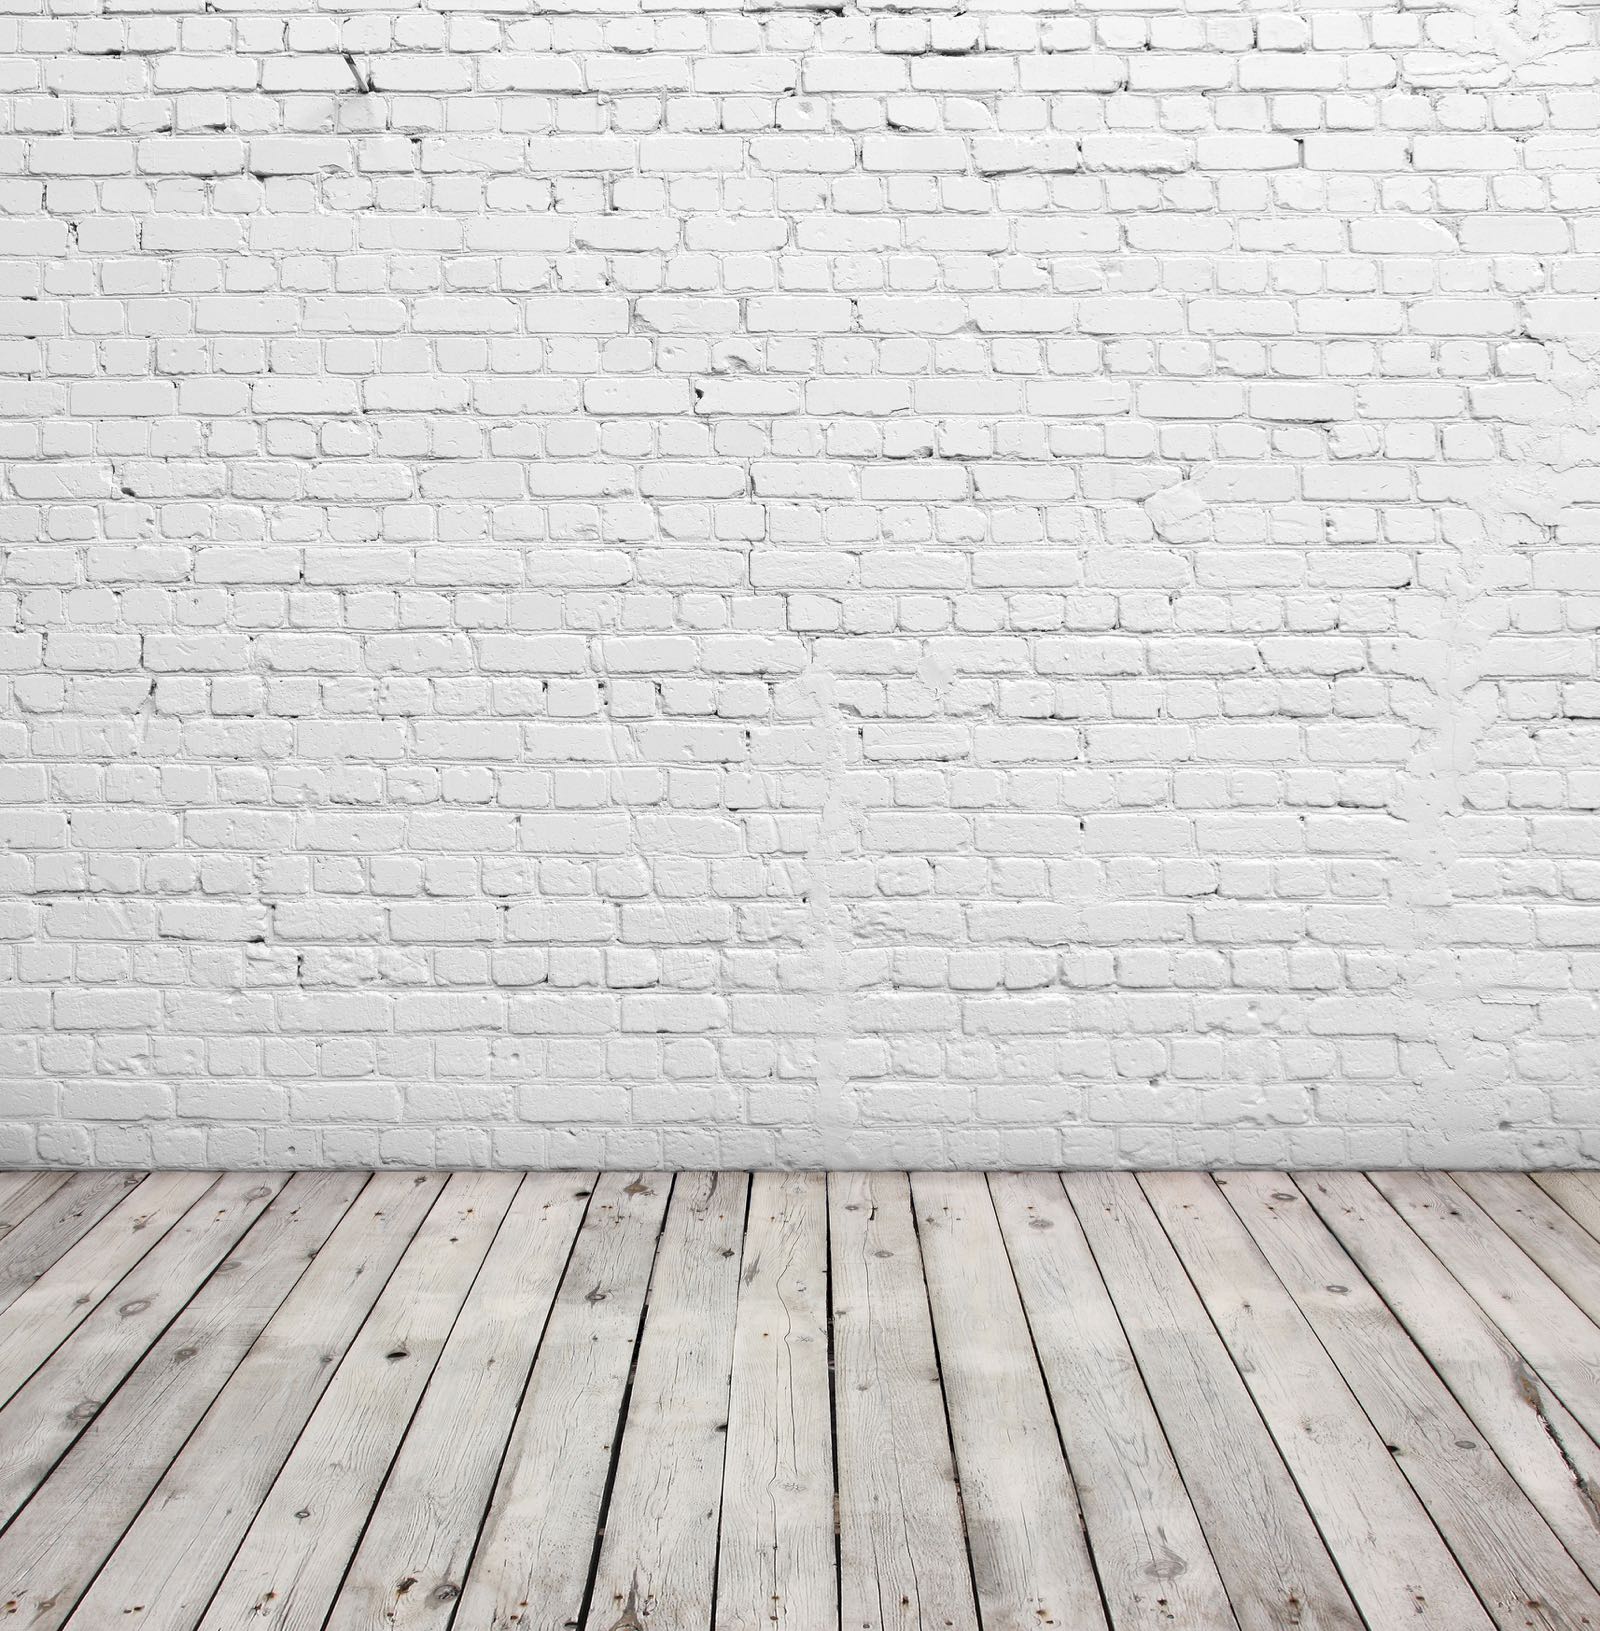
Old white brick wall and wood floor.
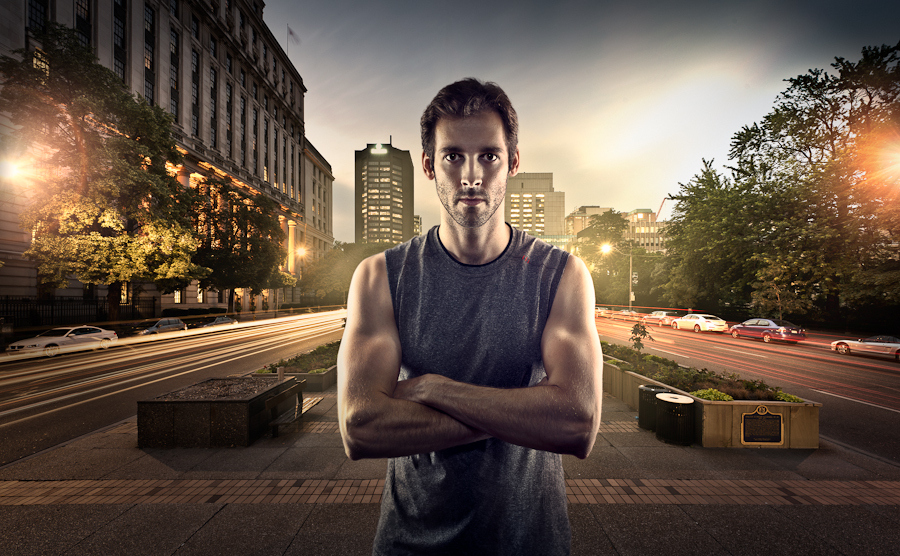
4. Find a backdrop for your session
After you find the perfectly lit space for your photo session, think about your subjects and the shots you want to achieve. Formal portraits with plain backdrops can be achieved in a number of ways: set up your studio against a white, black, or even shiplap-clad wall, or invest in a backdrop screen for a clean and professional look. If you want to create your own DIY backdrop, you can achieve a great shot with sheets, blankets, and some cleverly placed furniture and/or duct tape. As with the other steps in this process, considering your subjects and the message you want to portray in your session will help you to make this kind of decision. One final tip: don’t forget to think about your color scheme and whether your backdrop will match or clash with your subjects.
5. Style your studio space
Before you can begin your portrait session, the final step in preparing your studio is styling. If you are using the room itself as a background, make sure to eliminate clutter and organize the remainder of the decorative accessories and personal effects in the room. Portrait sessions with static backdrops can still be styled, so think about the kinds of props you will need to complete your setup. Chairs, cushions, and any other personal items that tell a story will help to connect your subject to the session and make everyone more comfortable. Remember that your props and styling will vary according to the kind of session you’re running: newborn shoots can be achieved with bean bags, oversized cushions and nursing pillows, and supersoft blankets, whereas family or individual sessions can be tailored to your subject and involve anything from stools or chairs to musical instruments or sports equipment.
About the Writer
Kaitlin Krull is a writer and mom of two girls living the expat life in the UK. She enjoys writing for Modernize with the goal of empowering homeowners with the expert guidance and educational tools they need to take on home projects with confidence.

Leave a reply