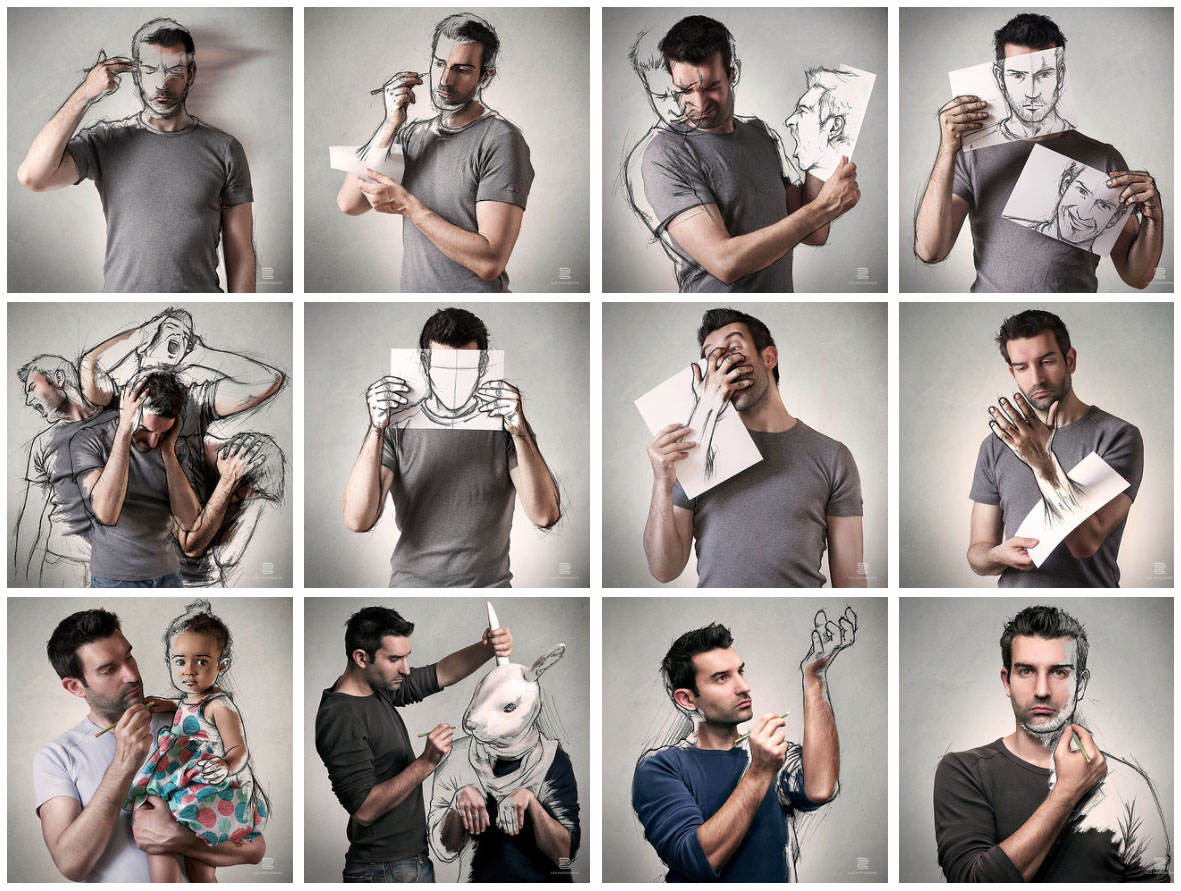
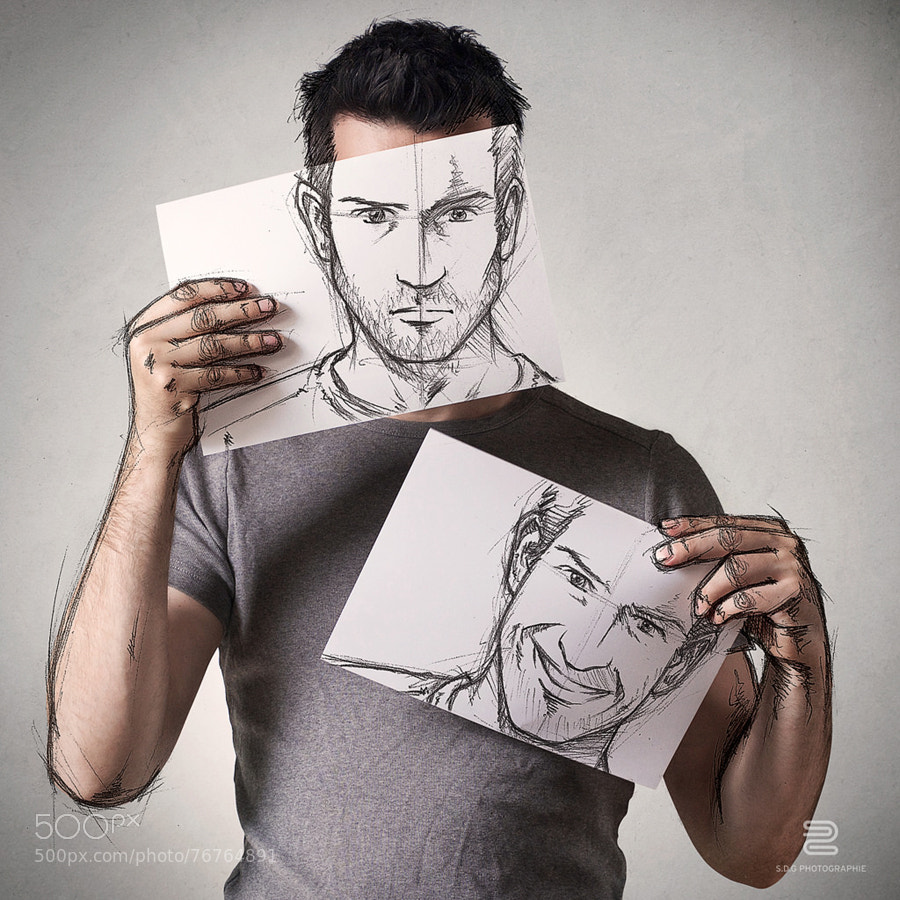
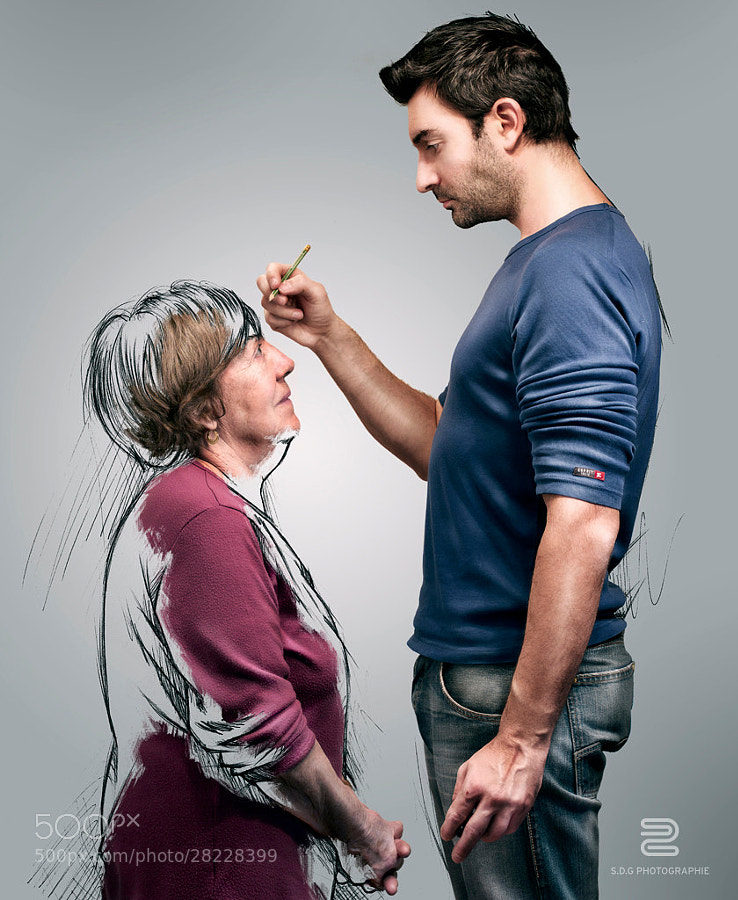
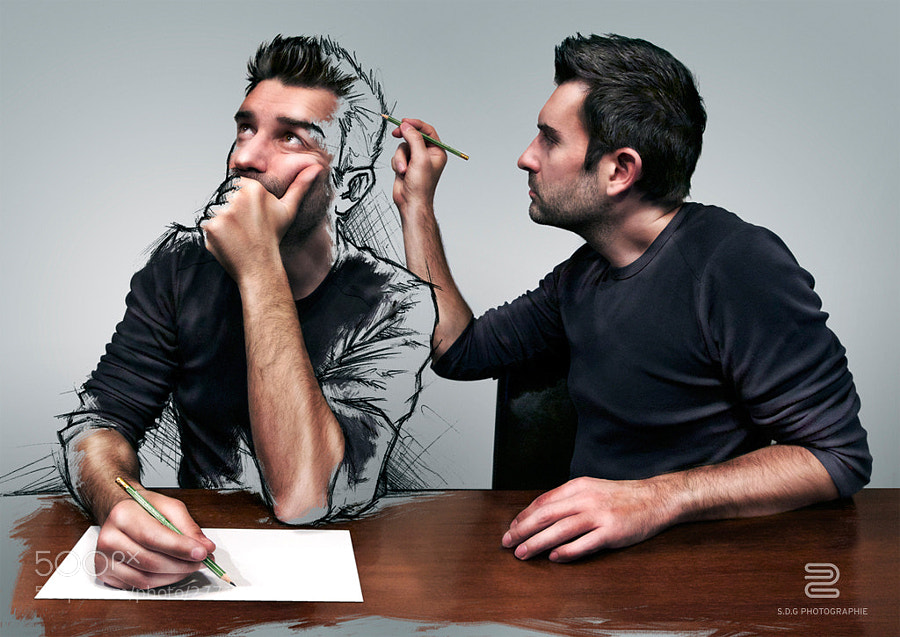
Want to turn your self-portrait photos into fine art? Paris-based photographer and graphic designer Sébastien Del Grosso has some techniques he’d like to share with you! Photography and drawing are Sébastien’s biggest passions in life, and he skillfully combines the two disciplines in his self-portrait sketch series on 500px, “The Sketch of A Life”. Scroll down to check out his tutorial, so you can learn how to shoot and process your images just like his self-portraits below!
by Sebastian Del Grosso
I have always been drawn to artistic creation. I’ve been interested in art—drawing and painting—since my childhood when my grandmother taught me to draw. By watching her draw and paint, I wanted to do the same. This influenced me the most to continue in that direction, and it is reflected in my professional life, since I work in the graphic design industry.
While traveling with my first Canon EOS in 2011, I also became interested in photography. I’ve been drawing for a long time, and discovered photography only 3 years ago. These days, I spend more time with photography than sketching, but I probably like both just the same.
Because of my work in graphic design, I learned how to be rigorous about details, colors, and emotions that give us an image. I apply these skills and experiences to the post-processing of my photography. When I take a picture, my eye for graphics contribute to the composition, because I try to frame the subjects logically.
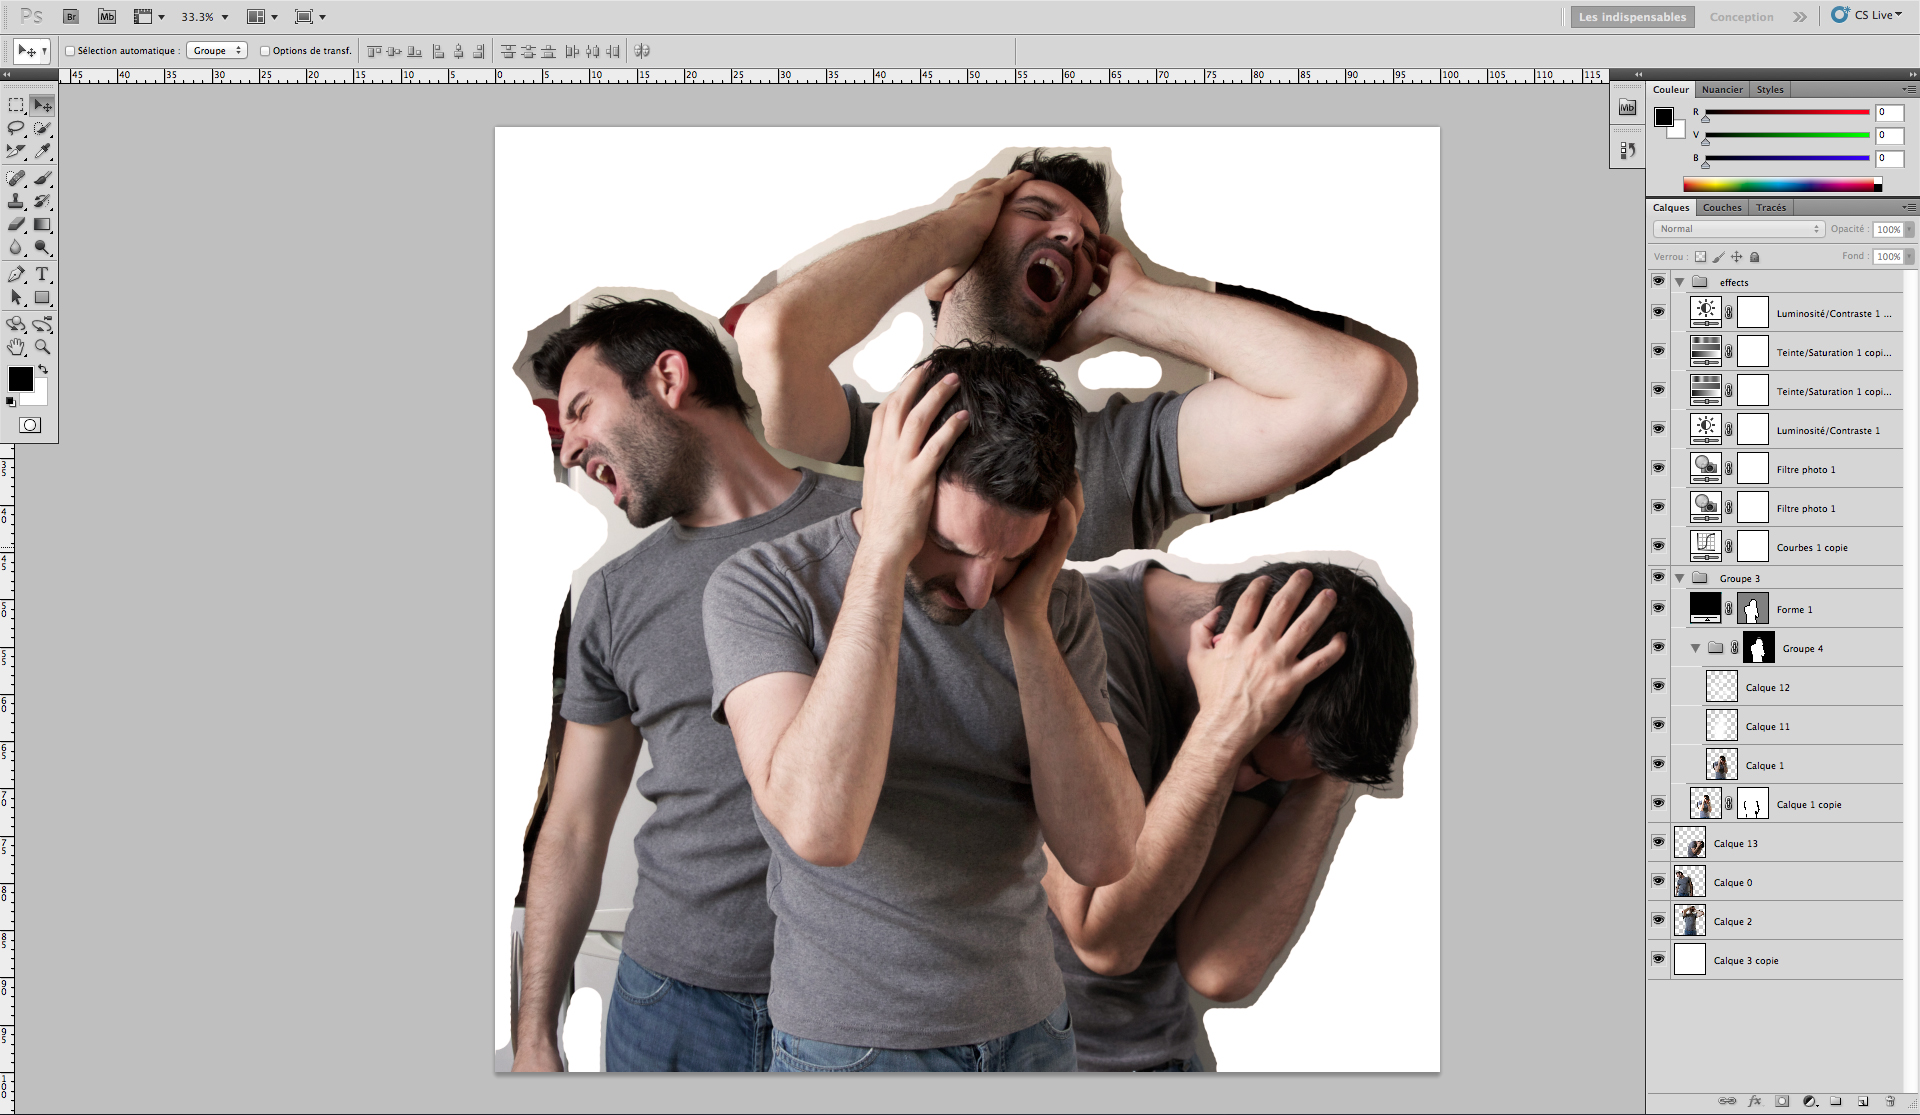
My self-portrait sketches are taken inside my apartment, shot in natural light with a Canon 7D, WA 16-35mm f/2.8 or a 50mm f/1.4. The result was obviously nothing close to what I expected. I use iPhoto to store and organize my pictures, but the complete post-processing was made on Photoshop.

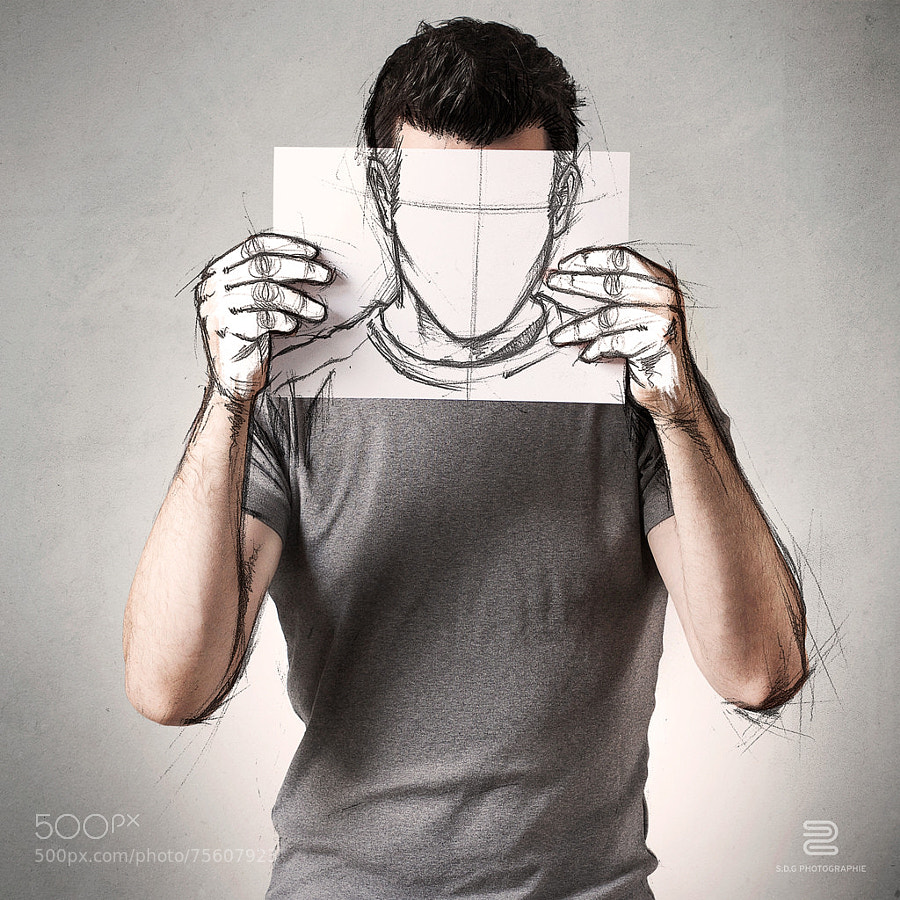
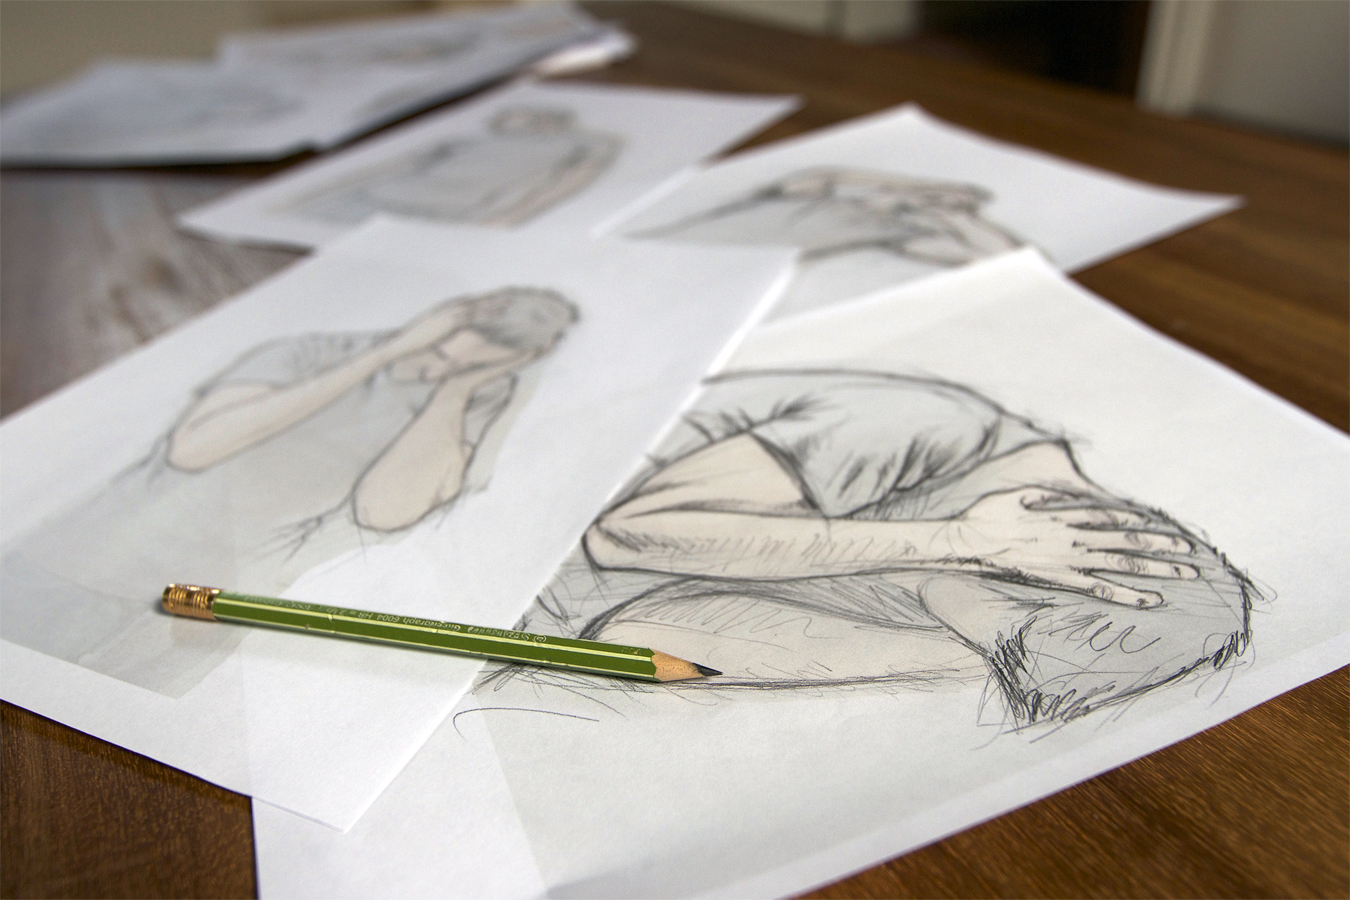
1. The selected pictures are printed with a layer of opacity of 90% white in order to reproduce a drawing very close to reality, with a general appearance that will perfectly align with the photo.
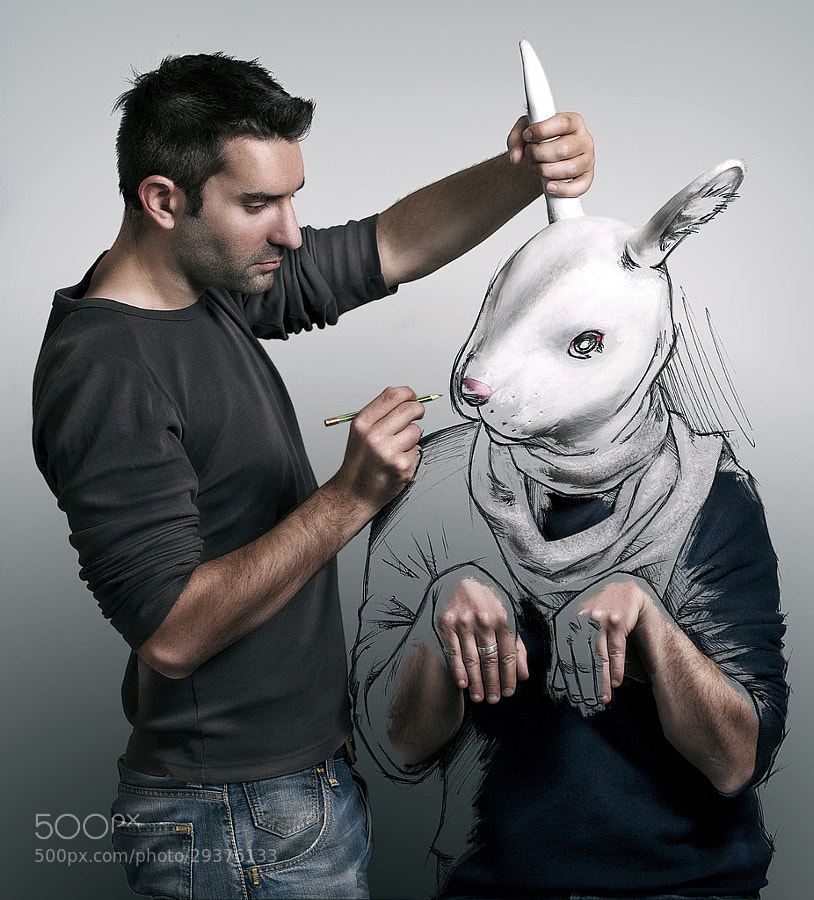
2. I use a simple pencil for the drawings. The pencil strokes are fast and nervous in order to give the impression of a construction.
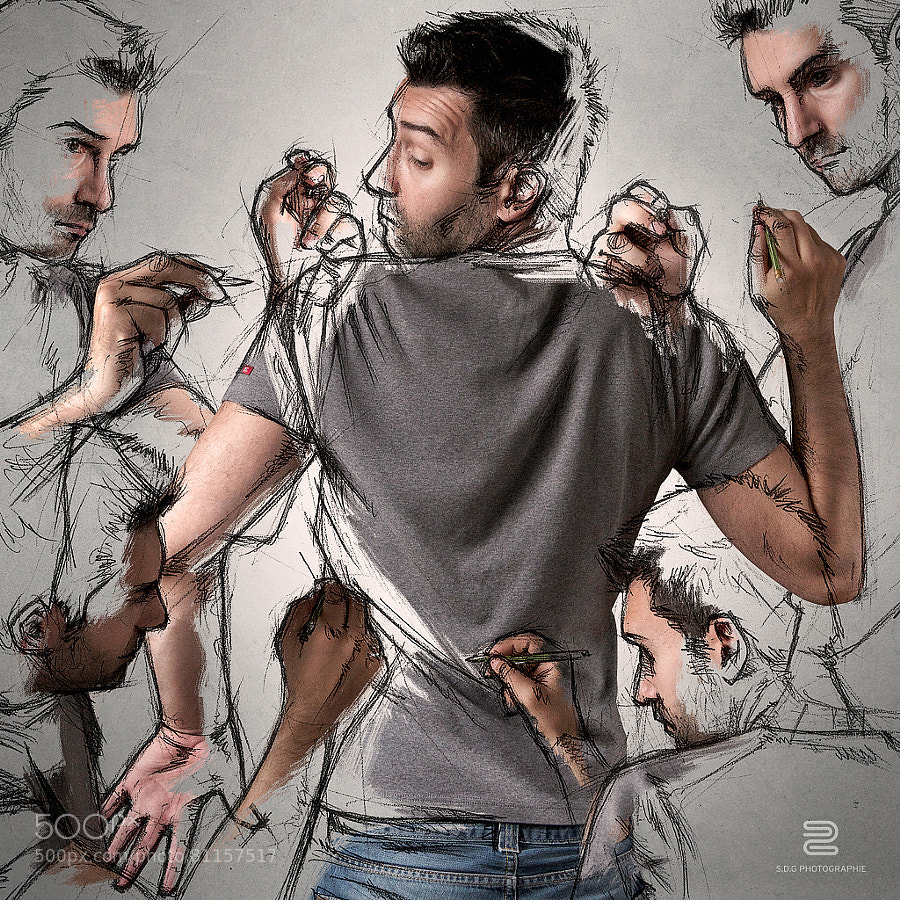
3. The elements are then placed in a square format. I try to keep all my images in this square format to reinforce the idea of a series. They are clipped quickly at first, so I’m aware of the general appearance of the final image.
4. To make sure that every adjustment is done on separate parts, I always work with layers. Therefore, I don’t touch any pixel of the original material. It helps me to see the evolution of my work, while masking the foreground and removing any layer whenever needed. To obtain this result, I mainly use tools like selective corrections, color blending, and the classic luminosity/contrast.
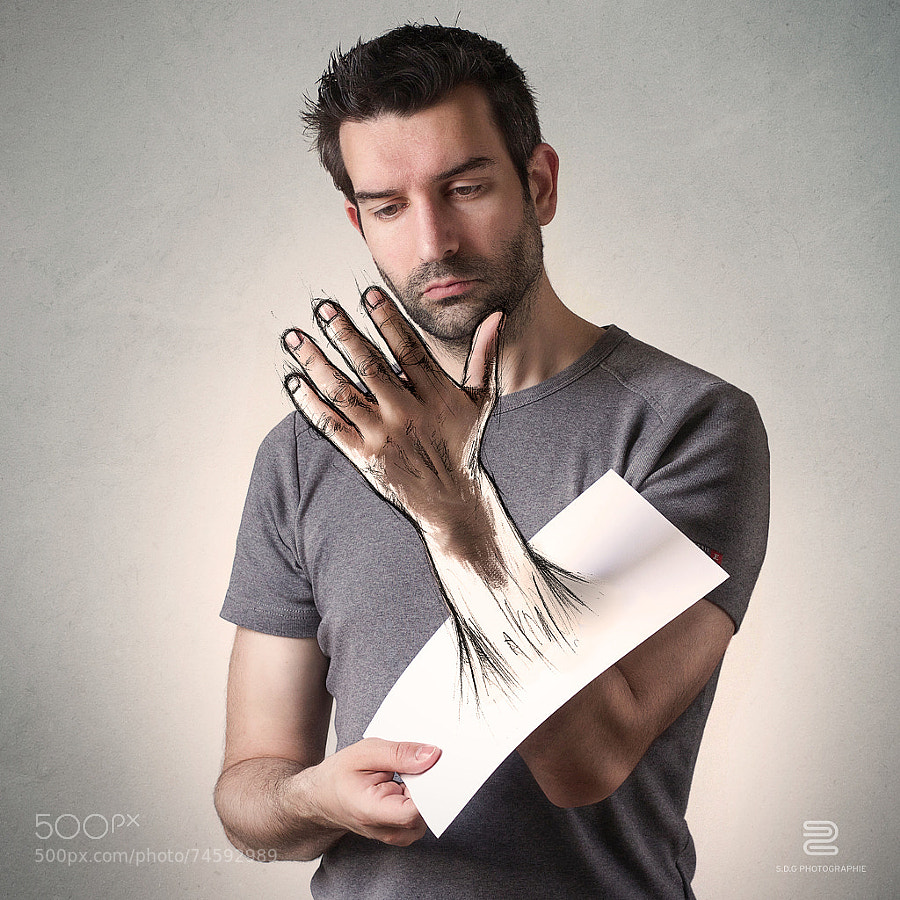
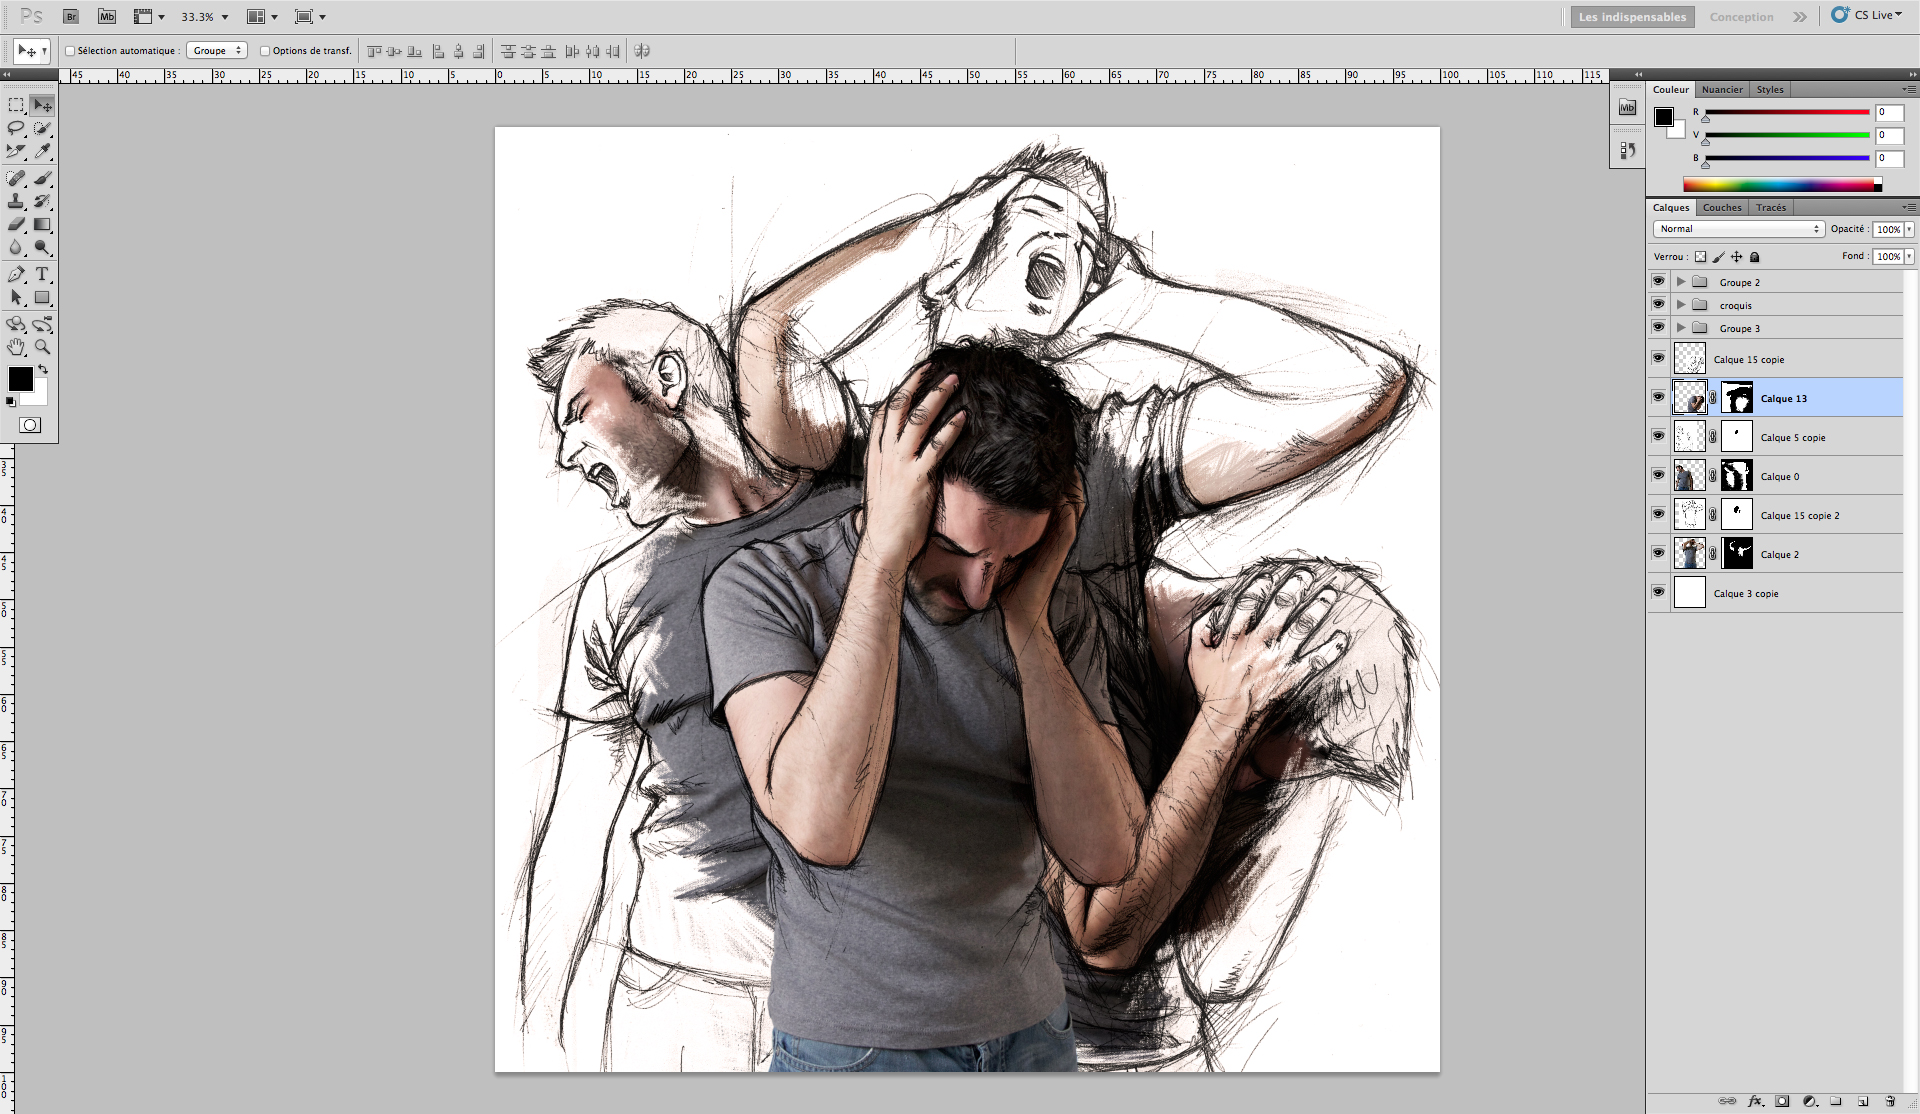
5. The drawings are scanned, cleaned, and then placed on the foreground, in front of the previous image.

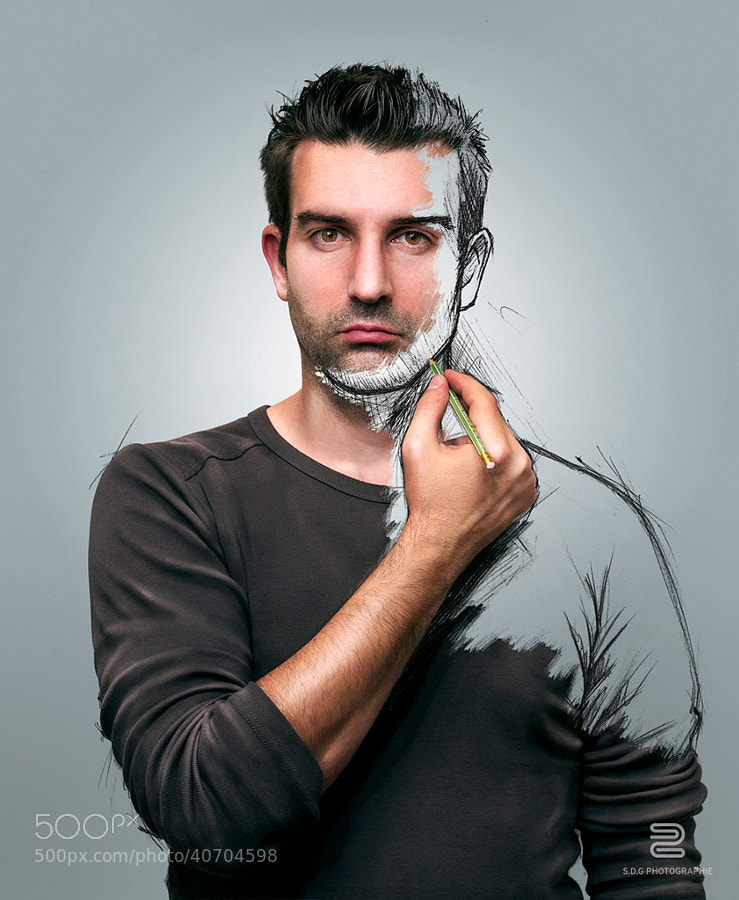
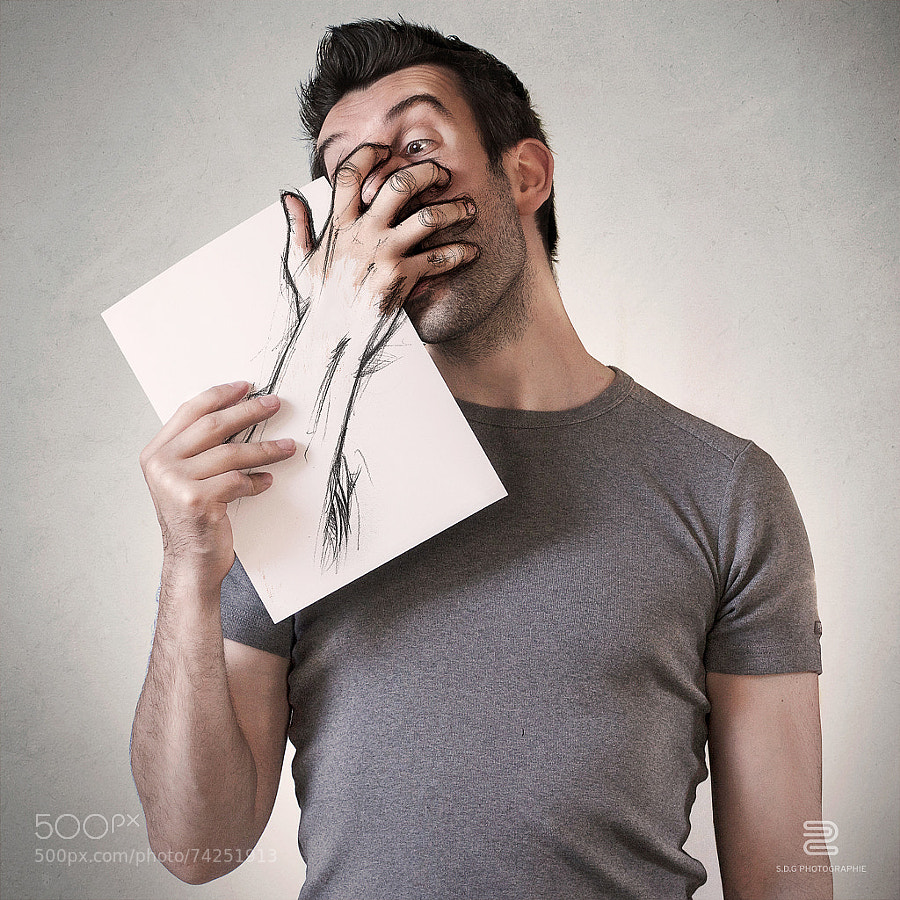
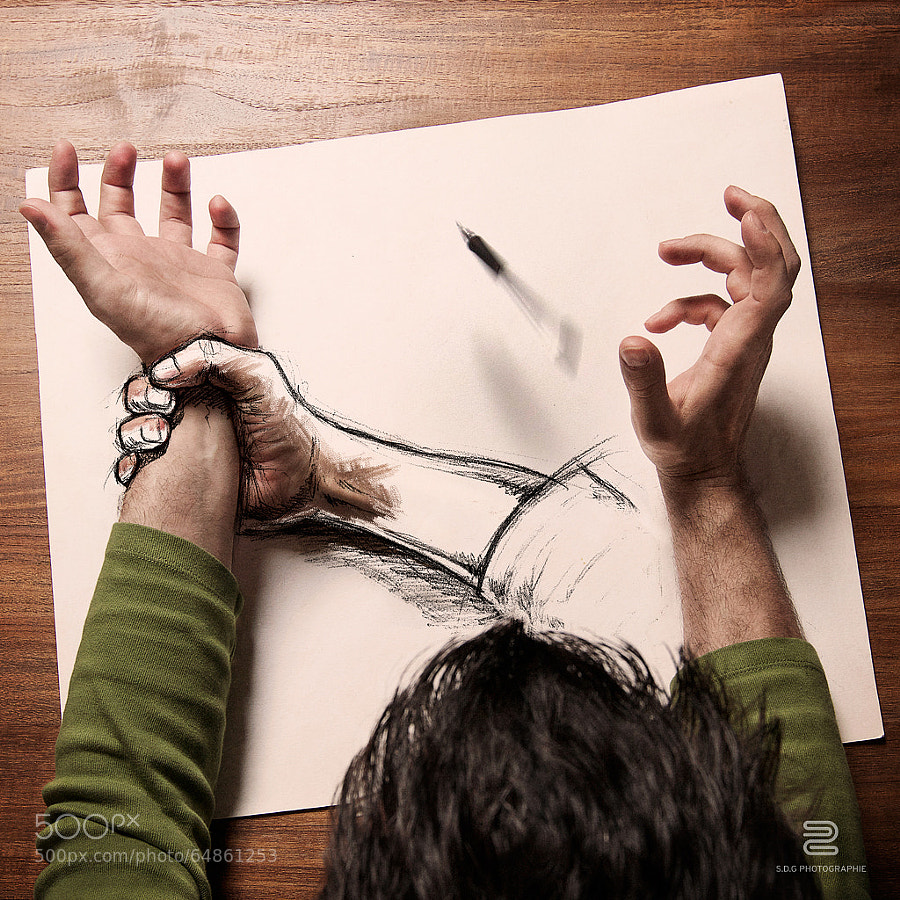
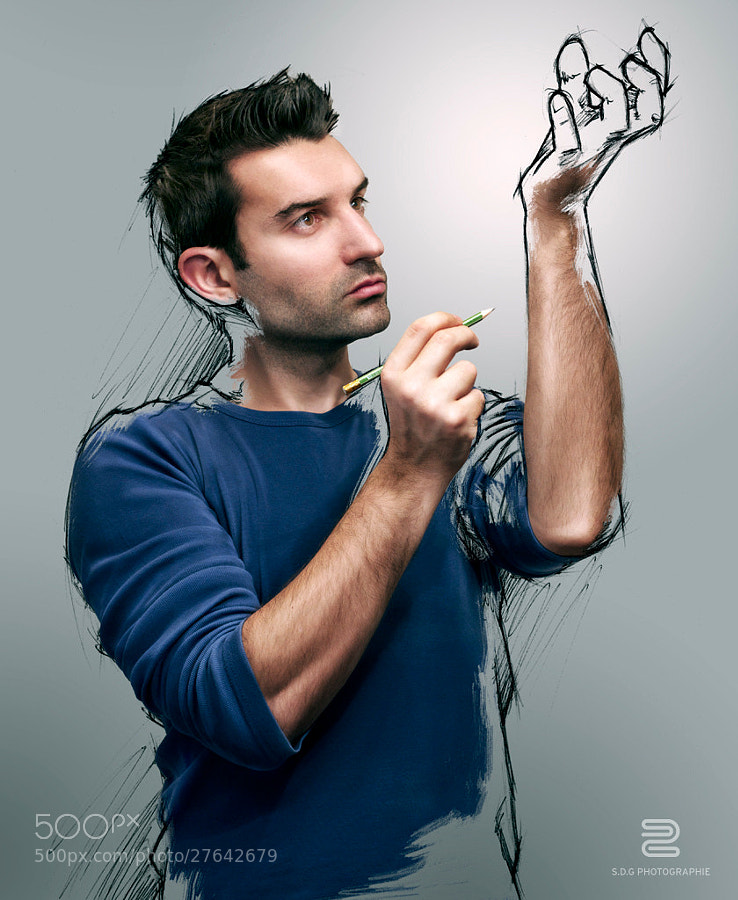
6. Then, with a mask, I erase some details on the pictures, and reveal the sketch. For this, I use one of the available brush shapes. The best is to use the sharpest brush—the larger ones are ineffective for this kind of job. The trickiest part in these images is the presence of the sketch part in the photo. It has to look realistic and balanced. You can show “enough” but not too much either.
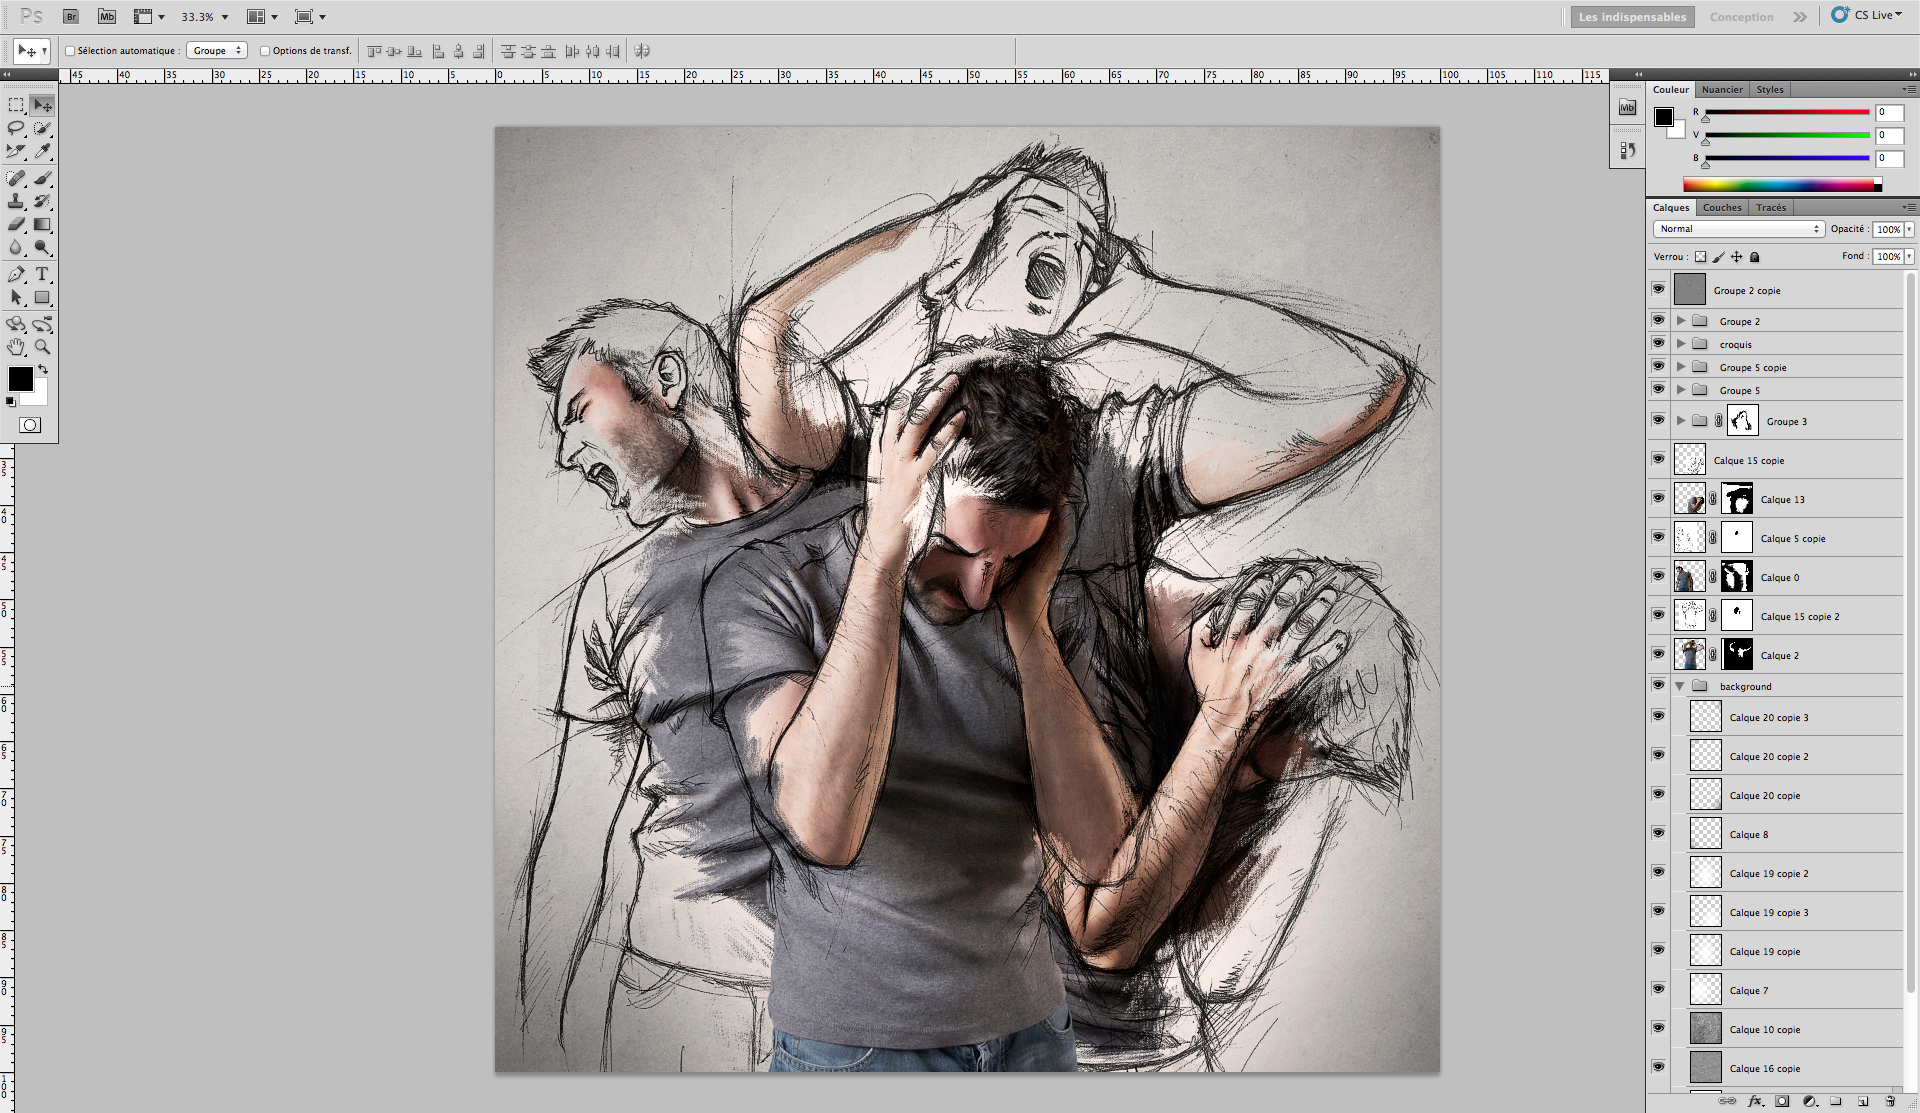
7. At the end, I place the background.
8. I apply some “Dodge & Burn” effect to the image to get even better results. My “dodge & burn” effect is probably doing a lot in the final rendering. It is a multitude of brush strokes—black or white—which serve to highlight or rather mitigate some facial features and clothing. Multiple black and white strokes help to reveal or hide some facial details—whites reduce, while blacks accentuate. It’s possible to add some light where there is not, or vice versa. This treatment is intended to look like a little more like a painting than a photo. This allows me to make the image more pleasant to the eye, between the photo and the drawing part. The trick here is to use the black in subdued mode, and the white in inlay mode. First, I apply many thick strokes. Then, I use the eraser tool for the finish.
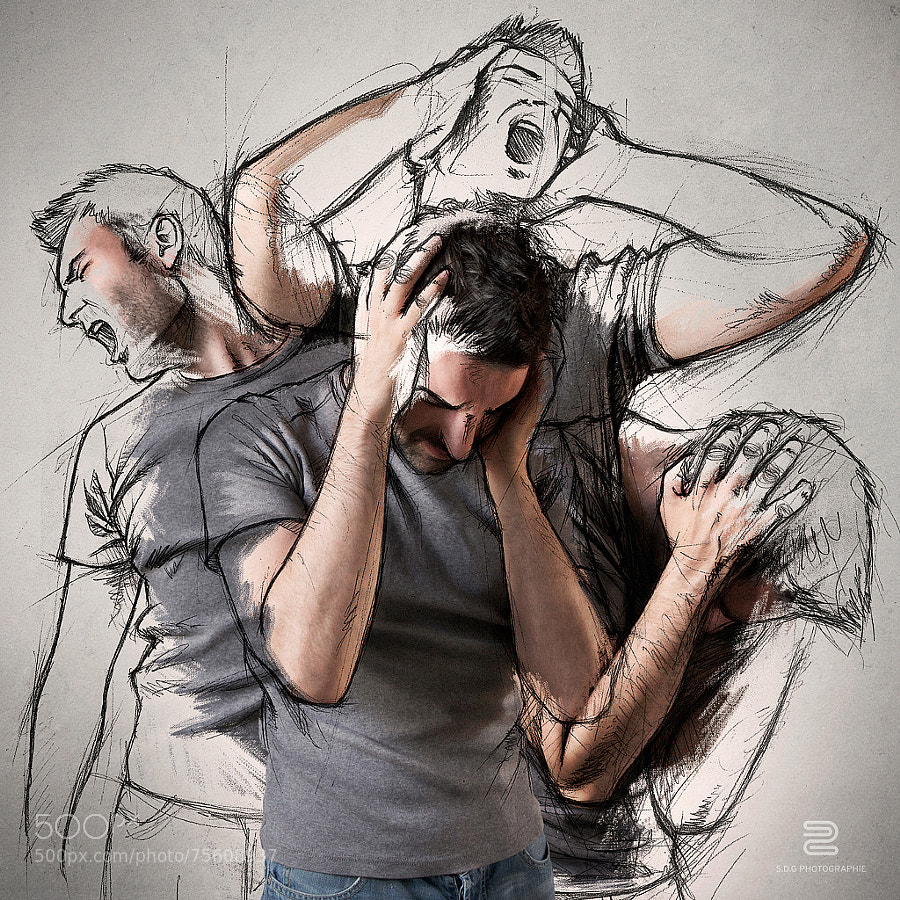
9. When I’m happy with the result, I duplicate the layers to make some of them blurrier, and tune the opacity. I usually use 4 to 5 layers, black or white, with no more than 15 to 20% opacity. Beyond that, the picture will reveal some noise that can be seen.
10. When the job is done, I duplicate the different layers.
11. I merge the layers by applying a high-pass filter, between 0.1 and 0.3 points, with the inlay mode. Now I’m sure I have a sharper image, with no glitch.
I would like to develop this self-portrait sketch series some more. I have many more creative and innovative ideas in my head, and they will be challenging to do. At some point, I would like to turn this series into a book with detailed texts on each image. Perhaps an exhibition is a possibility too. I’m always on the lookout for interesting contacts and propositions.
To see more of my photos, you can follow me on 500px, or connect with me on my Facebook page. Got questions for me about my images and process? Leave a comment below!

Leave a reply