Mike Lemma is a photographer, graphic designer, and art director. He is also a mobile photography enthusiast. In this tutorial, he shares his tips and techniques with mobile photography.

by Mike Lemma
As you know, the 500px community is teeming with high-quality DSLR photos. But as a photographer, I’m trying to expand outside the big bulky camera I lug around with me when I’m out shooting. So, I turn to my iPhone 5s camera. At first, I didn’t think much of it as more of an afterthought. But soon, I discovered many stock photo apps pay for your mobile photos. I got heavily into shooting with my phone after finding this out. I never realized how powerful the camera can be with some additional apps and accessories to help you boost your average mobile photos. Today, I use my 5s more than my Canon 60D DSLR camera. With apps now paying for your everyday photos, it’s my go-to camera. Thus, I’ve also been building a mobile portfolio on 500px. What’s great about it is I can upload pictures I’ve taken from my phone through their app and my photos are available to purchase from my Prime account as well.
6 Tips To Get Started With Mobile Photography
1. Pay attention to your surroundings.
I tell myself this all the time. I try to go out every week, and capture the seasons. I’ll take the stereotypical shots, but I will also pull over on the road to capture something I haven’t seen, or see briefly while driving and want to take a photo at a different angle. Make sure it’s safe to pull over. I also look at my room and say to myself there are at least a thousand different things I can photograph in here with my phone that I can sell.
2. Capture the moments
When you’re out shooting, or if you’re even going for a walk and you see a special moment that tells a story, then capture it. I went to Paris last month and I was sitting outside the Louvre by the glass pyramid. I was looking around, figuring out where to go next and off in the corner, I saw this little girl with old fashion Madeline hat kissing a puppy. I saw the moment happen, and unfortunately, I was too far to capture it with my phone. But it would have made a great black-and-white shot. When I do shoot people in the moment, I try not to upload them to micro stock sites because of model releases. Usually, those are the ones I save for my personal portfolio.
3. Never shoot during midday
I hate shooting midday around noon. The sun is at its highest, and your photos may look dull and boring. The only time I found this to be helpful was when I was in the Great Barrier Reef. The water was aqua blue, and you could see everything. Instead of shooting just the water, I tried to capture other things too. I went under a pier and captured a cool perspective shot.
4. Have a spare charger on you
Taking photos on your phone drains your battery fast, especially when you use it constantly. So I have a mophie juice pack on me, or a spare USB plug-in wireless battery. I’ll usually charge my phone around 50%.
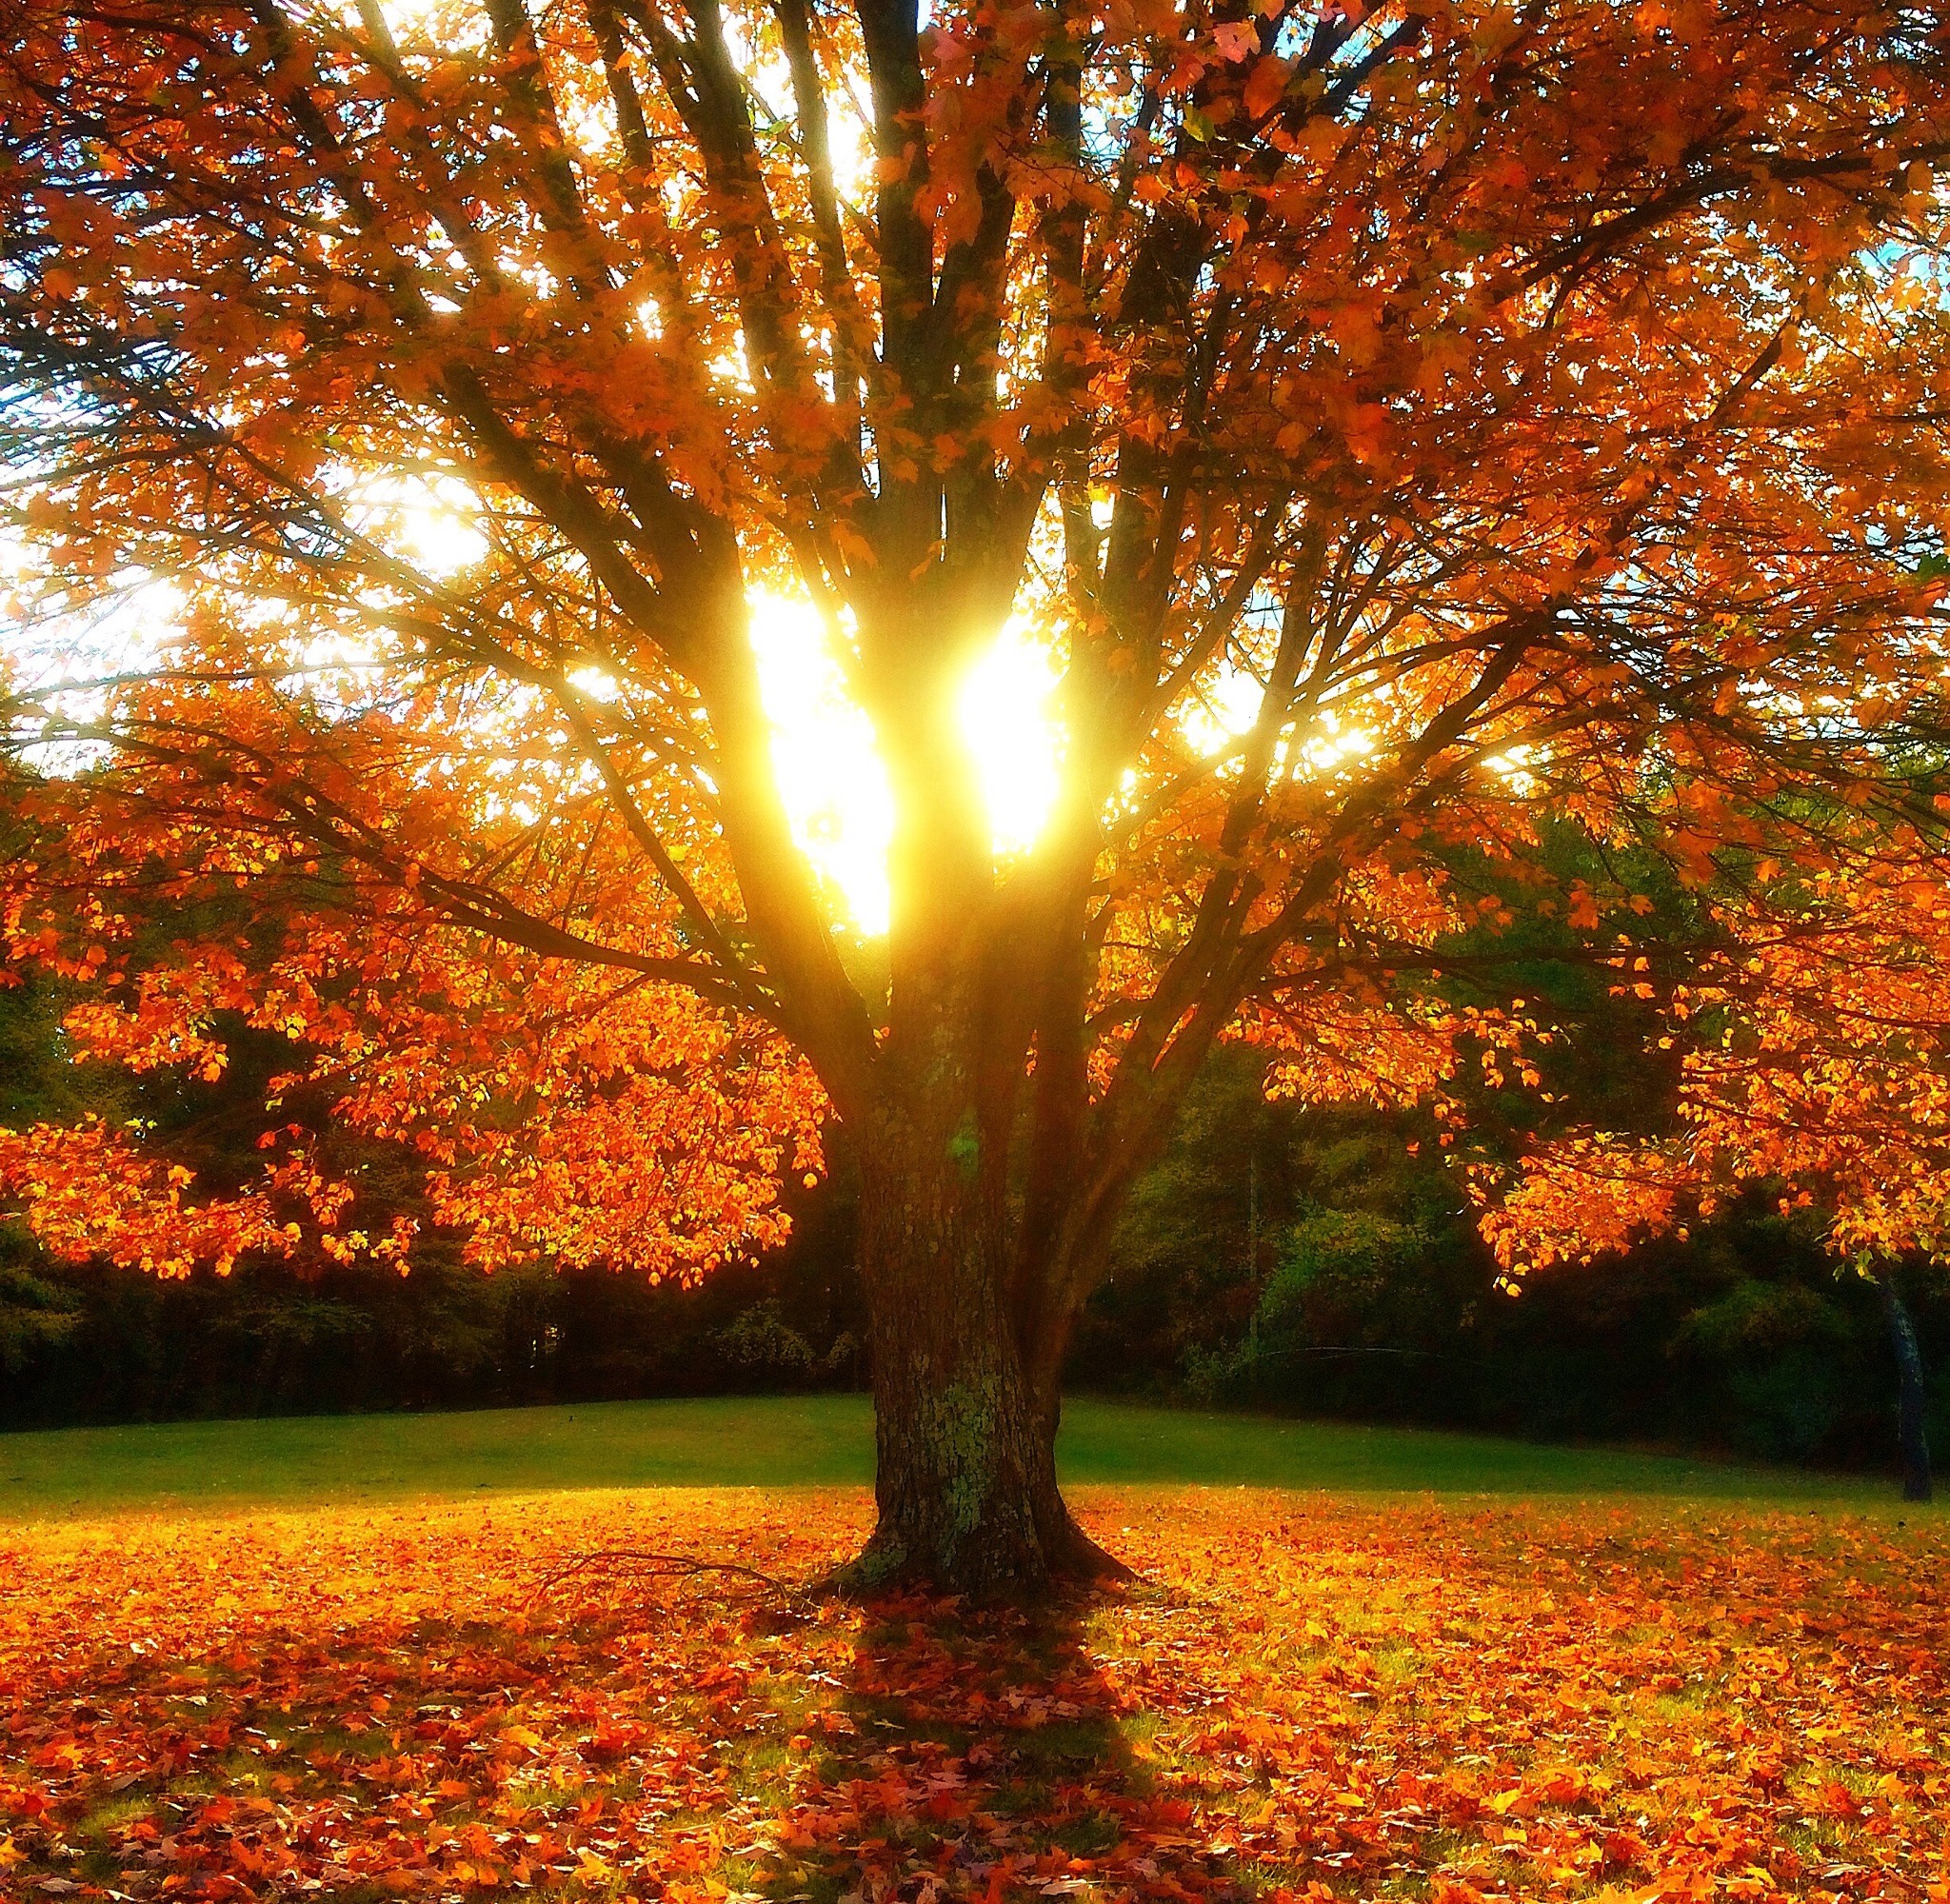
5. Sunrise and sunset are good times to get great shots
I’ve taken some of my best photos during these times they call the “magic hour”. The colors really pop the most and the light glows gold.
6. Buy an external lens
You don’t necessarily have to buy one, but it adds more depth and takes your mobile photos to the next level. I’ve used the Olloclip for my 5s. It has 4 lenses all in 1 clip. The two screw-ons are wide angle and fish eye. When you unscrew them, it’s Macro x10 and x15. I’ve taken some really great shots with it.

Go-To Apps
Here are a list of recommended apps that have gotten me into mobile photography:
Portfolio App
500px
Accessories
Olloclip
Every camera is different, when it comes to seeing with our naked eye and the way we take photos. Since the iPhone camera is slightly unsaturated in color from what we see with our naked eye, there has to be some tweaking involved after taking the photo. I use both Aviary and Camera+ to edit my mobile photos. It’s like having Photoshop on your phone.
Camera+ Overview
Camera+ is a great app. I use it almost all the time as my go-to camera and editing. Why? I can adjust settings manually like a DSLR. The iPhone camera only has HDR, a new feature to change brightness, timelap (which is cool), and flash. That’s about it for the settings–kind of bland. With Camera+ app, I can adjust the ISO, white balance, zoom, lock my exposure, and lock my focus point—no more constant refocusing. After I set my settings, I can take a photo and it will save it to a separate library in the application. Once I go into the application, I can edit the photos.
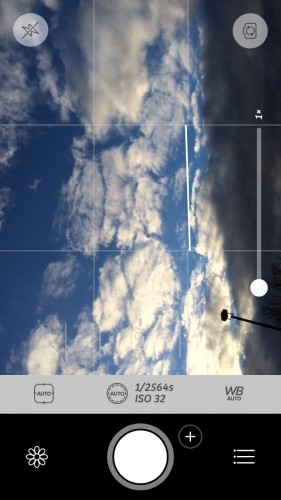
Camera+ manual settings screenshot

Camera+ gallery
Camera+ Editing
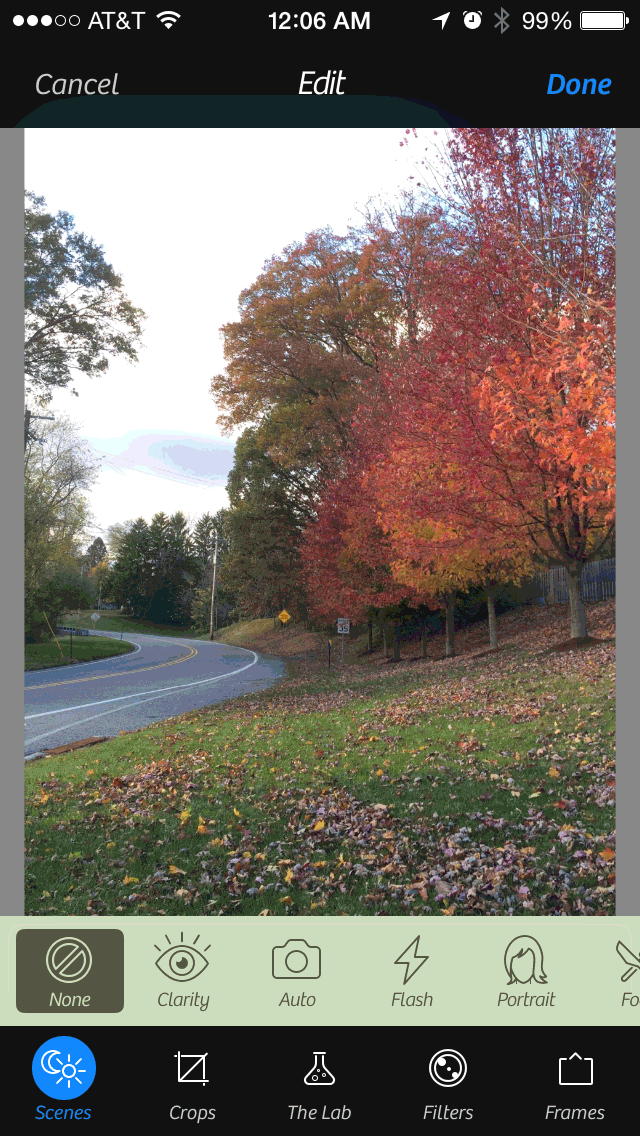
After taking your picture, you can go into the library and start to edit your photo. If you don’t have any photos in the library to edit, you can also import by hitting the Plus button on the top-right corner to import your photos from your iPhone’s gallery. Once you decide which photo you want to edit, you will enter a screen with many different editing options.
You will have 5 different editing tabs which have more editing functions and filters in each setting. Each of these are explained below. They best thing about Camera+ editing is that it’s non-destructive until you export the image to your camera role. So, if you’re editing your photo manually and adding a bunch of filters, but decide later that you want to change something, you can always go back and change it without affecting the photo.
Camera+ Scenes
Scene is broken up into 16 options. Each scene acts as a filter, almost like an option you select in a submenu of a point-and-shoot camera. Each can be used in your own creative way. There is no right or wrong way to use them. In some cases, the ones meant for their particular scene doesn’t fit well with that photo, and works for others.
Check out the GIF below to explore each filter:
Clarity – HDR “filter” that makes your image pop adding that “surreal magical” effect. It brings out the details in your photo.
Auto – An automatic filter that your camera would normally use if you had it in Auto.
Flash – A filter used to give a flash effect, but I’ve noticed it makes your colors pop (foliage photos).
Portrait – Drops the saturation in the photo and brings in the shadows.
Food – Lightens the photo as adds a subtle glow/blur to the photo.
Backlit – Makes the photo lighter and looses saturation.
Night – Will blow out the photo to make the night shots look more visible.
Shade – Will bring all the details out of the shade and make them visible, making your photo lighter.
Sunset – Will add saturation to the photo making the photo pop in color.
Cloudy – Will set the overall photo to be neutral.
Beach – Will brighten the photo lightly and make the colors pop slightly in saturation.
Scenery – Will darken the photo but make the colors pop in saturation.
Concert – Has the same effect as Scenery but slightly lighter.
Darken – Will darken the photo and make the colors pop slightly.
Fluorescent – Will brighten the photo.
Text – I have no idea what this option is nor have I seen it, but when I select it, it makes my photo pop in color and also adds a HDR look and feel.
Crops
Crops are broken up in multiple formats for multiple purposes. For example, Instagram crops, iPhone crop, 4:3, etc. Crop for whatever platform you will be using your photo for. Most crop options are the most common and popular cropping ratios.
The Lab
The Lab is my favorite editing tool for photos. It’s Photoshop on your phone. It has up to 15 different editing options available. The most common are saturation, temperature, highlights and shadows, brightness and contrast, but there is plenty more. It’s because of all these that I am able to edit my average iPhone photos to look better. It’s one of my favorites apps to use because of all these extensive options to edit. The only option missing which I use in other apps is the tilt-shift effect, but this effect is in the filters menu as “miniaturize”. The only downside is that you can’t manually edit it like in Aviary app.
Filters
If you don’t feel like editing your photos manually, this is where filters come in. They have a bunch of them broken up into sections, but what’s cool about them is you can add them in stacks onto or take away, instead of just apply one filter. This gives your photos unlimited varieties of personalization when editing. Most, if not all, filters are pretty accurate, but they have some other nice ones like Sunkiss’d that really add a nice effect for a sunset shot or sunny day shot.
Olloclip
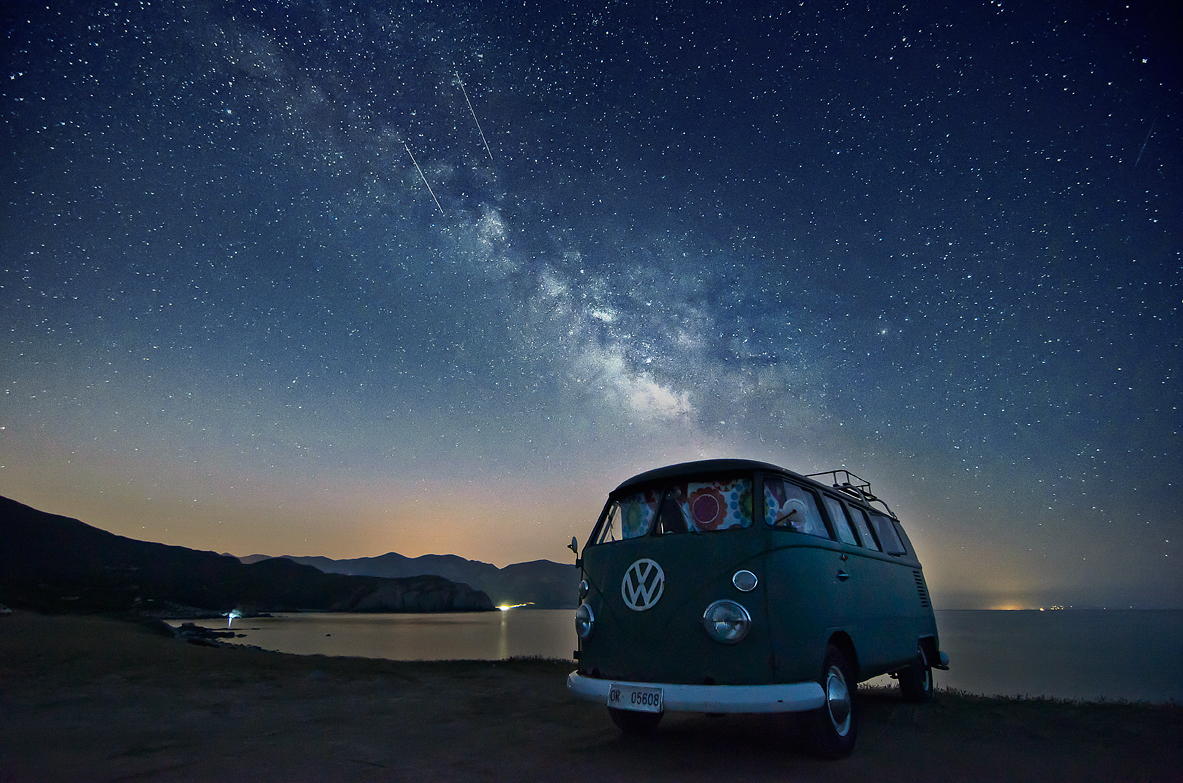
When it comes to using accessories, I use Olloclip. I love this 4-piece set lens extender. It adds more interesting shots to your composition. I’ve used it to take great shots like the one below, and then edited it all on my phone with Aviary or Camera+.

Uploading
When I’m finally done editing, I upload the photos to my 500px portfolio along with other microstock photography apps. Then, I tag them appropriately.
Stock photos
Companies are now turning to real photographs taken by everyday people and using them in their campaigns rather than the fake-looking stock photographs. These everyday photos add a certain humanity to them. You can make a couple hundred bucks to even a couple thousand just by uploading photos you take everyday straight to sites such as 500px Prime! Just search for “stock photography” in the iTunes App Store.
If you’d like to see more of how I edit and sell my photographs, you can take my course on how to sell your pictures with mobile photography on Udemy: https://www.udemy.com/making-money-mobile-photography/?couponCode=500pxblog
Use coupon 500pxblog. The regular price is $49, but with the coupon, the course is $25! It has over 3 hours of step-by-step video lectures on iPhoneography and make money with micro stock photography applications.

Want to get to know the photographer behind the tutorial? Scroll down and read our interview with Mike!
500px: How did you get into iPhoneography?
MIKE LEMMA: I got into iPhoneography while I was living in Australia. At the time, I didn’t have a DSLR because I sold mine before leaving for Australia. I went 6 months before repurchasing a new one. So I heavily relied on my iPhone 4s as my back-up. Then, I discovered micro-stock photography apps that pay you for submitting your everyday photos. After I made a couple bucks from doing a few minutes worth of work, I was hooked. I realized I was in a tropical, exotic place, so I started to pay more attention to my surroundings. I began to capture shots with my iPhone as much as I could. This was great because I didn’t have to rely on a DSLR, extra lenses, and lugging equipment around. All I needed was in my pocket. Since I didn’t have a DSLR, I wouldn’t have the same feel or quality with my photos, so I had to get creative. But after doing this for a while, I learned iPhoneography is in its own category, and can’t be compared to the high-quality DSLR photos.

When you are shooting with your iPhone, do you plan your shots earlier or does the equipment allow you to be more spontaneous?
MIKE: Because it’s in my pocket, it’s more spontaneous. But if I am going for a hike, I know I will be taking photos, so I keep in mind of shots I want to take and I am more aware of my surroundings.

What are your favorite subjects to shoot?
MIKE: I like shoot landscape and nature, but I’m getting into abstract and people.


Who are some of your favorite photographers?
MIKE: I like Scott Kelby. I like Tom Anderson who’s the founder of MySpace and also on 500px. I like Jake Olson whose portraits are incredible. And Peter Lik who takes wonderful landscape photos.
Out of all the images you’ve taken with an iPhone, which one is your favorite image?
MIKE: My favorite is “Water Drops”. I took it a few weekends ago with my Olloclip, and it’s a great macro shot.

To see more of his work, you can follow Mike Lemma on 500px, Instagram, or Twitter.
Click here to check out more of my graphic design work.

Leave a reply