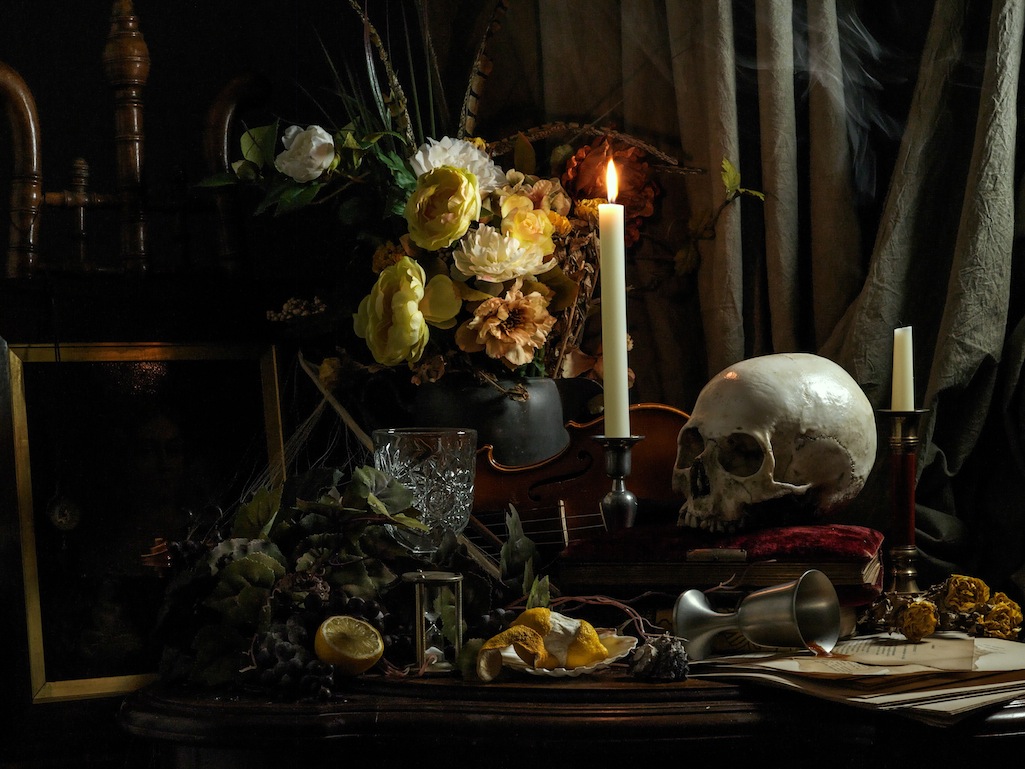
In this tutorial by Alexandria Huff of BorrowLenses.com, you’ll learn how to create a macabre 17th Century still life image. To create this still life, she used a Hasselblad, the bad boy of medium format photography. But don’t get intimidated—feel free to use your DSLR, point-and-shoot, or even your phone. Setting up the light and getting themed props are key to make the photo work. Have fun, and remember to share your results with us on 500px!
Introduction
Hi everyone! My name is Alex Huff, I am a studio portrait photographer in San Francisco by night and a product photographer & copywriter at BorrowLenses by day. In celebration of the fall season, I have created a still life in the tradition of a Dutch Vanitas. Vanitas, or “vanity”, paintings incorporate macabre motifs to symbolize the transient nature of life. Some of the symbols are obvious, such as skulls, watches, and hourglasses. Other symbols, all representing the shortness of life in some way, include rotting fruit, flowers in various states of robustness and decay, seashells, sea food, bubbles, smoke, books, instruments, small game, butterflies, and wine.
Creating your own Vanitas is a fun exercise in arrangement, attention to detail, and introspection. It is also a convenient indoor project during the winter months when getting out to take photographs is sometimes difficult. While prop-heavy, a Vanitas-style photograph uses minimal lighting. I am going to show you how I created my Vanitas with only 1 LED panel and 3 household mirrors.
Equipment
- Continuous light source
1 LED Litepanel from the Litepanels 1×1 Daylight Flood and Spot Light Kit
Substitutions: Any continuous light source on the tungsten end of the color temperature spectrum or that can accommodate CTO gels. - Mirrors
2 small hand mirrors.
Substitutions: Glass with foil on 1 side works in a pinch. - Reflectors
1 sheet of reflective silver paper.
Substitutions: Tin foil. - Camera Hasselblad H5D-40 Medium Format Camera
Substitutions: Any camera that lets you manually shoot. - Lens
Hasselblad 100mm f/2.2 HC Lens
Substitutions: Any mid-length lens. Doesn’t have to be fast. - Tripod
Substitutions: We’re working with slow shutter speeds so you will need secure stabilization. If you don’t have a tripod try using a table or a stack of sturdy books or boxes. - Props
There are many symbols in the original Vanitas-style paintings to choose from so you are not limited. Leave out the skulls and decay for a more traditional still life. I borrowed most of my props from friends.
Want to try out photo equipment? Rent your next camera, lens, lights and other awesome gear from BorrowLenses. Claim your unique 500px discount code right now. BorrowLenses ships to U.S. address only.
Lighting and Camera Settings
To mimic window light, I placed a Litepanel 1X1 panel up high and pointed down slightly with 1.5 stops of diffusion and a 1/8th CTO filter. The Litepanels have convenient slots, making stacking diffusion with filters easy.

Before I deployed my mirrors, and using only the Litepanel to light my scene, I took a test shot with the Hasselblad at ISO 800, f/19, and a ½ a second shutter. I am working with very dim lighting but I also want everything in my scene to be sharp (still life artists of this era did not paint bokeh, after all).

The scene, while off to a good start, is too dark in certain areas. I want very subtle illumination and a great way to “paint in” small amounts of light is with mirrors and other reflective surfaces.

Mirrors, silver paper, and (to a lesser extent) tin foil are good at bouncing back some of the light from your main source back into your scene. It is ideal for still life, where even the smallest light adjustments make a big impact. I recommend adding 1 mirror at a time so that you don’t confuse yourself when making placement adjustments.

I then used a hand mirror to illuminate the front of the skull. The light bouncing out of here will be stronger than the less reflective silvery paper used for the painting. Lastly, I filled in some of the foreground items with another hand mirror.

I used reflective paper from a craft store to bounce some light from the LED into the painting.
3 mirrors was as far as I wanted to take it for this scene (plus, I ran out of Nasty Clamps). The sky’s the limit on how far you want to take your subtle lighting with this technique. It is good practice and it is inexpensive to do!

Nasty Clamps are super handy for this kind of work.

Post-Processing

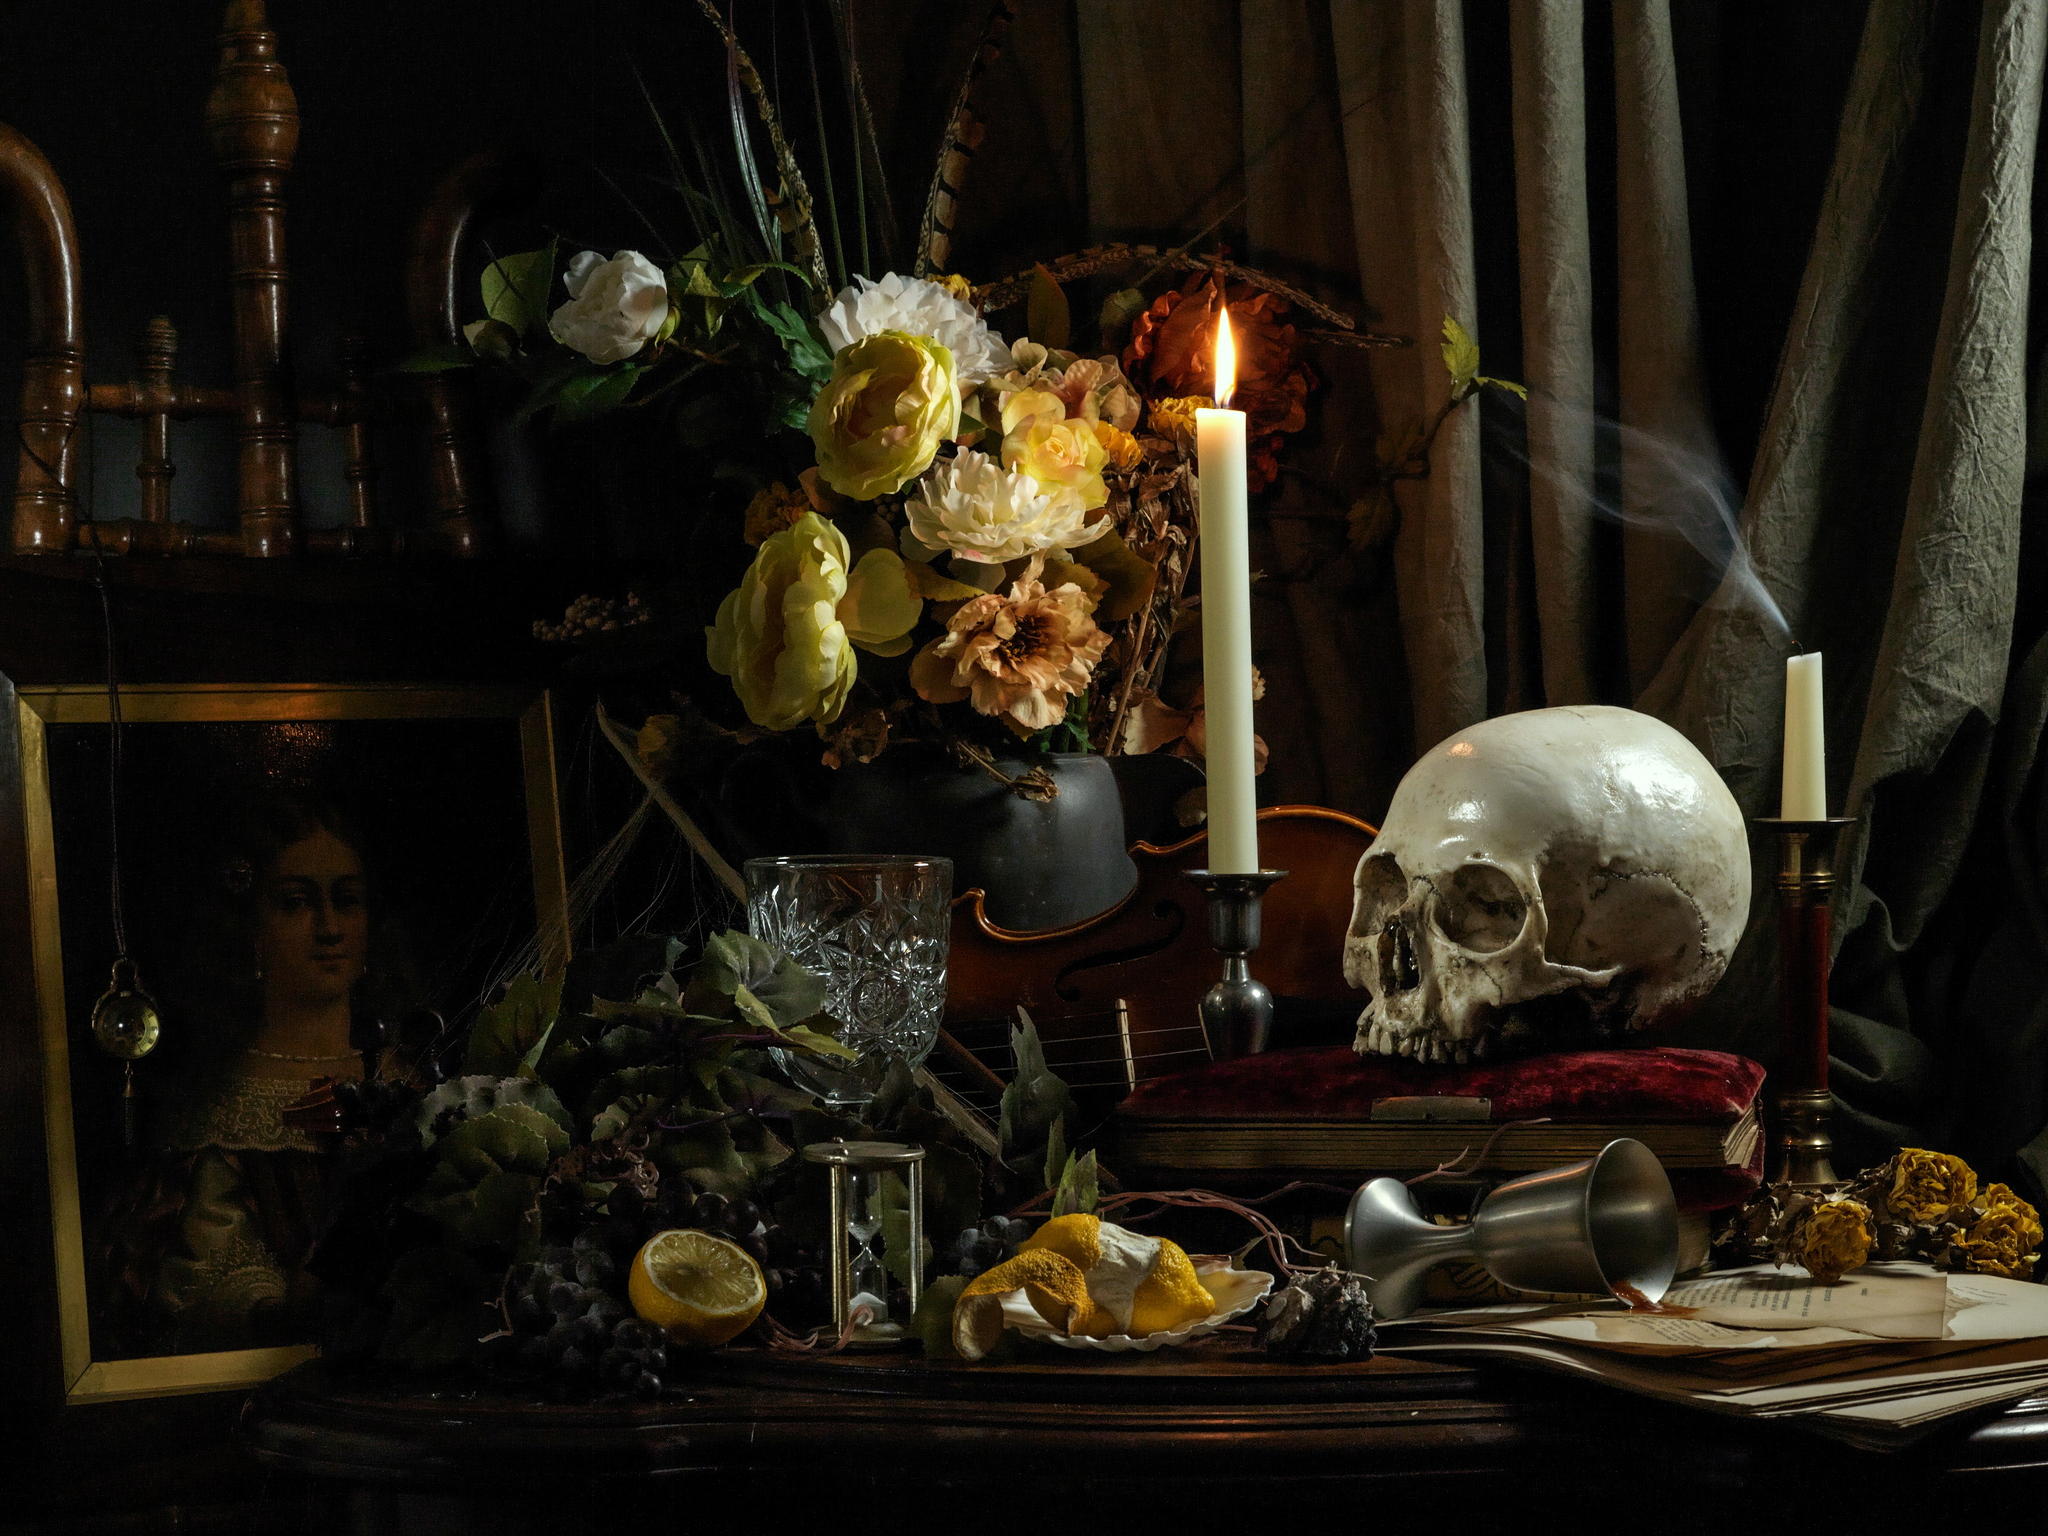
The painting, hourglass, and face of the skull are all filled in with reflected light.
For post-processing, I increased my clarity in Lightroom by 10 just to give my image a slightly sharper look. At ISO 800, the Hasselblad produced a decent amount of grain in my scene and I was pleased with the results because it gave my photo a more painterly look without having to add filters to it in post. Grain isn’t always a foe!


Final Image
This is the final result after post production work. Post production is really a great place to clean up and finalize your image. As a general rule, aim to get 90% of your work when setting up and shooting the image and only the rest in post.
Have fun creating your own spooky still life! If you have any questions for me about this tutorial, leave them in the comments below.


Leave a reply