Flash photography can dramatically enhance your images by adding light where it’s needed most. Whether you’re shooting portraits, still life, or even landscapes, mastering flash techniques can elevate your photography to new heights. Here’s a comprehensive guide to getting the most out of your flash.
Understanding flash photography
Flash photography involves using artificial light sources to illuminate your subject. This can be an on-camera flash, an external flash unit, or studio lighting. The key to successful flash photography is learning to control and modify the light to achieve the desired effect.
Essential techniques for creative flash photography
Bounce flash: Instead of pointing the flash directly at your subject, bounce it off a ceiling or wall to create a softer, more natural light. This technique reduces harsh shadows and spreads light evenly across your scene.
Diffused flash: Use a diffuser to soften the light from your flash. This can be achieved with commercial diffusers, homemade solutions like a tissue, or built-in diffusers on some flash units. Diffused light reduces the intensity of the flash, creating a more pleasing and less harsh illumination.
Off-camera flash: Moving your flash off-camera provides greater flexibility and creativity in your lighting setup. Use wireless triggers or sync cords to position the flash at different angles, creating dramatic and three-dimensional lighting effects.
Fill flash: Use your flash as a fill light to brighten shadows in outdoor shots, especially during harsh midday sunlight. This technique helps balance the exposure between your subject and the background, reducing contrast and improving overall image quality.
Advanced techniques
Rear curtain sync: Set your flash to rear curtain sync to fire at the end of the exposure rather than the beginning. This technique captures motion blur behind a sharply focused subject, adding a sense of movement and dynamism to your images.
High-speed sync: Use high-speed sync to shoot with flash at shutter speeds faster than your camera’s sync speed. This technique is ideal for freezing fast action or shooting wide open in bright conditions without overexposing your image.
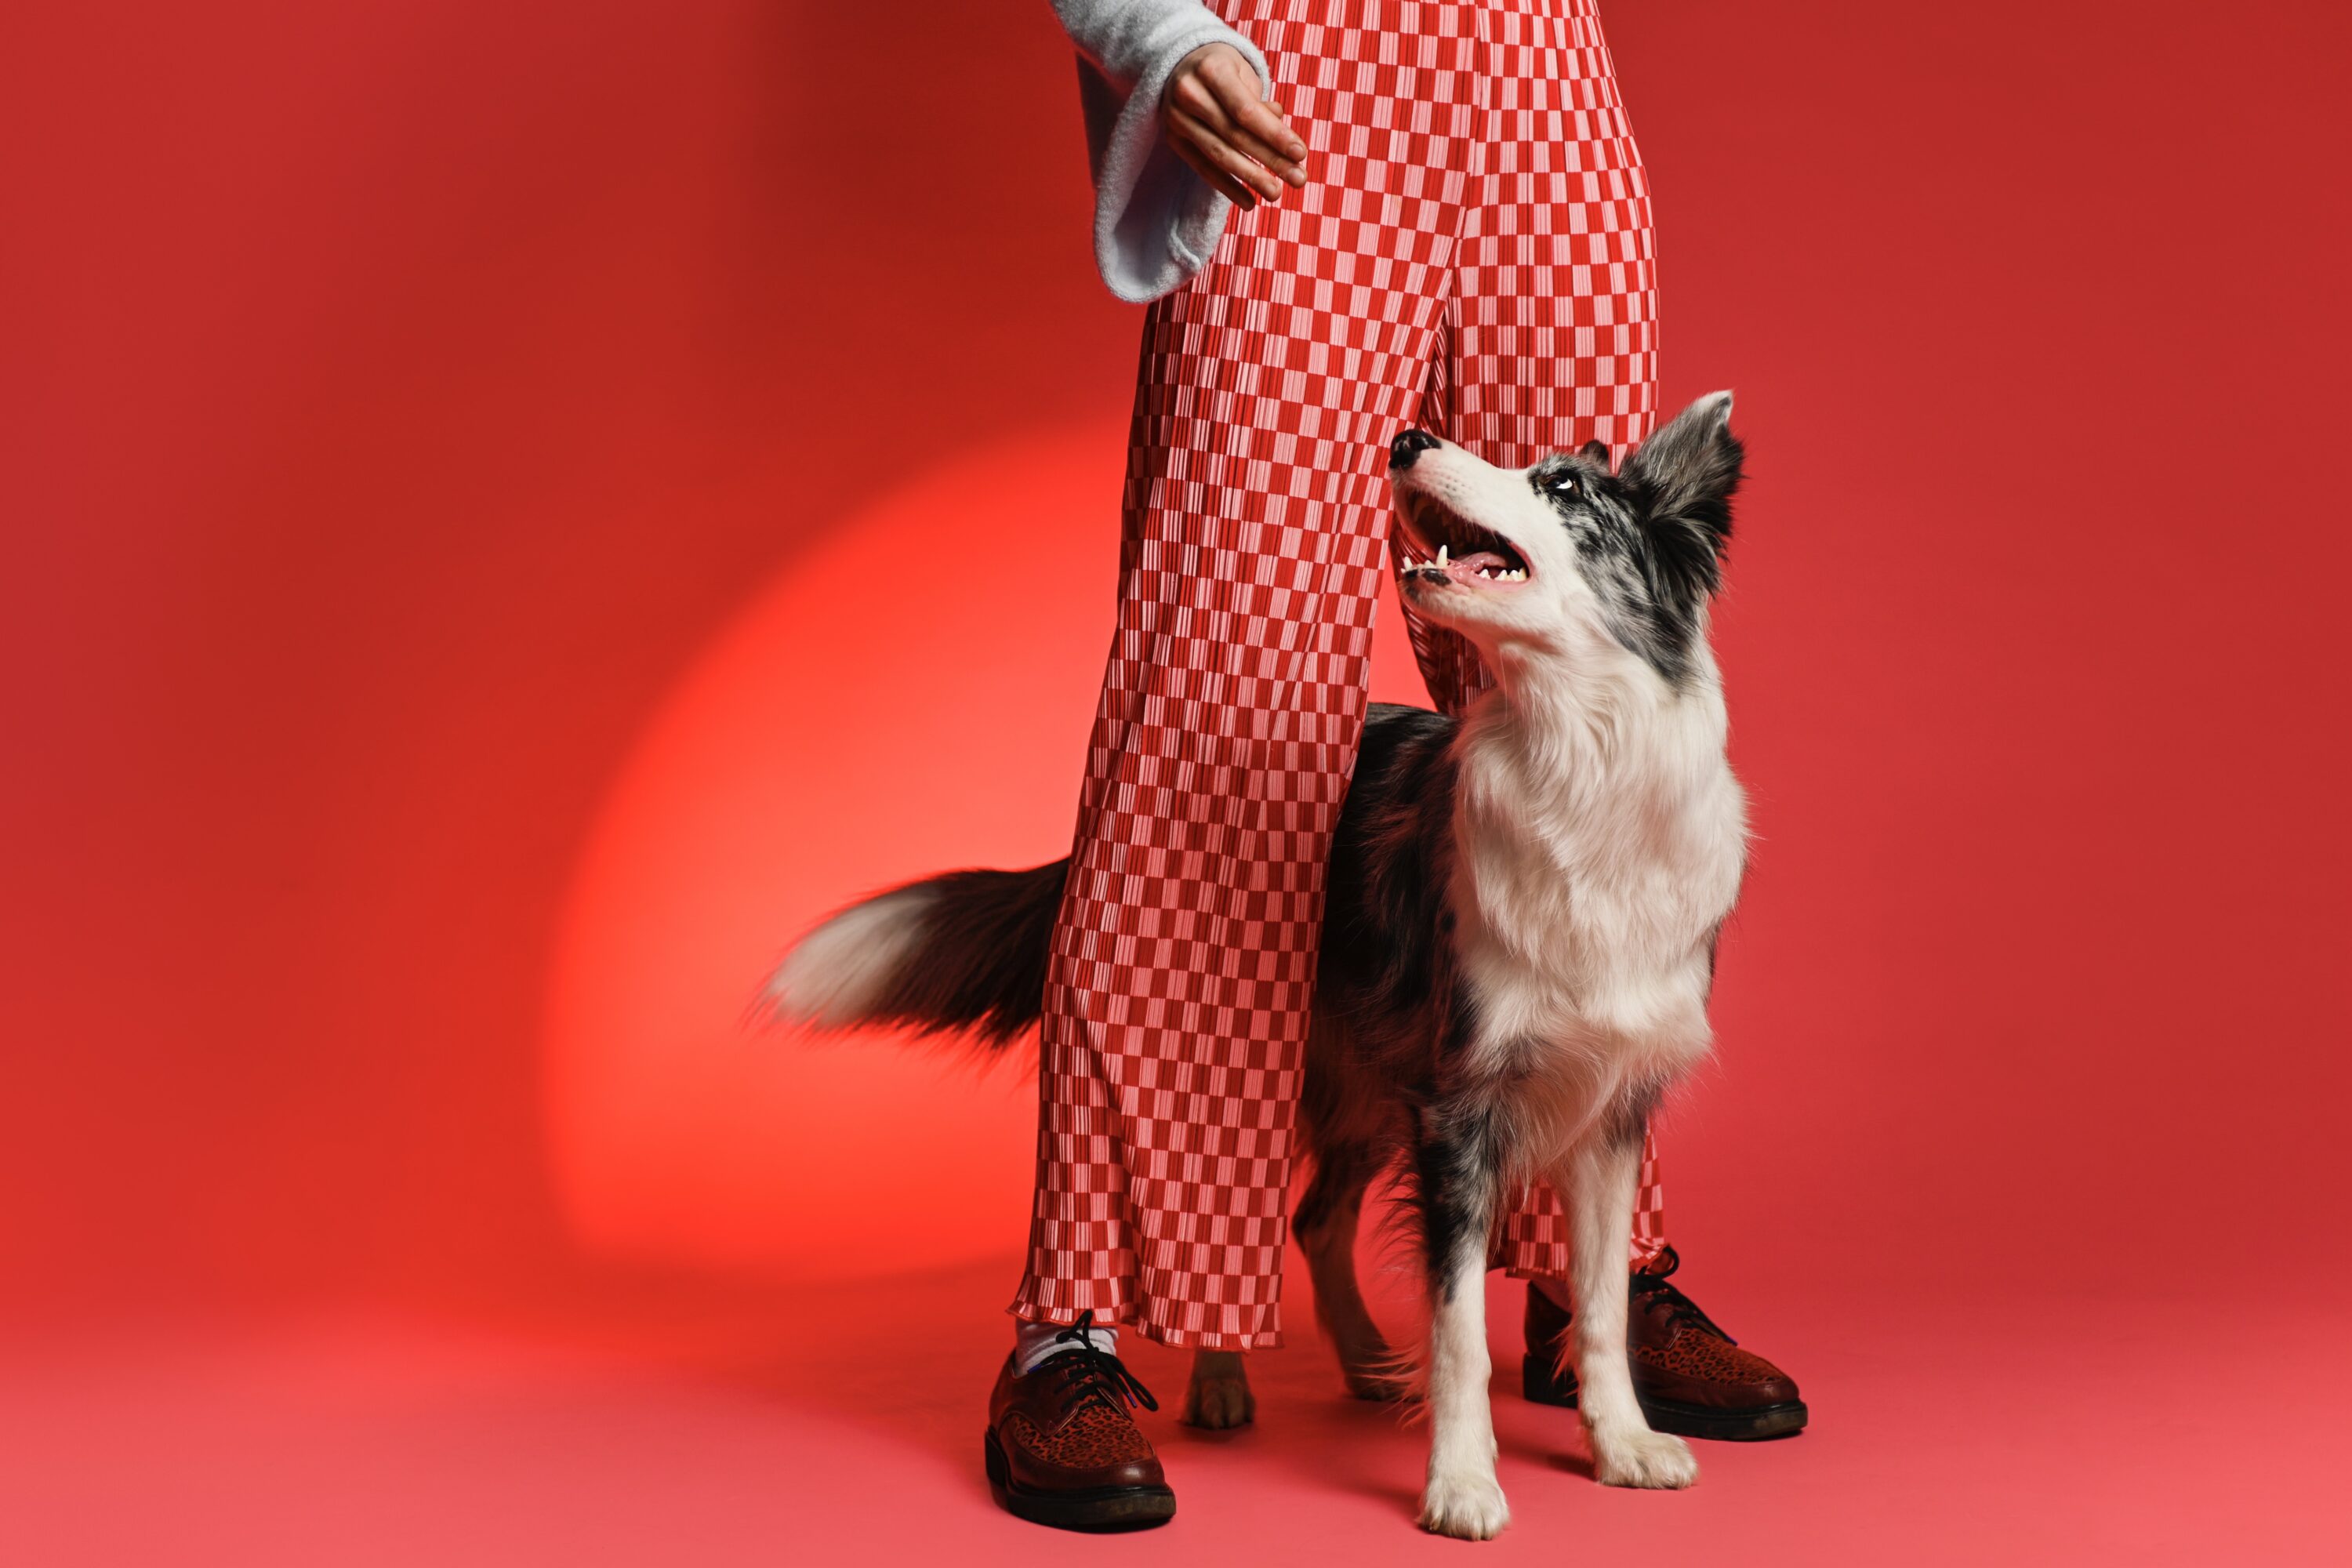
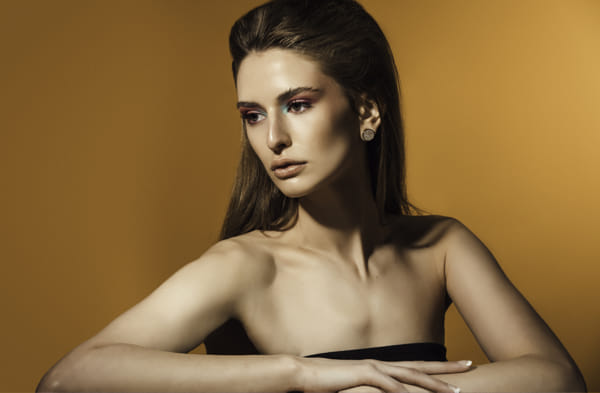
Creative gels: Attach colored gels to your flash to add creative color effects to your images. Gels can be used to match ambient light, create interesting color contrasts, or simply add a splash of color for artistic effect.
Multiple flash setup: Use multiple flash units to create complex lighting setups. This technique allows you to control the light on different parts of your scene independently, adding depth and dimension to your images.
Practical tips for creative flash photography
Manual flash control: Learn to control your flash manually rather than relying on automatic settings. Adjust the flash power, zoom, and direction to get the desired lighting effect.
Light modifiers: Experiment with various light modifiers such as softboxes, umbrellas, and snoots. These tools help shape and control the light, allowing for greater creative expression.
Test shots: Take test shots to see how your flash setup affects the scene. Adjust your settings and setup as needed to achieve the best results.
Flash photography opens up a world of creative possibilities. By mastering these techniques and experimenting with different setups, you can add drama, depth, and impact to your images. Practice regularly, and don’t be afraid to push the boundaries of what you can achieve with your flash.
Not on 500px yet? Click here to learn about Licensing with 500px.





Leave a reply