Dina Belenko is a creative still-life photographer from Russia and incredibly successful 500px Marketplace photographer. Her artistic images capture magical stories behind everyday inanimate objects.
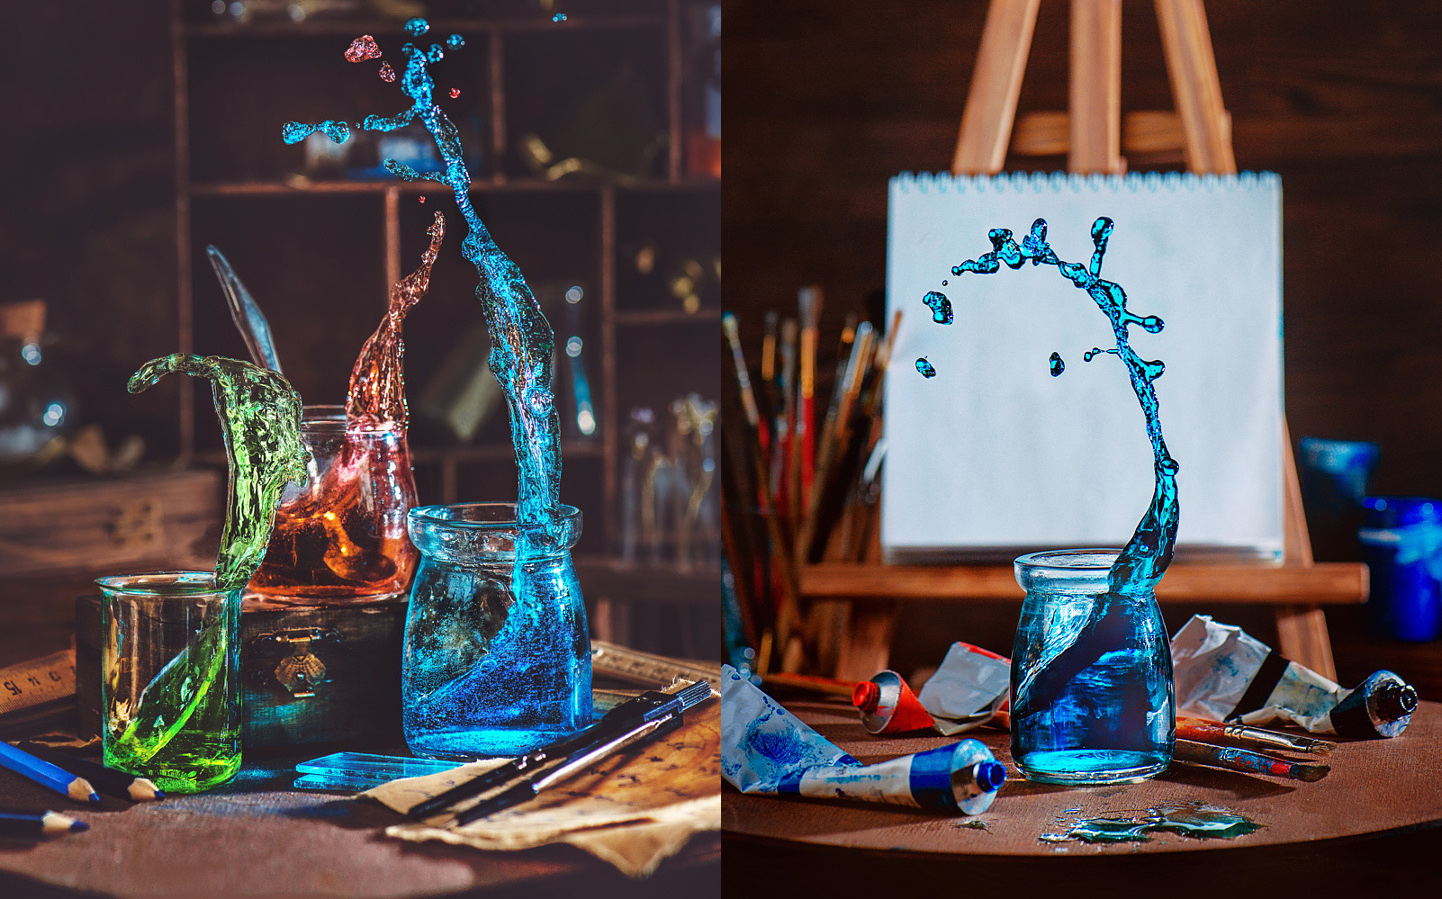
In this article, Dina shares the secrets behind three of her most popular recent images. See how she creates creative splashes and waves IN-STUDIO, then go home and try it yourself!

I know that proper way to photograph splashes is to use special fancy machinery that allows you to control the shape of your splashes precisely. However, these machines are not only expensive, they’re also extremely hard to find (I’ve managed to find only models suitable for macro photography).
This is why the majority of still life photographers make do with the equipment they can use right now. Here’s one of my tricks.
This way of making splashes won’t give you absolute control of their form, but you will be able to capture relatively similar splashes (even a few at the same time) and make splashes in scenes where the usual ways like dropping a sugar cube into a cup of coffee simply wouldn’t work. Plus, this way is a lot of fun to try!
1. Props
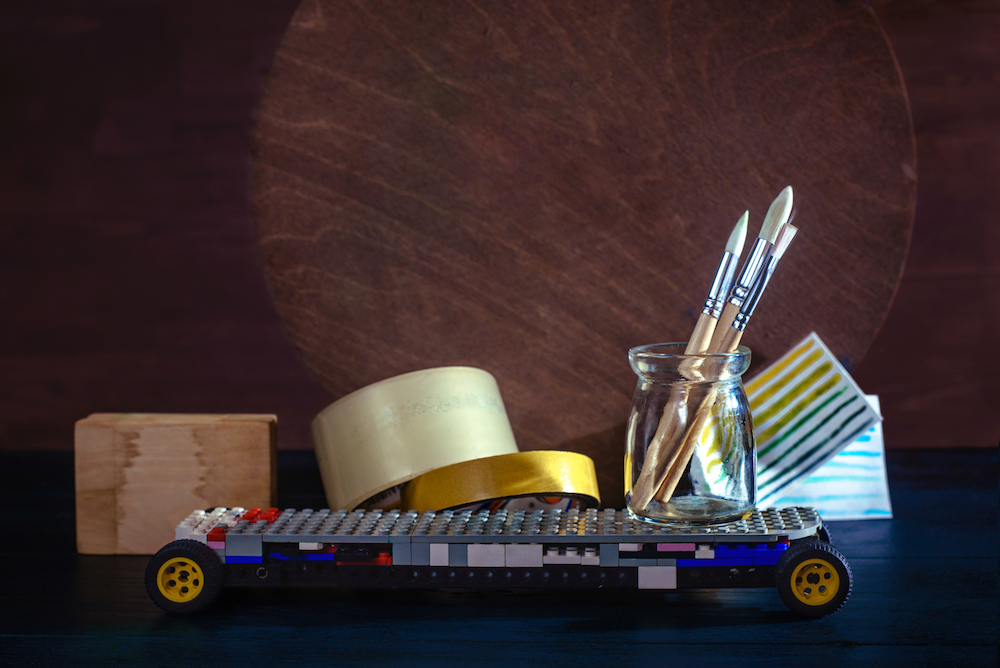
You will need:
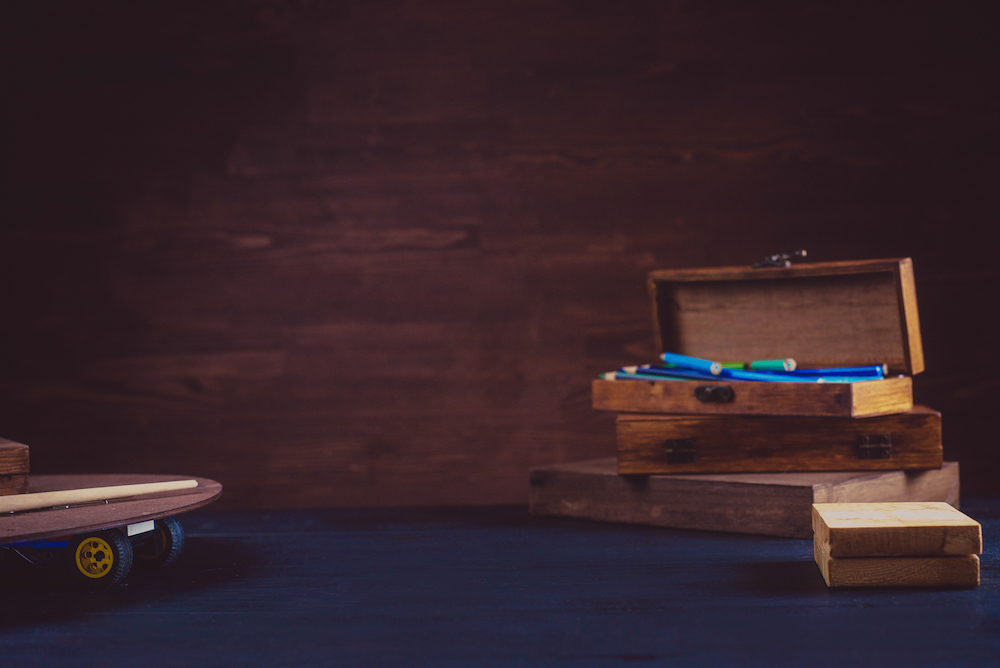
1. A small platform on wheels (I made mine from a piece of thin plywood and two pairs of LEGO wheels; you can make bigger platform using furniture wheels or even a skate).
2. An external brake (in my case it’s a wooden block glued to a background table and used to stop the moving platform).
3. A container with liquid (cup of coffee, glass of wine, or jar with coloured water) and other items of your still life.
4. Double-sided tape (to secure everything that should not move).
Besides that, as for any splash shooting, you will need a tripod and an external flash.
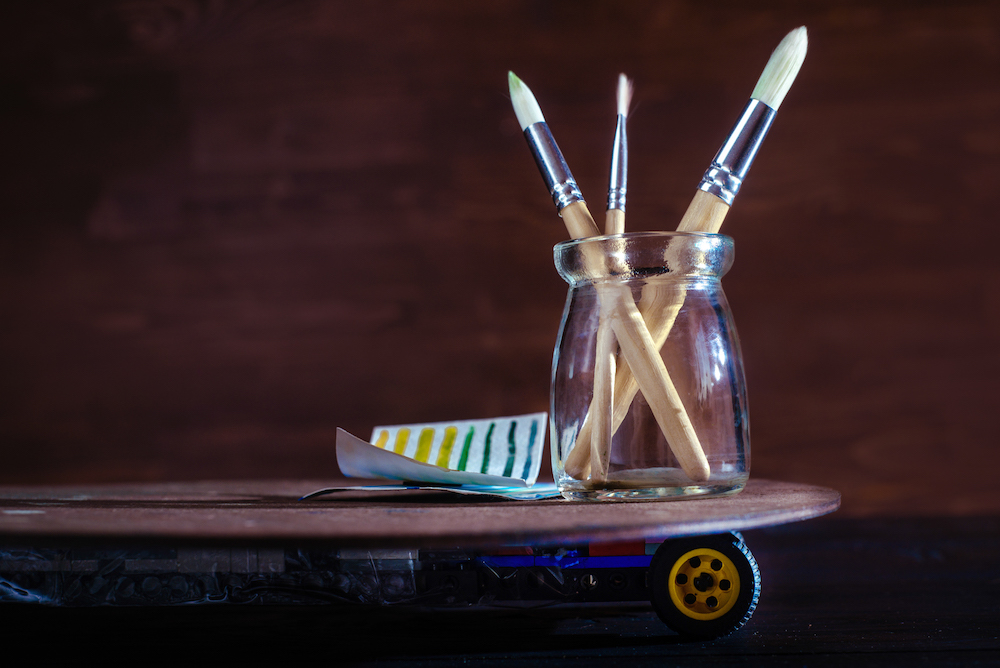
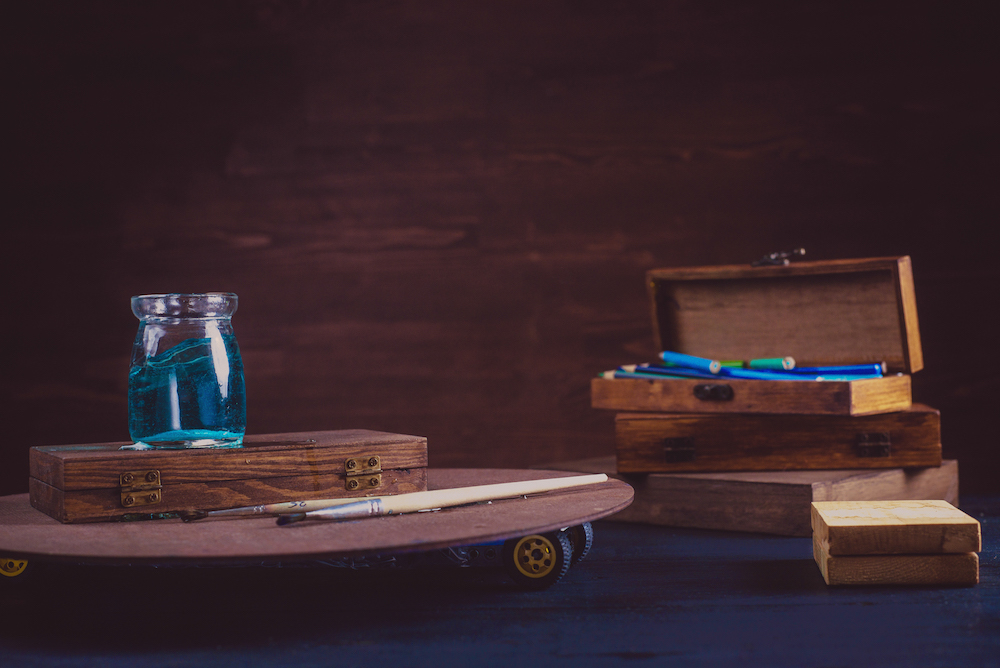
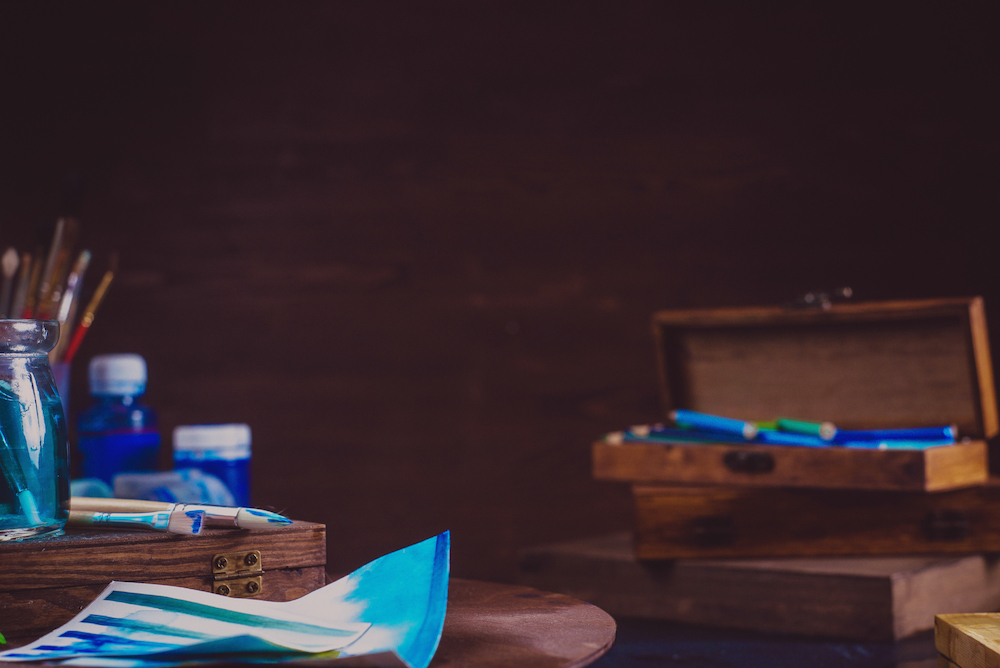
2. Set up
Here’s the plan: set the composition on a moving platform and mark the place there it should be photographed with the external brake. Then roll the platform slightly back and give it a push.
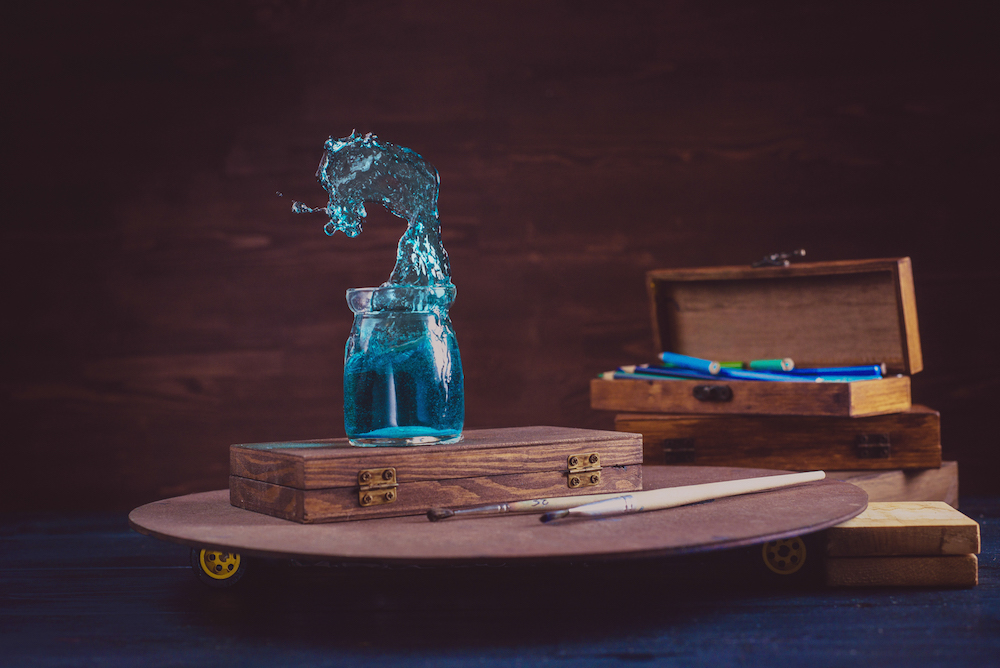
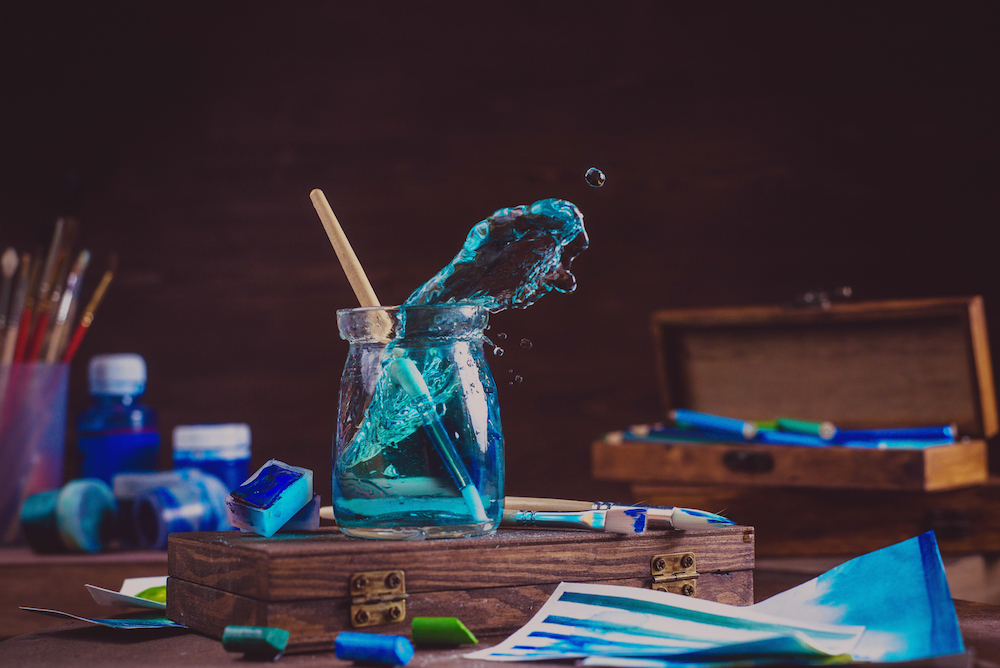
The platform rolls and then stops abruptly when it hits the brake, but the liquid, driven by inertia, continues to move and forms a beautiful arching splash.
To capture the splash in motion, set the flash on low power (1/16 or lower). This provides a very short pulse that will freeze the motion of liquid. Also, set your camera in a burst mode (continuous high) to take a few shots in a row.
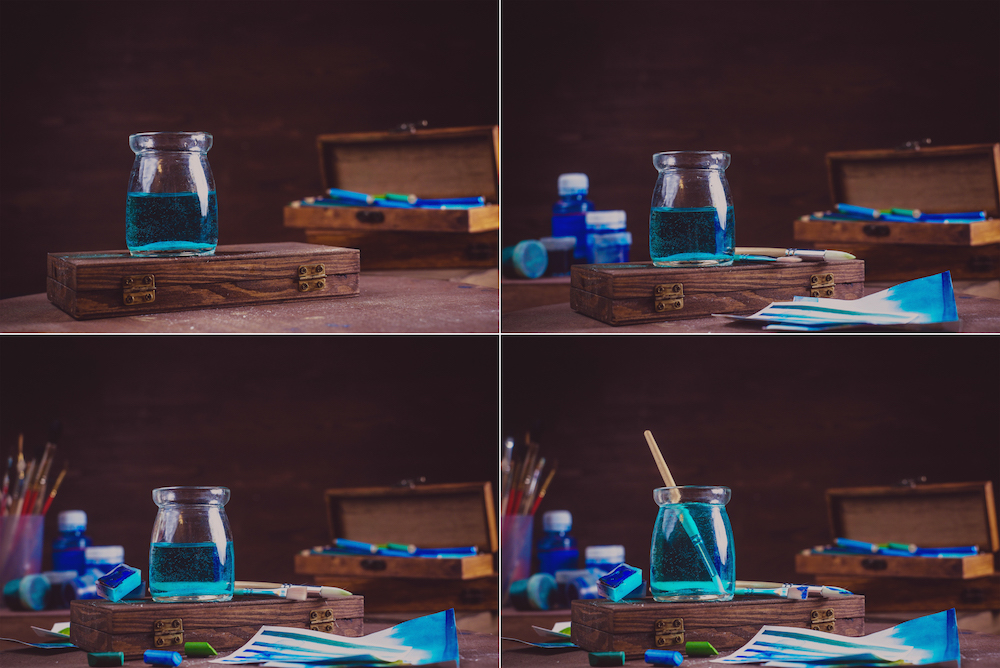
3. Test shot
I strongly recommend taking some test shots: that way you know how hard you have to push the platform, and which items are too light to be left not fixed steadily (I glued pretty much everything down, just to be on the safe side).
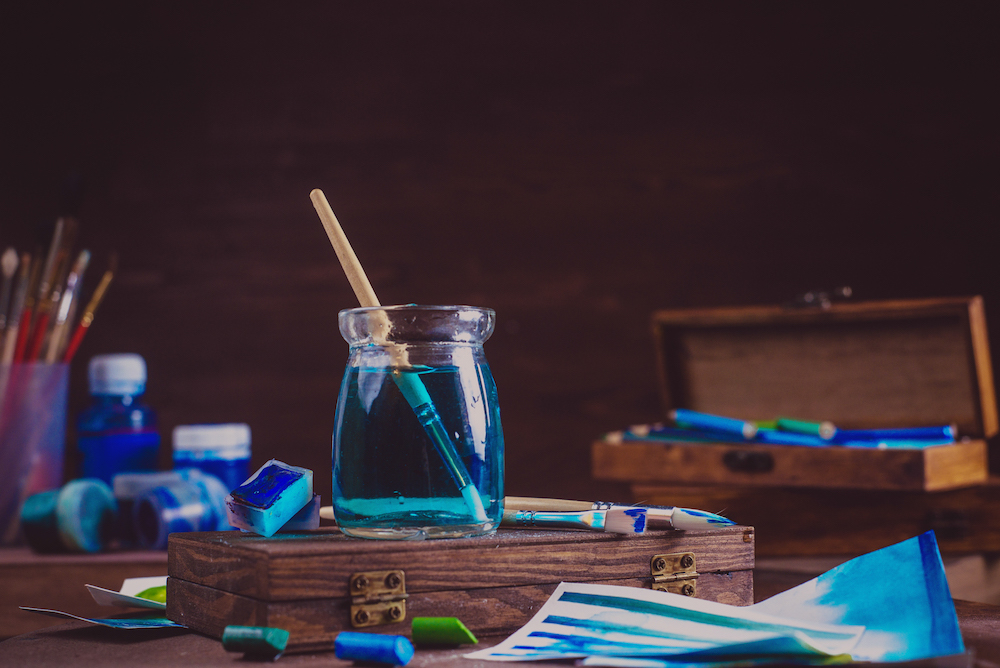
4. Shooting
Now, make a composition with cups and jars of your choice, check if everything is steady, make sure that liquid won’t get on any electronic equipment and have fun!
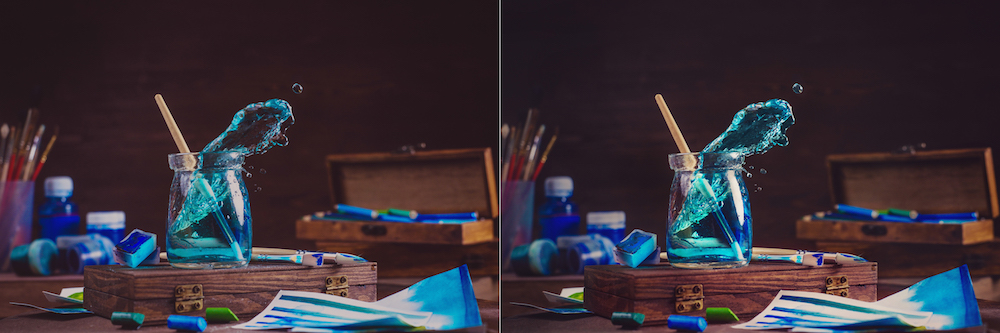
5. Post-processing
Finally, choose the best image and give it a little polish: adjust colours and contrast, delete unnecessary drops, and voila! We have final images:


This technique is not flawless, but it is available to everybody, cheap, and relatively controllable. It simply makes it much easier to get similar splashes compared to results you can get by pouring liquid manually.
Also, it may prove itself useful in scenes with transparent glasses (where object thrown into a glass would be clearly visible). And I hope you will have fun trying it.
Stay inspired and good luck!


Leave a reply