DEAL ALERT: For the first and maybe ONLY time ever we’re taking 25% off our Adobe + Awesome membership — basically you buy into the Adobe Creative Cloud Photography plan and we give you a 500px Awesome account for just 35 cents per month! That’s one heck of a deal. Click here to upgrade now
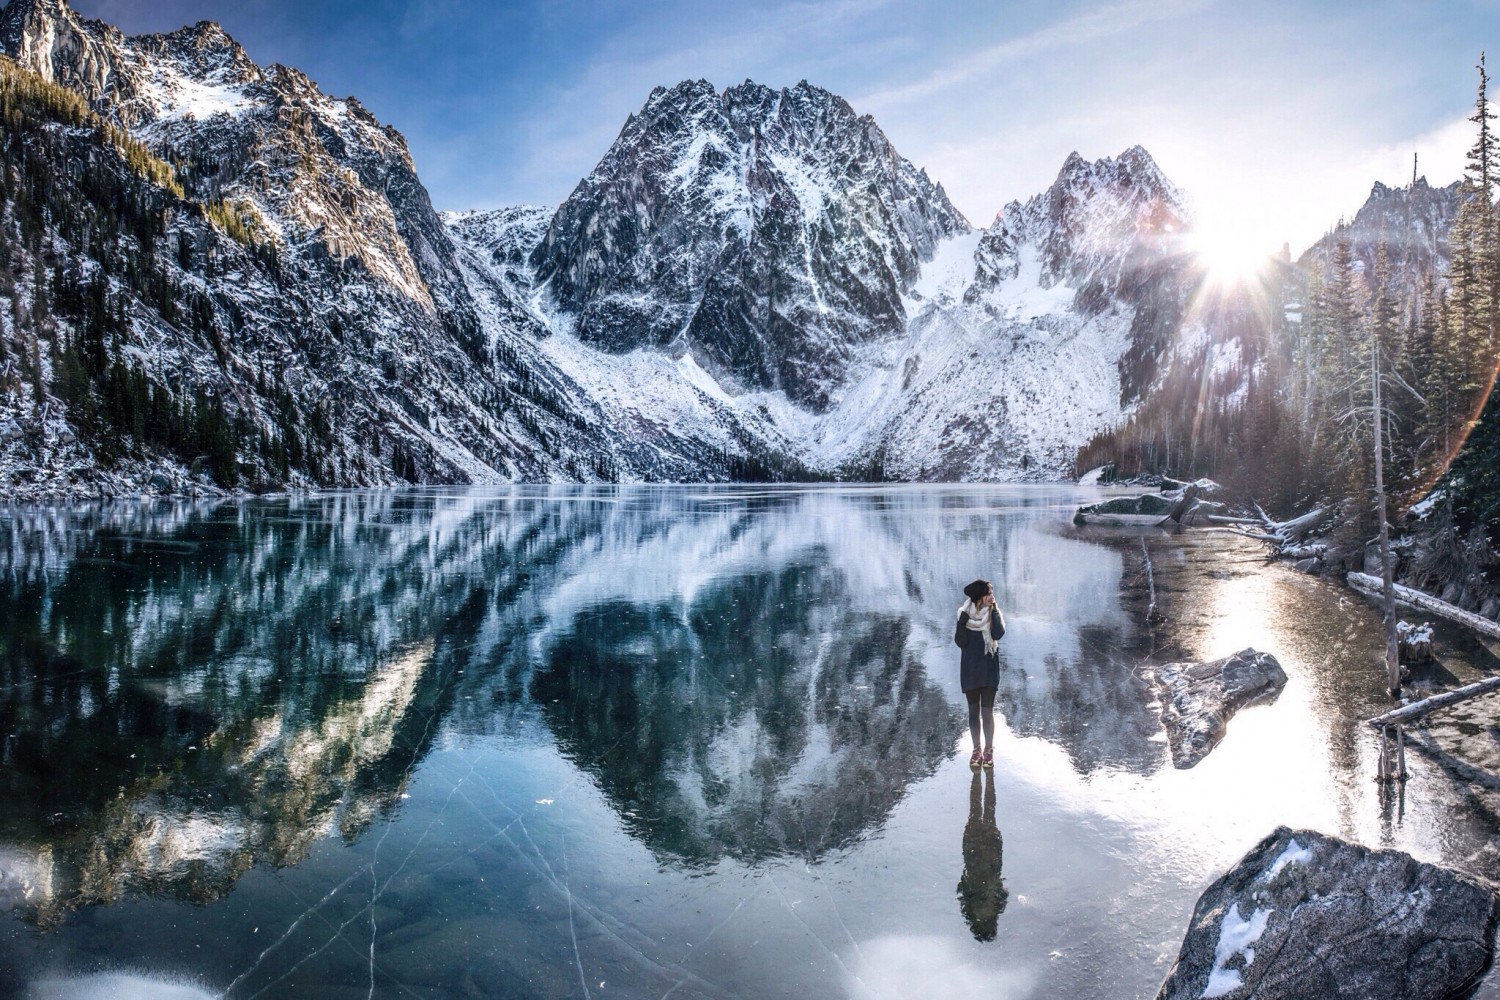
Arman Ayva is an amateur photographer and 500px community member who is driven by a desire to capture the moment. “The sensation, that the moment is gone and will never repeat, but you can still go back in time looking at your pics and live it again, is incredible.”
To see more from Arman, give his 500px account a follow or visit his blog. This post originally appeared here, and is being republished with express permission.

Hi there,
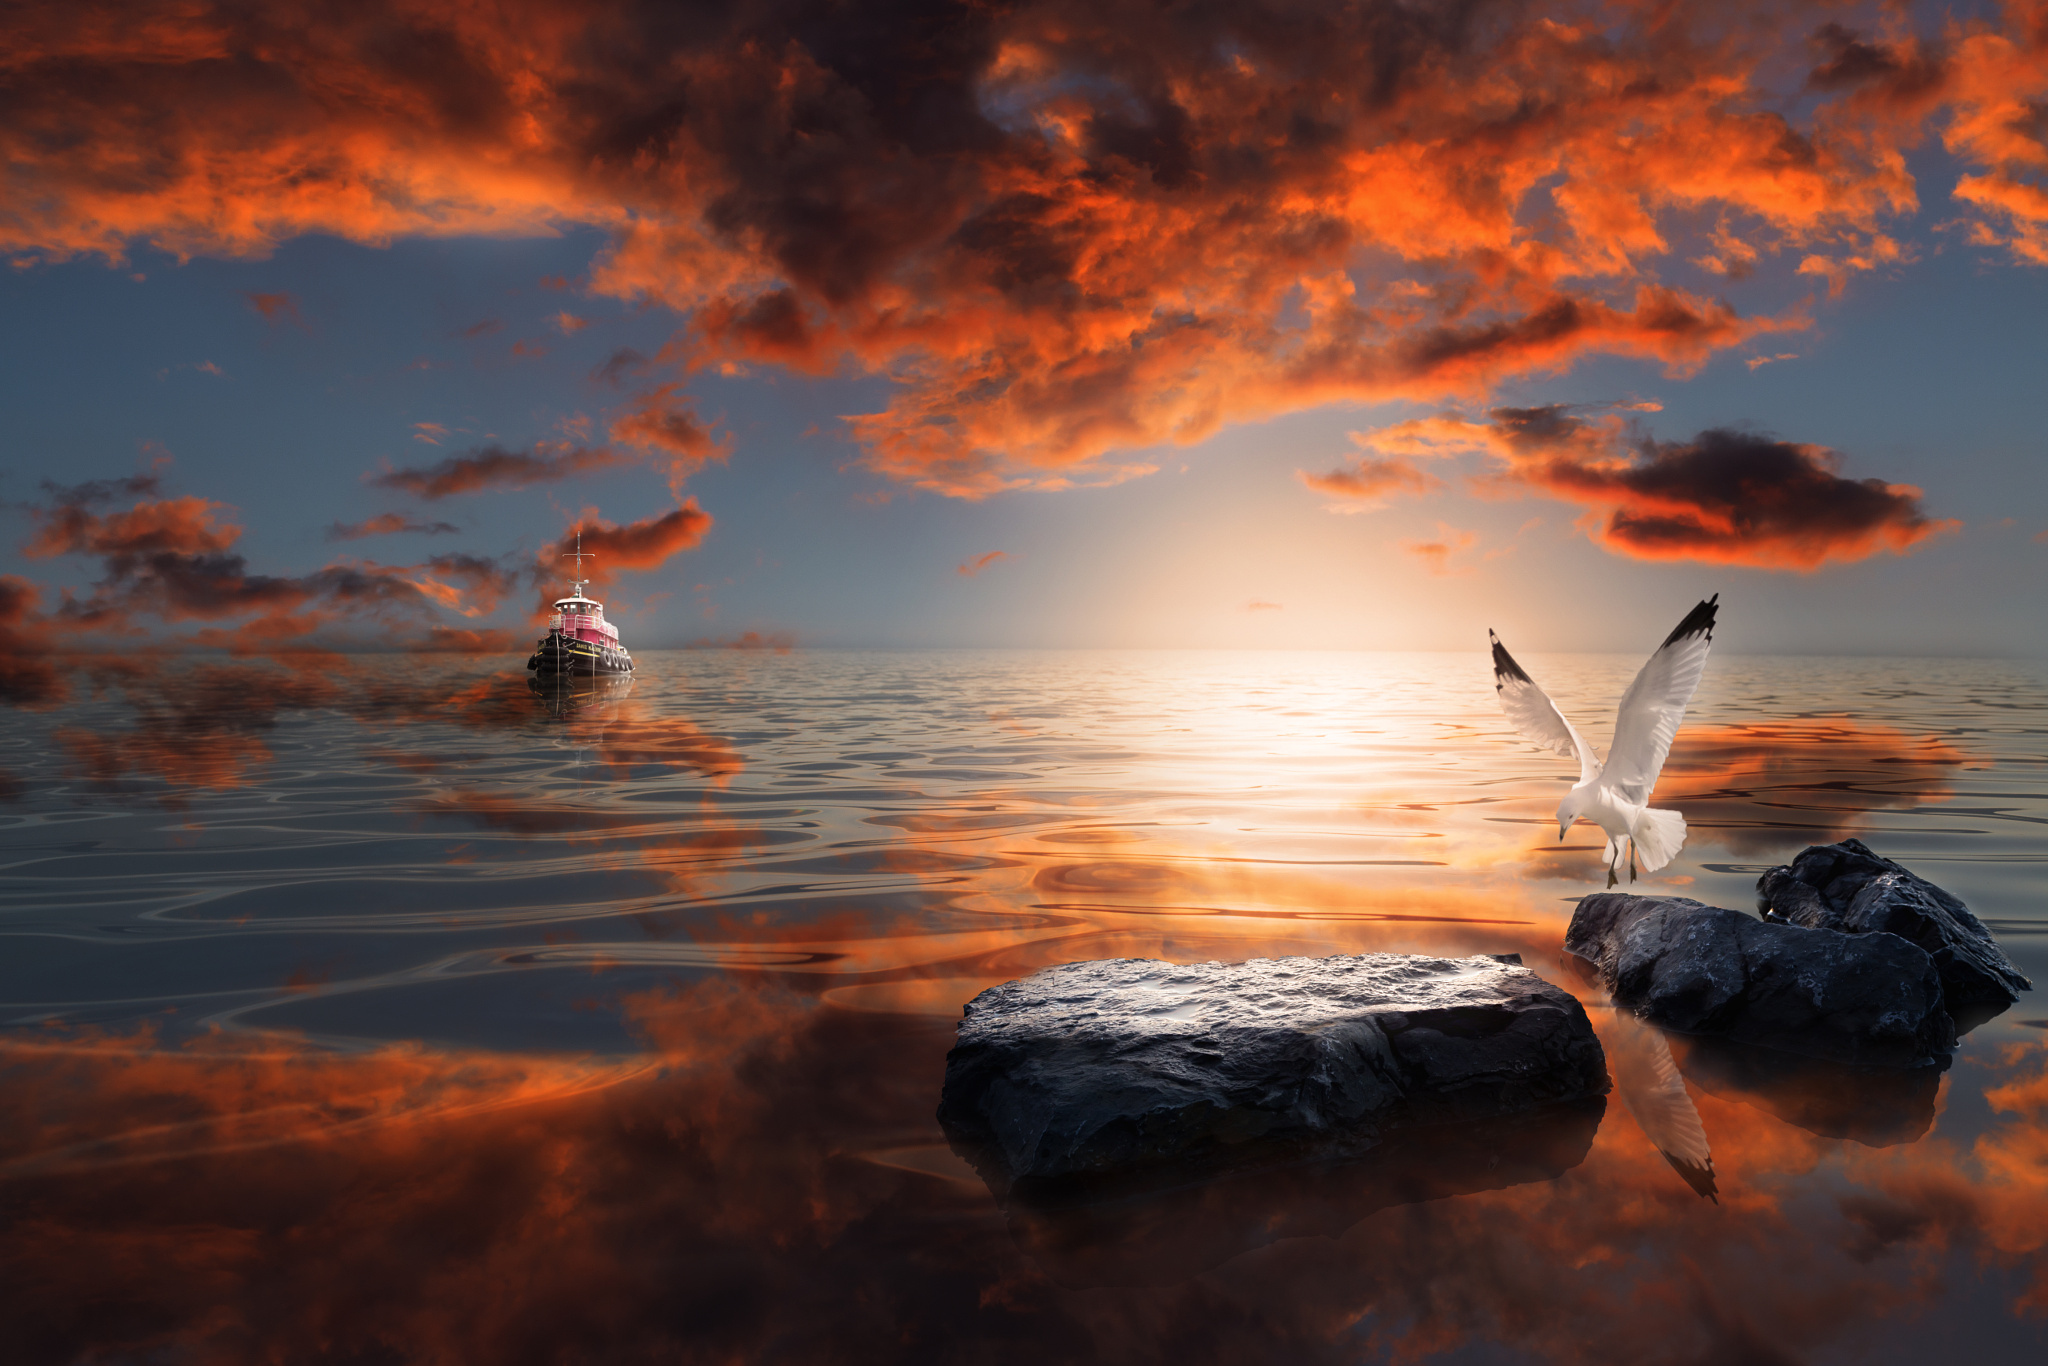
Today we are going to create an amazing composition by combining 5-6 different images in one. We will learn a lot of various Photoshop features to achieve a wonderful result that you can apply to your own compositions.
I have chosen the following 5 pictures as my raw material.
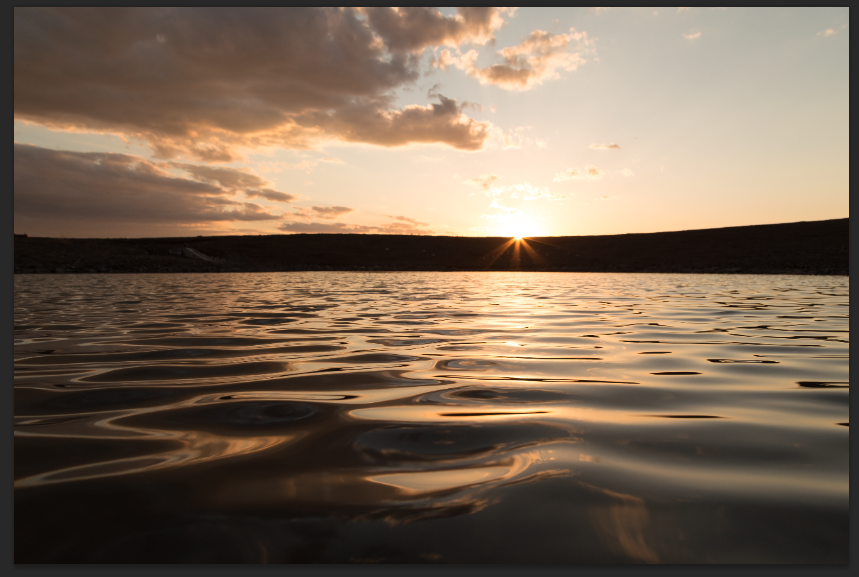
1. Low perspective shot taken at a small pond near my building. To do this kind of picture you need to use a tripod (smaller is better if you don’t want to get wet), which should be in the water so much that the camera strands as close to surface as possible.
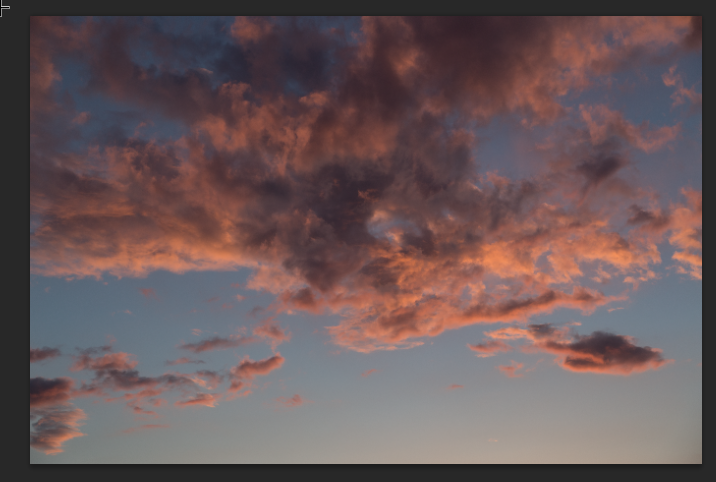
2. A nice sky right after the sun is gone. I shot this image from my balcony.
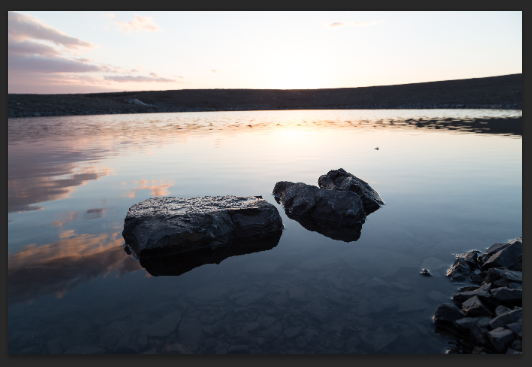
3. Rock in same pond as #1
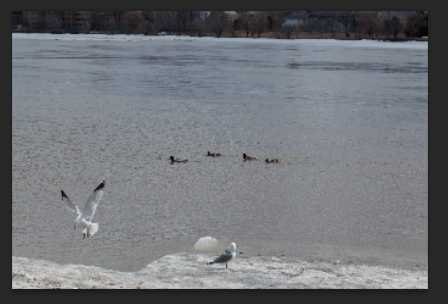
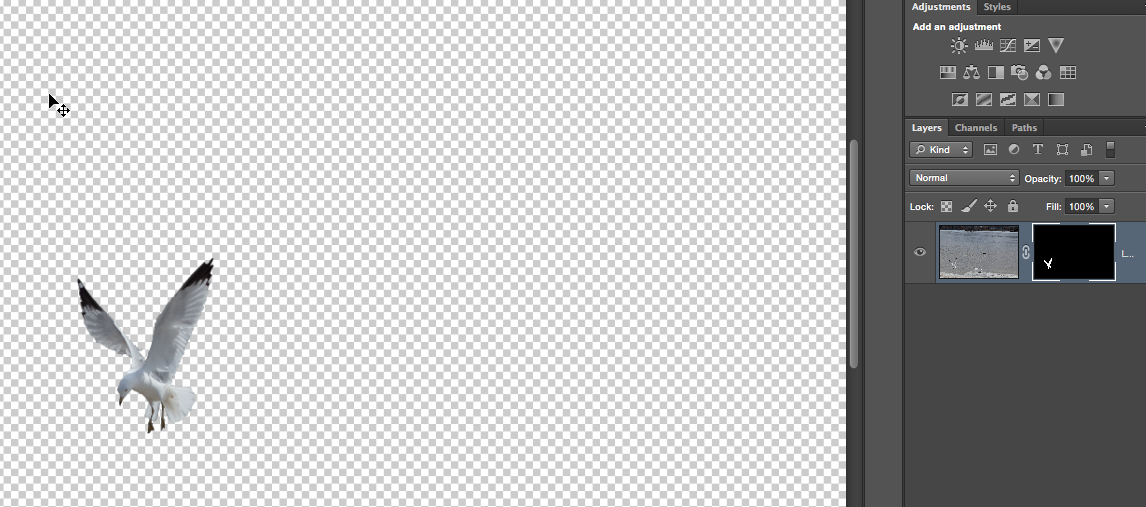
4. Well, birds you find everywhere
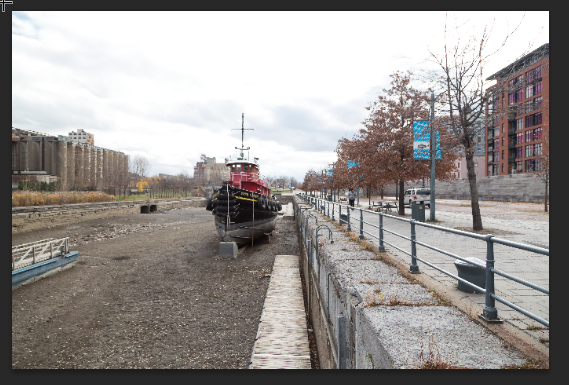
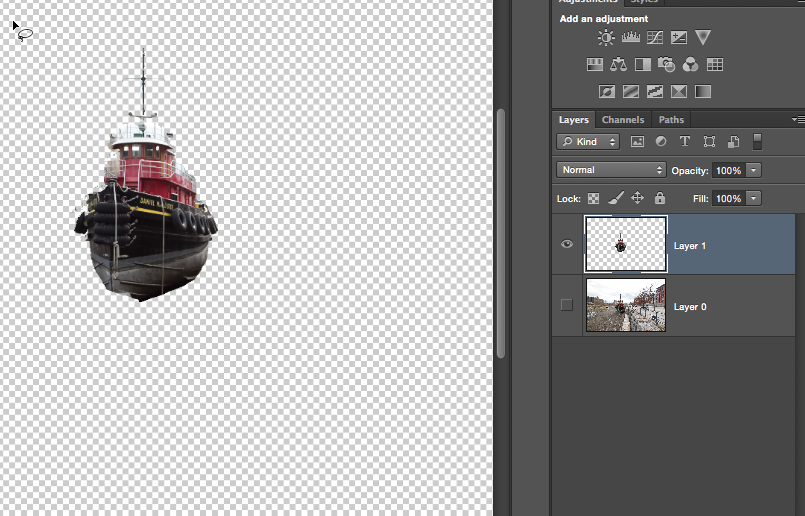
5. Boat, shot in Old Port Montreal
Let’s go step-by-step
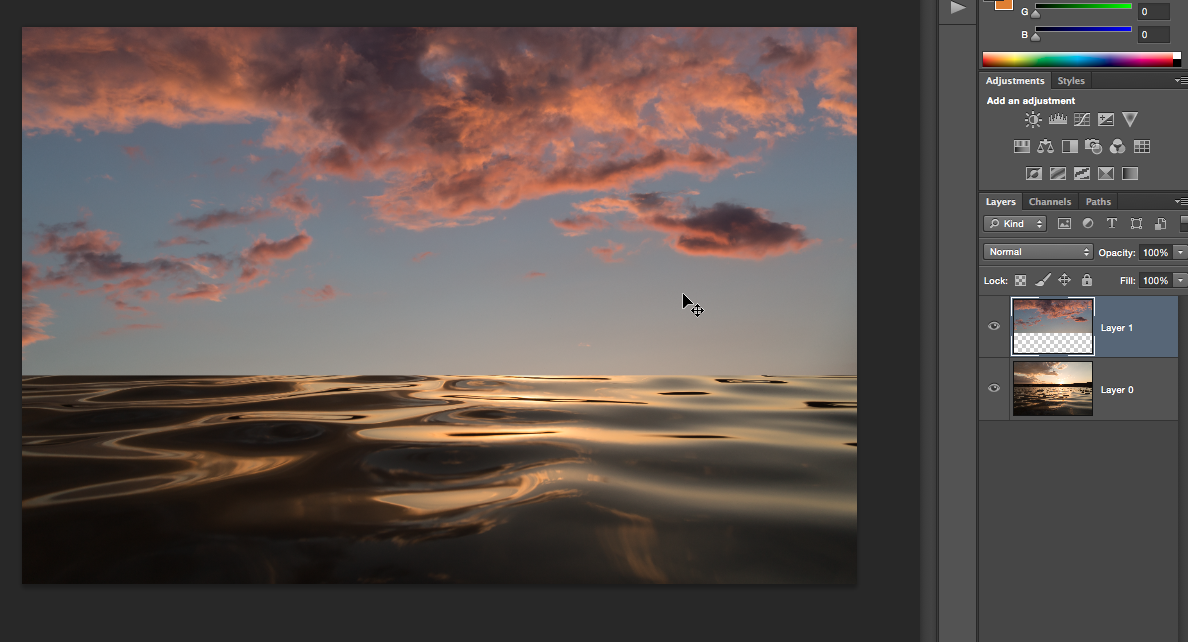
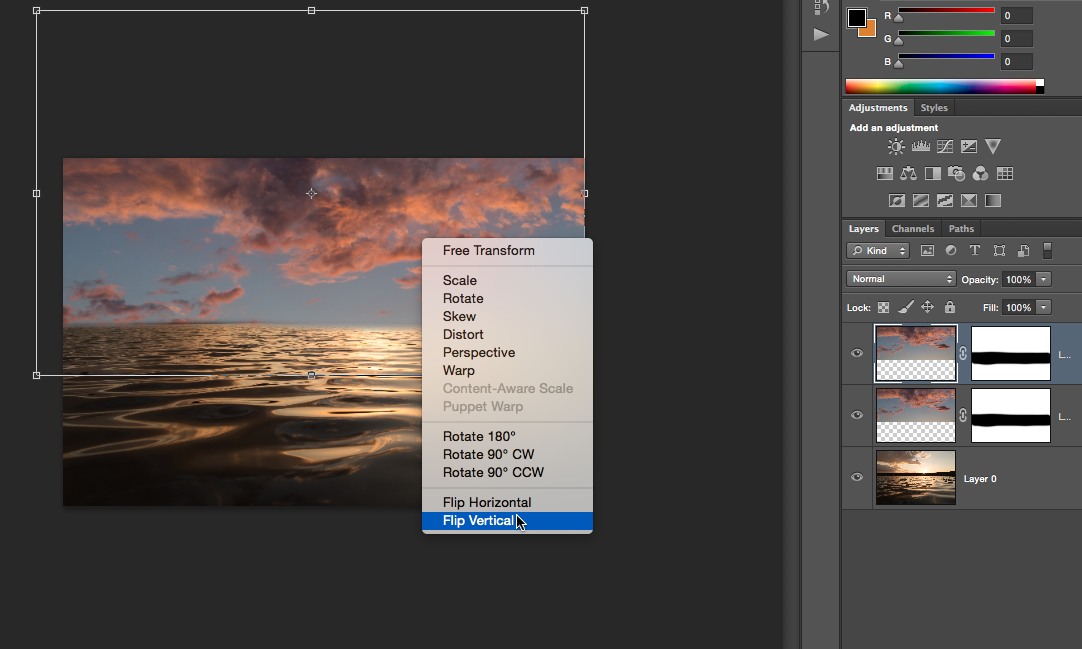
1. Sky
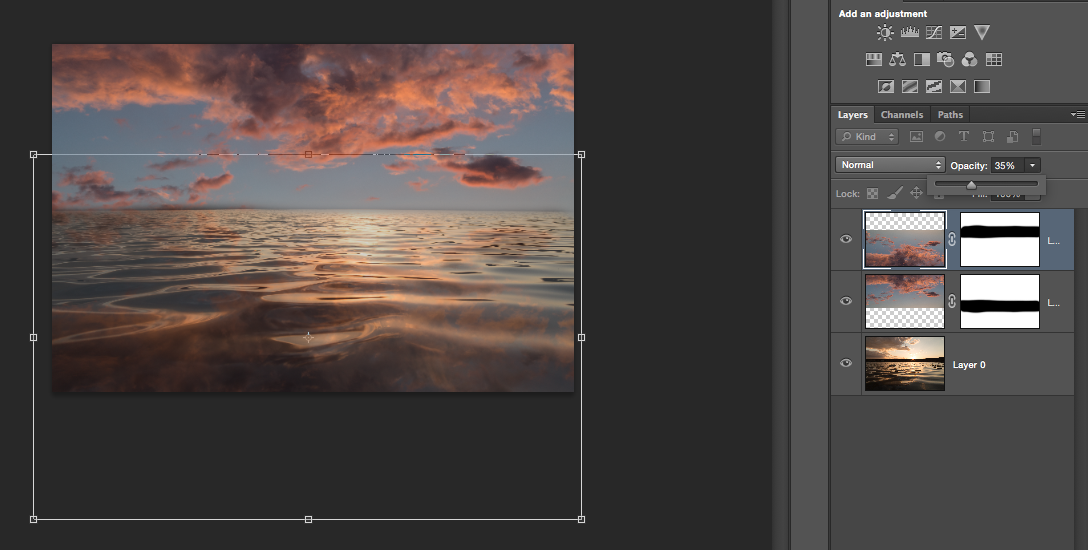
First, we are going to blend in the sky and create a reflection on the water. We move the sky as a new layer on top of the pond (image 1), create a layer mask, and hide the sky portion creating a horizon (image 2):
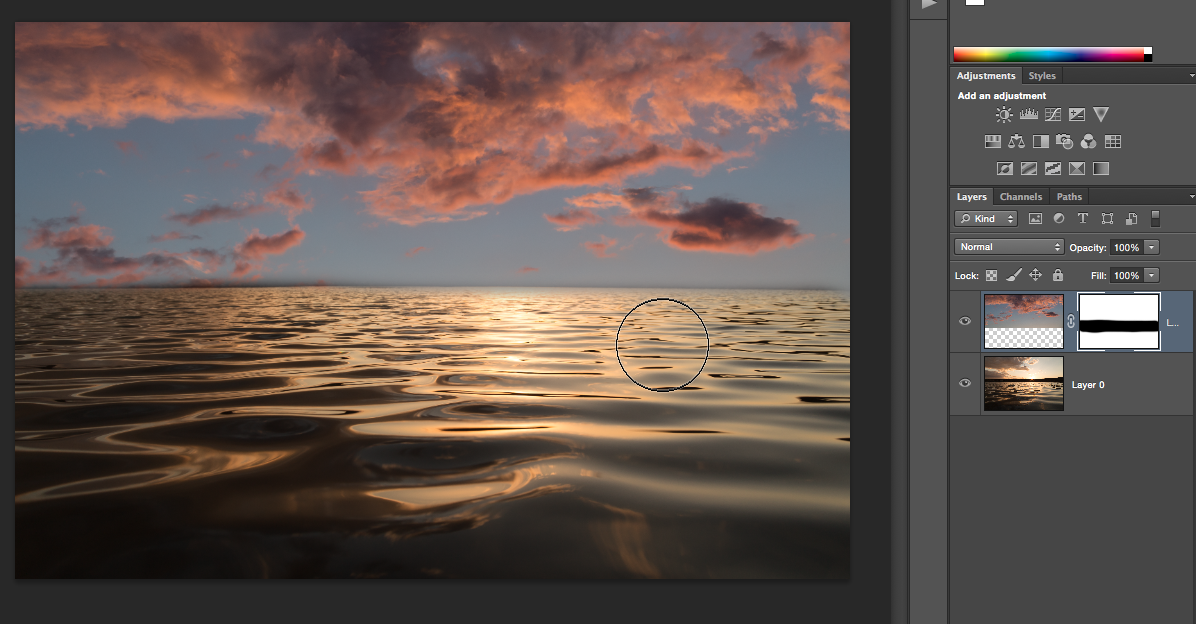
Next, we duplicate the sky layer, activate transform function (Cmd T), Flip Vertical, move down to mirror the sky, and reduce opacity to 35%. We may need to do some clean up on layer mask to have a nice horizon.
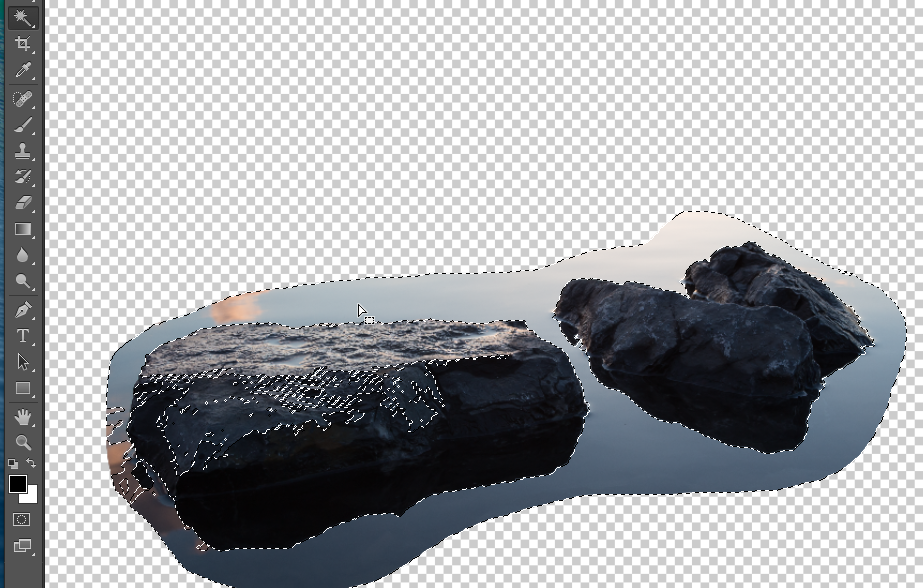
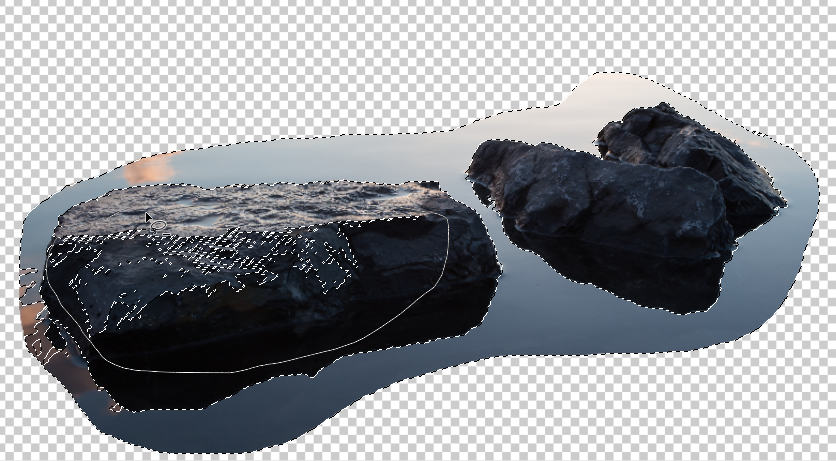
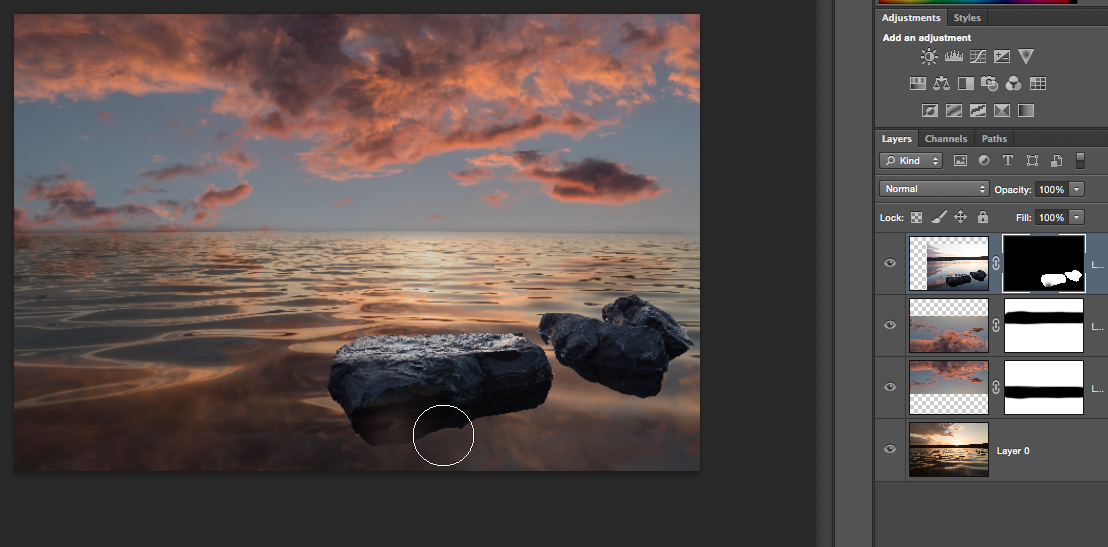
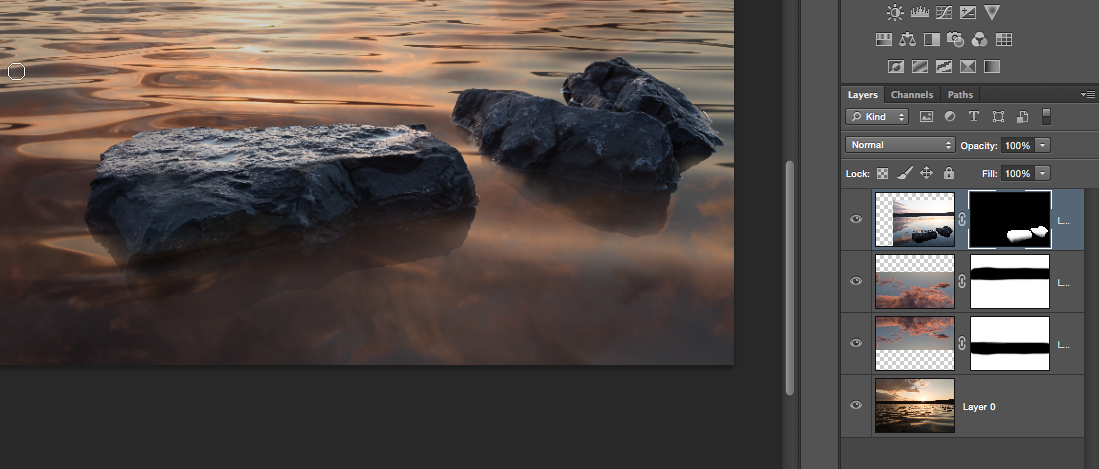
2. Rocks
Now let’s isolate the rocks to move them into our image. Of course, there are many ways to do selection, but I will introduce the one I used in this case.
First, I selected a rough area around the rocks and created a separate layer. Then I used magic wand tool and selected the rock itself. After that, I cleaned up the selection on rocks with the lasso tool (click Alt with tool to remove selection and Shift to add selection).
When the selection is done, it is better to create a layer mask with that selection, then move the whole image with mask over so you can work non-destructively.
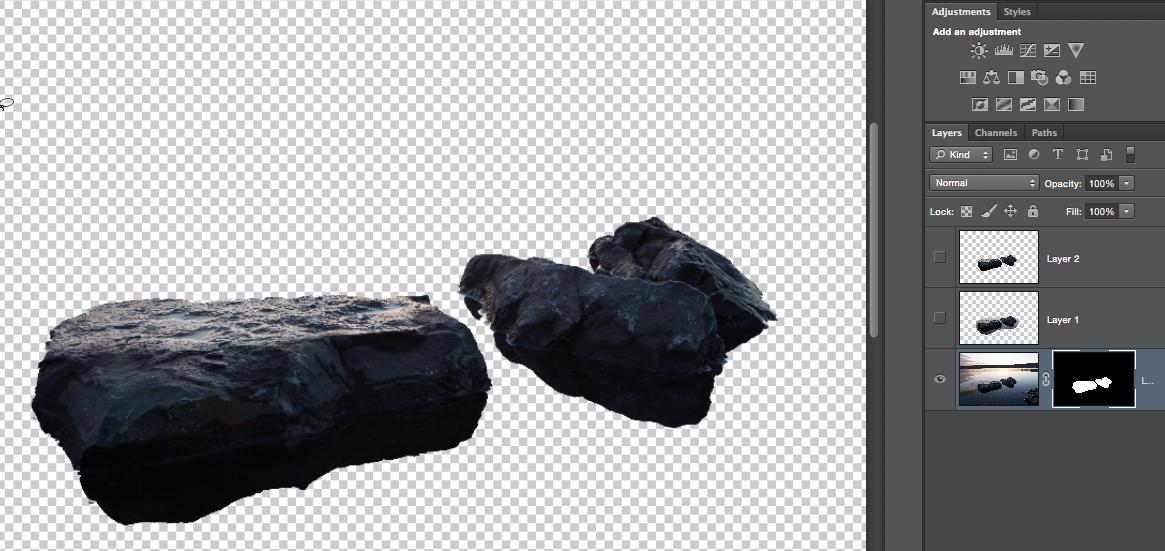
After we move them to our image, we have to fix the shadows so the rocks look like they’re half in the water. To do that, we reduce the opacity of the black brush to 50% and paint on the bottom part of the rocks.
3. Bird
Now let’s select the bird and move it to our image. To isolate the bird we use the same principle as we did with the rocks.
When we move the bird, it is very important to understand where to place it considering the light source and shadows. In this case, we assume the light is coming not just from sun, but also reflecting off the water and wet rocks. Later, we will also create a reflection of the bird partially visible in the water.
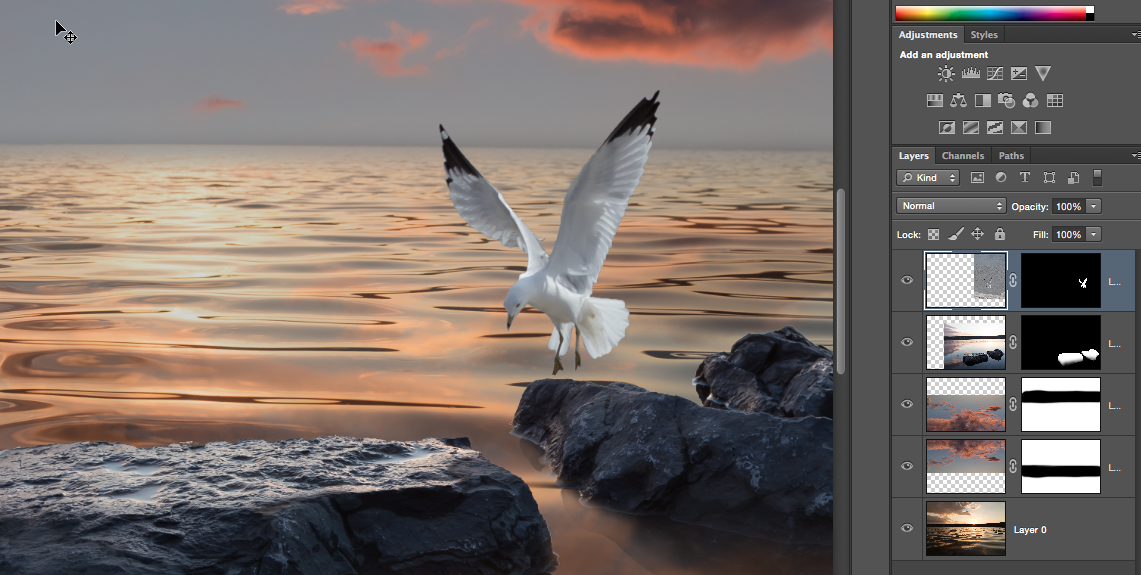
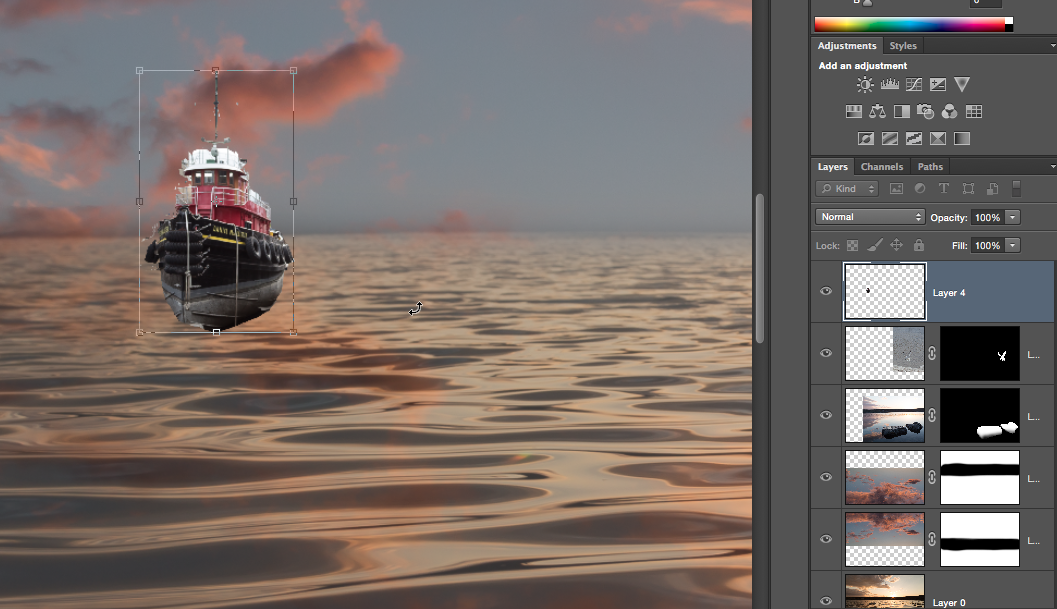
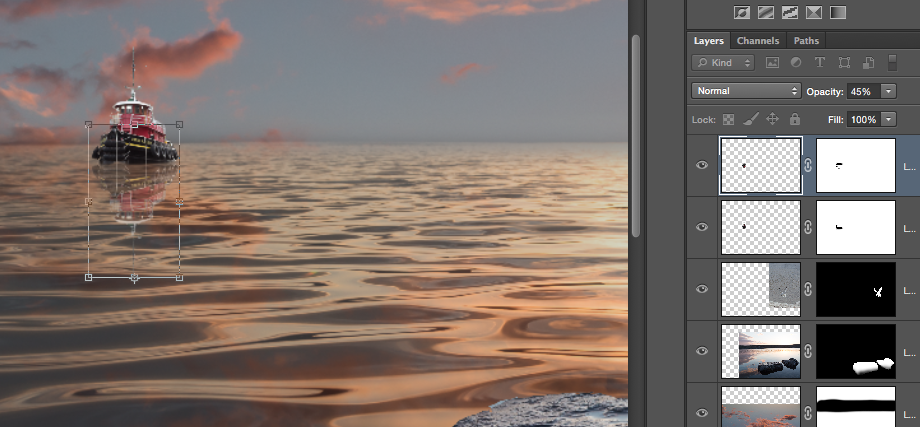
4. Boat
We do the same exercise with the boat. The boat will be a bit challenging to select, but the good news is that half of it will be hidden in the water.
As you may have already guessed, to hide the low part of the boat in the water we are painting with black on layer mask, which hides the the part of the boat and reveals the water, the visible layer under it.
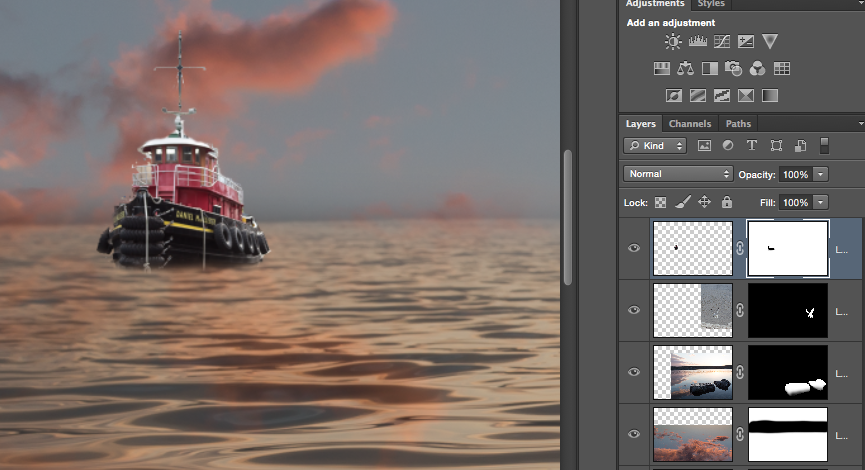
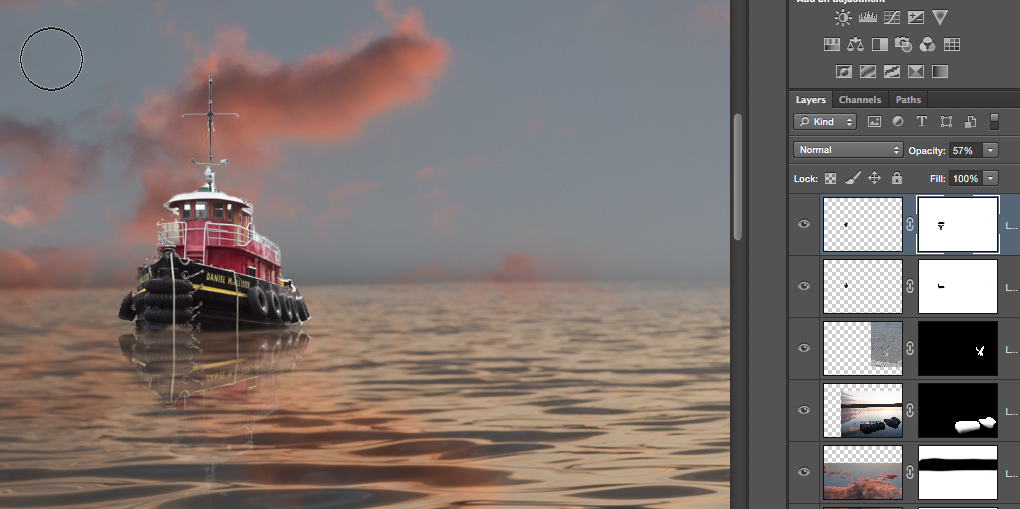
5. Reflection
Let’s create a reflection for the boat. It is very similar to the sky reflection we did before, the only difference being that we are painting black with low opacity (20%) on the layer mask, making the reflection gradually invisible going deeper into water.
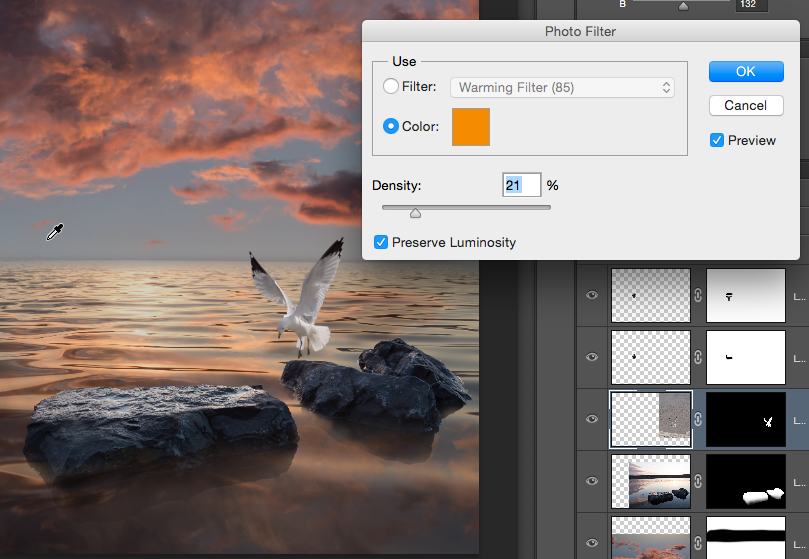
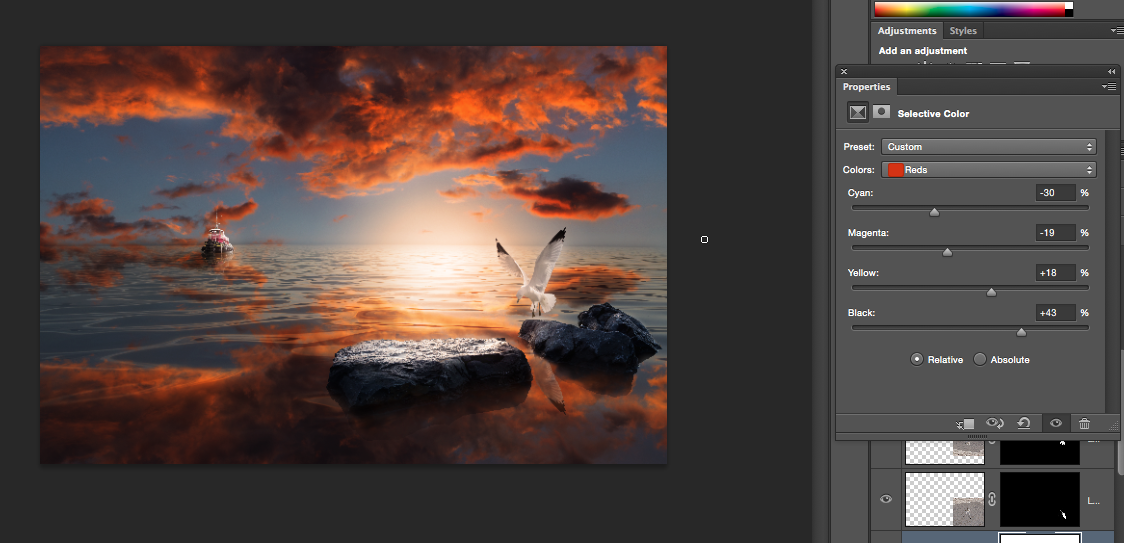
6. Matching colours
By matching colours I mean changing tone of the bird and boat to fit the background orange tones. To do that, all we need is to apply an orange photo filter directly to these images.
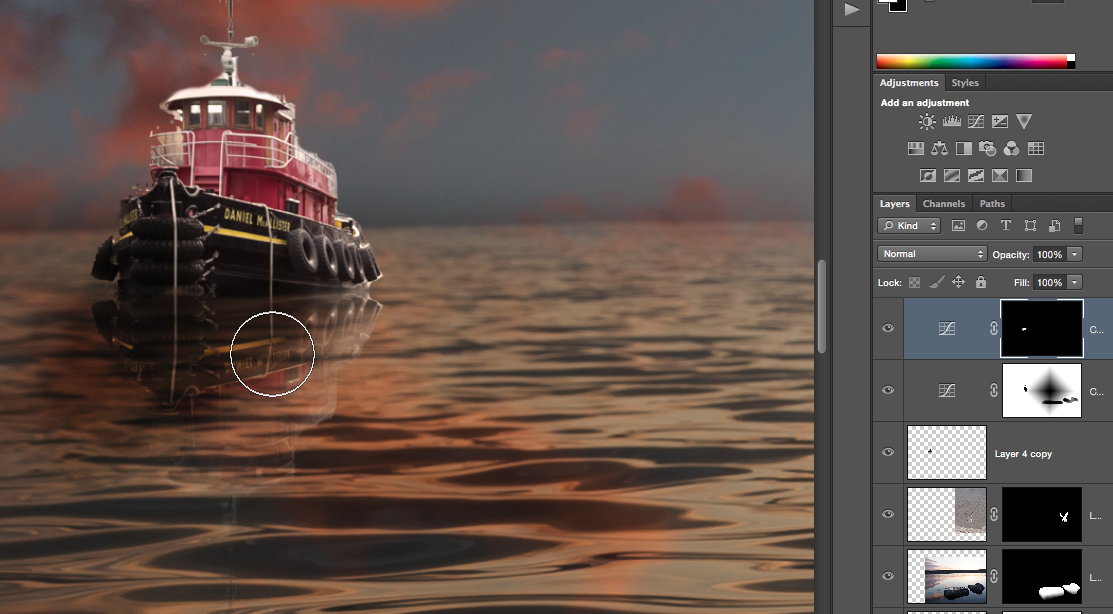
7. More shadows
Here is one way of creating shadow for the boat. We create a curves adjustment layer, make the whole image dark, then click cmd+I to paint the adjustment layer black. At this point the adjustment has no effect on the image.
Then, with the white brush at a low opacity (50%), we paint on the area where the shadow would be, painting twice closer to the boat to make it darker.
8. Sunlight
Using the same principle as above, we create sunlight. In this case, lighten the image with a curves adjustment and apply a round gradient tool to have smooth spread of the light. We also apply a warm photo filter.
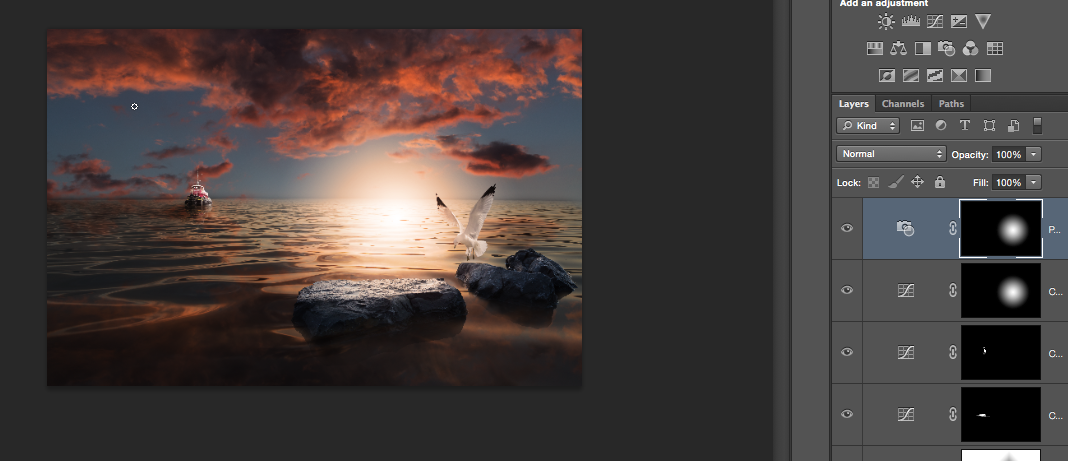
9. Final Touches
The final touches include several activities such as dodging and burning, selective colour adjustments, refining, reducing noise, and so on. Remember that our job was non-destructive, which means we can always go to each layer and change and adjust it. For example, I added to the opacity of the sky reflection closer to the end, to make it more visible.
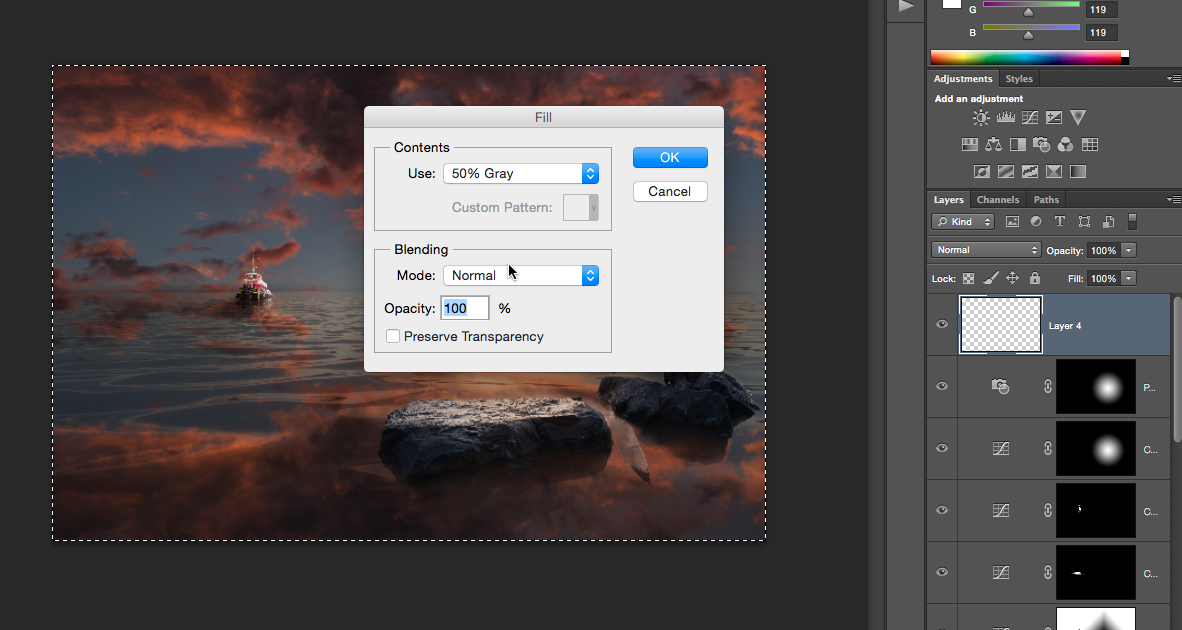
One of the useful tools worth mentioning is how we do non-distractive dodging and burning. For that, we create an empty layer, fill it with 50% grey, make the blending mode soft-light, and reduce opacity to about 40-50%.
You will see that nothing will change on your image. Now, with soft brush, you can paint with different colours on that grey layer to make highlights and shadows.
I hope you had fun going through this tutorial. Feel free to leave comments and questions. I will be more then happy to answer them.


Leave a reply