More than a hundred years ago, a photographer by the name of A. R. Gurrey self-published The Surf Riders of Hawaii, the first book dedicated entirely to the subject of surfing. By the 1930s, John Heath “Doc” Ball helped establish surf photography as a profession. In the 1960s, Leroy Grannis documented the surf scene at Hermosa Beach, while Ron Stoner captured the California waves in vivid technicolor. In the 1970s, Jeff Divine started taking yearly trips to photograph surfing in Oahu, Hawaii, a tradition he’d continue for decades to come.

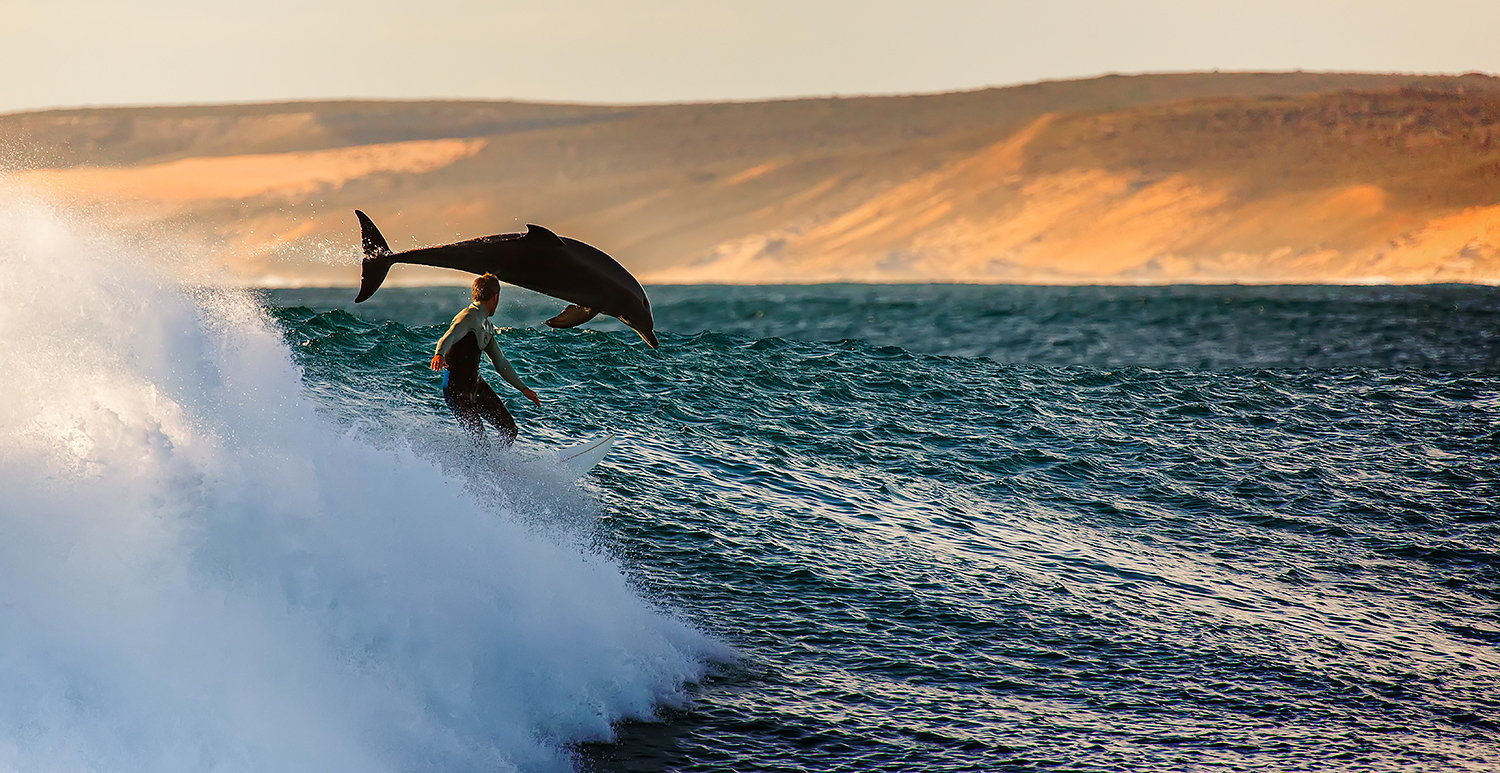
For over a century, photographers have been chasing waves, capturing surfers from land and sea in hopes of creating a single unforgettable picture. In the process, they built a genre and niche unlike any other. During the pandemic, surfing offered a respite and a way to reconnect with nature, while the sport’s dazzling debut at last year’s Olympics encouraged more people to hit the waves. Heading into summertime, we put together this quick beginner’s guide to surf photography.
Learn the basics
You don’t need to surf to be a surf/sport photographer, but it certainly helps. Understanding the basics of the sport will help you connect with your local community—or the surf community in a location you’re visiting—on a more profound level, establishing a relationship based on trust and shared passion.
If you’re part of the community, you’re also more likely to get access and information about “secret spots” off the beaten path. Finally, surfing yourself will empower you to read other surfers’ body language and predict the perfect moment to capture. You don’t have to be a professional; start small, and then move up from there.
Start on land
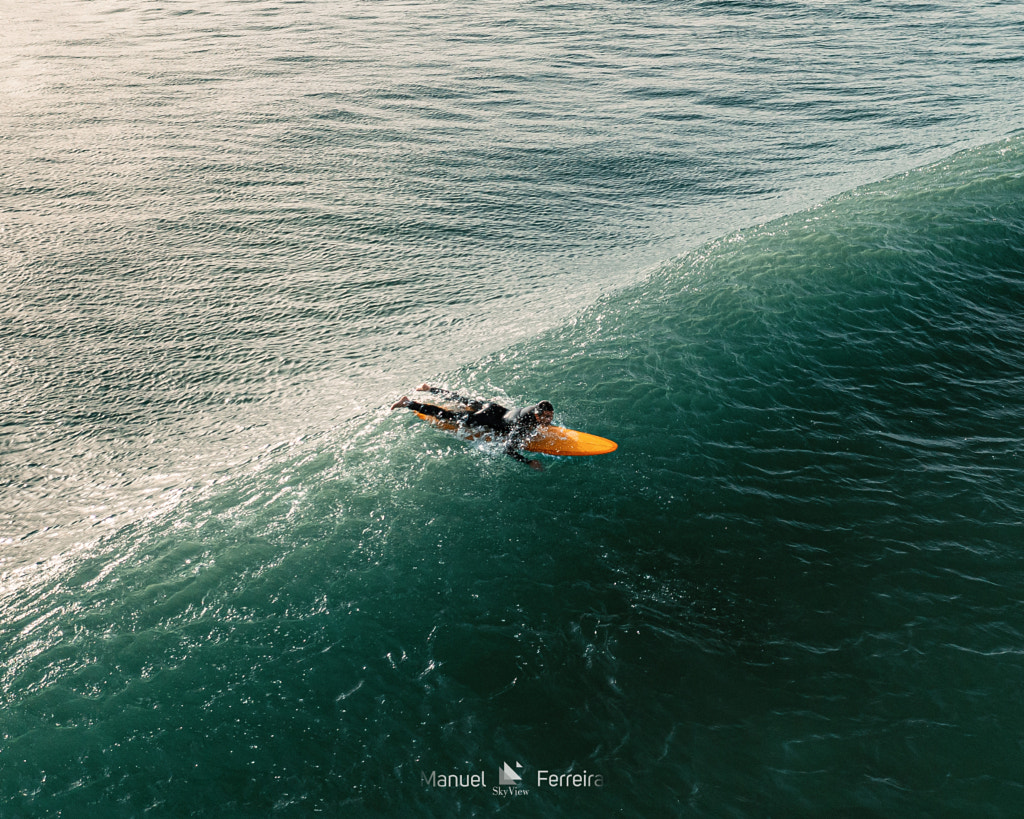
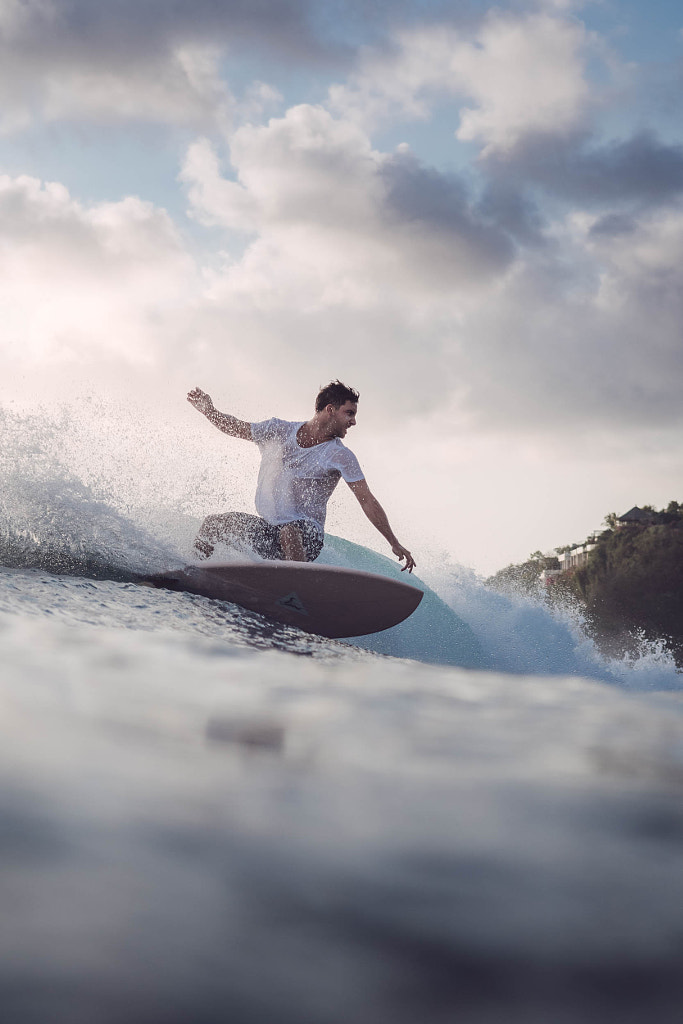
Learning how to shoot on land—with a long lens and a tripod or monopod to go with it—can lay the foundation for a better understanding of how surfers move and how the light hits the water at different times of the day. With that being said, don’t feel like you have to stay in one spot with your tripod; explore the scene and move around a bit before setting up. Once you get in the water, your first priority is safety, so you’ll need to be comfortable in your abilities before you take that step.
Try a few lenses
You can make fantastic images with any lens, but as a general rule, you’ll want a telephoto if you’re shooting on land and a wide-angle or fisheye in the water. A 70-200mm lens will give you a lot of mileage and versatility. Keep in mind that your focusing technique will likely change based on the lens you use. If you’re shooting with a long lens, stick with continuous autofocus to track your subject. If, however, you’re shooting with a fisheye, you might opt to use a hyperfocal distance technique, switch to manual, and tape it into place before putting it into the housing.
Choose the right housing
Although you can create stellar images from land, getting in the water yourself, gear and all, will result in photos you just can’t get any other way. When you do advance to shooting in the water, invest in the best housing you can; when it comes to gear, good protection is worth the extra cost. Established brands like Aquatech and SPL are always safe bets. You’ll also want to choose a lighter housing for mobility.
Note: If you’re shooting in the water, you’ll need a port to go with your housing; a dome port is best for underwater work and use with a fisheye lens. A flat port is best for longer lenses. To avoid water droplets, lick your dome port five to 10 minutes before entering the water, or use a bit of candle wax on your flat port.
Minimize glare and reflections
Glare from the water can easily ruin an otherwise perfect action shot, but a circular polarizing filter can help. Carry one with you on sunny days.

Stay safe, and be prepared
Plenty of physical training in the water also helps before jumping in with your gear; being a strong swimmer will be crucial to your safety and the safety of others in the water with you. 500px Ambassador Kalle Lundholm, for instance, never goes into the water without his fins. Finally, a helmet for safety might also be a good idea when entering the water for the first time.
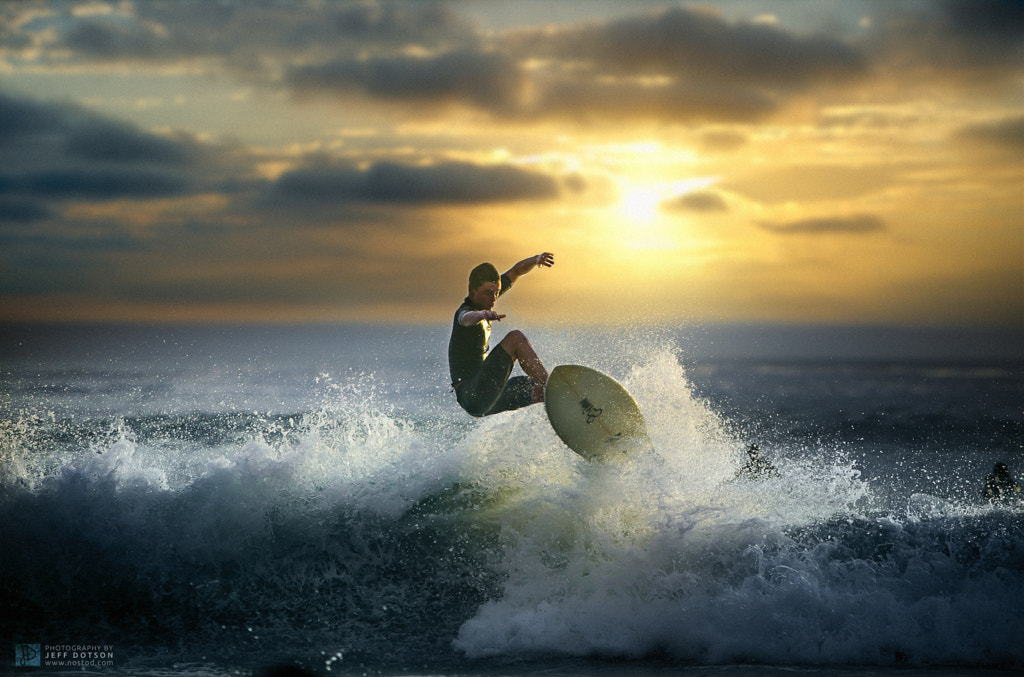
Beware of blur
For most sport photography, you’ll need a high shutter speed to catch your subject and freeze the action. Depending on the light, you might be able to go very fast for the sharpest possible image, but as a starting point, try 1/1000th of a second.* While you might be used to shooting in manual mode, using the semi-automatic shutter priority mode can come in handy when shooting surfers, giving you fewer factors to juggle when you’re working. This can make all the difference when you’re shooting in the water, as housings offer less flexibility.
*Of course, there are situations where you might want to blur your subject for artistic purposes; in that case, feel free to slow it down.
Watch the weather (and the tides)
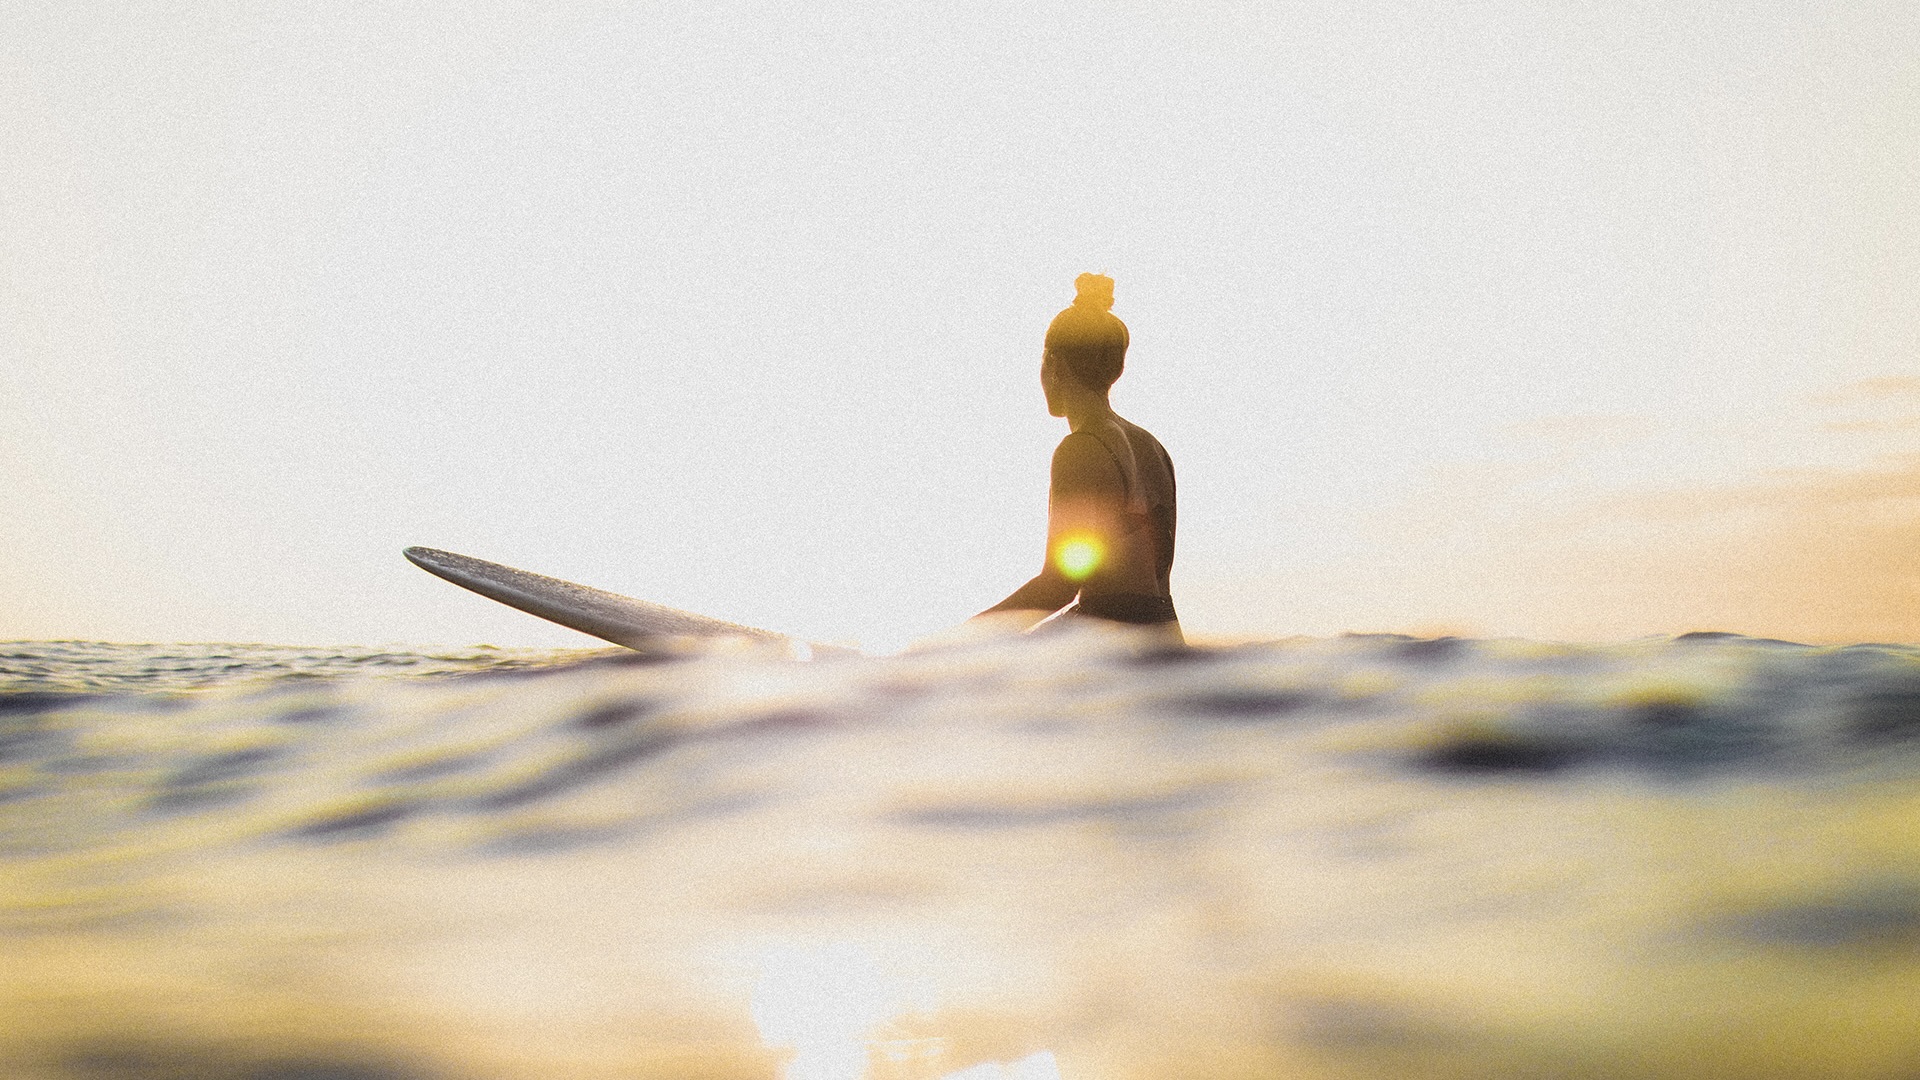
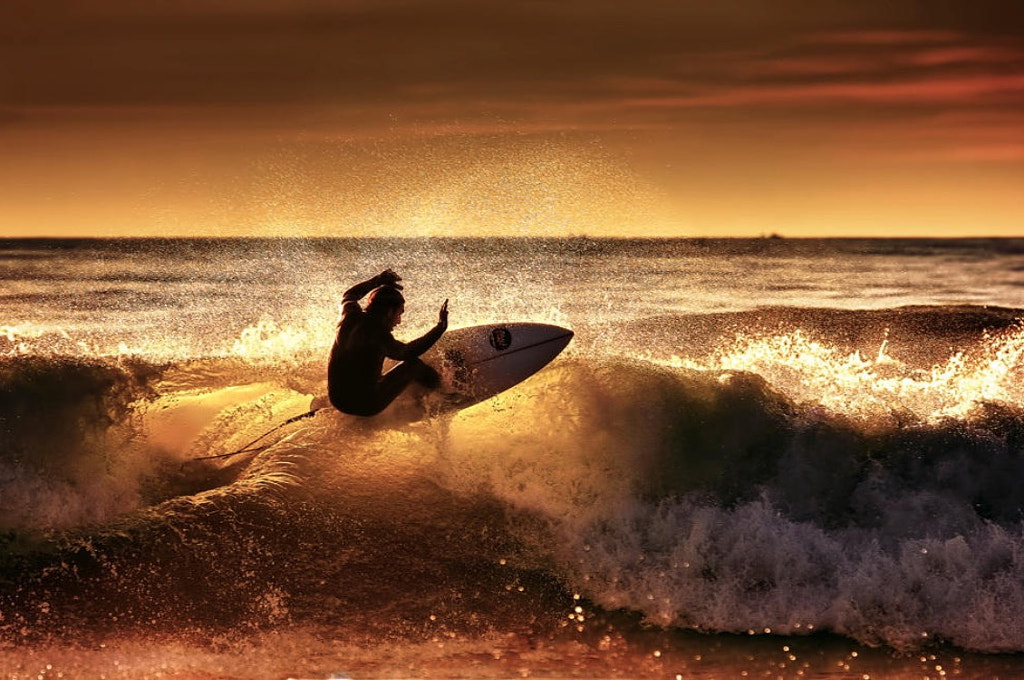
Surf photography requires careful planning, so check the tides, sunrise and sunset times, and the weather to choose the right day for your shoot (or plan around the conditions of an already-scheduled shoot). Sunsets are almost always magical, with the orange hues of the sky contrasting with the blue water. You can use an app like SkySafari to help you plan.
While sunny days are great for delivering clear, sharp images, you can also create magic with moody, cloudy skies, so tailor your approach to the mood you’re trying to create. Offshore breezes or winds are generally ideal for those classic wave shapes.
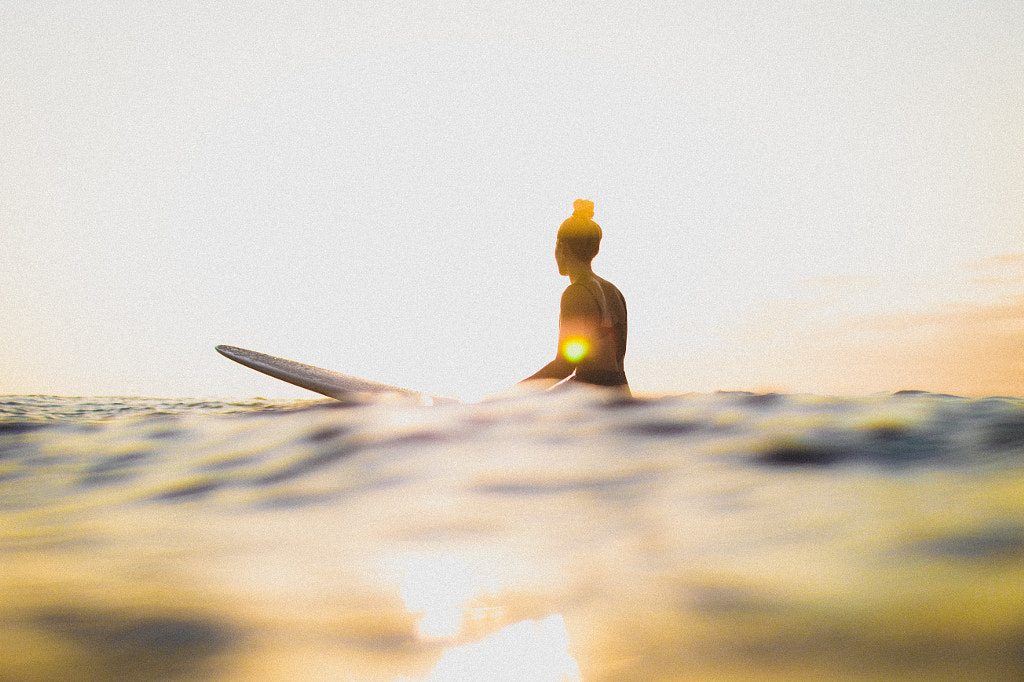
When in doubt, underexpose
Surf photography is full of highlights, from the bright sky to the white water, so don’t be afraid to underexpose just a tad to keep those details in the bright spots.
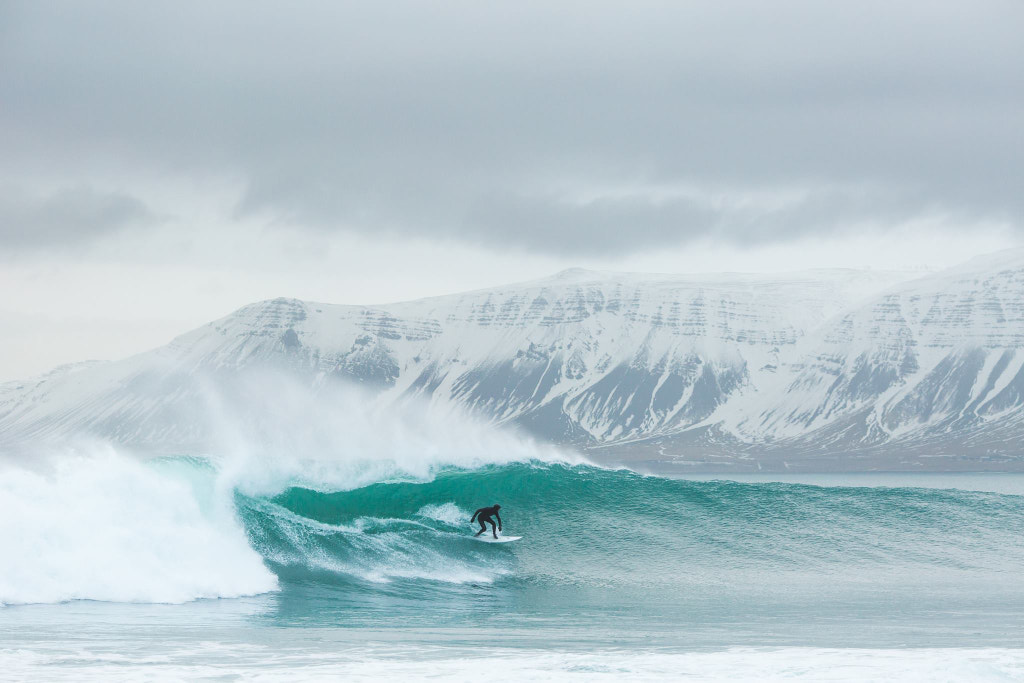
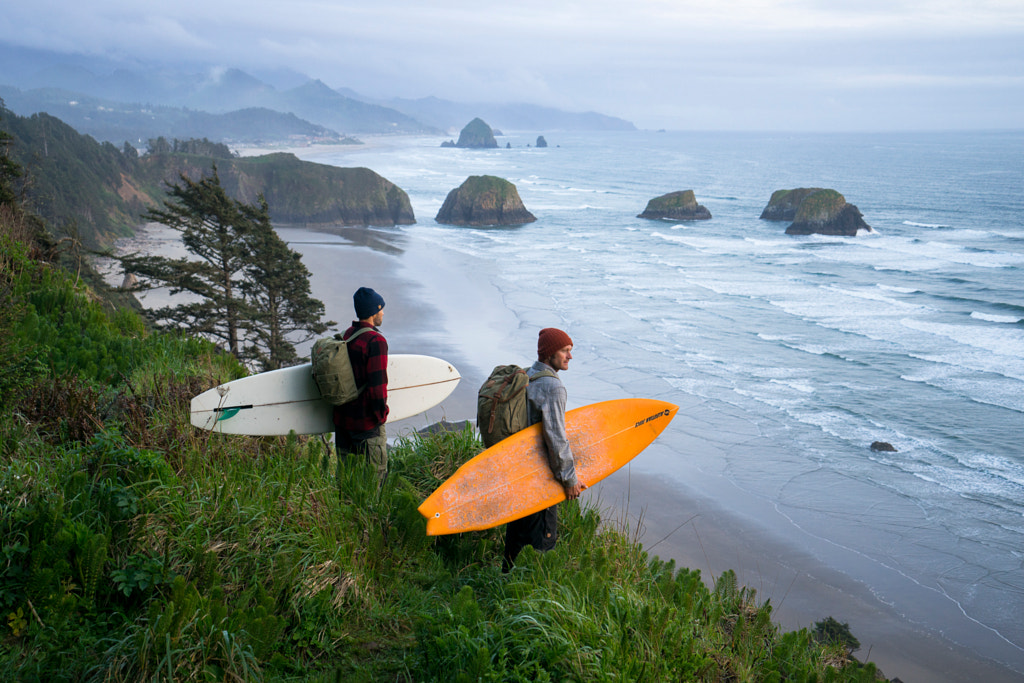
Provide some context
Part of what makes surf photography special are the locations themselves, whether you’re shooting river-surfing at the manmade Eisbach in Munich or the breathtaking landscape of Hanalei Bay, Hawaii. Remember to include those details as well as the close-ups of the surfer; sometimes taking a step back and incorporating more of the environment can help tell a larger story about surf life in your corner of the world.
Leave no trace
As with any photoshoot in a natural environment, remember to respect the beach and the ocean. The nature photographer and 500px Ambassador Chun Chau, for example, wears reef-safe sunscreen, reduces his plastic use, and picks up after others when visiting the beach. Whether it’s participating in a beach cleanup or donating your photos to a local environmental non-profit, consider ways to leave the landscape better than when you found it.
Not on 500px yet? Sign up here to explore more impactful photography.


Leave a reply