A few months ago, a technician at the University of Hertfordshire’s Bayfordbury Observatory discovered an old pinhole camera created using a beer can and photo paper. The astonishing part of the story wasn’t the camera itself but what they found inside: in 2012, a photographer named Regina Valkenborgh had set up the camera and then forgot about it for eight years.
Some believe it might have resulted in the longest exposure ever made; in the final image, you can see the sun moving across the sky, as days, weeks, months, and years pass. People came and went, passing through the observatory, but due to the long exposure, they’ve all disappeared from view. The photograph quickly made headlines around the world.

Valkenborgh’s picture might be an extreme and singular example, but countless photographers around the world experiment every year with long exposures, producing images that would otherwise be imperceptible to the human eye. For emerging artists of all generations, long exposures often serve as a point of departure for further creative exploration and experimentation. Read on for our tips for getting started with this timeless technique.

What is long exposure photography?
Long exposure photographs are images created using a slow shutter speed. Most cameras will go up to exposures of 30 seconds, and you can go even longer when you use “bulb” mode. Night photographers often use longer shutter speeds to brighten up underexposed images in low light. Depending on your goal, your exposure could be seconds or minutes.
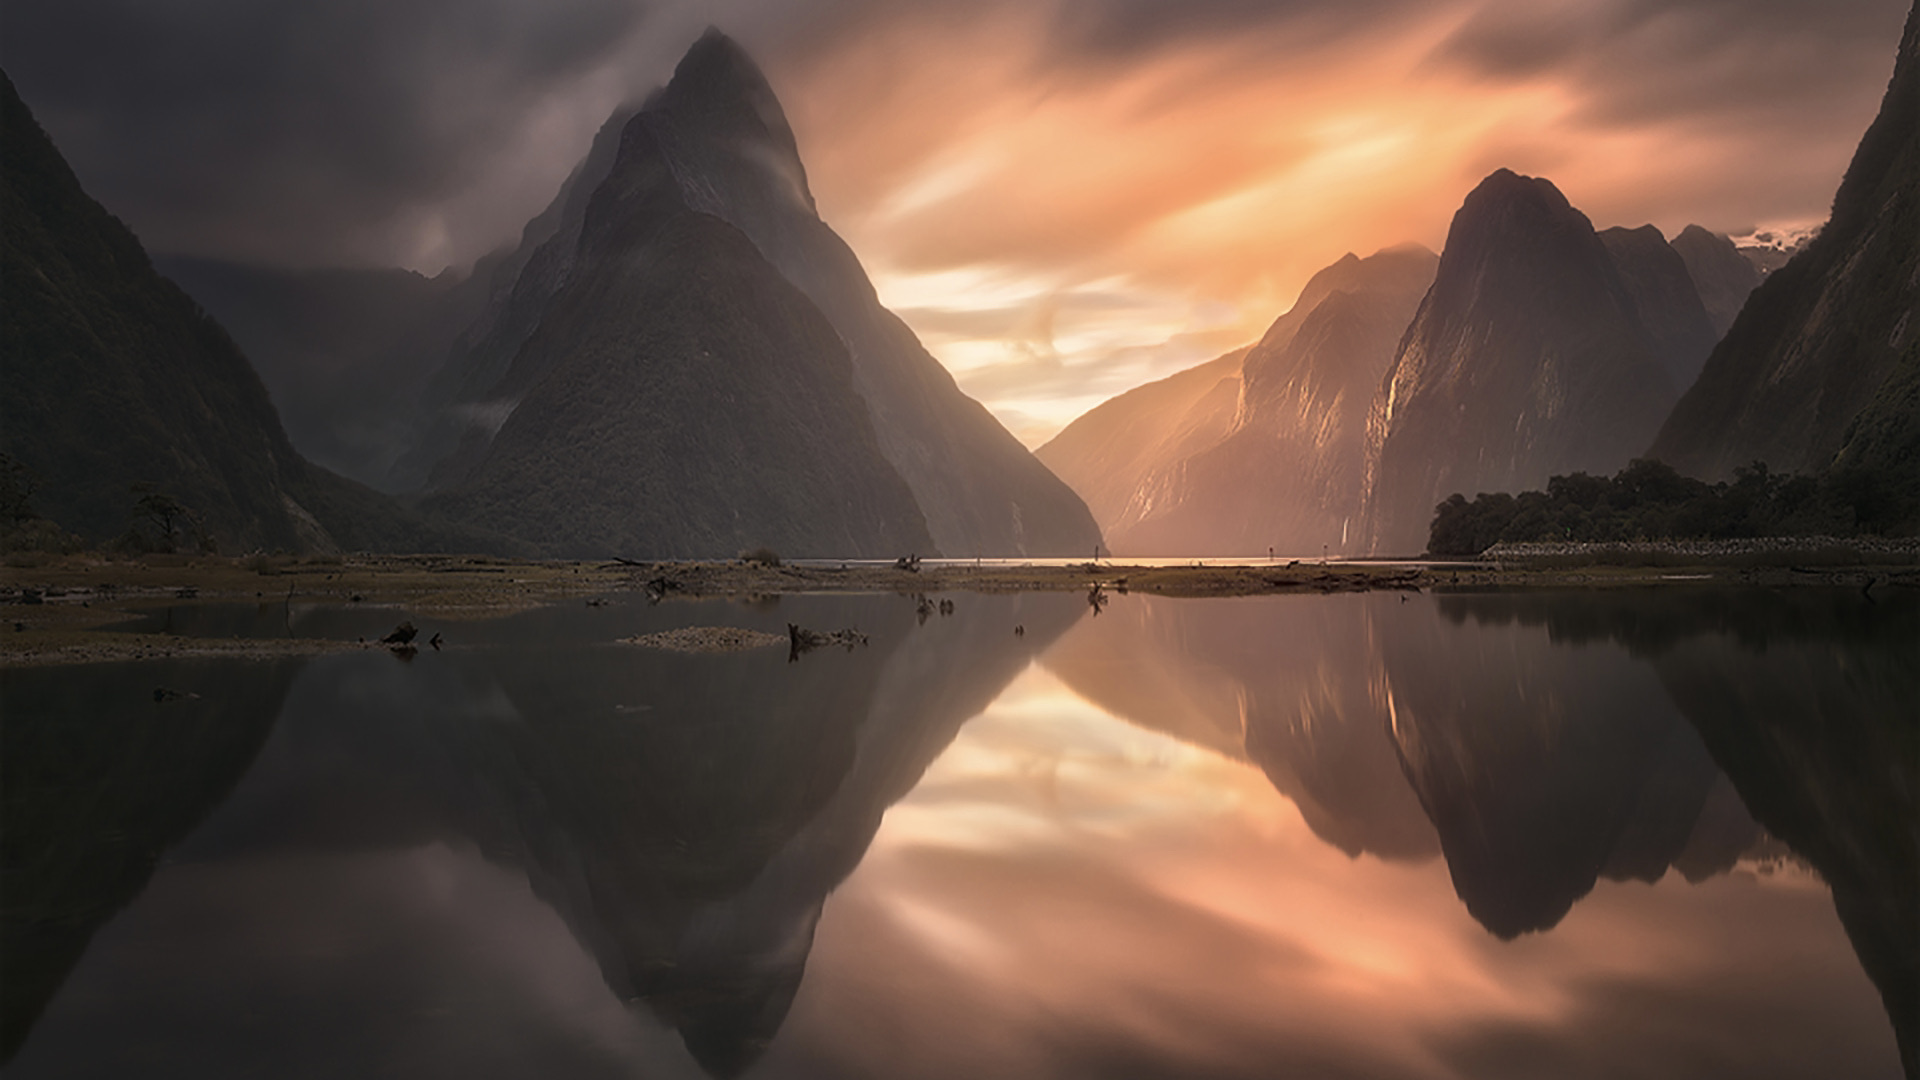
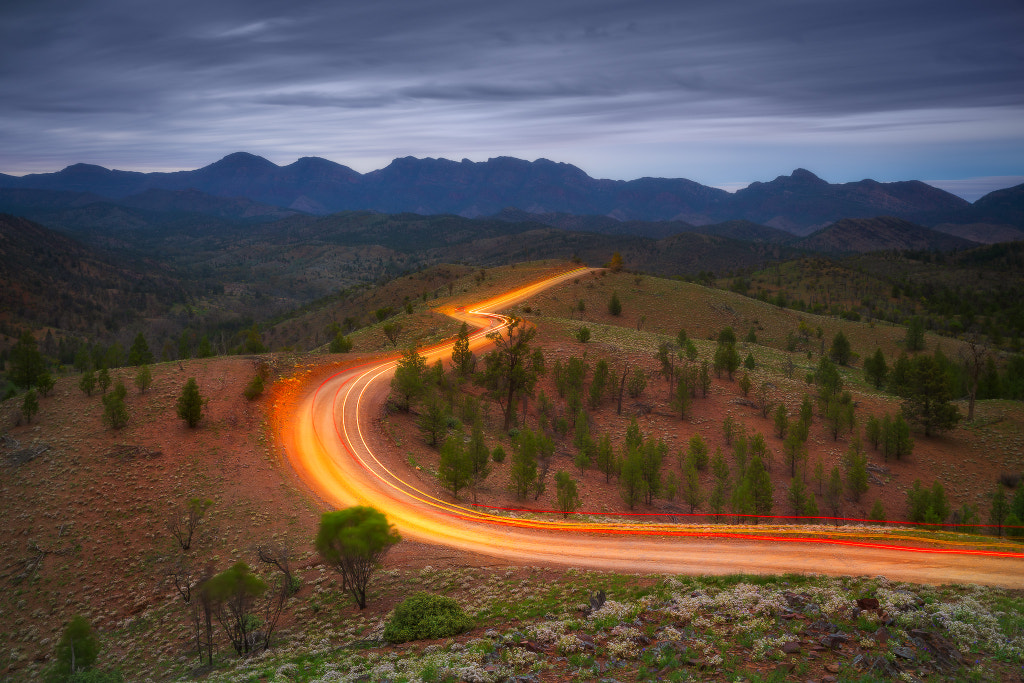
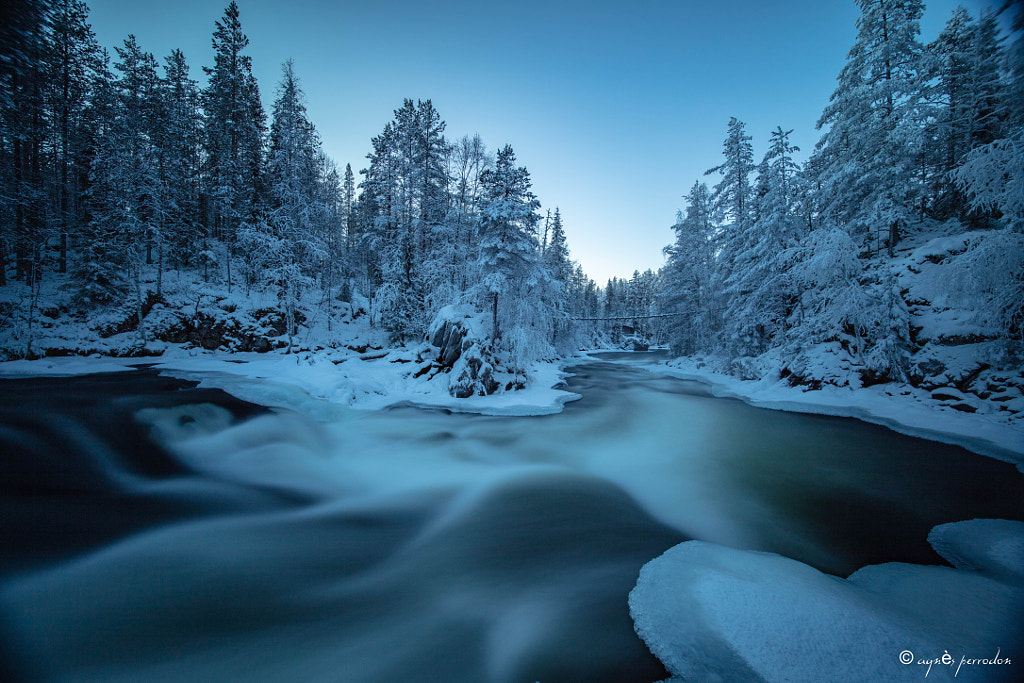
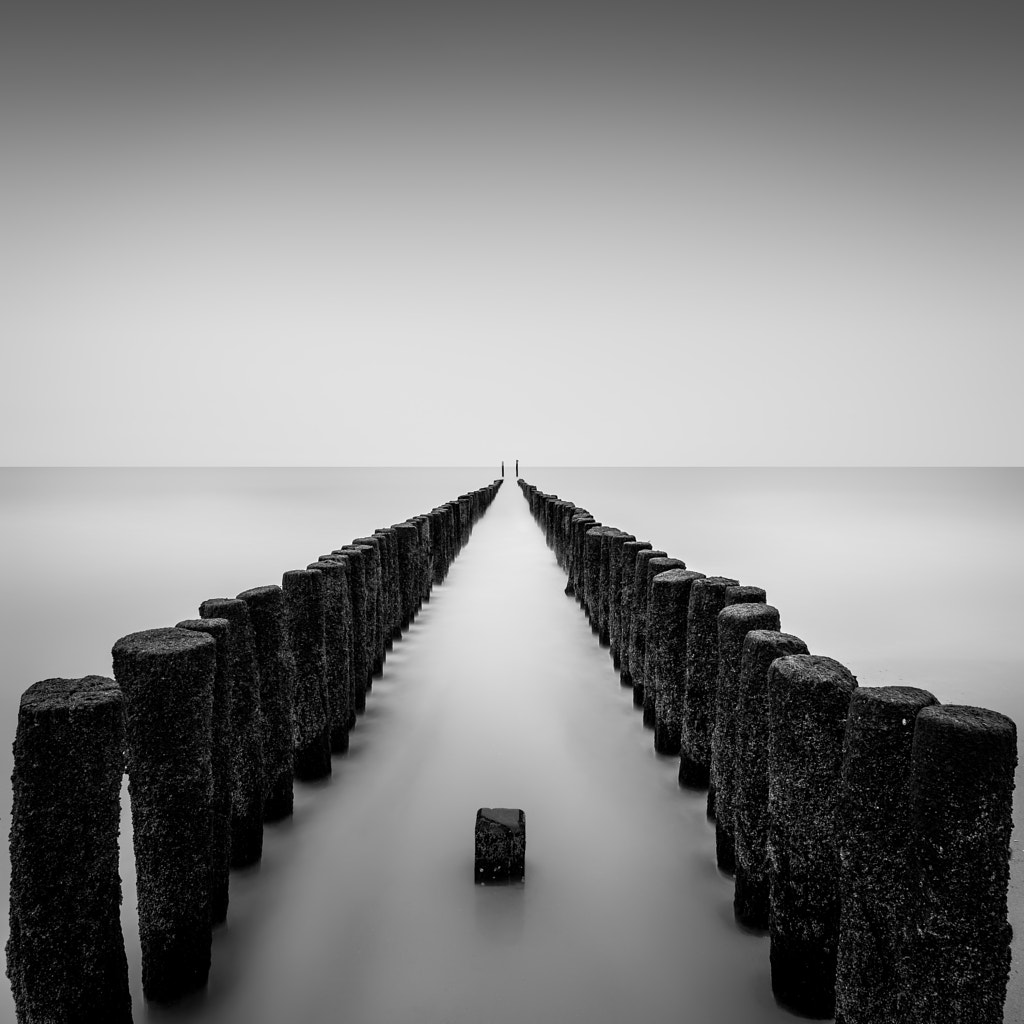
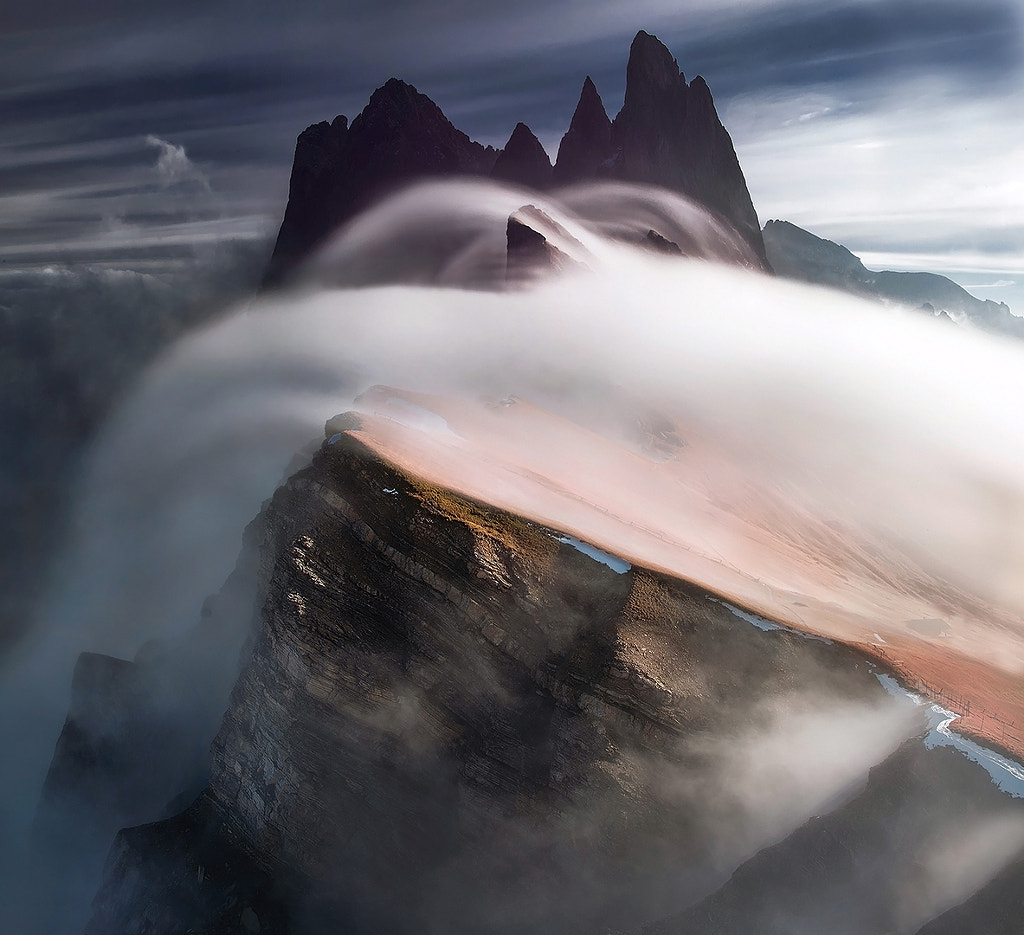
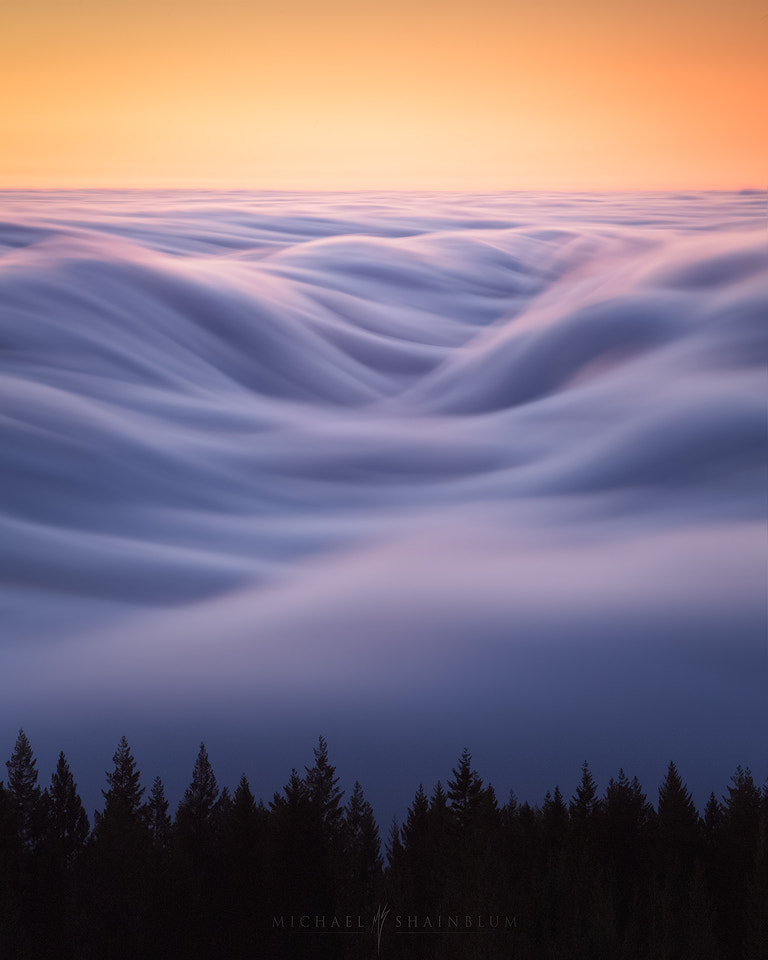
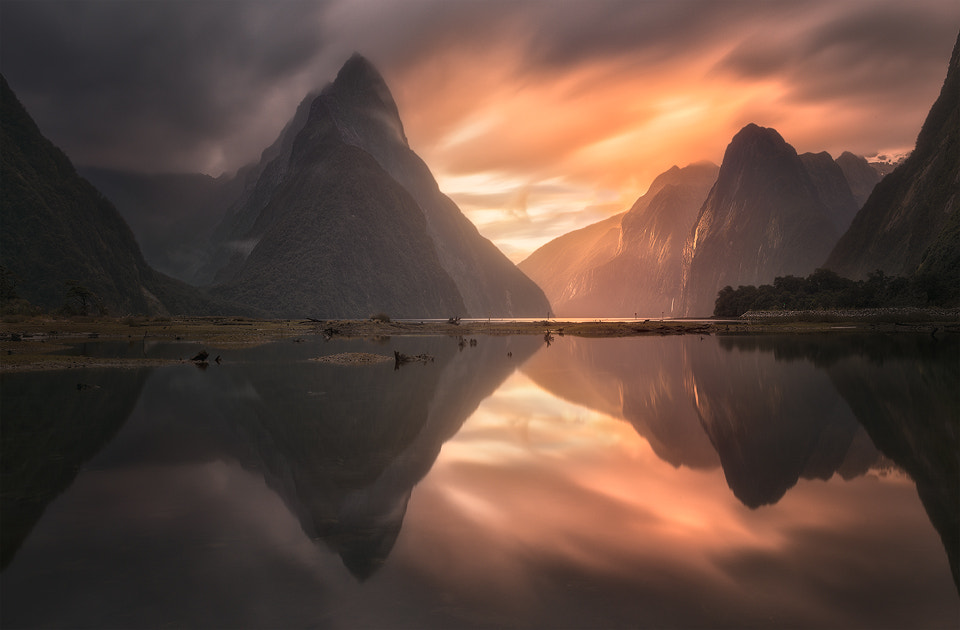
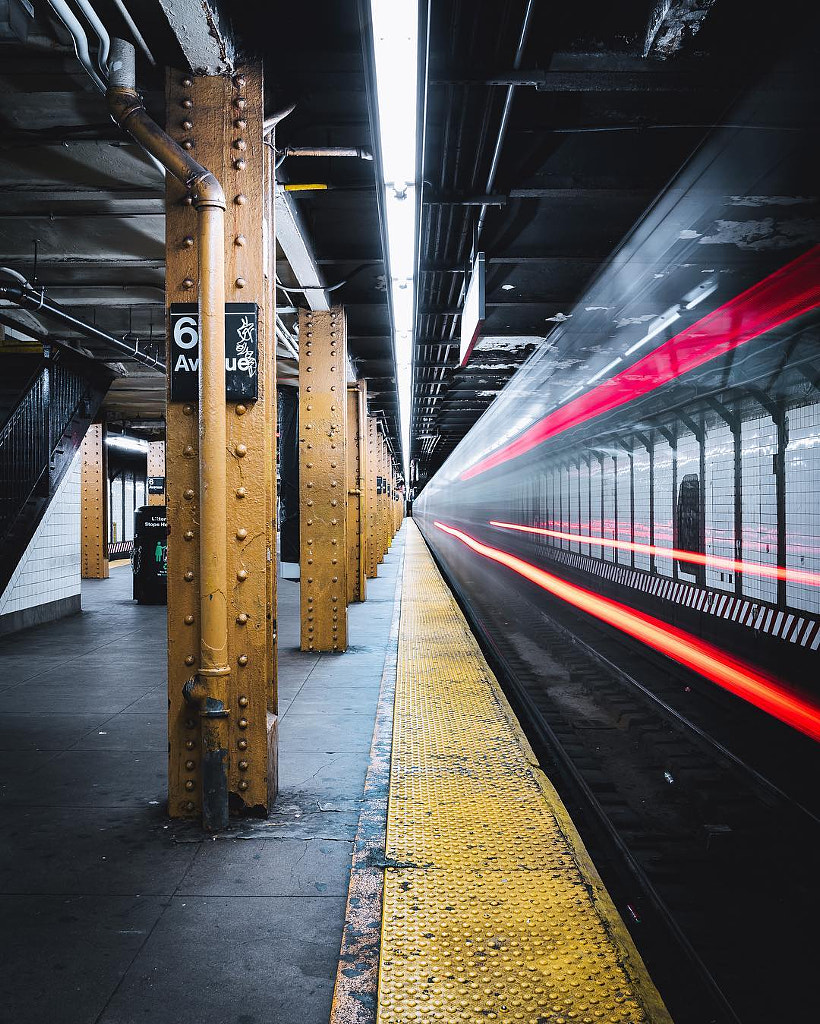
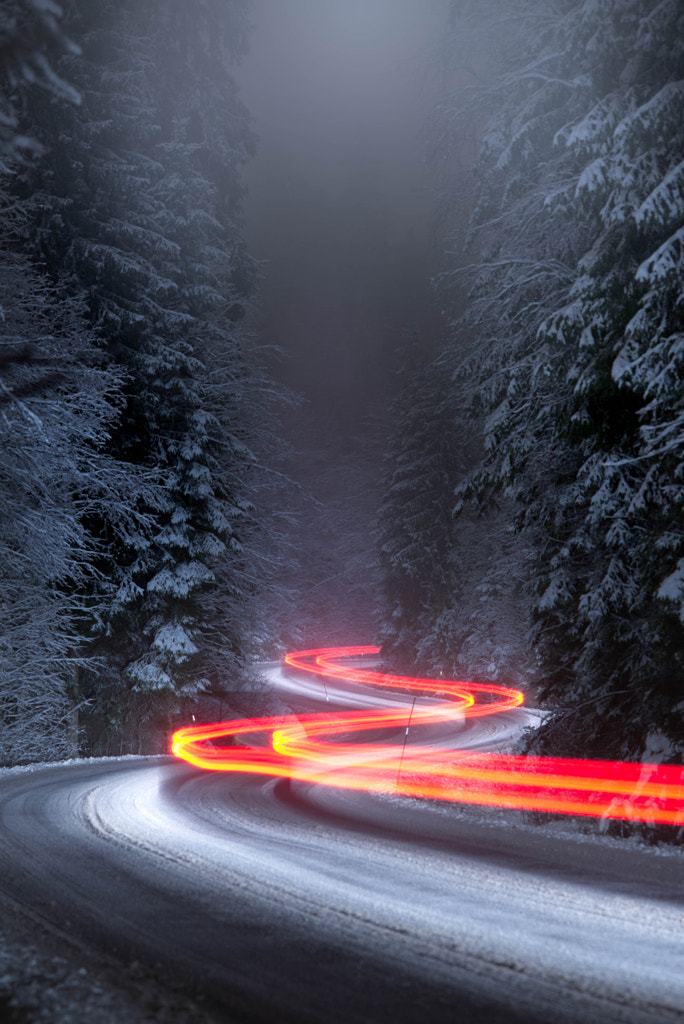
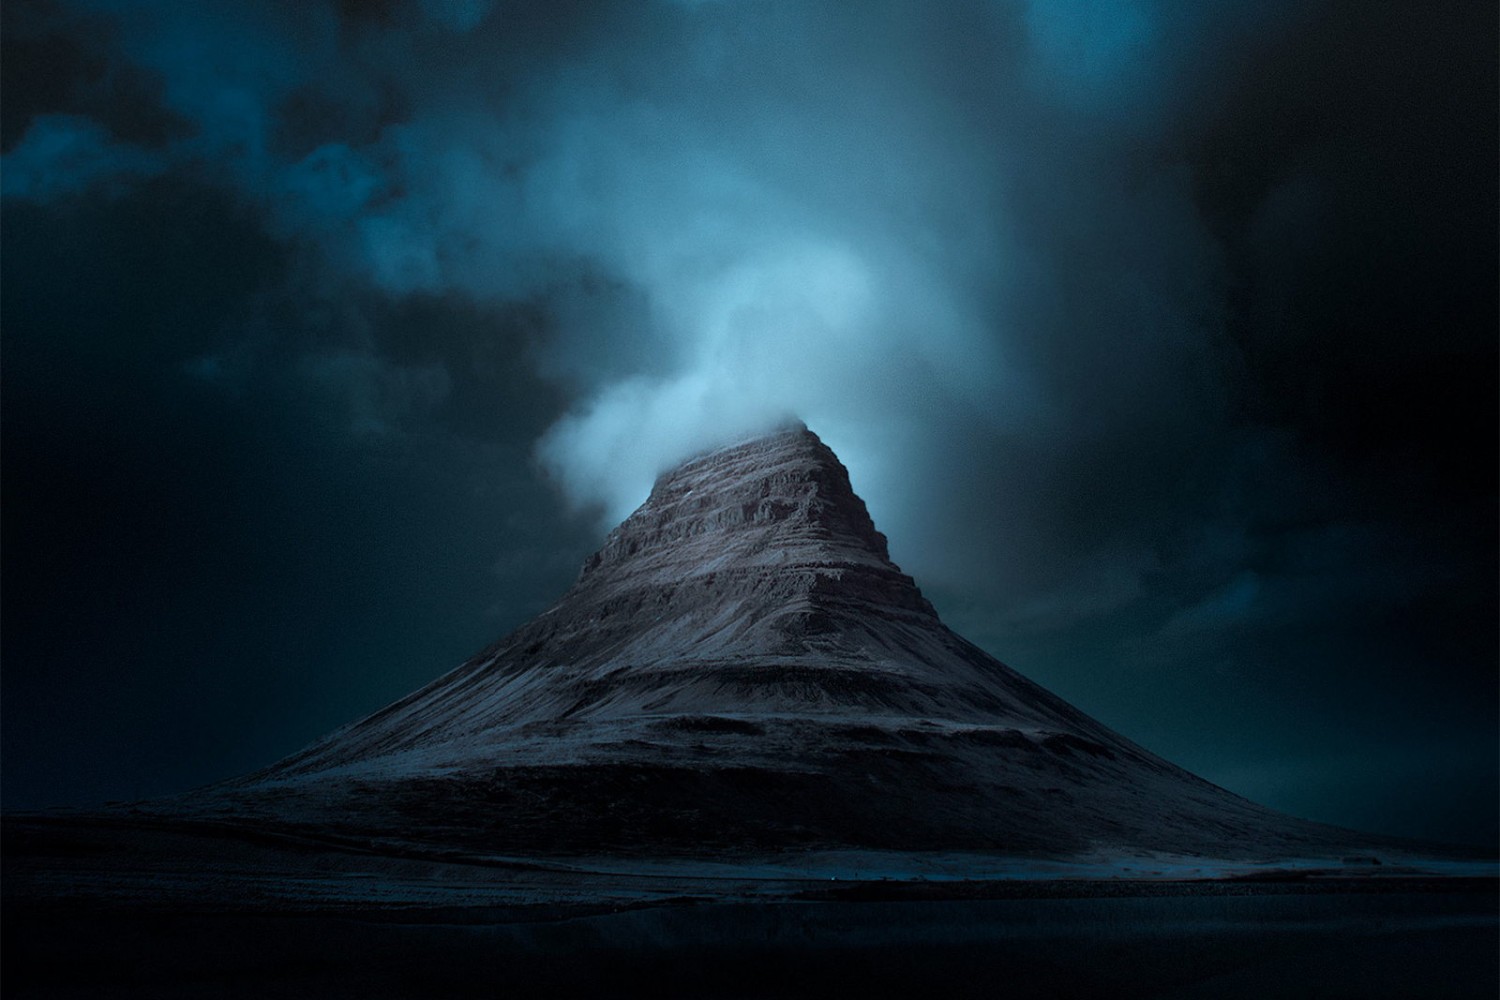
Whenever you leave the shutter open for these extended periods, you introduce motion blur, creating silky smooth waterfalls or waves, magical star trails, milky clouds, and more. Long exposures are a favorite technique of landscape photographers because they help create dreamy, otherworldly scenes, but they can be used in any genre. Light painting photographs are also created using long exposures. At exposures up to a couple of seconds, you can blur moving people; longer, and they’ll vanish completely.
What you’ll need for long exposures
In addition to your DSLR or mirrorless camera and the lens of your choice, you must have a sturdy tripod and cable release to prevent any camera shake or vibrations during a long exposure. You’ll also want to turn off any image stabilization before taking your photos. We recommend shooting in manual mode for full control over your ISO, which you’ll generally keep as low as possible, your aperture, and, of course, your shutter speed.
As you might expect, the biggest danger that comes with using longer exposure times would be producing photos that are too bright. To prevent overexposure, you can wait for darker lighting conditions, close down your aperture, or reduce your ISO sensitivity. Still, in many cases, those steps will only take you so far, especially since smaller apertures increase the risk of diffraction, so that’s where you’ll need a neutral density filter.
These filters will cut down on the amount of light entering your lens, depending on the number of stops for the specific filter, so you can invest in a few options for different lighting conditions. The most common are three-stop, six-stop, and 10-stop filters. You can also get a graduated filter to retain the detail in specific areas, like the sky, which are prone to overexposure.
Good ND filters aren’t cheap, so make sure you choose the right one for your needs. You can also download an ND calculator app like the LEE Stopper Exposure Guide to help you determine the appropriate shutter speeds to use with different filters. Also, we advise shooting in RAW to avoid any unwanted color cast. That’s it—you don’t need any other special equipment.
Quick tips for long exposure photography
Choose the right subject
The most important element of a long exposure photo is motion blur, so you’ll want to start with a subject in constant motion, like fluid waves or cloudy skies. The light trails made by passing cars can also work well as leading lines throughout your composition.
In many cases, you might also want to include a stationary subject to “anchor” your image, like a detail in the foreground or background. If you look at landscape photographs by Ansel Adams, for example, you’ll notice that he often creates a misty waterfall effect, but he also includes razor-sharp rocks or trees to ground the pictures. Those still objects often serve to enhance the sense of motion throughout the picture.
Pick the right time
Cloudy, windy days work best for those lovely long exposure streaks, so check the weather report in advance. The golden hour will also enhance the contrast in your skies, and downloading an app like PhotoPills can be helpful for tracking the sun and moon. The weather and quality of the sunlight can make a significant difference. If you can, visit your location multiple times to get a feel for how the light changes throughout the day.
Arrive early
Always give yourself extra time to scout your location for compositional elements, set up your tripod,* and tweak your settings for a proper exposure. Capture a few test shots, and double-check your histogram for a spot-on exposure. It’s also best to set your focus and lock it (i.e., switch to manual focus) before adding any filters.
Whether you’re using an app like the LEE Stopper Exposure Guide or doing the math yourself, it might take a minute to find the perfect exposure time based on the ND filter you choose to add. Keep in mind that as the sun rises or sets, you’ll have to adjust your exposure to suit the changing conditions, so keep an eye on your settings as you go.
*Check to ensure your tripod is stable. It can help to bring some sandbags for extra stability. Make sure that the strap and cable release are secured as well to avoid any vibrations or shaking.
Be patient
Long exposures rarely provide instant gratification, so don’t forget to enjoy the process. In the beginning, you might spend a whole night at the beach and end up with no usable images; maybe you get the positioning wrong, your images come out too bright or too dark, or your exposure gets interrupted by a gust of wind. You will likely end up with shots that you don’t love right away. That’s okay.
These “mistakes” can be time-consuming and labor-intensive, but they’re also part of learning. Even if you don’t get the picture you wanted, you haven’t wasted your time. As you get your feet wet with long exposures, be patient with yourself and choose subjects and landscapes you love. During particularly slow shutter speeds, remember to take a moment to enjoy your surroundings while you wait.
Not on 500px yet? Sign up here to explore more impactful photography.

Leave a reply