
For more than a century, photographers have helped redefine modern metropolises around the globe. In the late 19th century, Paris had Eugène Atget. In the 1930s, New York had Berenice Abbott. Mid-century Los Angeles had Julius Shulman, and in the 1950s and 1960s, Hong Kong had Fan Ho. In 1932, Lunch Atop a Skyscraper, the iconic image taken by an unknown photographer from the 69th floor of the RCA Building, came to symbolize the ambition and romance of modern cityscapes. It still does today, as one of the most reproduced photos of all time.
But our cities are changing. In 1950, 751 million people lived in urban areas. By 2018, that number had soared to 4.2 billion. The UN predicts that by 2050, 68% of the world’s population will be urban dwellers. With more people living in cities than ever before, perhaps cityscape photography has never been more relevant. In 2021, photographers working in this field have the power to remind us of the unique legacies of our cities, while also pointing towards potential futures. Read on for our tips for capturing unforgettable photos of cities.
Talk to the locals
Google Earth is a great place to start scouting potential locations, but it’s also worth touching base with local photographers to get an idea of what and where to shoot. They’ll know the iconic monuments, historic neighborhoods, and hidden gems to include in your photos, and they’ll also know the places that offer unobstructed views of the city skyline.
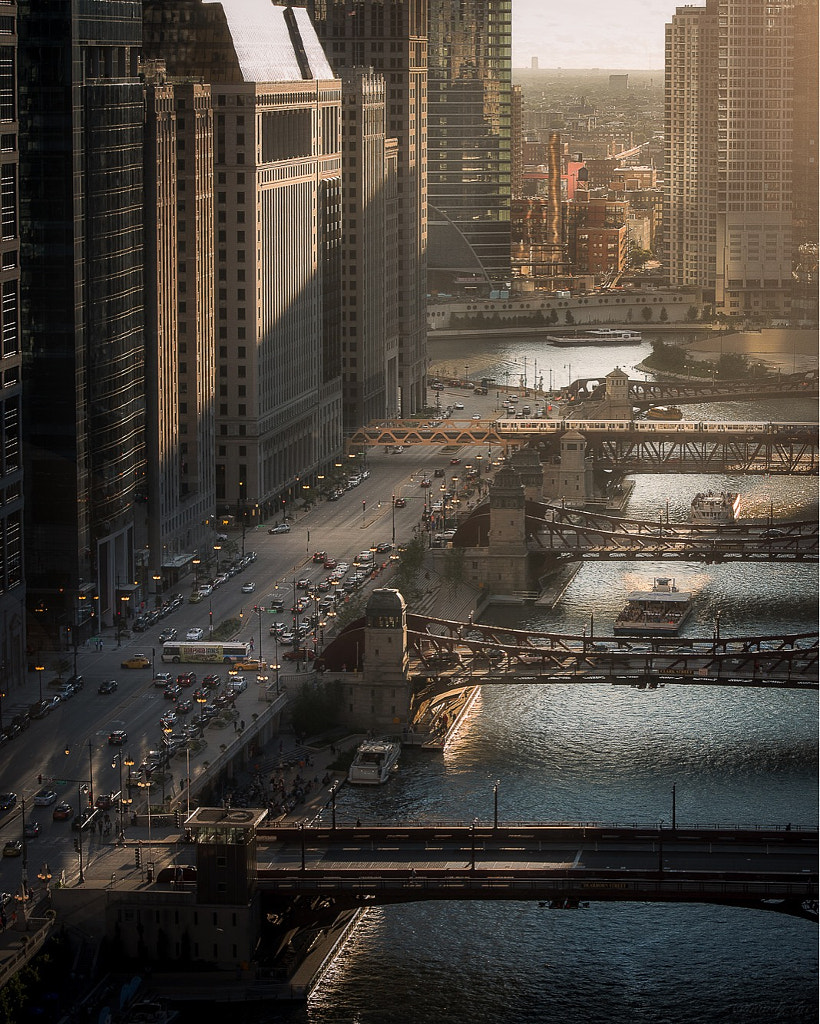
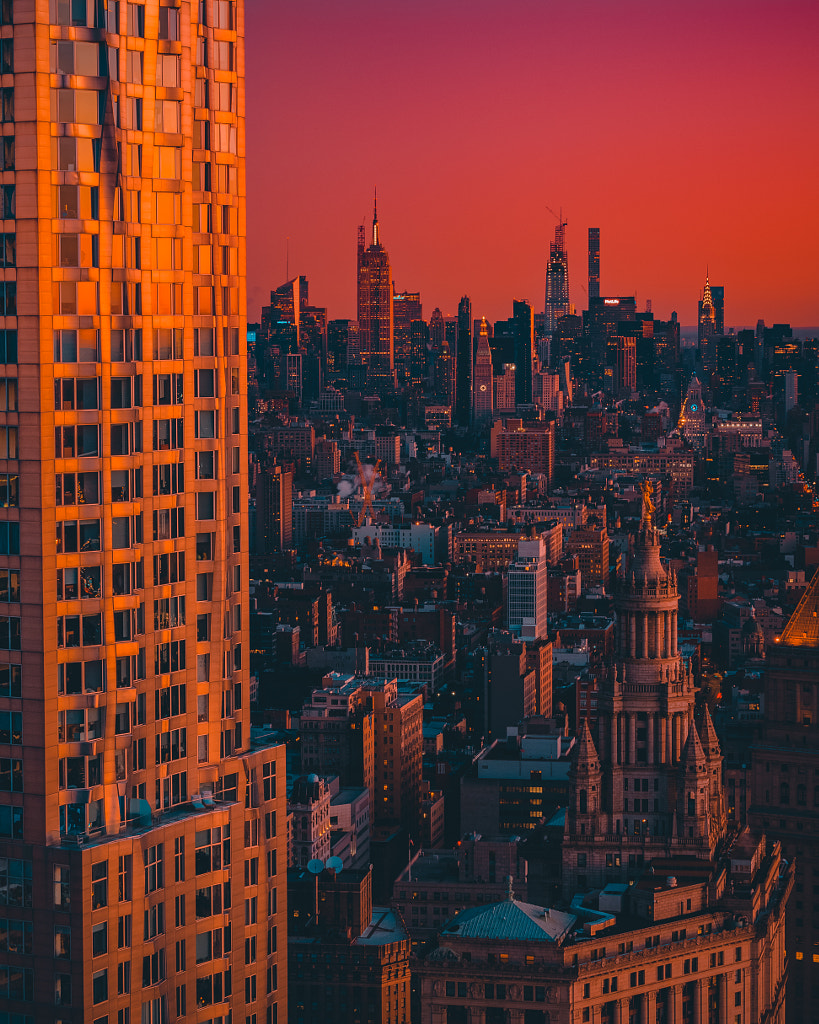
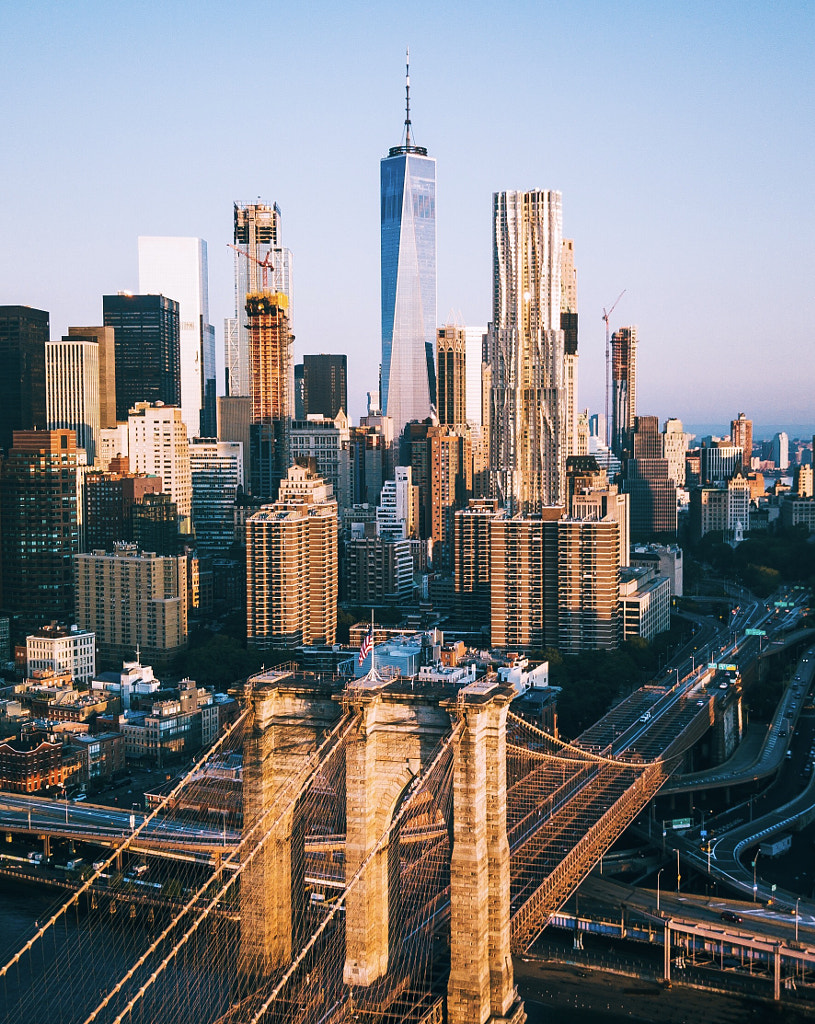
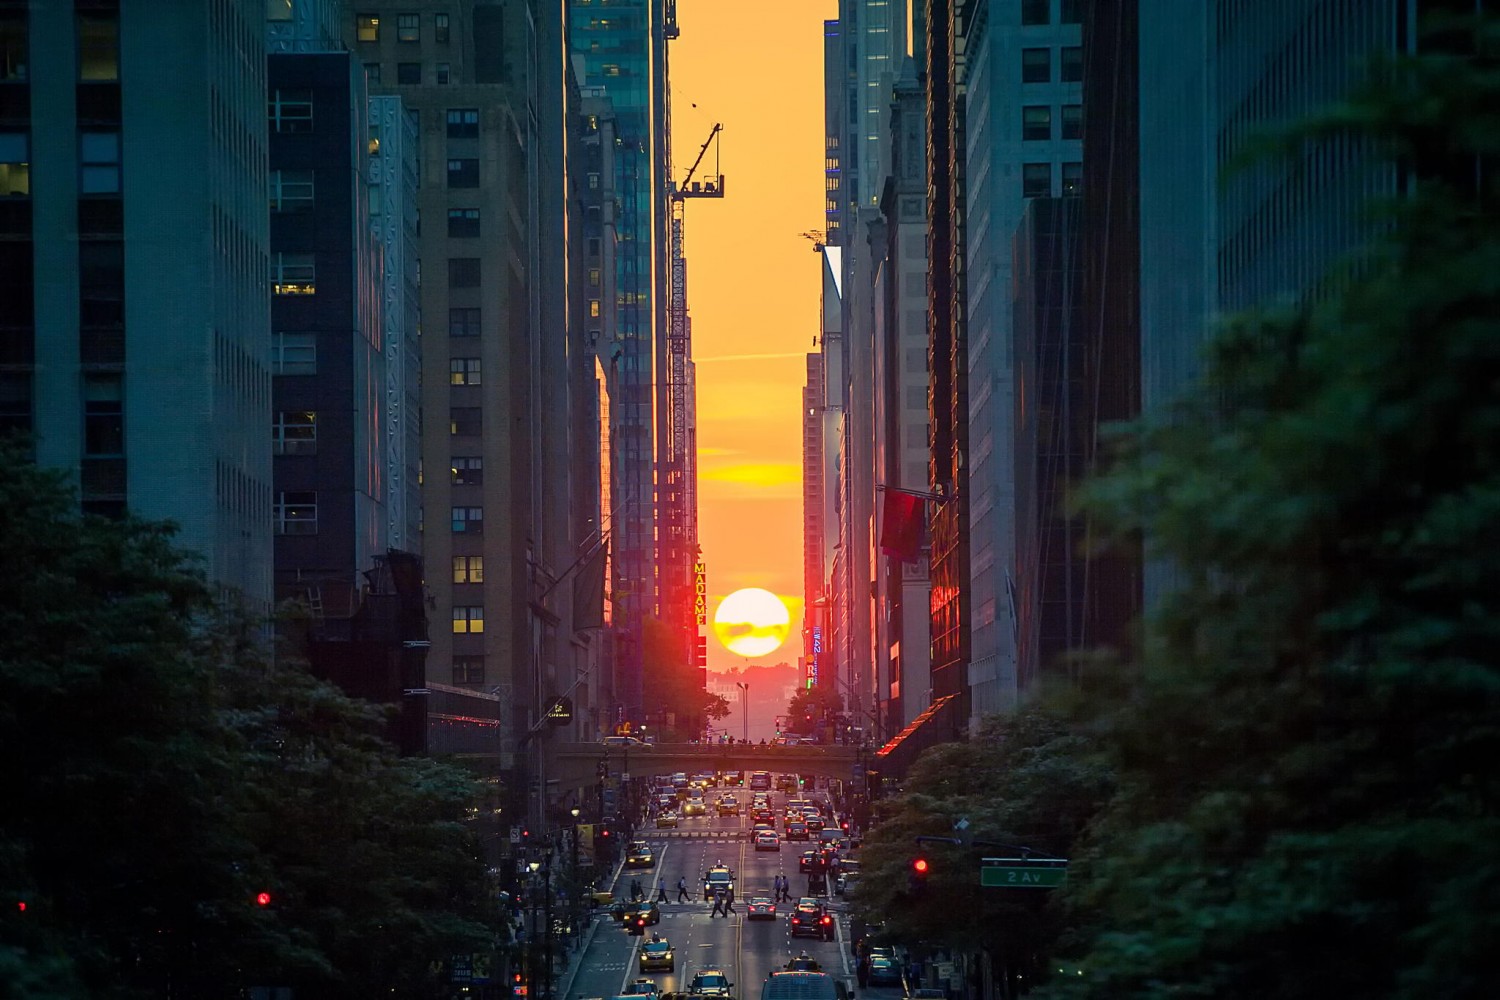
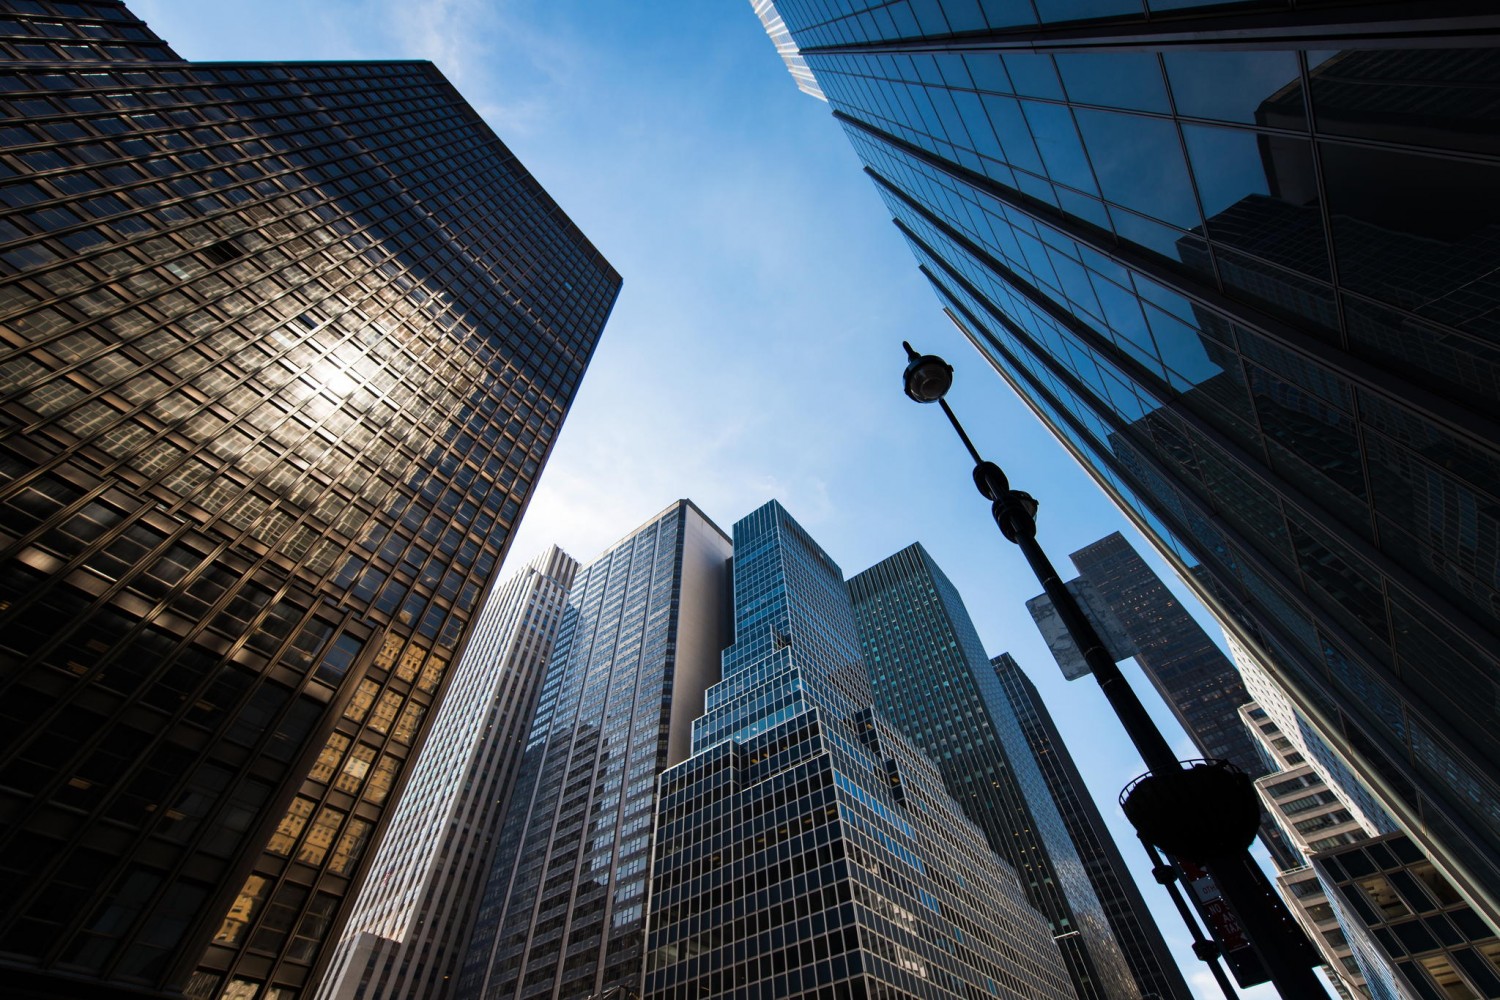
The best spots for cityscape photography are usually rooftops, bridges, towers, or hills with elevated perspectives. Jaime Penzellna captured this sunrise (above) at 130 William, a residential high-rise in Manhattan’s Financial District. You can even book a hotel known for its views before your trip.
Alternatively, waterfronts are ideal if you’re shooting from the ground, and they’ll create natural reflections on calm days, so ask about harbors or rivers as well. While tourist hotspots like observation decks will do the trick, lesser-known locations often result in more unique photos and a better shooting experience, with more space and fewer people. Heading outside of the city itself can help in getting enough distance between yourself and the skyline.
Note: Your vantage point—and distance from the city—will also help you determine which lenses you need to bring on your shoot. You’ll need a wide-angle for skylines and a telephoto for details.
Wear good shoes
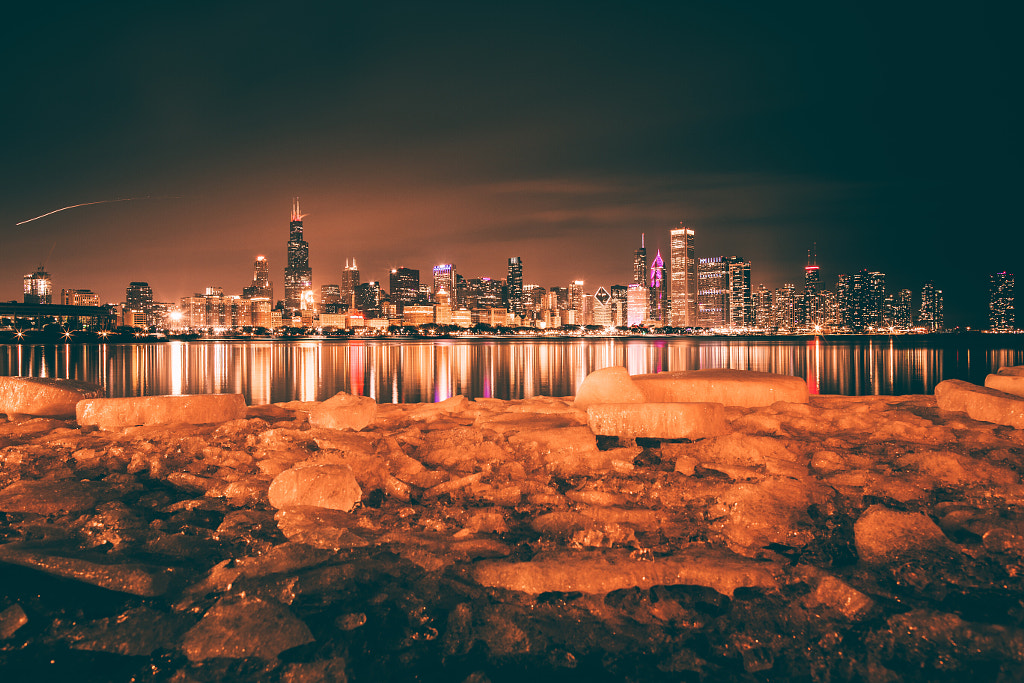
There are two prime times each day for cityscapes: the blue hours just before sunrise and after sunset. The former is best for uncrowded scenes, and the latter works well if you want to incorporate people. You might only get ten minutes of great light, depending on the conditions, but you’re still likely to spend most of the day on your feet, even if you aren’t actively shooting. Add to that the weight of carrying your camera, tripod, and a few lenses, and you’ll learn quickly that durable, comfy walking shoes are a must.
There’s no getting around the fact that you’ll have to wake up super early to secure your spot in the morning and then stay out late to catch the sunset, so use those hours in between sunrise and sunset to explore on foot, search for new spots and vantage points, and experience the local flavors. Grab a bite to eat, and soak in the culture of the city. You might discover unexpected photo ops along the way.
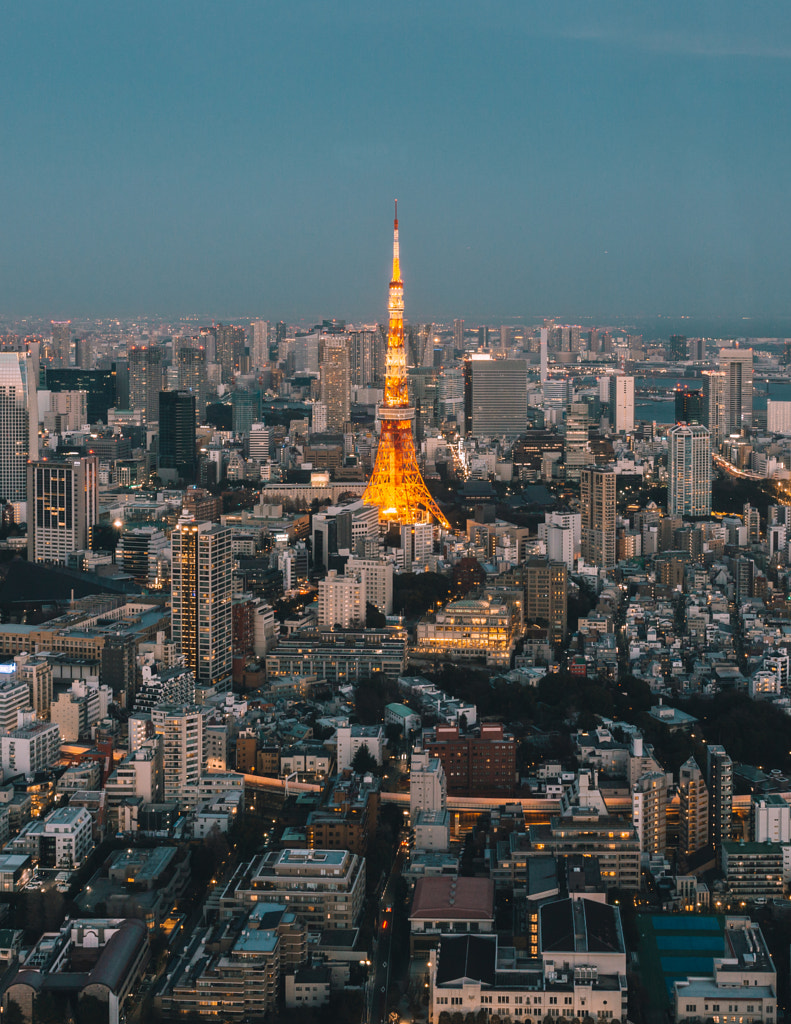
Check your calendar
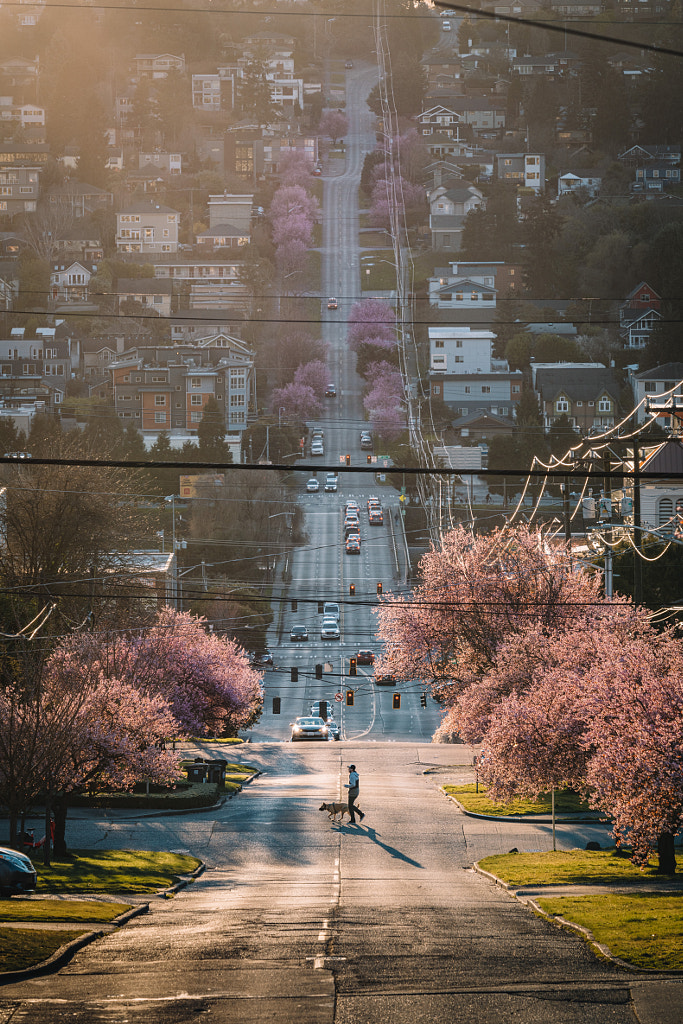
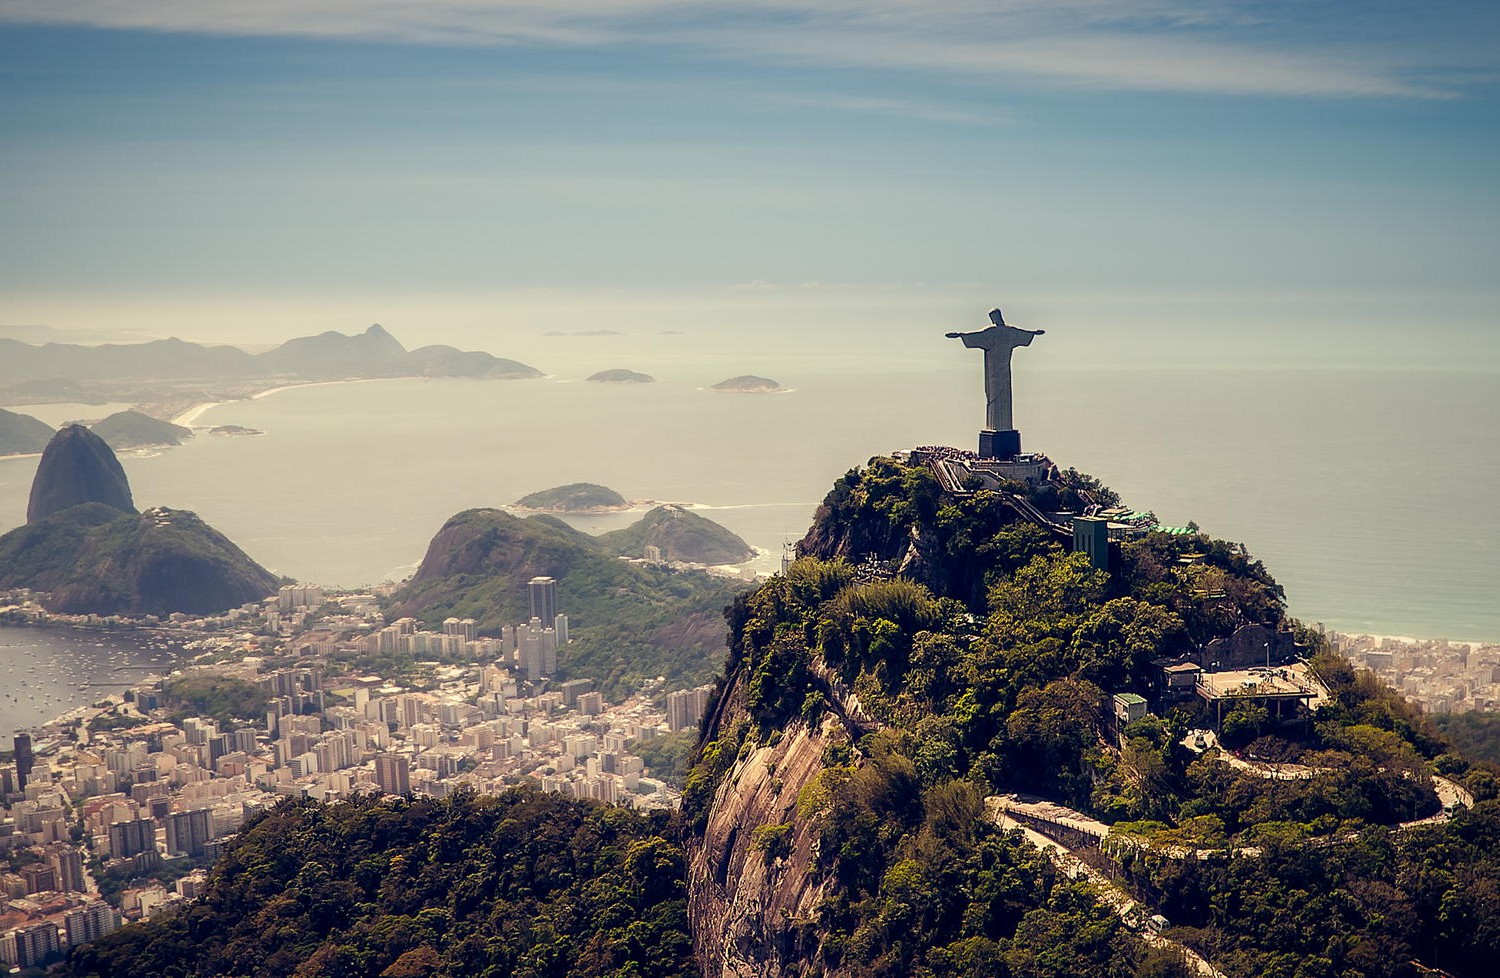
Time of day can make or break a cityscape, but so can the time of year, as different cities shine during different seasons. If you’re photographing New York City, for instance, you might schedule your trip to coincide with the holidays so you can catch the iconic skating rink at Rockefeller Center. If you’re visiting Tokyo or Seattle (photographed above by Tristan Zhou), you might plan for cherry blossom season in early spring. If you are heading to Rio de Janeiro, maybe you opt to see New Year’s at Copacabana beach.

Bring a stabilizer
Cityscapes often require slower shutter speeds for several reasons: first, you want to keep your ISO low to avoid noise, and you’ll want to close down your aperture a bit to keep everything in focus. If you’re shooting in low light, that’s all the more reason to slow down your exposure time. If you’re standing over traffic, long exposures will also give you those smooth light trails from passing cars.
To compensate for these slower shutter speeds, you’ll need some sort of stabilizer. If the location allows it, a tripod will work, though some viewing areas and observation decks forbid them. In that case, you’ll have to get creative with a beanbag, ledge, or walls and other surfaces. If you don’t want to lug around a tripod, another alternative is a clamp like this one from Manfrotto, which can be mounted onto nearby poles or railings. Once you’re set up, find that perfect focus using manual mode; in auto, you run the risk of focusing on the wrong part of your image (like a passing plane or a smudge on the window).
Beware of reflections
Hotel windows and observation decks make for ideal vantage points, but they also cause unsightly reflections. To avoid these, carry a Lenskirt with you; these are portable hoods that prevent reflections from interior lights when shooting through glass. You can also use a DIY solution made with dark fabric or clothing.
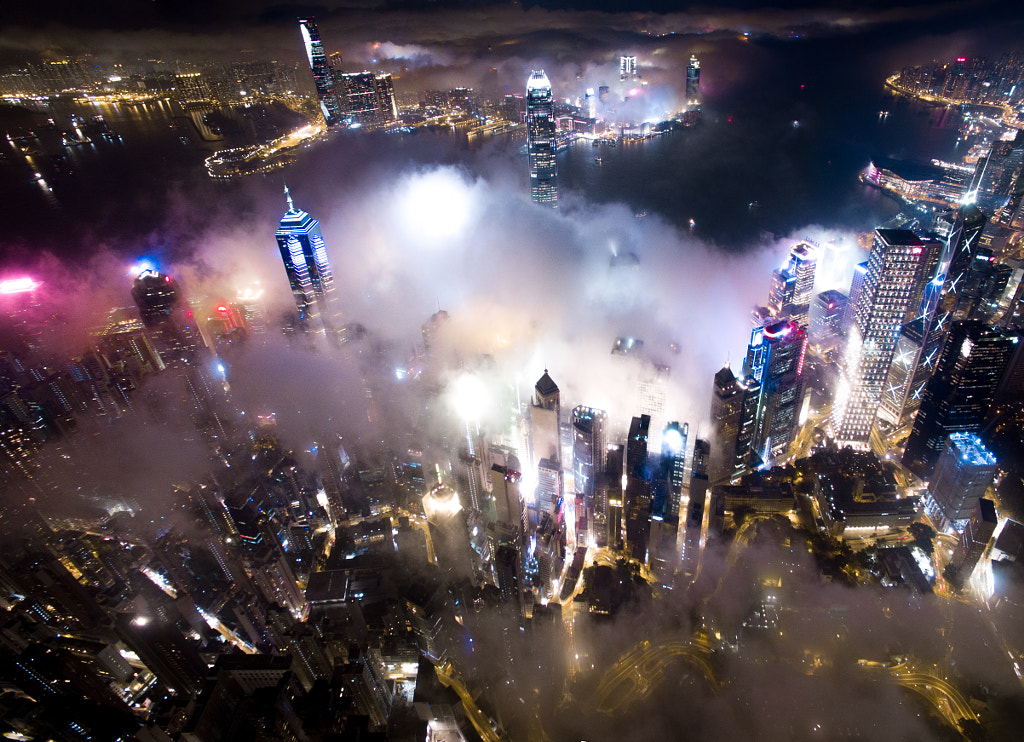
Take advantage of the weather
The same skyline can look drastically different depending on the weather conditions, so monitor the forecast. For example, a few years ago, Andy Yeung captured stunning images of Victoria Harbour, Hong Kong, where the humidity causes heavy fog in the evenings, using a drone.
Watch your white balance
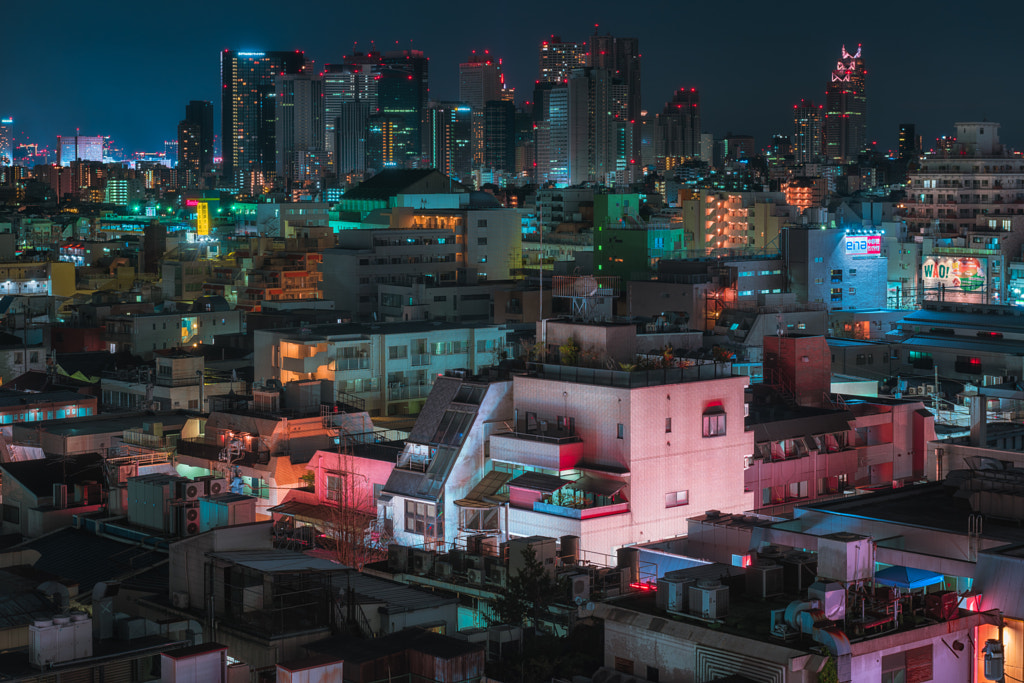
Shooting in RAW is always a good idea, but it’s essential when photographing cityscapes, as you’ll often have to contend with unpredictable light sources, from changing sunlight at the golden and blue hours to illuminated buildings and street lights. As long as you shoot in RAW, you can adjust your white balance in post to get rid of any unnatural color casts you might encounter. You can also use your white balance for artistic effect; for example, many cityscape photographers prefer to err on the cooler side to bring out those blues for a moody, futuristic vibe.
Check your edges
Nothing ruins a great cityscape like a powerline or unattractive building, so pay special attention to the edges of your frame. You might be able to crop later, but your best option is to get your composition right in-camera. Review the scene, flag any distractions, and take a few steps in either direction to declutter your frame.

Bracket those exposures
Bright lights from buildings, street lights, and car headlights make for magical cityscapes, but they also pose challenges. When shooting in conditions with high contrast between light and dark, it’s easy to get blown-out highlights or lose detail in the shadows (unless your camera has spectacular dynamic range). If you’re working in the changing light around sunrise and sunset, it’s even trickier. One option is to bracket your exposures; you can even turn on your camera’s auto-bracketing function to do this every time you press the shutter. Later, you’ll stitch the exposures together in post.

Not on 500px yet? Sign up here to explore more impactful photography.
Leave a reply