
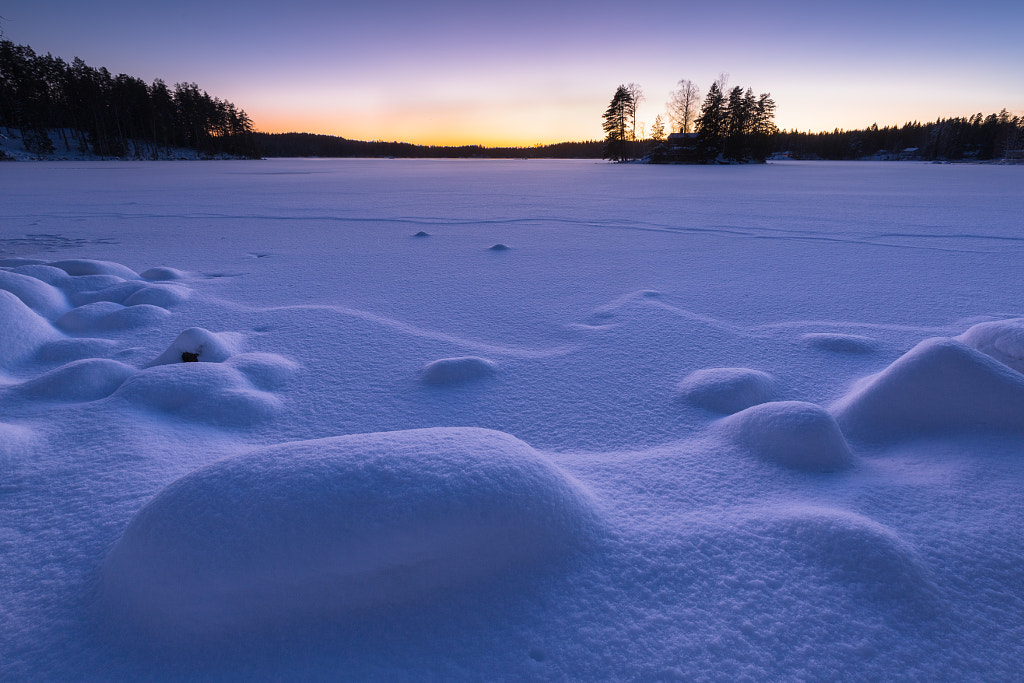
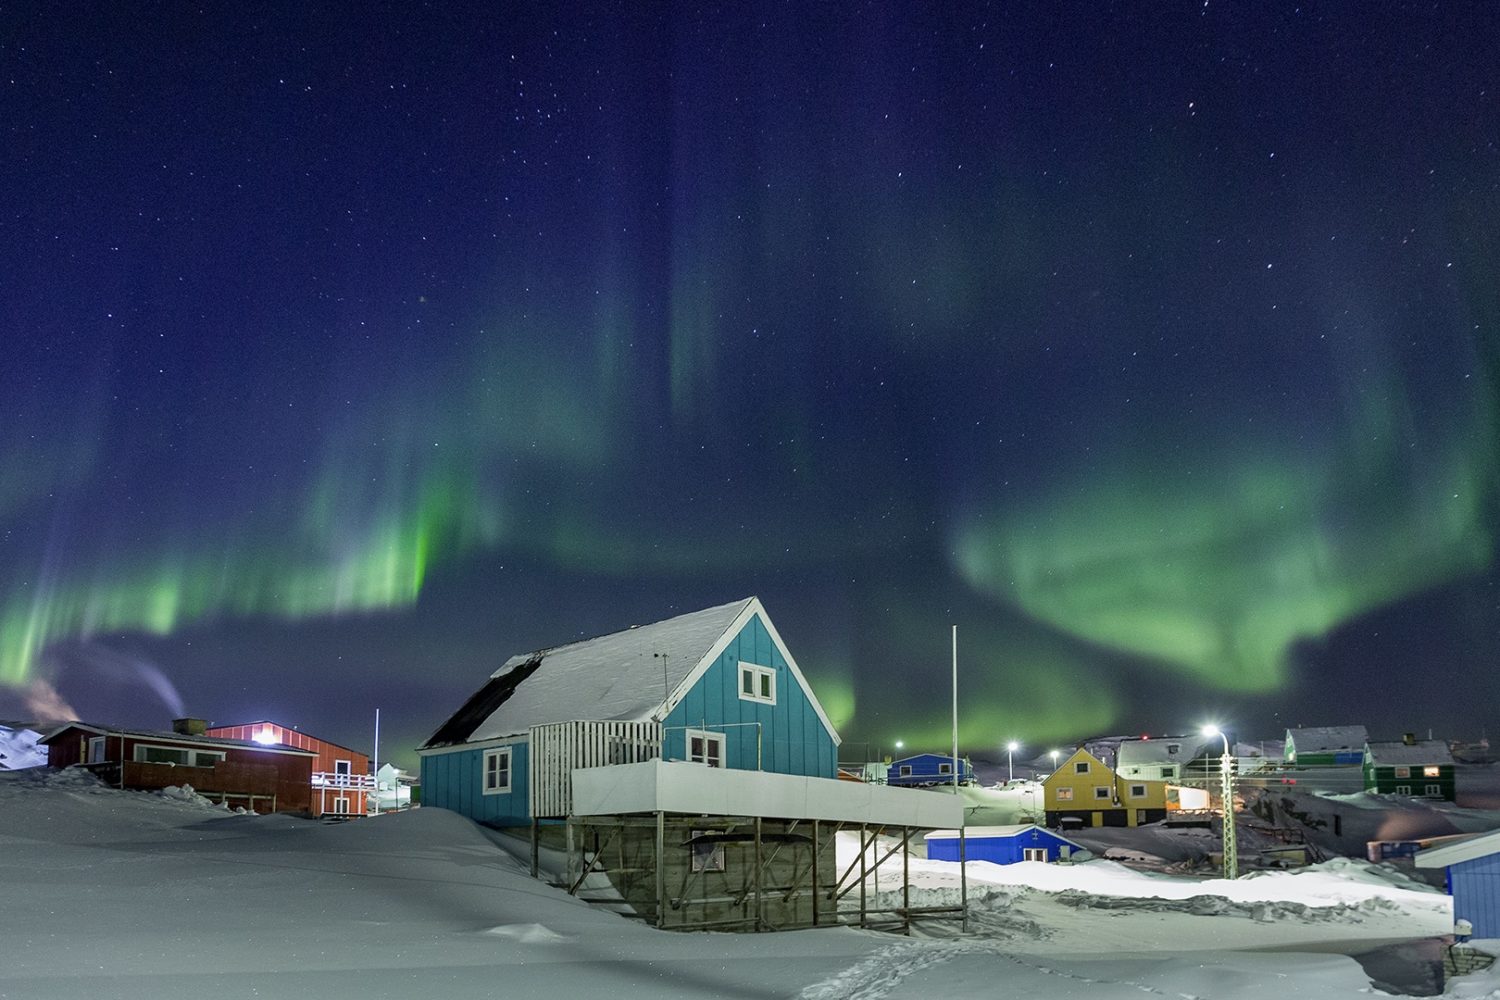
While photographing snowy Sweden, Robert Andersson braved temperatures of -20 degrees Celsius. The most challenging part, he says, wasn’t the cold itself. It was keeping stock still as the temperature dropped. To minimize blurry pictures, he needed to hold his breath while pressing the shutter button.
One of the most common mistakes made across all genres of photography is unwanted blur. Regardless of whether you’re shooting a landscape or a portrait, an out-of-focus subject or excessive “softness” can be an instant deal-breaker. Other problems, such as too much noise caused by high ISOs, or diffraction caused by very narrow apertures, can result in photos that are less-than-tack-sharp.
Fortunately, most of the issues are easy to solve using the right gear, camera settings, and technique. In this guide, we’re sharing essential tips for maximizing sharpness and reducing blur. Along the way, you’ll find examples from the 500px community and behind-the-scenes stories from photographers working in all sorts of conditions, from the windy California coast to the frigid landscapes of Finland.
Know your “sweet spot”
Choose an affordable camera body and a great lens, rather than investing in a fancy body and a subpar lens. From there, it might take some experimenting to determine the aperture setting at which your specific lens is at its sharpest—this is known as your “sweet spot.” A good starting point is around two stops down from your lens’ widest setting.
Finally, clean your lens before every session, as fine layers of dust or mist can easily ruin the sharpness of an image.
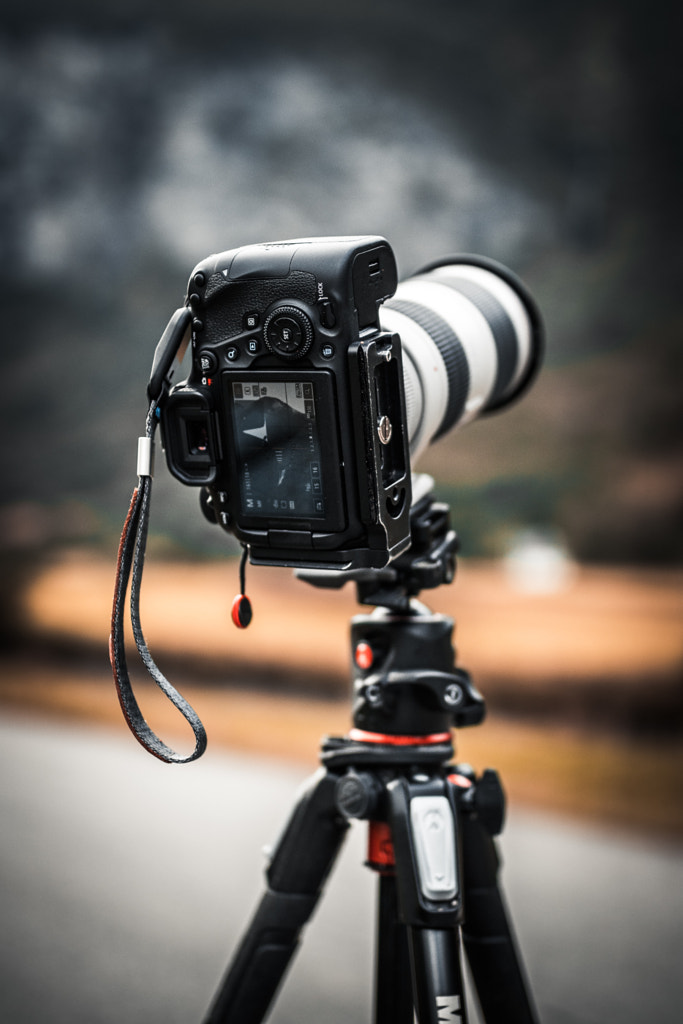
Invest in a solid tripod…
For landscape photography, a quality tripod is non-negotiable, allowing you to shoot at slower shutter speeds without introducing motion blur. Pair it with a remote shutter release for the sharpest results. (Remember to turn your image stabilization off when using a tripod, and weigh the tripod down with sandbags if needed in tricky weather conditions.)
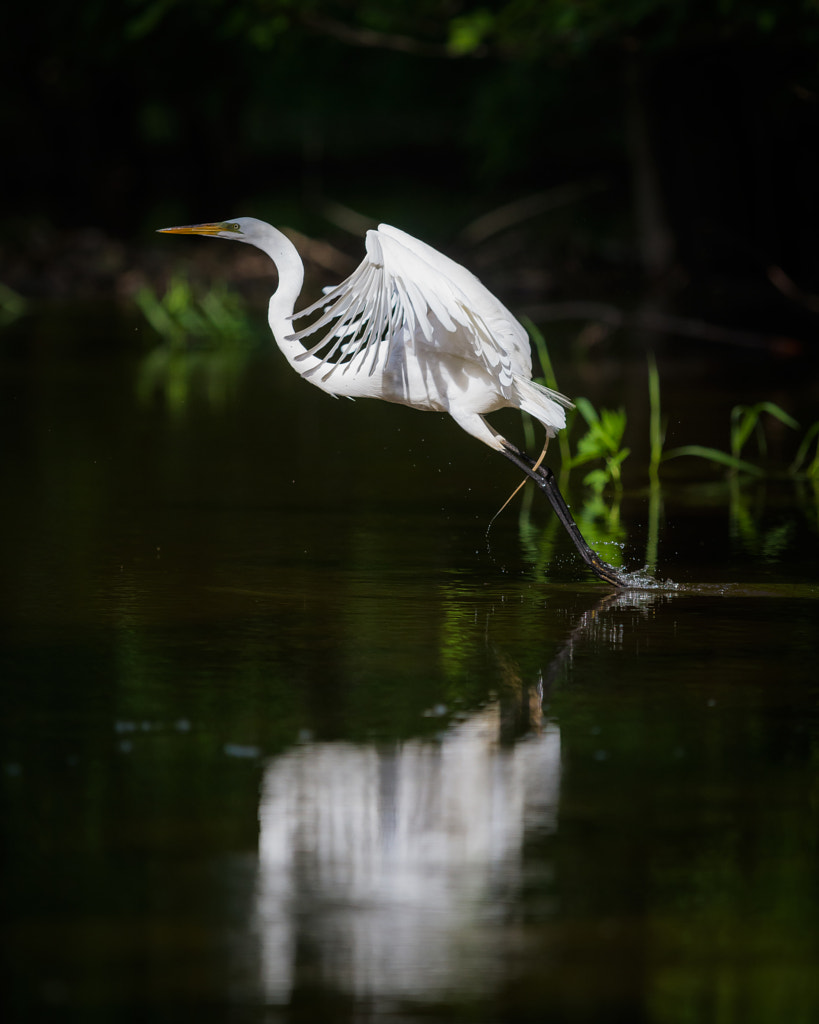
“I use a gimbal head with my tripod, which allows for very smooth movement in almost any direction, while keeping my heavy camera and lens still enough to capture sharp images,” the wildlife photographer Chris Hurst shared along with the egret portrait above. “Although I did not expect this bird to fly away, my gimbal was already set up for unrestricted movement, which made following the flying bird very easy.”
…Or use a fast shutter speed
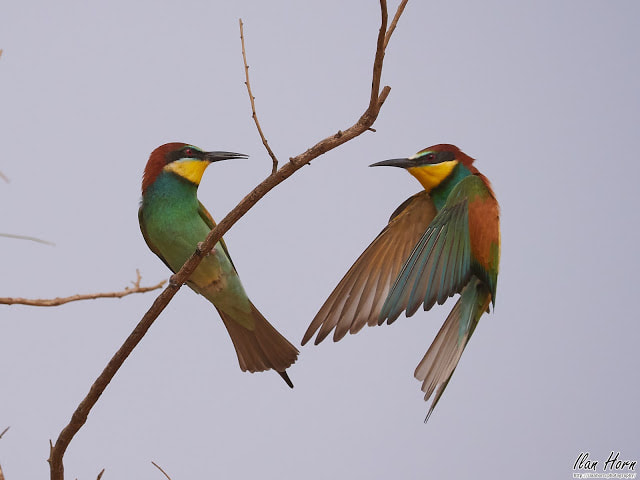
If you’re shooting moving subjects—e.g., street photography or sports—you need a shorter shutter speed to freeze that motion. To catch these magnificent European Bee-Eaters—one suspended in mid-air—the wildlife photographer Ilan Horn used a shutter speed of 1/2500 of a second.
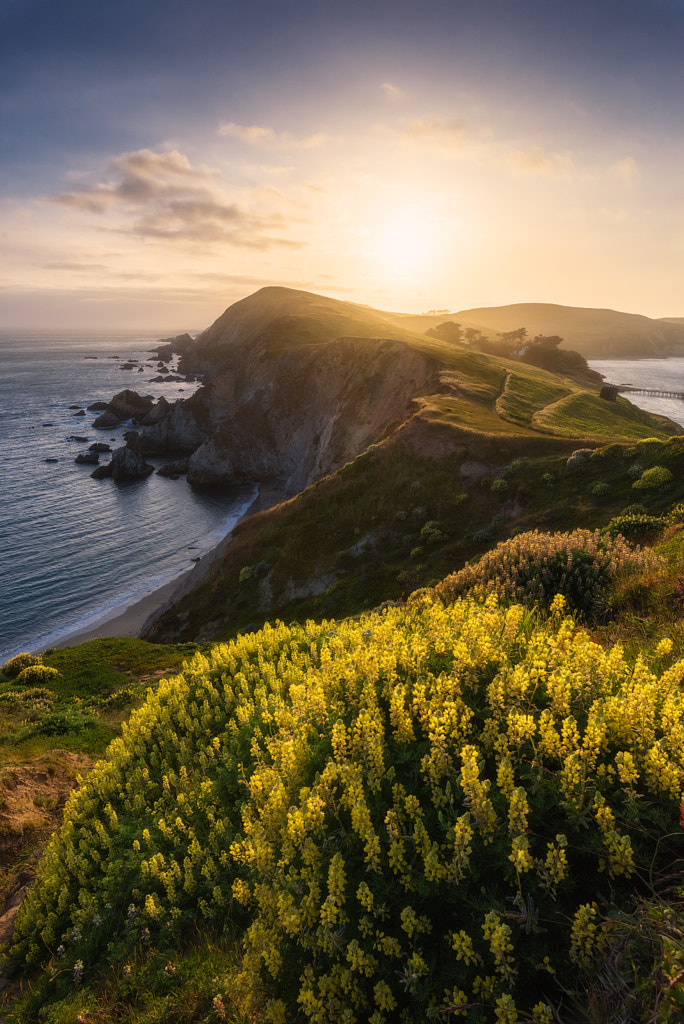
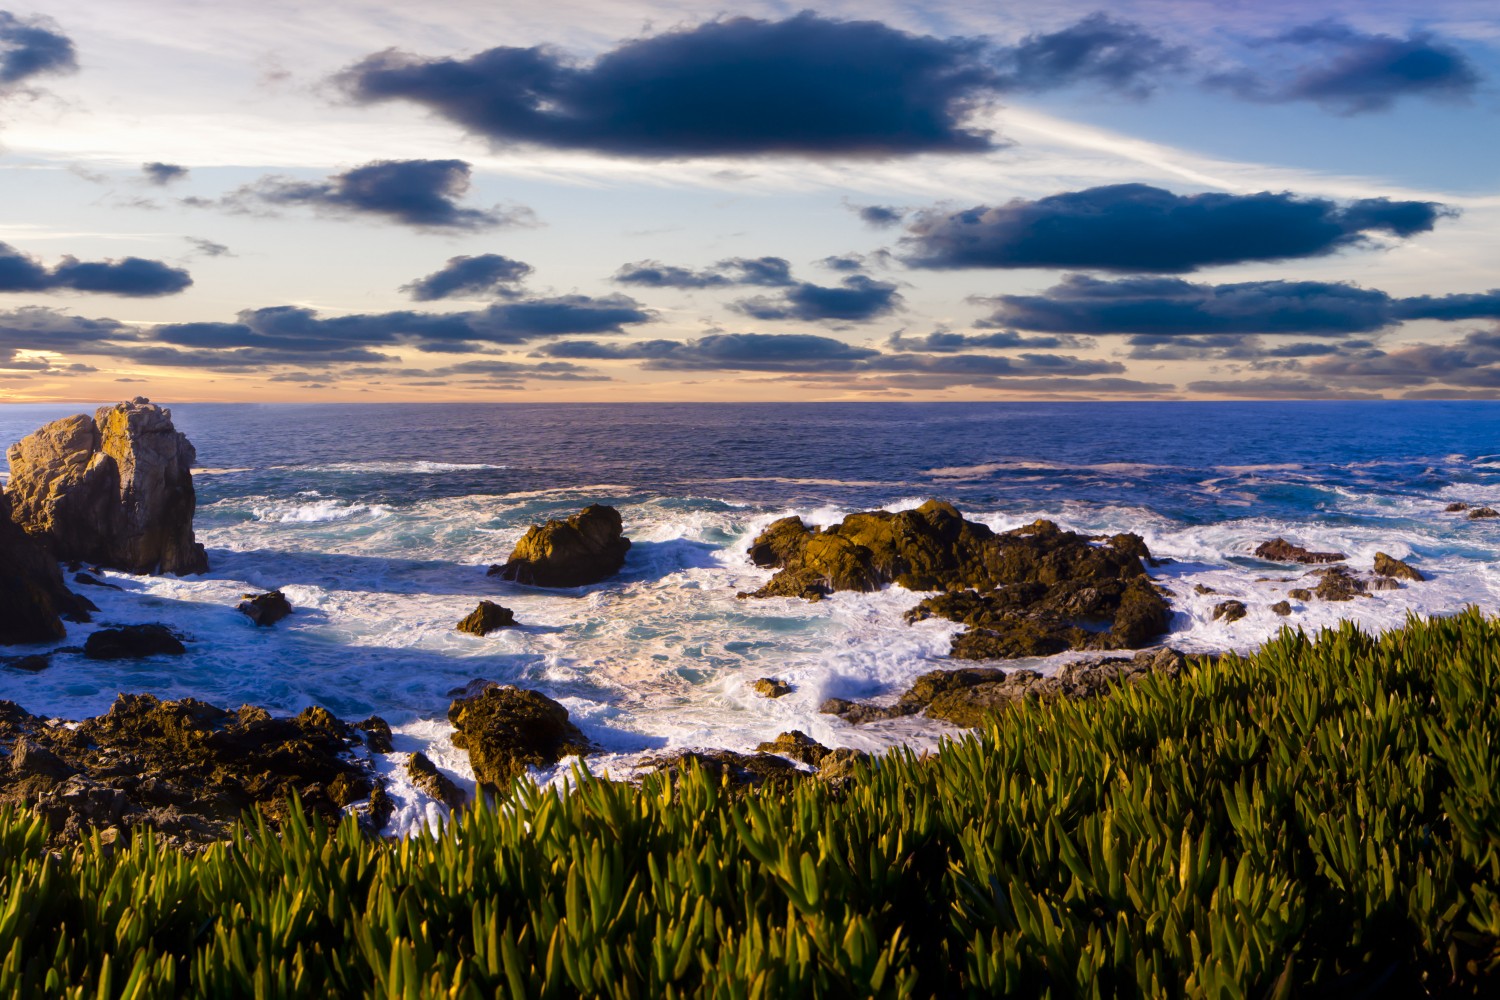
Windy conditions will also require a faster shutter speed. When navigating the California coast in springtime, Max Foster compensated for 40mph winds with an exposure time of around 1/400 of a second.
Get closer
On very hot days, heat waves can lead to soft and blurry images. Foggy, overcast days carry similar risks. Clear days are always best for sharp photos, but if you have to shoot in other conditions, you can solve the problem by getting closer to your subject. The shorter the distance between you and the object you’re photographing, the less noticeable the distortion will be.
Nail that focus
Remember to set your autofocus point manually for full control over the final image. If it’s a portrait, you want it to be right on the subject’s eye. Of course, the more autofocus points your camera has, the easier this will be, so take that into consideration if you’re shopping for something new.
As always, use single focus mode for subjects that don’t move and continuous focus mode for objects in motion. You can use more than one autofocus point for moving subjects.
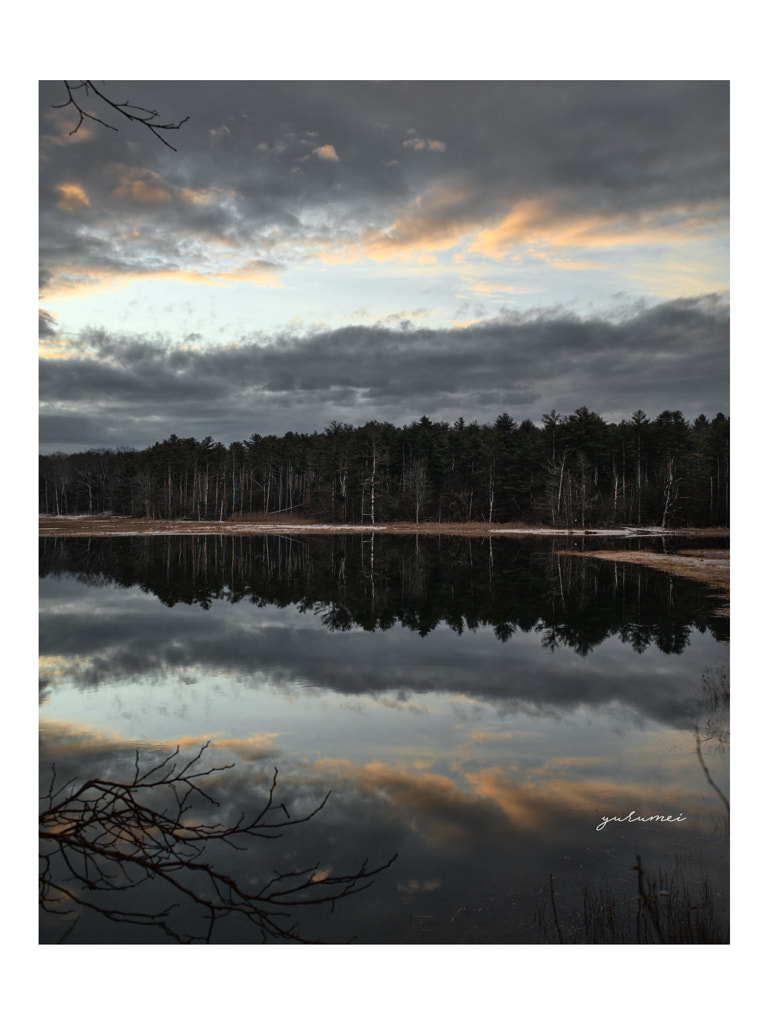
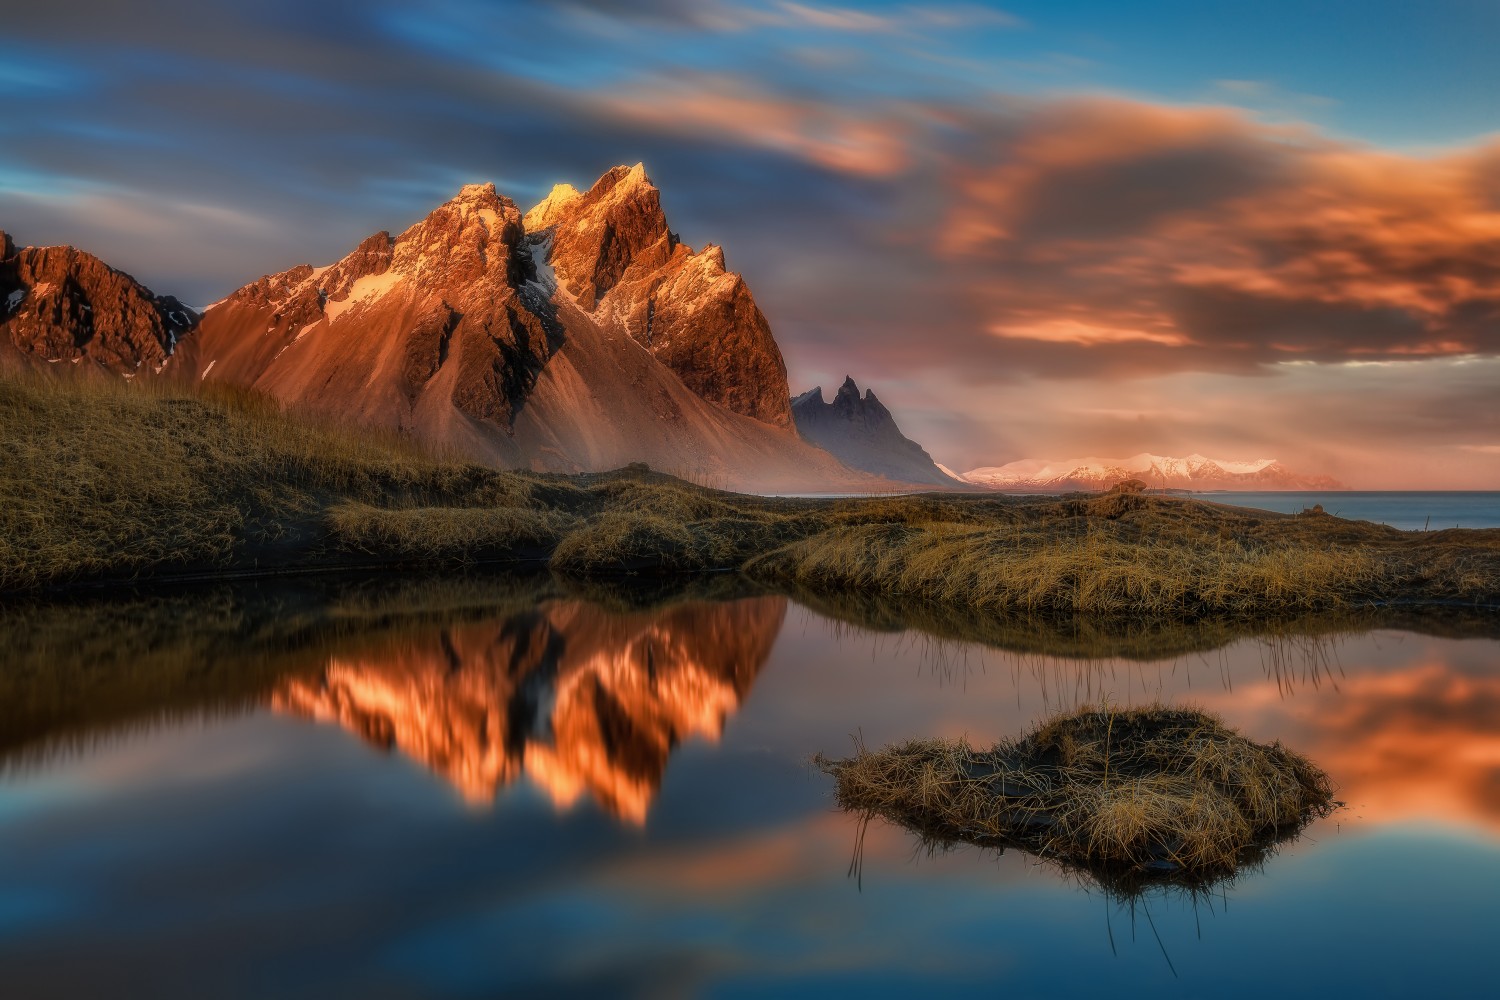
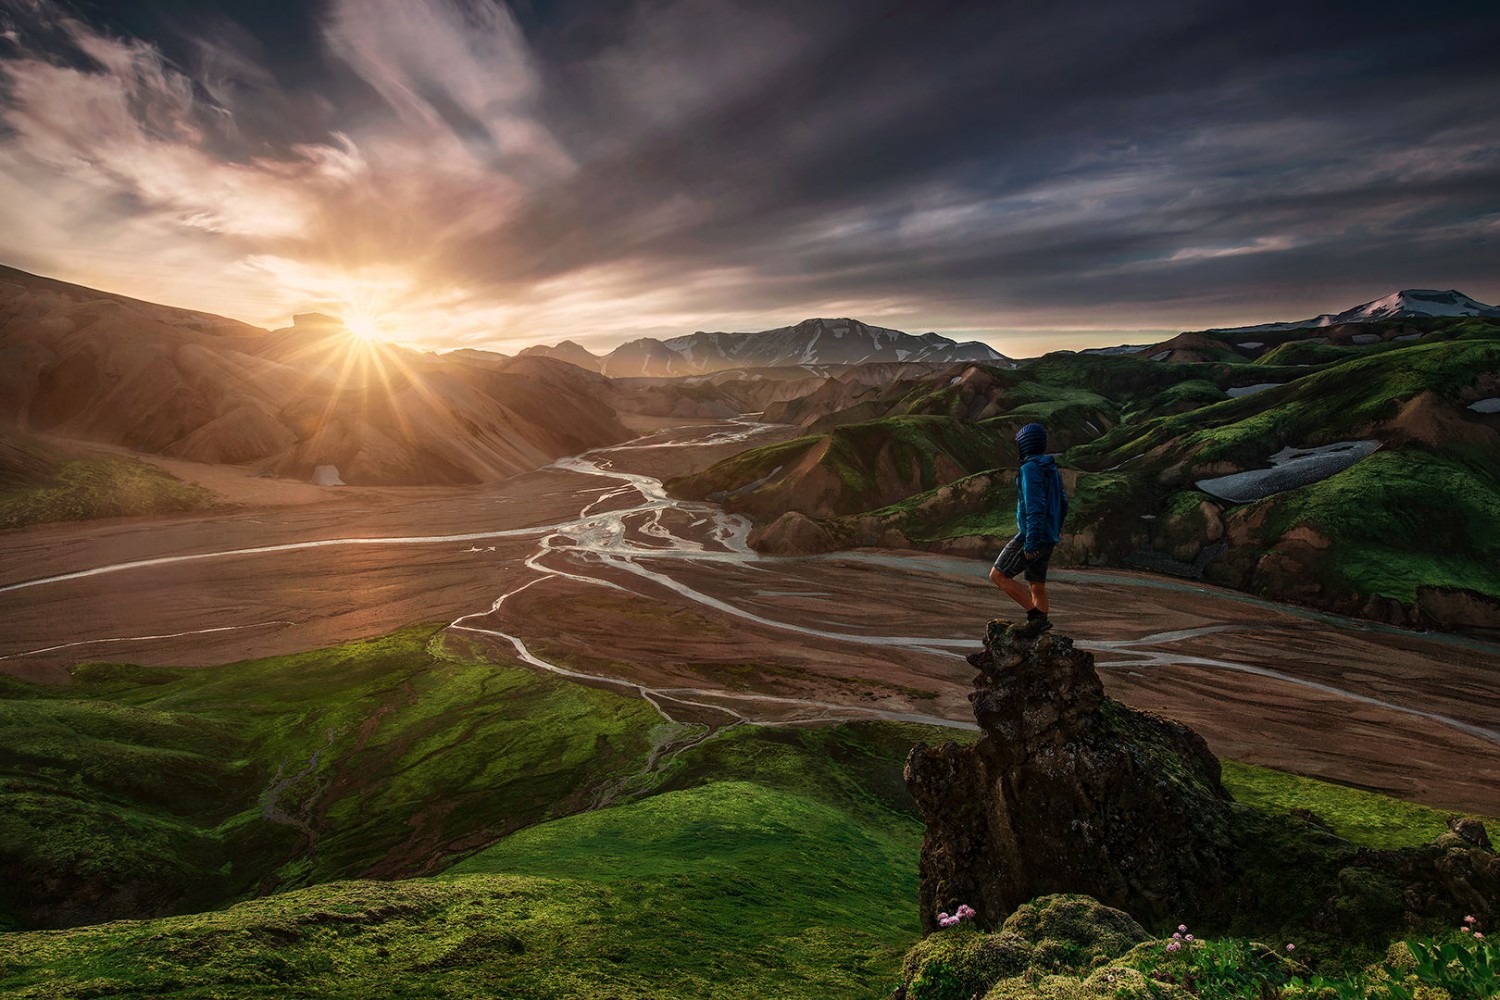
In some cases, such as when you’re shooting in low light, autofocus might not cut it. In those cases, switch to manual focus to make sure everything is spot-on. “I could not resist getting the tripod out, setting up, and braving the freezing cold air by getting my bare fingers on the focus ring to get this as tack sharp as possible,” the fine art photographer C. Stanley K. John recalls, referencing the landscape below.
(In manual focus, it can also help to use the magnify tool to make sure your subject is in perfect focus.)
Keep your ISO as low as possible
In recent years, cameras have gotten much better at handling higher ISO settings, but it’s still good practice to use the lowest possible setting you can. Set your aperture or shutter speed first—choose a narrow aperture if you care most about getting a wide depth of field or a fast shutter speed if you care most about avoiding motion blur—and then set your ISO last.
Take as many photos as you can
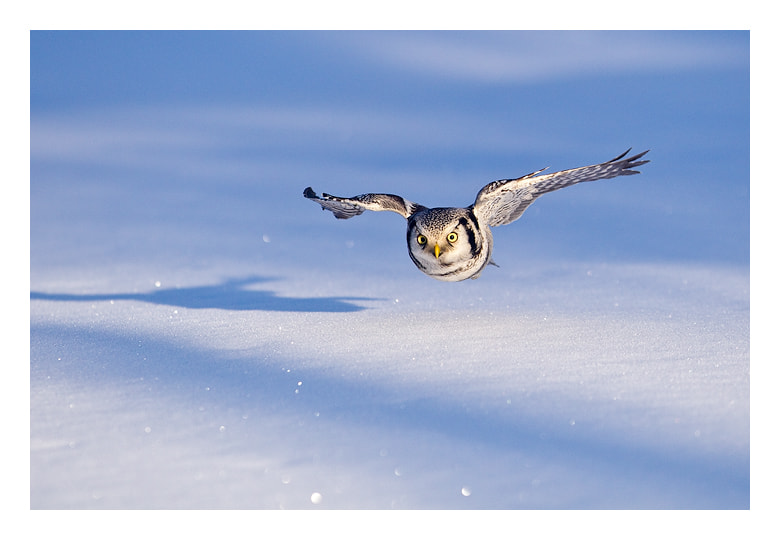
If you’re working with subjects in motion, shoot as much as possible to maximize your chances of success. While photographing hawk owls in the snow-covered town of Kuusamo, Finland, more than ten years ago, Jules Cox discovered that the birds are three times as fast as puffins. She created as many photos as she could and ended up with two sharp ones, proving that, in many cases, getting the perfect shot is a numbers game.
Another option is to shoot in burst mode: if your camera’s shooting continuously, you might boost your chances of securing a keeper. Select a camera with a high frame rate for the best results.
Skip cheap filters
Some lens filters—usually, low-quality filters—can create softness. If you have to use filters, choose high-quality brands.
Double-check
While on location, zoom in on your photos after you take them to make sure your subject is sharp. That way, you can adjust your focus points and exposure settings in real-time to correct any issues in-camera rather than trying to save an image in post-production, which rarely works.
Apply some sharpening in post
Right out of the camera, RAW files will need editing, including some sharpening. Use a light touch here, as a little goes a long way. Too much sharpening will result in an unattractive “crispy” look.

Parting thoughts
While blurry photos are a common mistake, there are a multitude of reasons why this might happen. Sometimes, it boils down to your camera settings: your shutter speed is too low, or your ISO is too high. Other times, however, it might be something outside of your control, such as foggy weather or a subpar lens.
Even in those situations, you can make the most of what you have by finessing your camera settings, getting closer to your subject, and paying close attention to your focus. Not every image will be tack-sharp, but with practice, you can navigate even tricky conditions and come out the other side with an acceptably sharp photograph.
Not on 500px yet? Sign up here to explore more impactful photography.
Leave a reply