
Did you know that you can adjust the brightness/luminosity of the colors in your photos using a black & white adjustment layer in Photoshop? It might seem counter-intuitive, but that’s exactly what talented landscape photographer and frequent 500px ISO contributor Jimmy McIntyre shows you how to do in the tutorial video below.
By adding a black & white adjustment layer to his beautiful long-exposure seascape photo and setting the blend mode to Luminosity, he’s able to change the brightness of individual colors in his photo without affecting their saturation.
Check out the technique below:
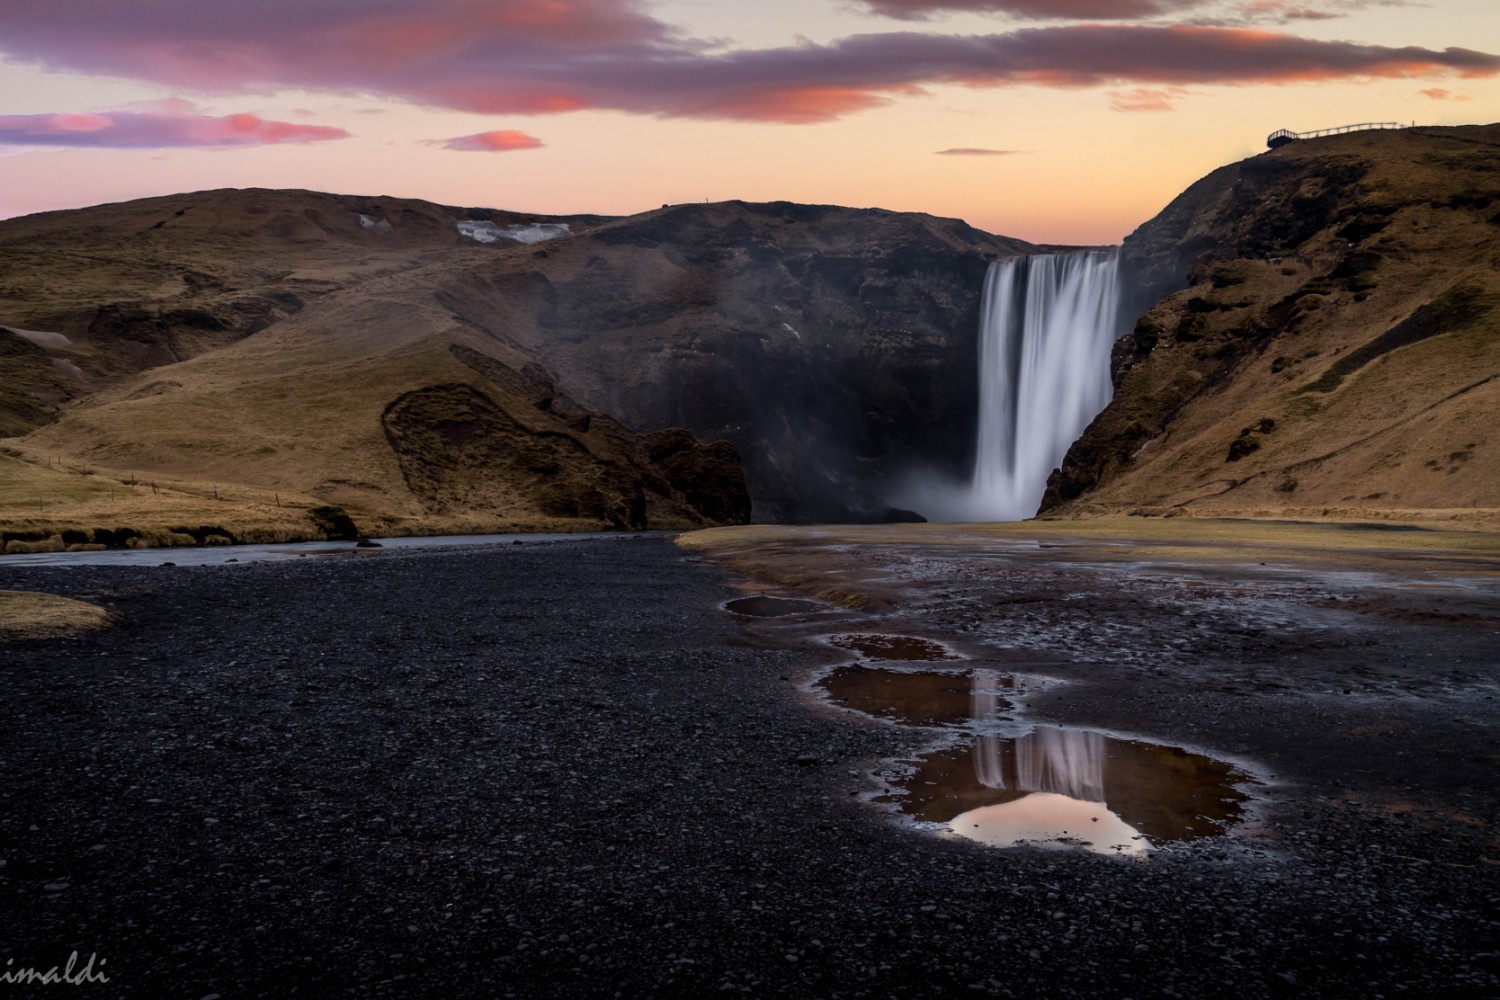
As you can see, by using this technique Jimmy is able to exaggerate his long-exposure effect and pull more detail out of the yellows in the foreground rock in his first image.
Here’s the final shot, as posted on Jimmy’s 500px account:

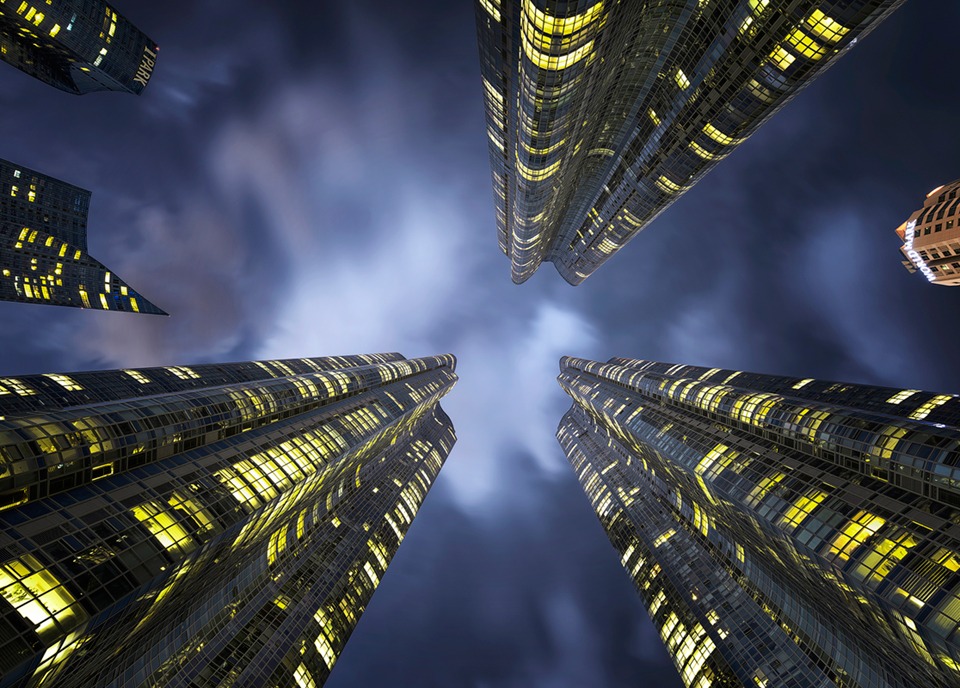
He then uses the same technique to darken the sky in this blue-hour cityscape shot. He was out capturing his image a little earlier than he wanted to be, leaving the sky brighter. A quick black & white layer and small slider adjustment later, he’s got the sky he was hoping for:
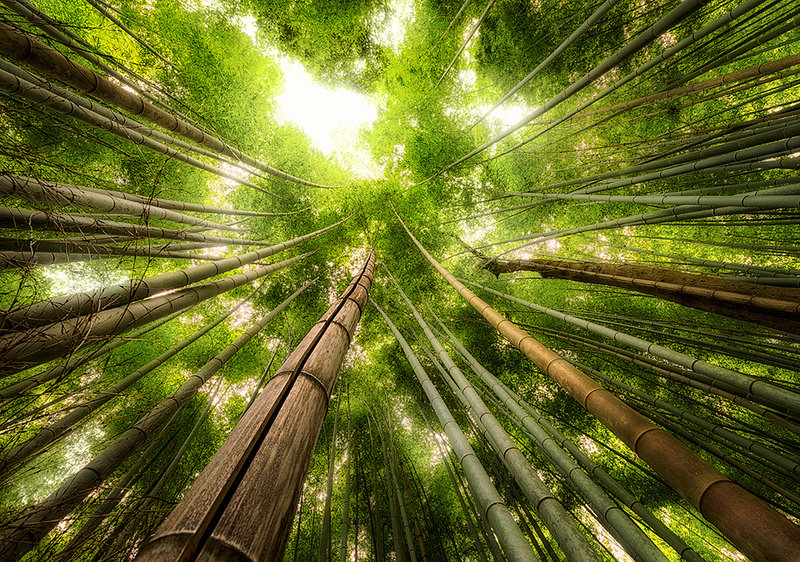
Finally, he pulls up one final image from Kyoto, where he shows you the simplicity and power of this useful luminosity adjustment technique once more by changing the greens of the leaves, the yellow in the sky, and the reds in the tree trunks:
To see more of Jimmy’s work, be sure to pay his 500px, website, and Facebook page a visit. And if you want to learn more from him, check out all the useful tutorials he’s written for 500px ISO over the past year! (Our apologies if we just killed your productivity for the rest of the day)


Leave a reply