Practical Photography is the world’s best magazine for photographers who want to improve their camera skills. Whether you’re an absolute beginner, seasoned enthusiast or budding pro, you’ll find all the skills, techniques and ideas you need to take your passion to the next level. Subscribe at greatmagazines.co.uk/pp
Sometimes images lacking a sense of depth can feel flat and lifeless. Practical Photography magazine shows you three simple ways to create vignettes that will bring your shots back to life. Watch the video below, and then read on for a step-by-step tutorial!
Dark edges around an image may be the result of the optical deficiencies of lenses, but the appearance of vignettes can be a highly desirable effect. So while modern image editing software has the ability to remove almost any kind of lens defects and perspective distortion, there are times when we choose to apply them manually. But why would you introduce an imperfection to an otherwise optically perfect image?
Vignettes can do two things — they focus attention on the central part of images by making the edges darker, and this darkening effect also creates the illusion of depth. It’s almost like you’re looking through something between the camera and the subject.
[twentytwenty]
 [/twentytwenty]
Adding a vignette is a simple process that can work well with many images. And like most techniques, some methods are better than others. We’re going to show you three different techniques that can be applied in Photoshop, Elements, Adobe Camera Raw and Lightroom.
Elements
1. Create a reverse Radial Gradient
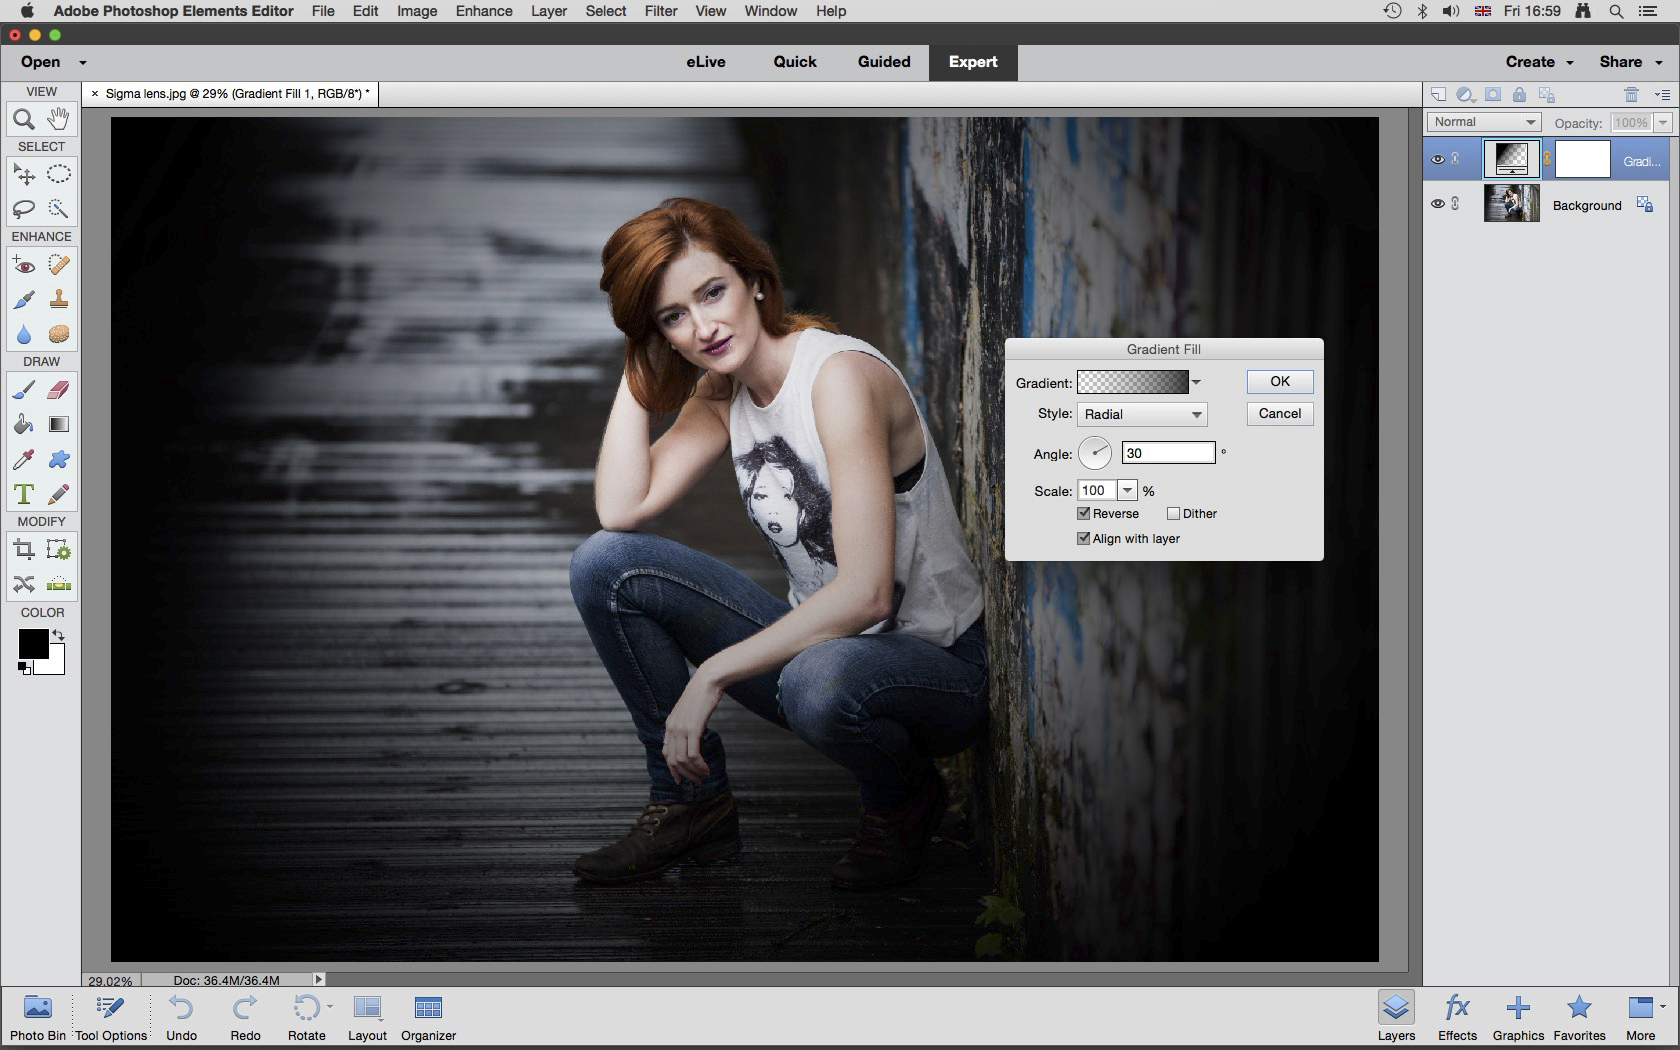
This technique can be applied in both Elements and Photoshop. Open your image in Elements, and click on the Create new fill or adjustment layer icon at the top of the Layers panel. It’s the half-black/half-white circle. Select Gradient from the list of options and when the window opens set Style to Radial, Angle to 30º and check Reverse. Now adjust the Scale to change the vignette size. Click OK when finished.
2. Control the overall effect
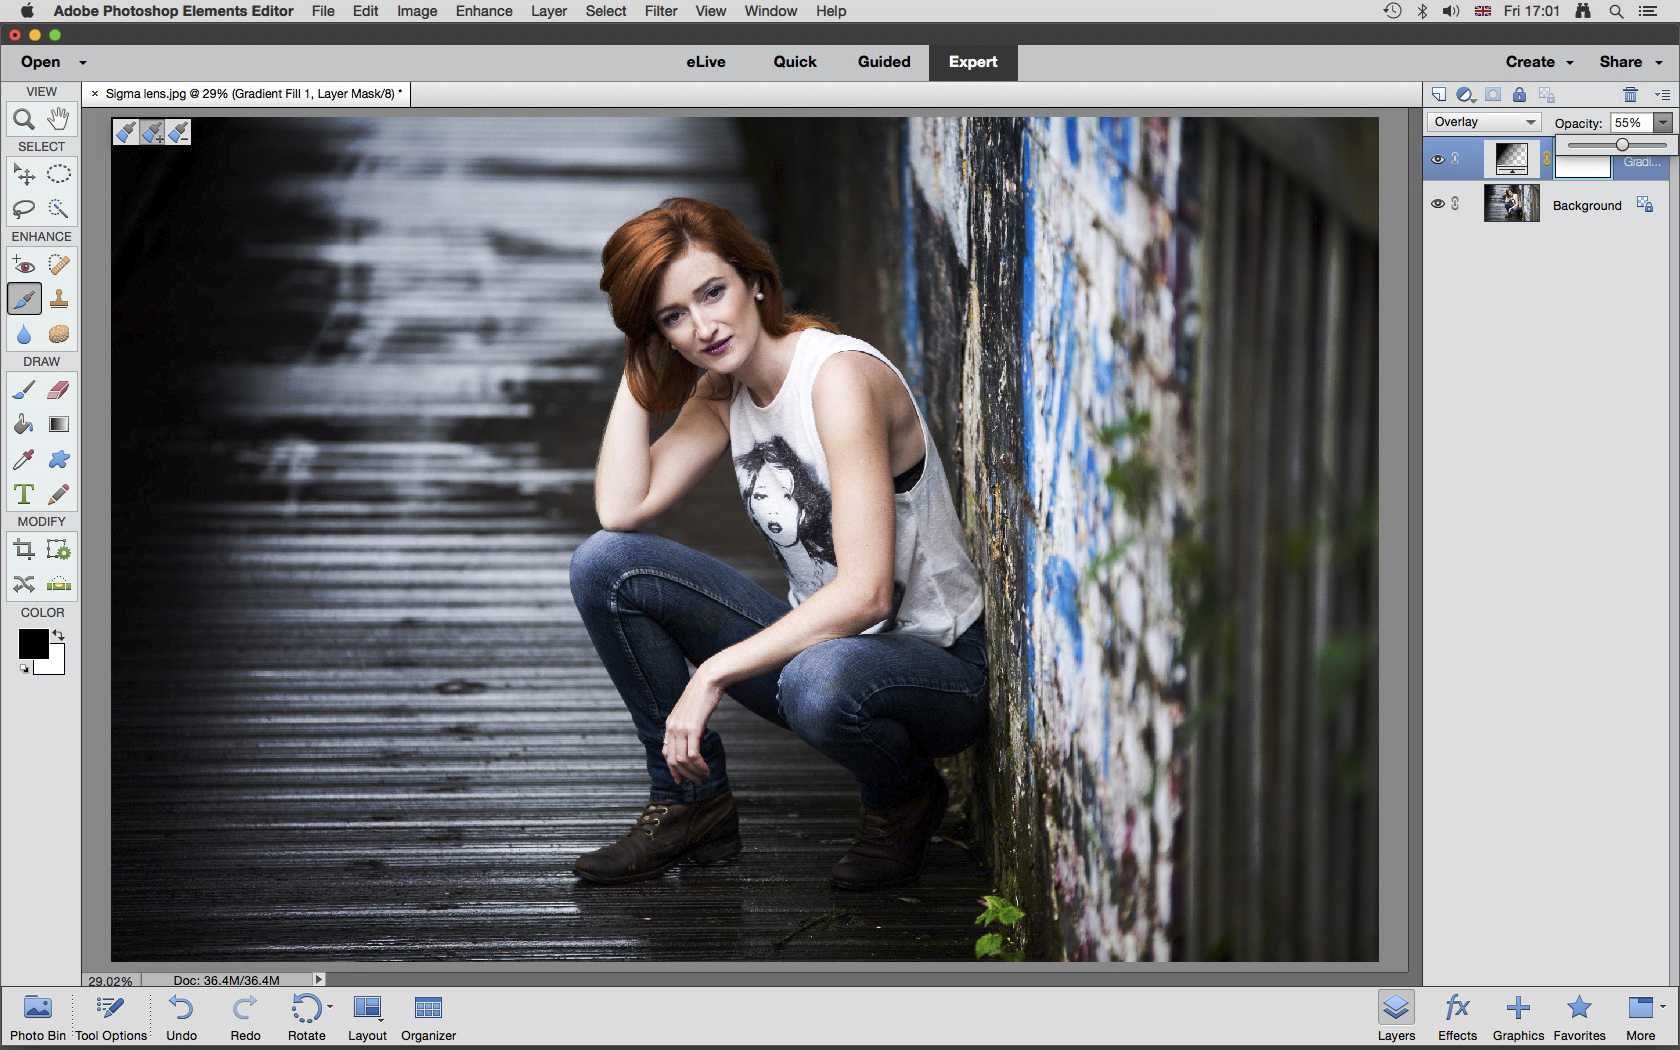
The vignette will be dark with very little, if any, transparency in the darker areas. To fix this go to the blending modes dropdown menu at the top of the Layers panel that’s set to Normal by default. Select Overlay from the list of options. To further control the effect of the vignette reduce Opacity of the vignette Layer using the Opacity slider that can be found next to the blending modes menu.
Photoshop
1. Apply Lens Correction
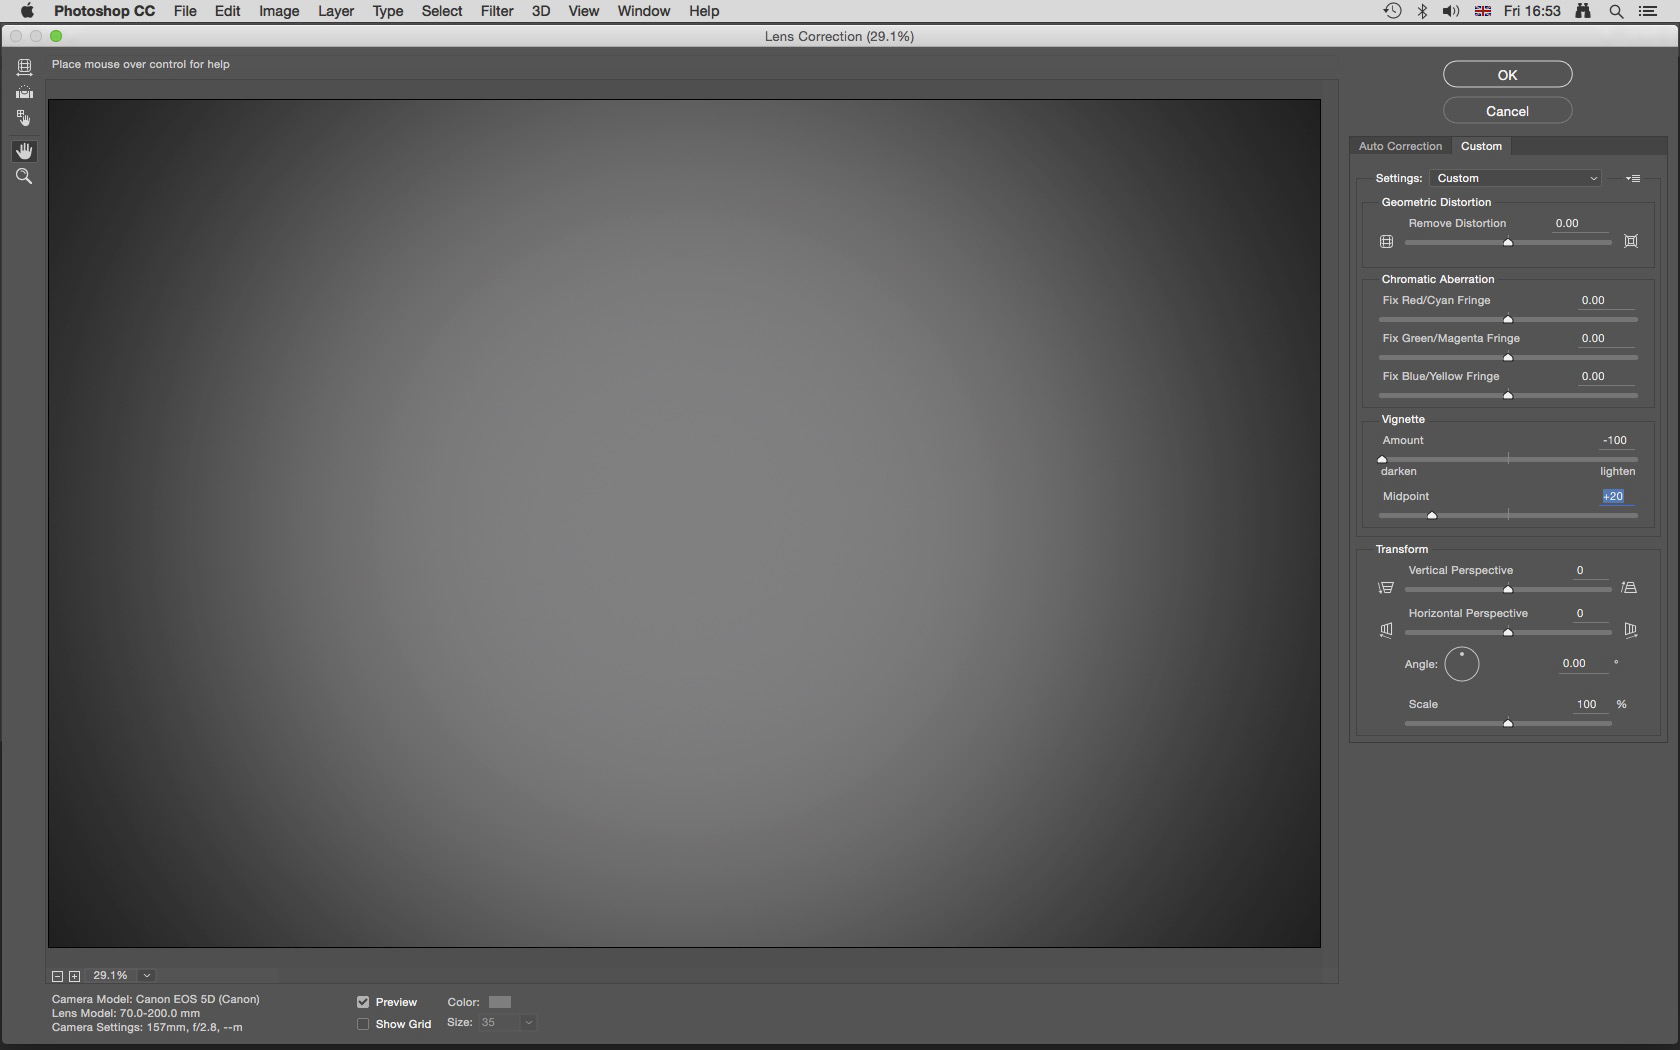
Open your image in Photoshop and hold down Ctrl+Shift+N to create an empty New Layer. Now press Shift+F5 to open the Fill dialogue and set Contents to 50% Gray. Next go to Filter>Lens Correction and click on the Custom tab. Drag the Vignette Amount slider to -100, then use the Midpoint slider to control the size of the vignette. Click OK at the top right of the dialogue window when you’re done.
2. Change blending modes

At this point you’ll be confronted by a grey image with a dark vignette around the edge. So we now need to add transparency to the Layer. Go to the dropdown menu near the top of the Layers panel that’s set to Normal by default, and select Overlay from the list of options. At this point you can leave the Layer as it is for a full strength vignette, or reduce Opacity using the slider at the top right of the Layers panel.
Camera RAW/Lightroom
1. Use the Radial Filter
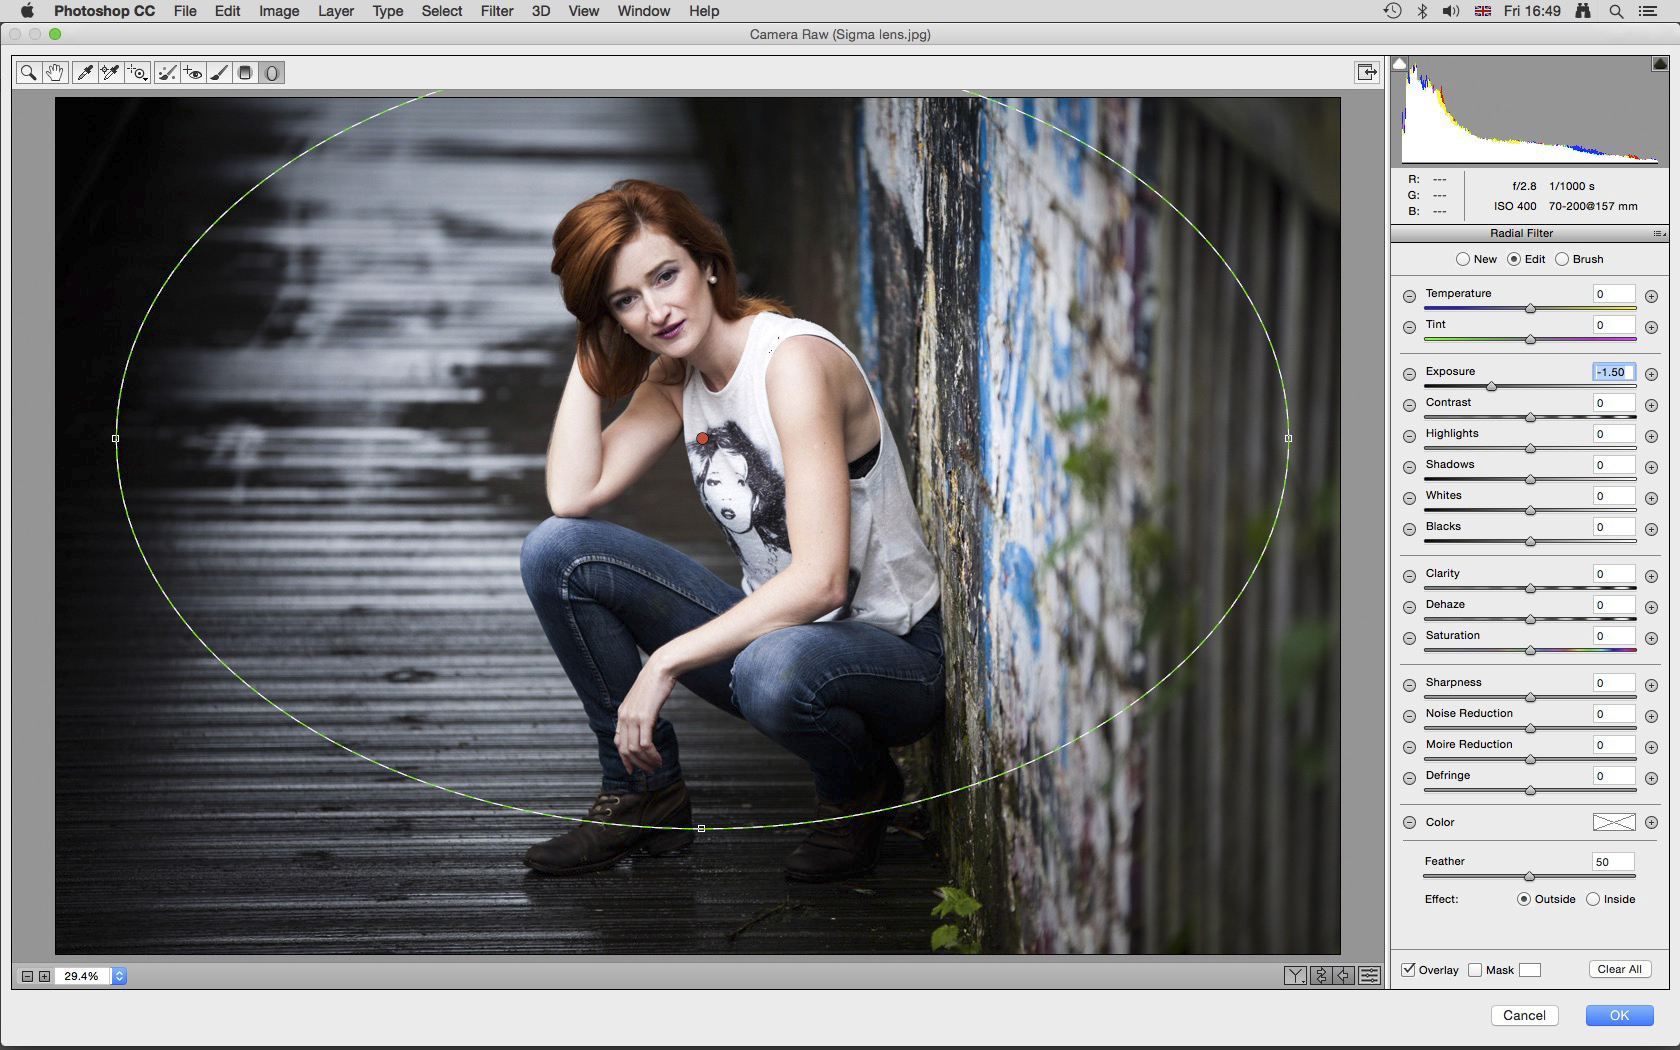
Open your RAW file in Adobe Camera Raw or Lightroom. In ACR the Radial Filter can be activated by pressing J on the keyboard, and in Lightroom by holding down Shift+M. To apply the filter left-click your mouse and drag so the guide becomes visible. To move the filter, click and drag the dot in the centre of the guide. The filter size can be changed by left-clicking and dragging the boxes on the edge of the guide.
2. Adjust the vignette strength
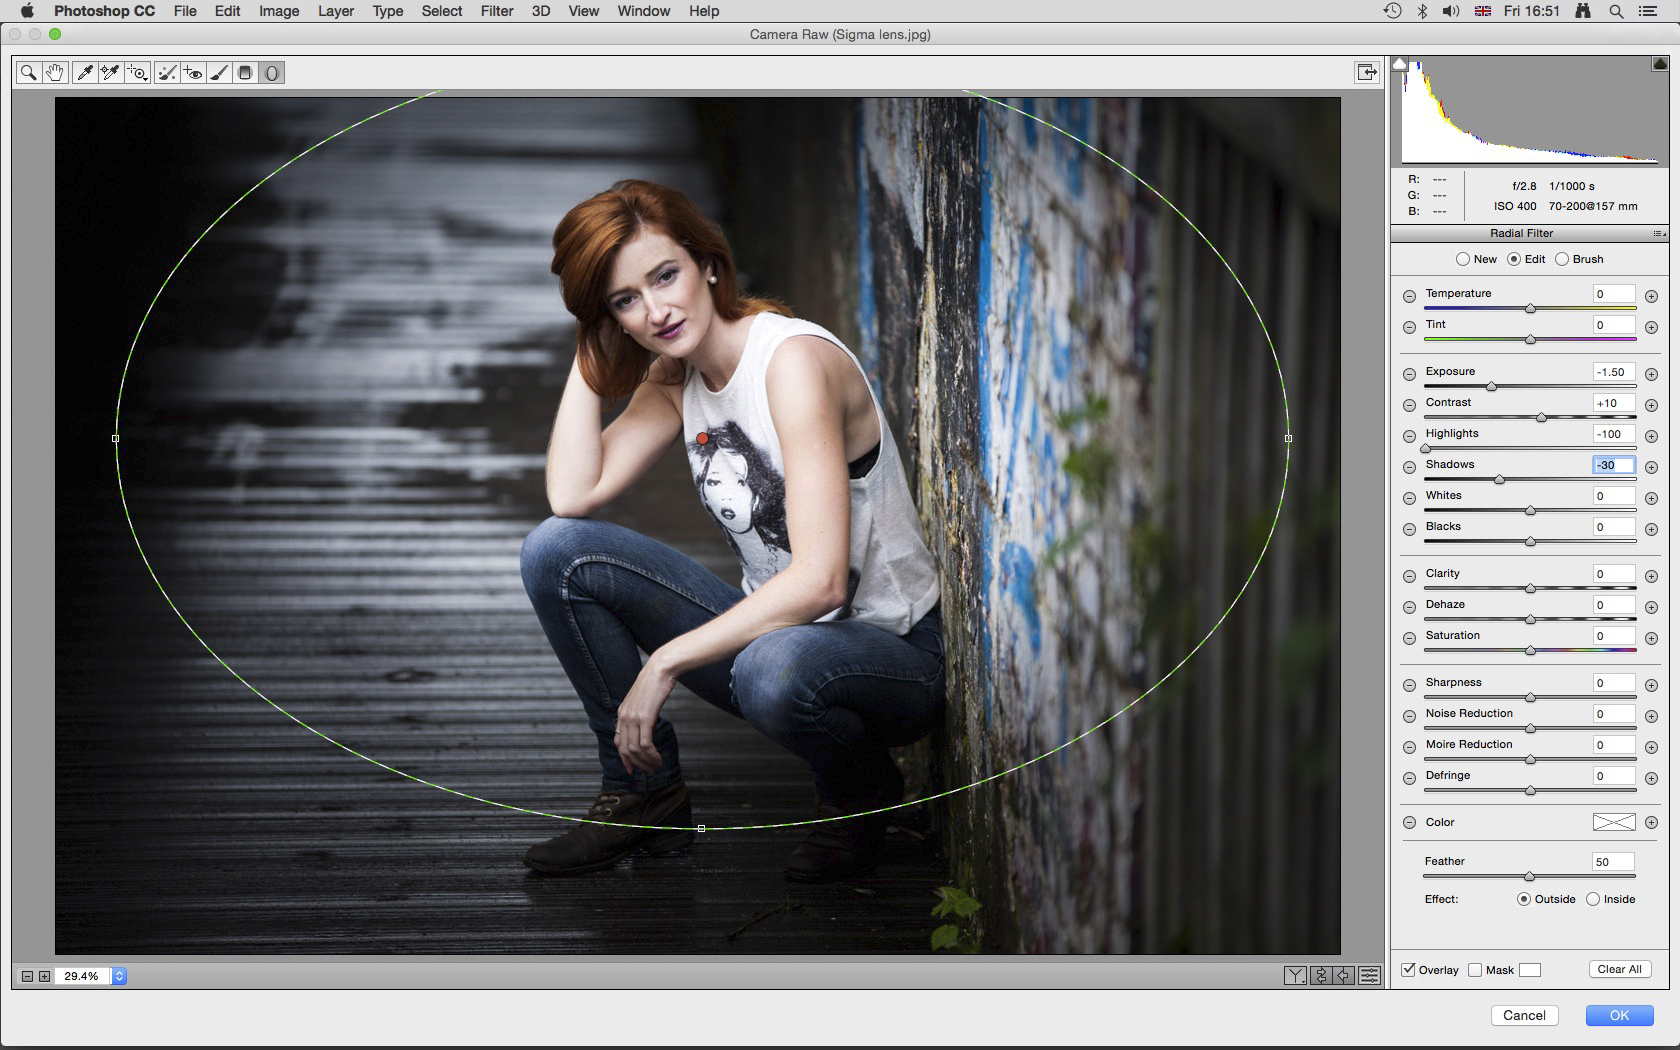
With the Radial Filter in position it’s time to start making adjustments. If the previously used settings are in place you’ll need to click on the Clear All button. Make sure Feather is set to 50, and the Effect to Outside. Now all you have to do is reduce Exposure to darken the area outside the guide. Reducing Highlights and Shadows and increasing Contrast will help to darken the vignette. Click OK.
We hope you found these tips useful! If you have any questions, feel free to drop them in the comments.


Leave a reply