Pedro Quintela is a history teacher, talented photographer, and one of the most inspiring people on 500px. To see more of his work and advice, follow him on 500px, check him out on Facebook, join his Photo Reflections FB group, or license his images on the 500px Marketplace. Recently, he launched a brand-new You Tube channel—be sure to check out his new videos.
One of every photographer’s aspiration is to create unique moments that represent something to him, and if possible, to a spectrum of his viewers. We have many ways available to do it. It can go from mastering the usage of a specific lens and lighting, traveling to amazing locations, having amazing models for a photo shoot, or as it happens to me, testing the best of my limited skills and conditions.
In my case, for personal reasons, I haven’t travelled for a year ago now. And when I do it, it is only during an afternoon for limited hours twice a month. For some, it could be a source of demotivation. In my case, it helped me develop skills to overcome it. And by this, I mean embracing post-processing—personally, it’s one of only ways to give my images my own personal style. My photo, “Stuck in Dreams” is a perfect example of this.

As with my other articles, this one shares some of my workflow. There are other ways to achieve this final result, though for this purpose, I find it more suitable to do the following steps. I also believe in giving back to the photography community, because I will never forget how I felt when I started. I couldn’t find much of a help from anyone, despite my asking and searching for it. The only thing I would like in return is your feedback in the way you find more suitable to motivate me into doing this and continuing other initiatives.

1. Get inspiration to create.
I’m deeply influenced by the visual culture of the 1960s, particularly the movies of that era. I’m inspired by Directors like Alfred Hitchcock, Stanley Kubrick, John Ford, Claude Lelouch, among their other amazing European and U.S. peers. Adventure and sci-fi movies like 2001: A Space Odyssey, The Time Machine, Topaz, Lawrence of Arabia, Le Samouraï, and many other films are a great source of inspiration to me. A particular set, a naif special effect, a particular color scheme, every little detail are sparks that ignite my idea of an image.

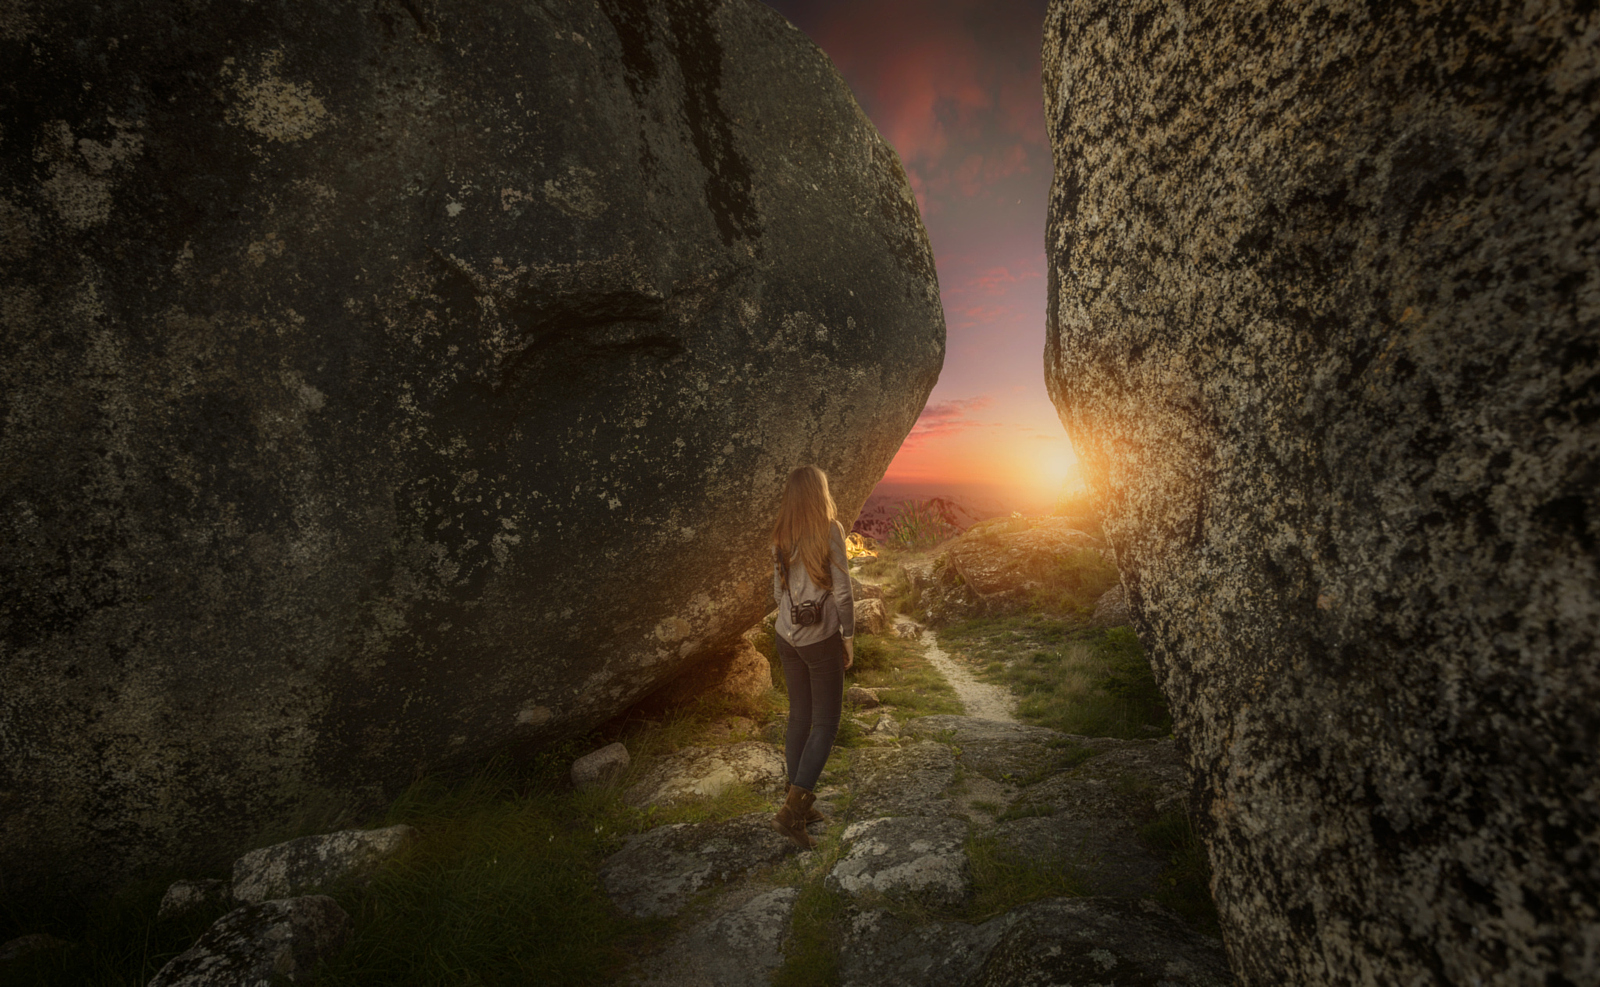
In this particular moment I shot, it was a mix of ideas that led me to this particular spot in the village of Monsanto in Portugal, where I shot once a Milky Way self-portrait. The immense size of the bowlders, its particular shape, and the sun’s orientation all helped to create an atmosphere of adventure. My idea behind this image is to shoot a young photographer who is being pulled by the greatness of the landscape and had no fear of moving forward to the infinite.

2. Get inspiration to create.
After a 25-minute hike over a very inclined slant (with all the gear on my sore shoulders), my lovely model and I arrived at the spot. Since I already knew the spot, it was time to try to achieve the best angle and framing that helped to create a 3D effect and drama I was looking for the scene.
When I finally composed the moment, it was time to expect a proper angle for the natural light, one that could illuminate the model’s face and hair, as well some of the areas around her. At the same time, I need a depth of field that could give me the best detail possible to get a sharp image.
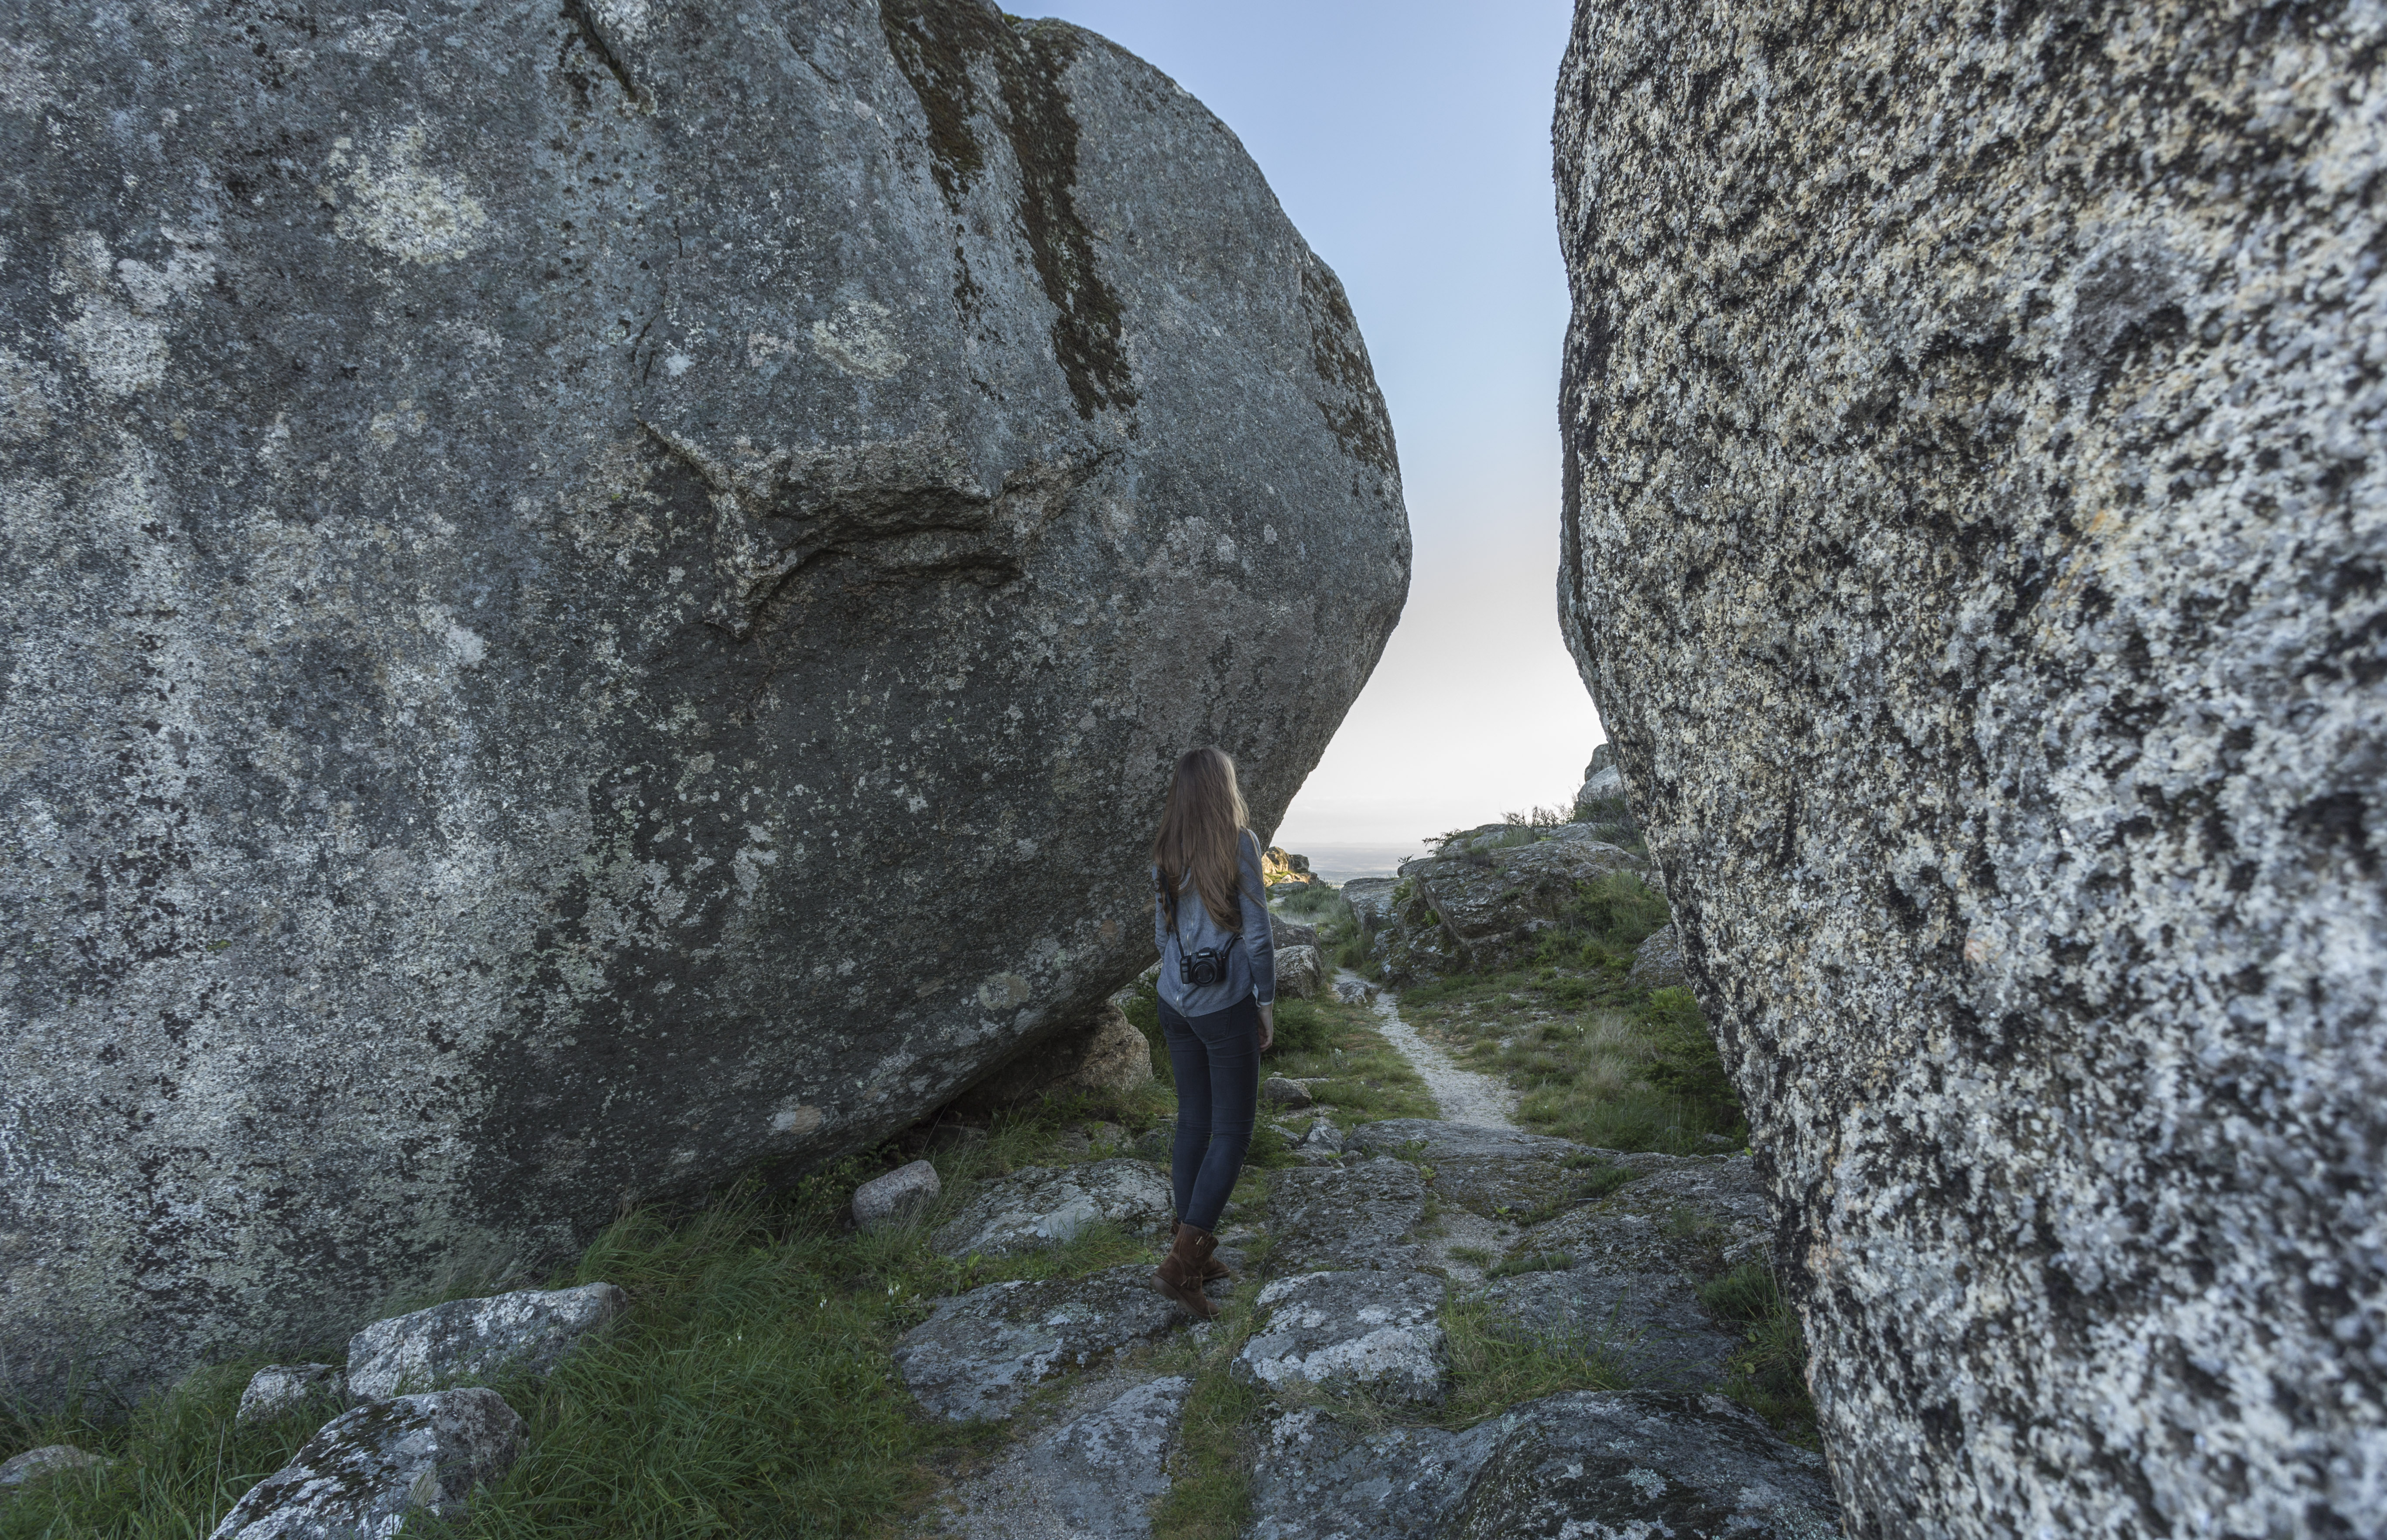
Unfortunately, the sky was cloudless, so I shot it keeping in mind that I would have to add the sky in post-processing. It’s a current thing nowadays that some refuse to admit, and others to do. In my case, I’m totally comfortable with it, because it’s a need and it helps my art creations. So I shot it at 17mm, at F/9, 1/25 and ISO 100. I tried my 14mm lens and an external wireless flash with an orange gel, but the result wasn’t pleasing to me—there was too much distortion and the light didn’t appear to my taste.
That said, I took my shot, complete with the sky and all the details in the foreground—exactly what I need to enhance my creation during post-processing.

3. Post-Processing
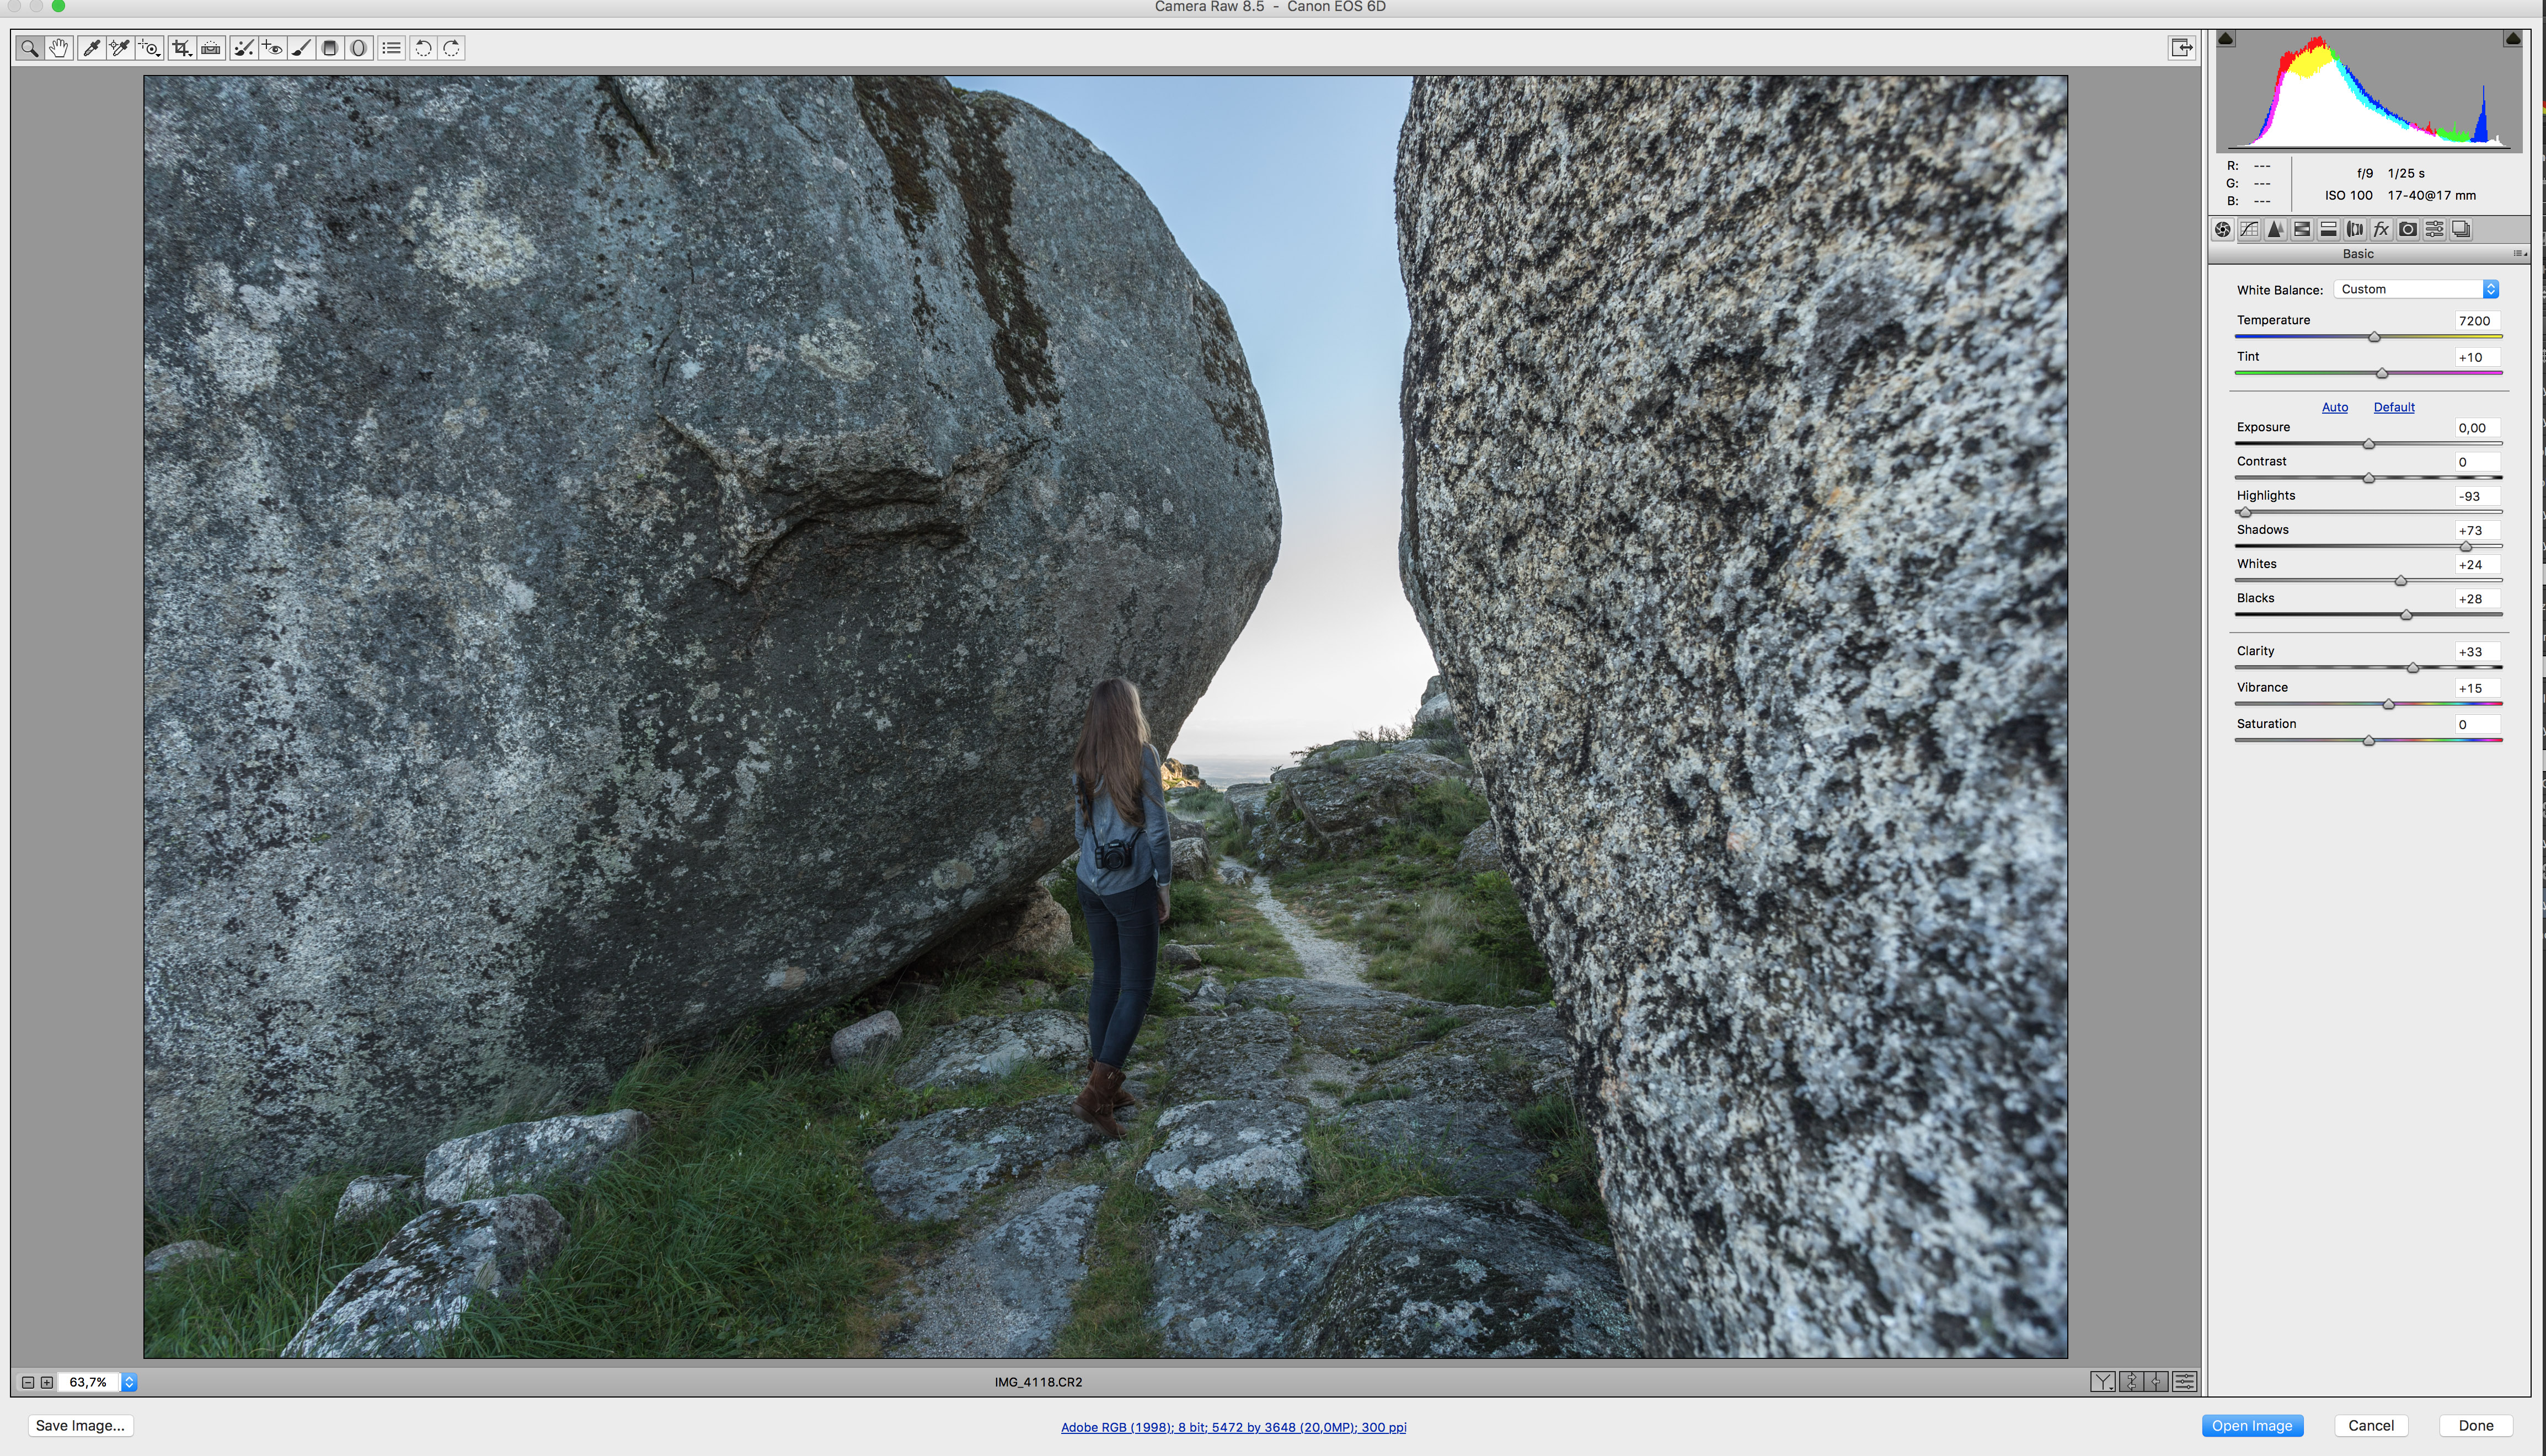
This phase of the creation is one of my favorites, because I have more room to be creative. Here, I can try the best settings to achieve the image I have in mind. I performed my usual workflow in Photoshop by opening the raw file and adjusting the sliders to get the most of the foreground area, and place my sky from a previous shoot. As I said before, I shot it to make a subsequent sky replacement and light creation.
The next step is to make a curves adjustment, and create a flare with a brush.

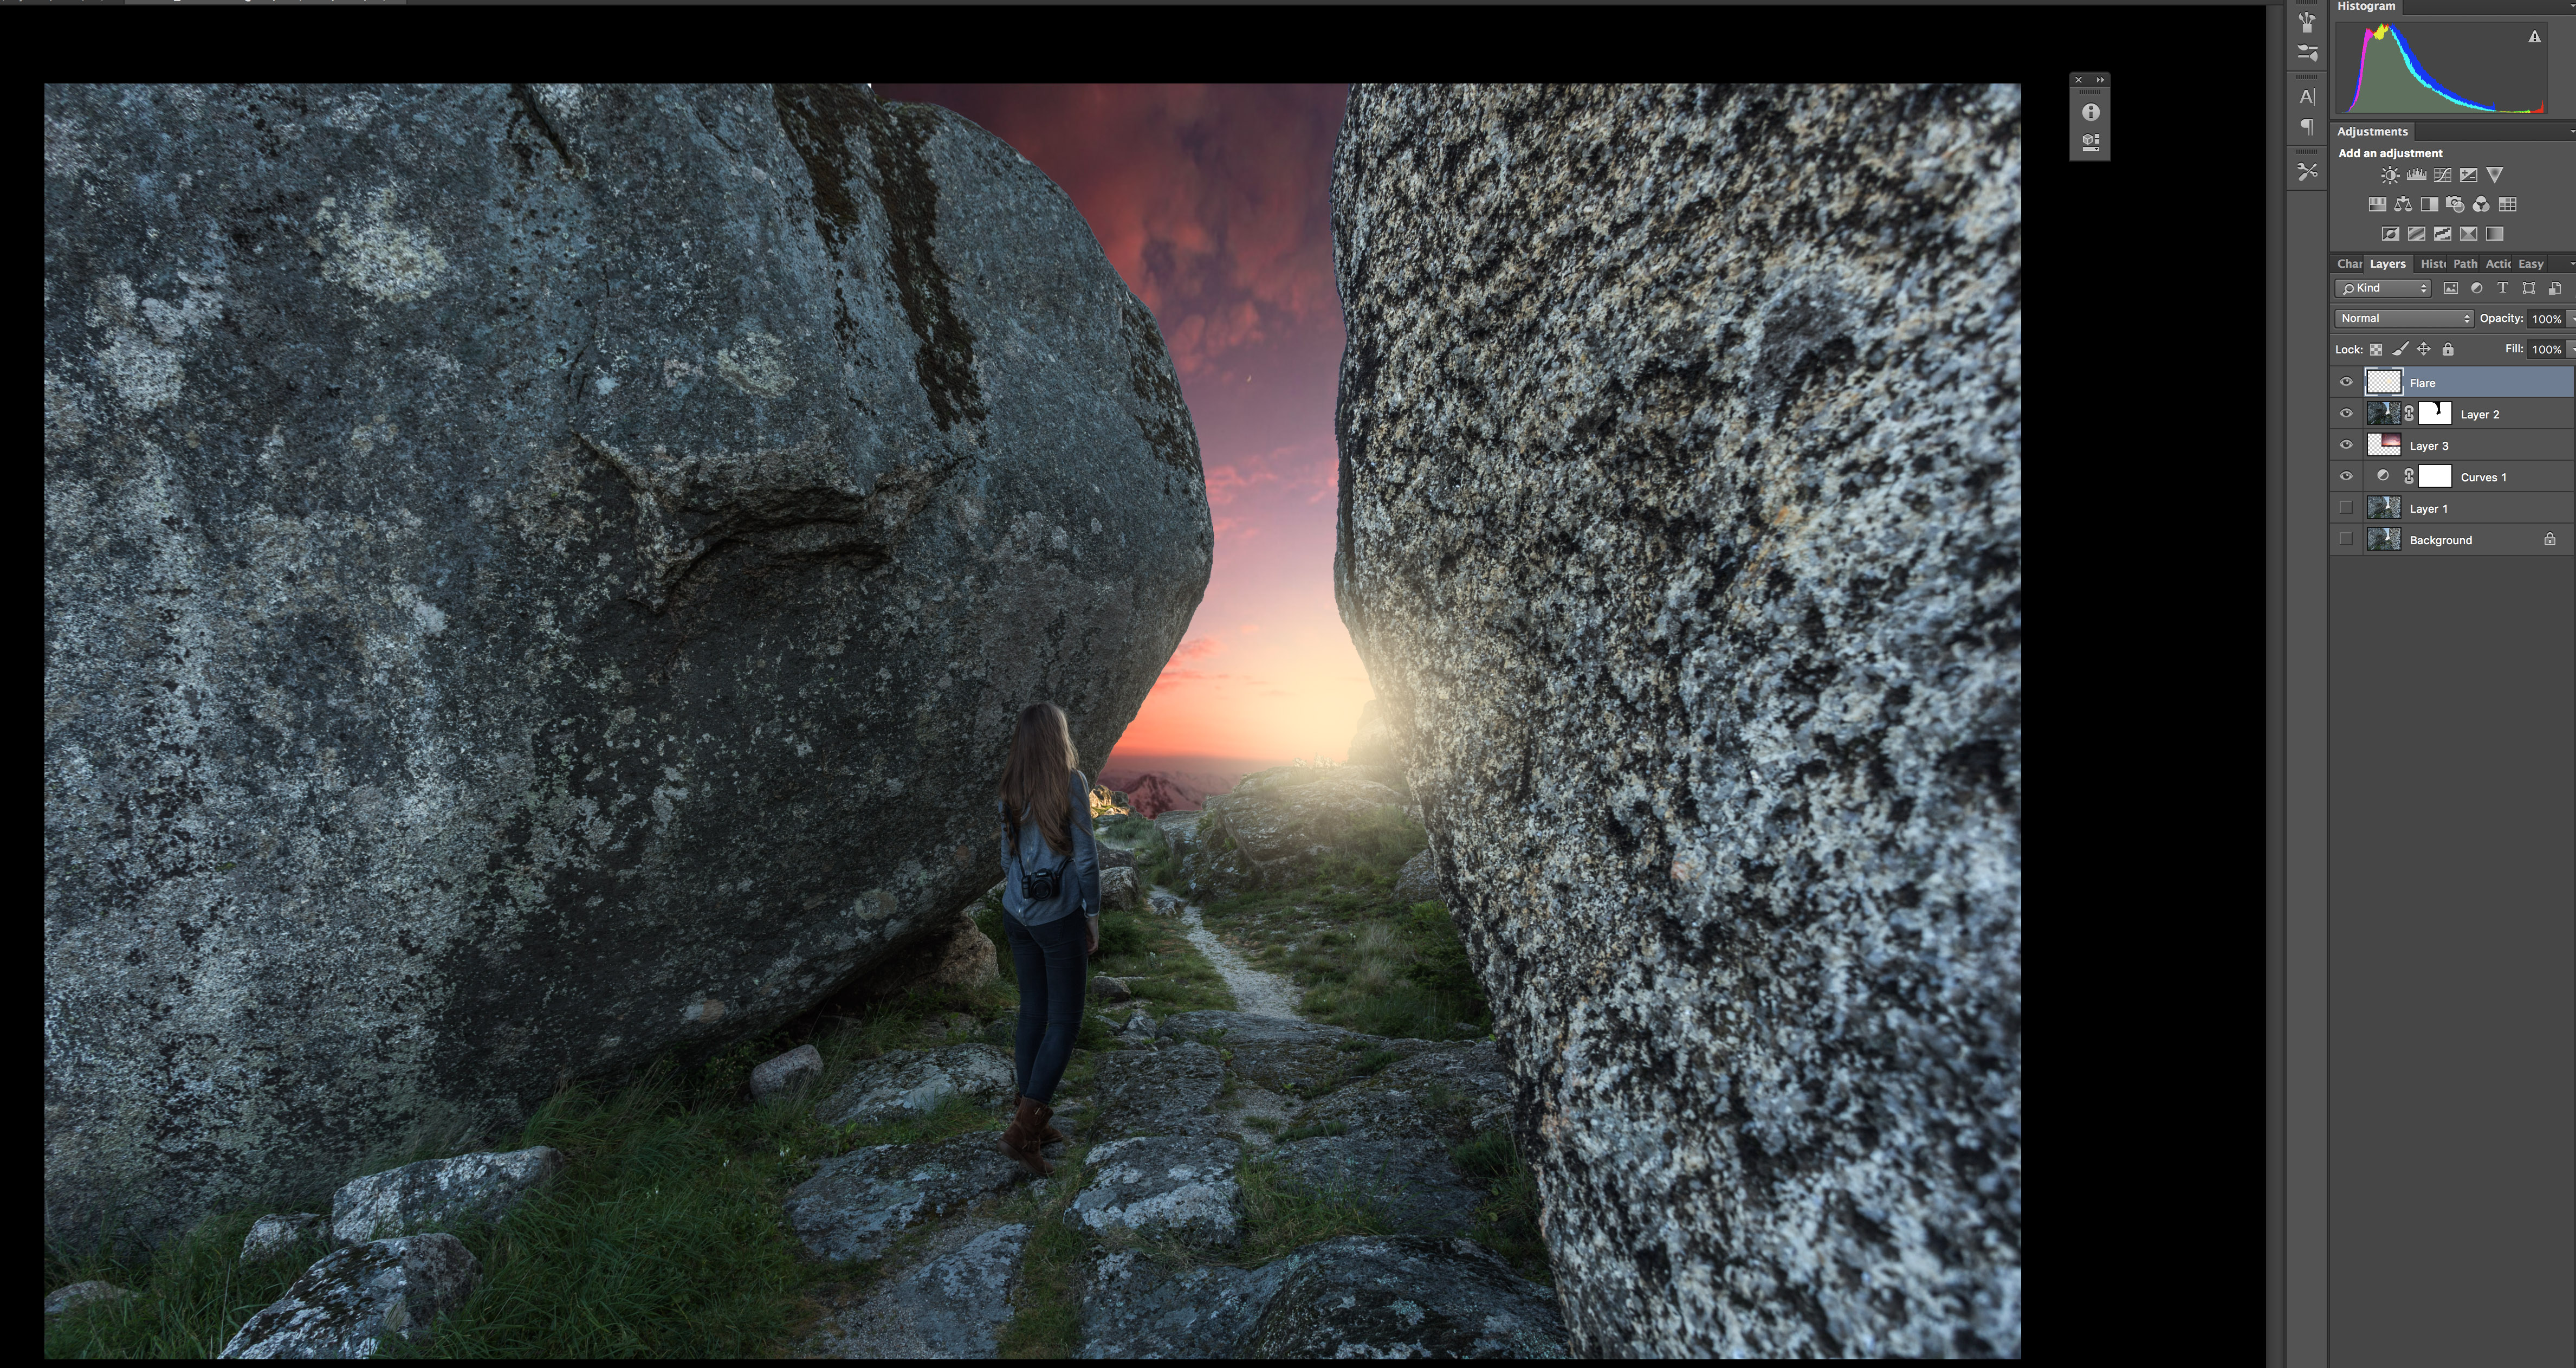
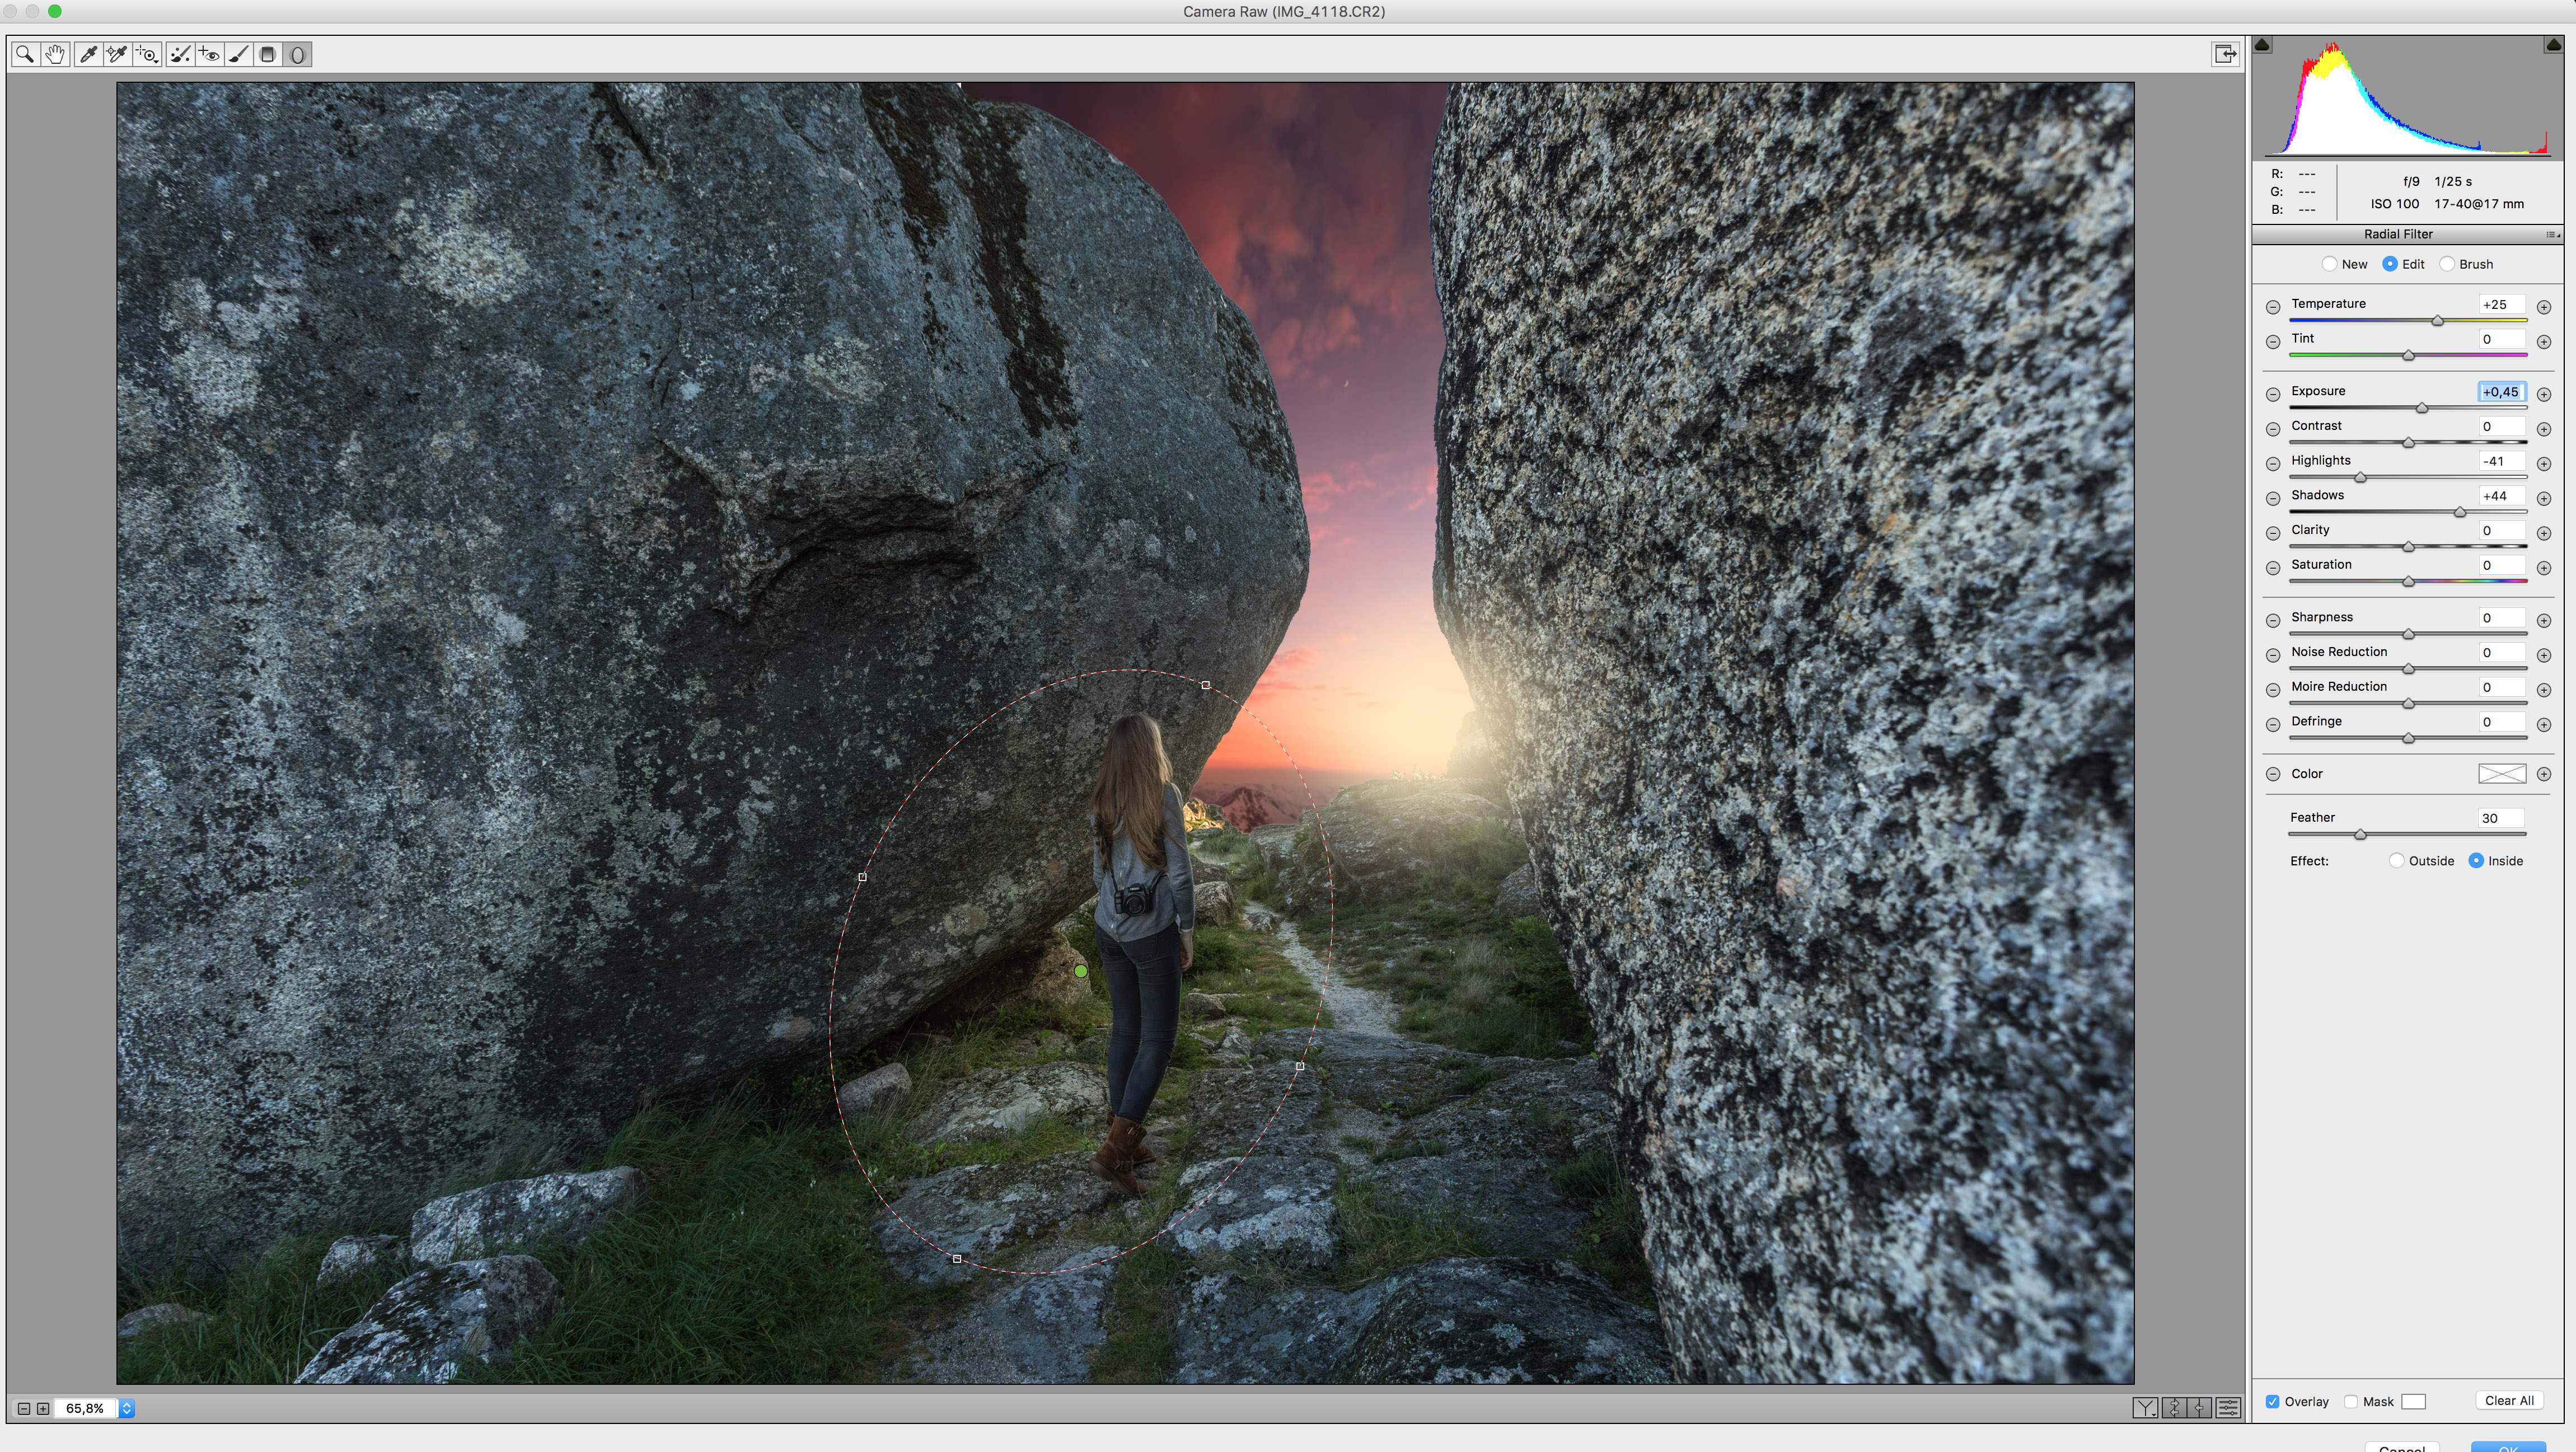
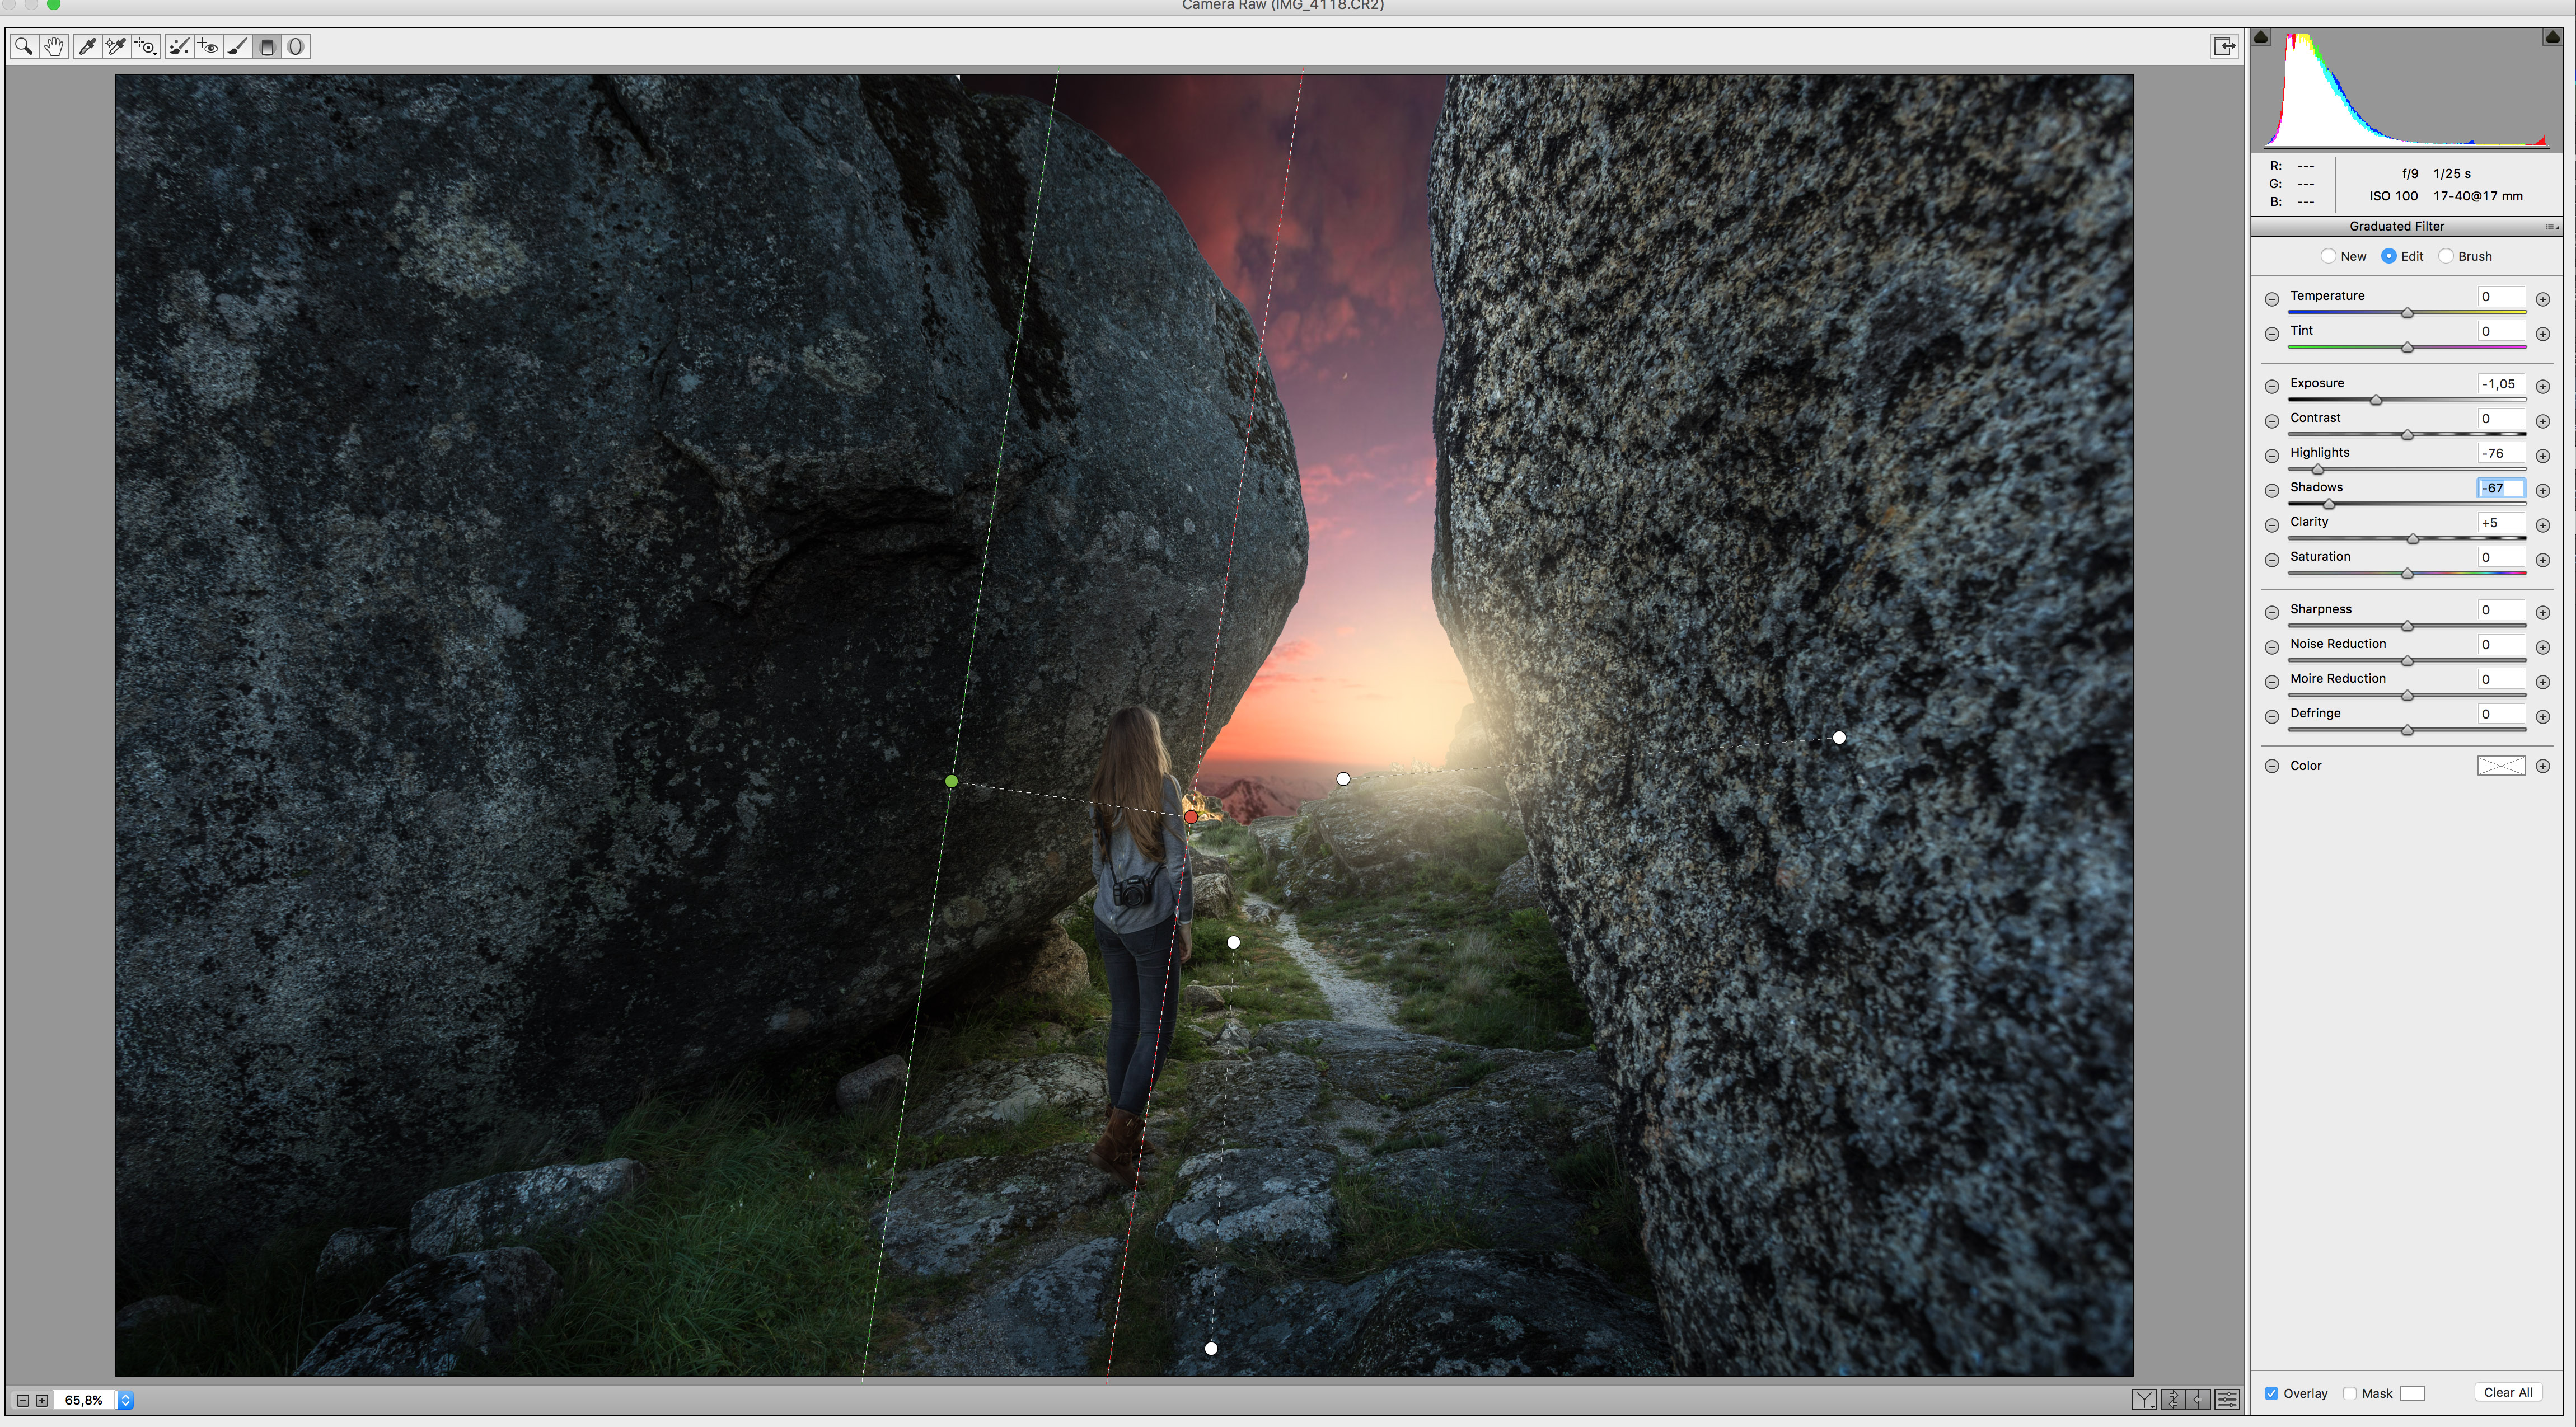
Now the moment was dedicated to create a vignette and highlight my model, with a radial filter and some graduated filters around it. There are many ways to do it, but I prefer using the camera raw.
Finally, I used the photo filter with a warm color and another layer, where I placed some color in the areas where I wanted some more color punch.
I hope that you find this article useful. Don’t forget to send me your feedback. I’m always open to new ideas and observations, if they are constructive and positive.
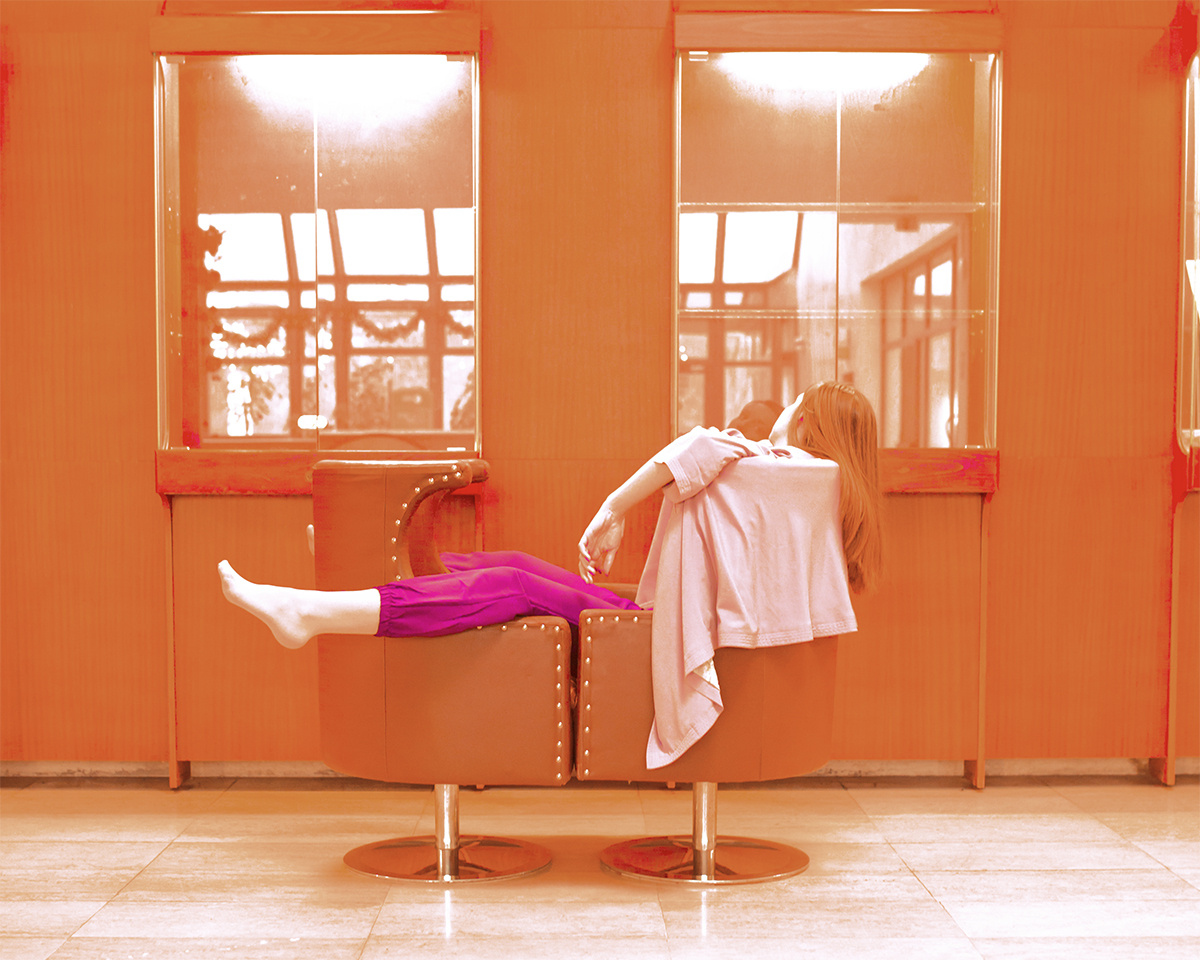
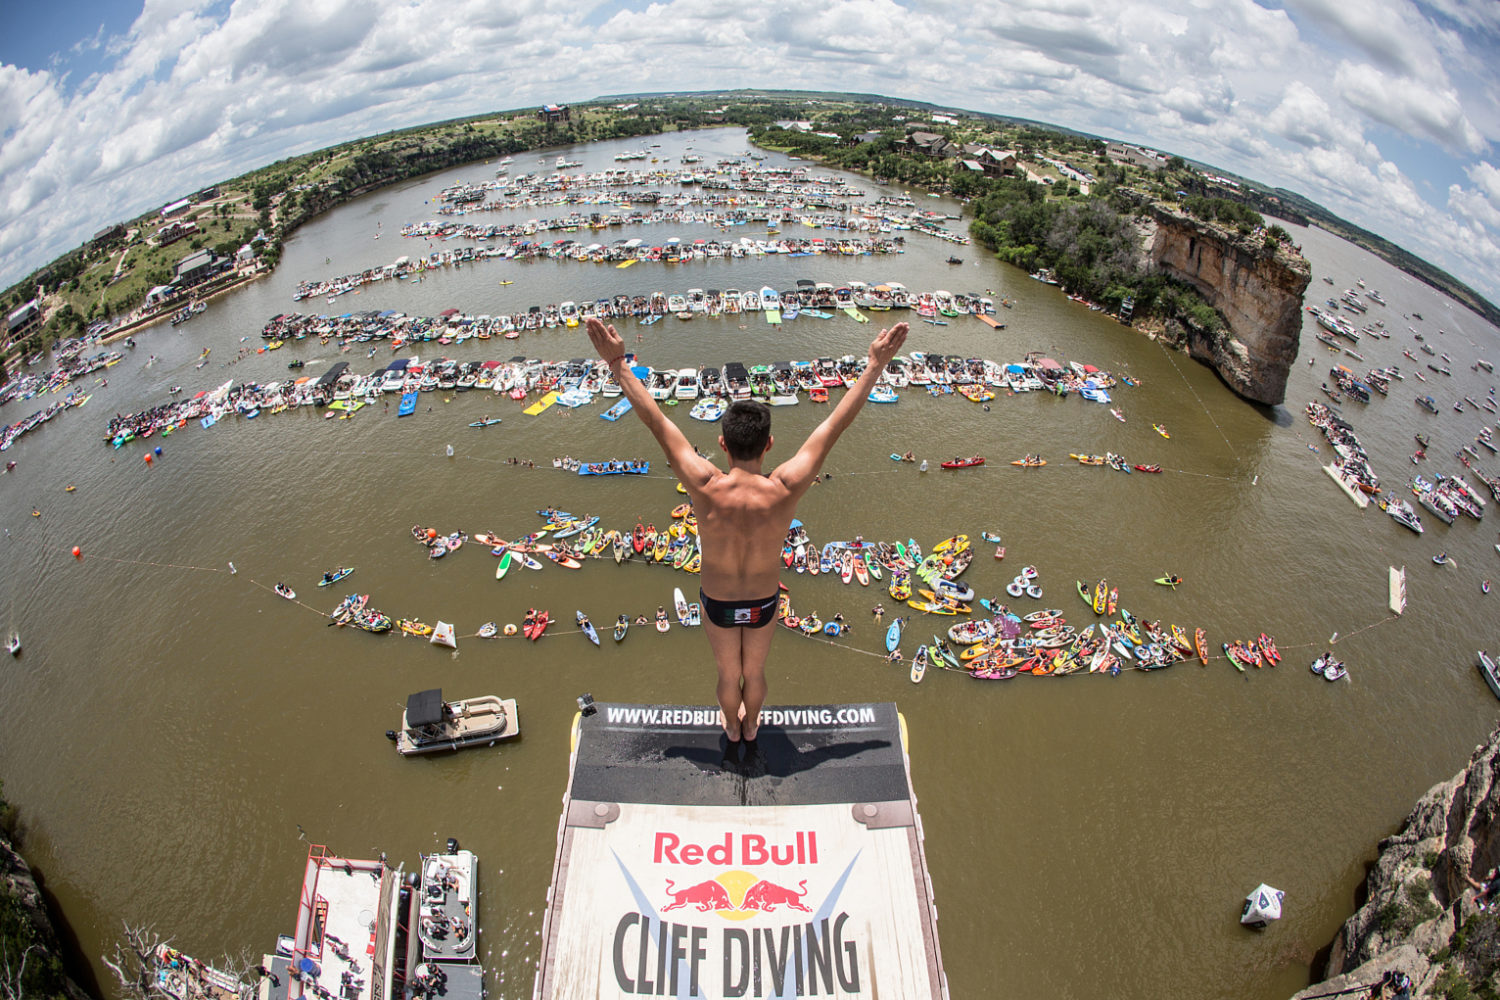
For inspiration, scroll down to see some more of my dreamlike images.


Happy shooting!
Leave a reply