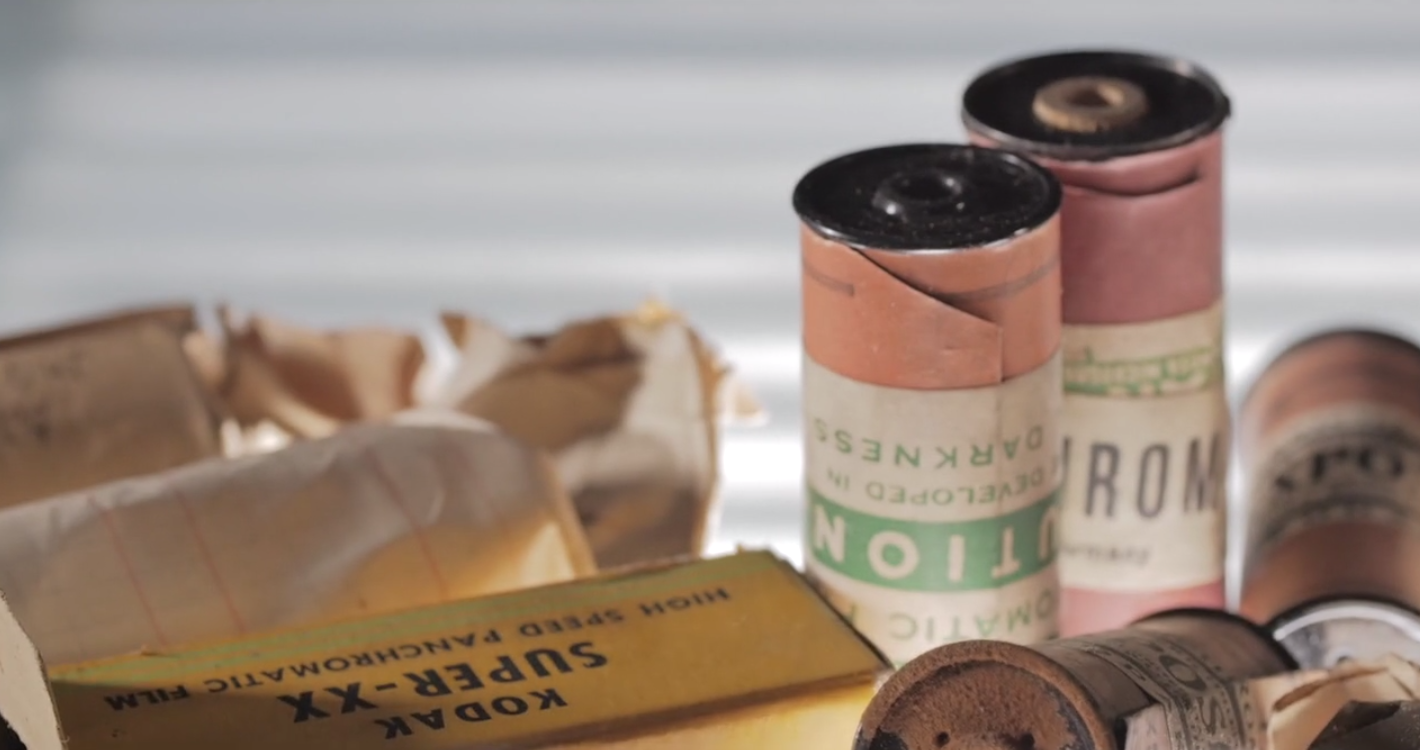
In 2017, Kodak brought back Ektachrome color-positive film; in 2018, they revived T-Max P3200 B&W film. In 2019, FujiFilm announced they’d bring back black and white film, launching Neopan 100 Acros II in both 35mm and 120 formats. And this year, Kodak brought back the 120 version of Gold 200. It’s safe to say that analog photography is back, with film lovers new and old embracing different formats, camera types, and more. In this guide, we’ll cover the basics of choosing your camera and film.
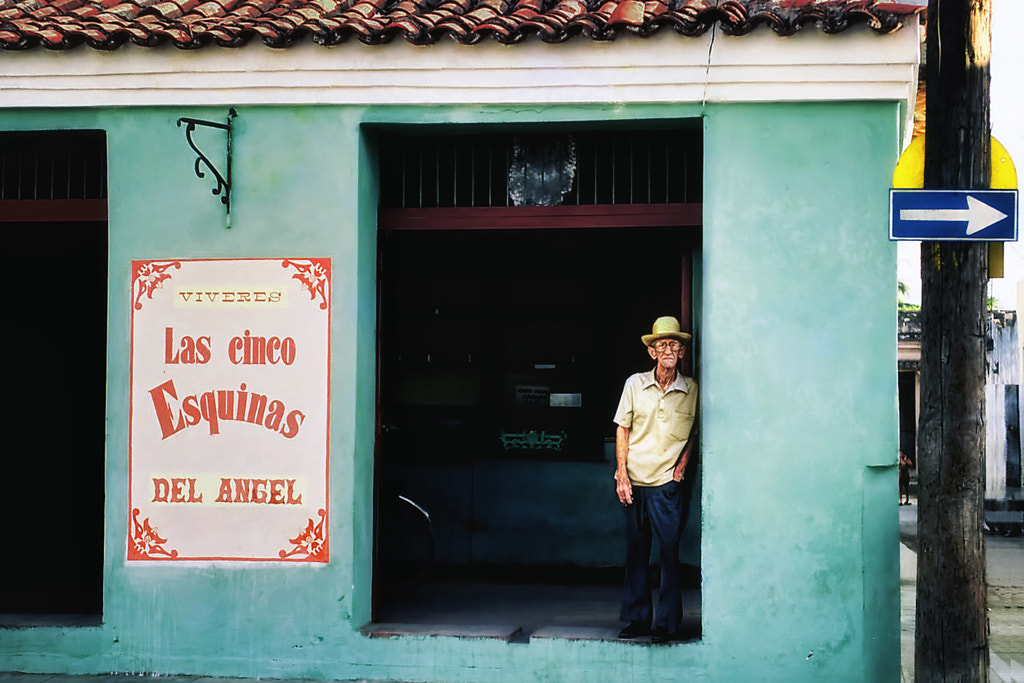
(Eduardo Teixeira de Sousa made this photo in Cuba back in 1999, decades before the Ektachrome revival.)
Film formats (sizes)
35mm
Tried and true, 35mm (sometimes called 135) usually serves as a point of entry for those just getting started with film photography and analog cameras. This format will be familiar to you if you’re used to shooting on a full-frame digital camera, and these cameras are relatively compact and portable. 35mm is also very popular, so it’ll give you tons of options in terms of film stocks.
120 (medium format)
Medium format cameras are larger, meaning that they offer higher resolution than you’d see with a 35mm camera. The downside: 120 rolls (medium format film) have fewer exposures than 35mm (eight to 16), so they tend to require an even slower and more thoughtful approach.
Large format
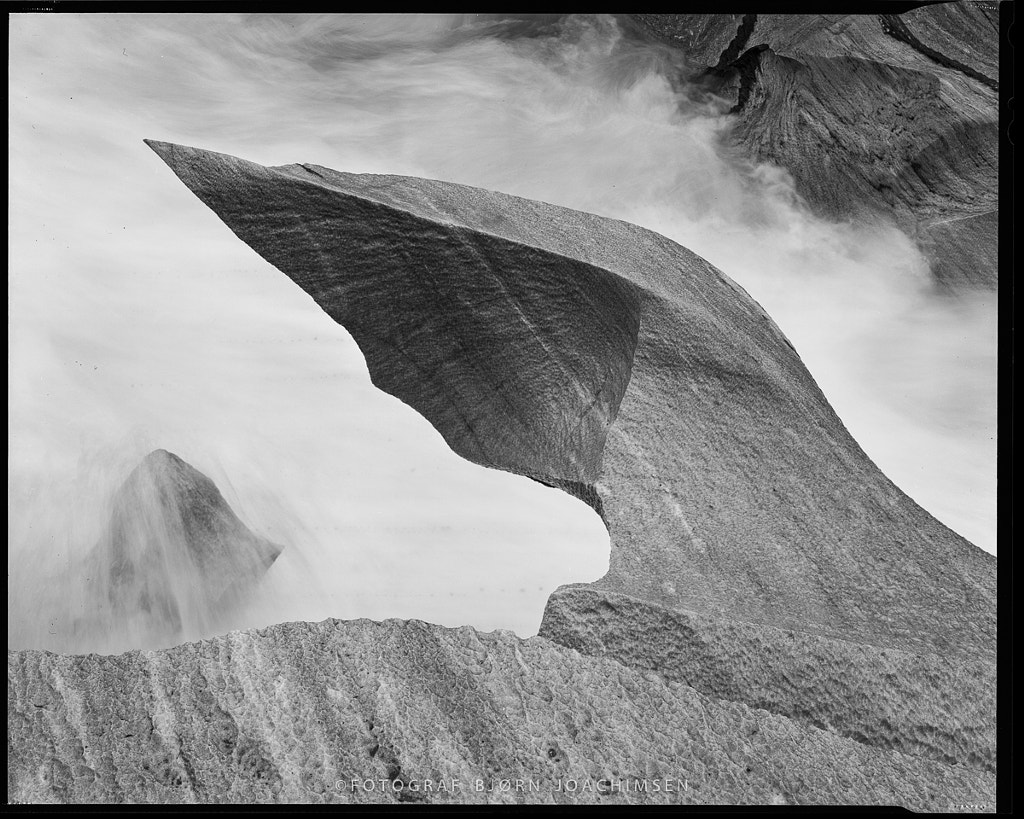
Classic view cameras offer the possibility of an even slower pace with large format film. This film comes as individual sheets rather than rolls, and the cameras are, well, large, so you’ll need a tripod. The upside: large format can deliver super-sharp pictures, with very little grain, making it a favorite for landscape photographers (Ansel Adams loved those large-format, narrow aperture shots).
The downside is that each image costs a (very real) dollar amount, but that could also be seen as a positive, as it encourages you to be more intentional about what you shoot. Everything must be done manually, so these cameras open up a whole new way of working. While they are on the rare side, you can still find photographers excelling in this genre, including Bjørn Joachimsen, who uses a hand-built Lotus View Camera.
(While this is an oversimplification, a general rule is that the larger the format is, the finer the details will be.)
Types of film cameras
SLRs
The Pentax K1000, a favorite for beginning photography students, is a 35mm, SLR camera (single-lens reflex camera). Like other SLRs, this camera offers the best of both worlds: it’s simple to use, and it allows for interchangeable lenses, meaning it’s versatile. The K1000 is also fully manual, so it’s ideal for learning. If you’d prefer an SLR with automatic options, though, they do exist in plenty of newer models.
SLRs have the benefit of allowing you to compose while looking through the lens (through a system of mirrors and prisms), so you can preview in real-time what you’re about to capture. SLRs are also great for using faster shutter speeds and opening up your aperture for that shallow depth of field, especially when compared to something like a rangefinder.
Compacts
Compacts, or point-and-shoot cameras, are perfect for getting started because they’re cheap and easy. The advantage of using these cameras is also a drawback: the exposure settings (aperture, shutter speed, ISO) are usually handled automatically, so while that means you have fewer factors to worry about, it also means you have less creative control.
Rangefinders
Rangefinders offer a smaller (and quieter) alternative to SLRs, making them appealing to photographers who want to remain mobile and discreet (e.g., street photographers, such as Henri Cartier-Bresson and his beloved Leica). Another significant difference is that when you’re using a rangefinder, you’re not looking through the lens, so what you see isn’t necessarily what you get.
With that being said, the absence of the mirror means you don’t get as much camera shake and blur, so you can lower your shutter speed without sacrificing quality. If you have to shoot at faster shutter speeds and like the bokeh created by a wide-open lens, on the other hand, an SLR is a better bet.

TLRs
Twin-lens reflex cameras, such as the much-loved Rolleiflex, use two lenses, both with the same focal length: a top one for “viewing” and a bottom one for “taking.” These are (usually) medium format (6×6 cm), square cameras. While SLRs rely on a “flipping” mirror, the mirror in a TLR is fixed, so TLRs are quieter and reduce vibrations. That also means that there’s no viewfinder blackout during the exposure, as opposed to what you’d get with an SLR.
Bear in mind, that on TLRs, the image you see will be reversed from left to right, and you won’t be able to preview depth of field as you would with an SLR (the same goes for any filters you choose). At the same time, they tend to be pretty affordable (unless they’re collector’s items), and they’re fun to use.

Of course, these are just a few of the (most popular) options available, and there’s lots more to explore—from toy cameras like the Holga (medium format) to those old-fashioned view cameras (large format), the latter of which are often handcrafted to perfection. Experiment to see what suits your aesthetic and process.
Film stocks
(Kodak Tri-X, used here by Elton Chang, is a great fit for documentary work)
Here’s where the fun happens: choosing your film stock. The options can feel overwhelming, so we recommend starting with a cheaper option and experimenting with that before moving on to the rarer or more expensive alternatives. 35mm film is perfect for this stage in your development, as it gives you more exposures per roll, meaning you can make more mistakes and really start practicing. Plus, even when you factor in the cost of processing, it’s more cost-efficient.
The next decision is color versus black and white; many photographers love to process black and white film at home, while color is (usually, though not always) sent out to a lab for processing. You’ll also need to select the right film speed or ISO; the higher the number, the more sensitive the film is to light, so you’ll need to go higher when working in low light.
A photographer who shoots indoors is likely to choose a different film stock than one shooting outdoors on sunny days for this reason. The price you pay for more light sensitivity is grain (higher ISO means more grain), but in some cases, grain can add to the atmosphere of a film photograph.
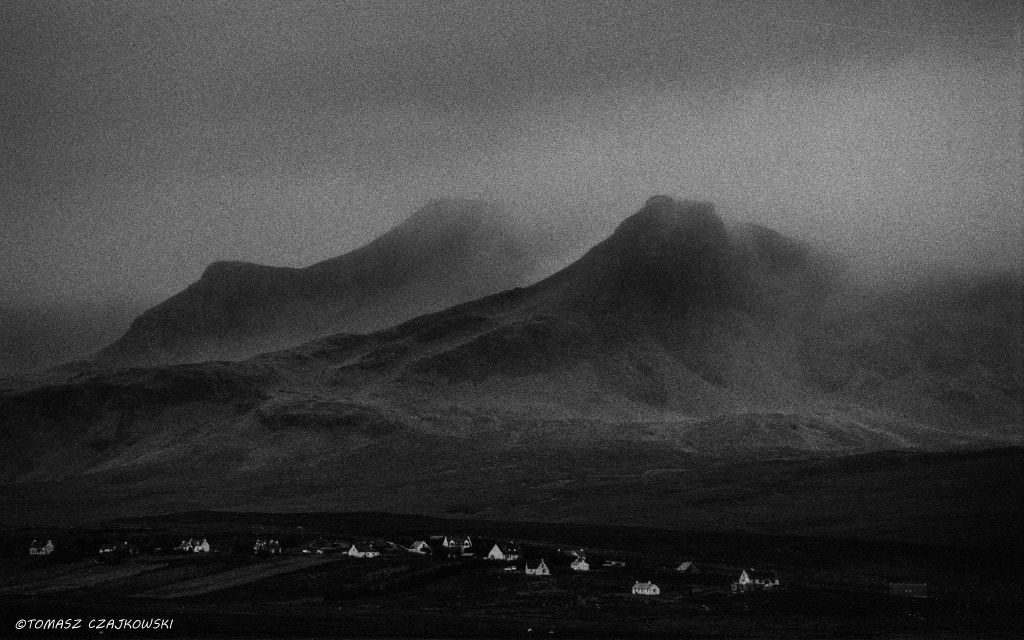
(Tomasz Czajkowski captured this stunning view on the Isle of Skye using Kodak T- Max P3200, known for its fine grain and sharpness.)
When shooting color, consider starting with print film, which produces negatives, as opposed to slide film, which creates positives. Print film, in general, is more forgiving and requires less precision, in terms of exposure, than slide film. Print film is also more affordable. At the same time, slide film can create some incredible, vibrant colors, so it’s worth exploring as you cut your teeth.
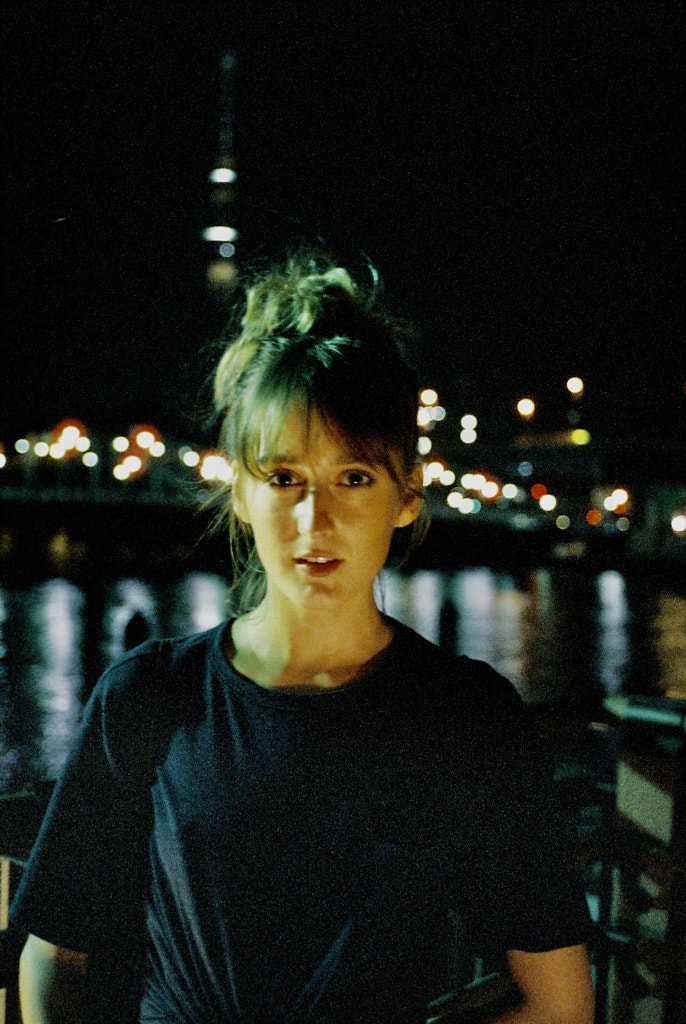
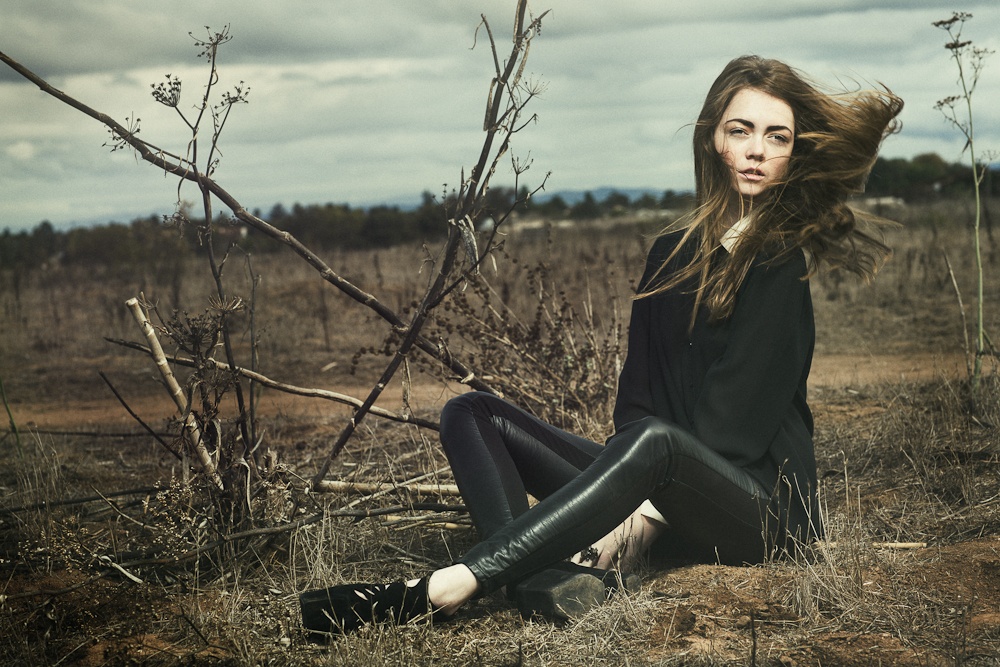
The rest is a matter of taste and preference, with different film stocks delivering characteristic colors, contrast, and overall vibes. While Kodak Portra is a favorite of portrait photographers due to its rendering of skin tones (see the portrait by Raquel Chicheri above), CineStill 800T can produce some cinematic low-light images in the city (see the photo below by Andrew Curry). A black and white film like Kodak Tri-X can be great for a more raw, gritty feel, while Fujifilm Velvia will deliver super-punchy color.
One last thing: When getting your film processed, choose your lab wisely. Some labs have recently started tossing the negatives and sending only the scanned files (usually, via email download); while this might seem convenient, it’ll limit you in the long run, so remember to ask for those negatives so you can make your own scans (or prints in the darkroom).
Not on 500px yet? Sign up here to explore more impactful photography.
![Wedding Photography Checklist, The Essentials & Must-Have Shots [Examples & tips]](https://iso.500px.com/wp-content/uploads/2019/12/stock-photo-styleshootbb-bau-306854501-1500x1000.jpg)
Leave a reply