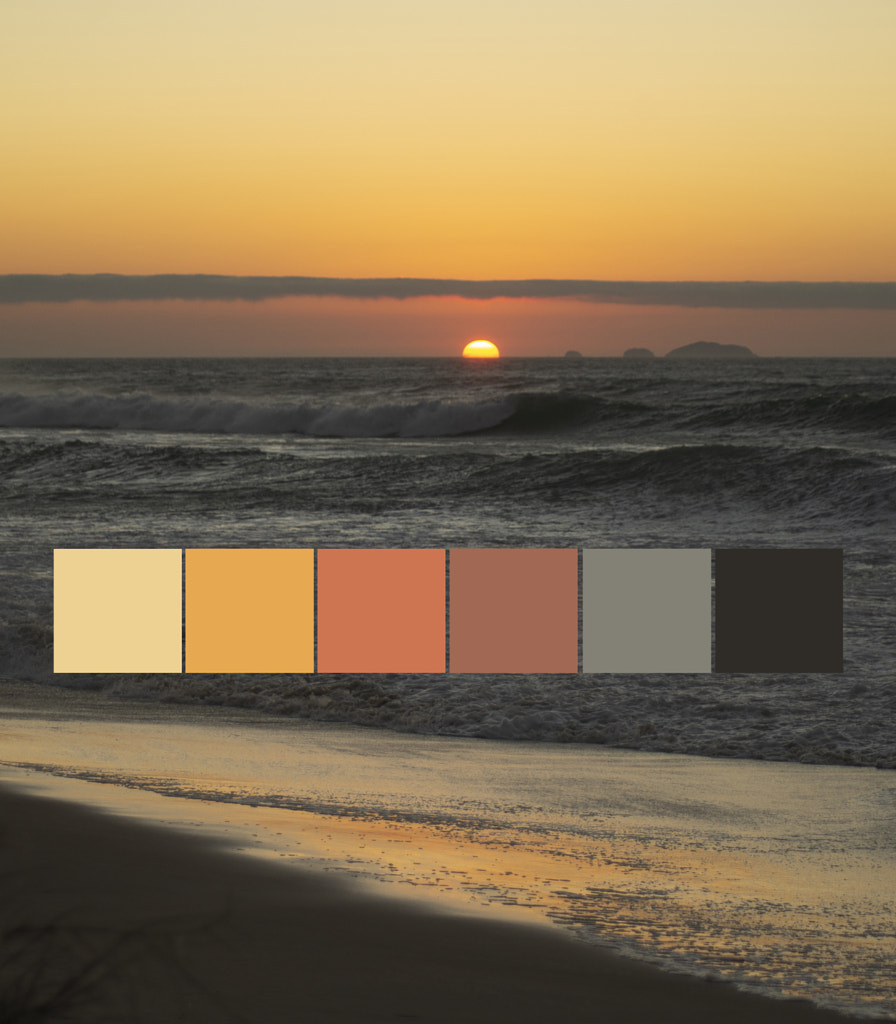
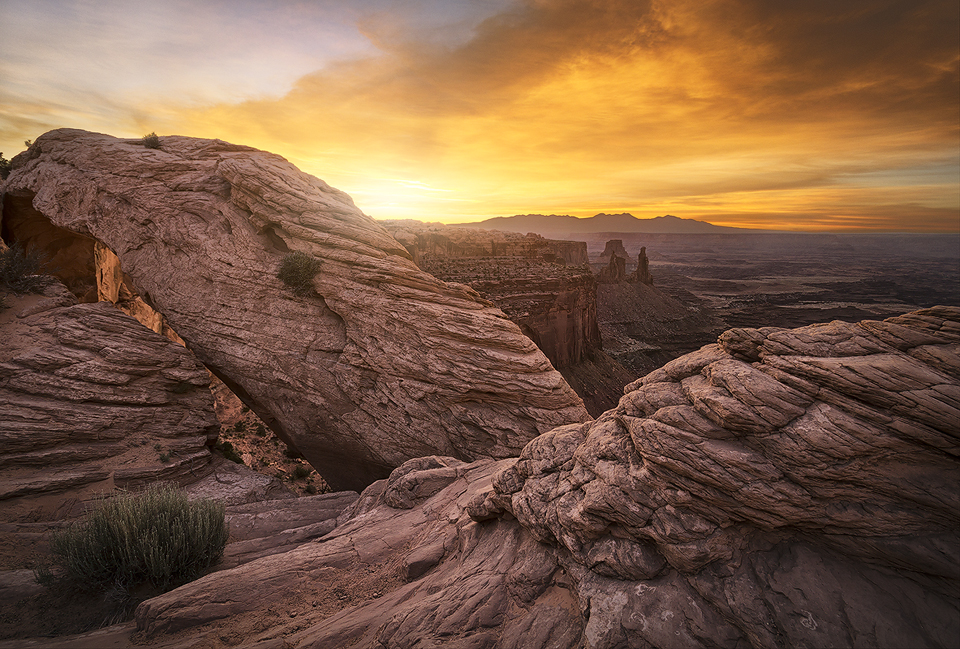
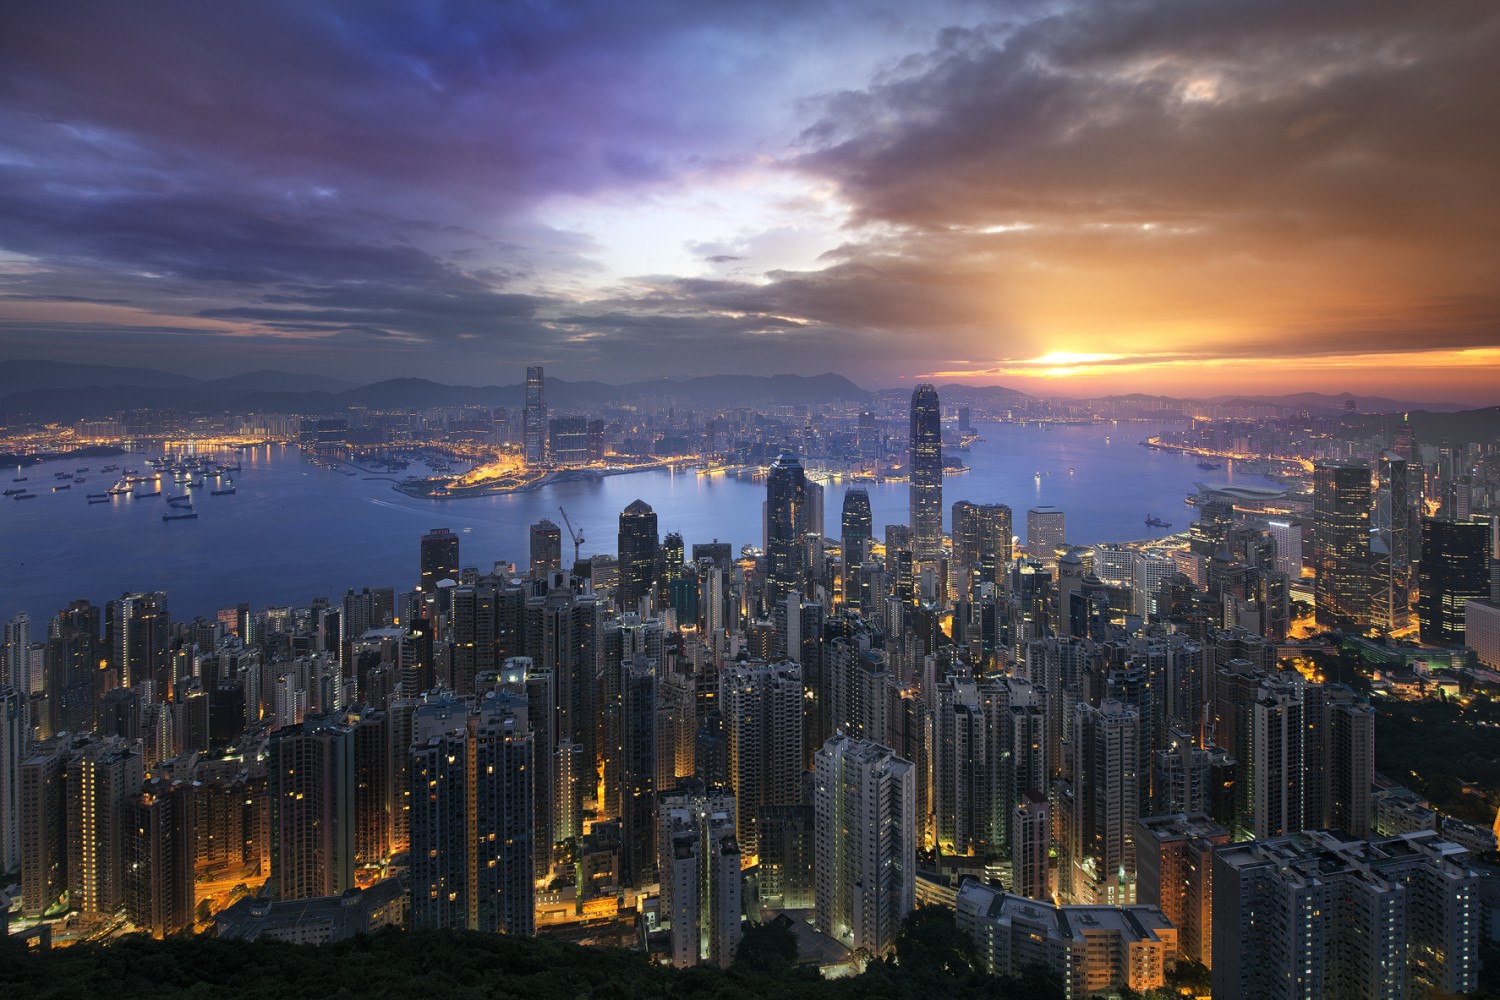
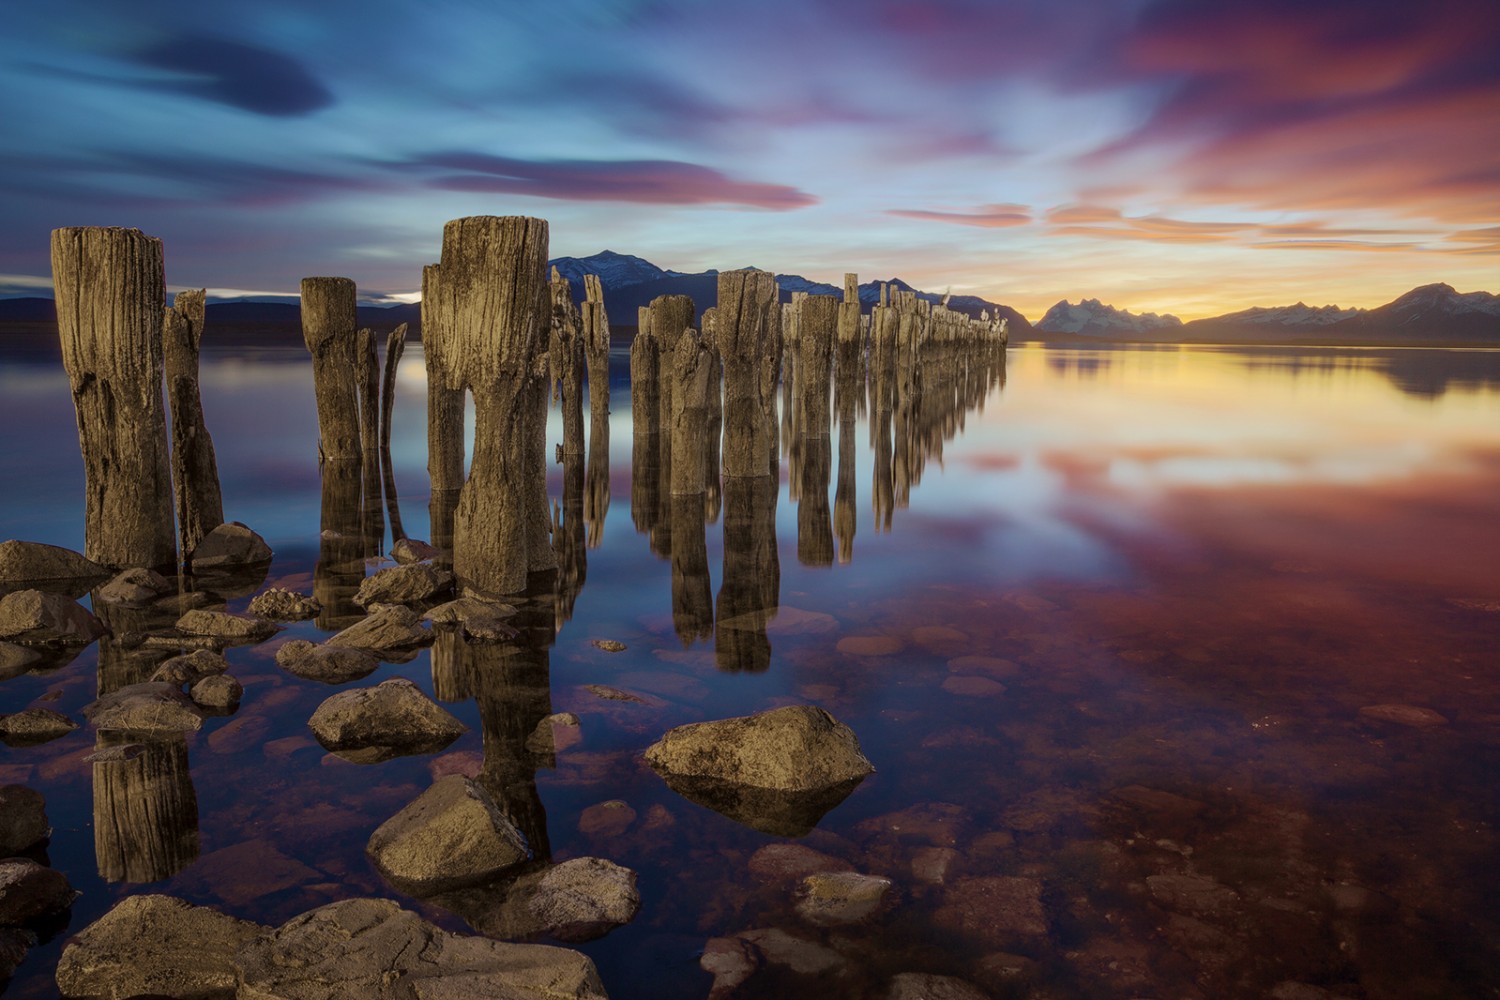
If you’ve ever been told your photos are too dark, too bright—or worse, that your colors look wrong—you might have a calibration issue. Calibrating your computer monitor before editing your photos ensures your colors and brightness are accurate, according to a common standard. Without calibration, you run the risk of your photos looking “off” on other people’s screens—or ending up with prints that look wildly different from how you thought they would.
If you calibrate your monitor properly, you can rest assured that your black will be black, white will be white, red will be red, green will be green, blue will be blue, and so on. In this guide, we’ll cover the basics of calibrating your desktop or laptop monitor, without going into too many technical details.
While color calibration is a complex topic, we wanted to break down the fundamentals in a way that’s easy to understand—and won’t take up too much of your time. Our recommended method, which involves using a hardware device, should take you twenty minutes at the most (more likely, under ten).
Every screen displays colors and brightness differently, but calibration offers some consistency across devices. You spend a lot of time editing your photos, so it’s worth taking that extra step to ensure that what you see is what you get. It’s also worth noting that some monitors come straight out of the box with better calibration than others. If color accuracy is important to your practice, it might be worth investing in a more expensive monitor.
Some monitors also have a larger color gamut than others, meaning they show a wider range of colors. For example, a monitor that uses the Adobe RGB color space will be able to display a wider range of colors than one using the sRGB color space. Another thing to keep in mind, in general, is that you always want to view and edit images in color-managed applications for consistency when using color profiles.
Software versus hardware calibration
In general, the simplest methods for calibrating your monitor fall into one of two categories: software-only and hardware calibration. Software calibration can be done using free tools, including those that come with your operating system, such as MacOS or Windows 10; if you go this route, you’ll follow some steps to manually adjust the gamma, brightness, contrast, and colors, using test images provided at each step.
There are also free-to-use websites that show you similar tests and walk you through various calibration steps, like the popular Lagom LCD monitor test pages. These are usually a step up from your local tool, but there’s a better, third option we’ll discuss shortly.
Of course, the benefit of using software-only calibration is that it (usually) doesn’t cost anything, and it might work okay for casual use. But because you’re relying on your own perception of color and brightness, which is subjective, you might get it wrong. Plus, it takes a long time. That’s where hardware calibration comes into play.
Hardware calibration is done with a dedicated device such as the SpyderX Pro by Datacolor or the i1 Display Pro by X-Rite. These calibration devices aren’t cheap, but they’re trusted by photographers worldwide. Datacolor also makes a SpyderX Elite with even more capabilities, including video and cinema, but the Pro will offer enough tools for most photographers.
How to use a calibration device
Luckily, using a calibration device, or a “colorimeter,” is a very simple process. It also eats up less of your time than doing it visually. If you’ve decided to go with hardware calibration—and we recommend doing so, if you have the budget—you’ll need to download the appropriate software, based on the brand you purchased (for example, the SpyderX software or the i1 Profiler).
You’ll also want to make sure you don’t have any light falling directly onto your screen, as this will interfere with the calibration. The ambient light should be as close as possible to the conditions you use when editing your work. The first thing you need to do, if you’re calibrating a new monitor, is give it some time to “warm up,” so that the colors and brightness are stable. It’ll usually take about half an hour to do this. Your calibration device plugs into your computer’s USB port.
Before starting, you’ll also want to reset your monitor to default settings, if you haven’t already. The software will then take you through a series of steps. If it’s a new monitor, you’ll do a full calibration (if you’re using the SpyderX, a FullCAL). For white point, you’ll usually select the recommended 6500K or D65, though it might be closer to 5000K if you plan to print. Your display gamma should be 2.2 for photo editing. For a standard LCD, the recommended luminance is 120.
You’ll then remove the cap from your device and hang it over the spot indicated in the center of your screen. The counterweight goes on the other side of your monitor to keep it in place. The colorimeter-software combination will then do all the work, running through different brightness levels and colors and taking measurements for you.
Once it’s done, it will create an ICC profile for your specific monitor, which you can name and save. If you’re using the SpyderX, you’ll be able to compare “before” and “after” photos to see what you’ve done—if you haven’t calibrated your monitor in a while, you might be surprised at the difference.
Going forward
It’s always good practice to create some test prints after calibrating your monitor to ensure they look how you intended. If possible, we also recommend editing on a monitor made for photographers and color-sensitive work, as this will provide you with a better point of departure. CRT monitors tend to age more quickly than LCD monitors, but keep in mind that all monitors change over time. In general, you should recalibrate your monitor every three to four weeks to keep everything working correctly.
You can’t control what your photos look like on everyone’s screen, but you can ensure that they conform to an acceptable standard and print well. If you are having trouble with prints, even after calibrating your monitor, it might be worth talking with your printer and working together to get the results you want.
Not on 500px yet? Sign up here to explore more impactful photography.
Leave a reply