Ignacio Palacios is best known internationally for his travel and landscape work. He has been continuously traveling around the world since 1998 but since he came to Australia in 2008, he has focused on photographing landscapes and using digital imaging techniques to produce more creative and fine art work.
His images have been published in international photographic magazines and books all over the world including National Geographic, Australian Geographic and Lonely Planet Guides.
To see more of his work, follow him on 500px, check out his website, or give him a follow on Facebook.
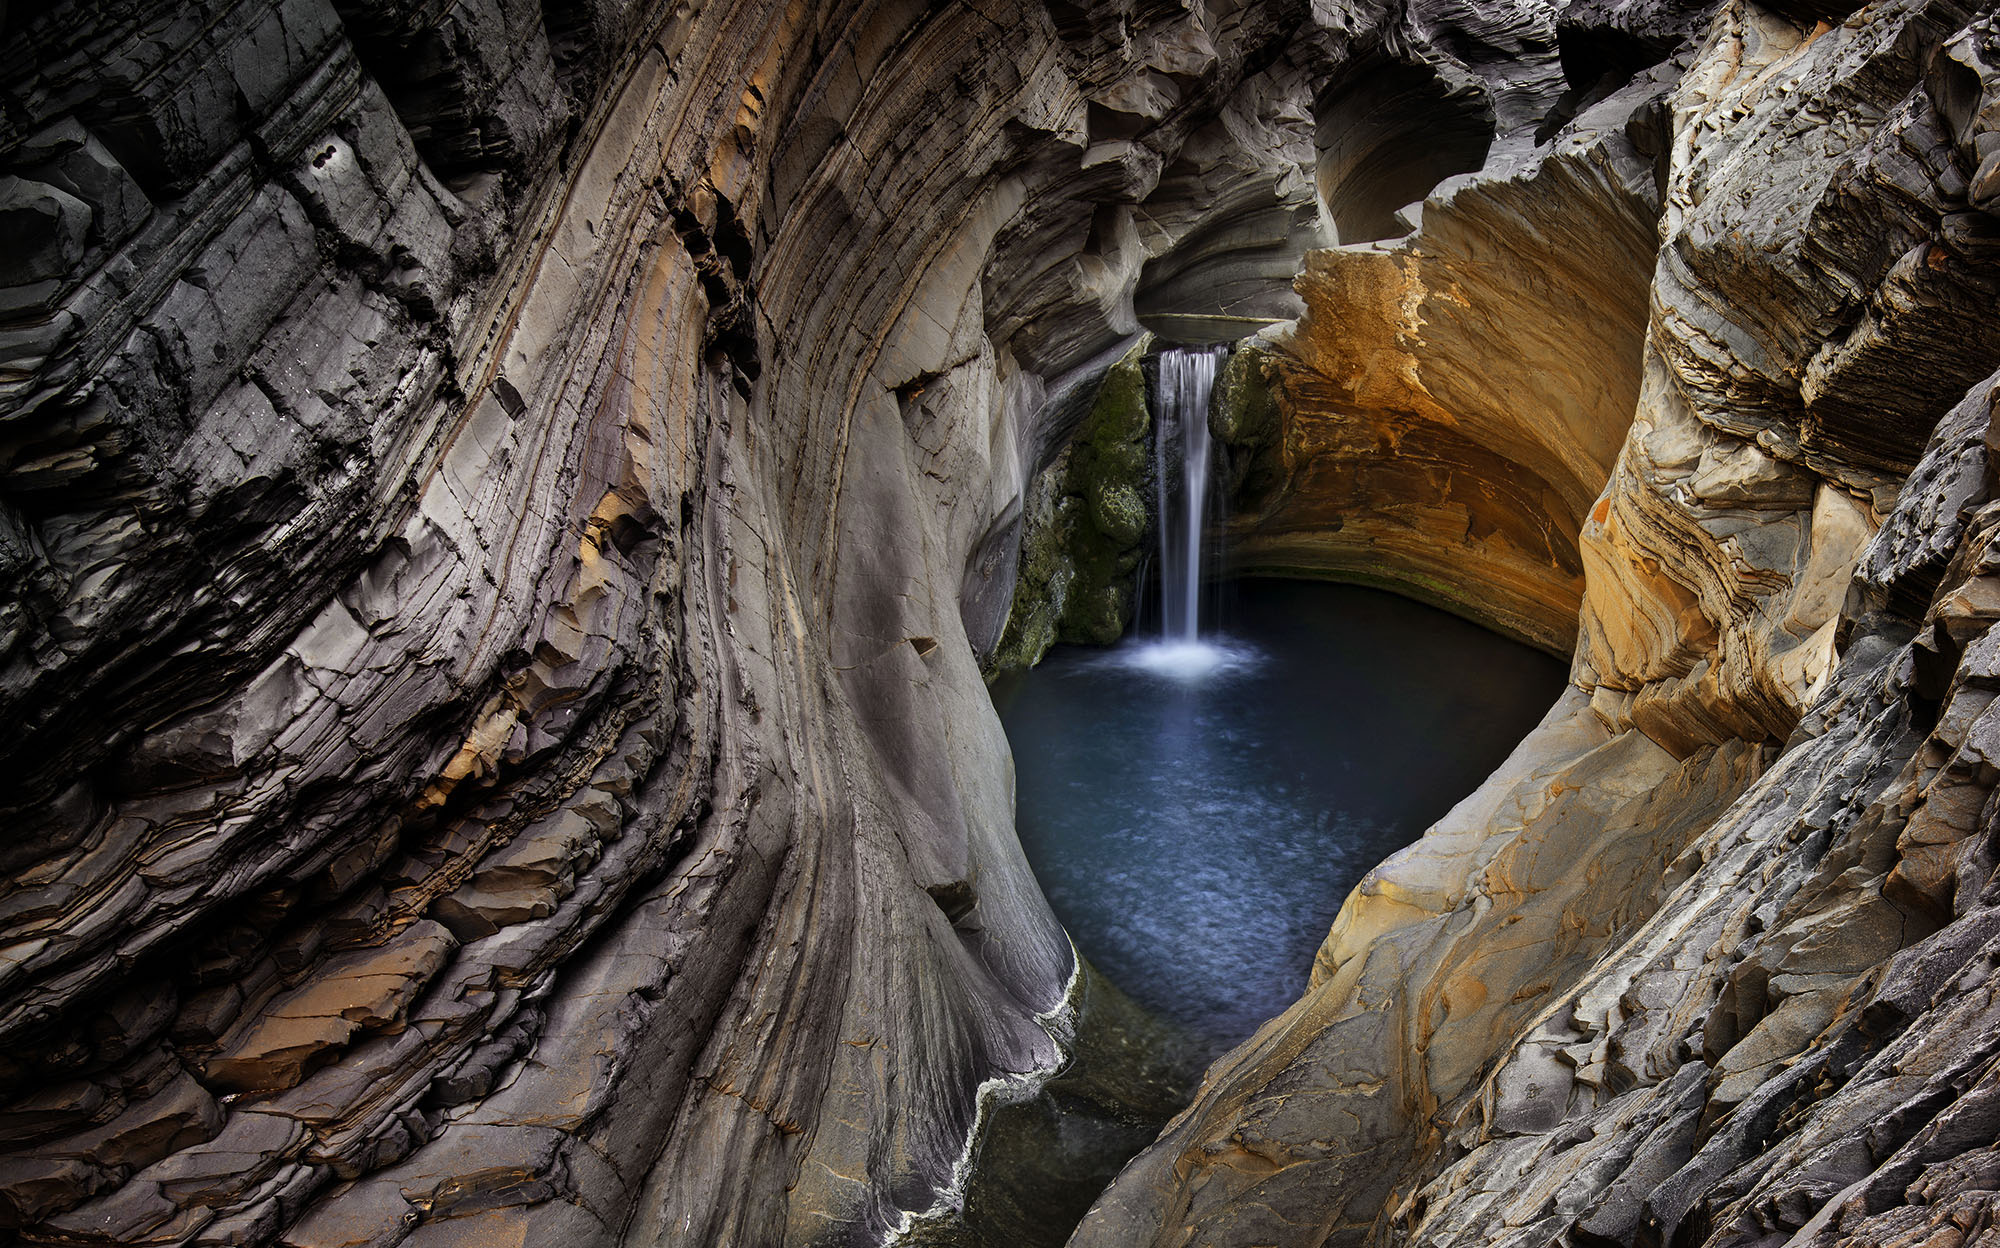
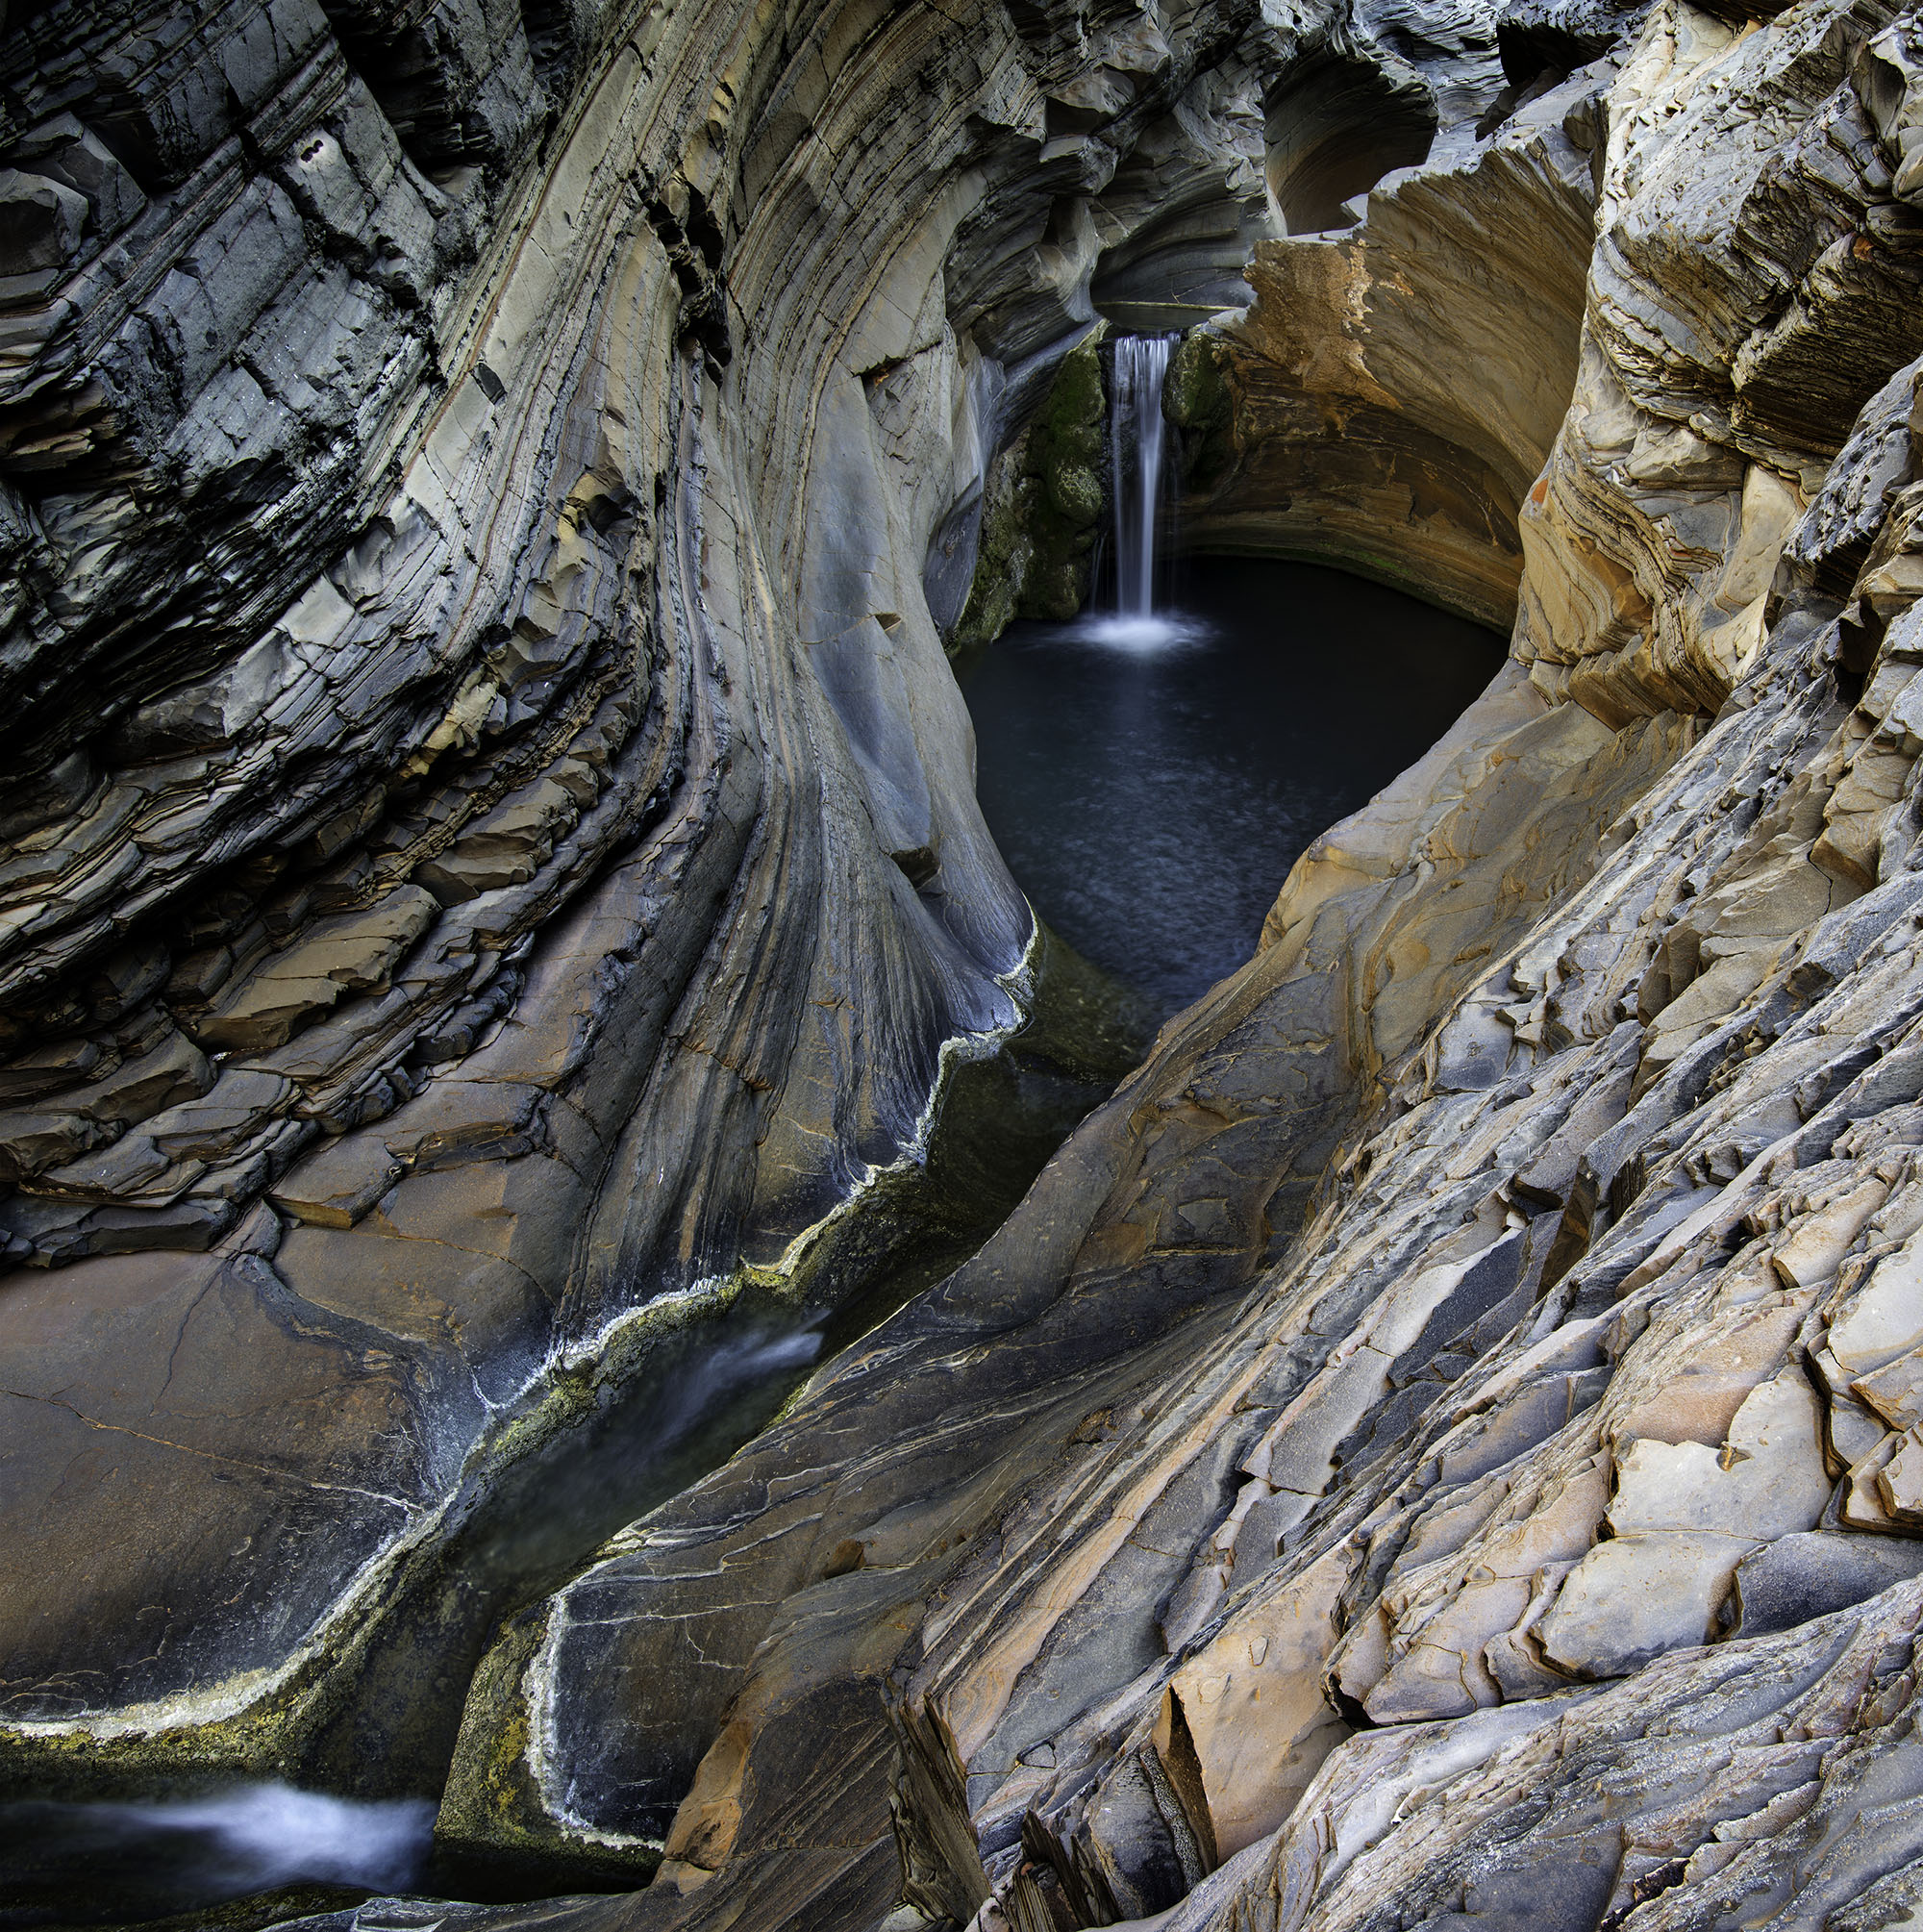
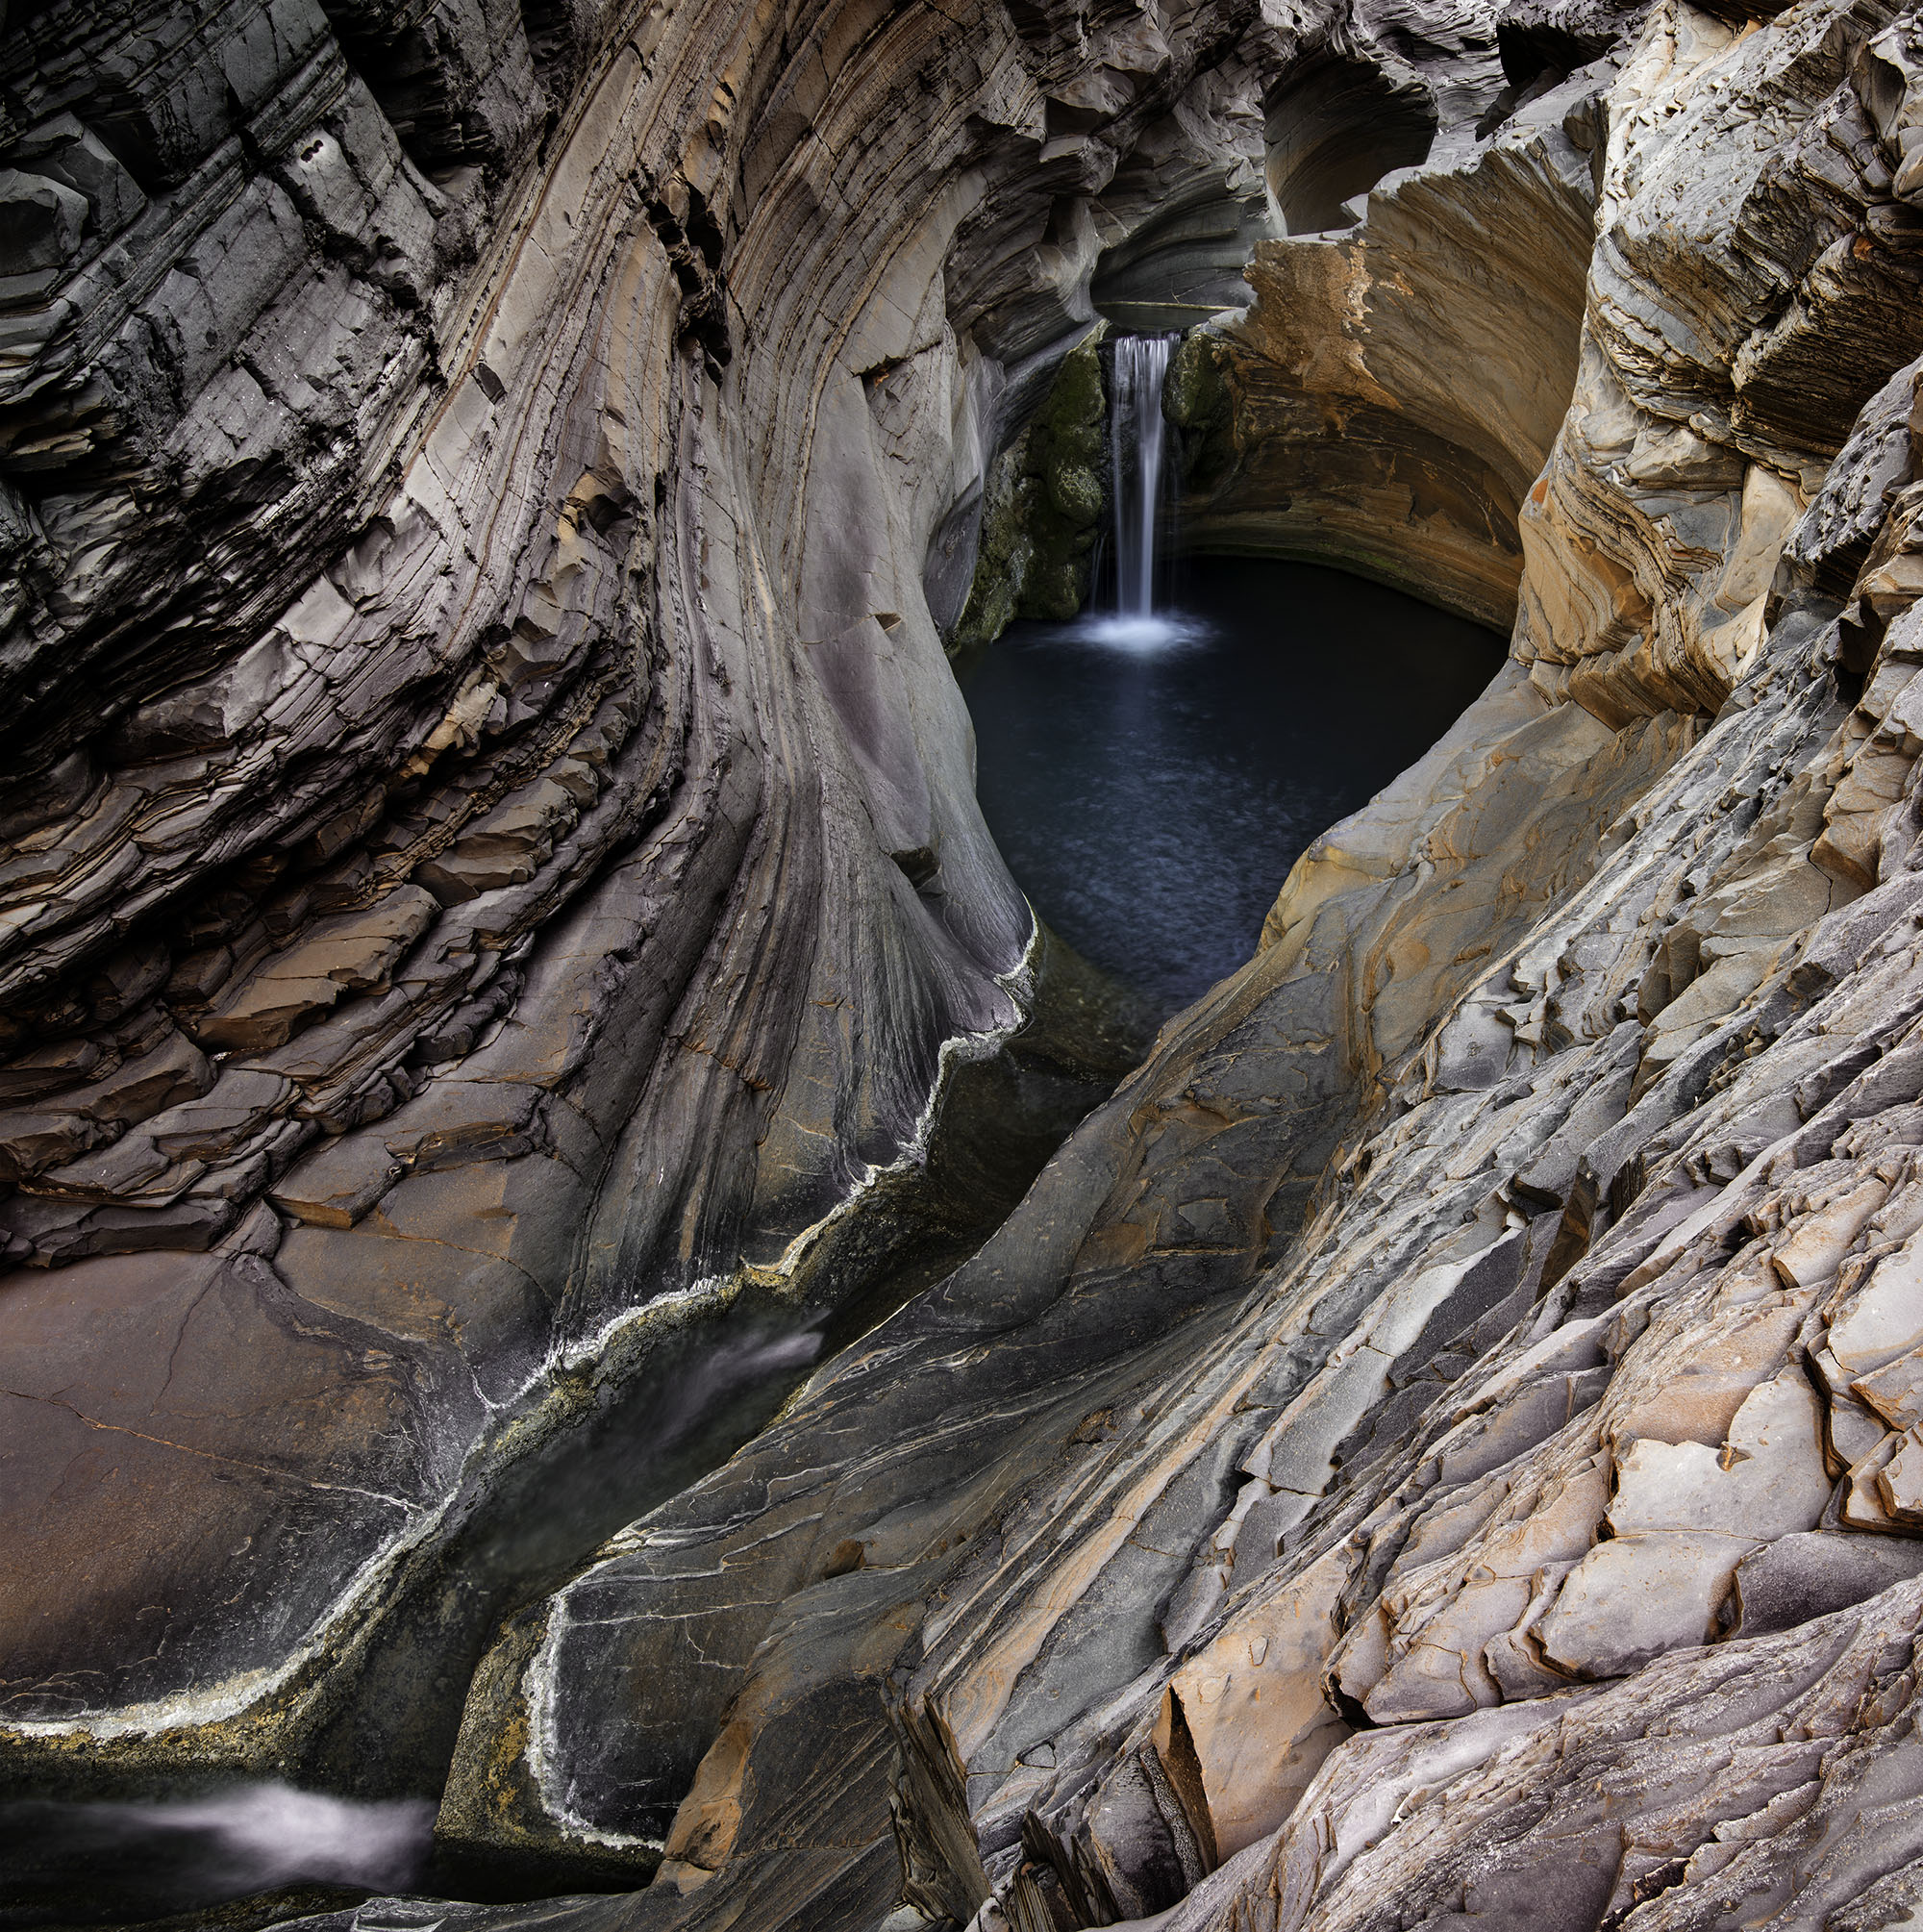
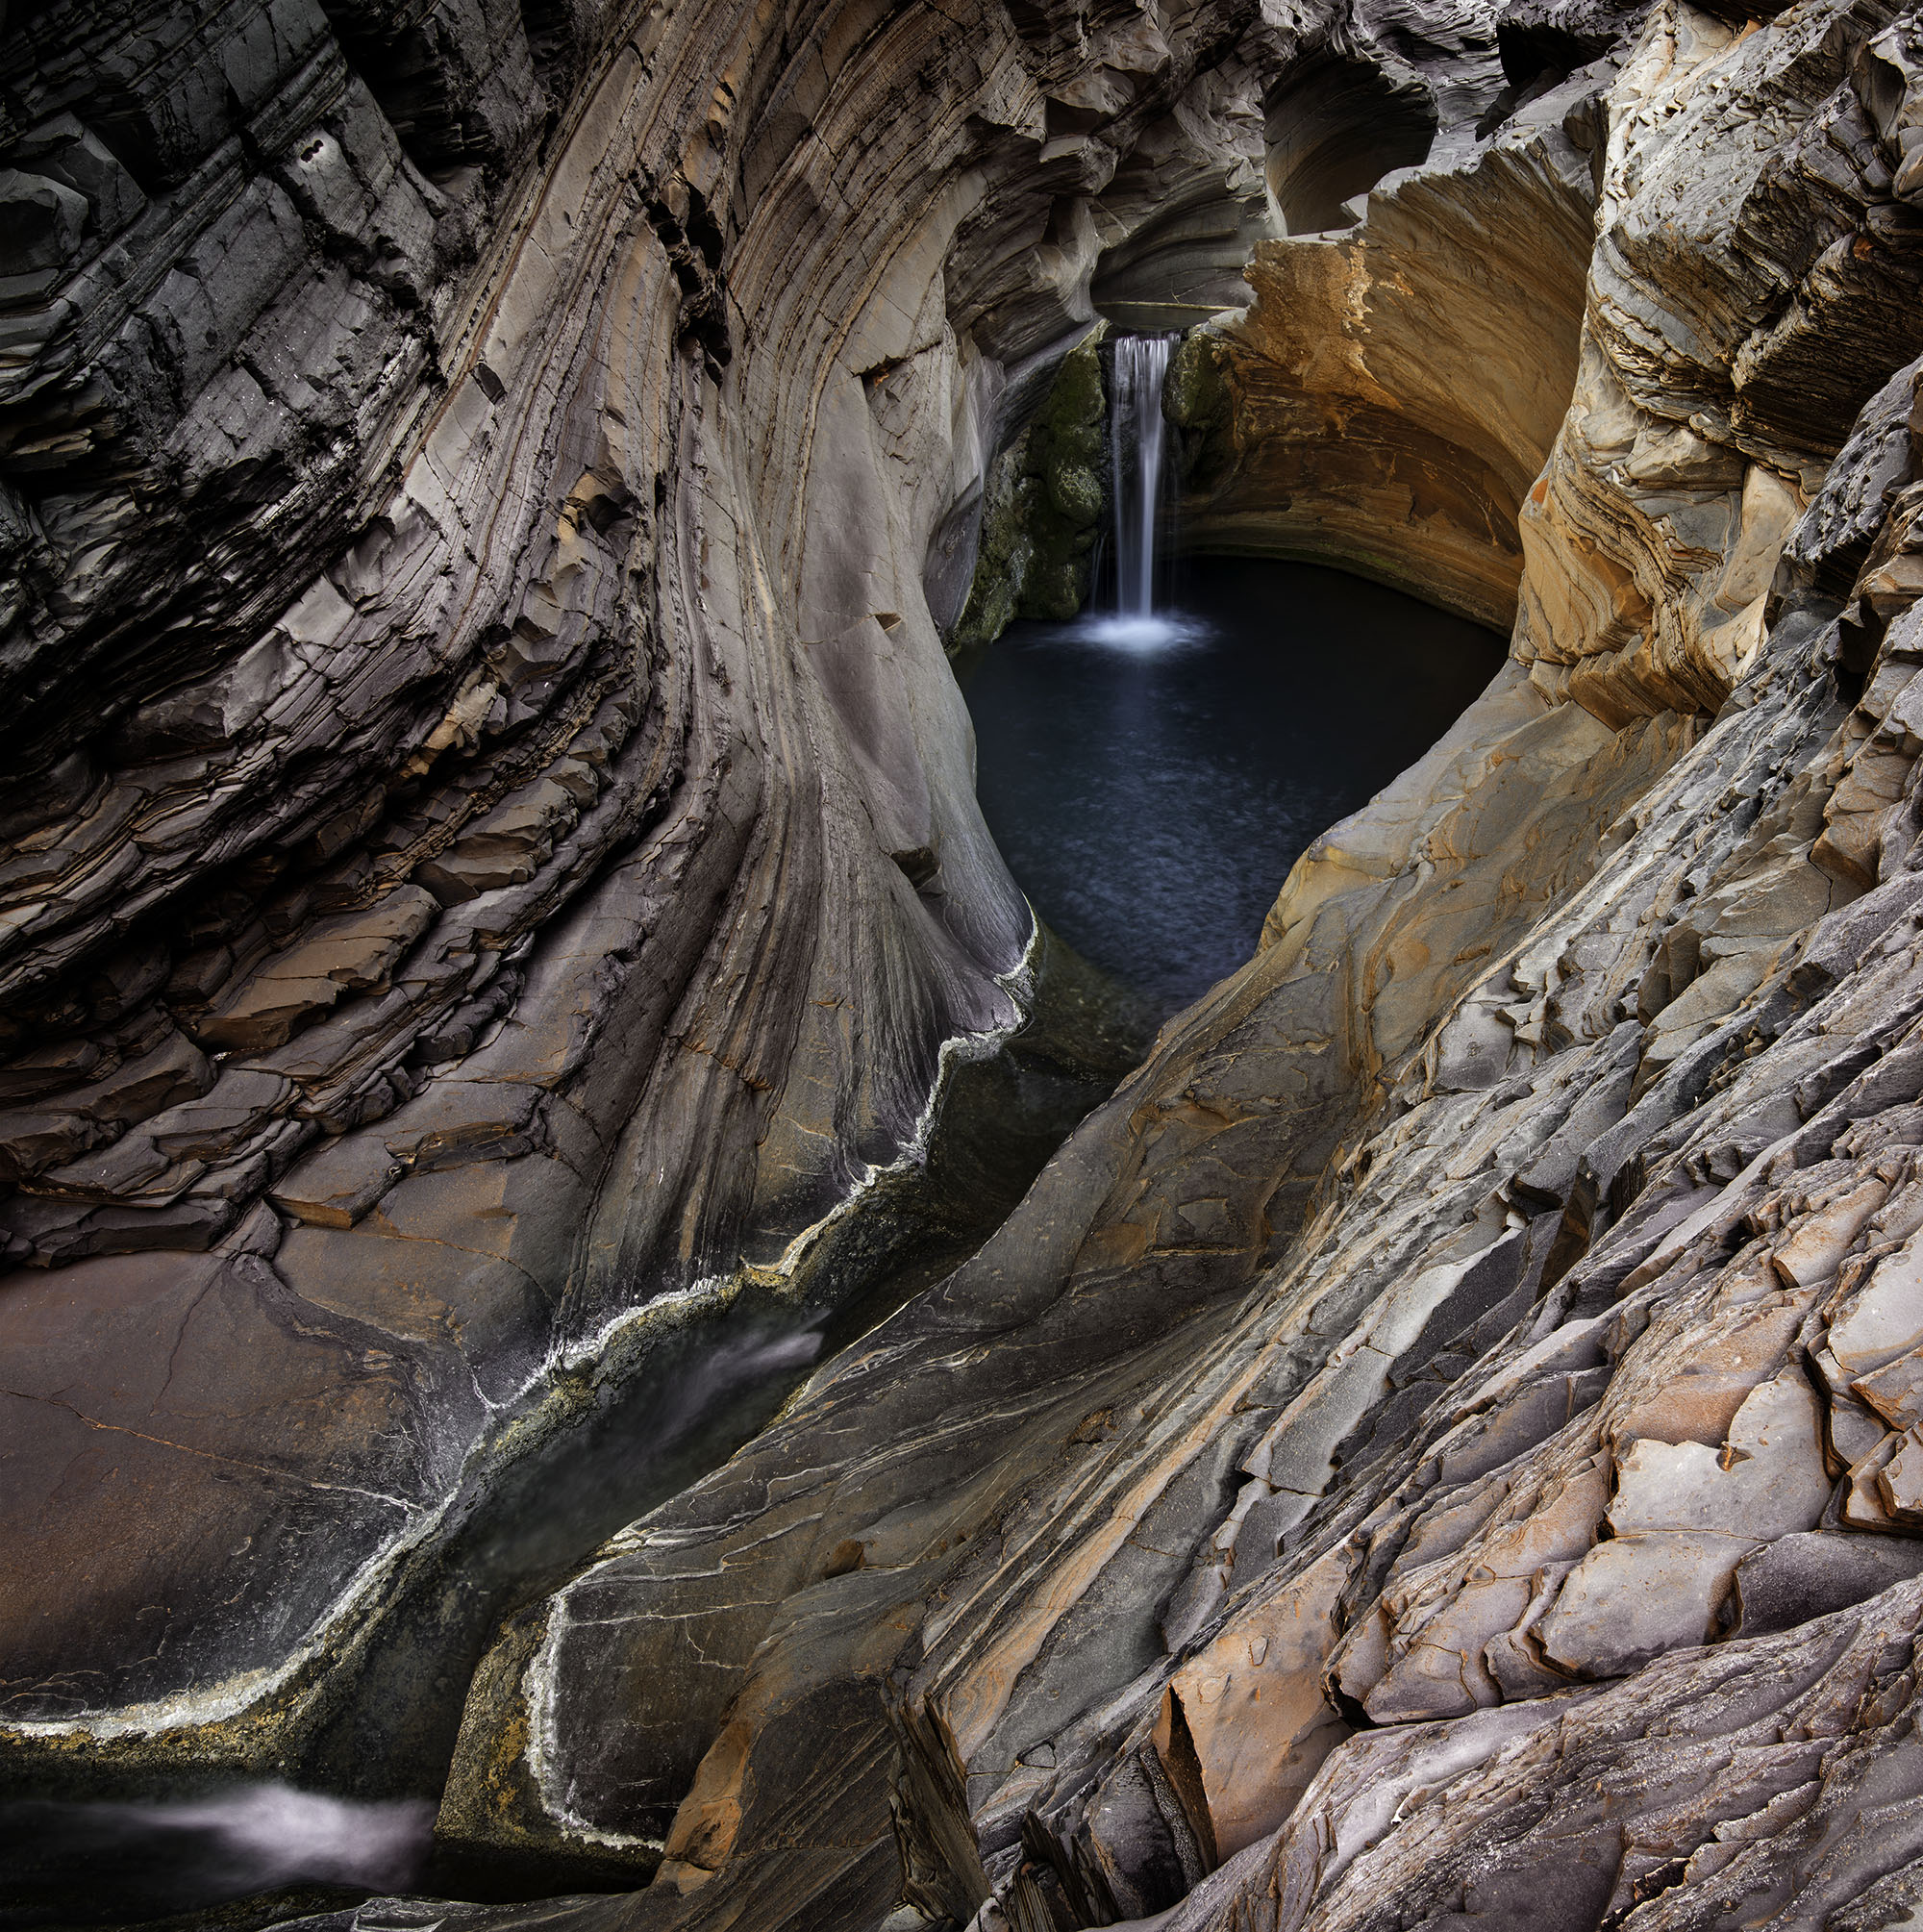
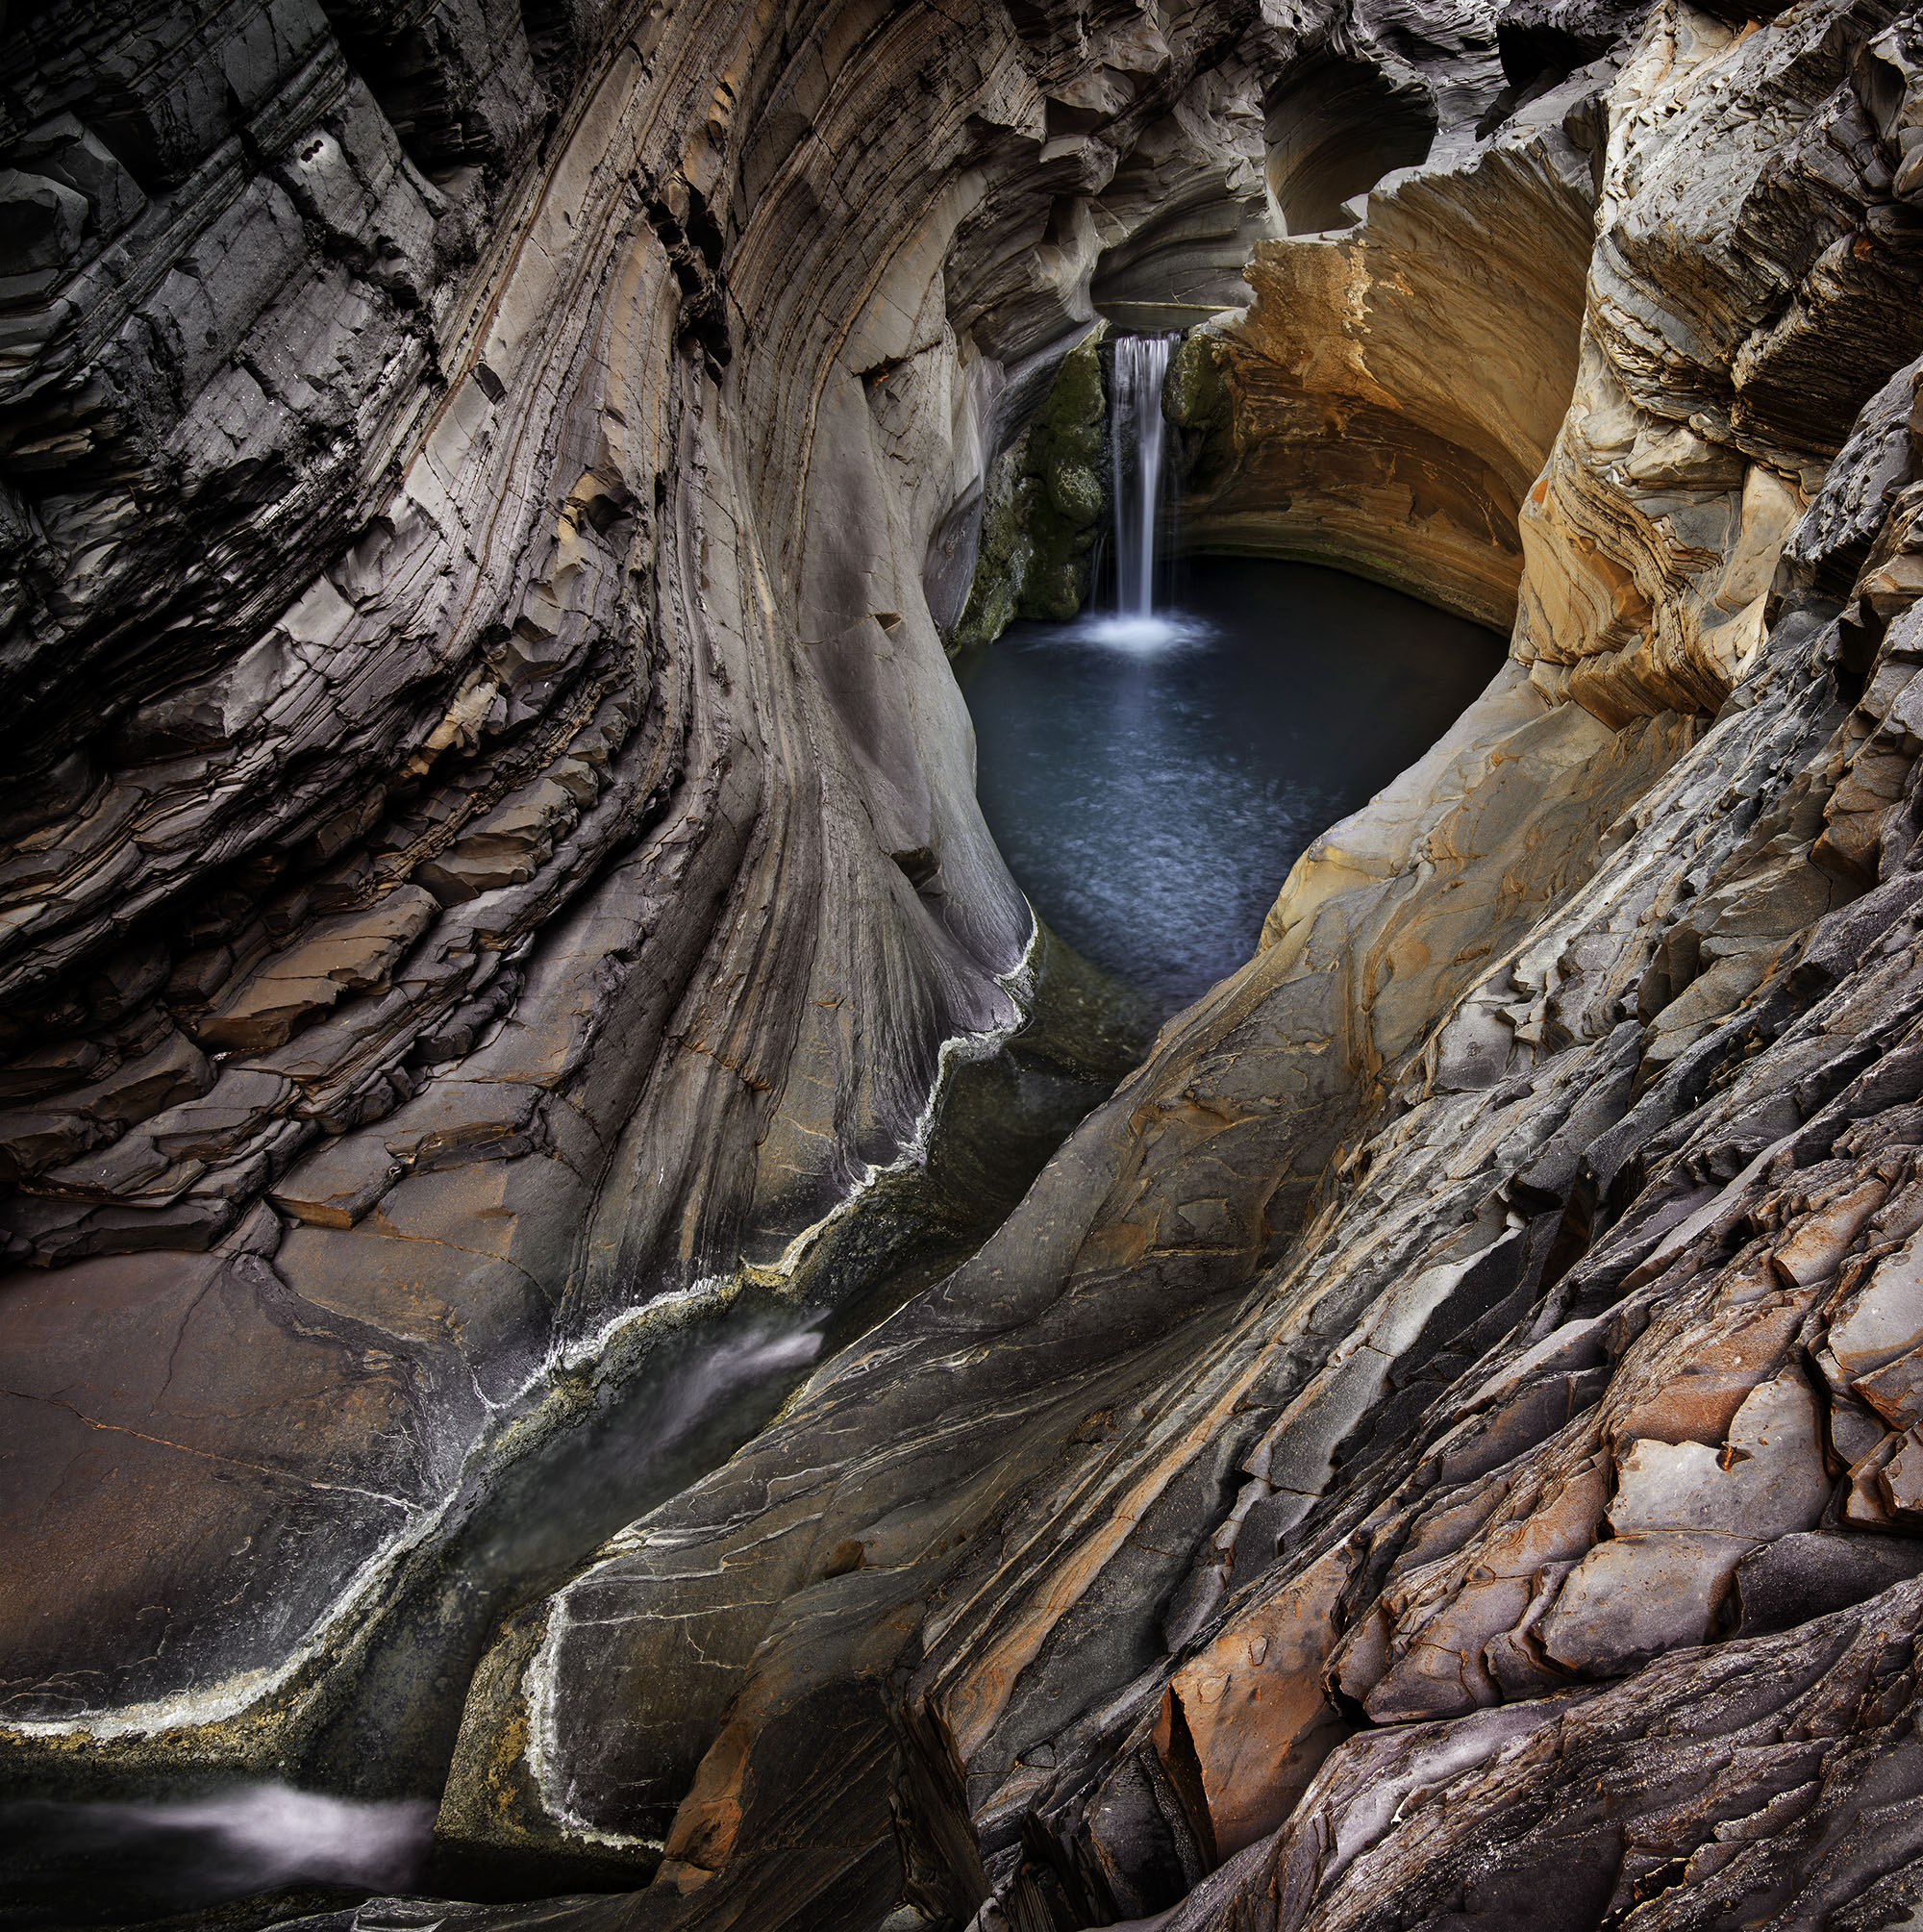
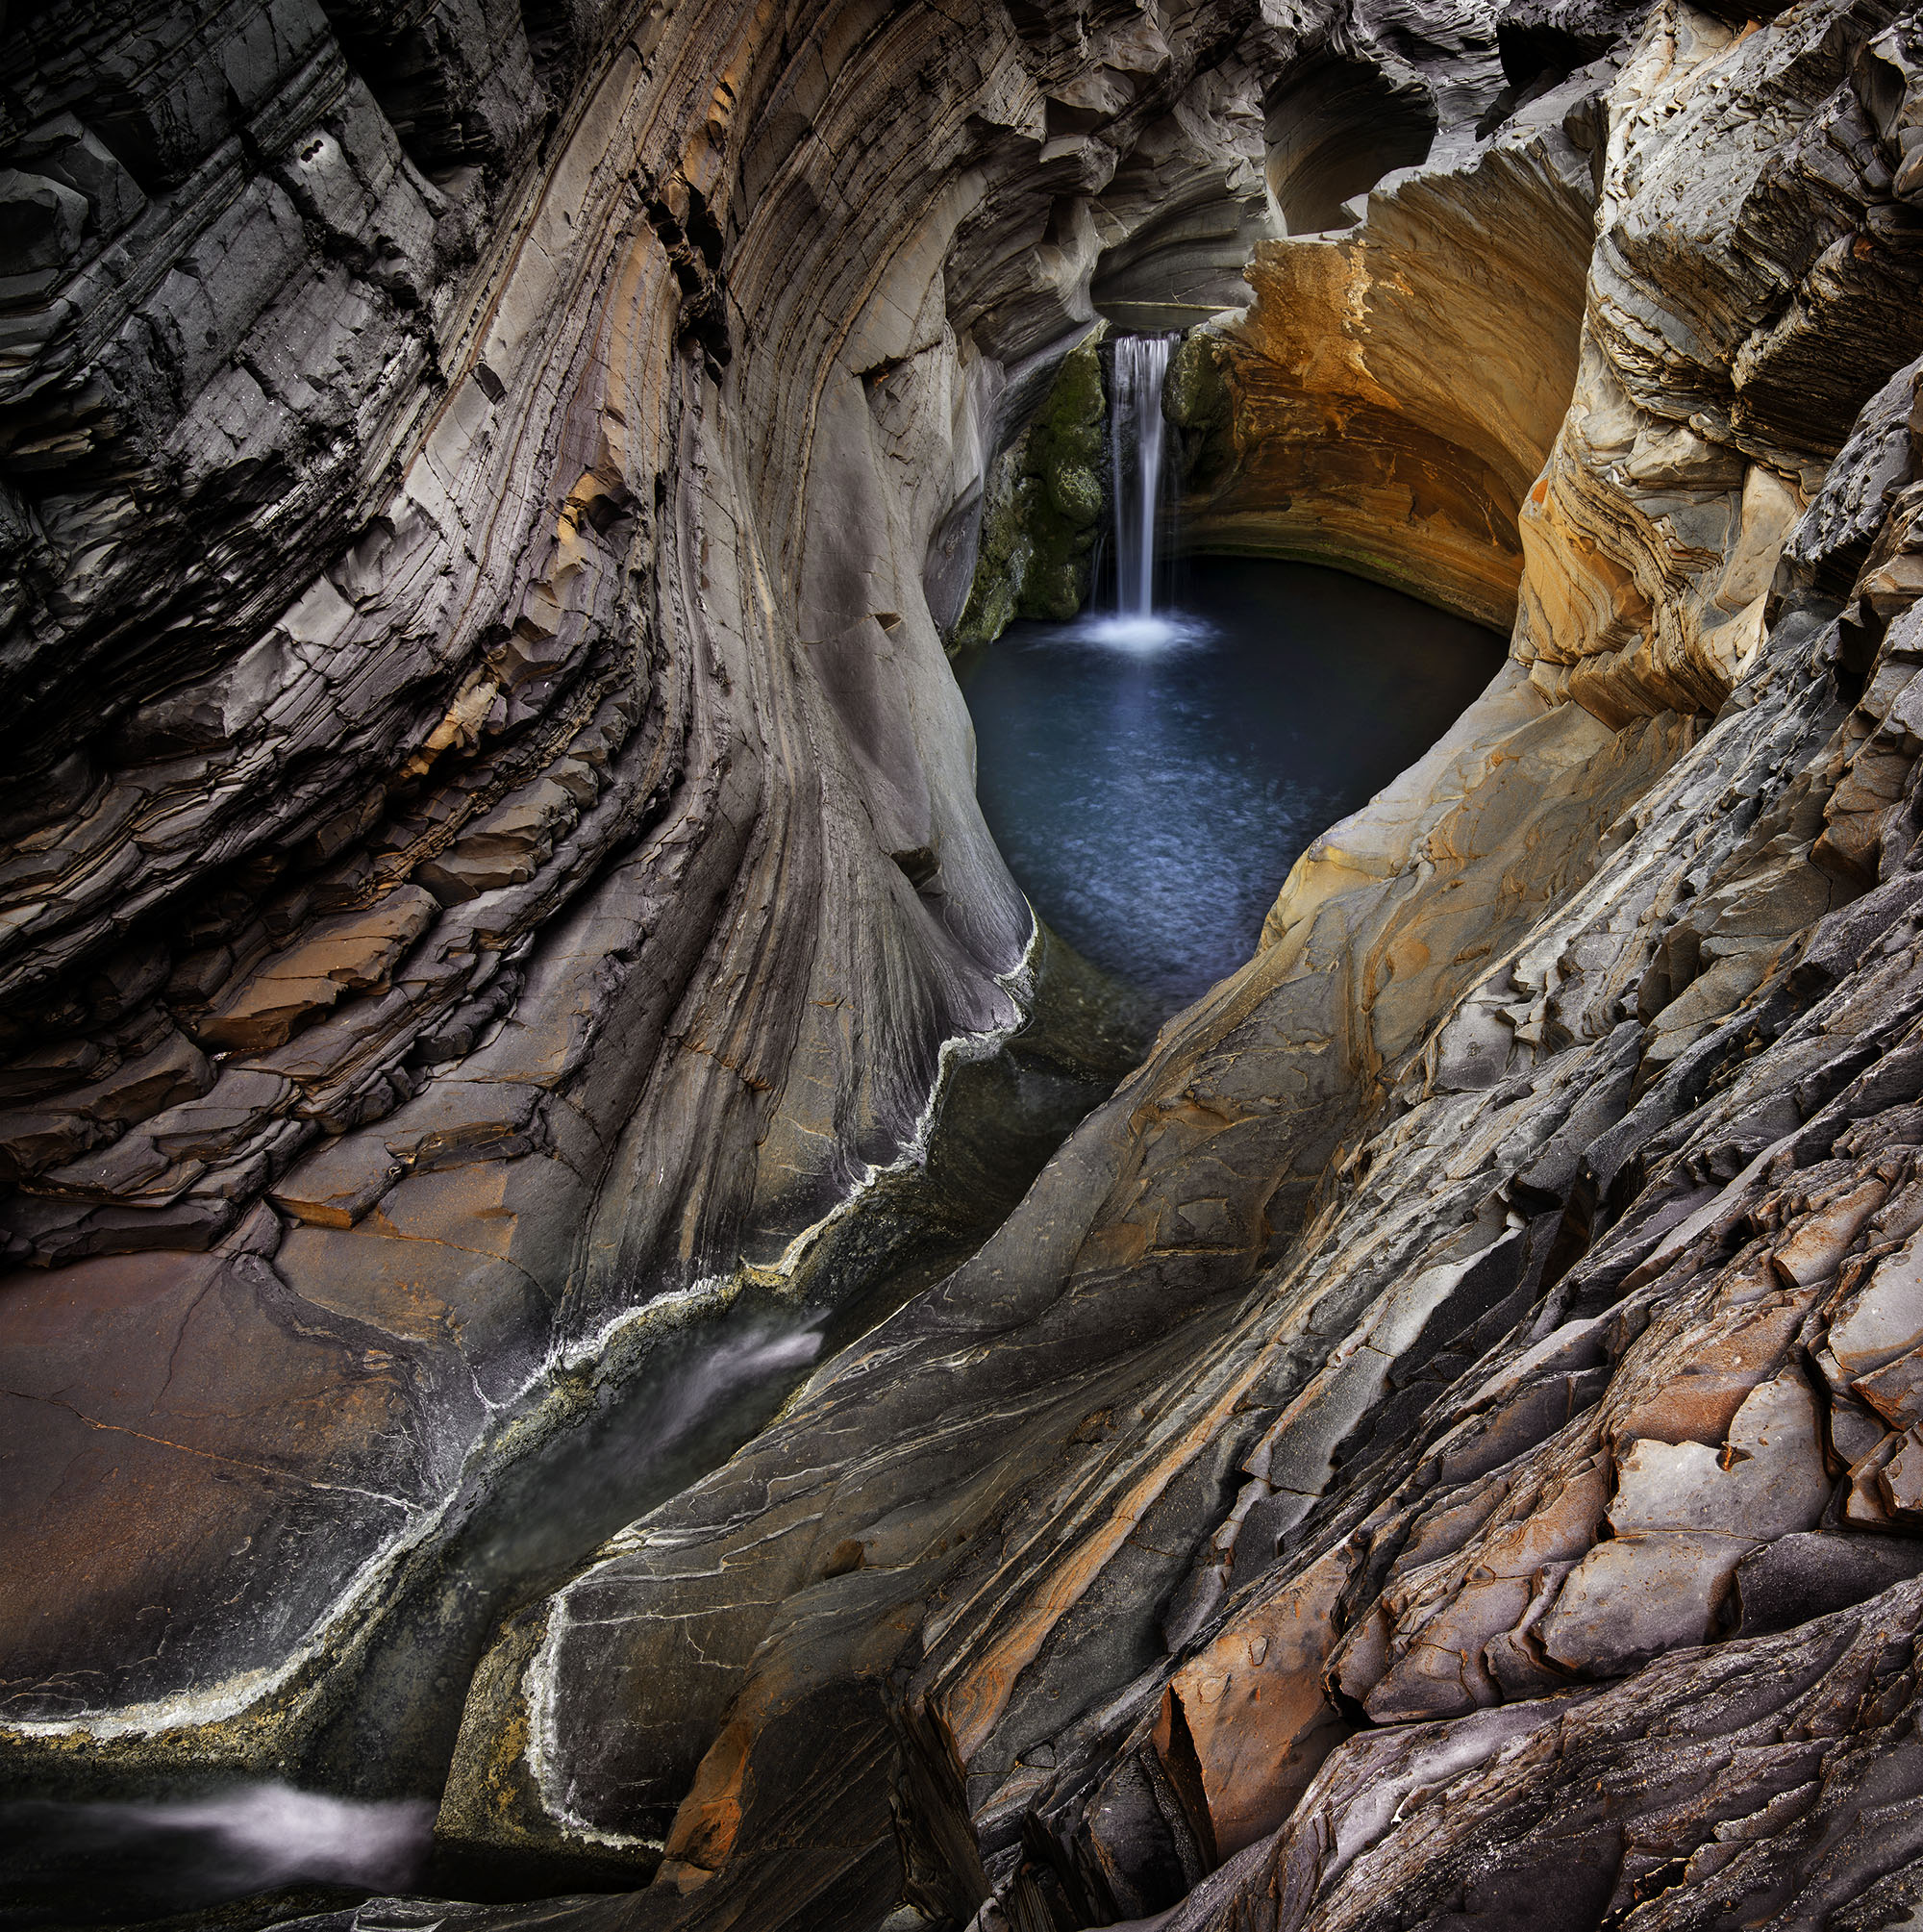
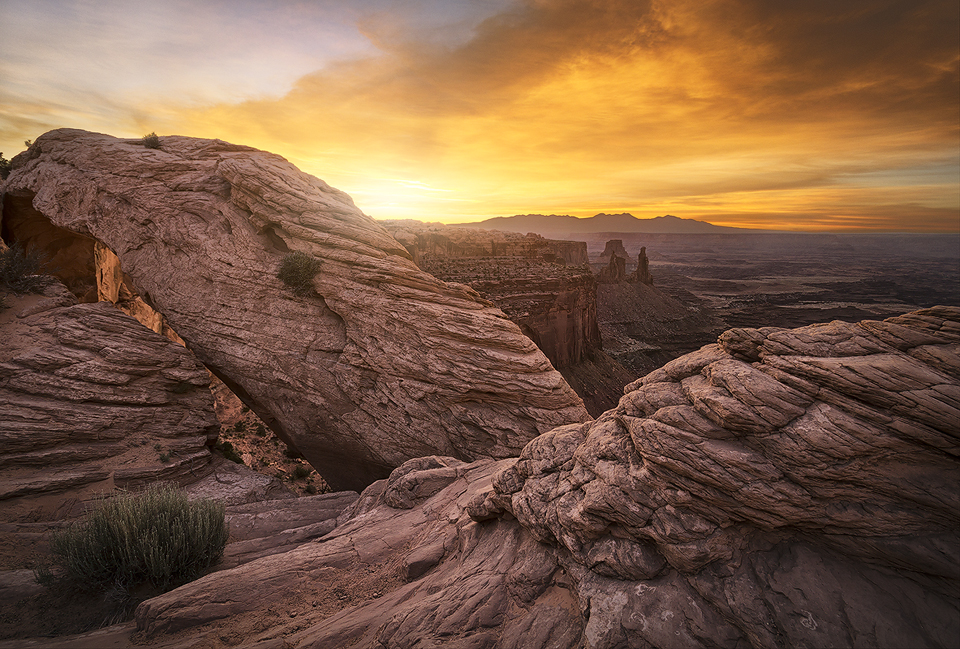
This image of Hamersley Gorge has been the most successful image of my career as a travel and landscape photographer. In a single year it earned me a series of accolades I’m incredibly proud of:
- Second Position in the International Loupe Awards 2013 (Medium Format Category)
- Head On Landscape prize (Head Off) 2013 – Finalist
- Veolia Wildlife Photographer of the year 2013 – Finalist
- AIPP EPSON Photographer of the year (NSW) 2013 – Silver Award
- ANZANG Australian Geographic Nature Photographer of the year 2013 – Finalist and highly commented image
- National Geographic Travel Contest 2013 – Finalist and Editors choice
- IPA (International Photography Awards) 2013 – Honorable mention
- AIPP APPA (Australian Professional Photography Awards) 2013 – Silver Award
- Travel Photographer of the Year 2013 – Finalist Wild Stories Portfolio
- Eyes on Asia 2013 – Finalist

The Story
I visited Hamersley Gorge after finishing a photography workshop with Peter Eastway, Tony Hewitt, and Christian Fletcher at the Karijini Eco Retreat.
We did not visit the Gorge during the workshop as it is a long drive from the Retreat, but I had seen beautiful photographs of it from Christian and others, so I really wanted to explore it.
I stayed in Karijini for another four days and went to Hamersley with a member of staff from the retreat centre who had never been their either. It took us about two hours and a couple of tyre punctures to get there, but we arrived well before sunset with plenty of time to photograph this beautiful location.
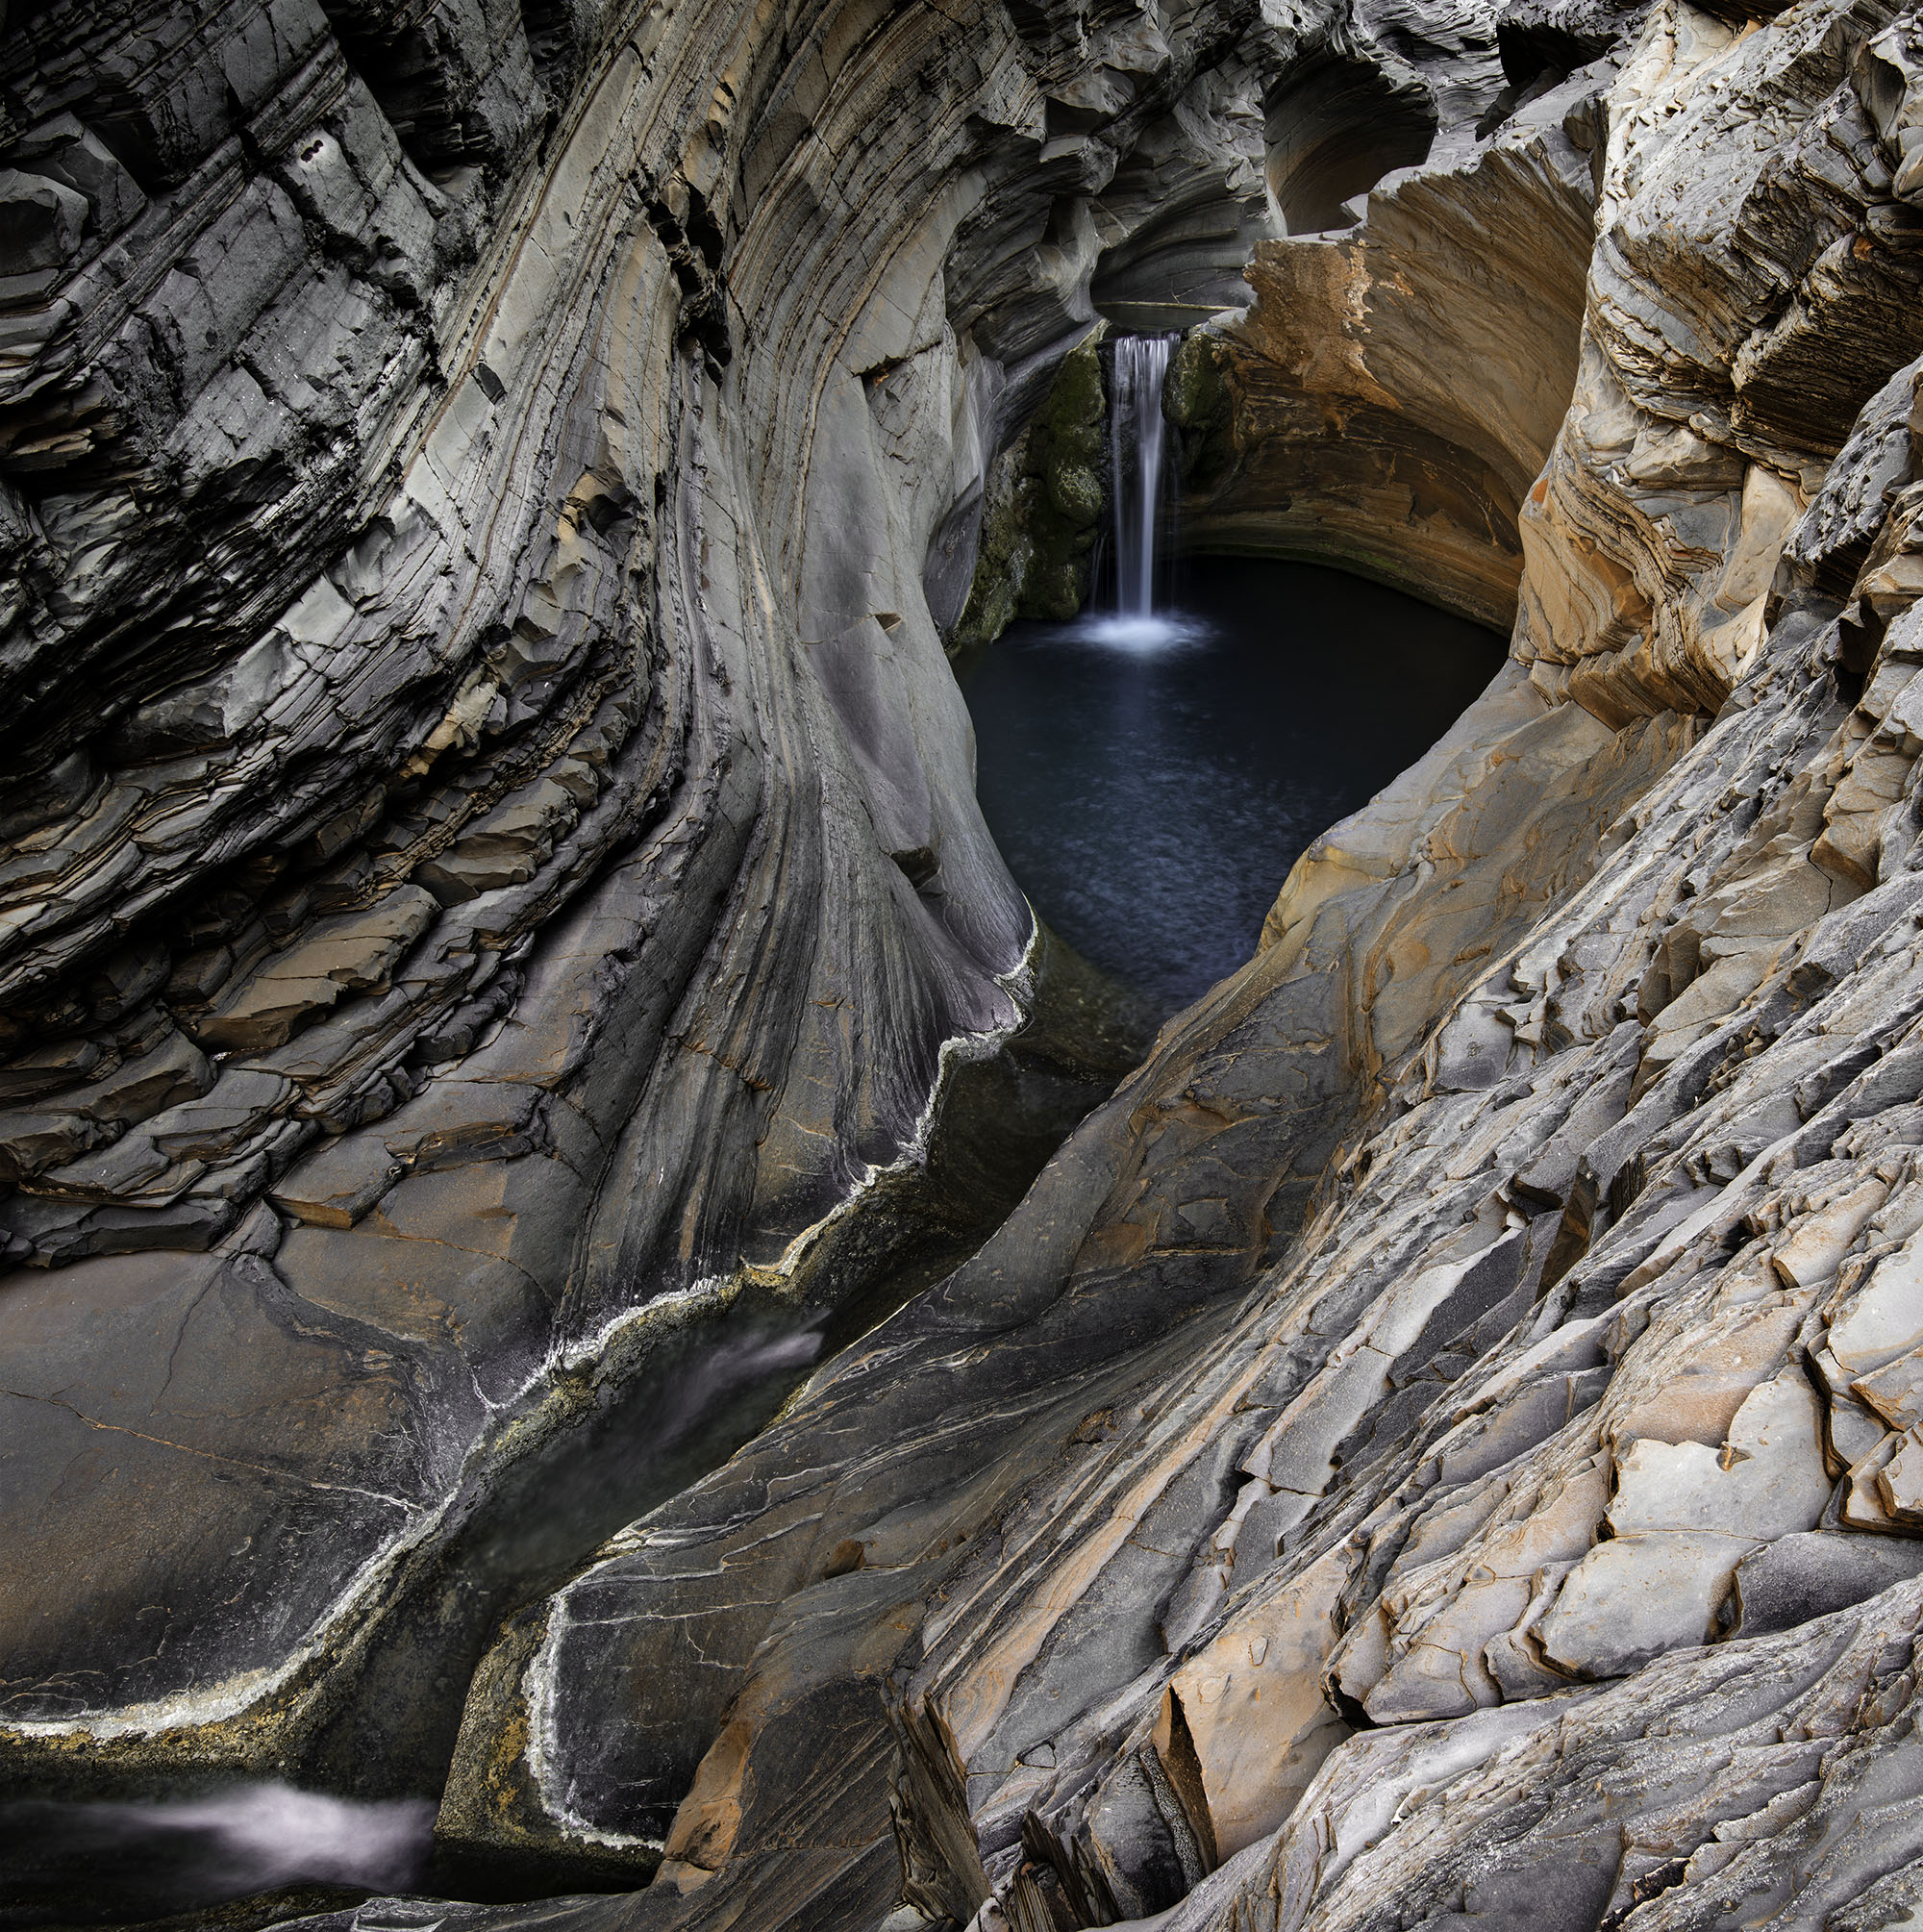
This image was created using a photographic technique called focus stacking. Focus stacking is a digital image processing technique which combines multiple images taken at different focus distances to give a final image with a greater depth-of-field. This way, the image appears to be in focus all the way from the foreground to the background.
Some people think that the image has been successful because it is very feminine. I wouldn’t have thought this myself. In fact, when I came home and started to retouch images, I did not particularly see anything special in this shot. It was only when I started to play with it that the potential appeared.
For me, what stands out is the square composition with a diagonal element in the photograph. I just love the way the eyes go from the waterfall on the top, following the waterway to the botton left. Cropping it to a square format and then the post- processing in Photoshop has significantly enhanced it.
There is a big difference between the original capture and the final edit, but hopefully it doesn’t look too ‘Photoshopped’ (unless you compare it to the initial shot of course).
[twentytwenty]
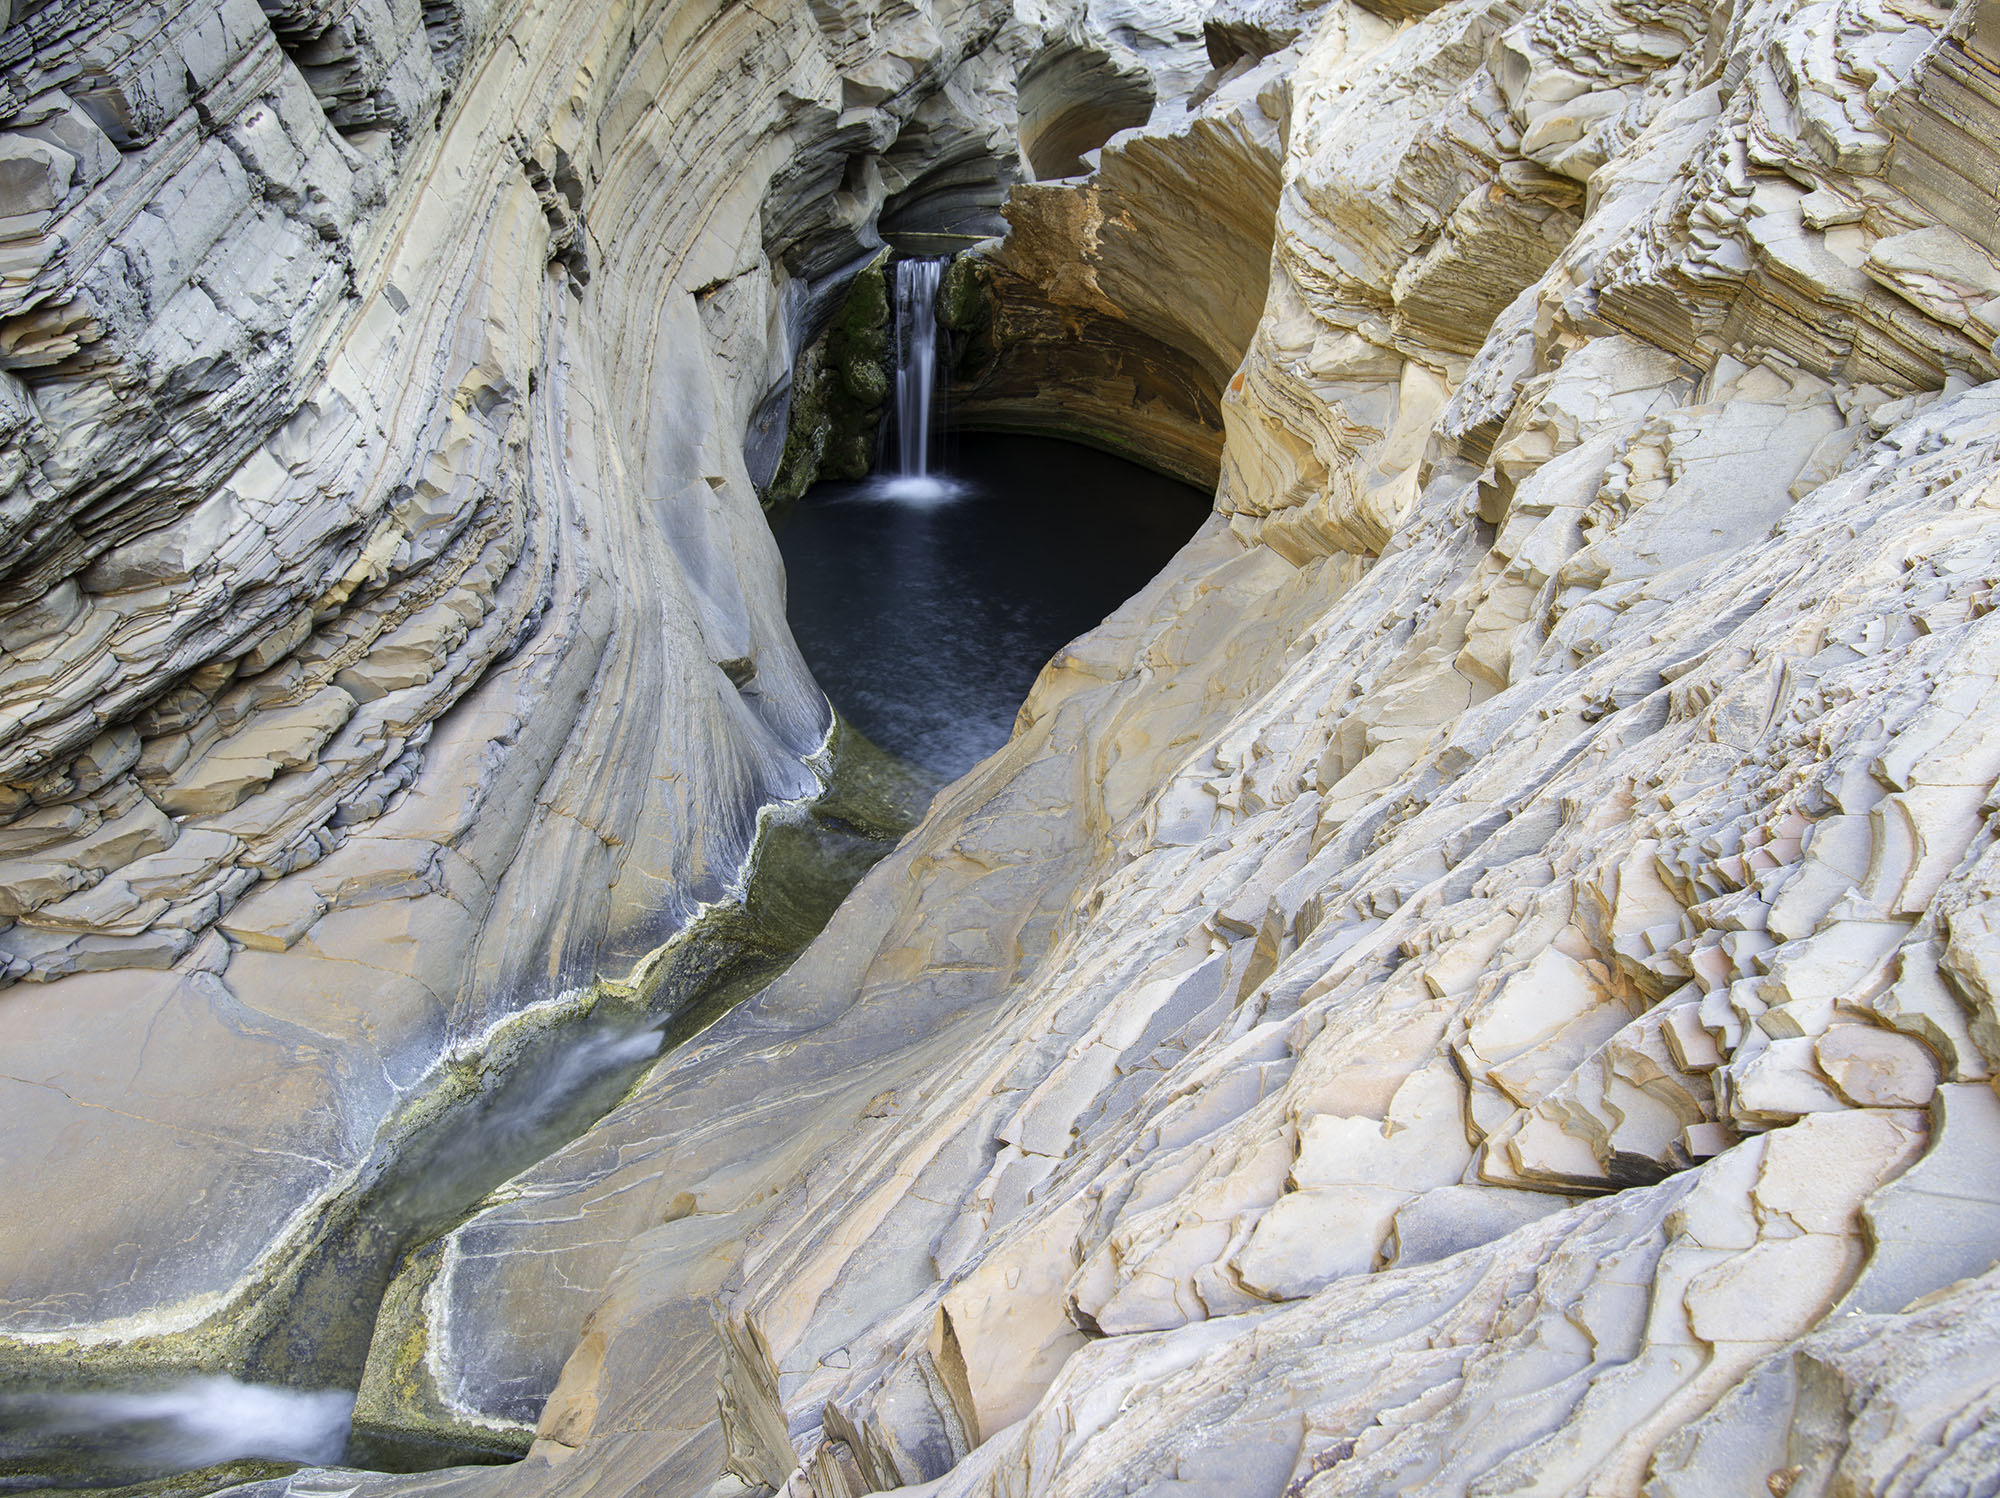
The SOOC unedited file.
 [/twentytwenty]
Post-Production
Step 1
At around sunset and having found a good composition, I set up my tripod and took six exposures of 2 seconds at f/11 and ISO 100.
I used a medium format Pentax 645D with a 55mm lens and a Gitzo GT1541T tripod with a Markins head. A good tripod is mandatory in landscape photography. An excellent tripod is mandatory if you shoot medium format.
I normally shoot aperture priority mode and I never go above f11. Each lens has a sweet spot and generally you should not push the aperture smaller than f13 as this will create an optical issue called diffraction, which will make the image quality softer. Therefore, although f22 may get you the maximum depth-of-field, using f11 or f13 will actually create a sharper photograph. I always use the mirror lock-up and a cable release to minimize camera shake.
To focus stack, for each of the six exposures I focused at a different point, starting in the foreground and moving to the background. The resulting files would be then merged with Helicon Focus, but not until each raw file had been processed to TIFFs. Focus stacking produces sharp focus throughout the image.
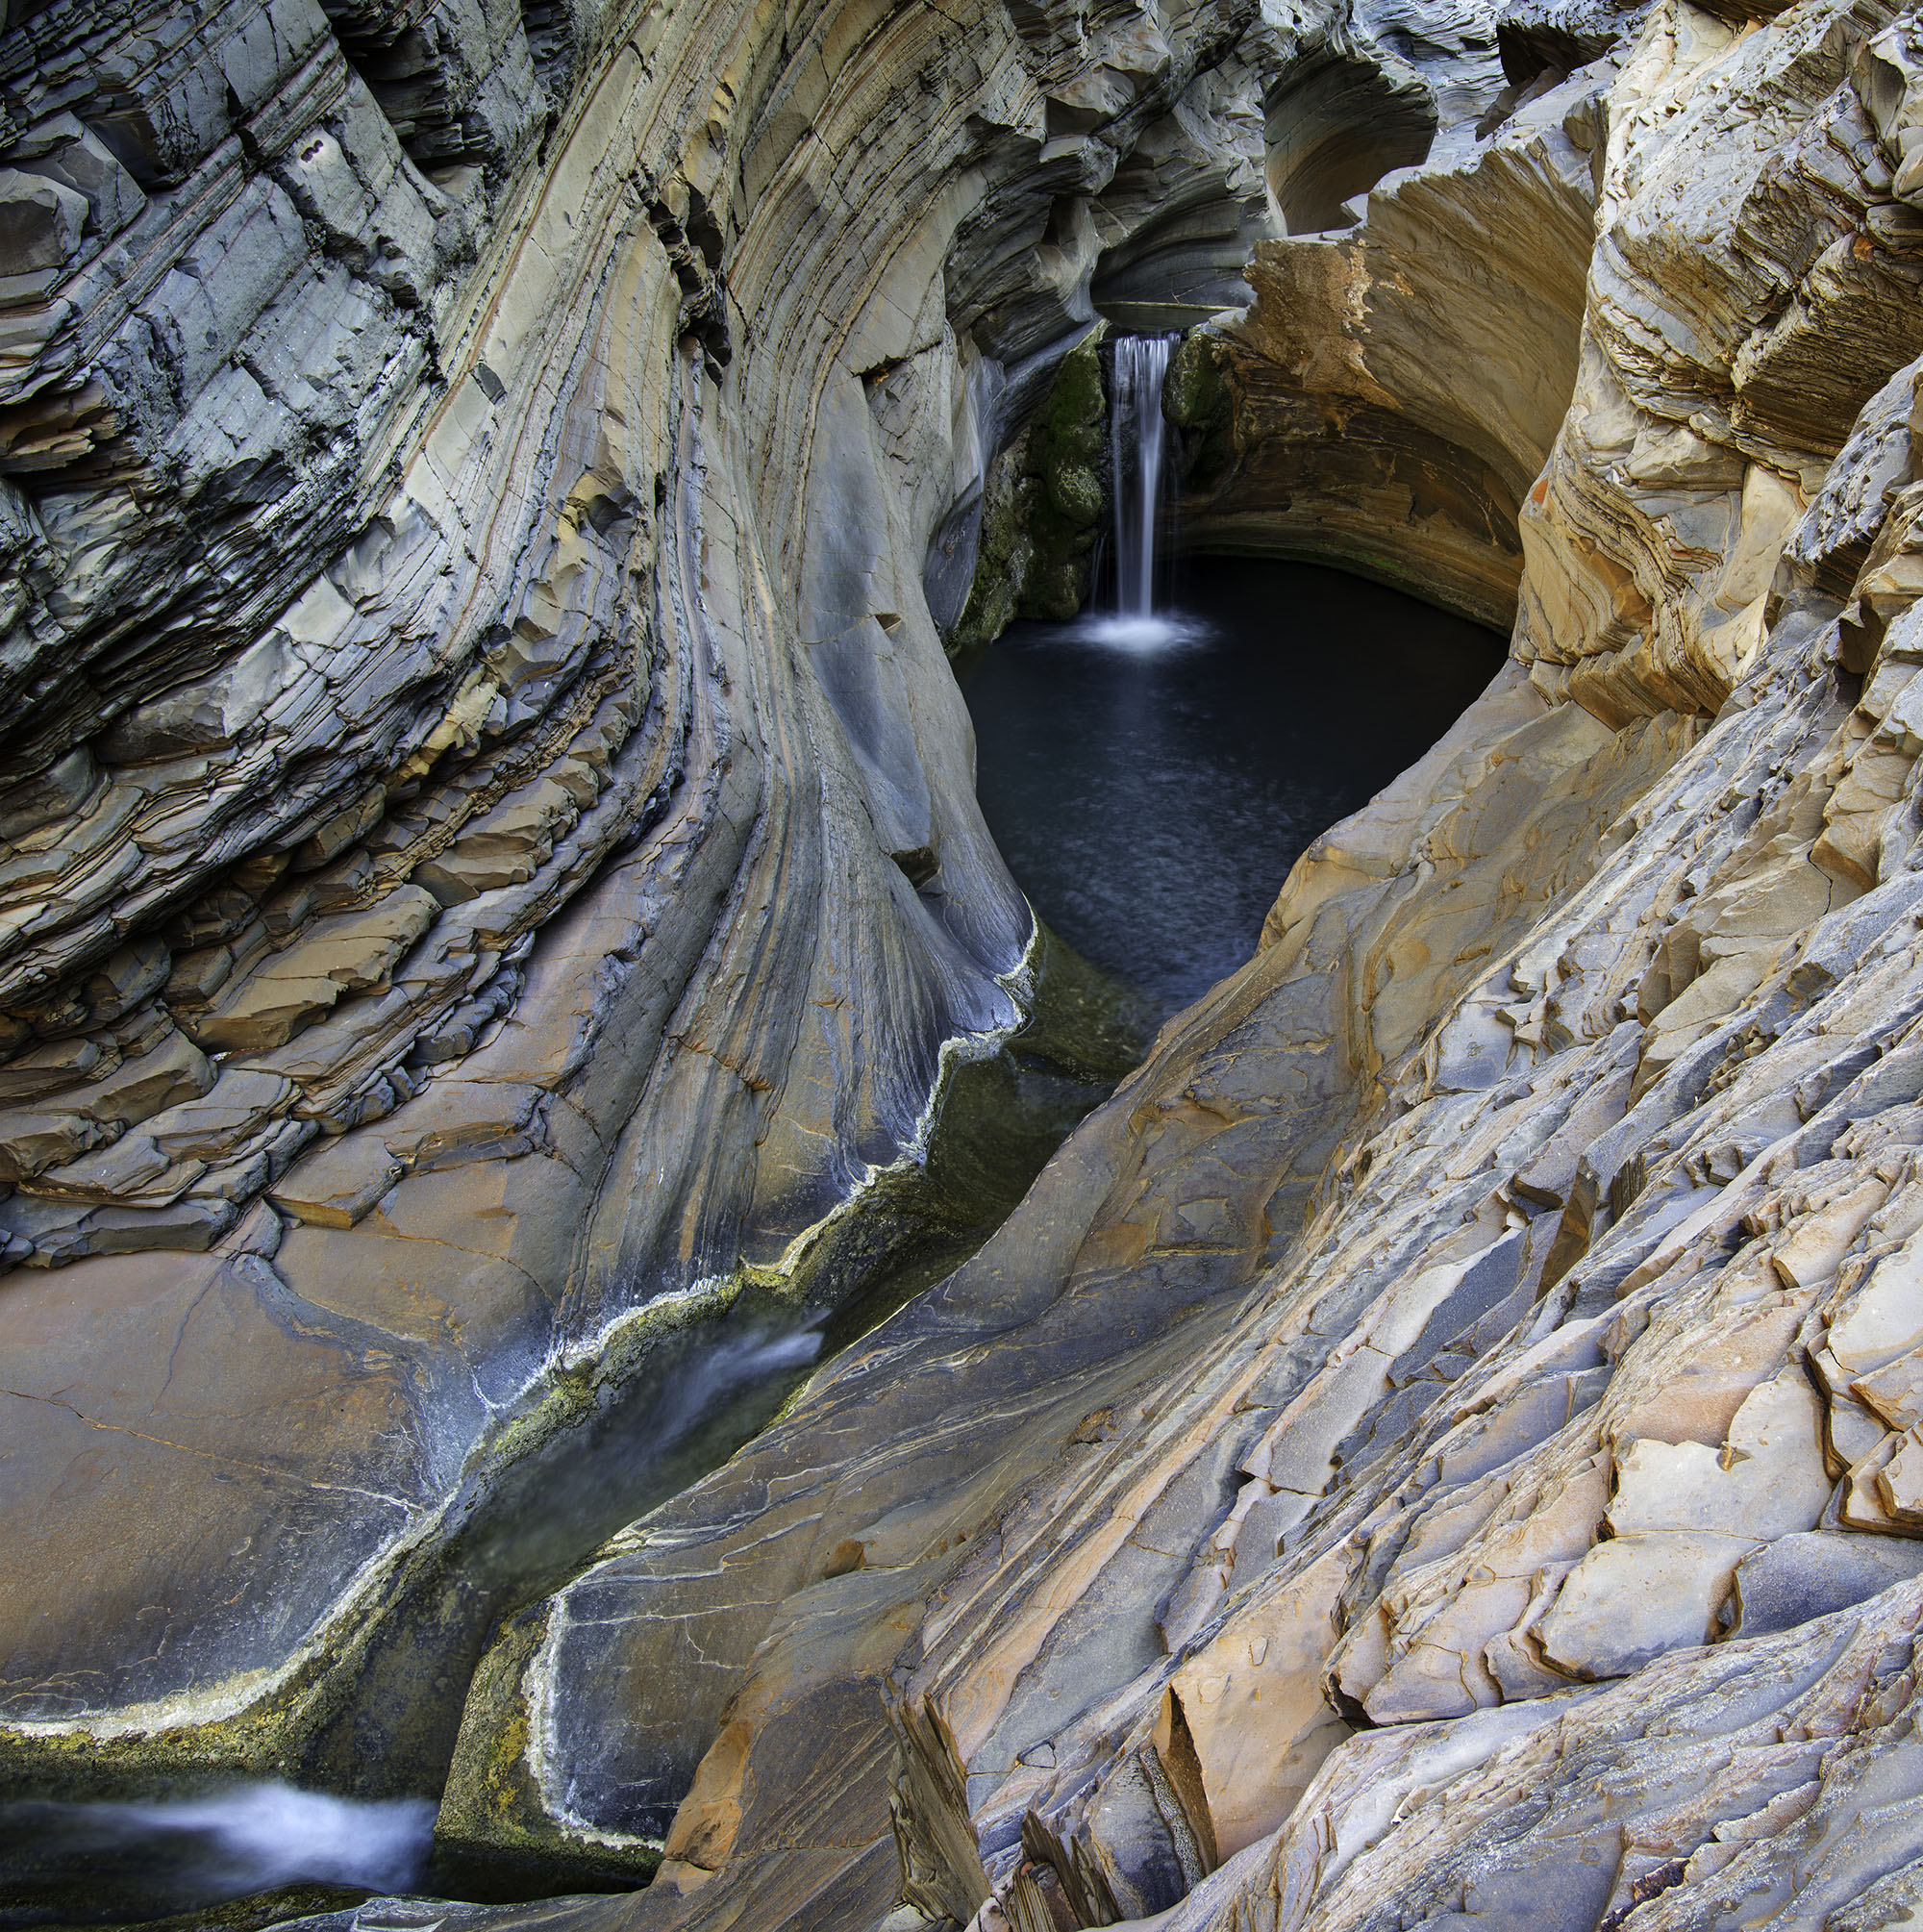
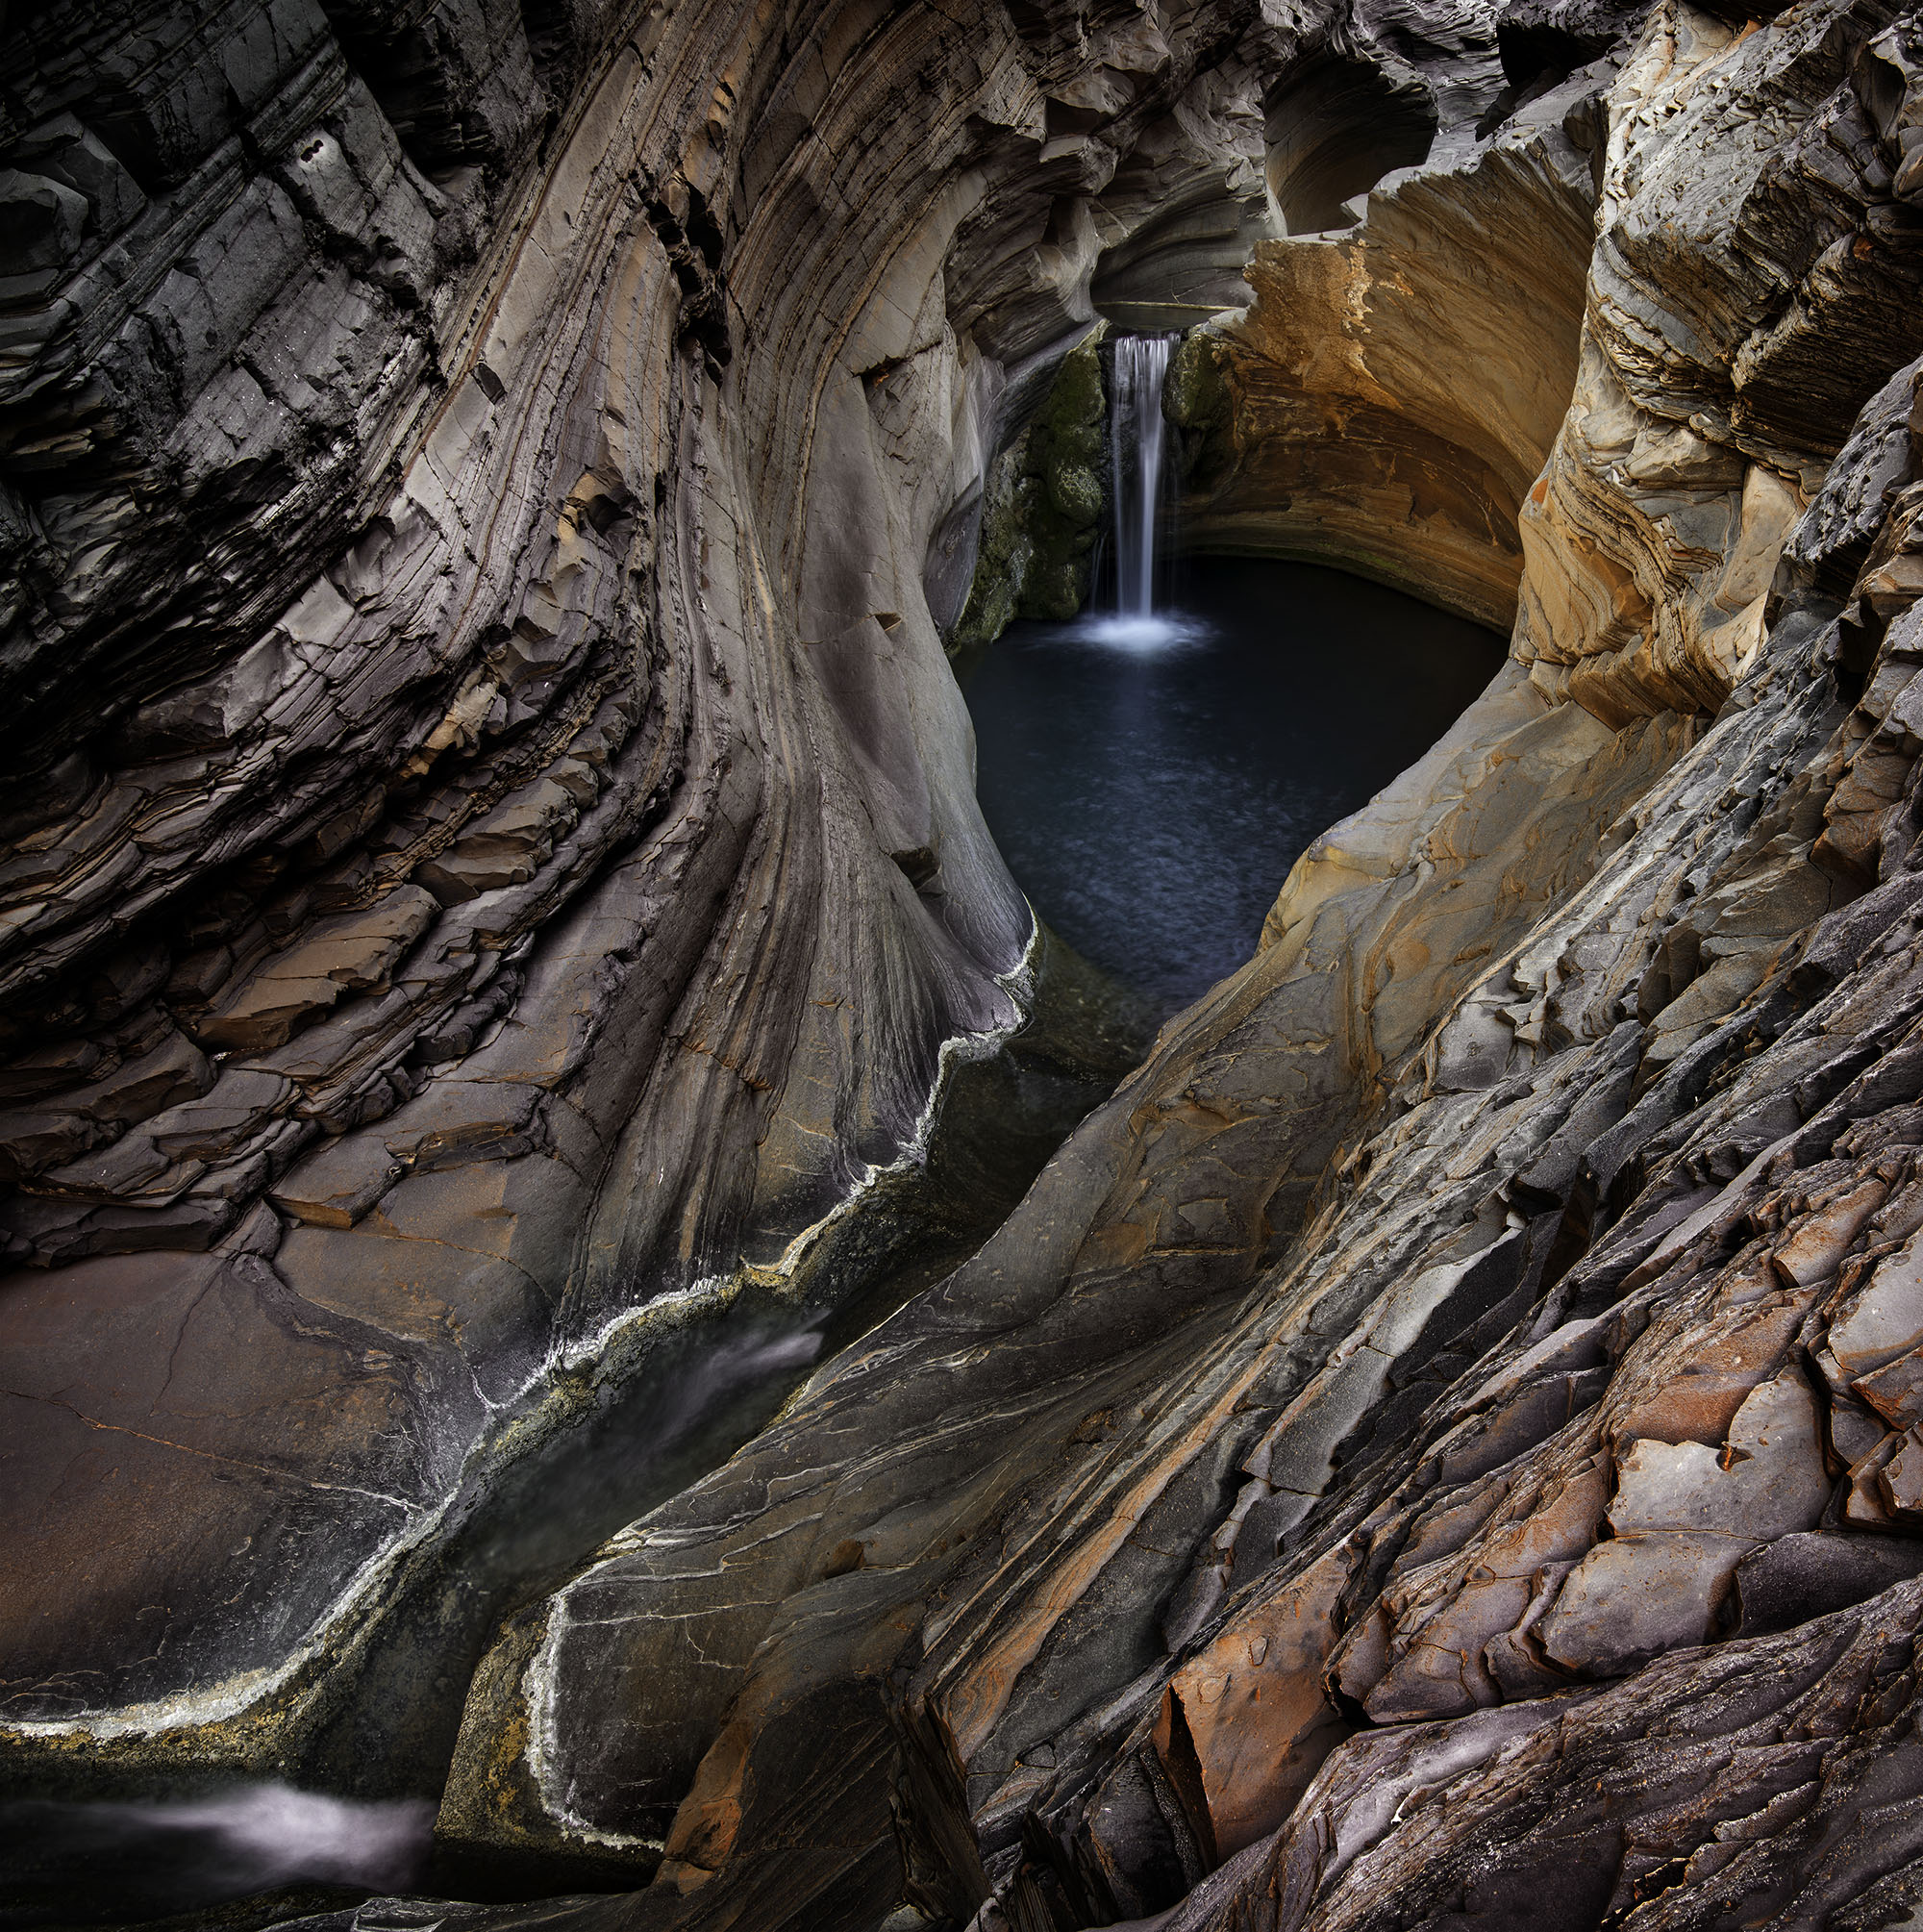
Original file before post-production.
Step 2
In Adobe Camera Raw, the first thing I did was to crop the image to a square format. I love square formats with a diagonal element in the composition, which I had with the waterfall and the waterway.
I made slight changes to my ‘digital negative’ including some changes to the exposure, contrast, whites and blacks. I also increased the clarity and vibrance (as I often do). I did not change the saturation or the white balance.
My sharpening in Adobe Camera Raw is always the same: amount 50, radius 0.5 and detail 100%. Then, depending on the use / size of the photograph (book, web, exhibition), I apply some additional sharpening in Photoshop, normally using smart sharpening. I synchronised all six images in Adobe Camera Raw and converted the raw files into TIFF files to process (merge) with Helicon Focus.
Step 3
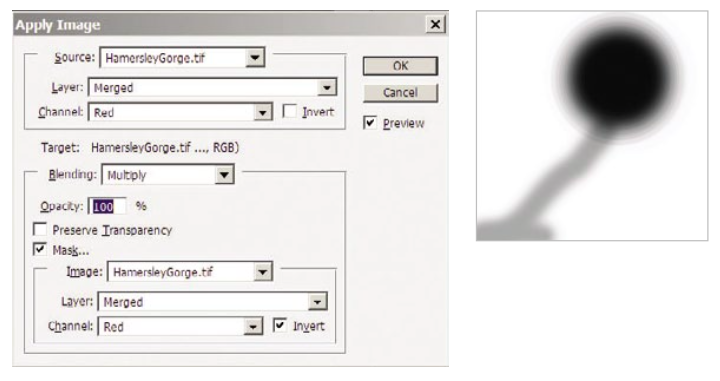
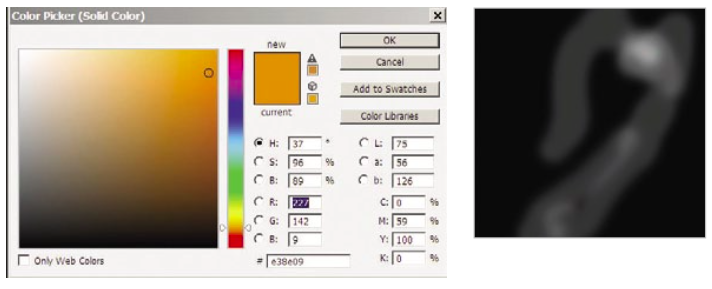
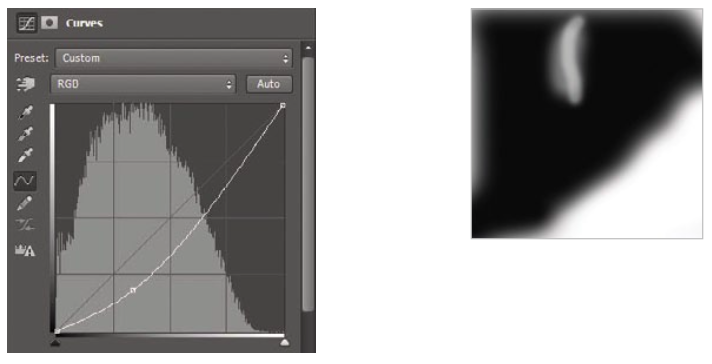
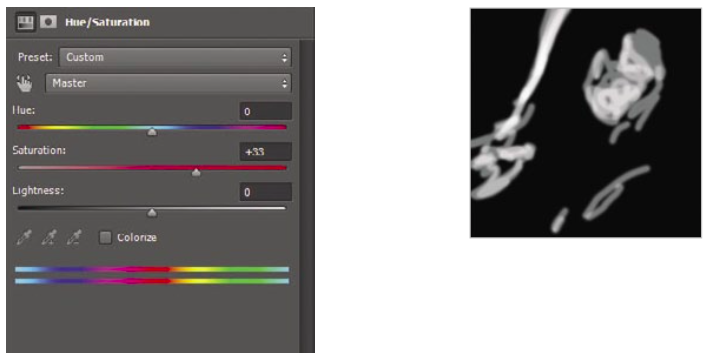
Once in Photoshop, I applied a trick I learnt from Christian Fletcher during a workshop. Copy the background layer, then on the copy layer, use Image>Apply Image with the selections indicated in the dialogue below.
This removed some blue colours in the rocks that I did not like and added some nice contrast. I then created a mask (shown above right) as the effect of this layer on the waterfall and waterway was a bit too strong.
Step 4
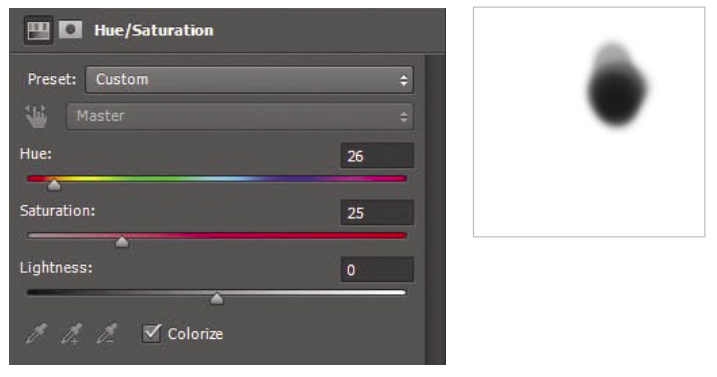
Another trick that I use on my landscapes is to create a Hue/Saturation adjustment layer, Colorize it (tick the checkbox) and set the Hue and Saturation to settings of around 25. With a mask over the water and the waterfall (see below) to preserve the colour in these areas, I then reduced the opacity to 45% so the resulting colouration wasn’t too strong and changed the blend mode to Hue.
Step 5
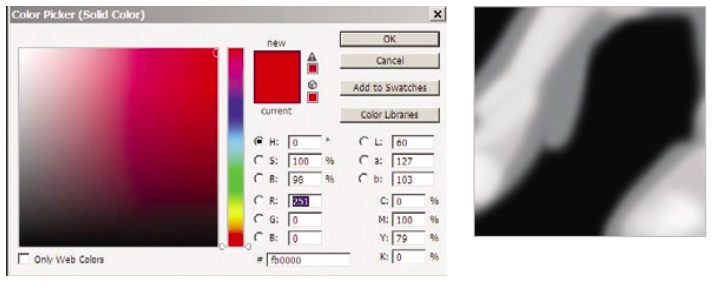
In Karijini there is a lot of red and there is certainly a lot of red in Hamersley Gorge too, but perhaps not around this little waterfall. Some readers may not approve of this step, but what I did was to create a solid colour adjustment layer and set the colour to a strong red.
I reduced the opacity to 11% so once again, the effect is subtle, and then I used a mask (shown above) to avoid putting any red on the waterfall and waterway. The resulting layer blend mode was also changed from Normal to Soft Light.
Step 6
I next wanted to create the impression that the sunset light was hitting the right hand side of the rocks, so I created another Solid Color adjustment layer, but this time I chose an orange colour. I reduced the opacity to 62% and created a mask to put the orange only over some areas of the rocks. It was also blended with Soft Light.
Step 7
After completing Step 6, I was happy with what I had and left the image like that for a few months, but later on, I decided to do some additional work on it.
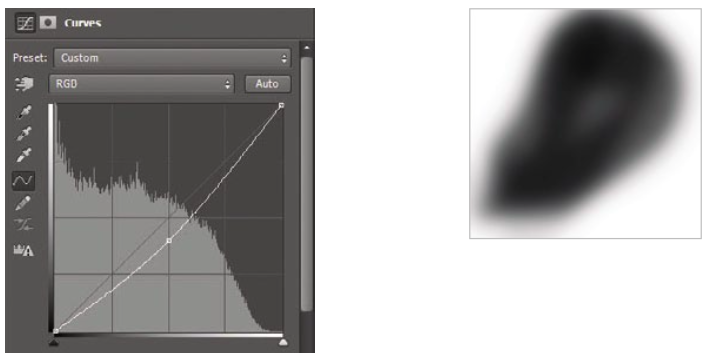
In this step, I have created an adjustment layer to create some vignetting. I added a Curves adjustment layer and dragged the curve downwards as shown. I then used a mask to paint over the middle of the image, so the darkening only affected the edges.
Step 8
To refine the tonal values (how light and dark different areas are), it can be useful to add a mid-grey layer and paint on it with a soft, low-opacity brush.
Add a new layer using the menu bar at the top of the screen: Layer>New Layer and in the resulting dialogue, set the Mode to Soft Light and tick the checkbox for Fill with Soft-Light neutral color (50% gray). Then with the brush you can paint with black to darken some areas, or white to lighten others. Set the brush to a low opacity setting for subtle changes.

Step 9
A Curves adjustment layer is used to darken the borders further, as well as the bottom right corner.
Step 10
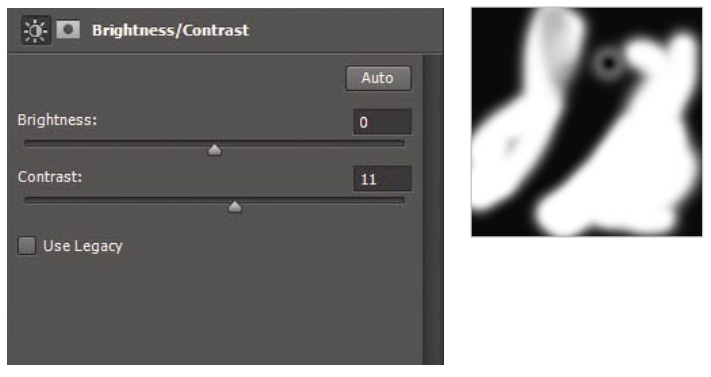
This next adjustment will be very difficult to see in here, but the image has had its contrast increased slightly with a Brightness/Contrast adjustment layer.

Step 11
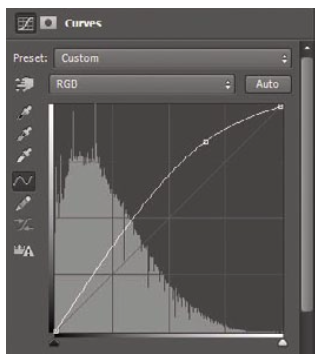
Sitting back and reviewing the image, the photo needs lightening slightly more. I use a Curves adjustment layer, click the Auto button (this works a little differently in CS6 and CC than earlier versions of Photoshop) and I reduce the opacity to 29%. No mask is used.
Step 12
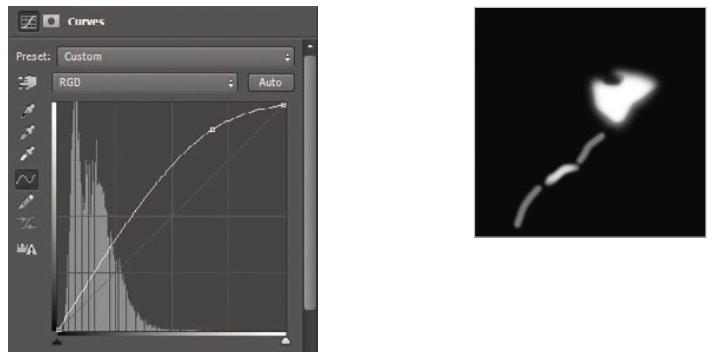
To take the eye to the waterfall and the pool, this area is lightened using a Curves adjustment layer. The curve is lifted up to lighten the area, and a mask applied to restrict the lightening to just this area.
Step 13
Any further adjustments are minor. With this Hue/Saturation adjustment layer, a little more colour is added to the scene, restricted to a few key areas with the mask.


Leave a reply