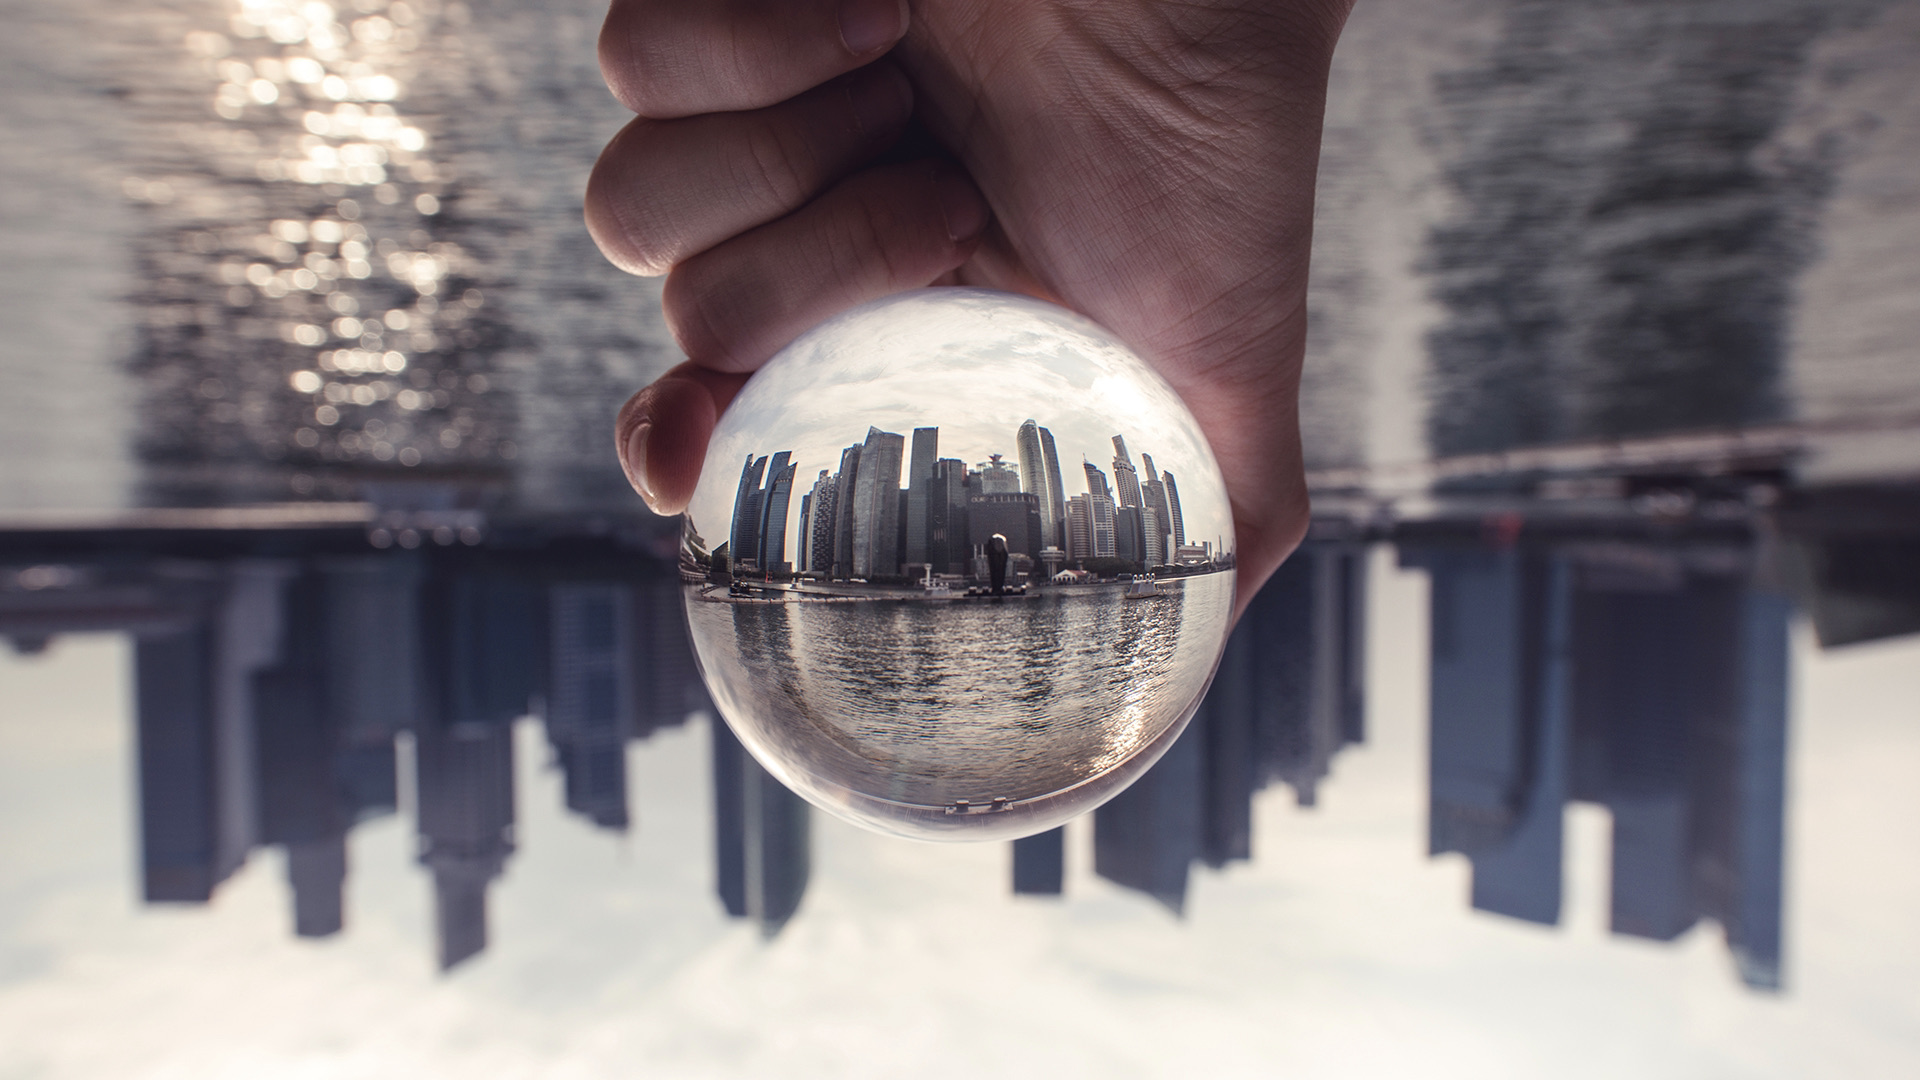
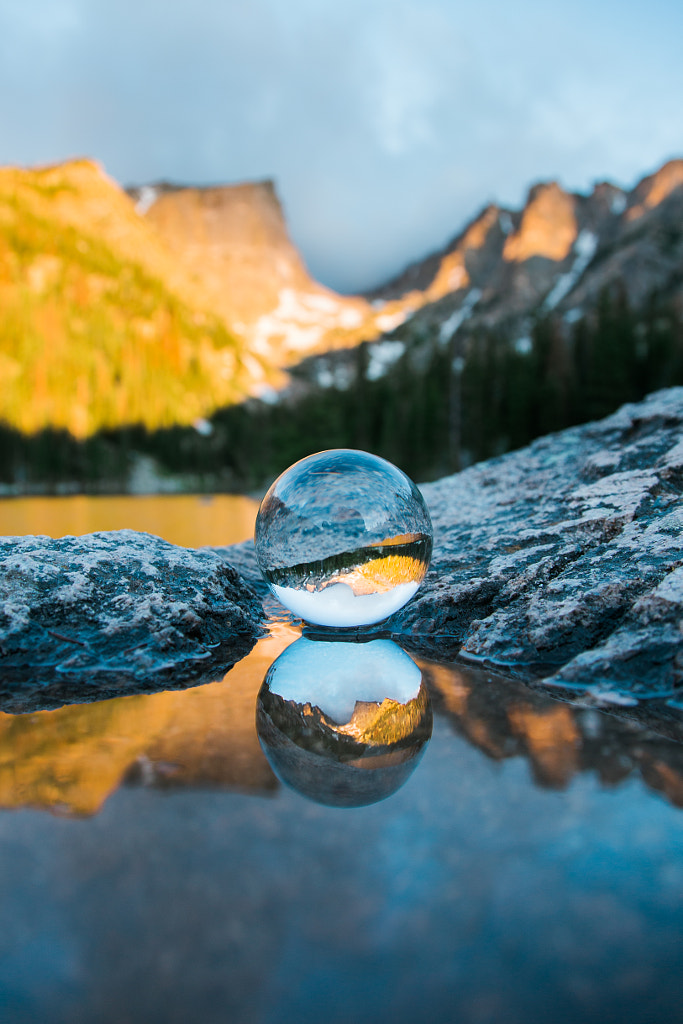
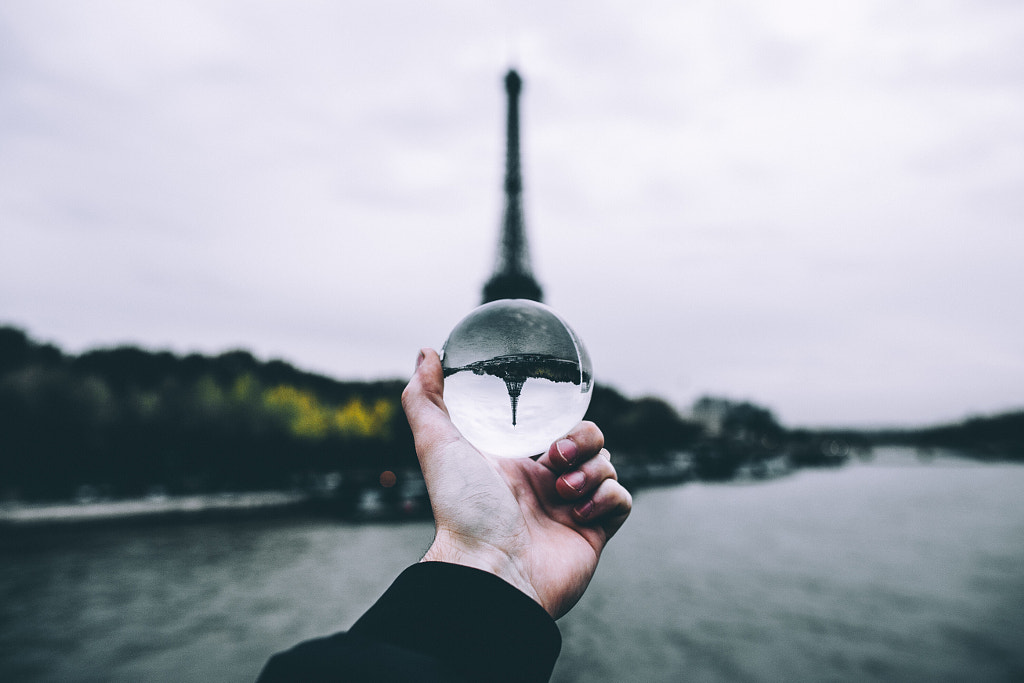
In recent years, crystal ball photography has taken over our social media feeds and given us a fresh perspective on familiar destinations around the globe. Kevin Dinkel brought a crystal ball into the breathtaking landscape of Colorado’s Rocky Mountain National Park, while Anthony Sotomayor used one to reimagine the Toronto skyline. More than just a fleeting trend, glass balls have served as a reminder to photographers that even the simplest tools can have a dramatic impact.
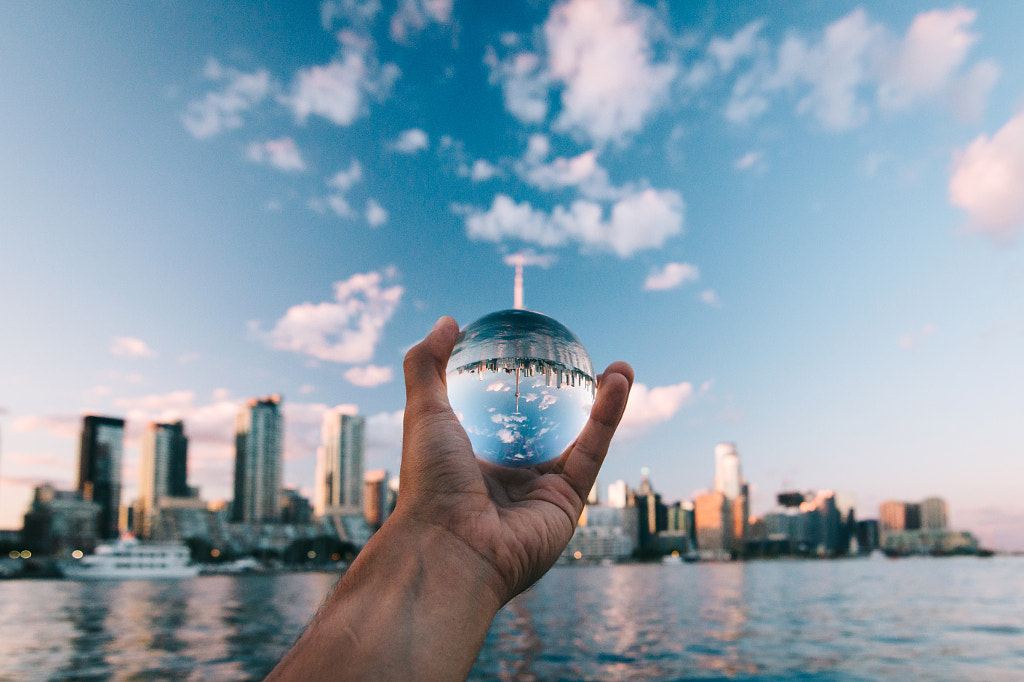
Glass ball photo art offers a straightforward example of refraction at work: as light passes through these dense spheres, the image gets flipped upside down. Many compare it to the effect you get with a fisheye lens—at a fraction of the price (around $30 to $50). Landscapes and cityscapes are popular genres for this kind of photography, but you can also experiment with portraits and abstracts.
The Rotterdam-based company Lensball makes these balls specifically for photographers, using K9 crystal for sharpness. The brand first launched in early 2017. To give you an idea of how popular these balls are, there are currently more than 640,000 photos tagged #Lensball on Instagram alone. They come in 60mm, 80mm, and 100mm sizes. While larger balls deliver more detail, they’re also heavier, so that’s something to bear in mind while traveling.
Below, we’ll cover eight easy tips and artsy pic ideas to take your photography to the next level, all using this timeless accessory.
Before we start, an important safety note: Avoid leaving your crystal ball in the sun. Like a magnifying glass, it could quickly start a fire or burn your fingers if left in direct sunlight. There are plenty of horror stories out there about photographers burning holes through their clothes, so be careful.
Use a holder
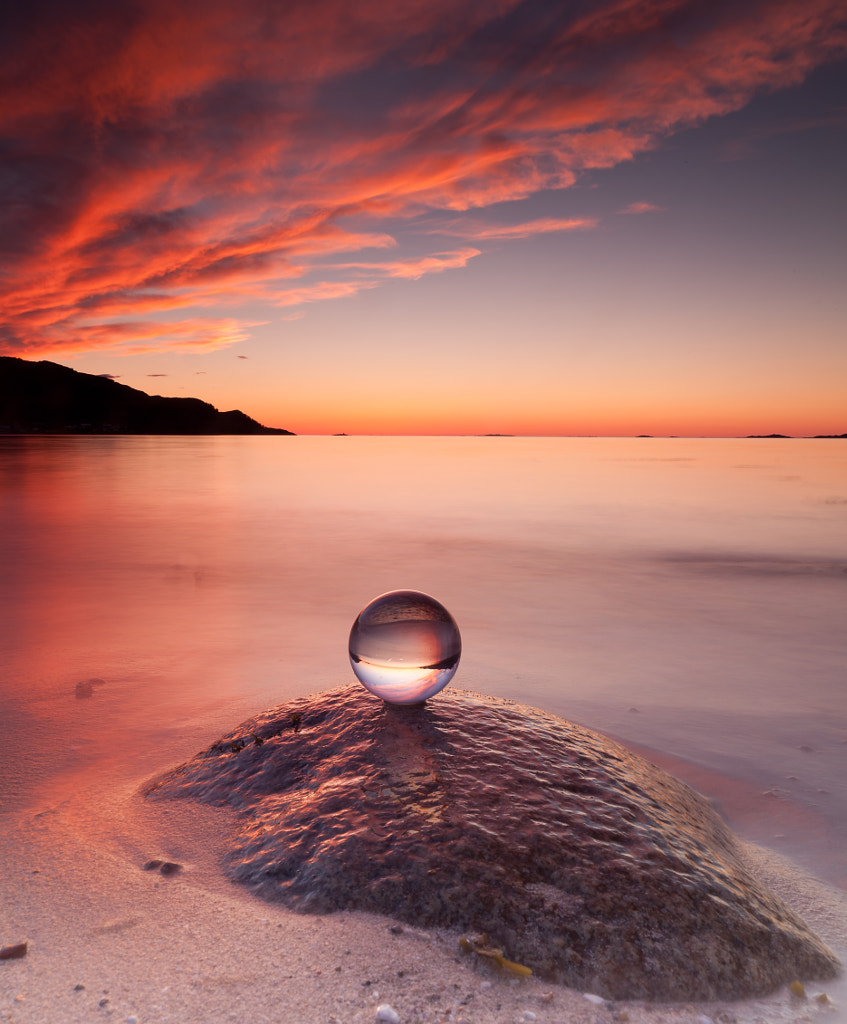
If you can’t find a sturdy surface in your environment, you can purchase a holder to protect your ball and keep it from rolling away. This step is critical if you’re working from a height, as falling balls pose a serious risk. Lensball makes a tripod mount specifically for this purpose. Of course, you can also enlist the help of a friend to hold the ball around the edges, but be wary of fingerprints, as they can cause unwanted reflections.
Note: if you don’t like the way the mount looks in your photos, you can use sturdy natural surfaces and elements; just remember to exercise caution.
Watch out for reflections
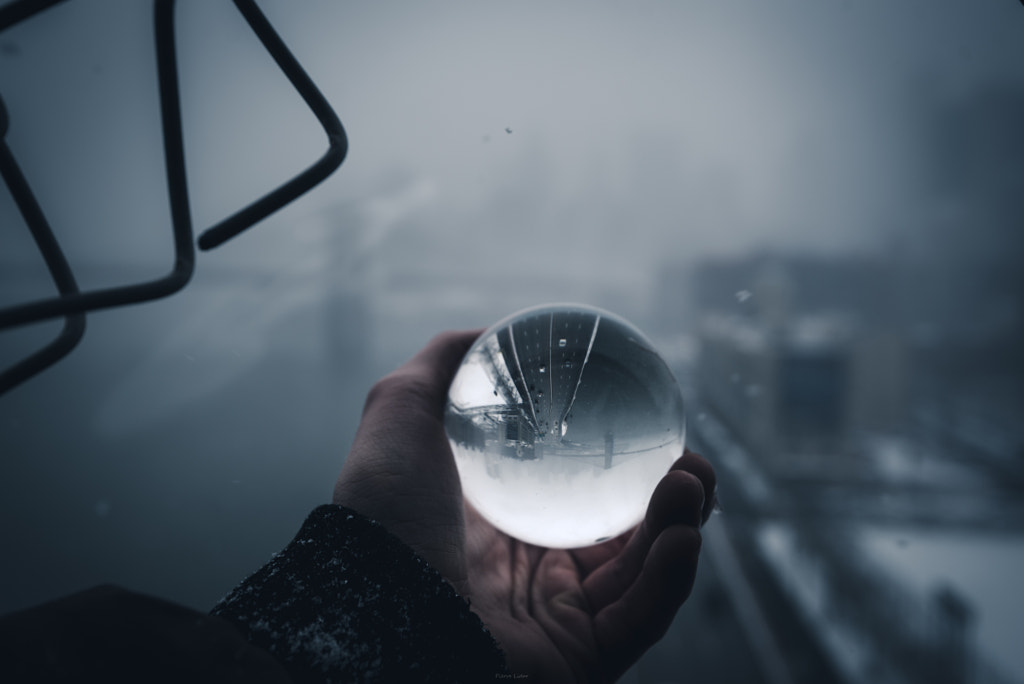
Speaking of reflections, it helps to wipe your crystal ball off with a microfiber cloth before each shoot. While in transit, you’ll also want to keep it in a microfiber pouch (a clean sock works too). And of course, study your light on location.
Side-lighting works best with crystal balls—if your back is to the sun, you run the risk of including your own reflection. Schedule your shoot for an overcast day or to coincide with the soft lighting conditions around the blue or golden hour—harsh light can be difficult to manage. Look for shady areas, or use a polarizing filter to cut down on glare.
Move around
You’ll find even small changes, like shooting your ball straight-on versus from below, can make a dramatic difference in the final image, so try a few angles to see what works.
Lift your ball or lower it depending on how much ground you want in your picture. If you don’t want the ground to dominate the image, find an elevated spot. You can also play with the distance between yourself and the ball; the closer you get, the more distorted the image will be.

Select the right lens
The most popular lens choices for crystal ball photography are macro lenses and wide-angles. The first will allow you to fill your frame with the ball, while the latter will include your background for more context. If your background is interesting and you want to capture the spirit of your surroundings, opt for the wide-angle.
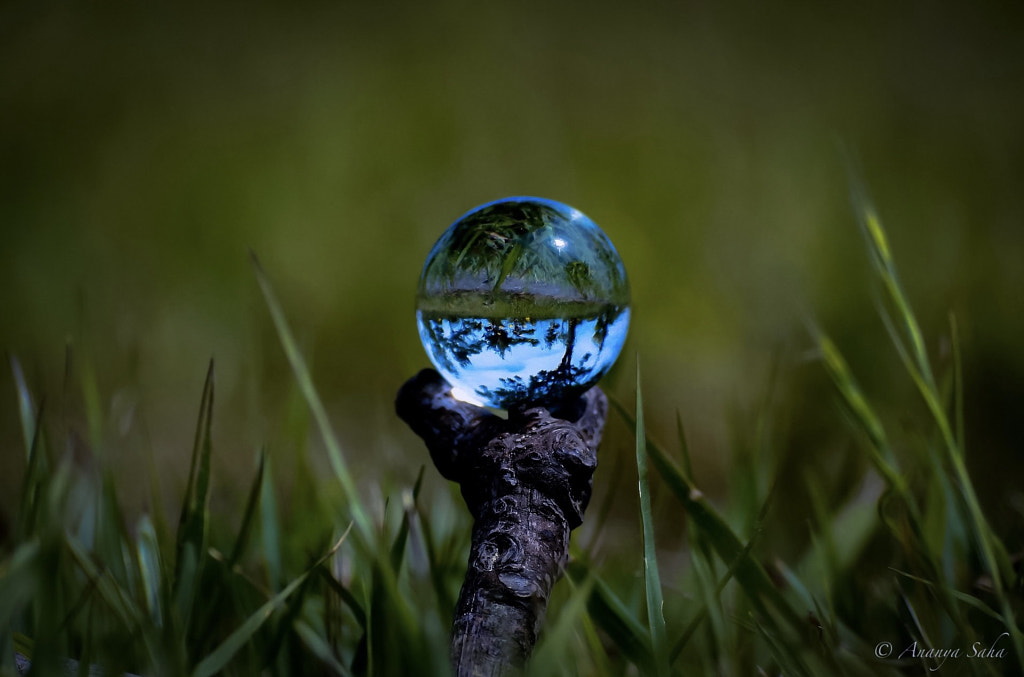
In terms of camera and lens Settings, the aperture will be critical. If you want to blur your background and pull focus to the ball itself, try opening up your lens. If you open it too wide, however, you’ll have trouble keeping the image inside the ball in focus throughout. This is a bit of a balancing game; shoot in manual mode or Aperture Priority so you can finesse your iris to taste. A setting of around f/4 is generally a good place to start.
Play with reflections
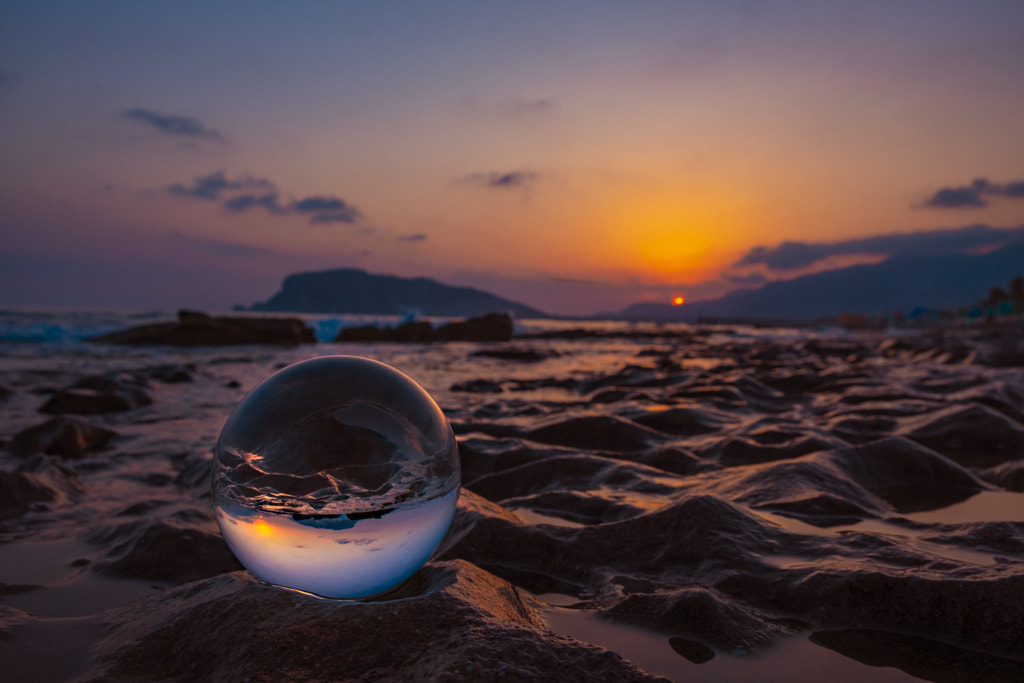
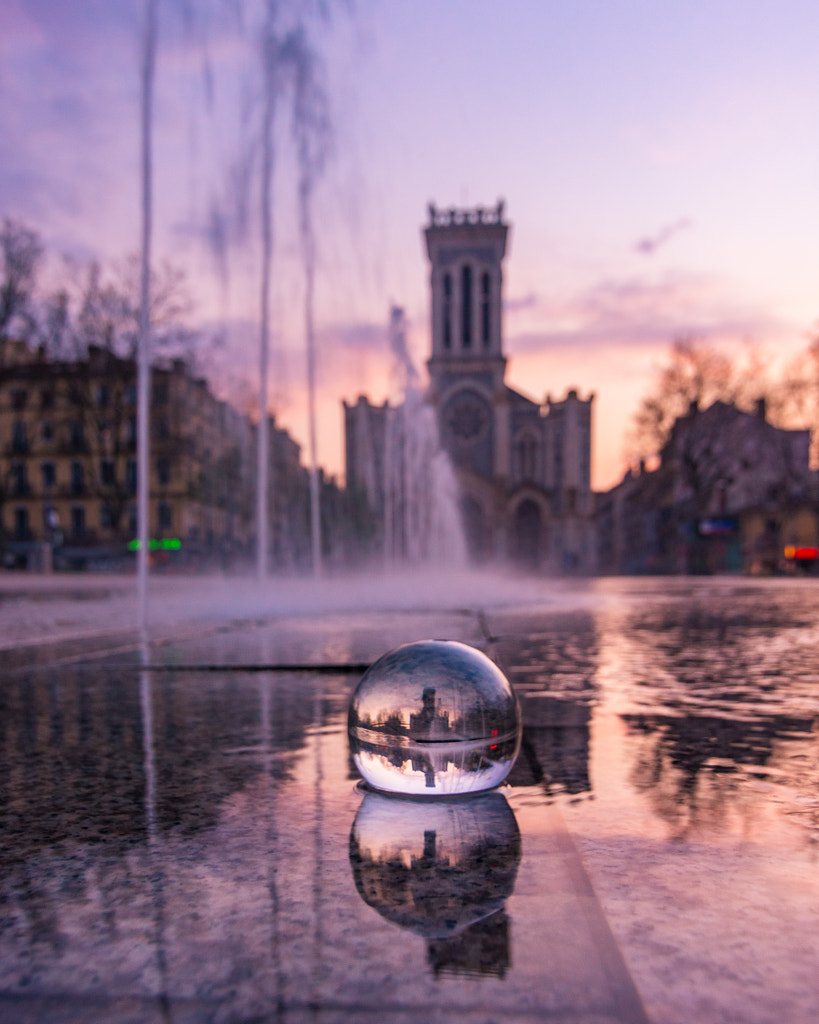
We’re used to seeing crystal ball photos with an inverted image, but one way to get your picture “right-side-up” is to shoot a reflection. Puddles and slick beaches work well if you want to try this approach. Of course, you can also flip the image in post if you prefer.
Choose the right background
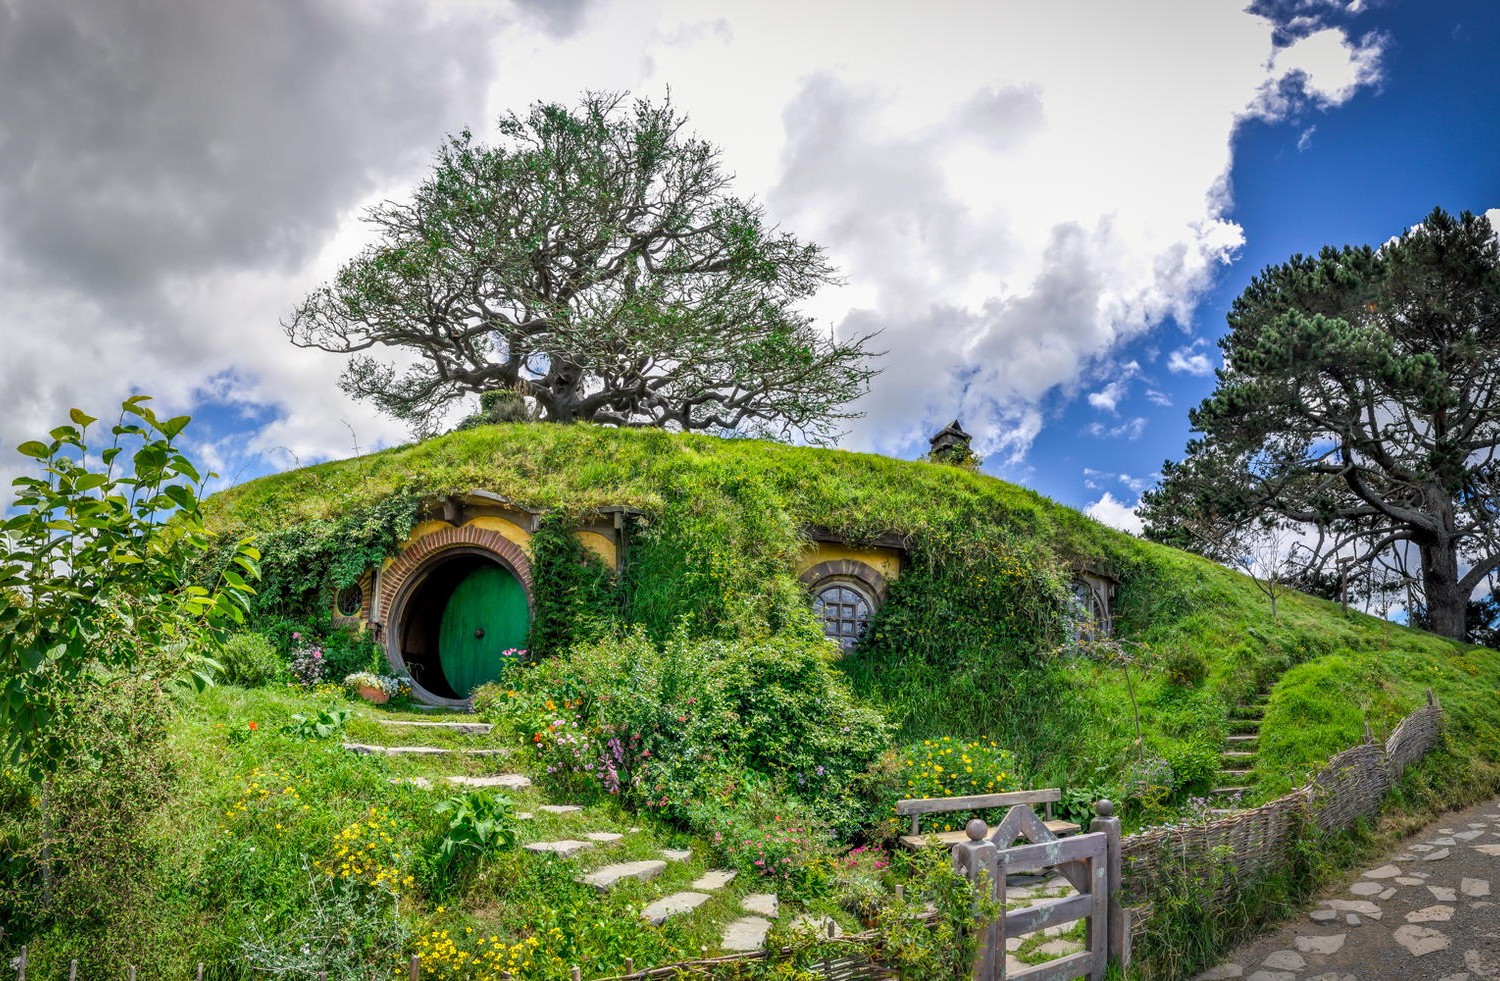
When it comes to crystal ball photography, contrast is key. Look for a clearly defined subject that stands out against your background; iconic sites like the Eiffel Tower in Paris or the Wanaka Tree in New Zealand are popular choices. Simple shapes and clean silhouettes work especially well.
Experiment and mix up your framing to avoid distracting elements or clutter. Of course, background details will be doubly important if you’re using a wide-angle lens; in this case, you can include strong leading lines to enhance your composition.
Get close
Place your main subject in the middle of your glass ball, and use manual focus to nail your shot. Make sure you’re standing close enough to the scene you want to include, as objects in the ball will appear farther and smaller than they actually are. If you’re miles away from the landscape or cityscape, it won’t have the same effect.
Travel off the beaten path
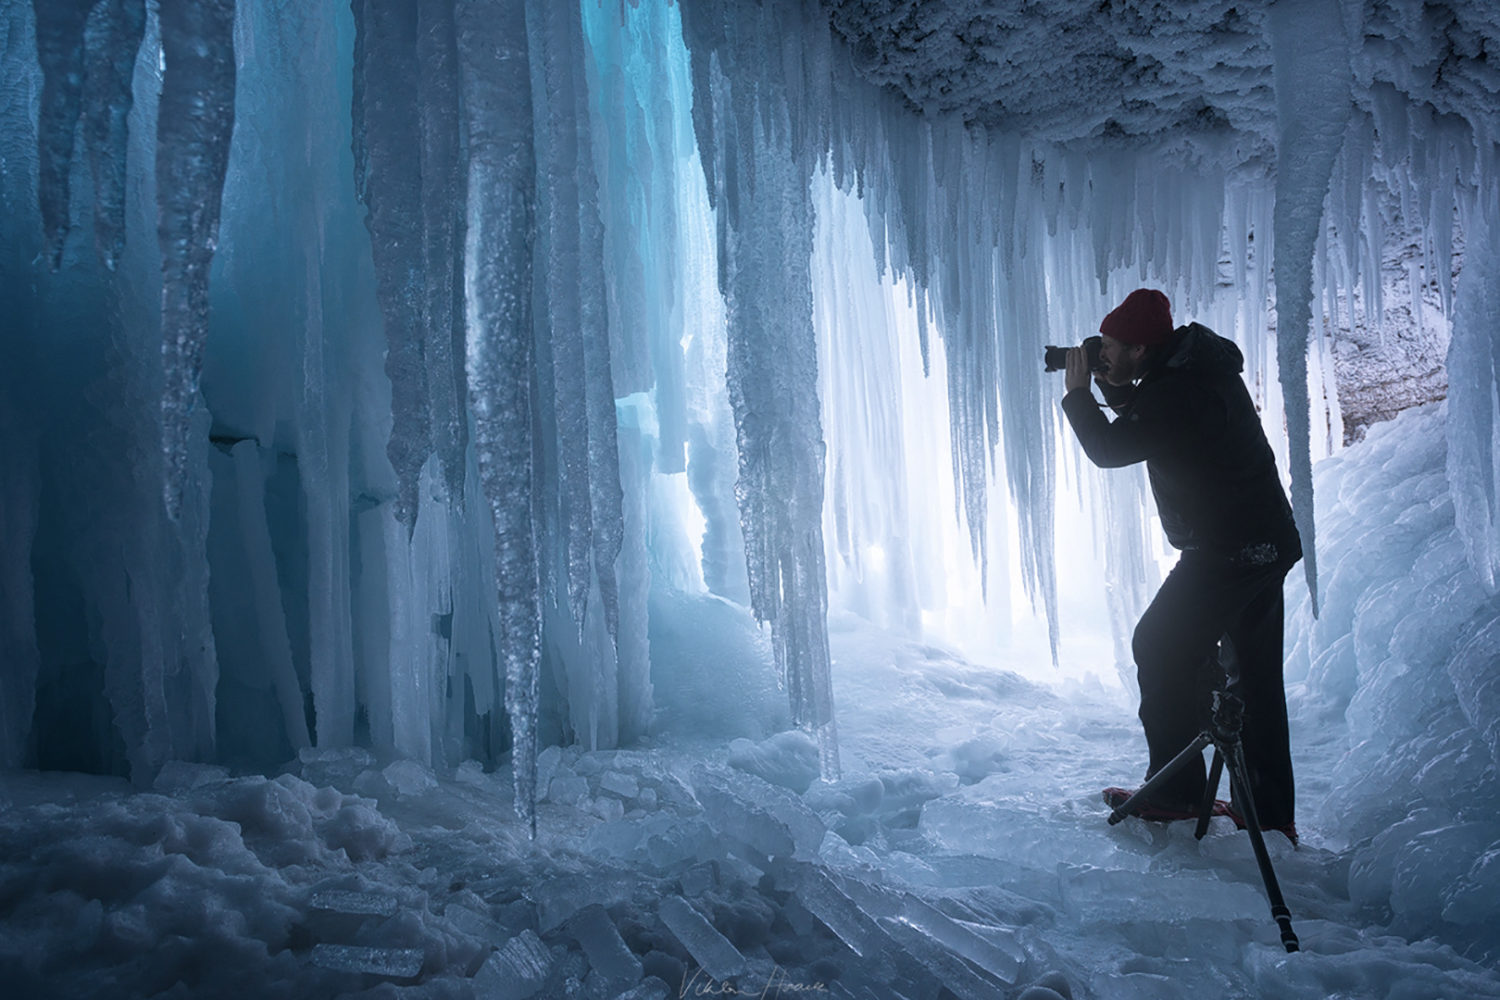
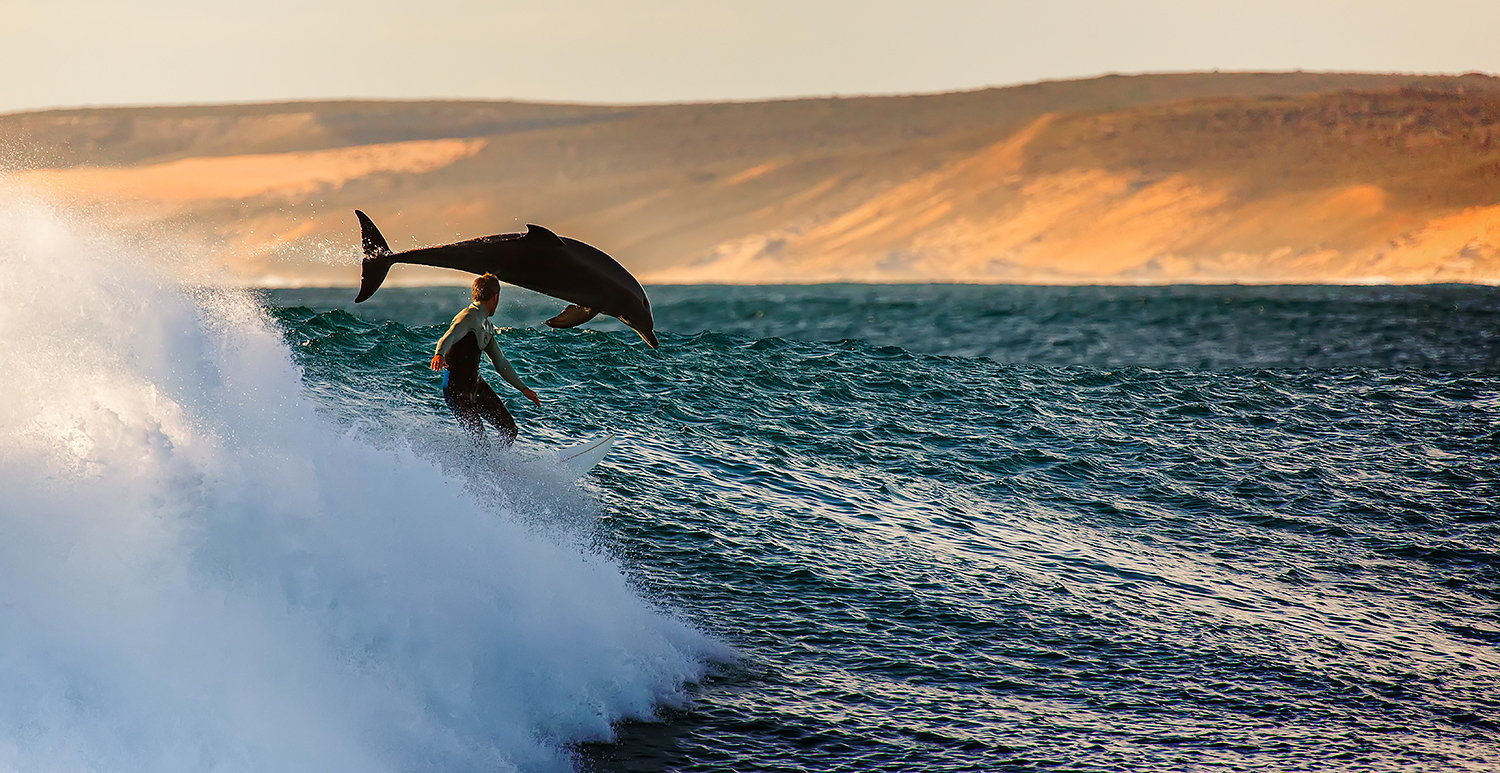
Famous landmarks will always look great when seen through a crystal ball, but you don’t have to travel to iconic spots to create these kinds of images. If you’re searching for photo ideas, look close to home for local landscapes and architecture, and don’t be afraid to visit lesser-known locales. Go hiking in a state park, or venture into a hidden gem neighborhood. By photographing places not everyone can access, you’ll end up with images that are one-of-a-kind.
Not on 500px yet? Sign up here to explore more impactful photography.


Leave a reply