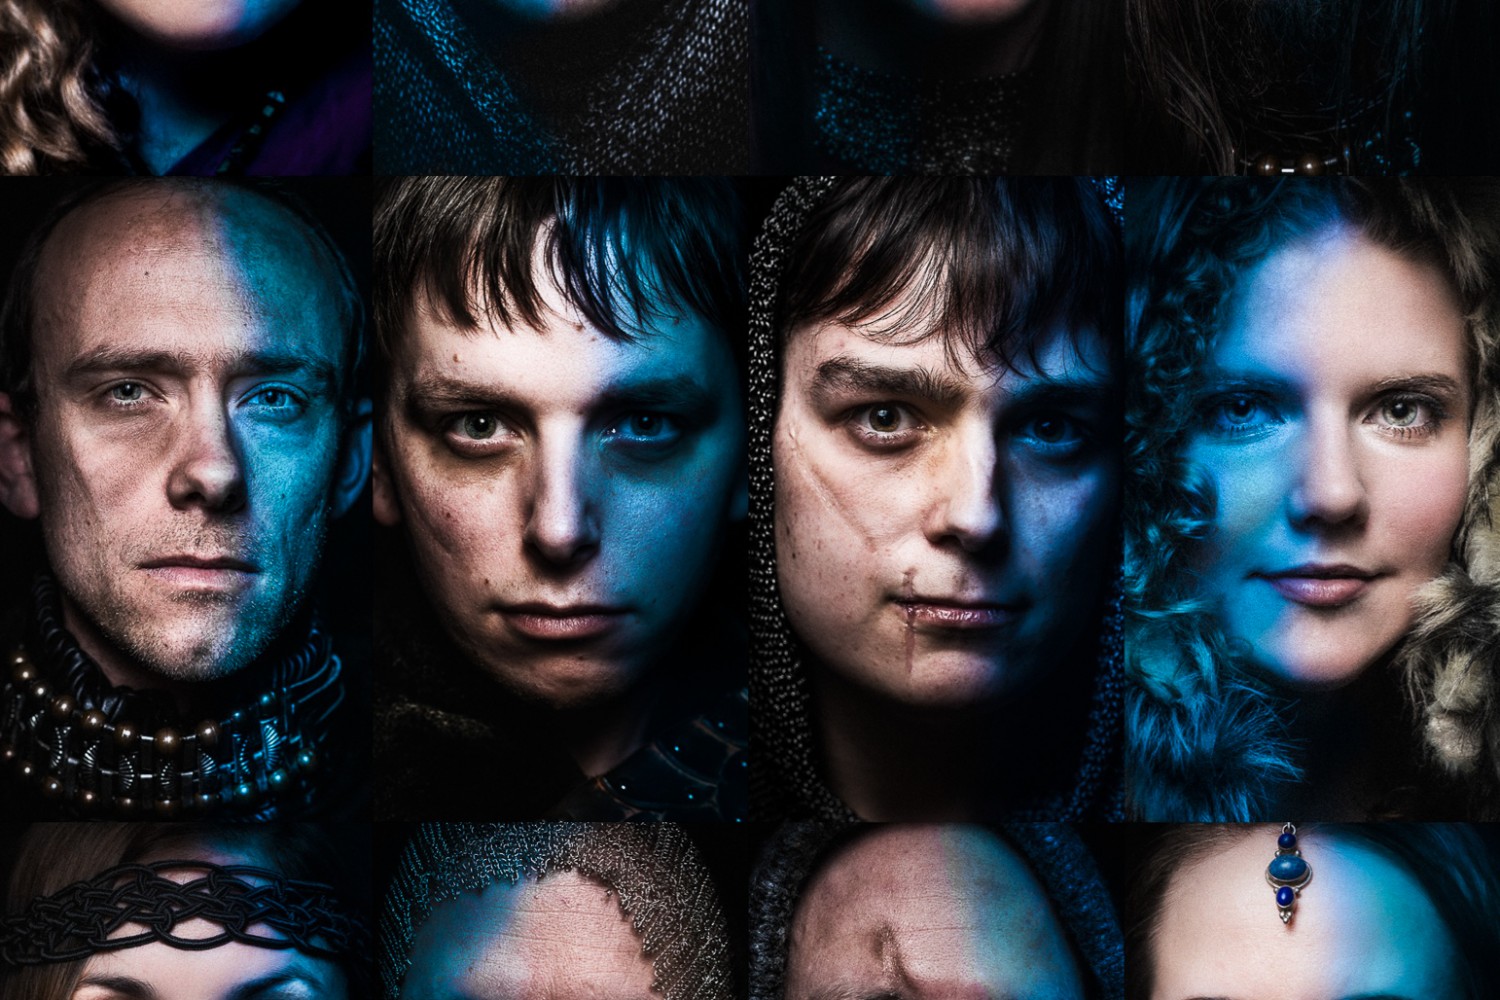
Alain Pilon is a Montréal-based photographer who specializes in horror and fantasy photography. Though he’s been shooting for over 12 years, he only recently discovered his passion for shooting scary stuff after experimenting with other styles of photography. In fact, he is the moderator of the Horror and Fantasy groups on 500px. Currently, he is working on a photo project that involves taking portraits of witches on the run from courageous knights hunting them down.
In this tutorial, Alain shares how to create a wonderfully wicked witch photo—perfect for your Halloween and horror-themed shoots. No hocus pocus here—this tutorial is packed with shooting tips, props DIY, and some post-processing magic. Scroll down!

by Alain Pilon
I am not a psychopath—I just like to mix what’s beautiful and scary together in my photographs. The original concept for this photo was supposed to be a knight battling our lovely necromancer. But one of the things you have to prepare for when shooting outdoors is the unexpected, and this photo shoot was full of it—a broken fog machine and uncooperative weather forced me to pivot and shoot portraits instead of wide shots. I am still working on one of these battle shots and, if you follow me, you should see something popping in your feed soon. In the meantime, read on to see how you can create a bewitching and haunting photo.
GEAR
Nikon D800
24-70 2.8
Phottix Mitros with umbrella kit and remote triggers
PROPS
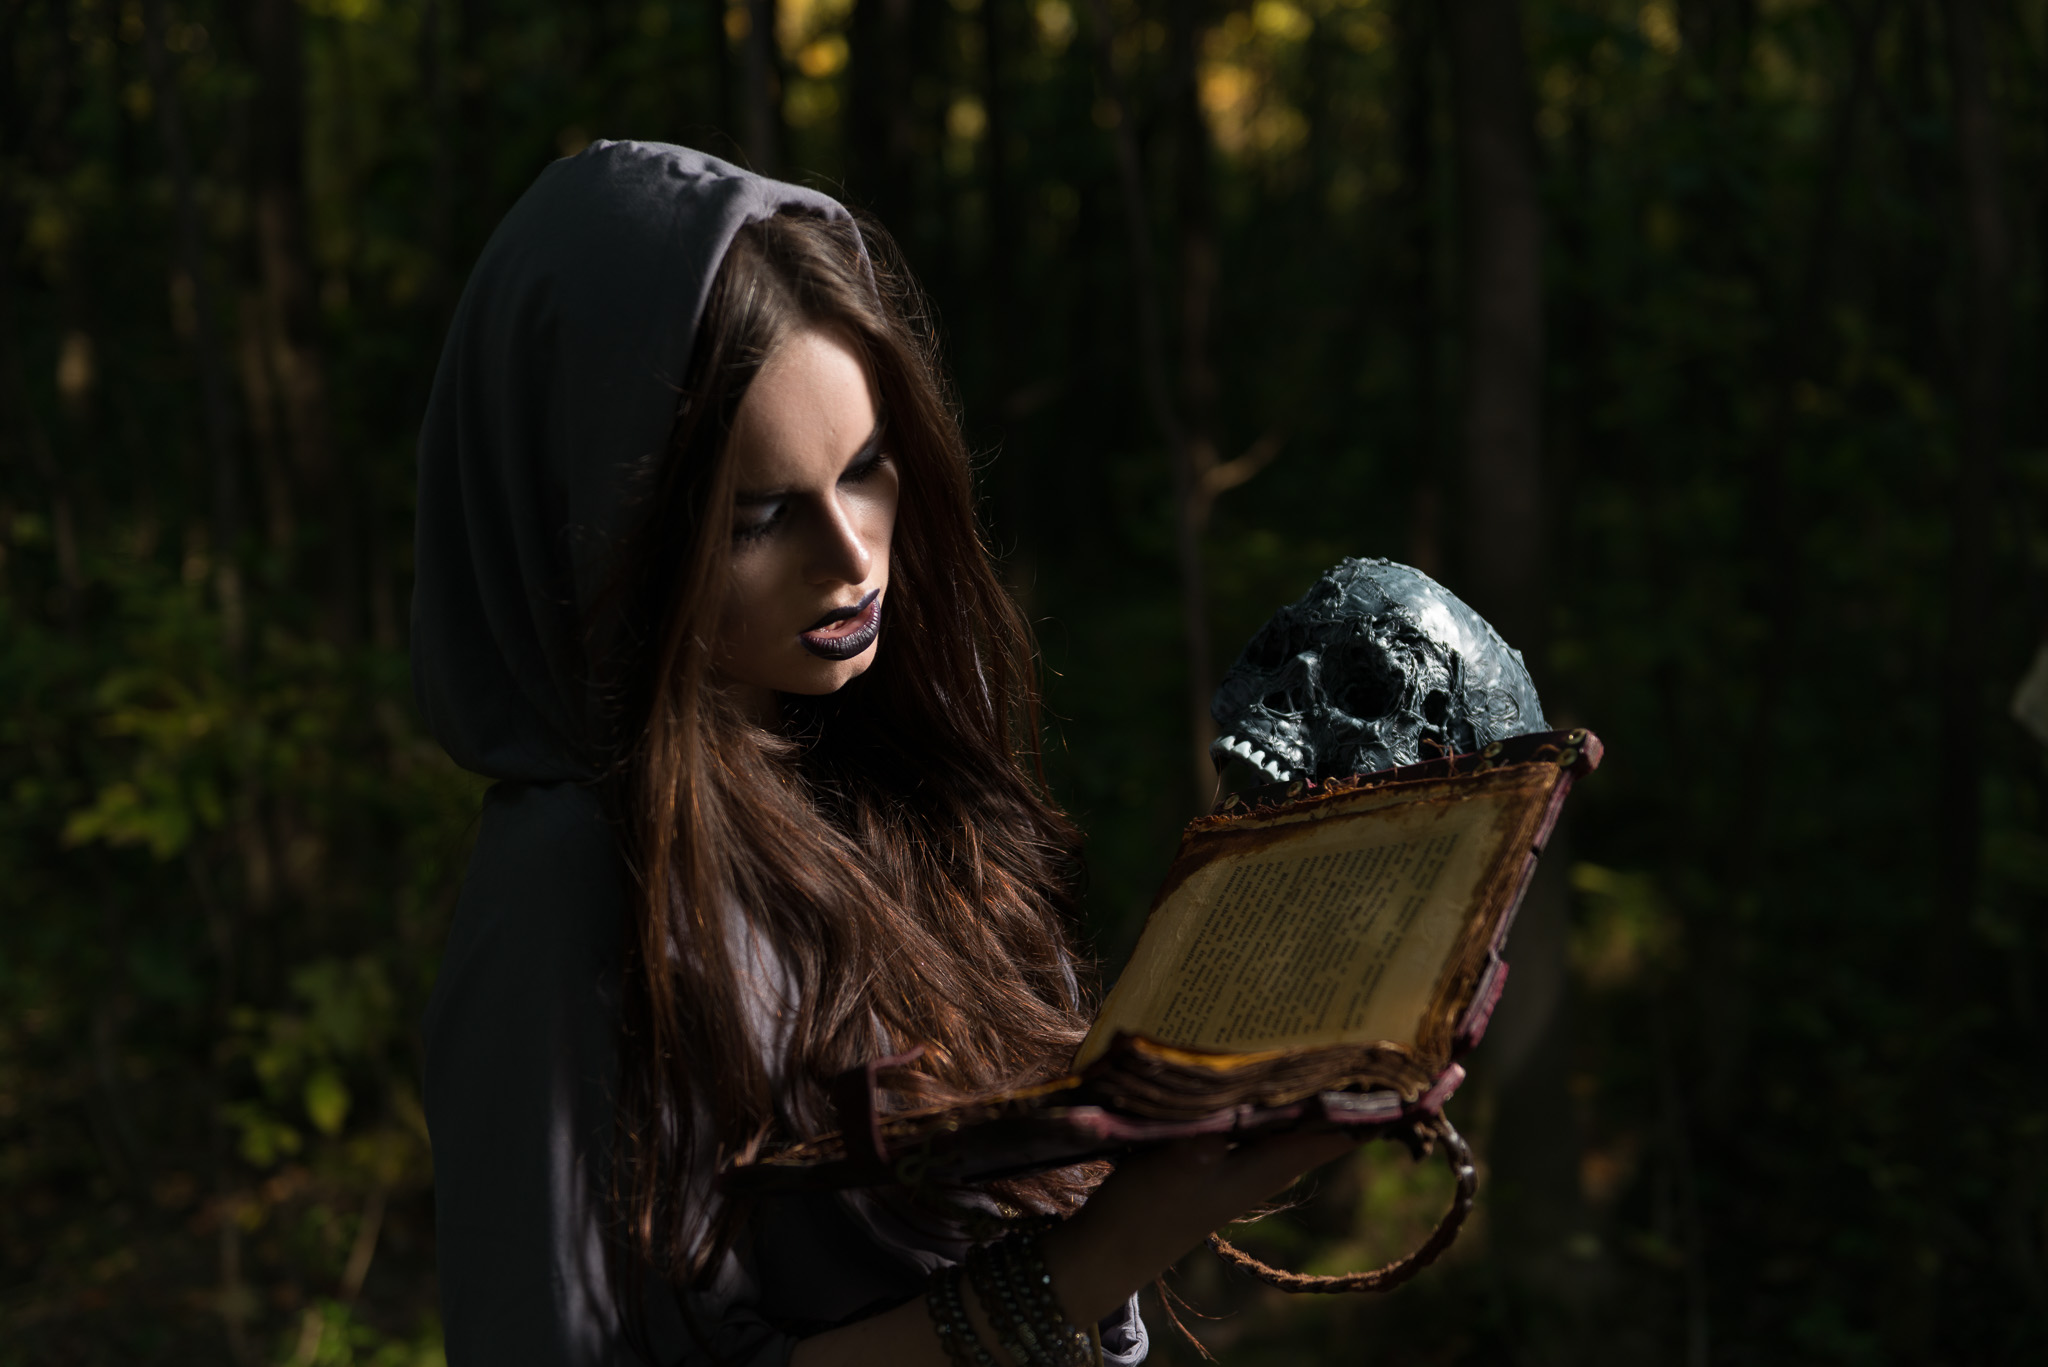
Horror and fantasy photography are my favorite themes for a single reason: Props! The two most visible props used in this shoot are the book and the skull. The book was created by my friend Alex, and I made the skull. Click here to skip to the end of the tutorial for instructions on how to DIY a cool skull.
THE SETUP
On the day of the shoot, we had the worst weather a photographer can wish for when shooting in the woods: a cloudless day with a bright and powerful sun. Because of time constraints from the team, we had to shoot while the sun was still high. To prevent the branches from casting shadows, we had to go as deep as we could into the woods while carrying over a hundred pounds of gear and props.
Once we found a decent spot, I used a single strobe, positioned as high and close to the model as I could on camera right. The goal was to light her upper body and the book while keeping the background as dark as possible. At the same time, I had to keep some details in it to capture a sense of time and place.
POST-PROCESSING
The concept
Right away, I knew that I wanted the picture to be a night scene with the book or the skull glowing with a bright contrasting color.
Get a good base layer
I wanted a square crop to capture a more intimate feel. After getting the desired crop, the first I did was to clean up all the little details using the healing brush and clone/stamp tool.
Give your witch a pale complexion
Want to give your model a pale look? Add a Hue/Saturation adjustment layer (red channel, reduce lightness), and mask it to only affect her face. This is exactly what I did in my photo.
After all that, the image is now “finished” from a retouching point-of-view. Now I can duplicate the layer and do all sorts of creative adjustments without having to go back to fix small details.
When using Photoshop techniques involving duplicated layers, it is extremely important to have a perfect image to work with since any flaws would be carried over to all the duplicated layers.
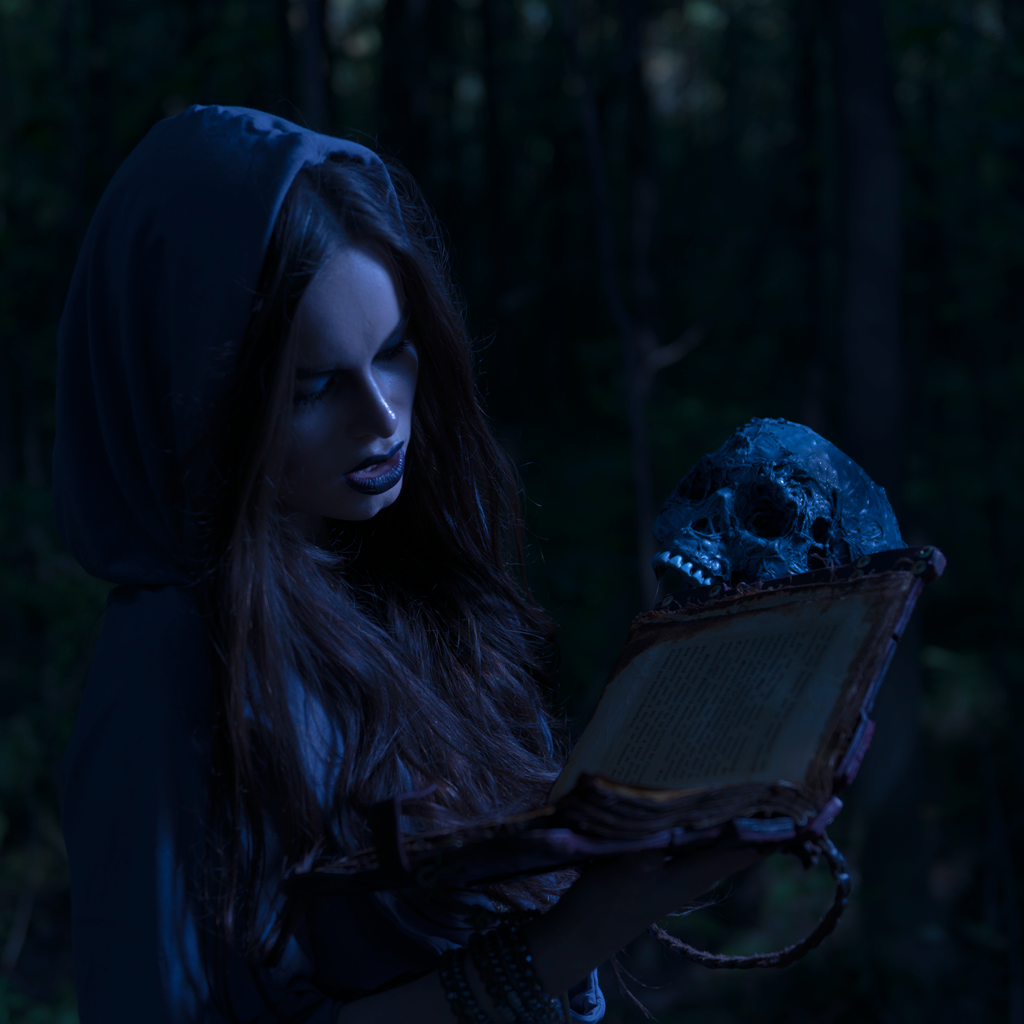
Everything is better at night
To turn this day picture into a night scene, I duplicated the layer and added a Camera Raw Filter. Then, I moved the color balance toward the dark blue. After that, I reduced the exposure and contrast a bit.
How to make the book glow
What’s a witch without magic? Now it’s time to get the rich yellow glow for the book. I duplicated the original layer, applied another Camera Raw Filter, and moved the color balance toward the yellow until the book paper was a rich, bright yellow. Then, I used a mask to make the effect visible only on the book, and everything lit by it.

The glowing effect was created by using multiple layers which where copy-and-pasted over each other. I also added a Gaussian Blur between each copy.
Next step, I grouped everything and used a mask to make sure the glow effect would show up in a realistic way and not bleed under the book. It is important to work non-destructively here, as I had to adjust the glow opacity a few times to get the desired look.
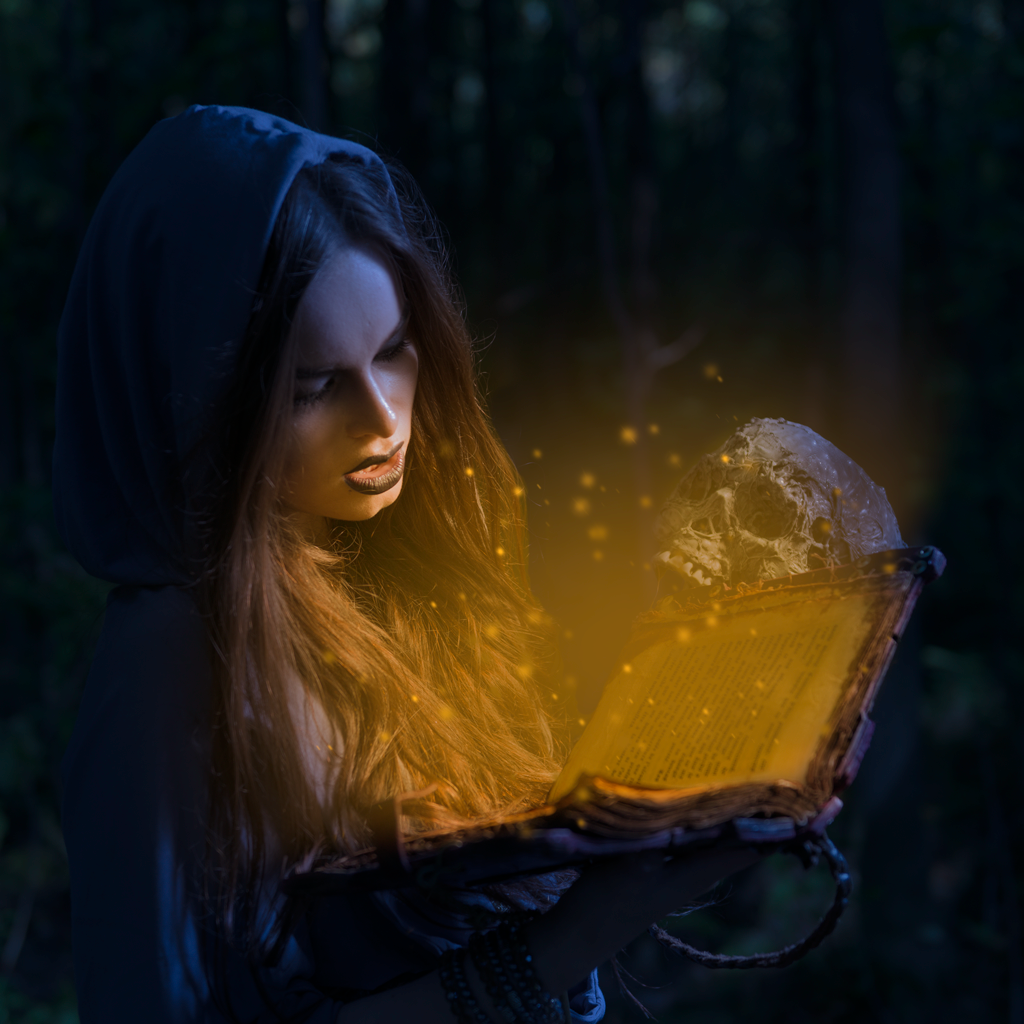
Adding the sparkles
The sparkles were created using a custom brush with the size of the sparkle, set by the pen pressure; the opacity was spread and its rotation set to random. If you have not fully explored the the brush panel yet, do yourself a favor a spend some time playing with the various settings—it is an hour well spent.
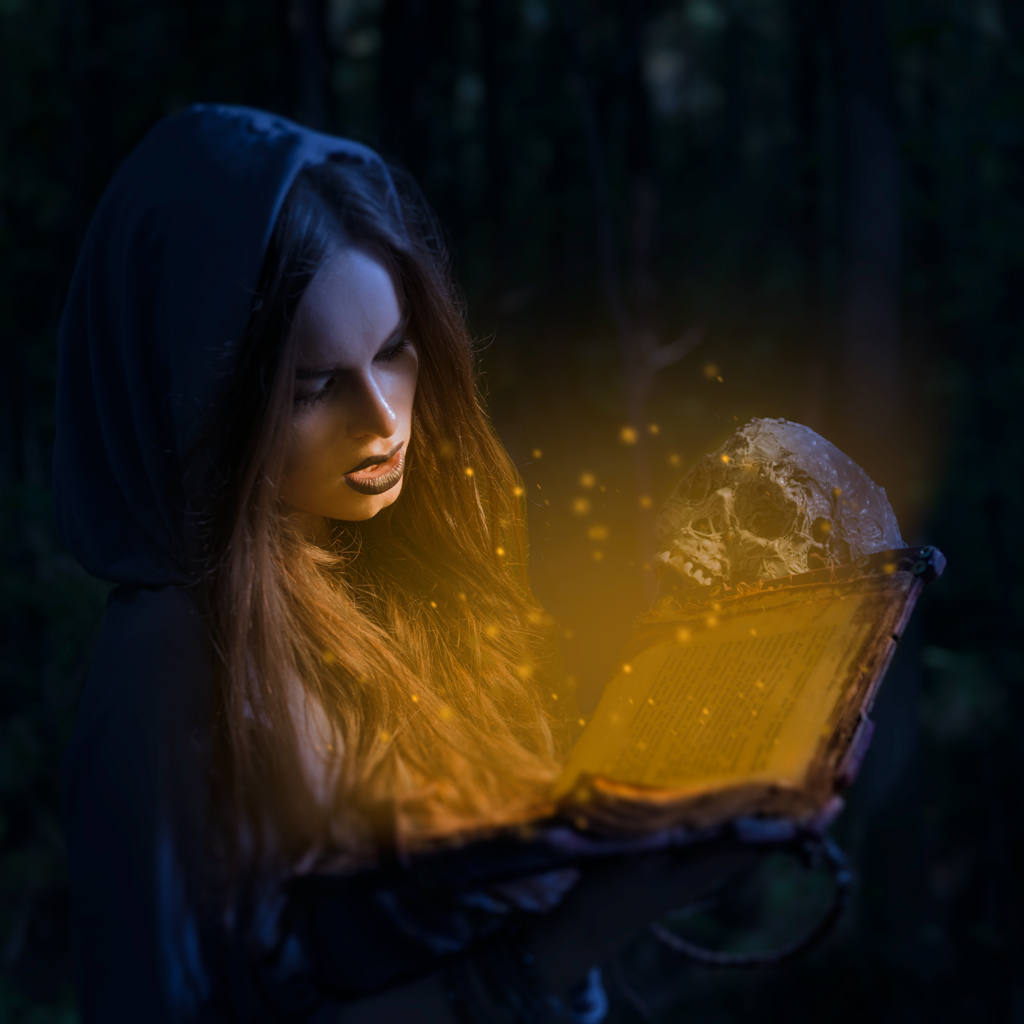
The final touch
At this point, I was really distracted by the lower part of the picture. There were too many details fighting for attention.
To solve this issue, I added a tilt-shift blur to soften everything under the book and above her hood. As a final step, I created a vignette to put even more focus on the glowing book.
HOW TO MAKE A SKULL
IMPORTANT: Creating this skull involves melting a lot of plastic, which produces toxic fumes. So please, if you want to play with a heat gun, do it in a well-ventilated place. One more tip: use gloves. Drops of melted plastic on your hands is not fun. Trust me.
What you need
A lot of black garbage bags
A plastic skull (got mine at Walmart for $4 each)
Heat gun & gloves
Black primer
Paint
Sharp knife
Steps
1. First, cut the eye sockets to make it more realistic. I initially planned to have smoke coming out from the eyes sockets, but the catastrophic failure of the fog machine foiled my plan.
2. Then the fun part: melting the plastic bags! Just apply small pieces of the garbage bag on the skull, then heat it until it melts then move on to the next empty spot in the skull.
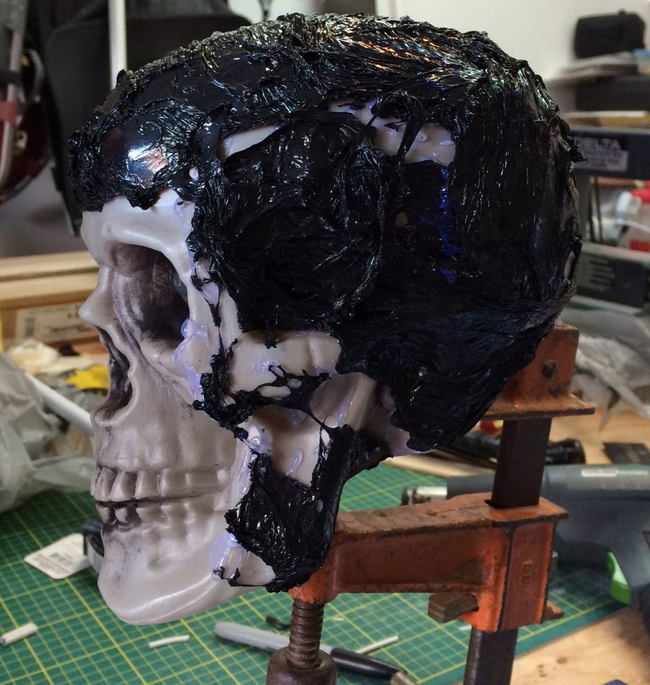
If after 3-4 seconds, the plastic bag is not melted enough to your liking, just move to the next part on the opposite part of the skull, and come back to it once you are done. If you don’t, you risk overheating the skull and it will melt to the point of collapsing on itself.
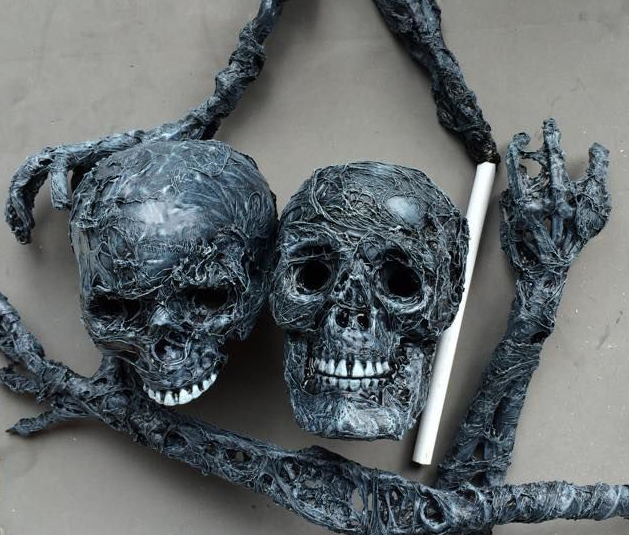
You need to apply at least 3-4 layers to get a “realistic” rotten flesh effect. Once you are done, apply a layer of primer to the skull. Make sure you also prime the inside! Then, let it dry for a few hours.

You may be looking at the black skull right now, and having some doubts. Fear not—everything will come together once you start applying the paint using the dry brush technique. The important tip here is to not use black for your first layer. Instead, pick a dark blue or green. Then, add a bit of gray to your base color for each subsequent layers. For my skull in the photo, I did 3 layers.
Once you are done, don’t forget to apply a varnish to protect your creation. Voila—you are done!
Photo Credits
Model: Sara Pustol
Makeup: Toxic Makeup
Styling, clothing, and accessories: Arian Atlass Design
Like my work? Follow me on 500px to see more of my images.
I am also the administrator of two awesome 500px Groups. Feel free to join them here: Horror Group
Fantasy Group
If you are interested in seeing how I build my props and learn about my upcoming projects, you can visit and follow my Facebook page. And if you are in the Montréal area and would like to collaborate, feel free to contact me anytime.
Finally, if you have any questions or comments about my images and tutorial, please leave a comment below.
Leave a reply