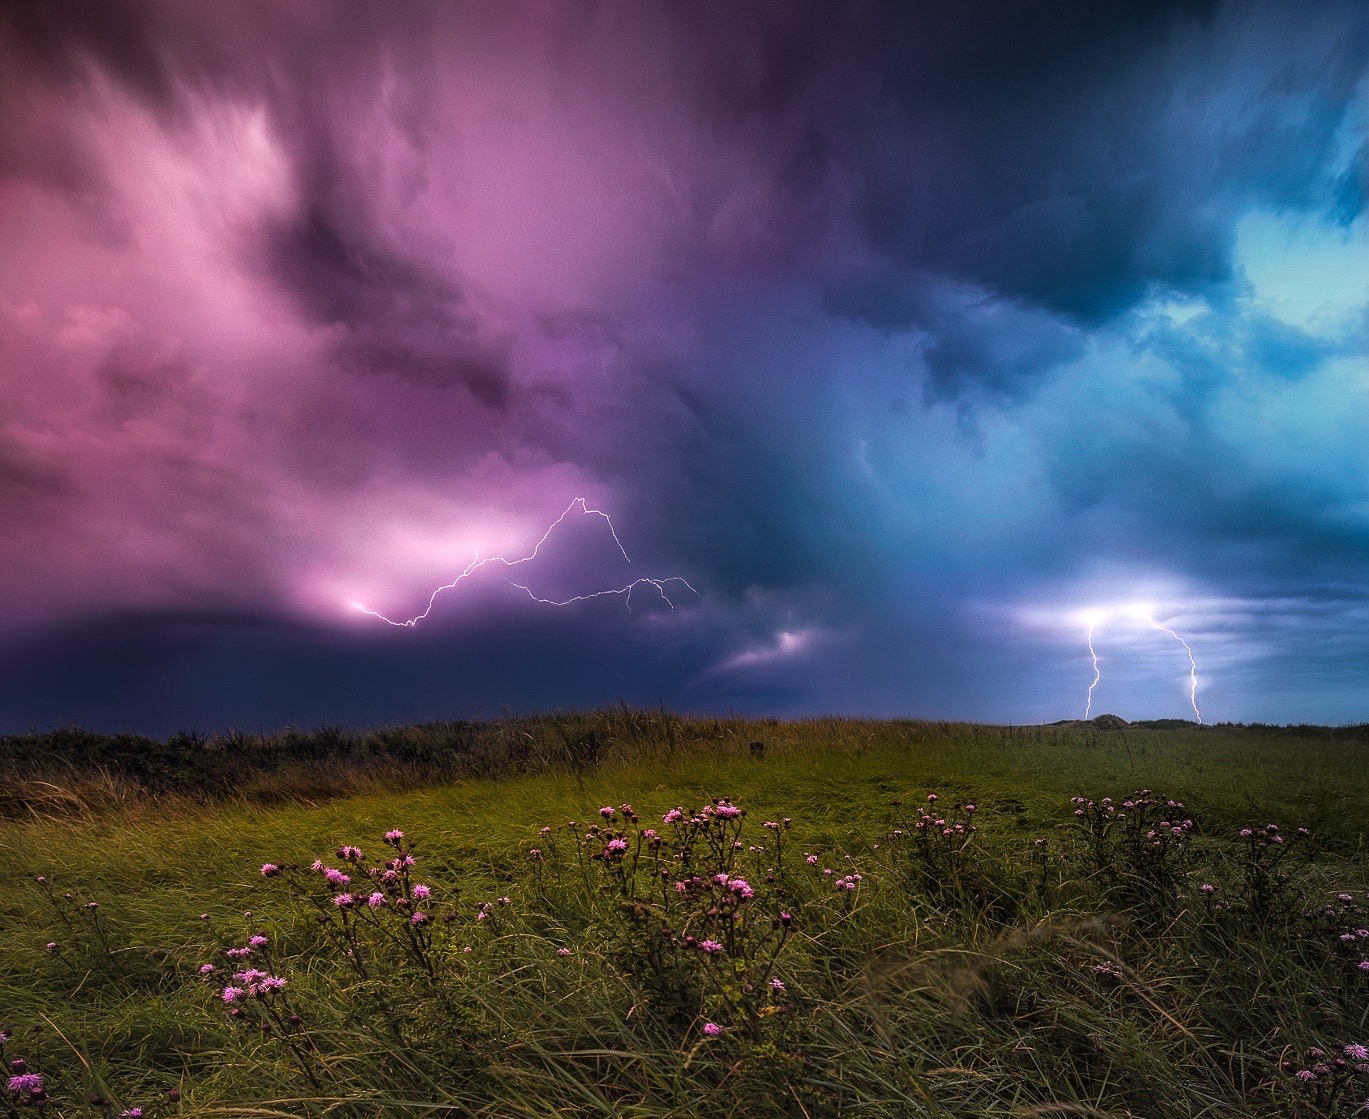
July 2nd, 2015 – The weather was forecast to be dreadful. Warm and sweaty and with a chance of tornadoes. All geared up, I leapt at the chance to see a couple of lightning strikes. It had been some time since we’d had severe weather come our way, but was I a happy photographer to be returning (alive) with the picture below.

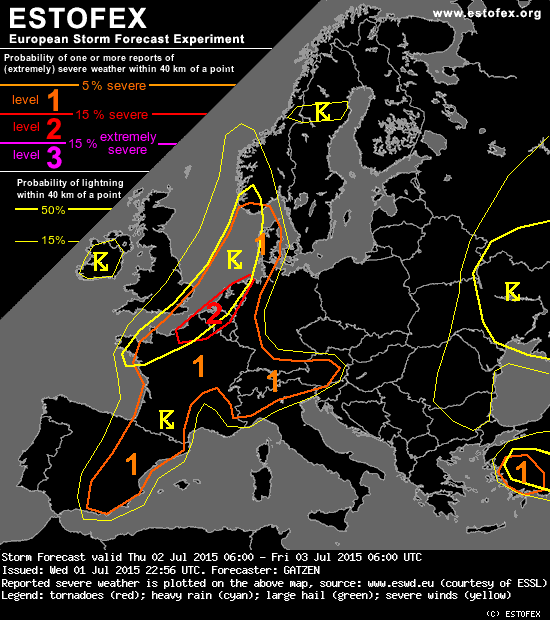
The specialist European Storm Forecast Experiment (Estofex for short) had issued a level 2 warning, which means that there’s a 15% chance of severe weather.
The incessant, sometimes life-threatening fascination with severe weather gets me and my antenna-like tripod in situations when I ask big questions: What am I doing here? What is my purpose in life? It’s a constant internal struggle when you’re out shooting severe weather. Every fiber of your being tells you to GTFO, where a pale blue, rotating monster passes overhead.
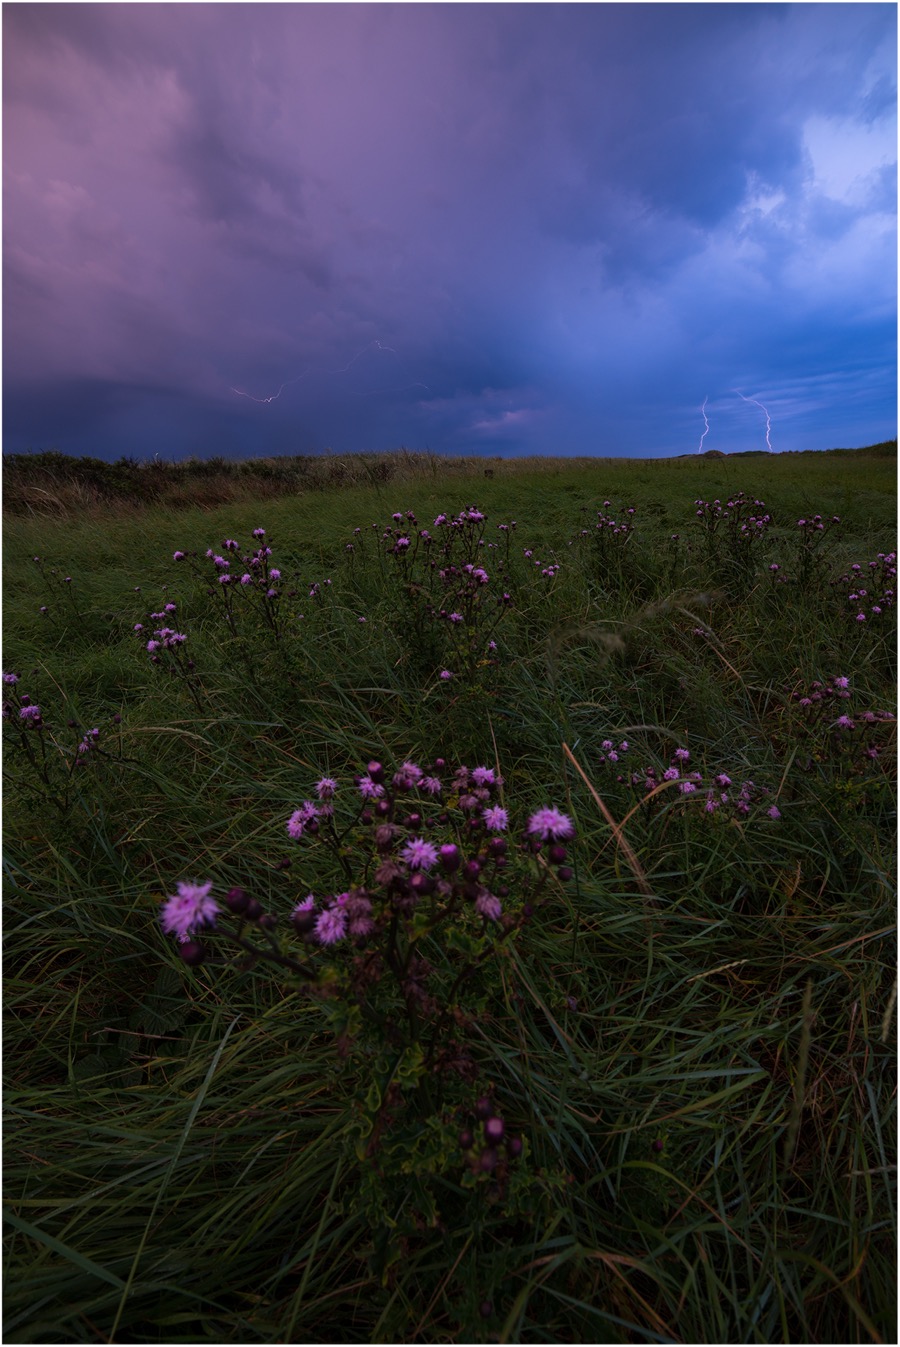
This particular cell arrived truly at the best moment you can imagine. In this earlier shot, which was taken about 15 minutes before the photo we’re talking about now, the sun had gone down over the North Sea as a shelf cloud had come closer and closer. Right now, the temperature was still quite high and winds were low, but with this thing passing overhead, it became cold in an instant and the wind picked up significantly. Then the outflow followed. Torrential rain and hail made it both fun and exciting, but terribly wet. Far too wet to be trusting the weather sealing of the camera and lens. I had this plastic rain sleeve packed to put another layer between the camera and the elements, but the sleeve prepared me for another attempt at an image.

Sharpness and Frustration
“Just one more shot,” I could hear myself say, positively drenched to the bone. In my book, one shot almost never means one exposure, though. I’ve long been a fan of using a wide-angle lens to emphasize a big, sweeping foreground.
A Nikon D600 and the Samyang 14mm f/2.8 sat firmly on a tripod, damn close to the subject. My lens is often at the minimum focus distance, but that brings challenges with it if you want everything tack sharp.
A simple f/22 won’t do, because the gap between 20 cm and infinity is just too wide to bridge it at the hyperfocal distance. Aside from that, diffraction also deteriorates the image quality, so that means focus stacking. That’s a really helpful technique when the wind is cooperative, but very frustrating between gusts and lightning strikes.
When a lightning bolt comes crashing down within three kilometers, you know. When it takes less than a second for the sound to reach you after you’ve seen the strike, and it startles you with the loudness, it’s time to realize where your position is relative to the storm. You won’t want to get caught in the middle of it in an open field. And yet, here I was… In an open field. If it’s some consolation, the cloud did move away from my position and the aggression in the sky was subsiding by the time I was done dialing in this composition.
While it took about twenty exposures to capture everything, timing it between gusts and during strikes, I’ve created the above image with the help of four final images. One at minimum focus distance and one at around 35 cm for the immediate foreground. A third one that captured everything from 35 cm to about three quarters into the frame. The fourth one was the trickiest and the most fun. For that one, focus was set close to infinity while I did make the aperture smaller to accommodate a slightly longer shutter speed. It helps tremendously to be shooting well into dusk, so the shutter speed was at 4 seconds. I clicked when I saw the air-to-air strike happen. Not two seconds into the exposure, those two ground strikes shot down in short succession. I was awfully lucky with that last one and called it a night shortly after.
Processing
While I won’t get into fine detail about processing this image, I do want to share the thought process going on with each step. After the initial raw conversion in Lightroom and focus stack in Photoshop through Auto-align layers and Auto-blend layers, I felt that the strikes looked rather lackluster and the balance of the image wasn’t quite right. I do appreciate the split complementary color harmony that was going on at this stage, so I intended to process towards that. Eventually that meant shifting the hue of green more toward the yellow.

Leading the eye
We’ve got flowers in the foreground, lighting at the horizon, and a big couple of clouds with interesting colors in the back. The idea is to lead the eye from the bottom to the top of the image, and there are a couple of ways to do that.
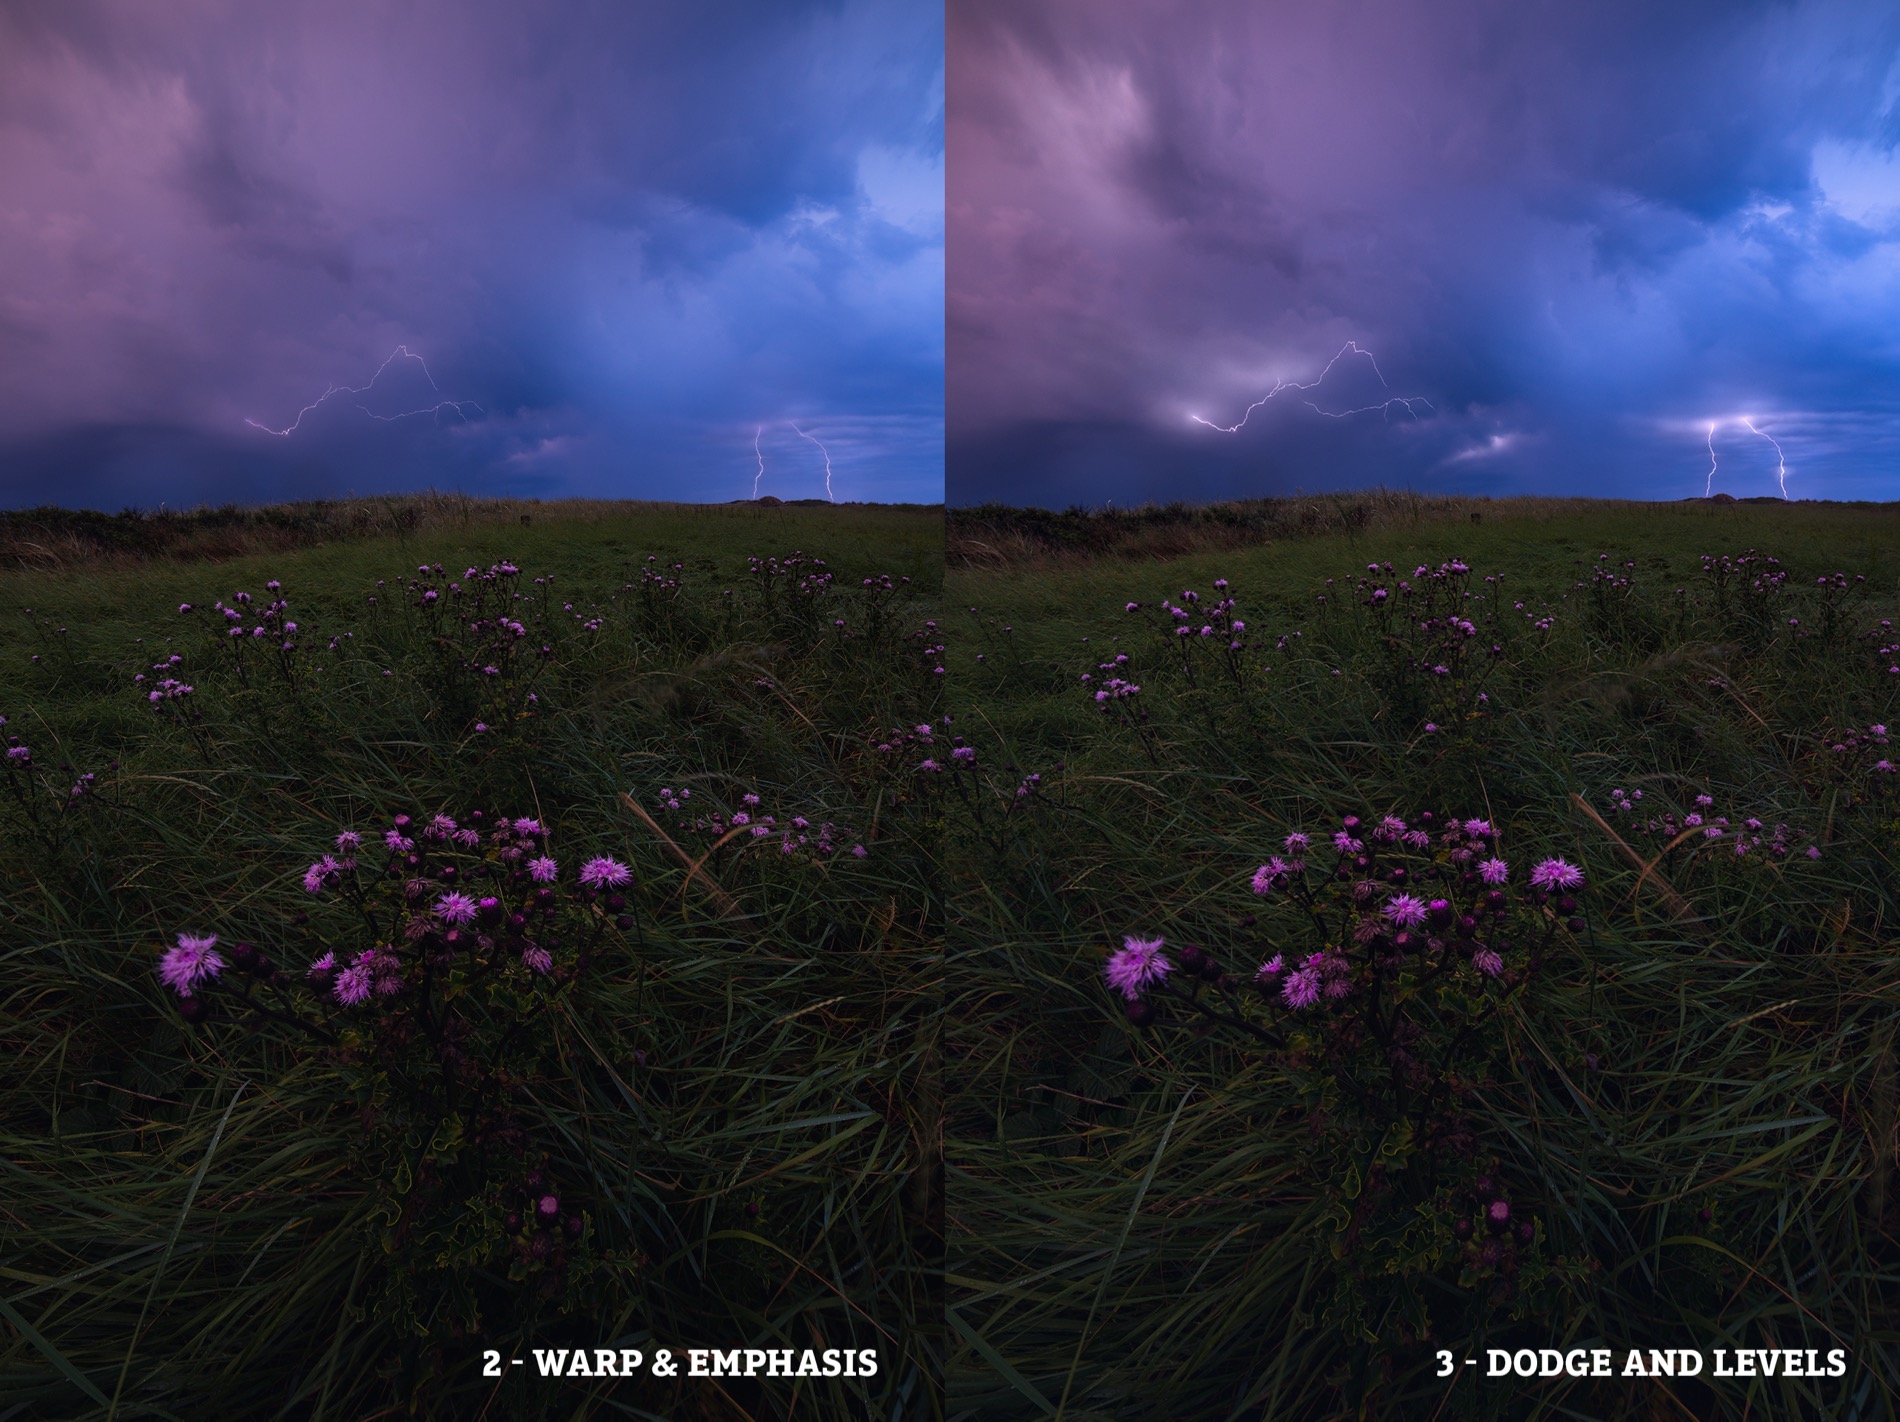
Firstly, I wanted to dodge the lightning a good amount to make it stand out more. I did this with two layers set to Soft Light. I selected the very brightest parts of the image through a luminosity mask selection and with a 1px brush set lavender, just off-white in brightness, I hand-painted over the strikes in the first layer. I applied the same technique to the second layer, but increased the brush size and lowered the opacity to soften the edges a bit and increase the apparent size of the strikes.
Creative Dodging
With the aid of new layer set to Hard Light, I dodged the areas around the origin points in the clouds to denote reflections in the sky. The highlights inside the cloud were brought out with dodging as well. A fairly large, bright violet color worked well here. When you dodge clouds, the best advice I could give you is to go easy on the saturation and dial in an opacity of about 5% when you’re using a mouse.
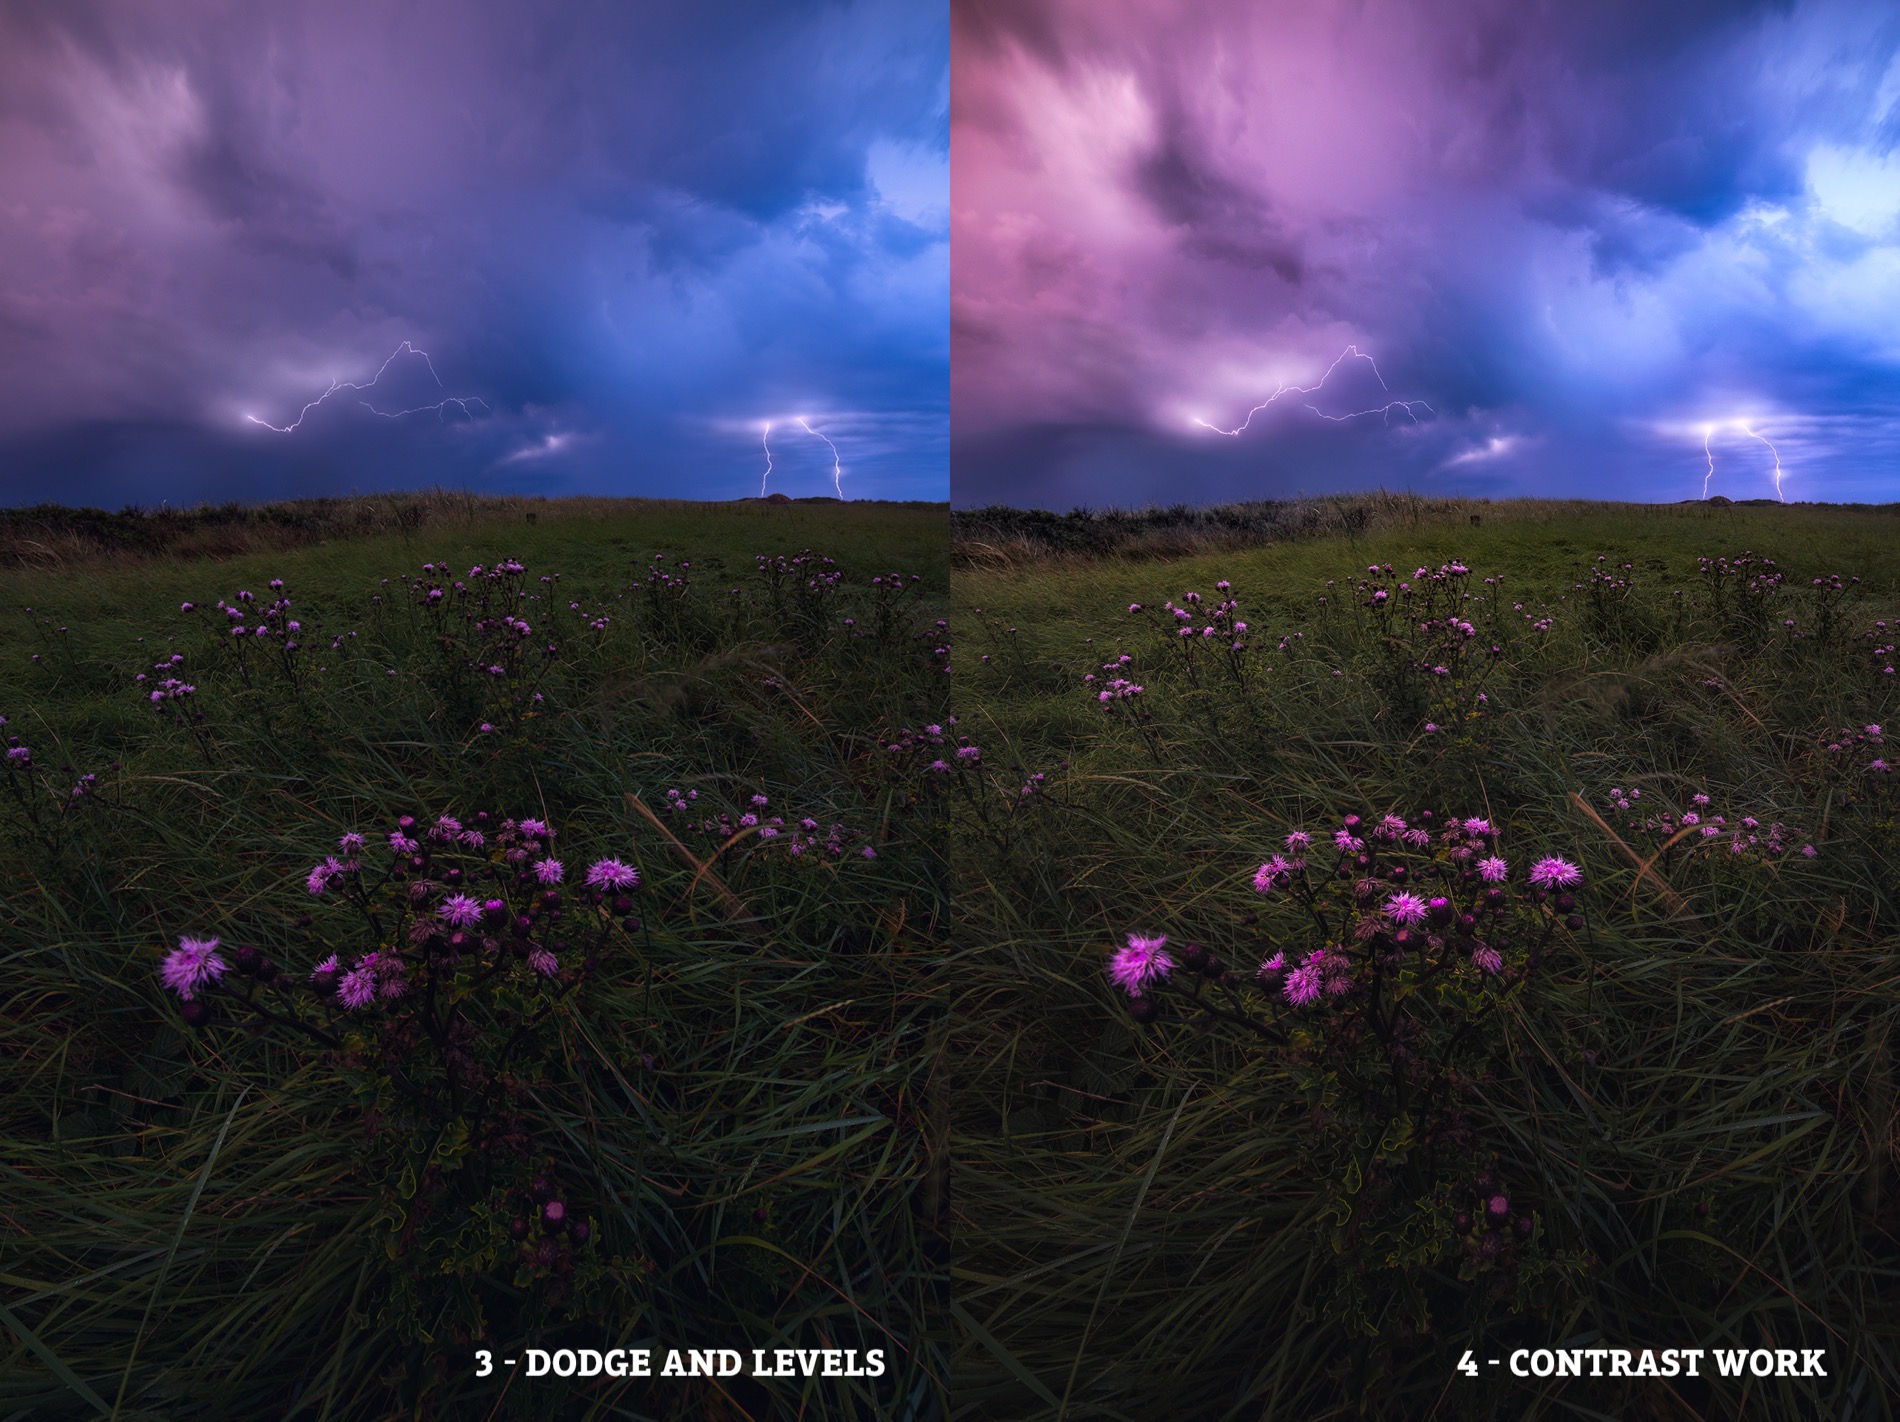
Contrast Work and Color Balance
If you find luminosity masks too complicated or too much work, than try to follow this next step. We haven’t paid much attention to the overall contrast yet. Every contrast adjustment I do is confined by a luminosity selection. That’s easier than you would think. So if I want to adjust the highlights, then all I do is hold down ctrl (or command on a Mac) and click the RGB channel in the channels palette. That loads the brightest 50% of the image as a selection. When you add an adjustment layer now, Photoshop automatically loads a mask that masks out the darkest 50%.

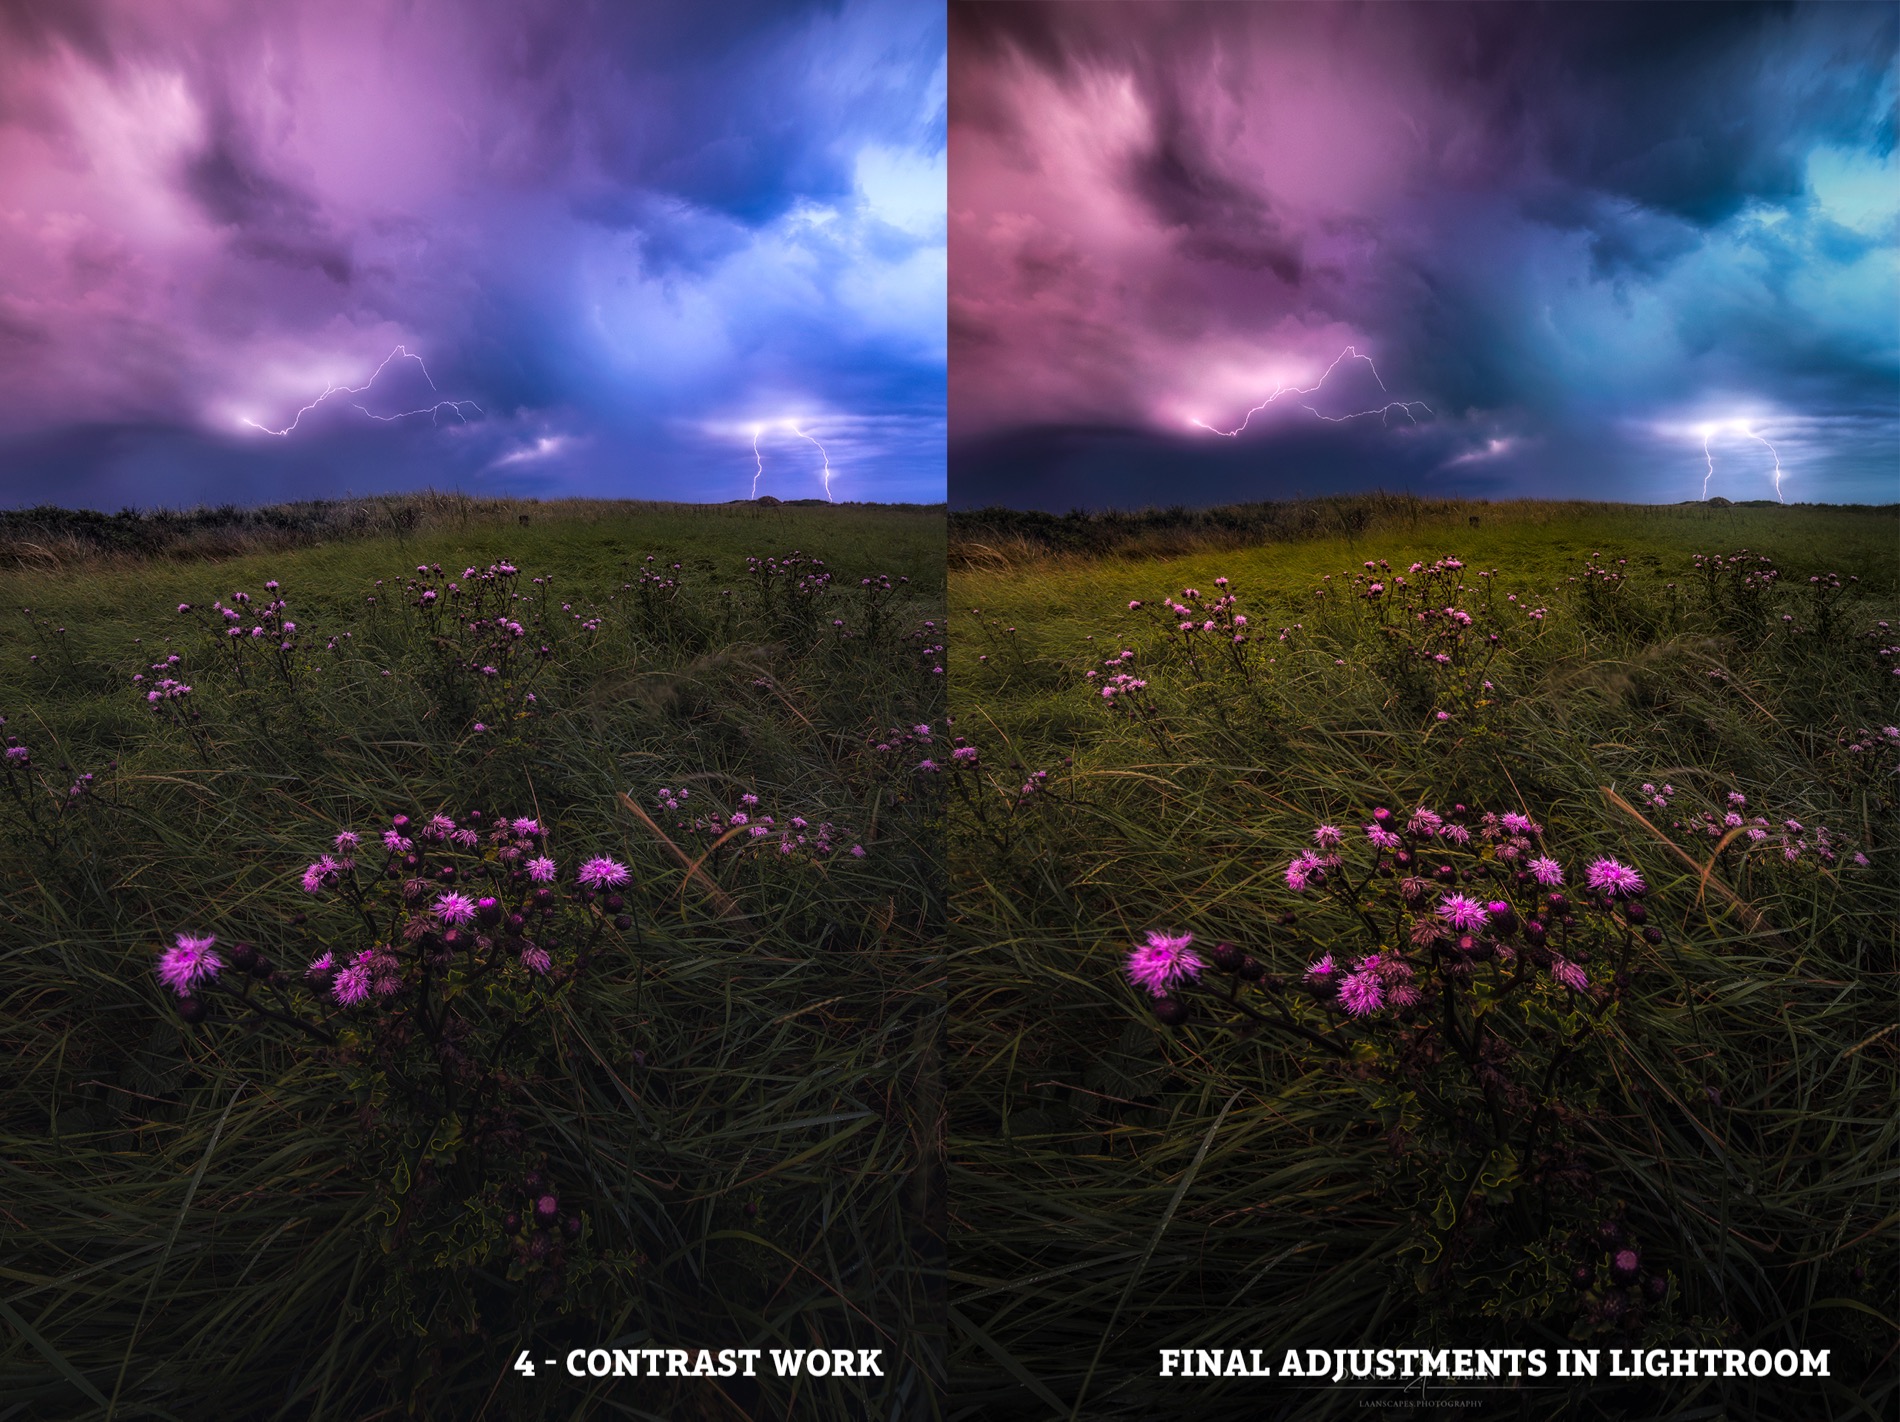
Final Adjustments
Before we get into sharpening for the web and a final contrast boost, I wanted to warp the foreground somewhat once more. A great tip I’ve picked up is to flip the image to see if the image works more or less the same when mirrored. This particular image wasn’t balanced because the flower in the foreground was too far to the left. After that last warp, the image guides the viewer up from the lower right to the upper left.
Finalizing the image is usually done in Lightroom again. This is why the end result in Photoshop is a little flat and lacks the impact that I want it to make. Of course, you could use the camera raw filter for these adjustments, but I like the fact that I’m importing the image straight into my library at this point. This is when I mostly pronounce the adjustments already done in Photoshop. The thing I want to tell you a bit about, though, is the hue shift and lowering of the saturation.
Contrast and saturation are inextricably linked. Boost contrast and you increase the saturation. Lower the saturation and the apparent contrast goes down with it. This is why you can get away with more dark/light contrast in black and white versions of the same image. In the last milestone of the image, we saw a huge amount of blue in the sky. That wasn’t there with me at the time. The sky felt much more glacial than cobalt blue. That’s because these huge energetic clouds contain something that’s known as a hail core. And almost nowhere on Earth do you see this amazing color, save for the Arctic. It’s definitely something I want to keep when I do see it in nature.
Pro Tips for Aspiring Chasers
- It’s difficult to control, but try to match the lighting conditions with the storm. That means that you could drive to a location where sun and storm meet, though it’s insanely tough to also include a great foreground subject in the nick of time.
- As a foreground subject: Less is more. Severe weather photography is about the monster in the sky, but a picture of just a cloud gets boring quickly. Finding a color or a shape in the land that matches the sky is your challenge here.
- Get to know the weather forecast. In particular: CAPE, an acronym for Convective Available Potential Energy proves very useful in advance of the storm.
- Be aware of the dangers of thunderstorm photography. Be sure the storm moves away from you, know what to do when you’re caught in the middle of it, and most importantly: know when to quit.
After all this storytelling, I would appreciate any constructive feedback on this article or any of my work here on 500px. Eventually, I did find an answer to the big questions I told you about. Storm season is about to start again and I constantly strive to get better at everything I do.
Stay up to date of my work by following me here on 500px or on Facebook to be the first to see my new releases!
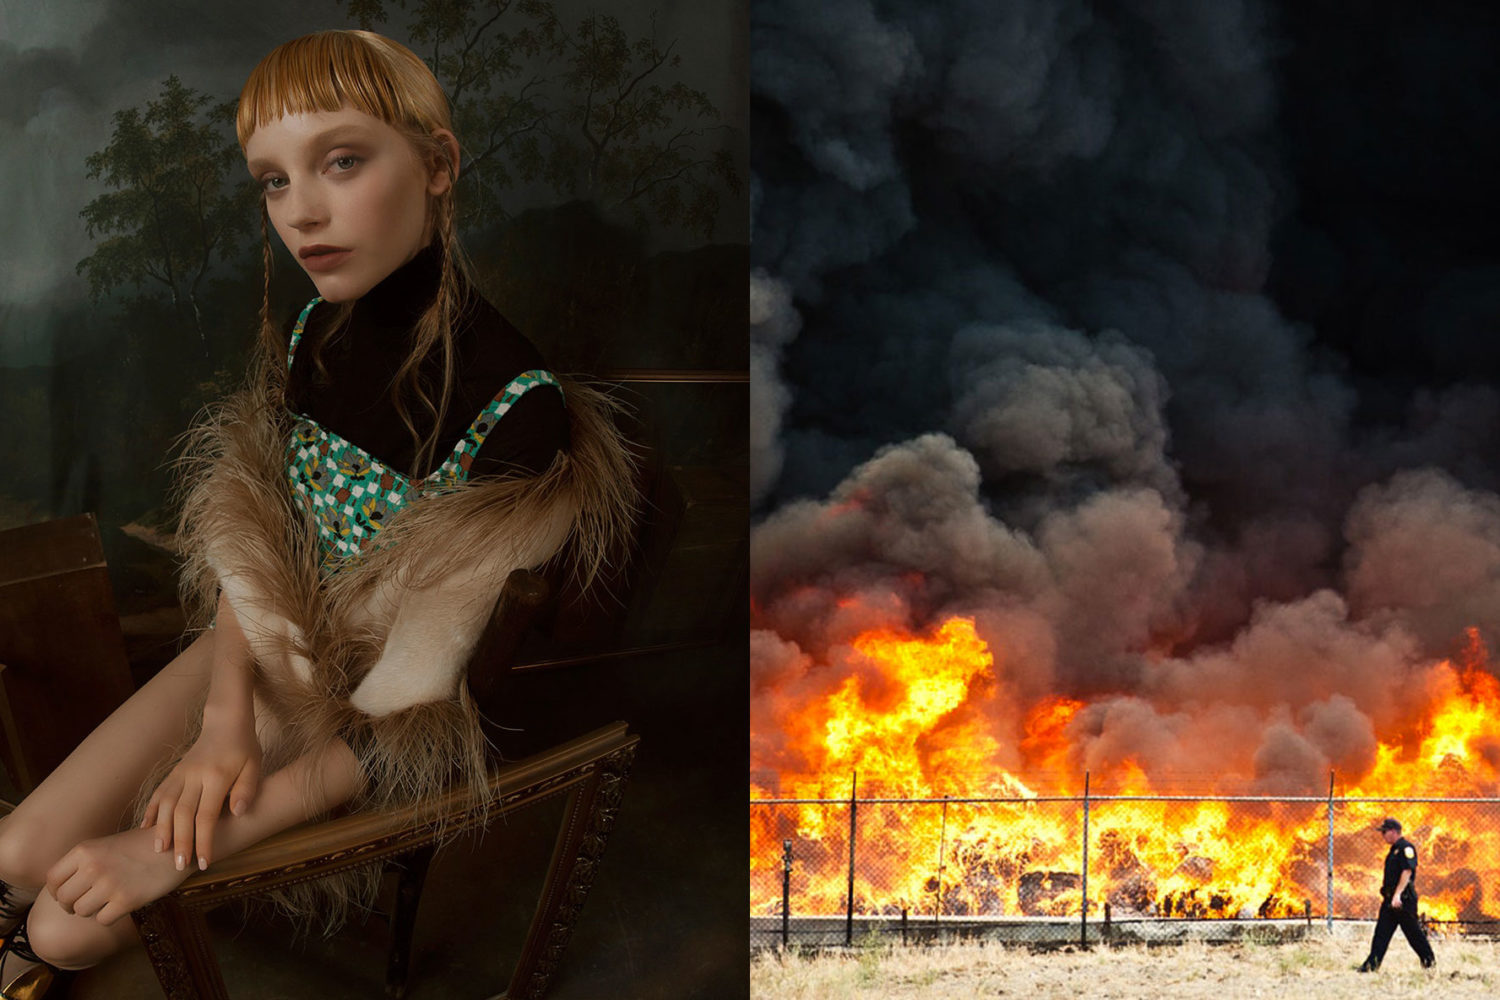
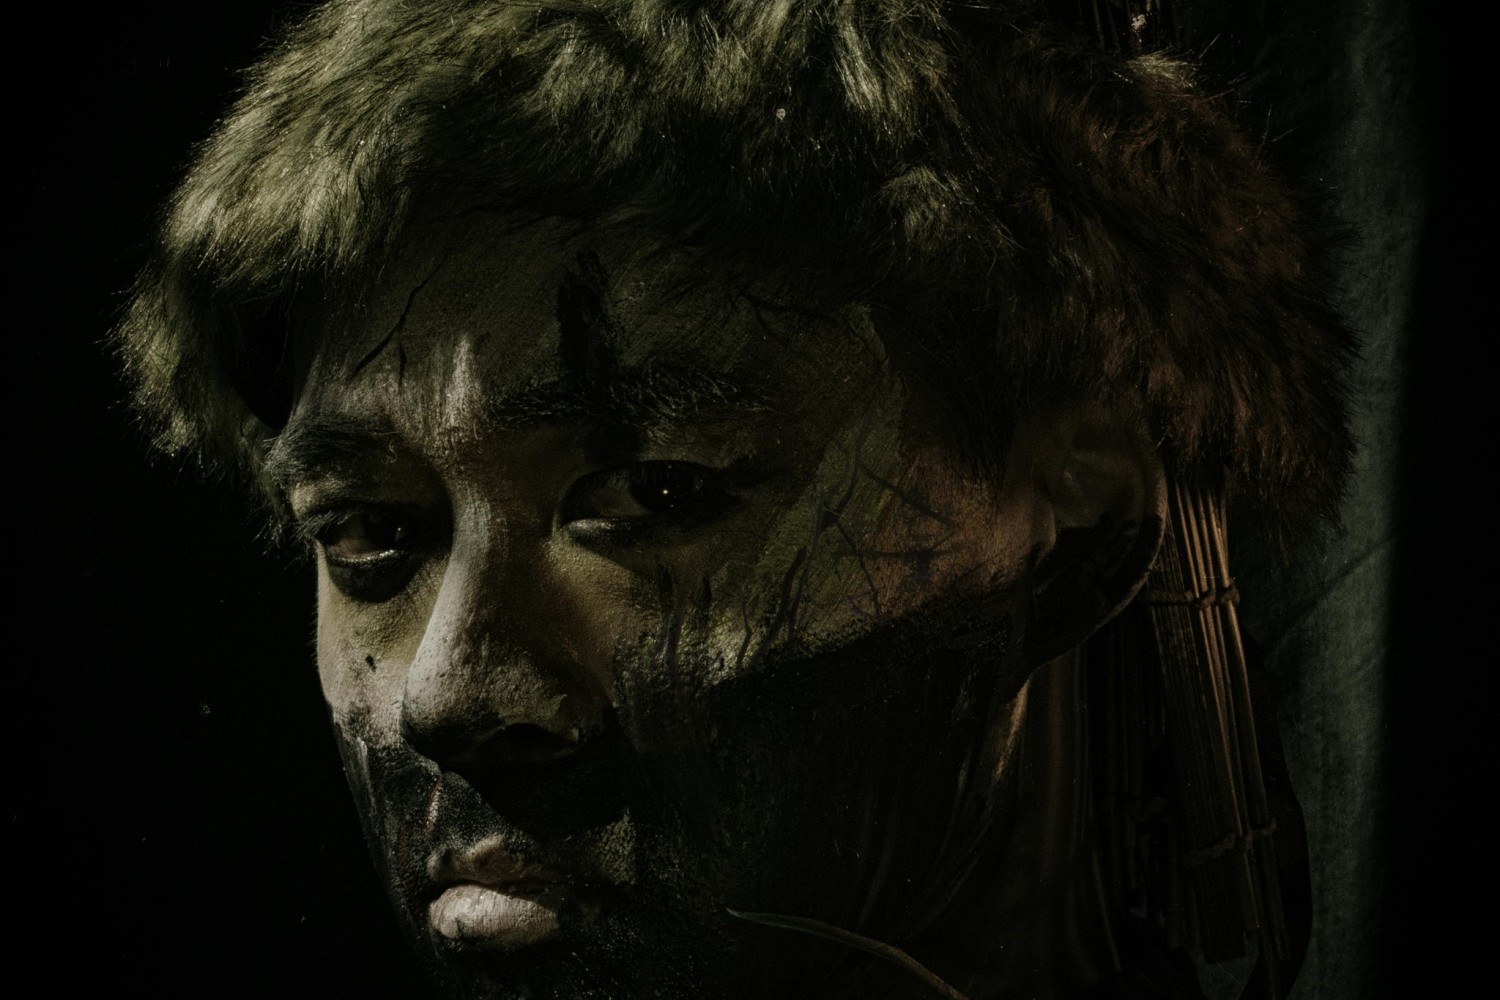
I’ll leave you for now with some of my latest moody images. Thank you for your time and stay safe!


Daniel Laan is a landscape photographer and writer from the Netherlands. His main body of work are the mystical, moody scenes he finds not in nature, but in the depths of his own mind. Nature acts as a host to materialize this Tolkien-esque approach to fine-art photography, which serves him a cathartic purpose. Laan teaches students around the world to become better artists while caring for the landscape they’re photographing.


Leave a reply