Golden hour—the time just after sunrise or before sunset—offers a fleeting, magical window where light becomes soft, warm, and incredibly flattering. For portrait photographers, it’s the perfect opportunity to create emotionally rich images that glow with natural warmth and intimacy.
Whether you’re working with a professional model or capturing candid moments of loved ones, learning to harness golden hour light can dramatically enhance the emotion and mood in your portraits.
Why Golden Hour Light Works So Well for Portraits
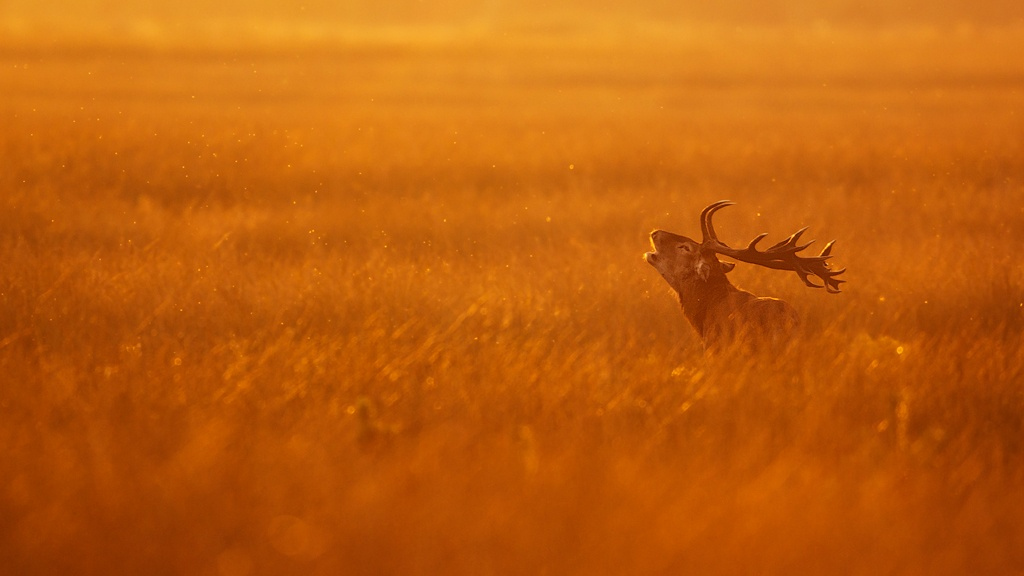
Golden hour lighting is naturally diffused and directional, which means it wraps around your subject gently without creating harsh shadows. The warm tones evoke feelings of nostalgia, serenity, and intimacy, making it ideal for emotionally driven portraiture.
In addition, the lower angle of the sun creates long shadows and depth, which can add visual interest and dimension to your shots.
Techniques for Capturing Emotion in Golden Hour Portraits
To make the most of this time of day, you’ll need to consider light direction, composition, and your subject’s expression.
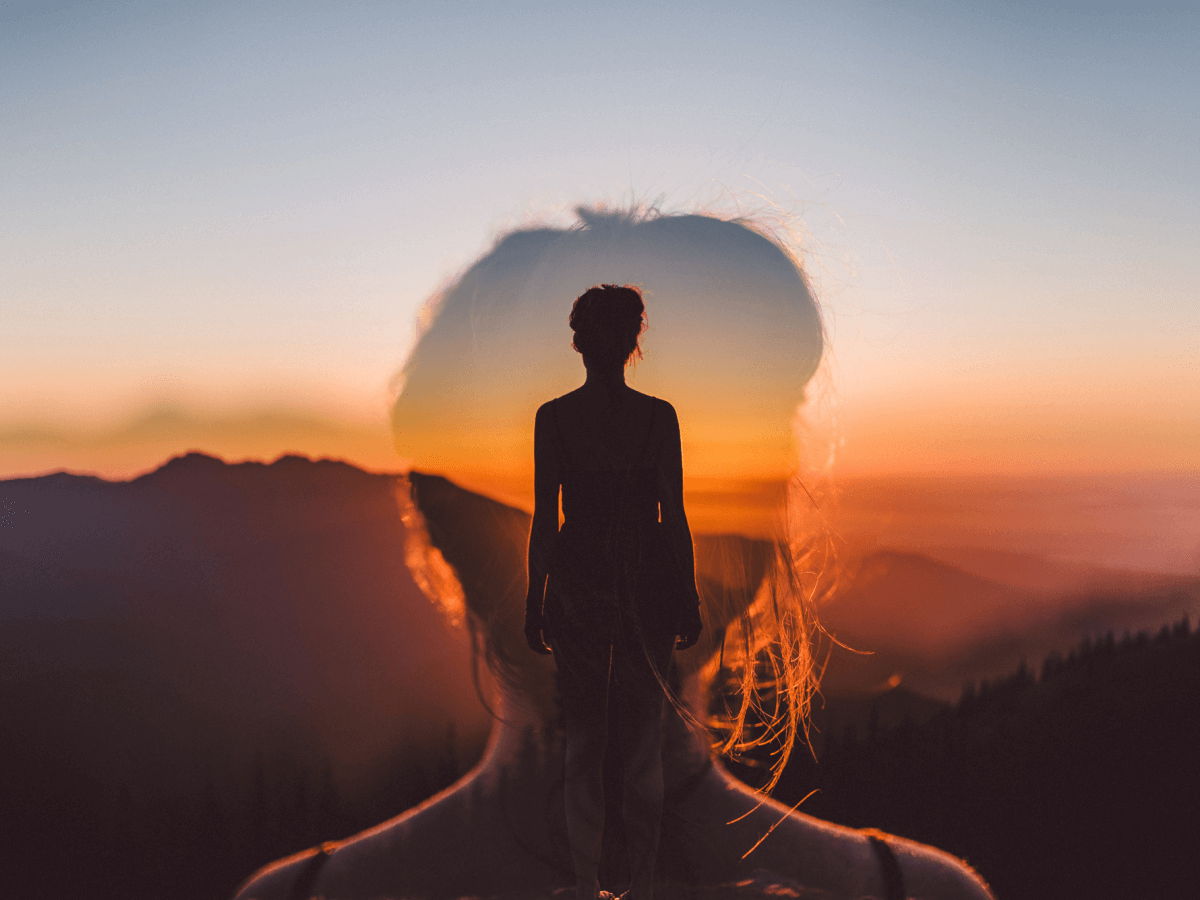
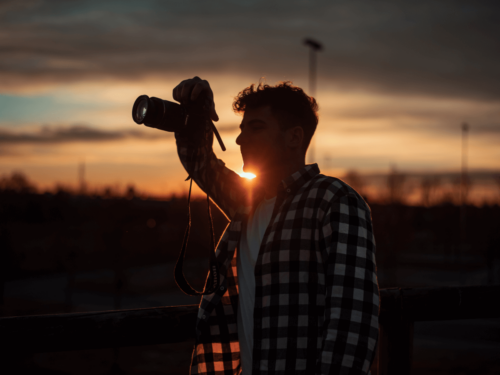
- Backlighting for warmth and glow: Position the sun behind your subject to create a soft halo effect around their hair and shoulders. This helps highlight outlines while gently separating them from the background.
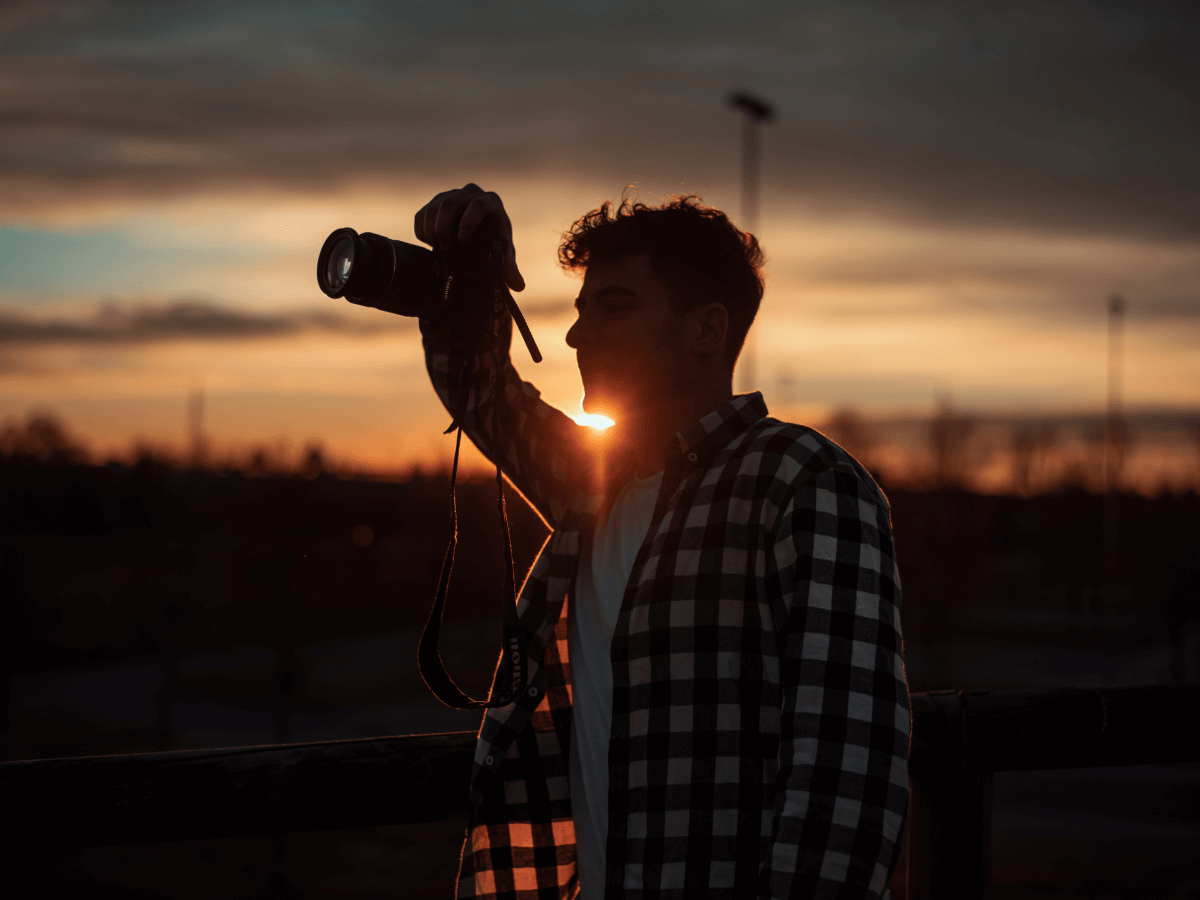
- Side lighting for mood and depth: Shooting with the sun at a 45-degree angle creates contrast and brings out textures, which can add drama or intimacy to facial expressions.
- Use a reflector: A simple reflector can bounce warm light back onto the subject’s face, enhancing eye catchlights and filling in shadows without overpowering the natural feel.
- Keep poses fluid and natural: Direct your subject to move slowly or engage in small actions (like brushing hair away or looking down) to capture authentic emotion in the moment.
Setting the Scene for Stronger Impact
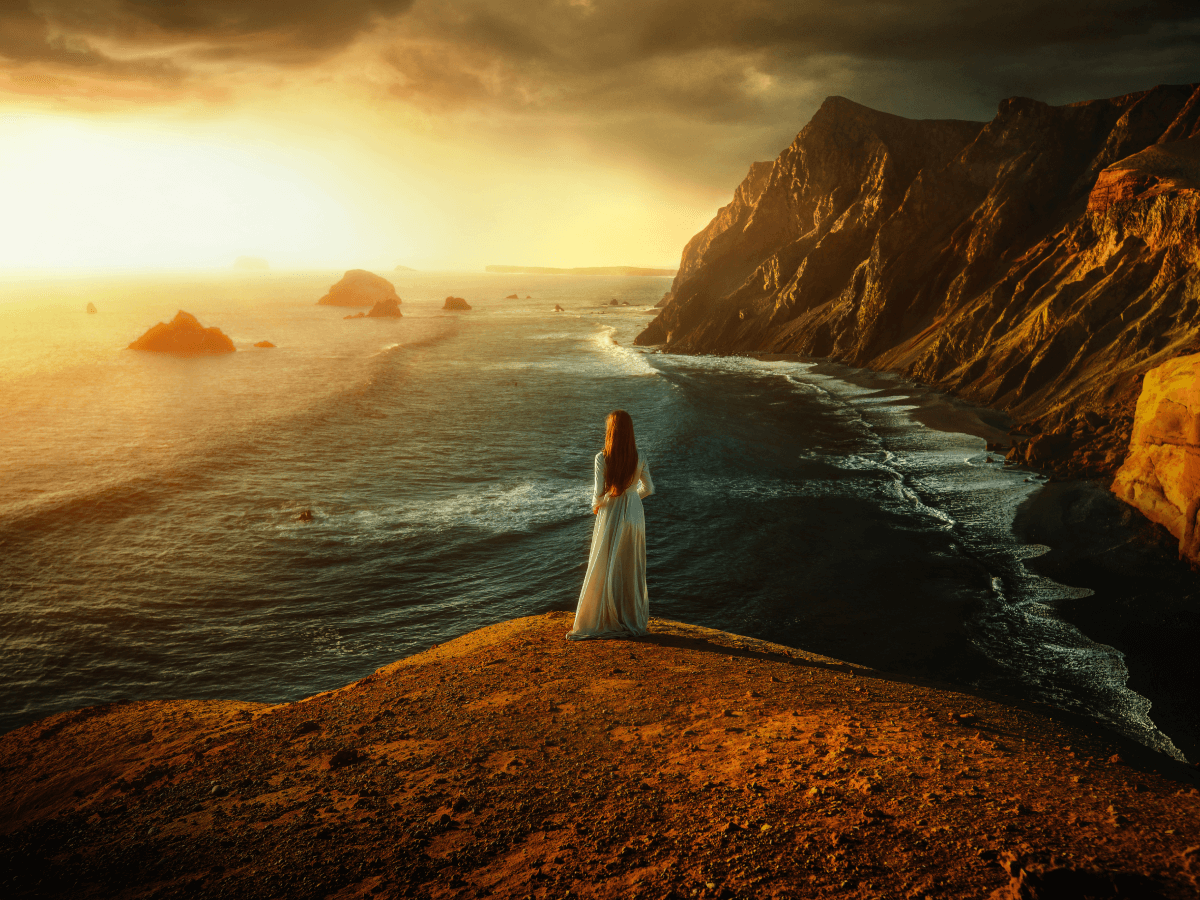
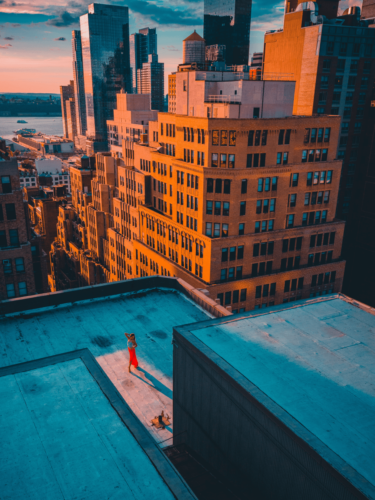
Context matters when telling emotional stories through portraits. Choose locations that match the tone you want to convey—open fields for freedom, quiet beaches for reflection, or city rooftops for solitude and introspection.
Clothing and color palettes should also complement the golden light. Earth tones, soft neutrals, and pastels often enhance the warmth of the hour, blending beautifully with the natural backdrop.
Camera Settings for Golden Hour Portraits
While golden hour is forgiving, fine-tuning your settings ensures consistency:
- Shoot in RAW for more flexibility in post-processing.
- Use a wide aperture (f/1.8–f/2.8) to create shallow depth of field and draw attention to your subject’s eyes.
- Adjust white balance manually, or set to “Cloudy” to enhance warmth if your image appears too cool.
Add a Storytelling Element
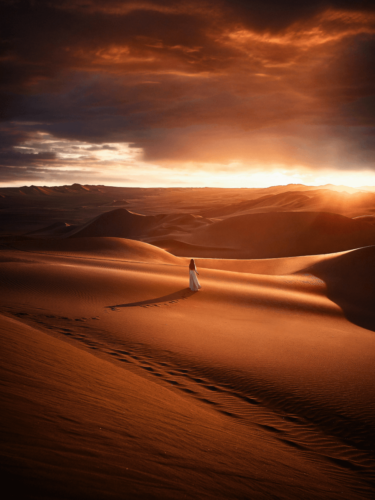
Golden hour is more than just a pretty light—it’s a storytelling tool. Frame your shots in a way that reflects emotion: isolate your subject against the horizon to show solitude, or include environmental elements like trees or doorways to frame your subject with visual context.
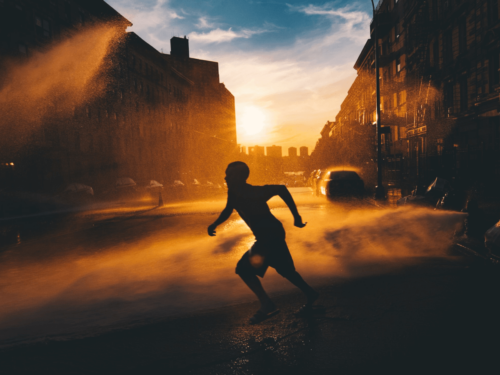
Let your subject interact with the light—have them reach toward the sun, close their eyes in the warmth, or walk into the light with movement and intention.
Edit with Intention
Post-processing should enhance the mood you captured, not overpower it. Boost warmth slightly to enhance golden tones, but maintain soft highlights and gentle contrast. Avoid over-sharpening or high saturation, which can disrupt the natural feel of the light.
Golden hour light gives photographers a natural advantage when creating emotional portraits. By understanding how to position your subject, compose for story, and work with the warmth and softness of the light, you’ll be able to capture portraits that resonate with depth and emotion.
Extended reading: Creative Lighting Setups to Enhance Your Portraiture