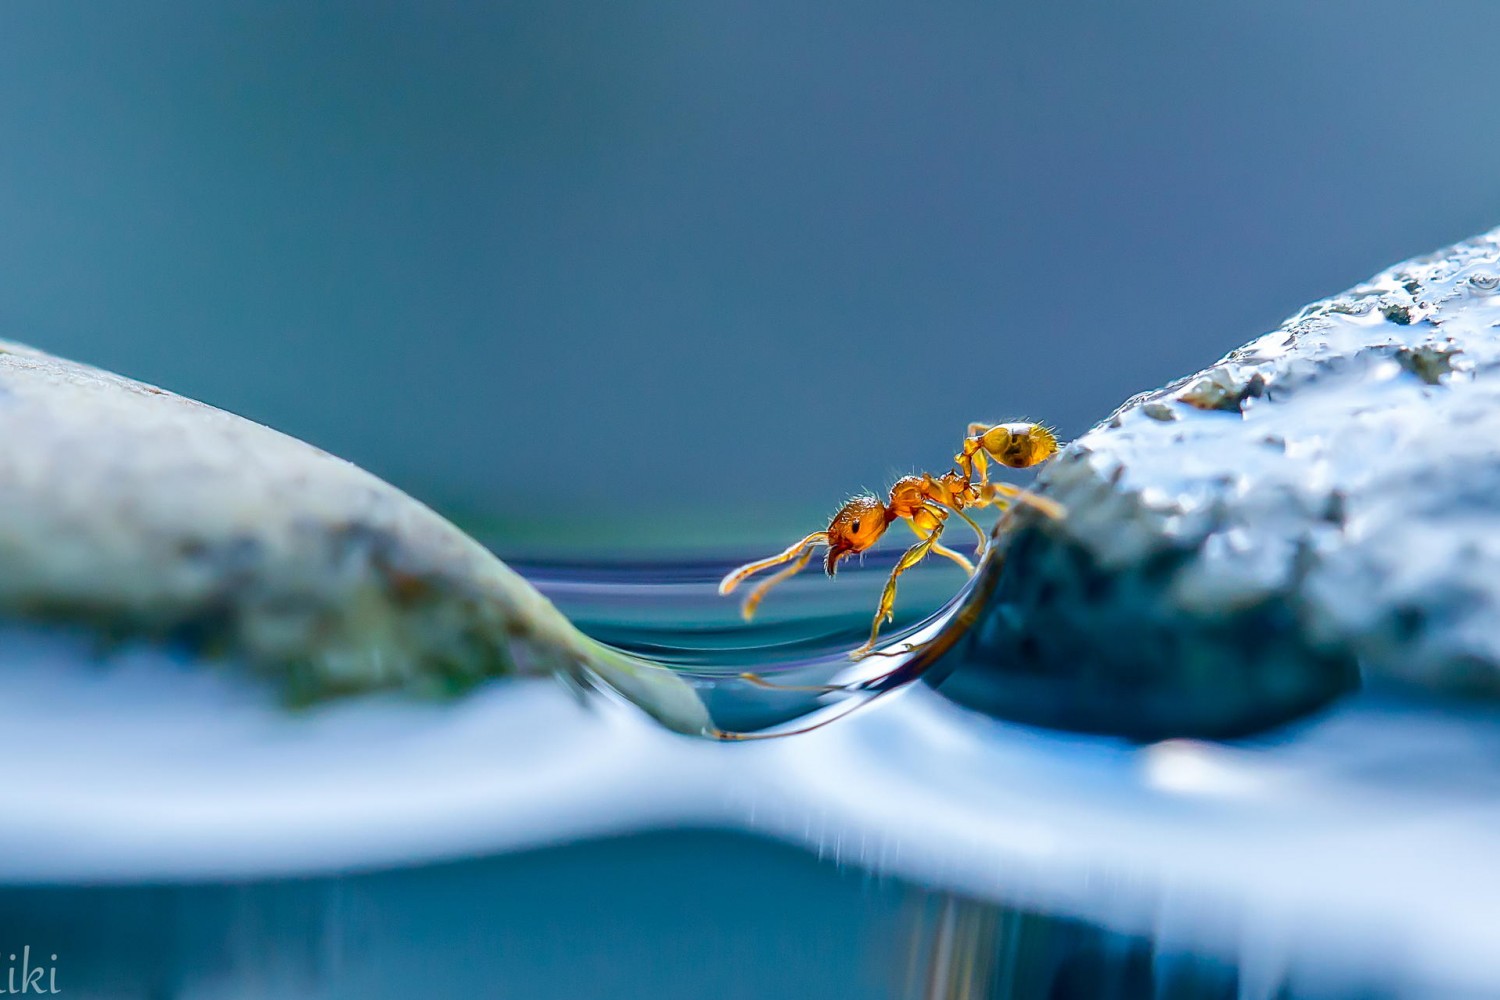
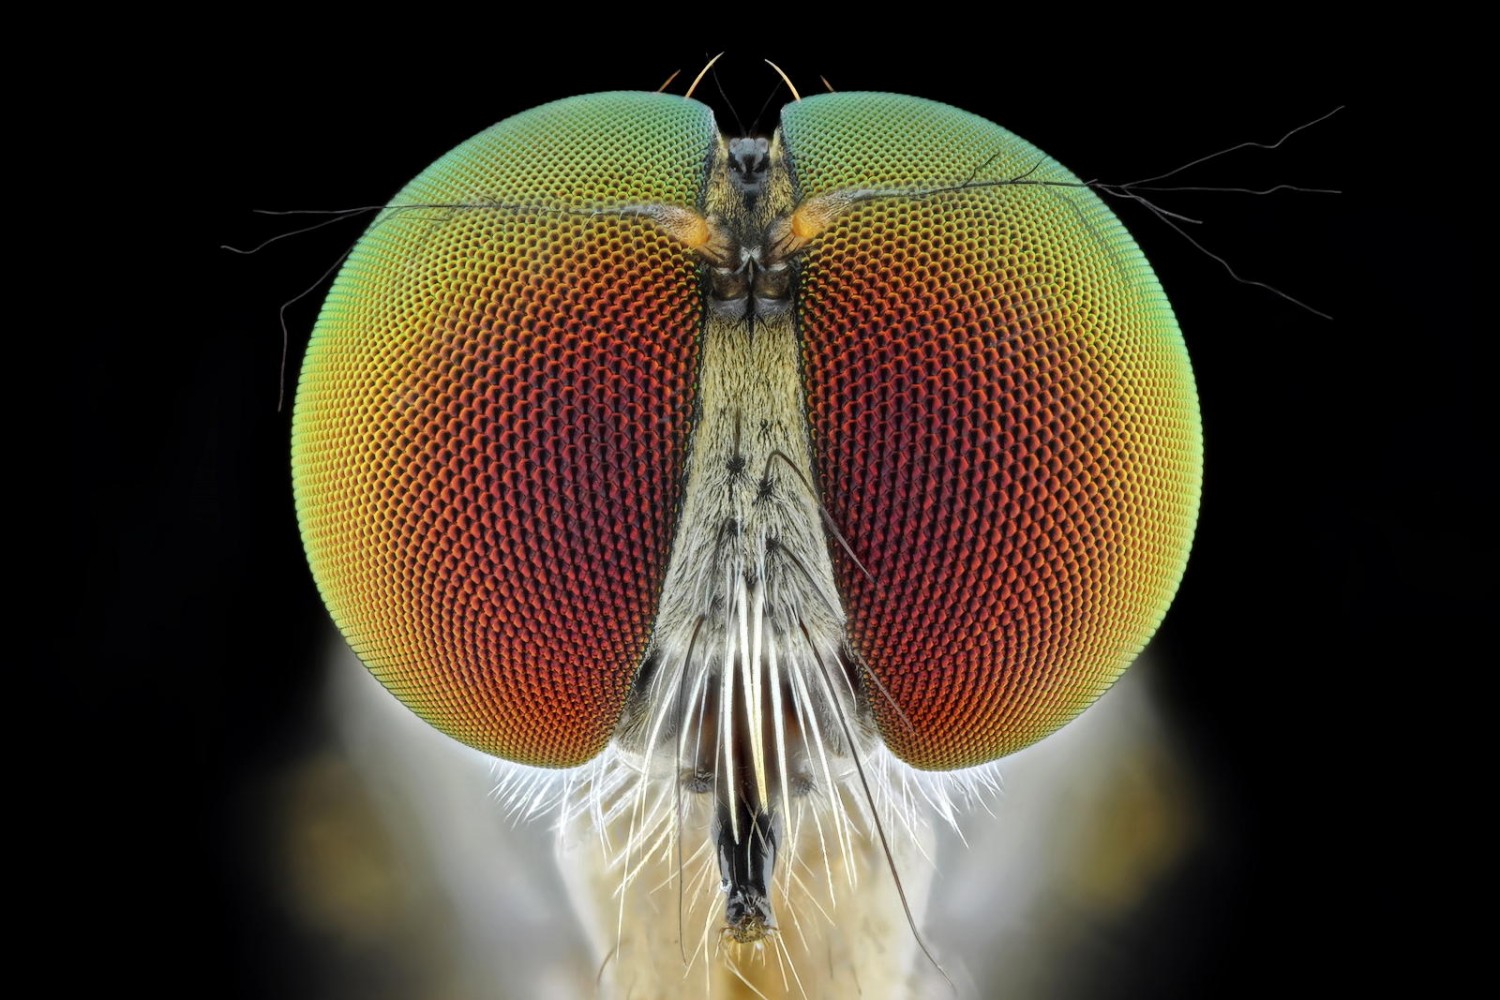
When it comes to macro photography, light can either elevate your shot to a work of art or bury intricate details in shadows. Whether you’re photographing insects, flowers, or small objects, understanding how to use light effectively is key to achieving sharp, expressive, and visually compelling images.
Natural vs Artificial Light in Macro Photography
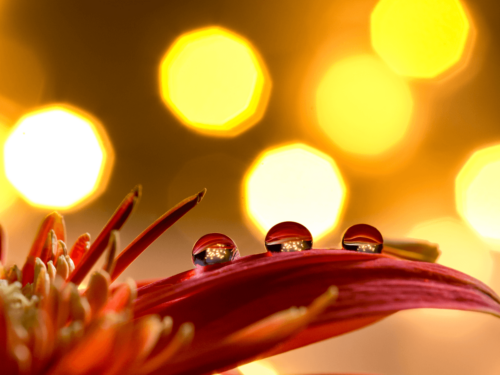
Natural light is often the first choice for outdoor macro photographers. Early morning and late afternoon offer soft, golden light that brings out textures and reduces harsh shadows. However, natural light is unpredictable, and you may encounter overcast skies or midday harshness.
On the other hand, artificial lighting such as ring flashes, LED panels, or speedlights gives you full control. These tools allow you to shape, direct, and modify light for consistent results regardless of the environment.
Tip: Try combining both natural and artificial light. Use natural light as the base and a reflector or soft flash to fill in unwanted shadows.
Key Lighting Techniques for Macro Success
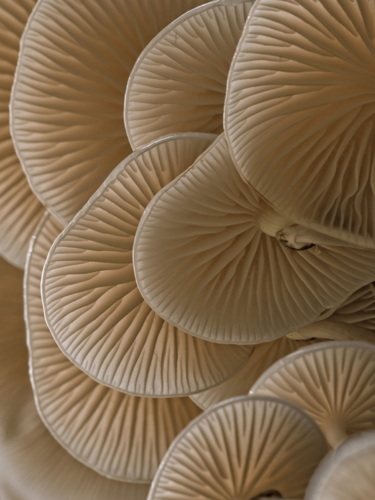
- Diffuse Your Light: Whether natural or artificial, harsh light can blow out details. Use a diffuser like a translucent umbrella, softbox, or even a piece of white cloth to soften the illumination.
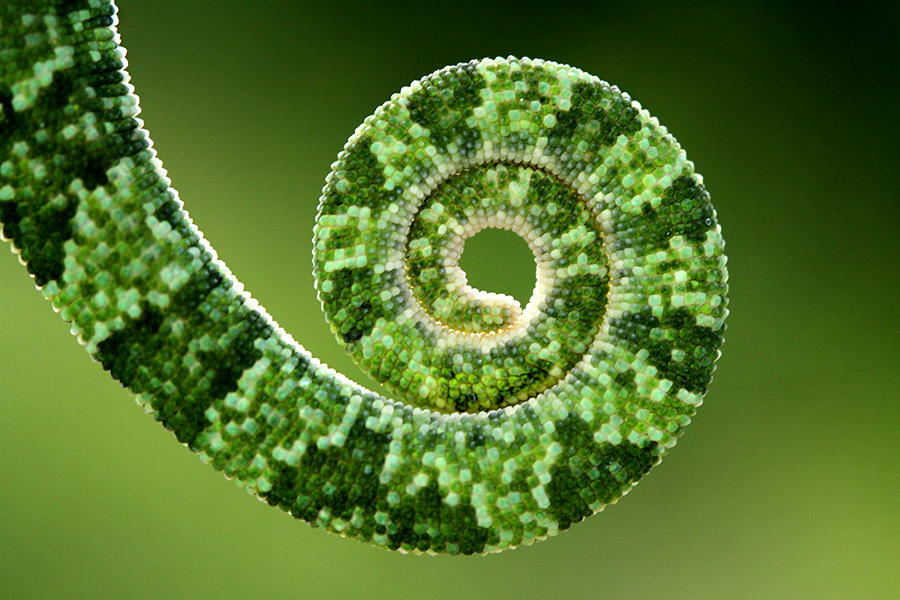
- Side Lighting: Positioning your light source to the side can reveal textures and give your subject a more three-dimensional feel.
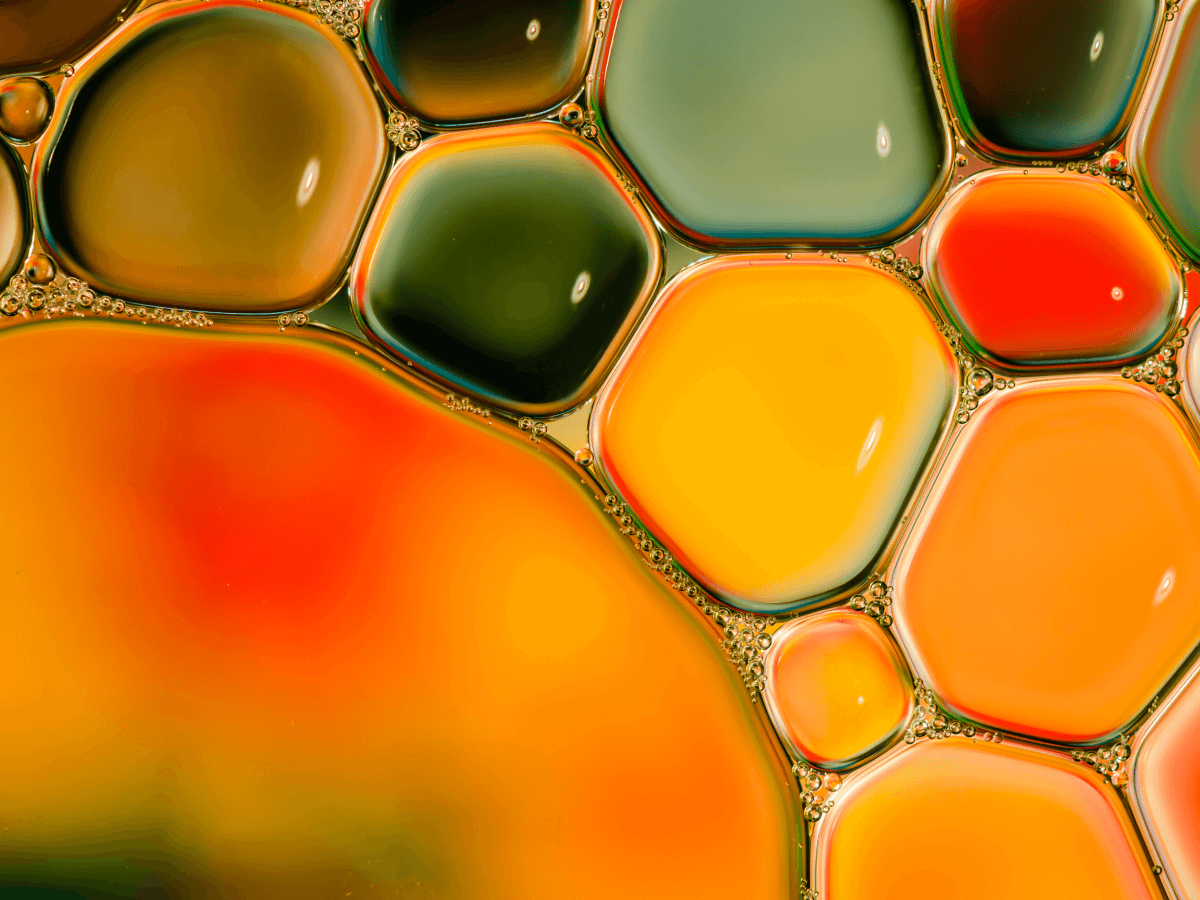
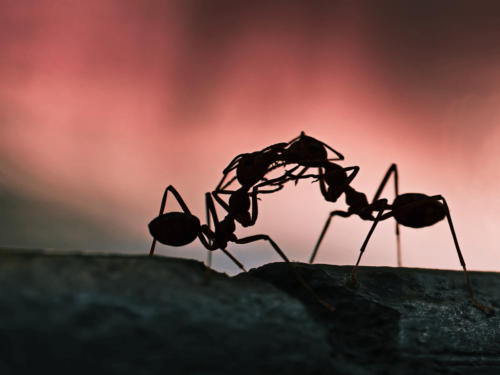
- Backlighting: Great for translucent subjects like petals or wings. Backlighting creates a glow and adds mood, but may require exposure compensation.
- Use Reflectors: Bouncing light back onto the subject can help fill shadows and add a touch of warmth, especially in cool light conditions.
Controlling Shadows and Highlights
In macro photography, shadows can become distracting if not controlled properly. Try these techniques:
- Adjust Angle and Distance: Move your light source or change your position to modify the shadow cast.
- Use Fill Light: A secondary light source or small LED panel can help fill in shadows without overpowering the main light.
- Manual Exposure Settings: Shoot in manual mode to control your highlights and preserve details in both dark and light areas.
Practical Setup Tips for Macro Lighting
- Stabilize your gear – Use a tripod to keep your composition steady when experimenting with light angles.
- Start with one light source – Master it before adding more complexity.
- Use a diffuser or bounce card – Even a folded piece of white paper can make a difference.
- Experiment and review – Check your shots frequently, and don’t be afraid to adjust.
Light in Macro Photography as a Creative Tool
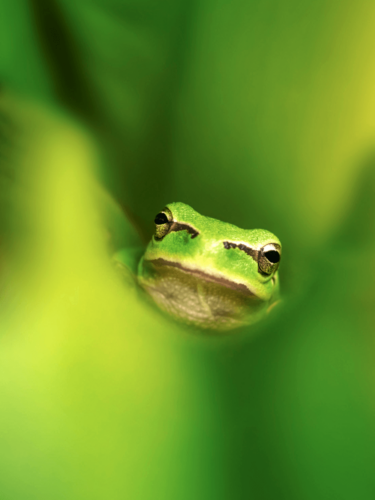
Light tells a story. Harsh shadows can convey drama. Soft light can evoke intimacy. A splash of warm sunlight can introduce nostalgia, while cool tones may suggest tranquillity or mystery. Train your eye to see how light interacts with your subject, and you’ll unlock new dimensions in your macro photography.
Extended reading: Getting Started with Macro Photography