Jimmy McIntyre is a world-renowned travel photographer, educator, and 500px ISO contributor. His photos have been published in local and national magazines, including the BBC. Raya Pro—his Digital Blending plugin—and more of his post-processing courses can be found on his official website.
Every now and then, we create an image with an extremely strong color cast. And though both Photoshop and Lightroom offer a treasure trove of tools to remove even the strongest color casts, experienced Photoshop users know that not every technique performs equally on every image. Having a greater number of tools to deal with any situation ensures we come out with an image we’re happy with.
This tutorial will show you 5 techniques that help you reduce or remove a color cast in your image. Some are instant, whereas others need a little bit of tweaking first.
Feel free to download my free color correction action from the link below. No signup required. Just press the download button at the top of the page to get the action.
Colour Correct Action: http://www.shutterevolve.com/photoshop-secrets-17-5-ways-to-color-correct-beautifully-even-remove-strong-casts/
5 Different Ways to Color Correct
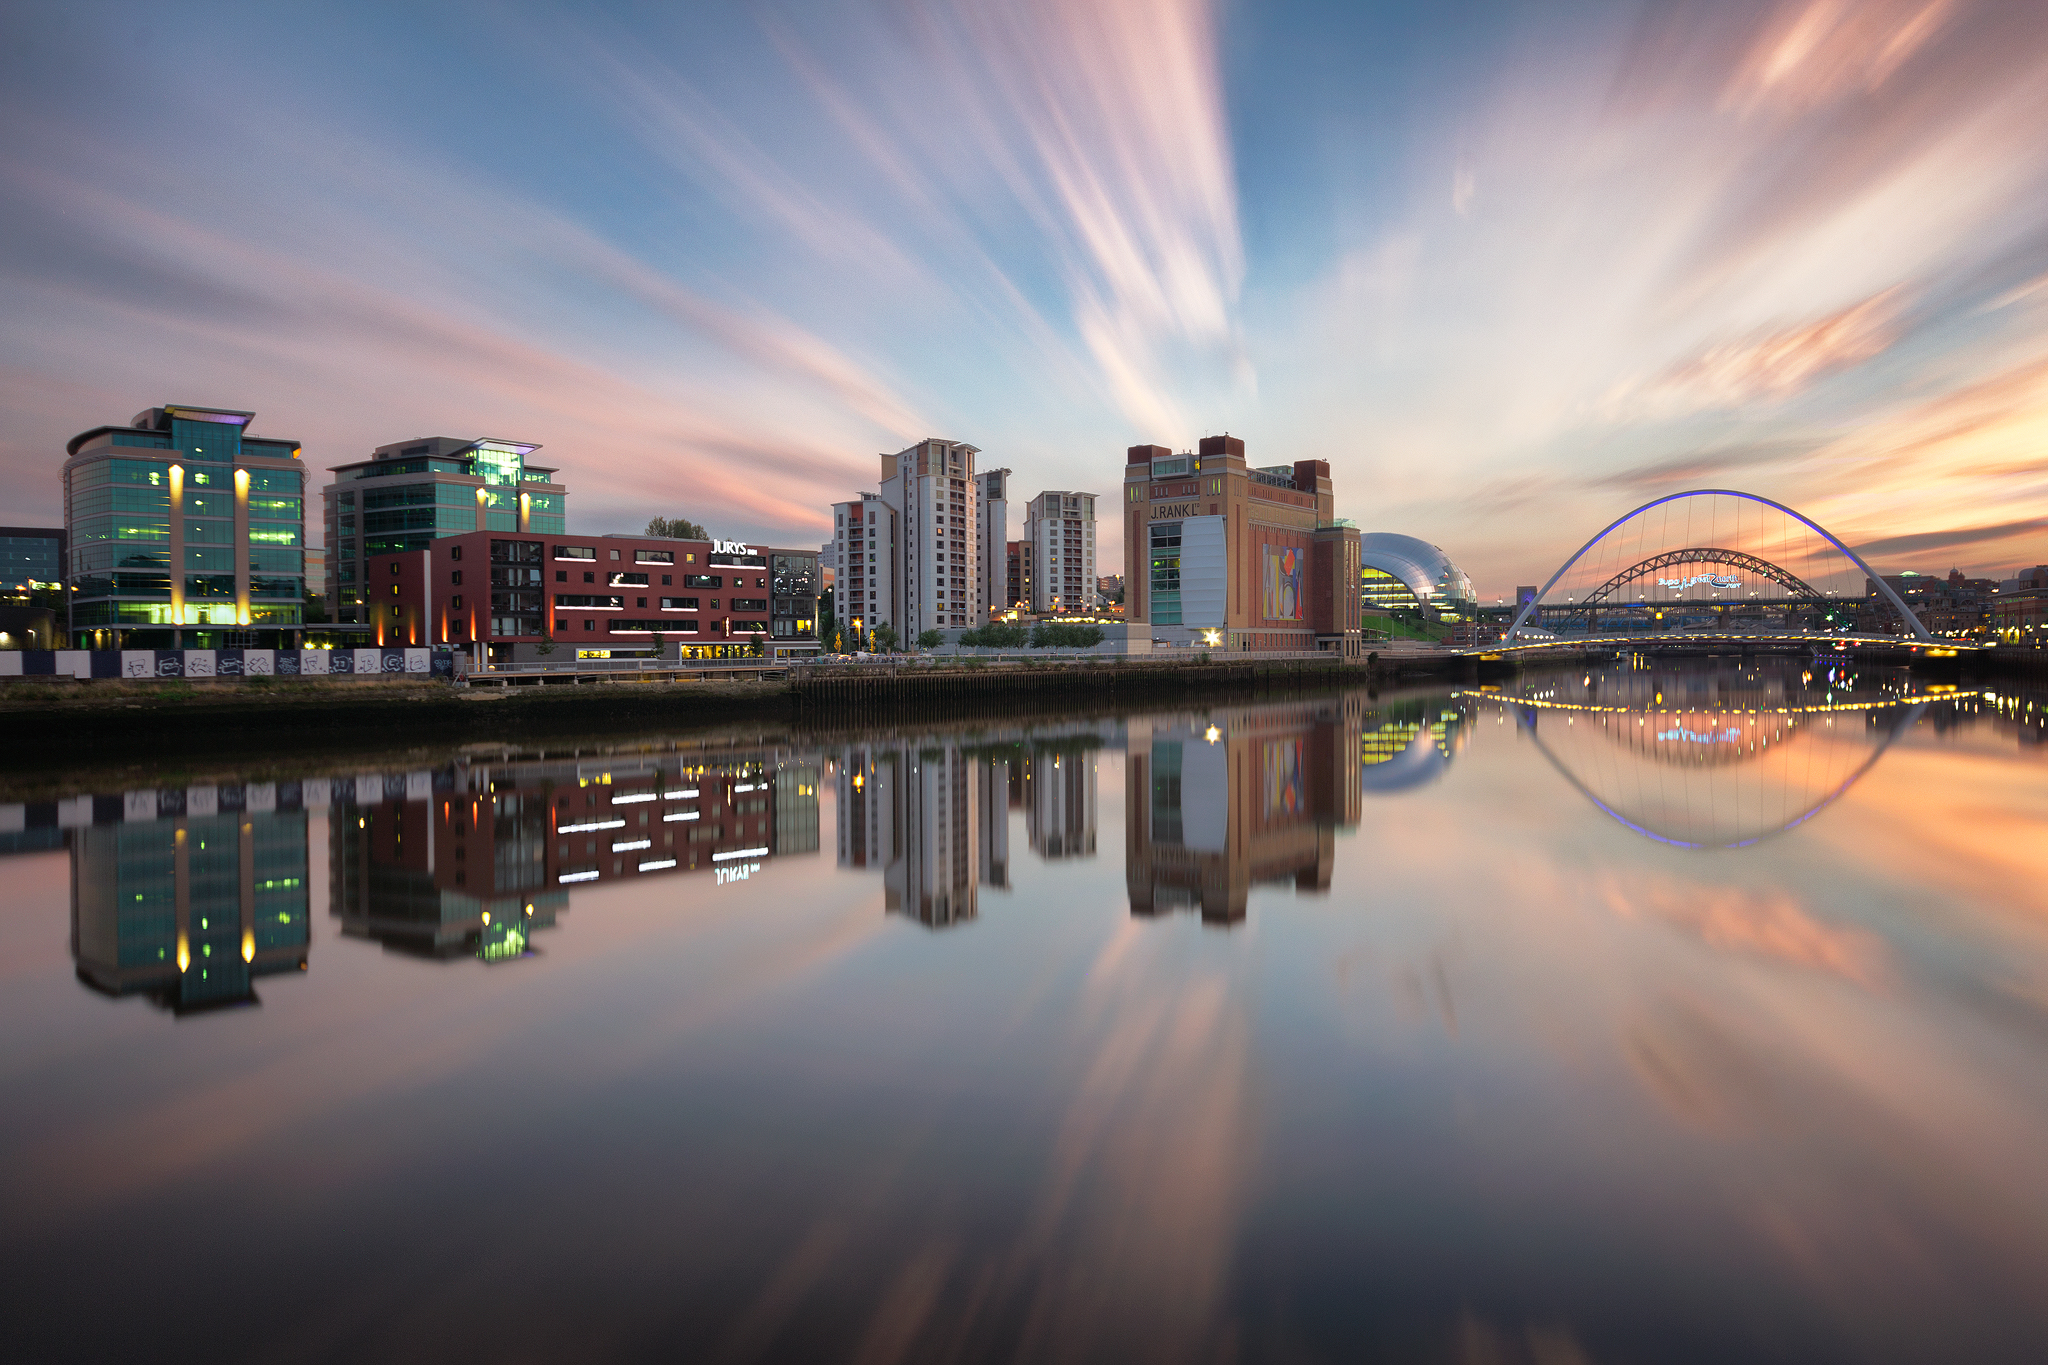
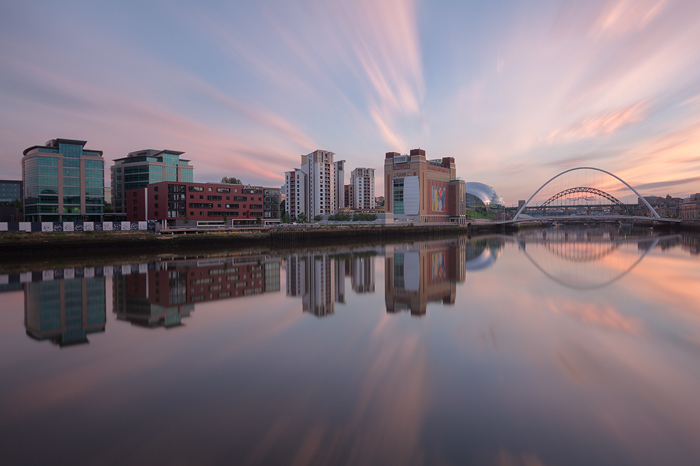
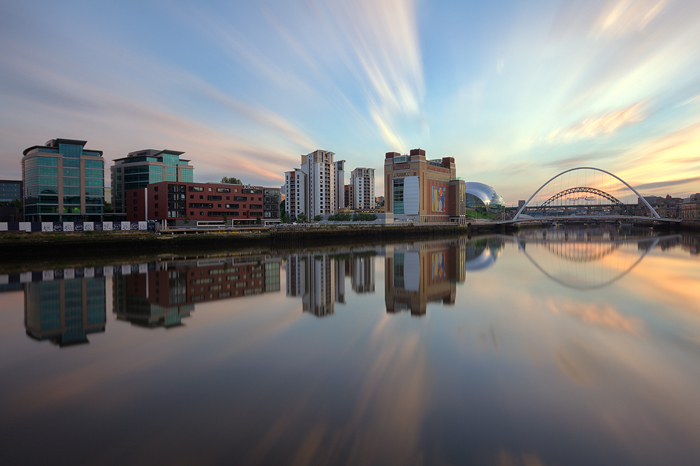
In this tutorial we work with an image with an extremely strong, pink cast. Although I want to correct the color cast, I would like to keep some of that pink, just to add some extra warmth to the image.
Please note, I haven’t done any post-processing to this scene, that is why the contrast is flat. I just blended two exposures using Raya Pro. Usually I do color corrections early on, and then continue with the rest of the workflow.
1. Neutralize
To quickly color correct, go to Image>Adjustments>Match Color. In the dialogue that appears, simply click the box that says ‘Neutralize’.
The result:
[twentytwenty]
 [/twentytwenty]
2. Auto Color
This is the easiest method of color correction. Just go to Image>Auto Color
The result:
[twentytwenty]
 [/twentytwenty]
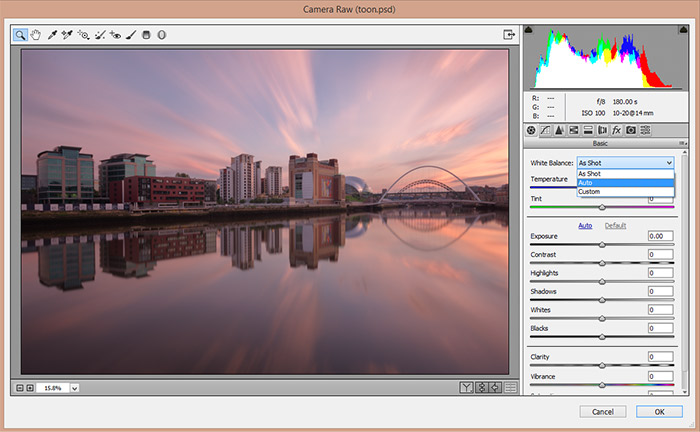
3. Camera RAW filter
Go to Filter>Camera RAW Filter. Then, where it says ‘White Balance’, open the dropdown box and click ‘Auto’. Now press ‘OK’.
The result:
[twentytwenty]
 [/twentytwenty]
4. Match Color
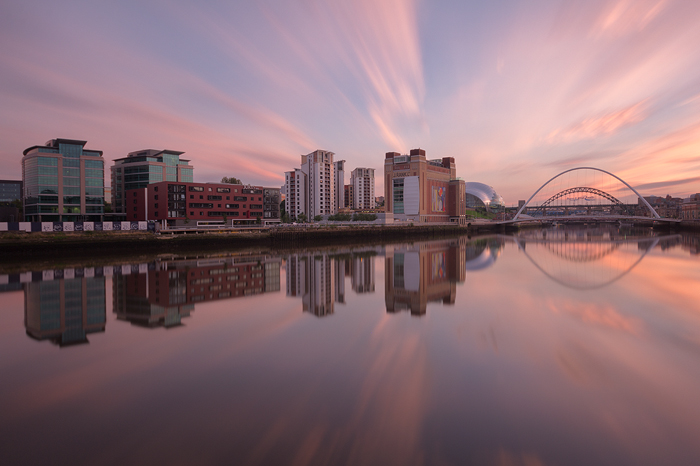
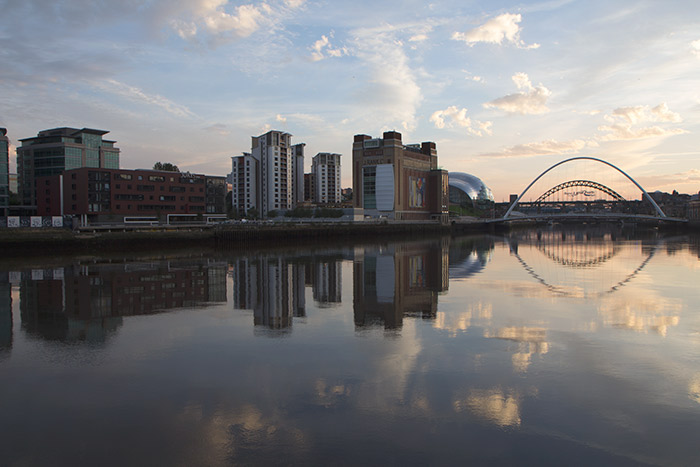
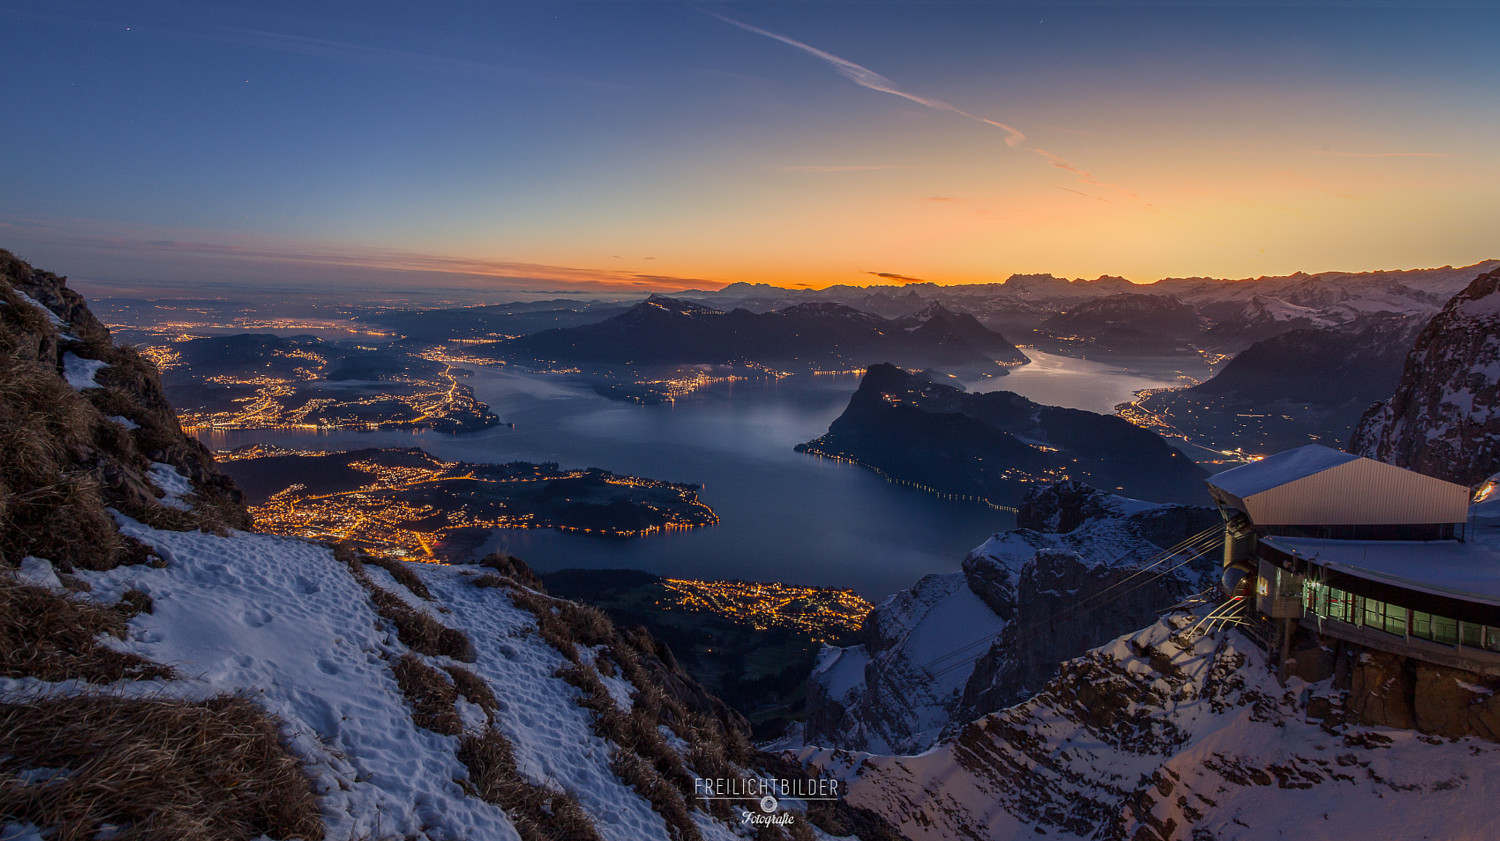
This next technique is great for long exposures shot with an ND filter where you also captured the same scene without the ND filter attached. If your ND leaves a strong cast, we just replace the colors in the long exposure image with the colors in the image where no ND was attached.
For example, below is a similar image of this scene without an ND filter:
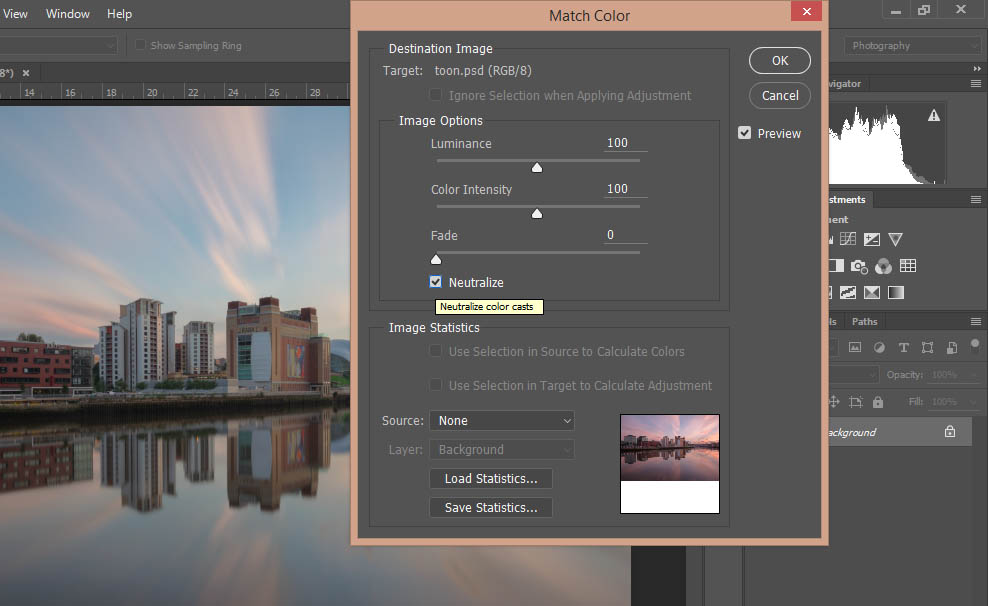
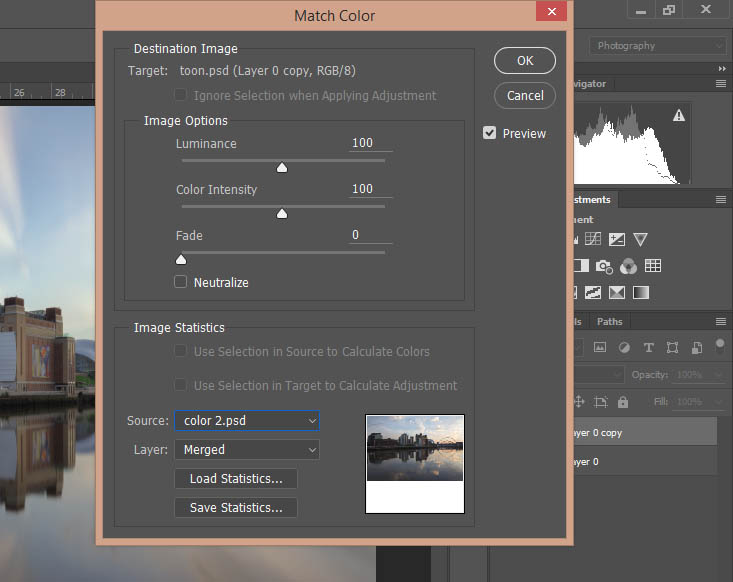
With this image also open in Photoshop, we go back to Image>Adjustments>Match Color. This time, however, we don’t press Neutralize. Instead, we go to where it says ‘Source’ and in that dropdown box, locate the name of the non-ND image.
Once that is selected, the colors in our long exposure will match that of the colors in our non-ND image.
We can refine this further by adjusting the Luminance and Color Intensity sliders until we’re happy.
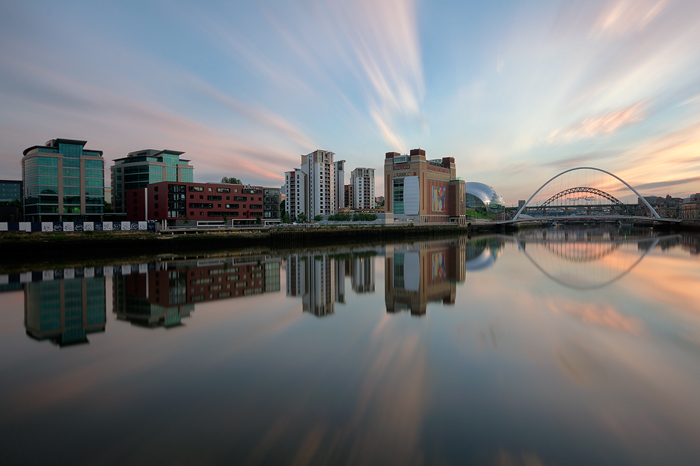
The result:
[twentytwenty]
 [/twentytwenty]
5. Establishing a white point
We can open a Curves or Levels layer and tell Photoshop what our white point is. Photoshop then adjusts the colors and contrast around this white point. To establish the white point we select the white eyedropper.
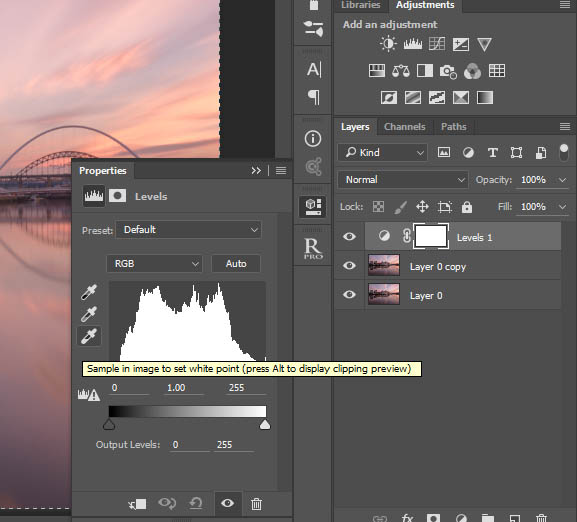
Then, as a very rough estimate, we can click on the brightest part of our image, which will give Photoshop a rough idea what our white point is. For a more accurate way of showing Photoshop our white, 50% grey and black points, please see this tutorial: Color Correction Tutorial In Photoshop – Finding White, Black, and Grey Points
The result:
[twentytwenty]
 [/twentytwenty]
I hope you have enjoyed this tutorial, and added a few extra tools to your post-processing toolbox.
I’m always happy to connect with other photographers! You can visit me through the links below:
My website
My Facebook page
YouTube Channel for more videos
My photography newsletter Including The Free Easy Panel—sign up now!


Leave a reply