Mark Condon is a British wedding photographer living in Sydney, shooting weddings in Australia and around the world. In 2016, Mark was named a finalist in Capture Magazine’s Best Emerging Wedding Photographer in Australia & New Zealand. Mark is also the founder of Shotkit, a website which gives you an exclusive peek into the camera bags of the world’s best photographers.
Released in 2006, Lightroom has quickly become the industry standard post-processing software for professional and amateur photographers around the world. Originally touted as a watered-down Photoshop, the functionality of Lightroom has expanded following each update, bringing us to Lightroom 6, a powerful software to help edit and organize our photos. Today on 500px ISO, I’d like to give you my top 3 tips for getting more out of Lightroom. If you find these tips useful and you’re interested in learning more, check out Lightroom Power User by Shotkit.
Tip #1: How to Reduce the Size of Your JPEGs
Here’s a tip to reduce the size of your JPEG image files on export while preserving as much quality as possible. Like me, I bet you export all your images from Lightroom at 100/100 quality. I mean, why wouldn’t you? Everyone wants their images to look their best after all. However, by exporting at the Lightroom JPEG export quality of 75, you end up with a photo that looks identical to one exported at a quality of 100, but is about one third the size!
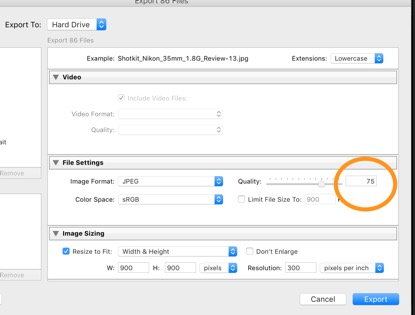
This fact is actually very well-documented on the net:
“The Lightroom default JPEG export quality of 75, falling in the 70?76 range, seems to provide for as good a visible result as the highest quality setting…The file size, even at this relatively high 70?76 setting, is still about one third that of the 93?100 setting, so is well worth it in most situations. Those who blindly use the maximum setting for their exports likely waste a lot of local disk space, upload bandwidth, and remote storage space.” – Jeffrey Friedl, a former consultant to Adobe.
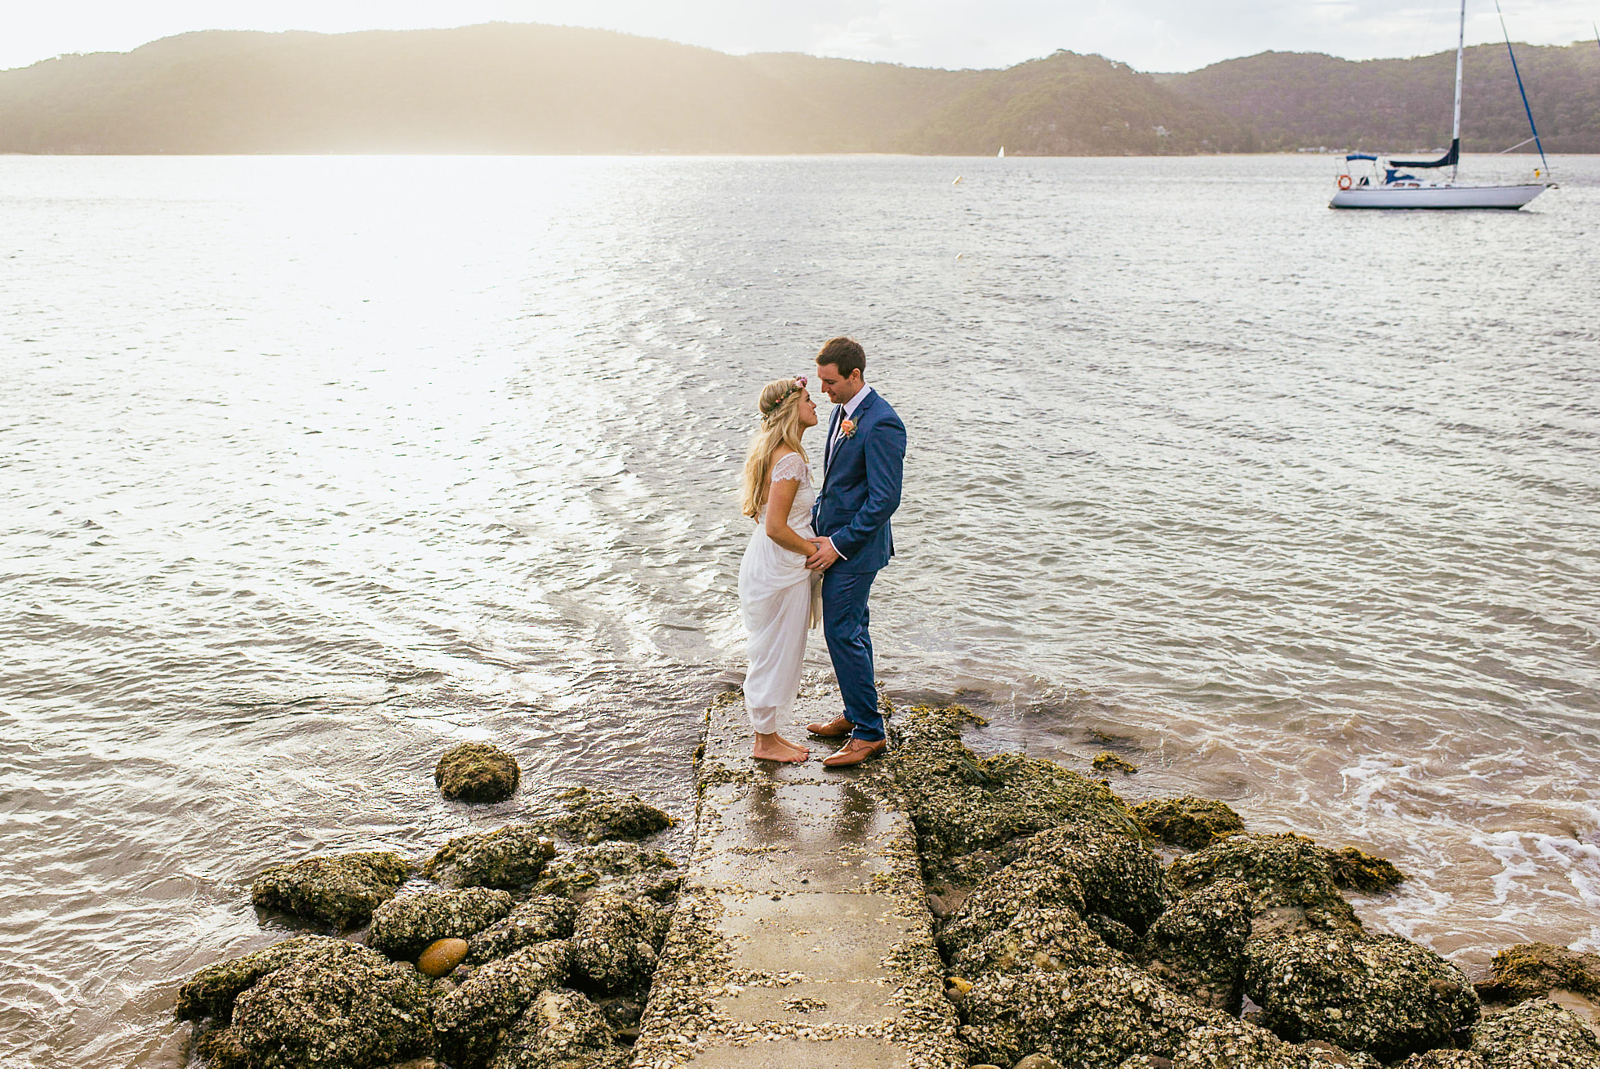
Here’s an example of an image exported at 100 quality:

And another at 76% quality:

While sites such as 500px can handle large image file sizes with ease, your own website may benefit from smaller file size images in order to load its pages as fast as possible. Fast-loading sites keep Google and website visitors happy, so having the smallest image sizes possible while retaining visual quality is the perfect balance.
Tip #2: How to Significantly Speed Up Lightroom
There are plenty of tips to help speed up Lightroom, but I’ve not come across one that makes such a huge difference to the Develop module as using Smart Previews. Many of you are familiar with Smart Previews already, and no doubt use them to manage your mobile workflow. If you’ve been using them to edit files on the go while leaving the original RAW files on an external device, you’ve probably noticed the massive speed difference when using Smart Previews. Unfortunately, Lightroom 6 doesn’t give you the ability to use your Smart Previews if the original RAW files are accessible. There is a way around this limitation though.
If you’d like to use Smart Previews all the time, you’ll first need to disassociate the original files from Lightroom. You can do this by finding where the original files are located, then temporarily changing the name of that folder. By doing this, Lightroom won’t know where the files are located anymore, so will be forced to use the Smart Previews instead. This is assuming that you’ve already created the Smart Previews of your files of course. To do this, enter the Grid module, select your images, then click Library > Previews > Build Smart Previews. You can also build smart previews on import, which I highly recommend.
Once you’ve disassociated the RAW files from Lightroom, you’ll see just ‘Smart Previews’ displayed in the side panel:
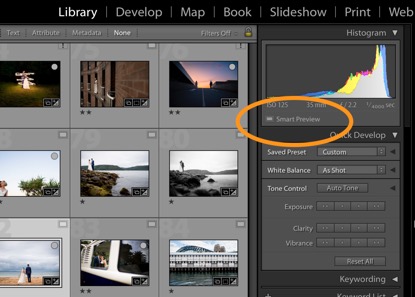
Browsing using the Smart Previews is much faster, and so is any Develop module action. Users who swear by software such as Photomechanic to cull their images quickly may be surprised when they see that Lightroom 6 in conjunction with this Smart Previews tip can give it a run for its money. Using this tip alone should speed up your Lightroom workflow by more than 50%. It’s worth noting that to be able to export your images at full resolution, you’ll need to re-associate the original RAW images with Lightroom (by changing the folder name back to its original state).
Another limitation of Smart Previews is the inability to open them for edit in Photoshop, so again, you’ll need to reconnect the original RAW files to do this. If you’d like to watch a video of this tip in action, click here.
Tip #3: How to give the sky a boost
No matter what the dynamic range of your digital camera, it can be hard to expose properly for a subject’s face and retain a nice, deep sky tone. You can do this using artificial light to balance your foreground and background exposures, but with natural light, it usually poses an issue. While post-processing the images in Lightroom, you may be tempted to use the Saturation slider to enhance the blue of the sky. But since this is a global adjustment, everything in the image will be affected. Unless your image is just of the sky, using Saturation doesn’t usually give a natural looking outcome.
Instead, click on ‘HSL’ in the HSL / Color / B&W panel in the Develop module and choose ‘Luminance’.
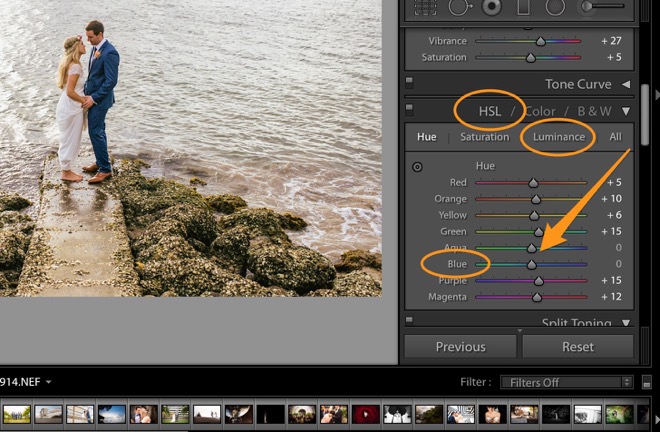
Luminance deals with the luminosity (i.e. brightness) of each individual color in the image. Therefore, by reducing the luminance of the Blue channel (by sliding the slider to the left), you’re making just the blues darker and bolder. Similarly, if you have a sky that’s another color, such as at sunset, you can grab the Red, Orange and perhaps even Yellow sliders and reduce the Luminance to give the sky some additional contrast.
I hope you enjoyed this small selection of Lightroom Tips.
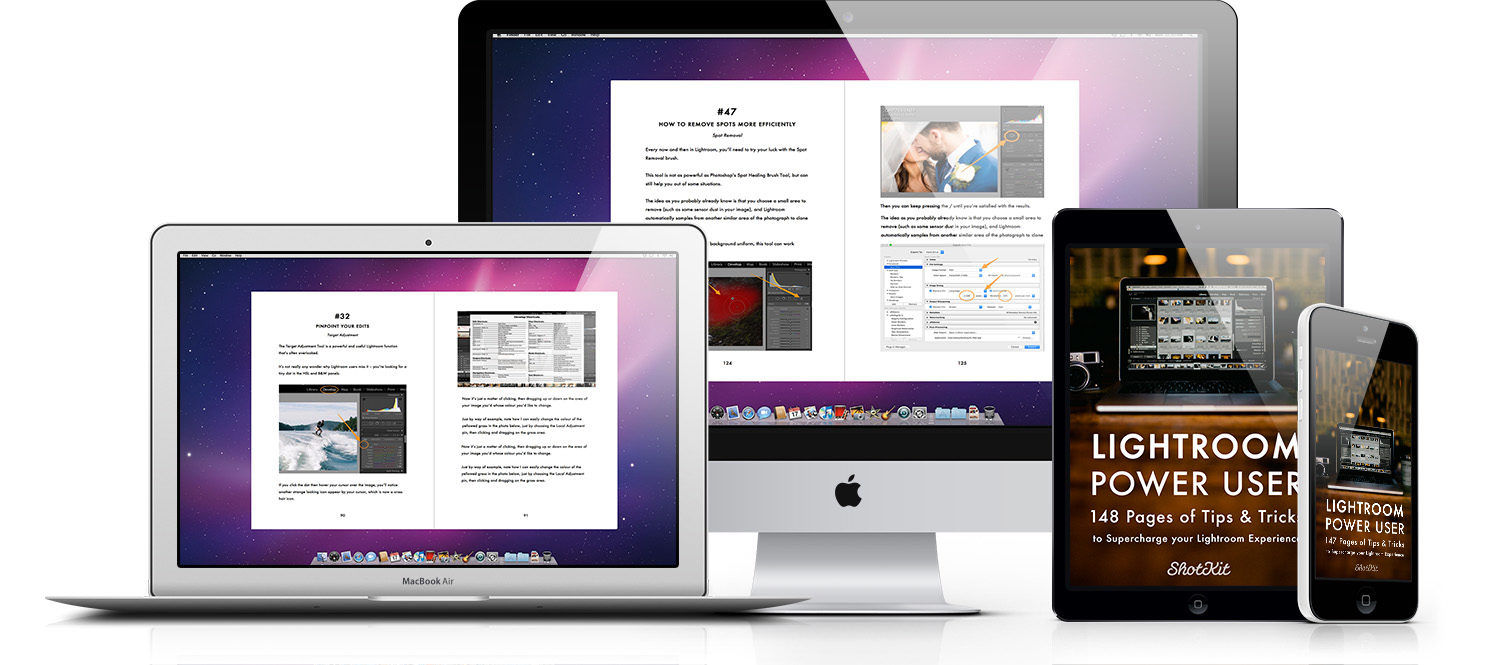
If you’re hungry to learn more, grab a copy of Lightroom Power User for over 148 pages of awesome tips and tricks to supercharge your Lightroom experience. Use coupon code: 500px for a 10% off discount!



Leave a reply