According to Pinterest’s annual trends report, Pinterest Predicts, searches for everything from “natural everyday makeup” and “homemade skincare” to “colorful eyebrows” and “butterfly eye makeup” have boomed. For many—as we emerged from a challenging time—2021 has shaped up to be a year of getting back to basics, while also embracing creativity through innovative beauty trends.
For photographers, the right hair and makeup can elevate your portraits, and they can also save you valuable time in post-production. While it’s always a privilege to work with a makeup artist (MUA) or hair stylist, it’s not always possible—especially when you’re just starting out. Even if you end up collaborating with a professional down the road, it helps to know the fundamentals.
Plus, experimenting with hair and makeup can prove to be an endless source of inspiration and ideas for future shoots. With convenience in mind, we put together this budget-friendly list of DIY tips that fashion and portrait photographers can employ on an everyday basis. In hair and makeup, it’s best to keep things simple and master a few go-to looks, so start easy and work your way up from there.
Before we dive into our tips, an important note on safety
As the photographer, you’re responsible for the comfort and wellbeing of your models. Hygiene is always important when it comes to hair and makeup— but especially now that we’re in the midst of a global pandemic.
Before any shoot, the first step is to set up some safety protocols. Prep yourself and your model on what to bring in terms of PPE. As always, avoid reusing products or using your hands in place of a freshly cleaned brush. Do your research on proper hygiene practices based on the products you use, and go the extra mile to ensure everyone feels safe!
Tip #1: Practice on yourself
It might go without saying, but test everything out on your own before trying it on a model. Look up YouTube tutorials, or subscribe to Masterclass or Skillshare, and take a few classes. Pull some inspiration photos, and try to recreate the same look at home.
If you can get friends and family to volunteer as models, that’s even better. Or set up test shoots with models who are at the same place in their careers as you are; you might be able to make a “time-for-prints” deal. The more experience you have with different types of skin and hair, the more comfortable you’ll feel heading into any photoshoot.
Tip #2: Ask your model to prep
Good makeup starts with a good canvas, so remind your model to exfoliate and use moisturizer the night before the shoot. The same goes for hair: for the best results, ask your model not to over-wash, over style, or heat their hair in the days leading up to the shoot. A thorough shampoo the night before will remove any excess product, and you can also suggest a cut before the session for healthy-looking ends.
Tip #3: Invite input
You know what looks good on camera, but your models know what makes them feel confident, so don’t be afraid to ask for their ideas and opinions. Makeup for photoshoots is generally more visible than everyday makeup—in order to show up on camera—but you can still take inspiration from your model’s personal style. They know what works well with their skin and hair, so tap into their expertise.
Tip #4: Use a primer
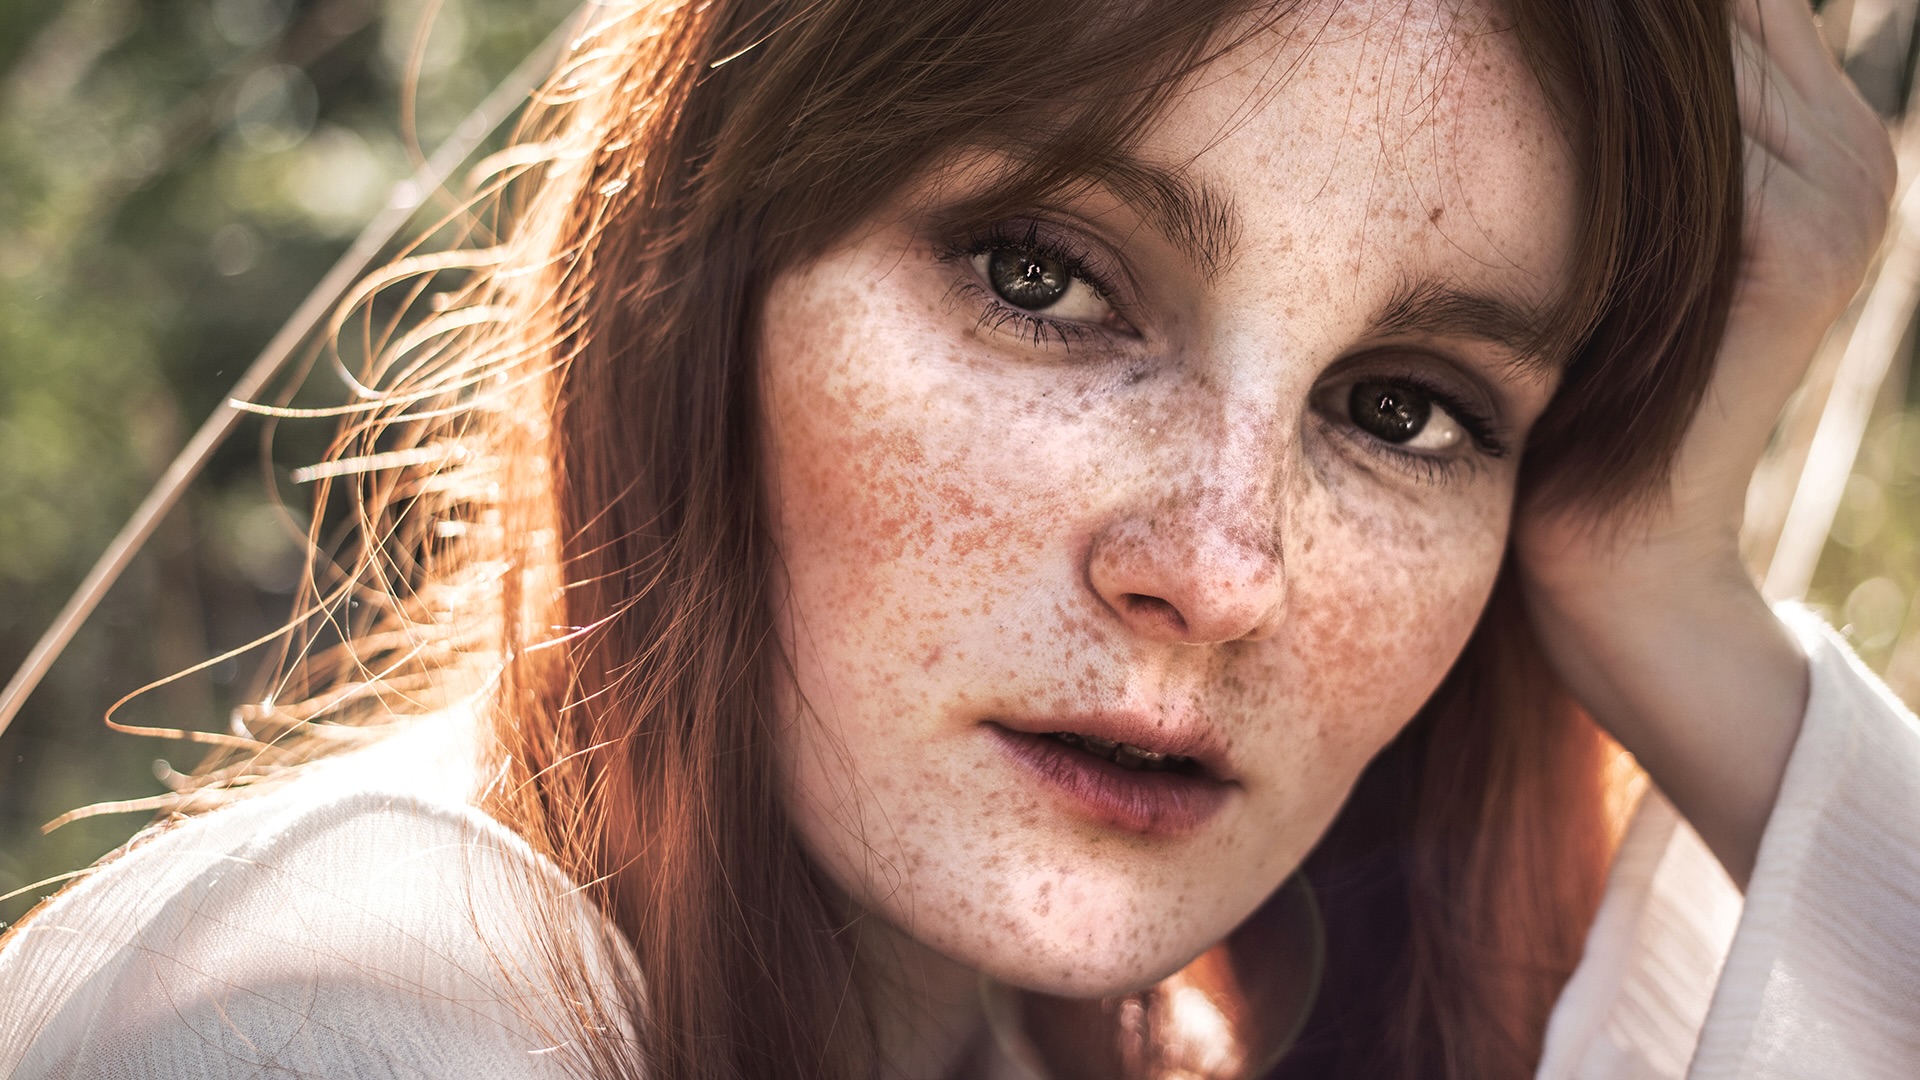
On the day of, you’ll want to use primer before you apply foundation, as it’ll seal in that moisture and create a natural “blurring” effect. This step is especially important when minimizing the appearance of pores and creating an even surface; for close-ups, it’s essential.

Tip #5: Beware of flyaways
Stray hairs that would go unnoticed in everyday life can become obvious on camera, so consider using a serum to tame strands that look out of place. Of course, intentional, well-placed wisps of hair can add to a photo—just make sure it’s deliberate and works well with the lighting on set.
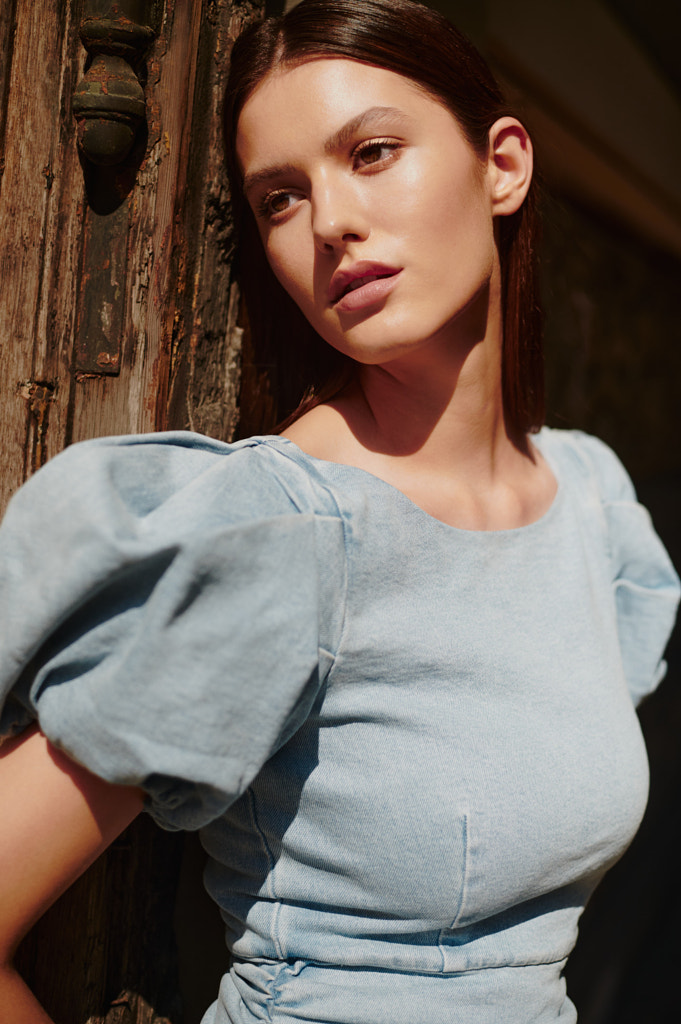
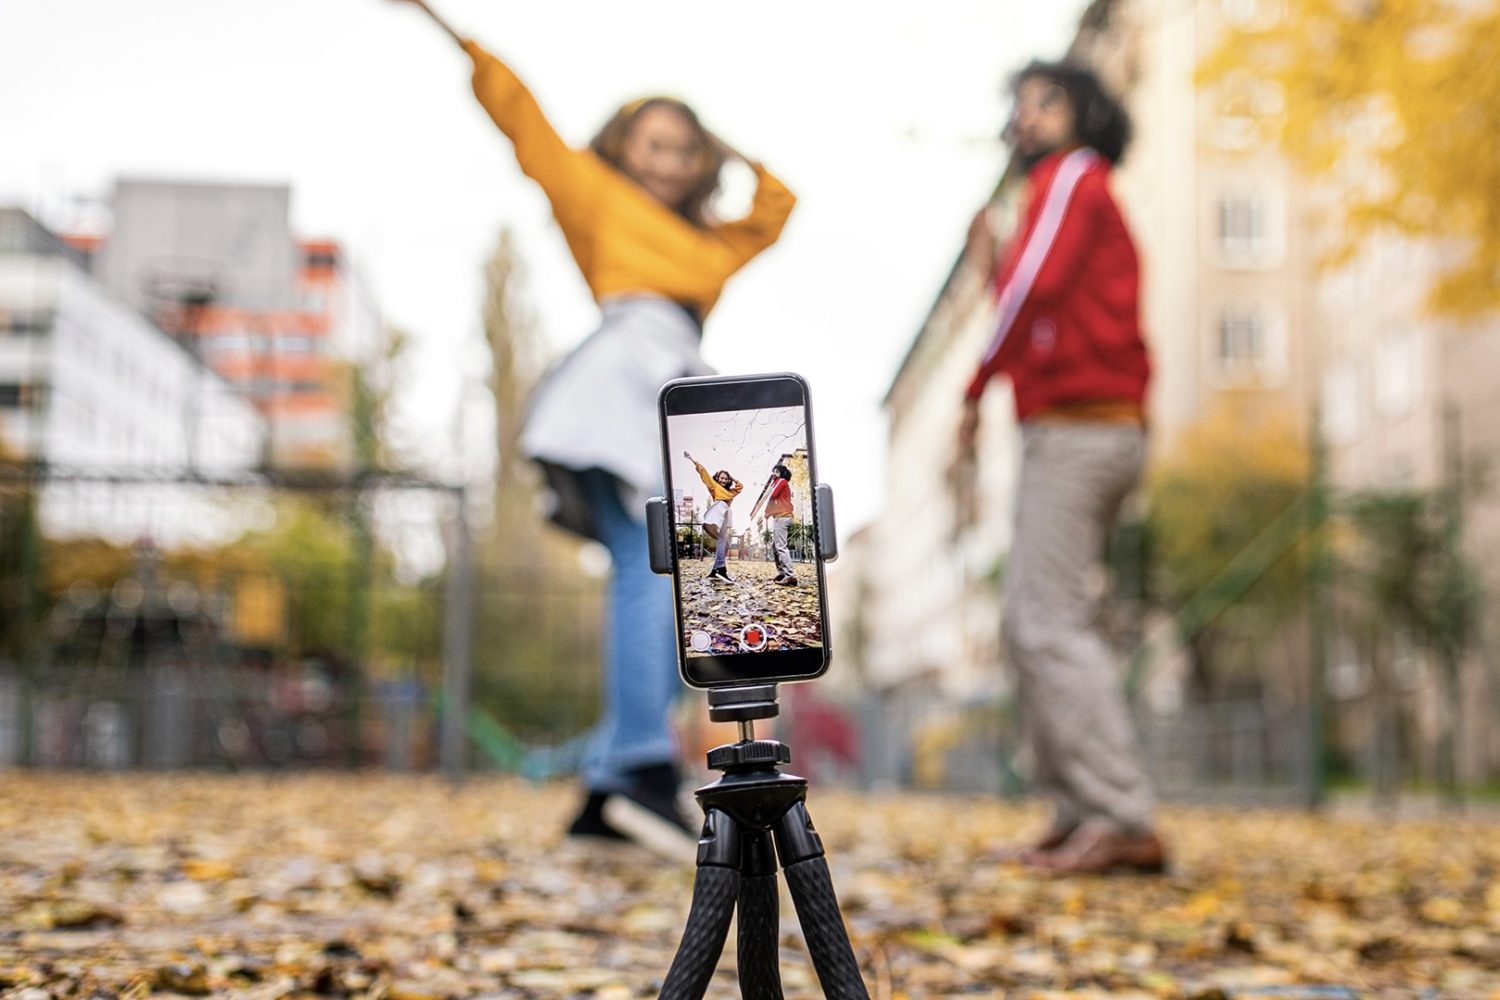
Tip #6: Use natural light
It’s best to use natural light when applying makeup. Turn off any household lights, and find a window with plenty of indirect sunlight. Soft, natural light will give you a better idea of how everything looks and works together than harsh overhead lights, which can create distracting shadows. Be careful to avoid lights with any color cast (yellows and pinks are common), as these can lead to mistakes.
Hint: Of course, natural light also works well for the actual photoshoots themselves, if you can coordinate with your model to make it work. The golden hour around sunrise can be particularly flattering.
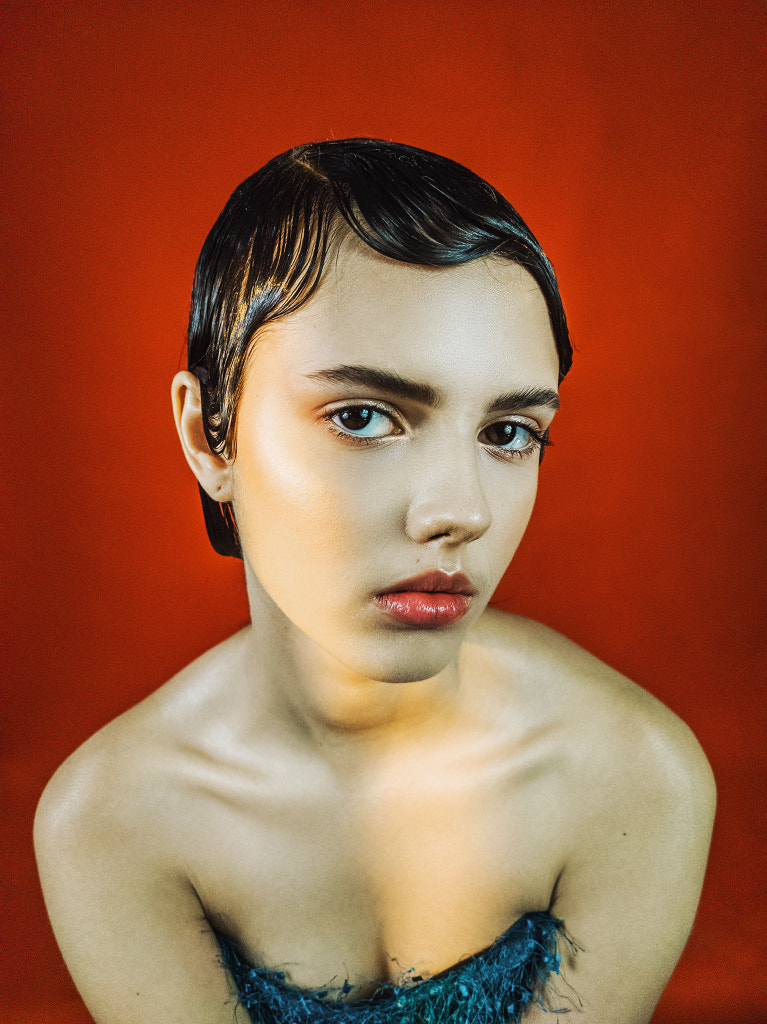
Tip #7: Go matte
Shimmery makeup might work for everyday life, but when it comes to photoshoots, steer clear of anything that’ll shine on camera. For a shimmer-free effect, choose a matte foundation that suits your model, then apply and blend any concealer as needed, and top it off with a mattifying translucent powder.
This tip is for makeup only, not hair! When styling hair for photos, the opposite often holds, and you’ll want to avoid mattifying products. Instead, consider products that boost that beautiful, healthy shine.

Tip #8: A little hairspray goes a long way
Hairspray is an essential tool in your styling kit, but a little goes a long way. Too much, and you’ll end up with dry-looking hair and obvious product build-up. Use just a bit once you’ve styled the hair, and hold it a good distance away from your model’s head.
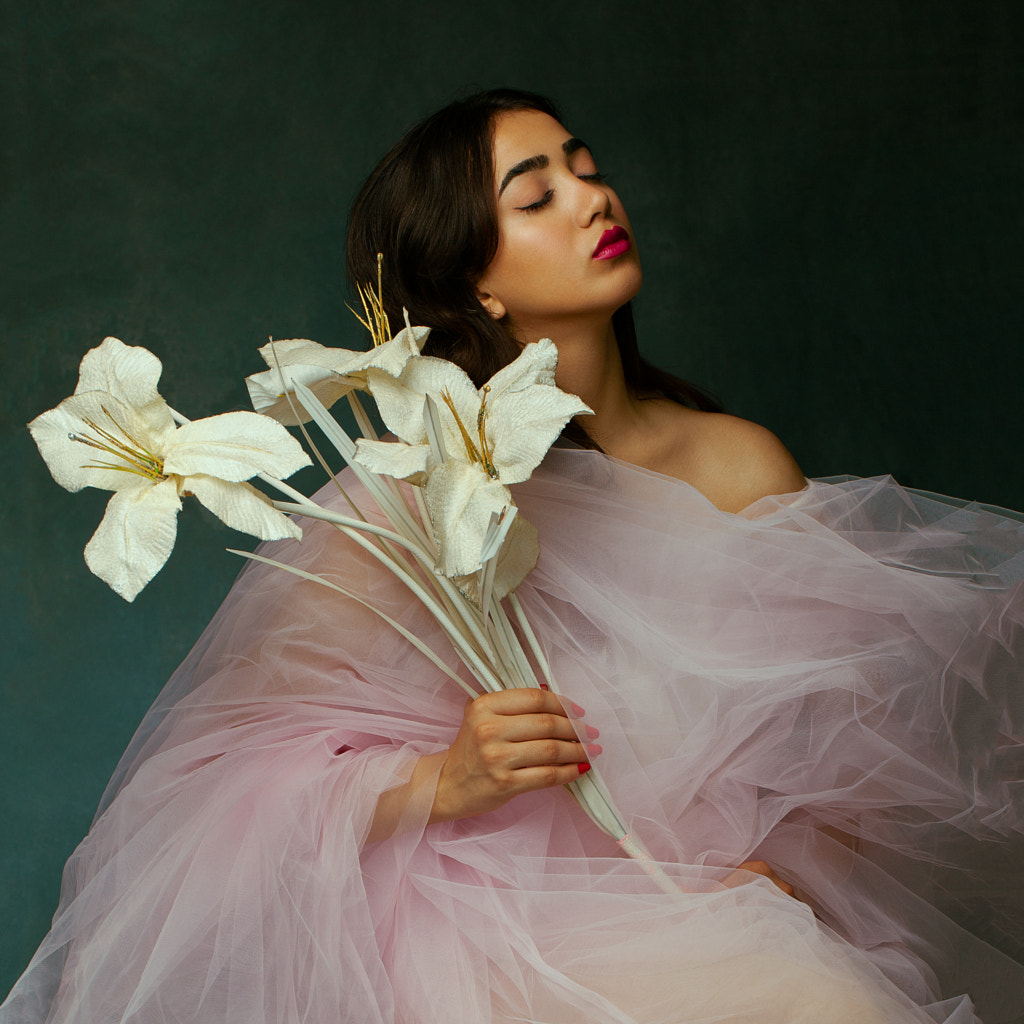
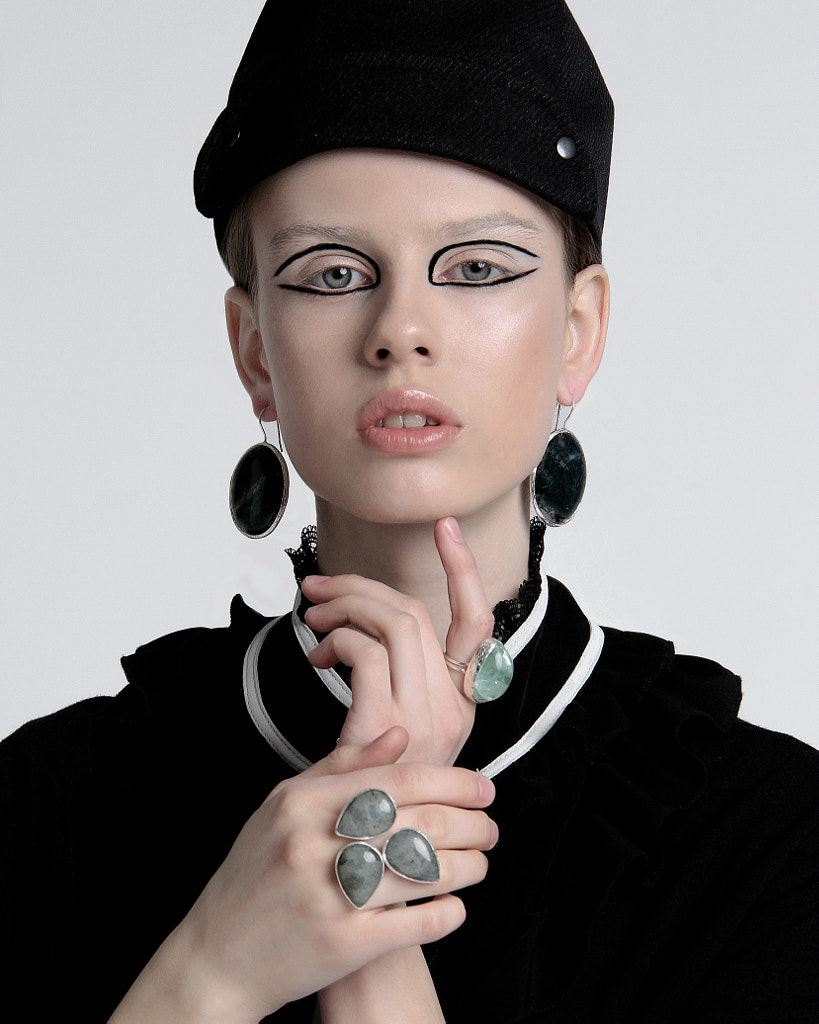
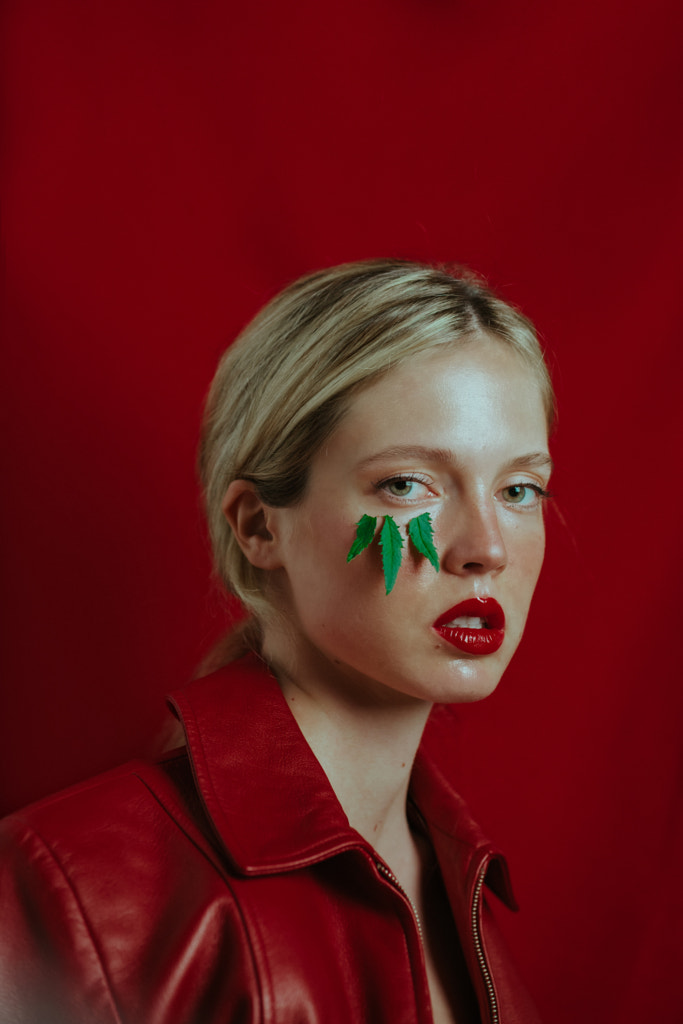
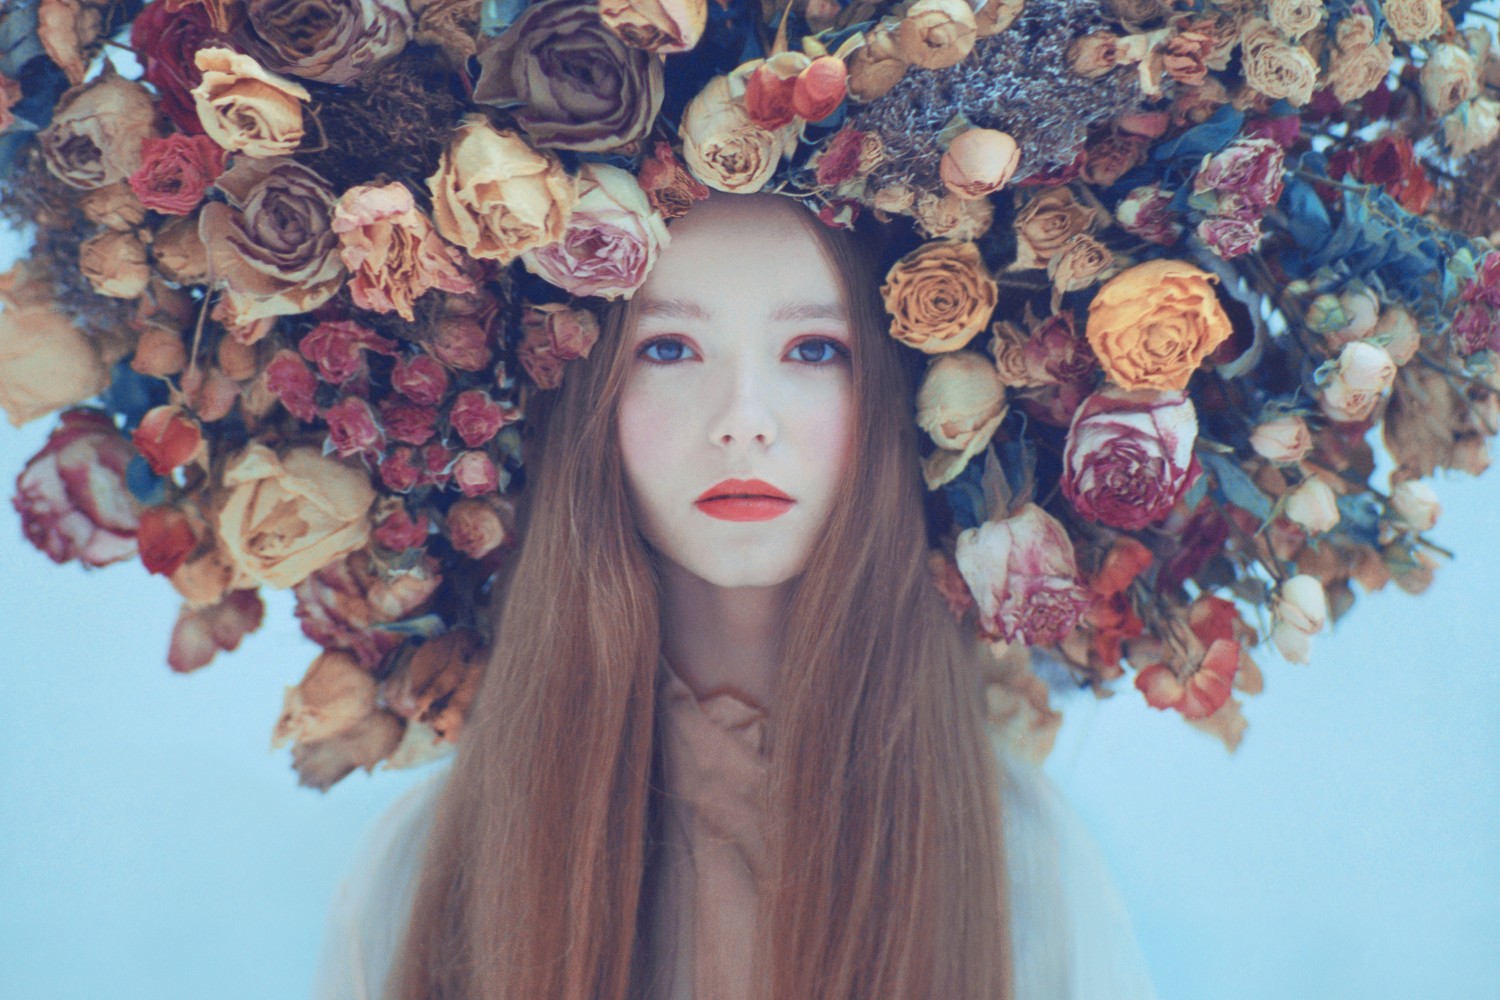
Tip #9: Add some color
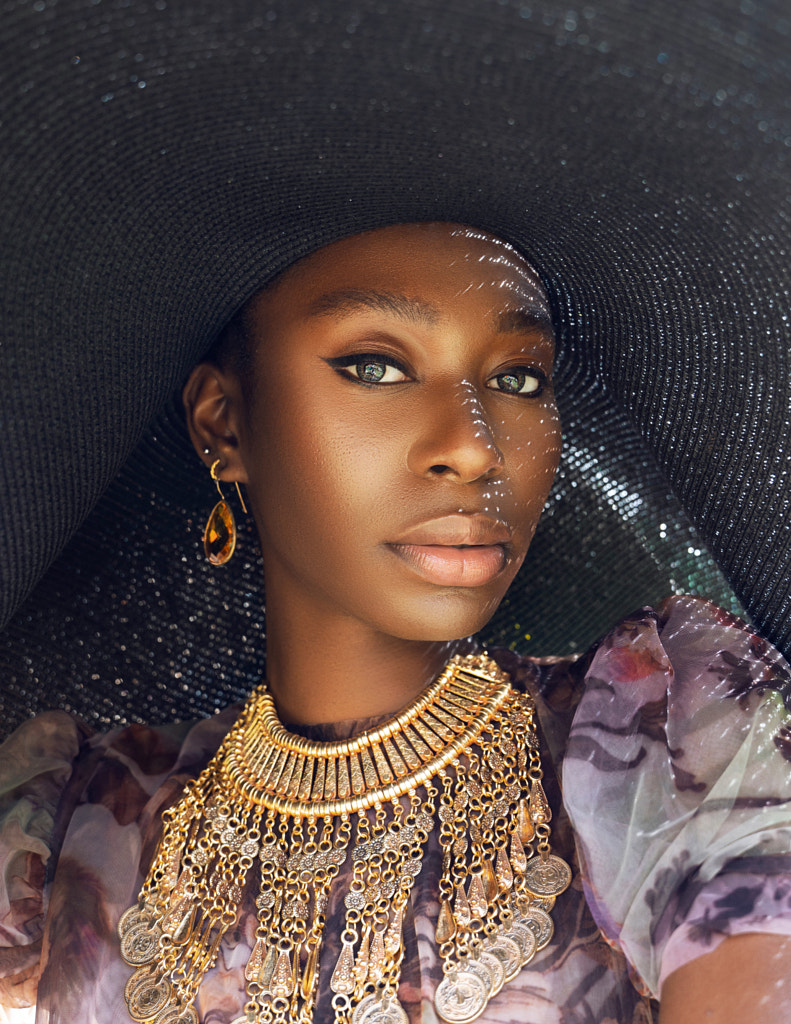
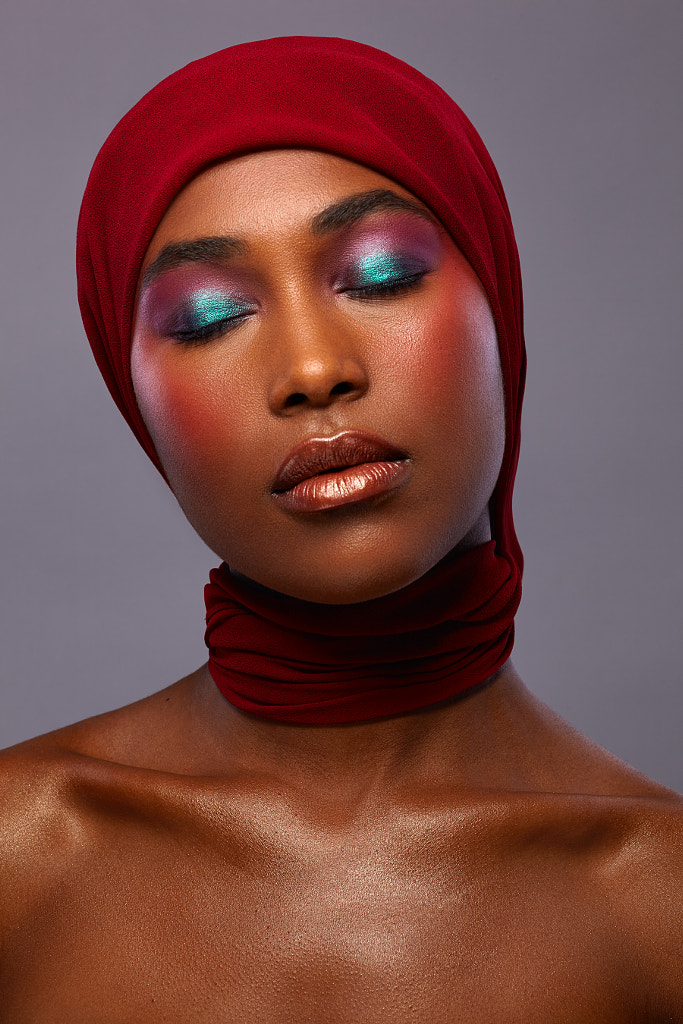
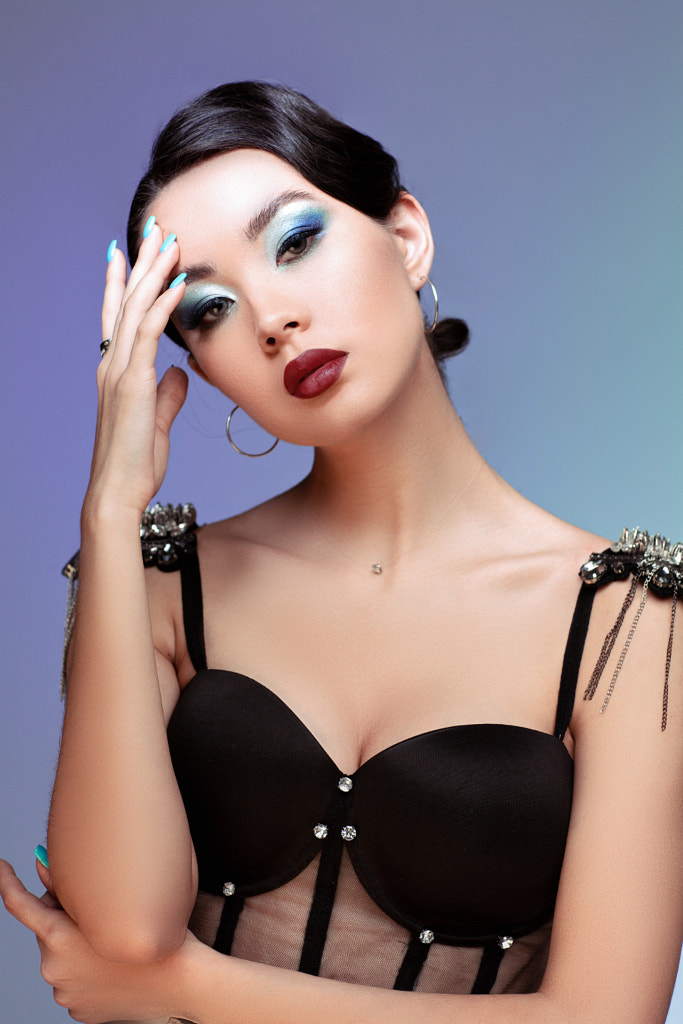
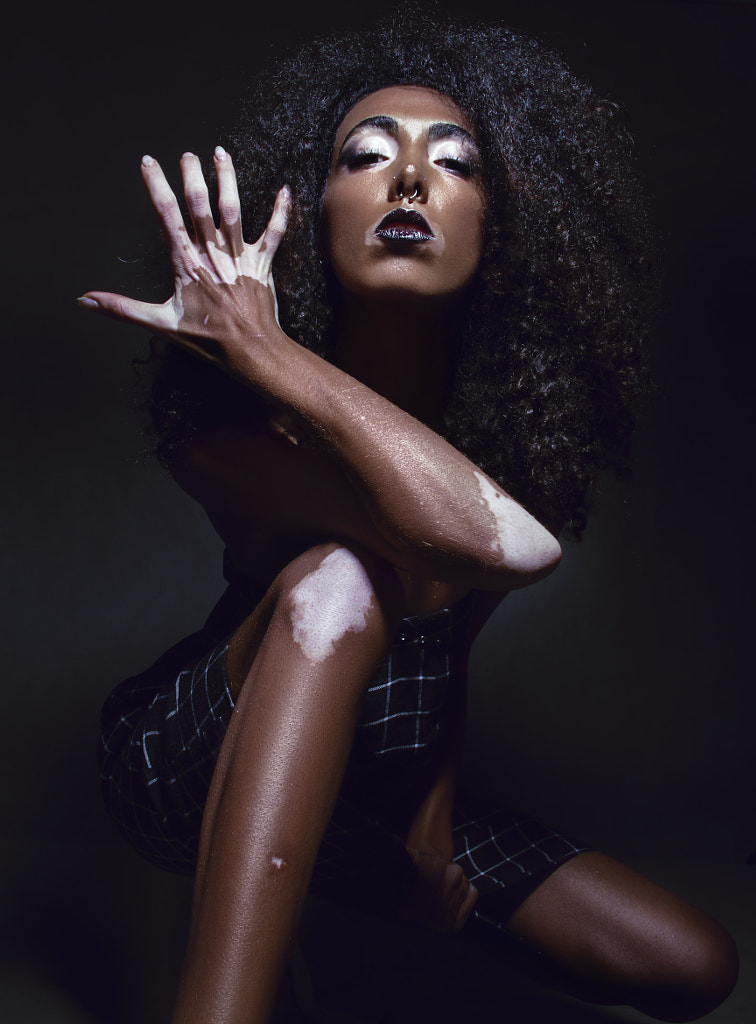
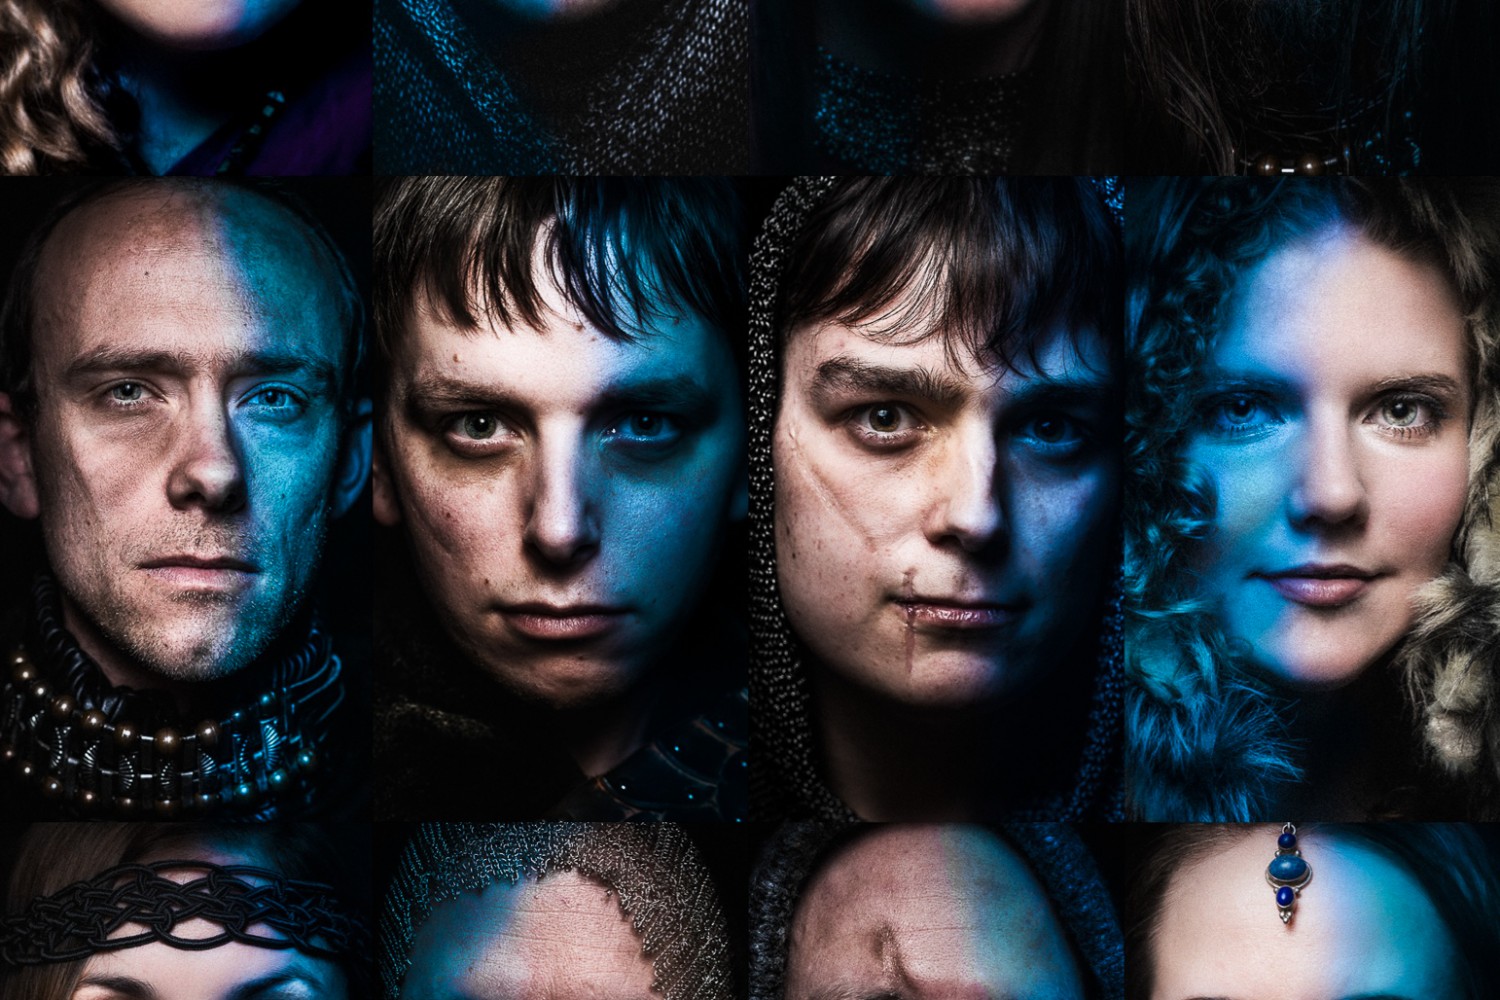
Bright light (especially flash!) can wash out your model’s natural coloring, so you might need to rely on bolder colors than you’d use in everyday life. That’s not to say the colors should look unnatural; instead, bring out your model’s existing traits and characteristics.
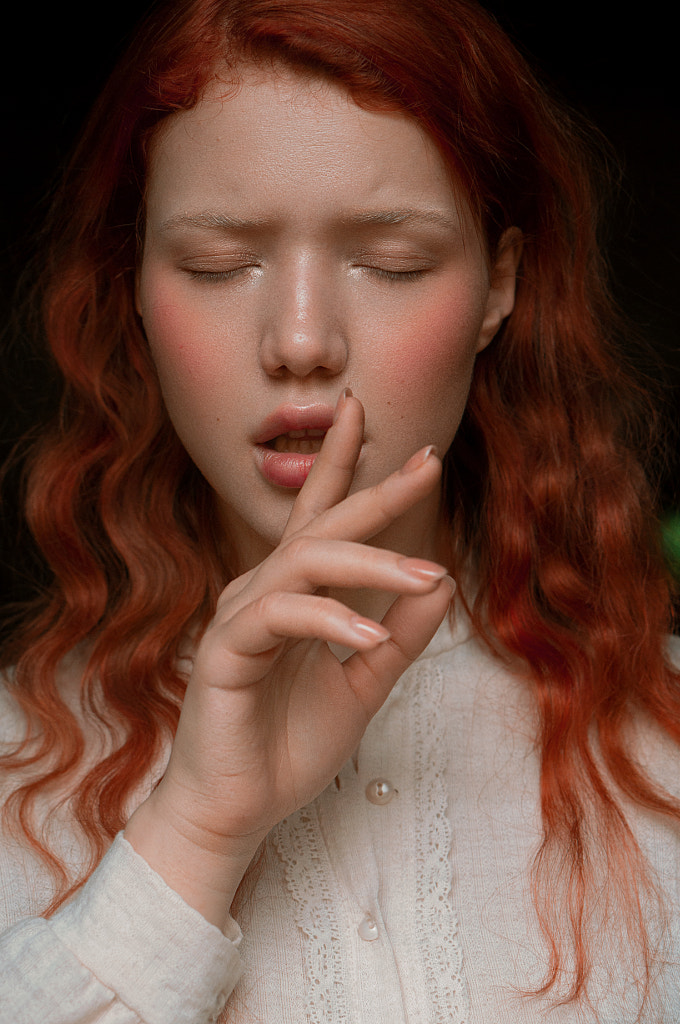
When using blush, go for the shade that mimics their natural flushed look, and use an extra swipe. When using eye shadow, consider a hue that’s complementary to their eye color (e.g., pinks with green eyes, or soft oranges with blues). Keep in mind that many pro makeup artists will also use three colors (a highlighter, a mid-tone, and darker tone) to bring out the eye.
Hint: While we’re on the topic of flash, it’s worth learning some basic contouring techniques. Adding definition can help counteract that dull, washed-out effect you can get on camera.
Tip #10: Watch out for “flashbacks”
If you notice a white cast under your model’s eyes, you’re getting flashbacks. We always advocate for protecting your skin and wearing SPF in everyday life, but when you’re shooting photos with a flash, common ingredients like zinc oxide and titanium oxide can unfortunately cause this effect.
Tip #11: Adjust as needed
The styling process doesn’t end when you start shooting, and you might have to touch things up throughout the session. If you can, shoot tethered so you can see how everything looks and correct any issues in the moment. The longer the shoot, the more tweaks you’ll have to make to keep everything polished. As always, keep the lines of communication open, and take a collaborative approach. Your model might have ideas about adjustments or additions to make the photos “pop.”
Tip #12: Go easy with the edits
Taking the time to finesse your hair and makeup on set will allow you to use a light touch during post-production—which is important if you want to avoid fake-looking skin and too-perfect hair. When it comes to editing, less is more. You want your models to look like themselves, so embrace their natural tones and textures, and keep the details true to life.
Not on 500px yet? Sign up here to explore more impactful photography.
Leave a reply